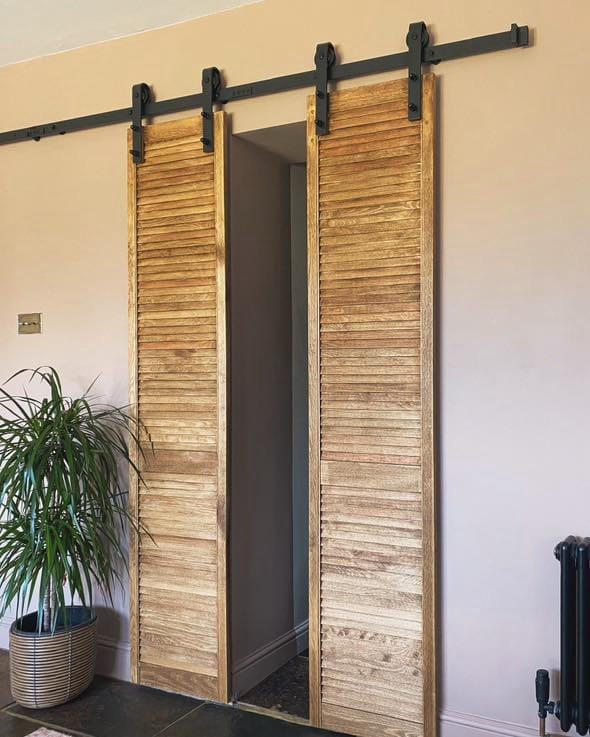
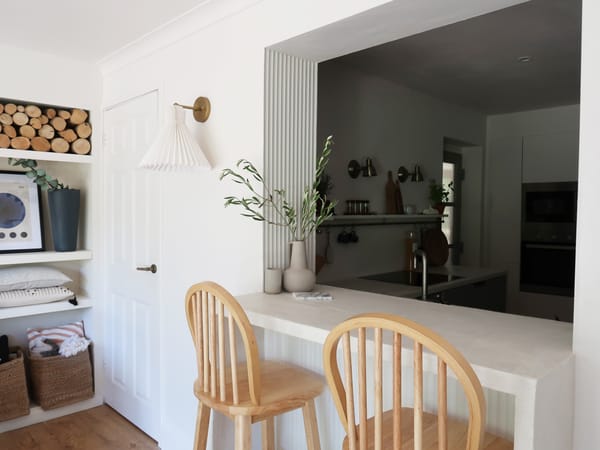
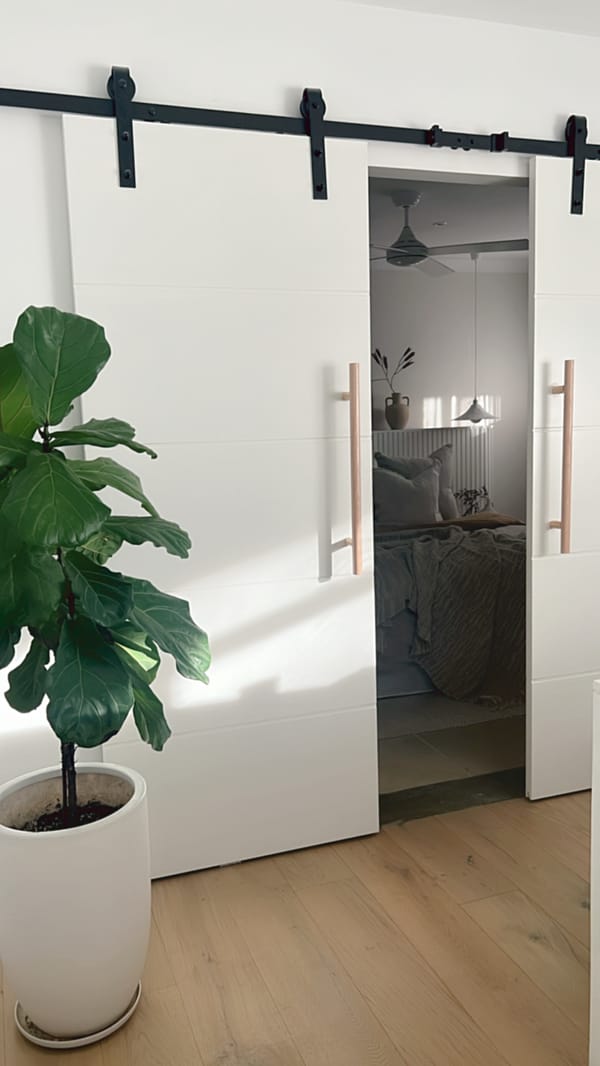
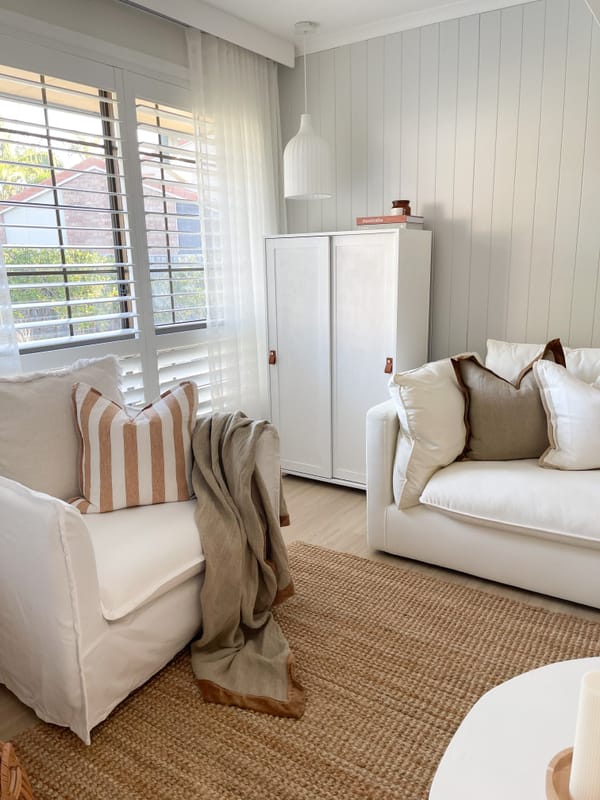
Today, we’re tackling a project that started with two very boring open doorways—one leading to the kitchen and the other to the pantry. These doorways had no frames or doors, and while I only occasionally needed to close them off, I wanted the option to do so. With a bit of creativity and determination, I turned these plain spaces into stylish, functional areas with sliding barn doors. Here’s how I did it!
Materials Needed:
- Little Greene Paint Co. in 'Mochi' (for painting the kitchen)
- Sliding barn door rail kit (purchased from Amazon)
- Two plain pine Louvre slatted doors
- Wood stain (to darken and give a rustic look)
- Spirit level or laser level
- Screws and wall anchors
- Drill
- Measuring tape
- Screwdriver
Step-by-Step Process
Step 1: Paint the Kitchen
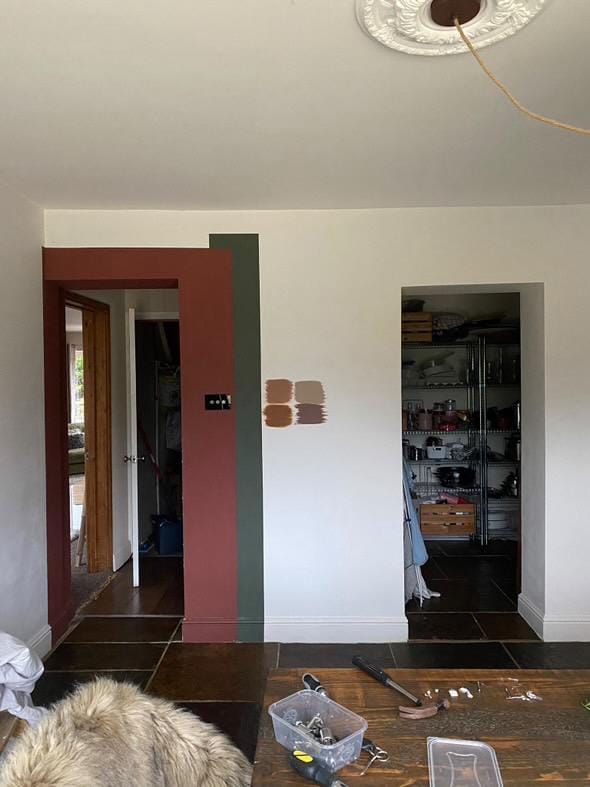
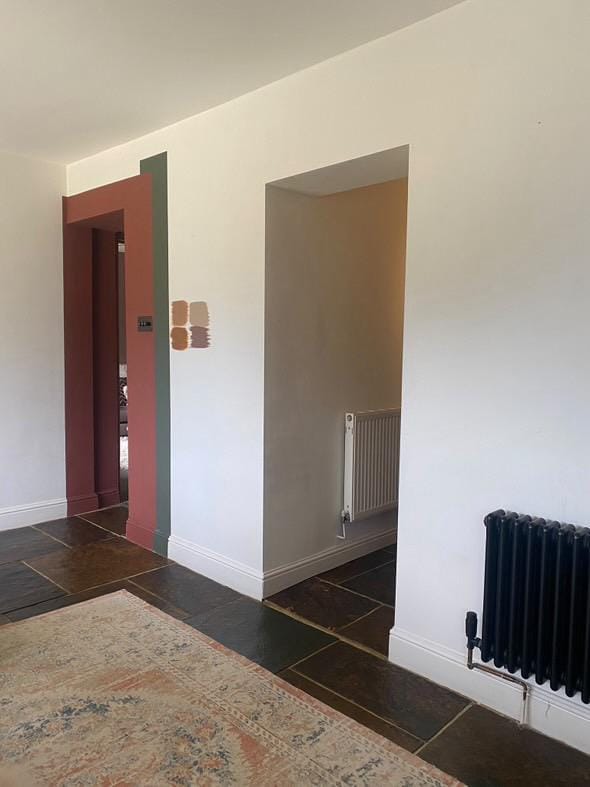
Before diving into the doors, I decided to give the kitchen a fresh coat of paint. I used 'Mochi' by Little Greene Paint Co., which turned out to be the perfect bare plaster pink color for the room. It set a beautiful backdrop for the new doors.
Step 2: Research and Purchase Materials
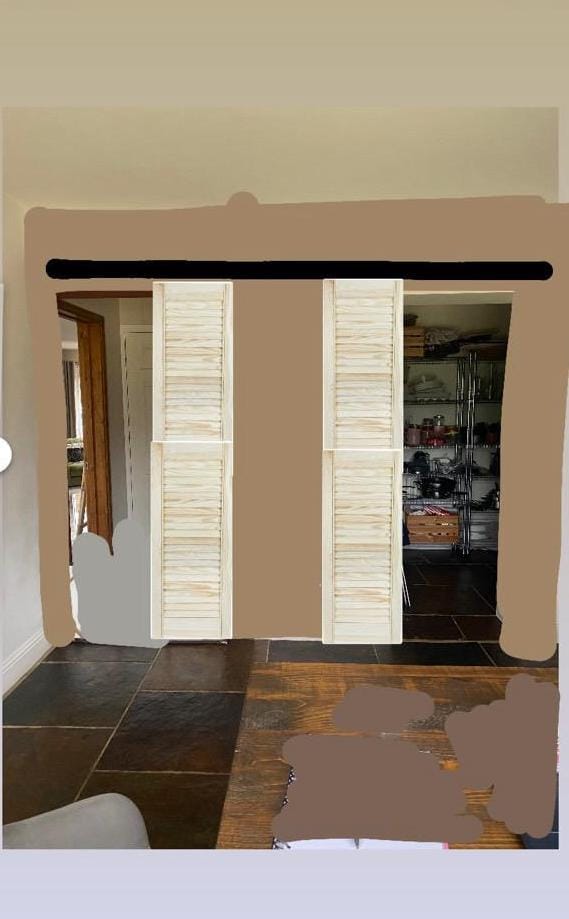
I fell in love with sliding barn doors after seeing them online but quickly realized that having them professionally installed was very expensive. So, I decided to DIY! I ordered a sliding barn door rail kit from Amazon and two plain pine Louvre slatted doors. This setup gave me the freedom to stain the doors to match my desired rustic look.
This is how I pictured it:

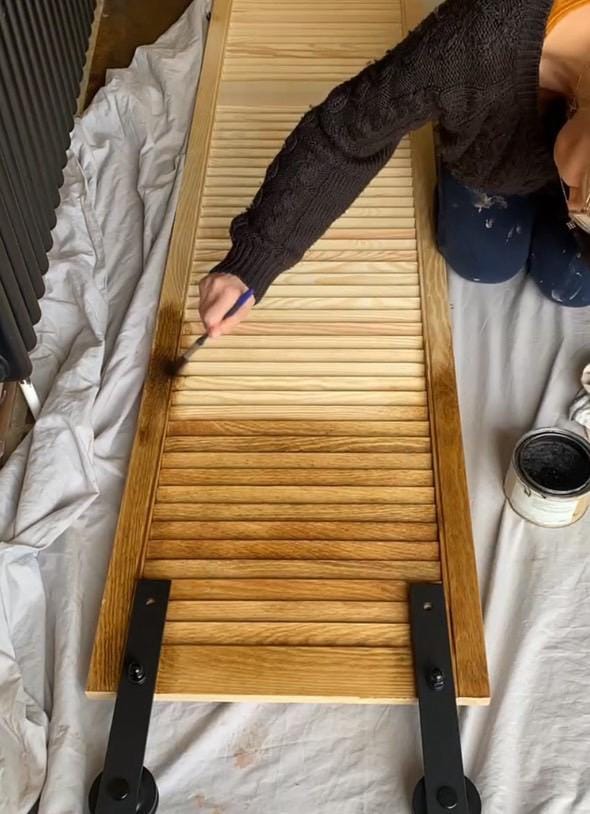
Step 3: Stain the Doors
I went to work on staining the doors to make them darker and more rustic. This part was fun and allowed me to customize the look exactly how I wanted. Make sure to follow the stain’s instructions for the best results, and remember to work in a well-ventilated area.
Step 4: Install the Rail
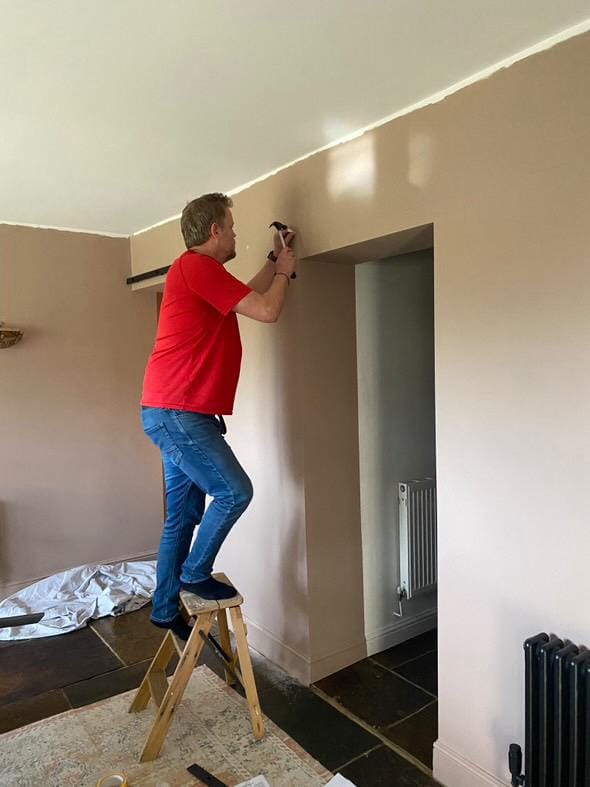
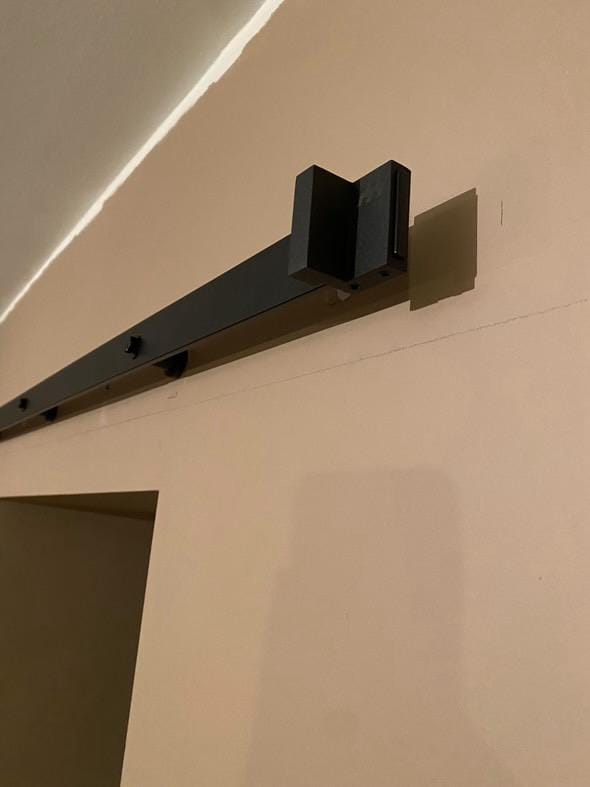
Over the weekend, my husband and I tackled the installation of the rail. This was the trickiest part because our doors were different heights, and our house has its fair share of quirks (like wonky walls!). Using a spirit level or laser level is crucial to ensure the rail is perfectly straight. If the door doesn’t slide straight, it will hit the floor and look awful.
Step 5: Hang the Doors
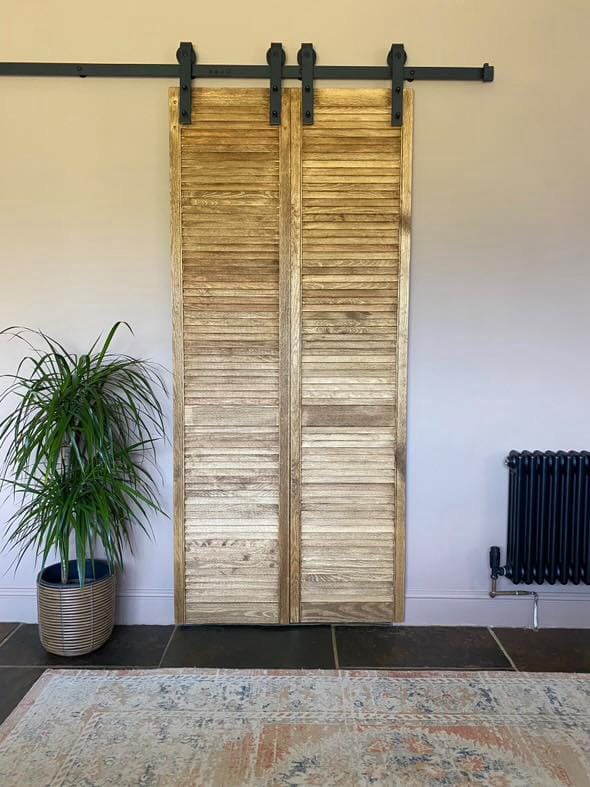
Once the rail was securely in place, we hung the doors. This part required some patience and adjustment to ensure the doors slid smoothly and aligned correctly.
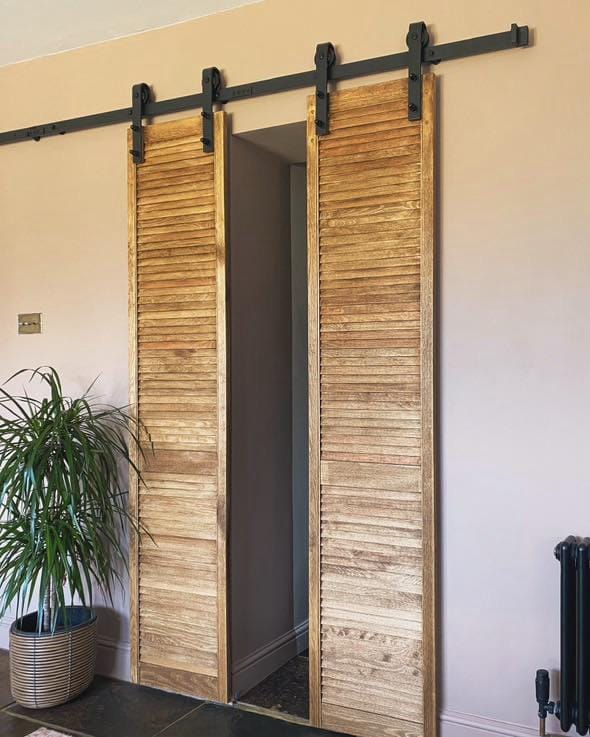
The Final Result
I am absolutely thrilled with the final result! The sliding barn doors are not only practical, saving precious space by not swinging in or out, but they also add a beautiful rustic touch to the kitchen and pantry. The best part? They’re versatile—you can slide them closed over one doorway, half-open over each door, or in any configuration you like!

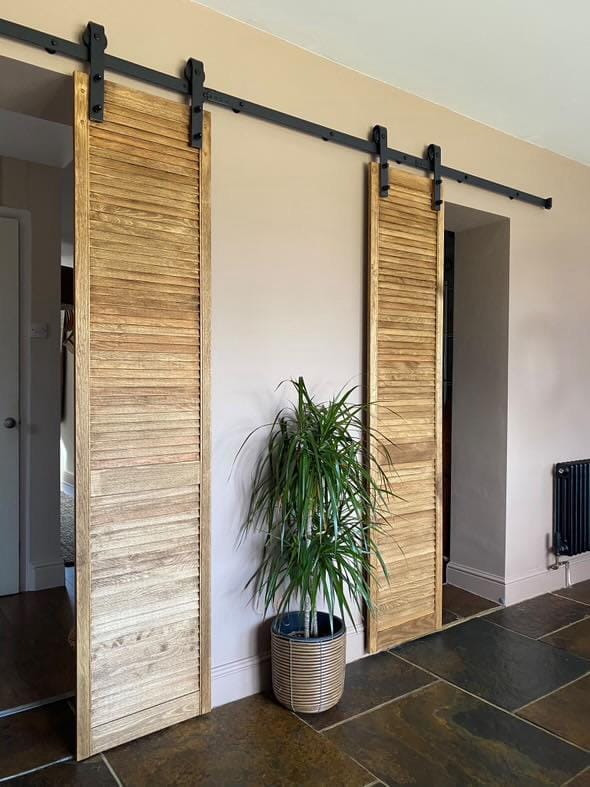
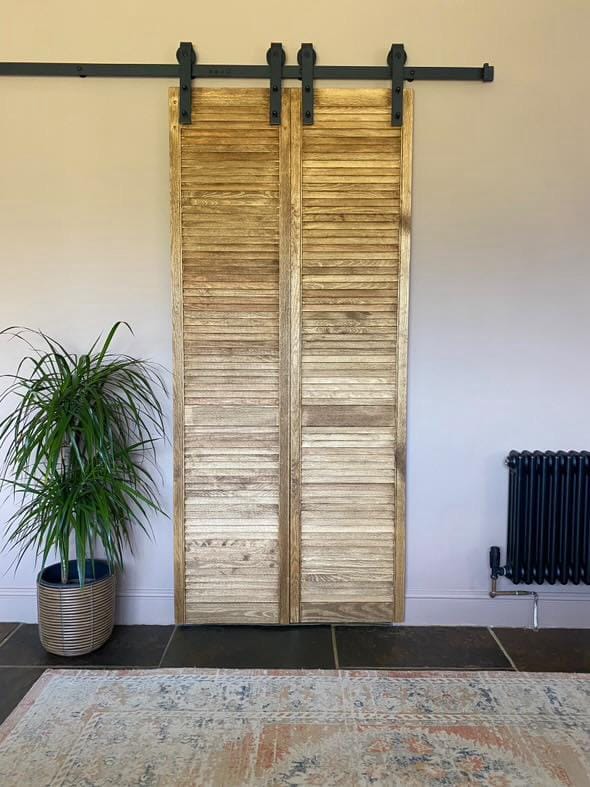
Why Sliding Barn Doors Rock:
- Space-saving: No need for doors that swing in or out.
- Versatile: Easily adjust to open or close off different areas.
- Stylish: Adds a rustic, customized look to any room.
This DIY project was a fantastic success and I'm so happy with the new look. The sliding barn doors are practical and stylish, making them a perfect addition to our home. If you’re looking for a fun, challenging, and highly rewarding project, I highly recommend trying this out. Plus, I had so much fun that I’m already planning to add sliding barn doors somewhere else in the house!
Follow me on Instagram for more DIY adventures and a bit of humor sprinkled in—I promise it’s worth it!
Happy DIY-ing, and see you in the next project!

Creator: Tracey
Instagram:@fray_at_home


