
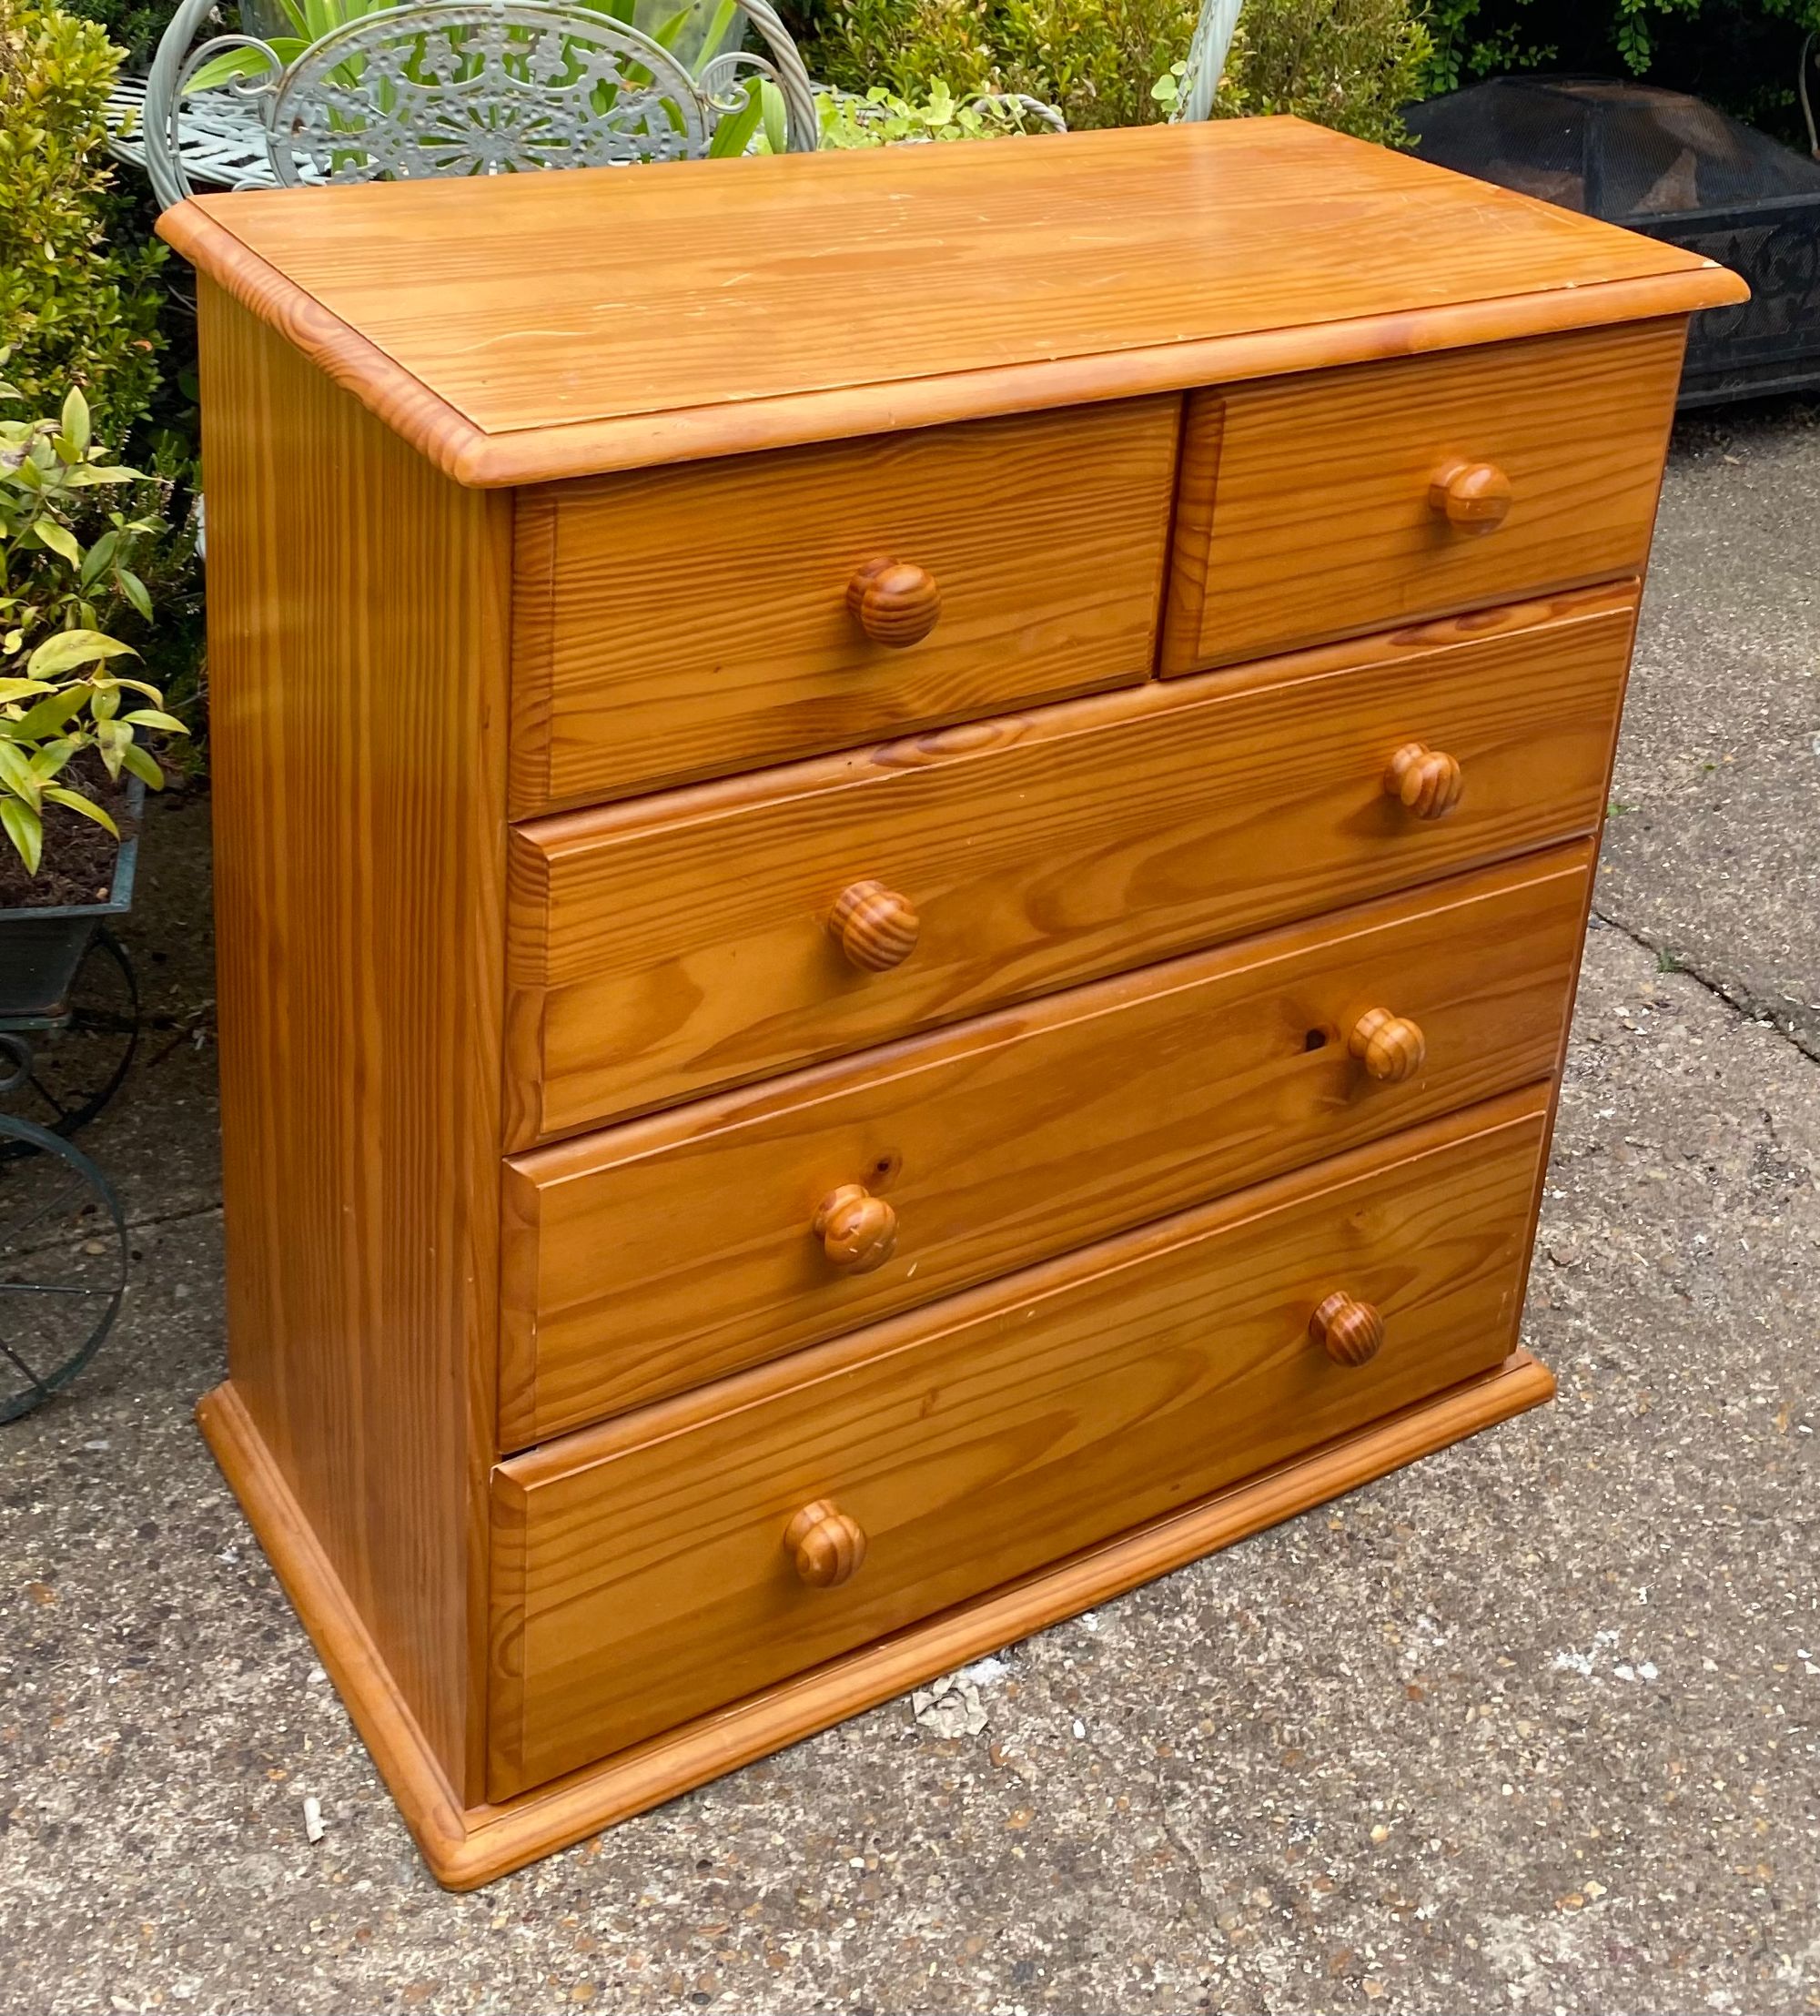
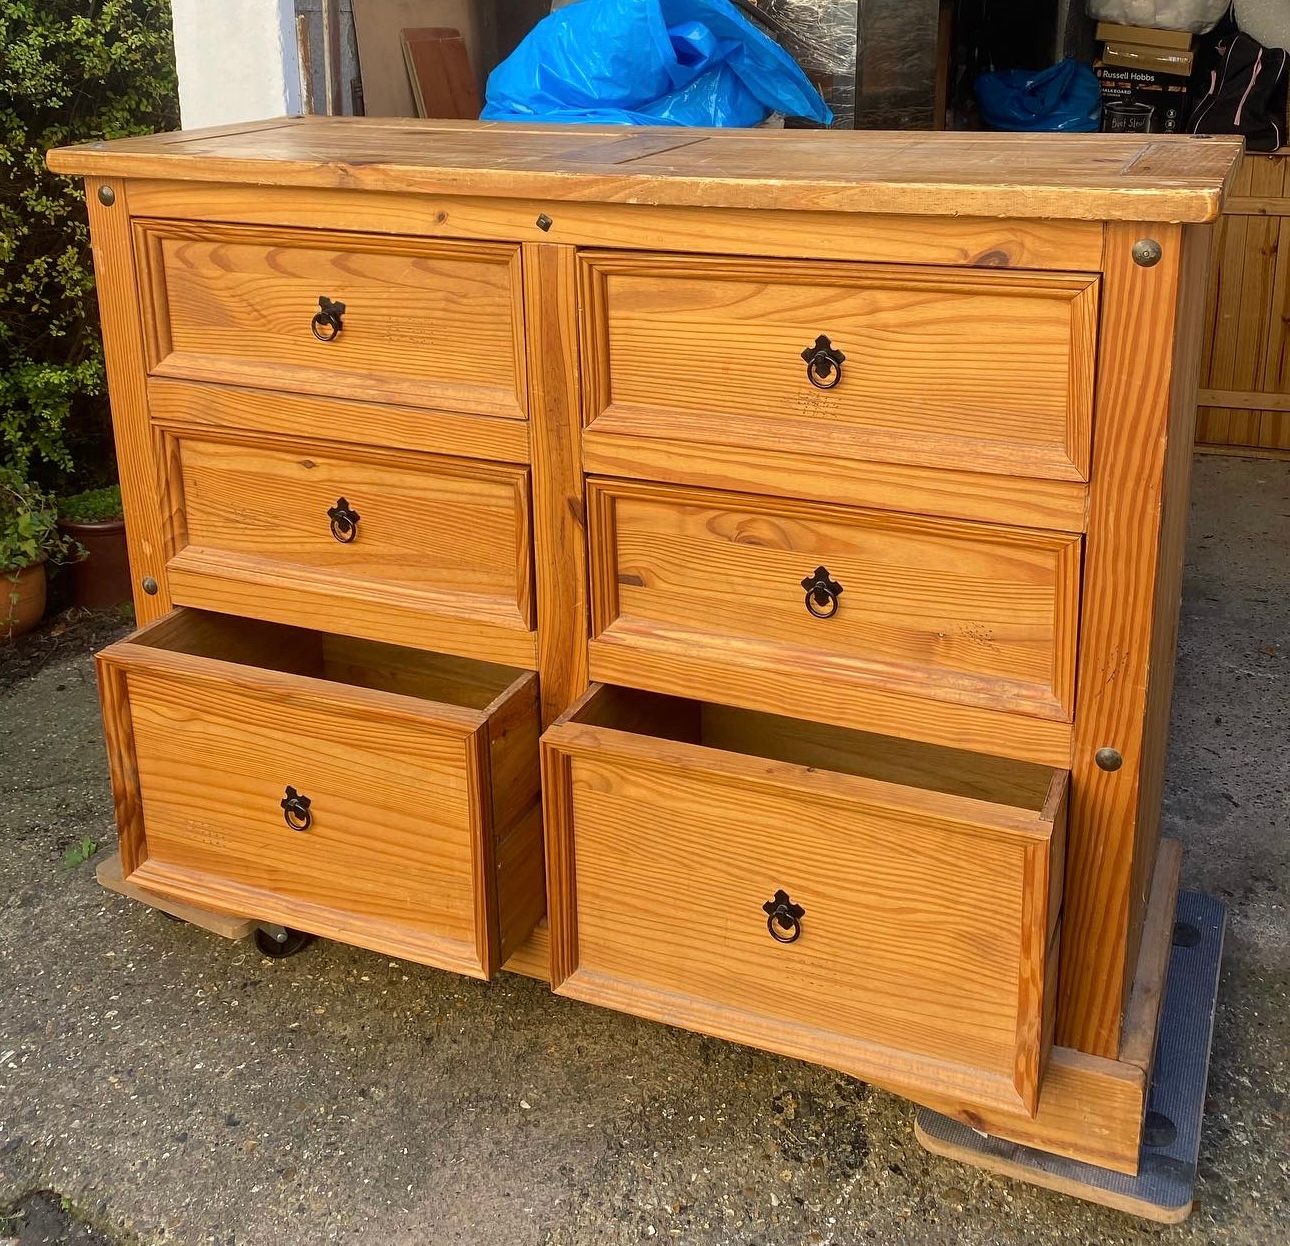
Its Sev here and today we are going to speak about pine wood furniture and how to refinish it in 5 simple steps. Redwood Pine and Mexican Pine are used quite frequently when it comes to chest of drawers, bedside tables and even sideboards. These are the 2 types of wood I’ve worked with and are familiar with.
Things You’re Going To Need:
- Pine Furniture
- Sander and Sandpaper
- Wood Filler (optional)
- Soap/disinfectant/degreaser and sponge and cloth
- Primer (optional)
- Paint brush or Sprayer
- Choice of Paint Colour
- Sealer (either a wax or poly)
STEP 1 (Examination and Preparing)
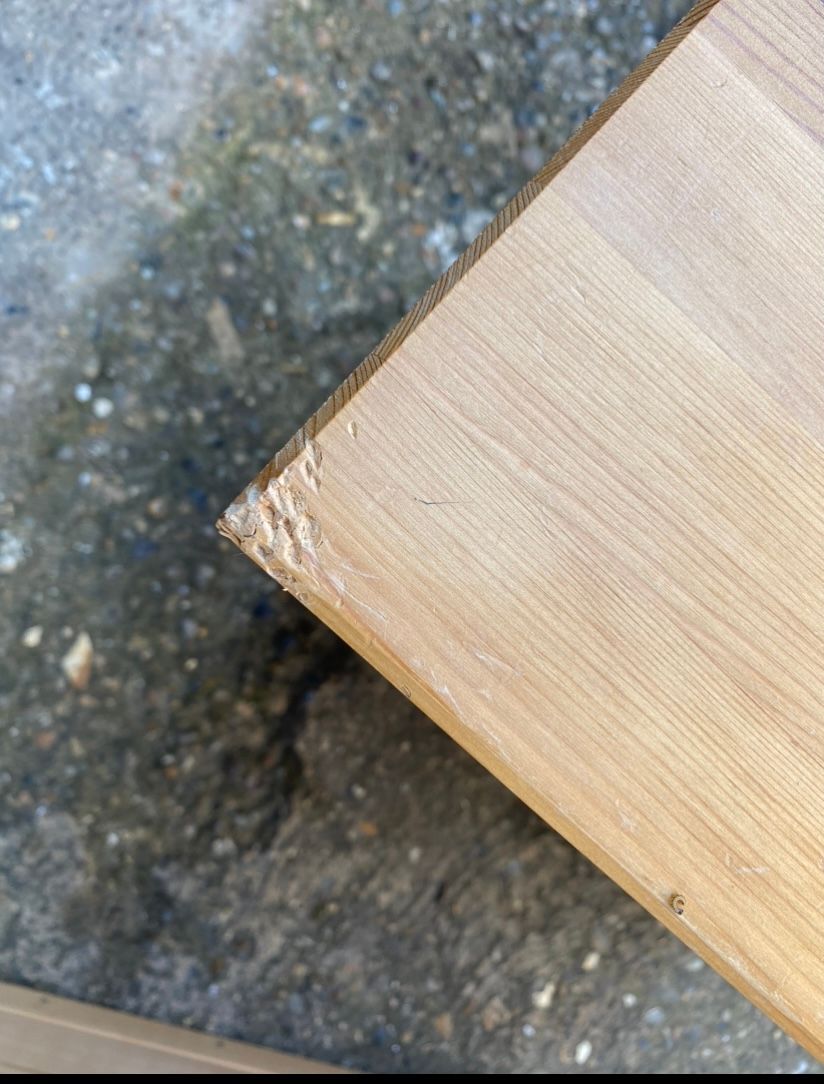
Before cracking on, I always take a moment to examine whether the pine furniture piece has any noticeable dents, chips and scratches. If they do, I will fill these with my favourite wood filler by Evergreen which I find is easy to apply with a paint scraper or an old card and dries rather quickly and firmly.

STEP 2 (Sanding)
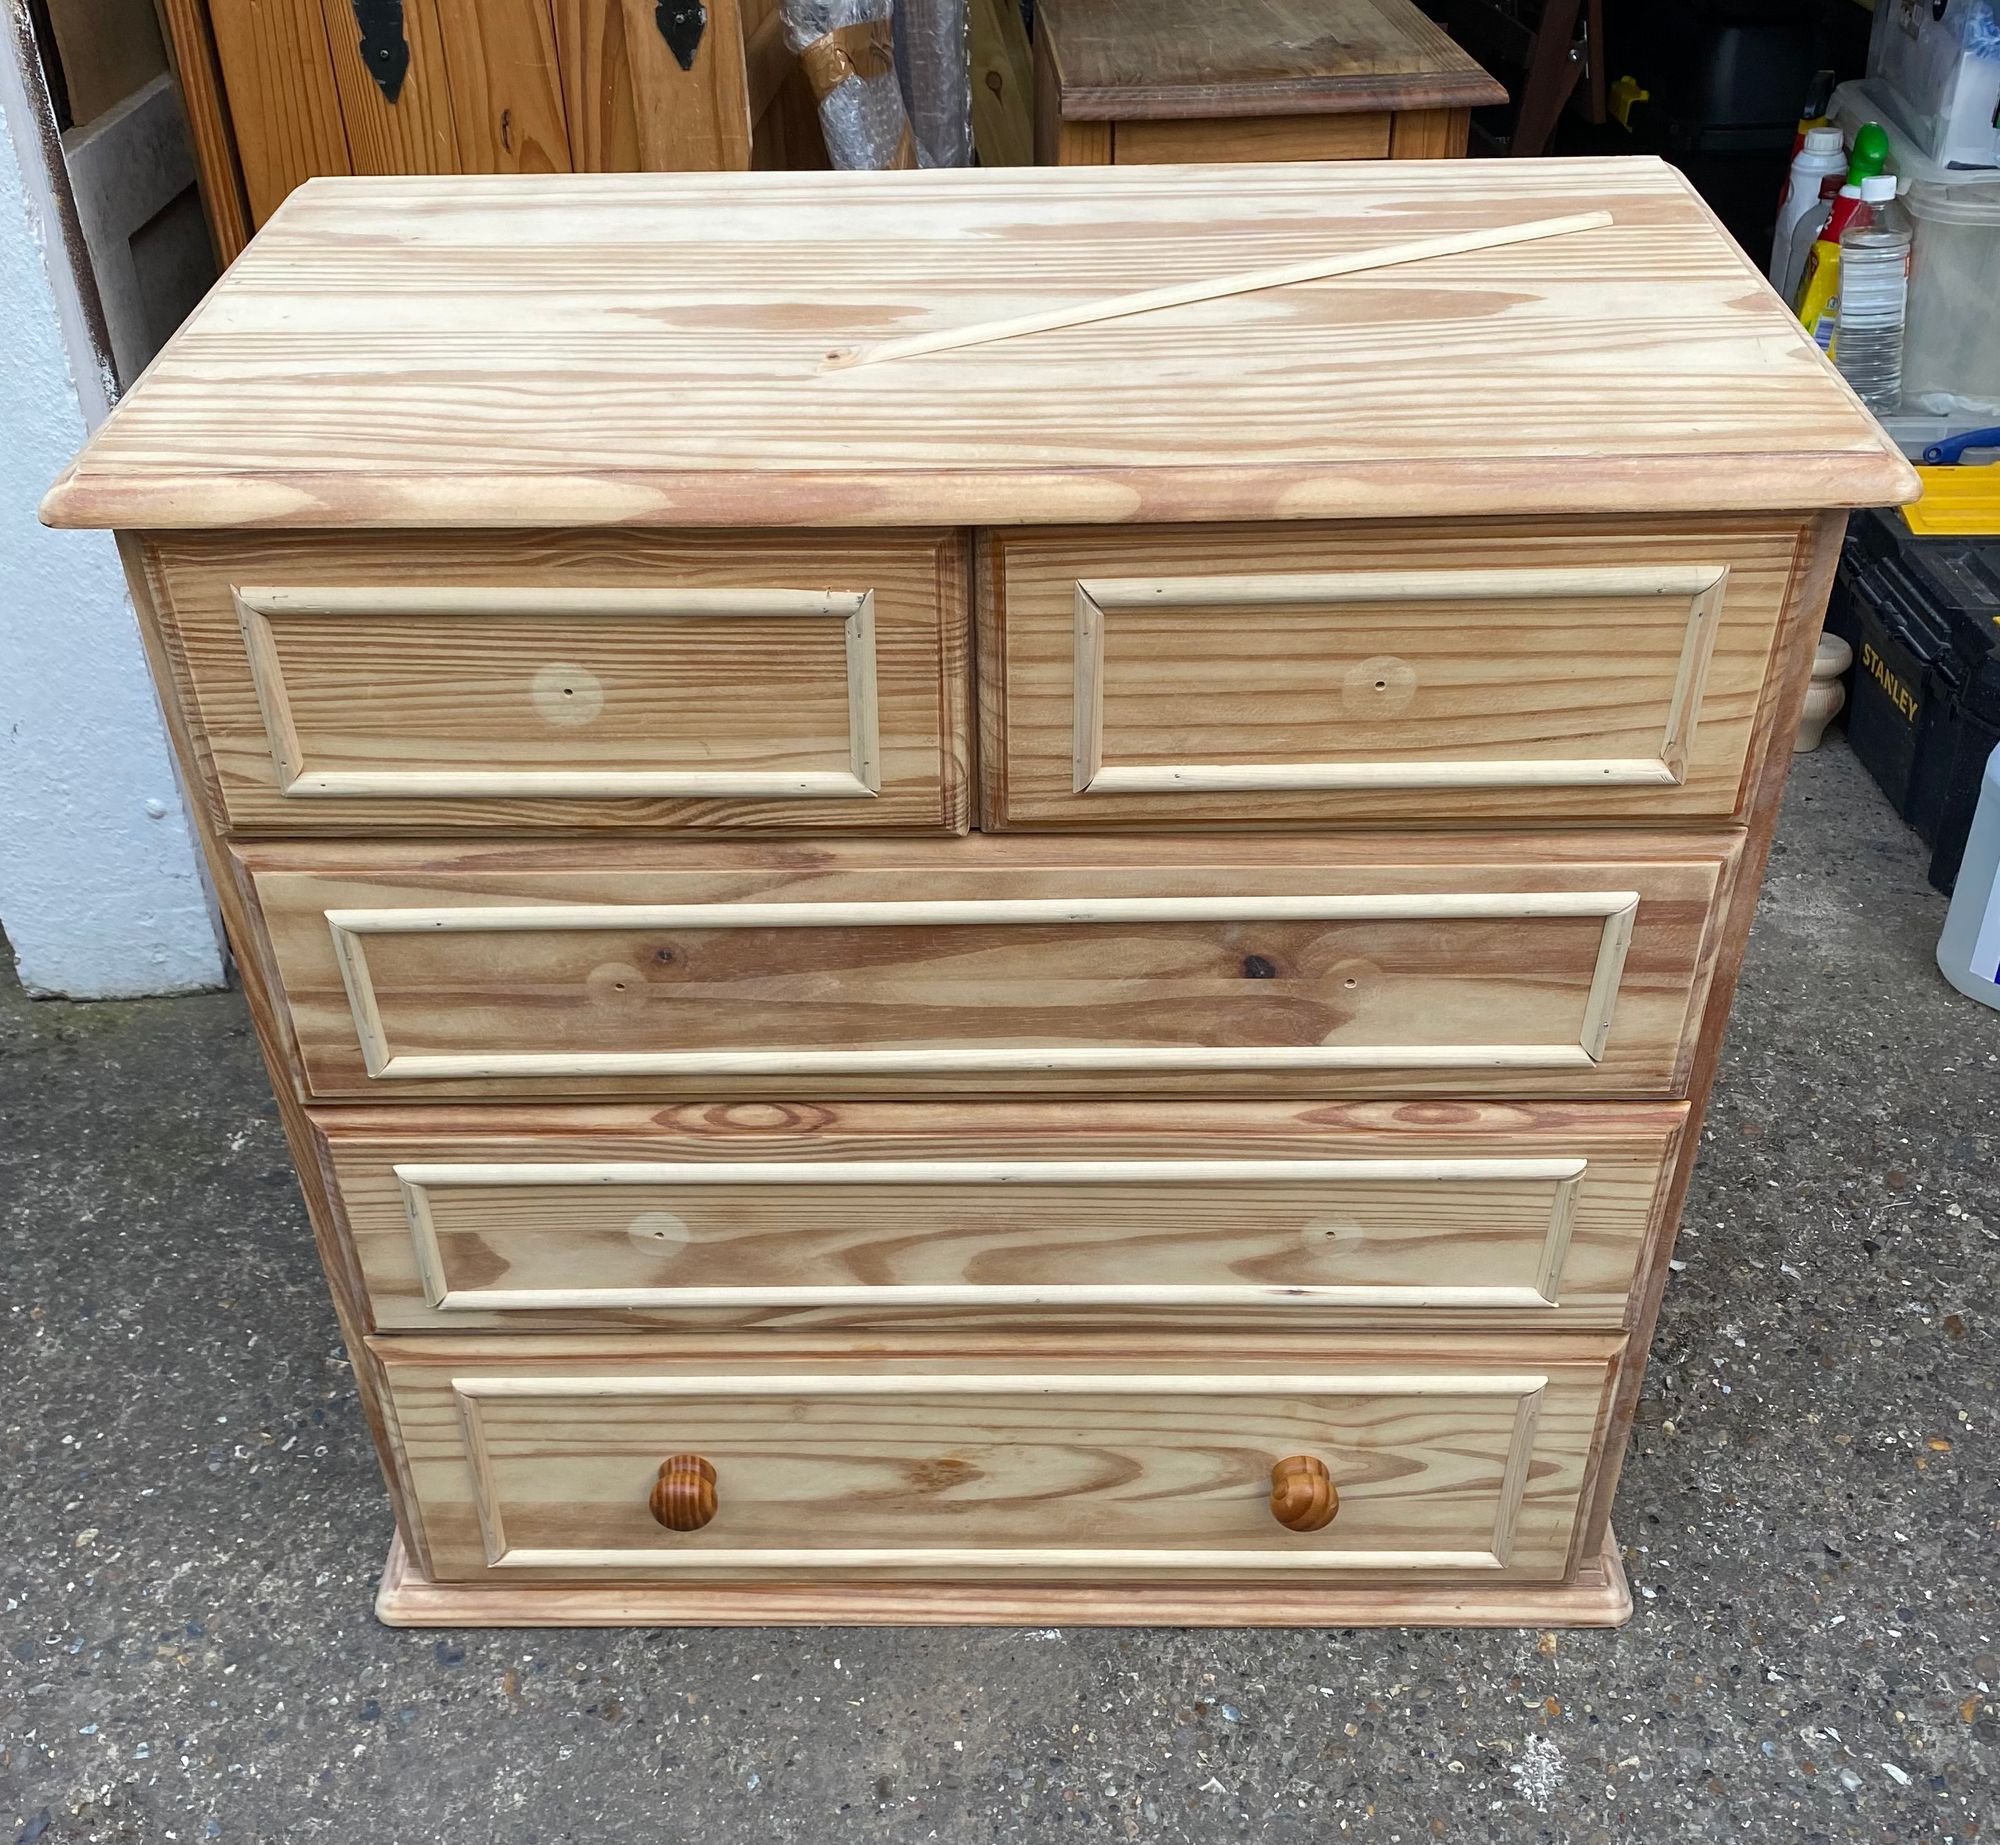
Once the wood filler has dried I will sand the entire wood surface with a 80 grit then 120 grit sandpaper. I start with 80 grit sandpaper because it quickly removes any old varnish, grease and dirt. It also sands away pre-existing scratches. If I feel that the piece of furniture feels rough to touch I will then go in and sand with 120 grit sandpaper to smoothen out the pine wood.
You can use any sort of sander you prefer, but I often reach for either my challenge palm sander or my Lumberjack orbital sander depending on the size of the piece.
For any wood trimmings or details on your pine chest of drawers I recommend sanding these by hand to ensure that you don’t damage any detailing.
STEP 3 (Cleaning)
Once your happy with the sanded piece of wood furniture its time to clean! I use a degreaser and disinfectant soap with warm water and soft sponge to remove any excess dirt and dust to create a clean, dust free surface for my paint.
STEP 4 (Priming and Painting)
Primer or straight to painting? As previously mentioned in my previous blog for Redwood or Mexican pine furniture I think priming is optional. With these two types of pine wood I find they absorb paint really well without chipping and I don’t feel that you need to prime. With these types of pine wood I will always recommend sealing over priming!
If you did decide that you wanted to prime for comfort and peace of mind, I would recommend ‘Rustin’s MDF primer for wood, metal and MDF’ as it is a versatile primer with good coverage and drying time and does not scratch away! Plus if you did have a metal project or mdf project this primer could serve all your other projects without the need of having to buy multiple products! Job made easy right?
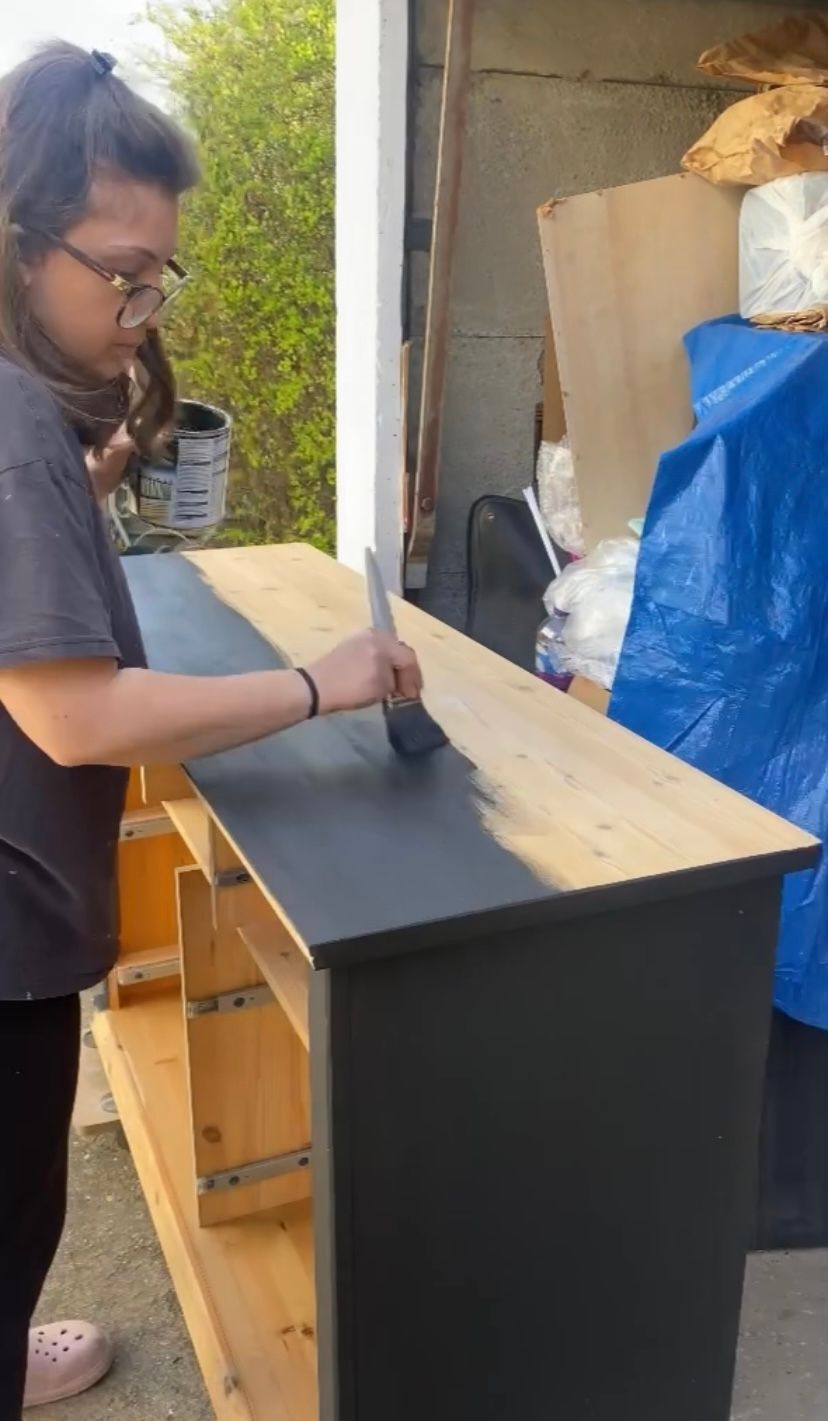
Okay lets talk paint! The paint you use doesn’t matter too much. As previously mentioned it does not need to be strictly furniture paint. If your favourite colour is only available in the Farrow and Ball line or a Dulux line, it is fine to use. I’ve done it plenty of times!
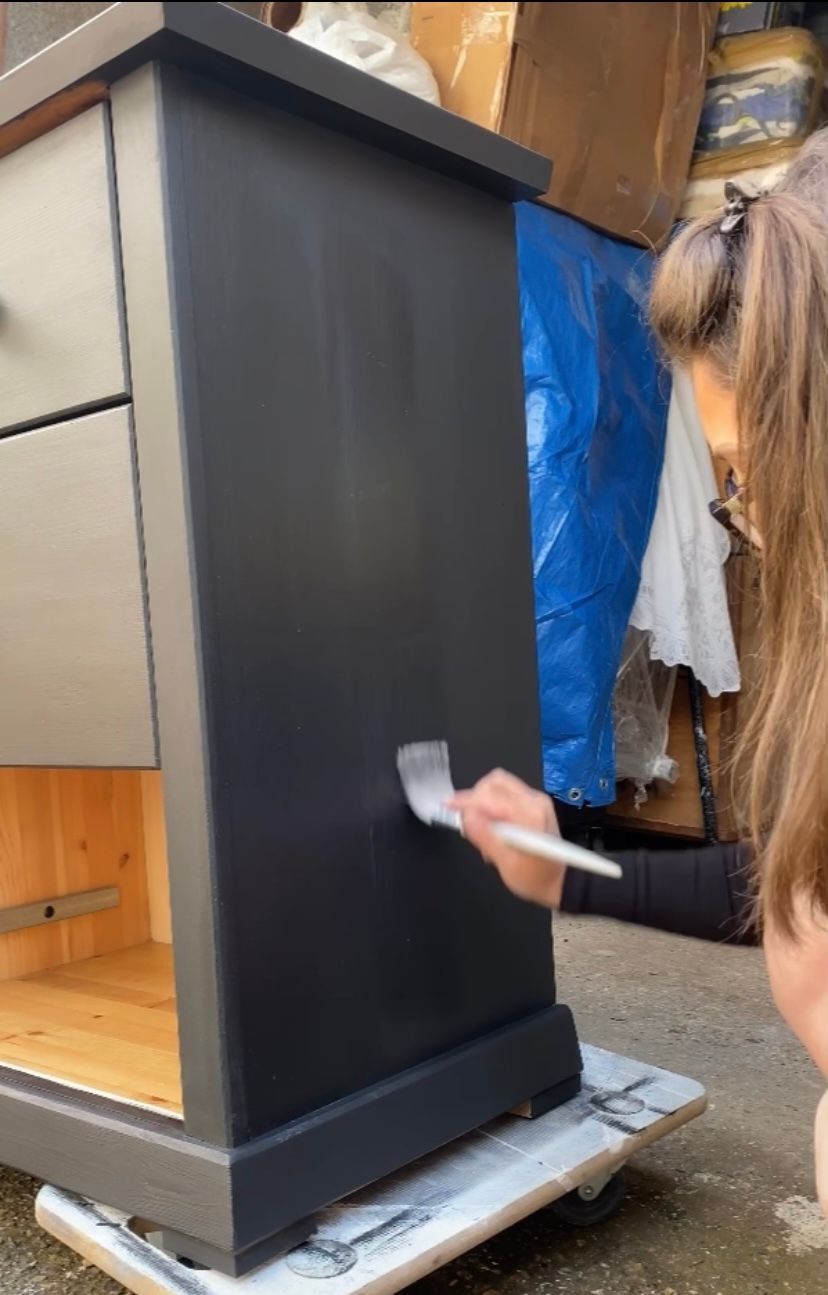
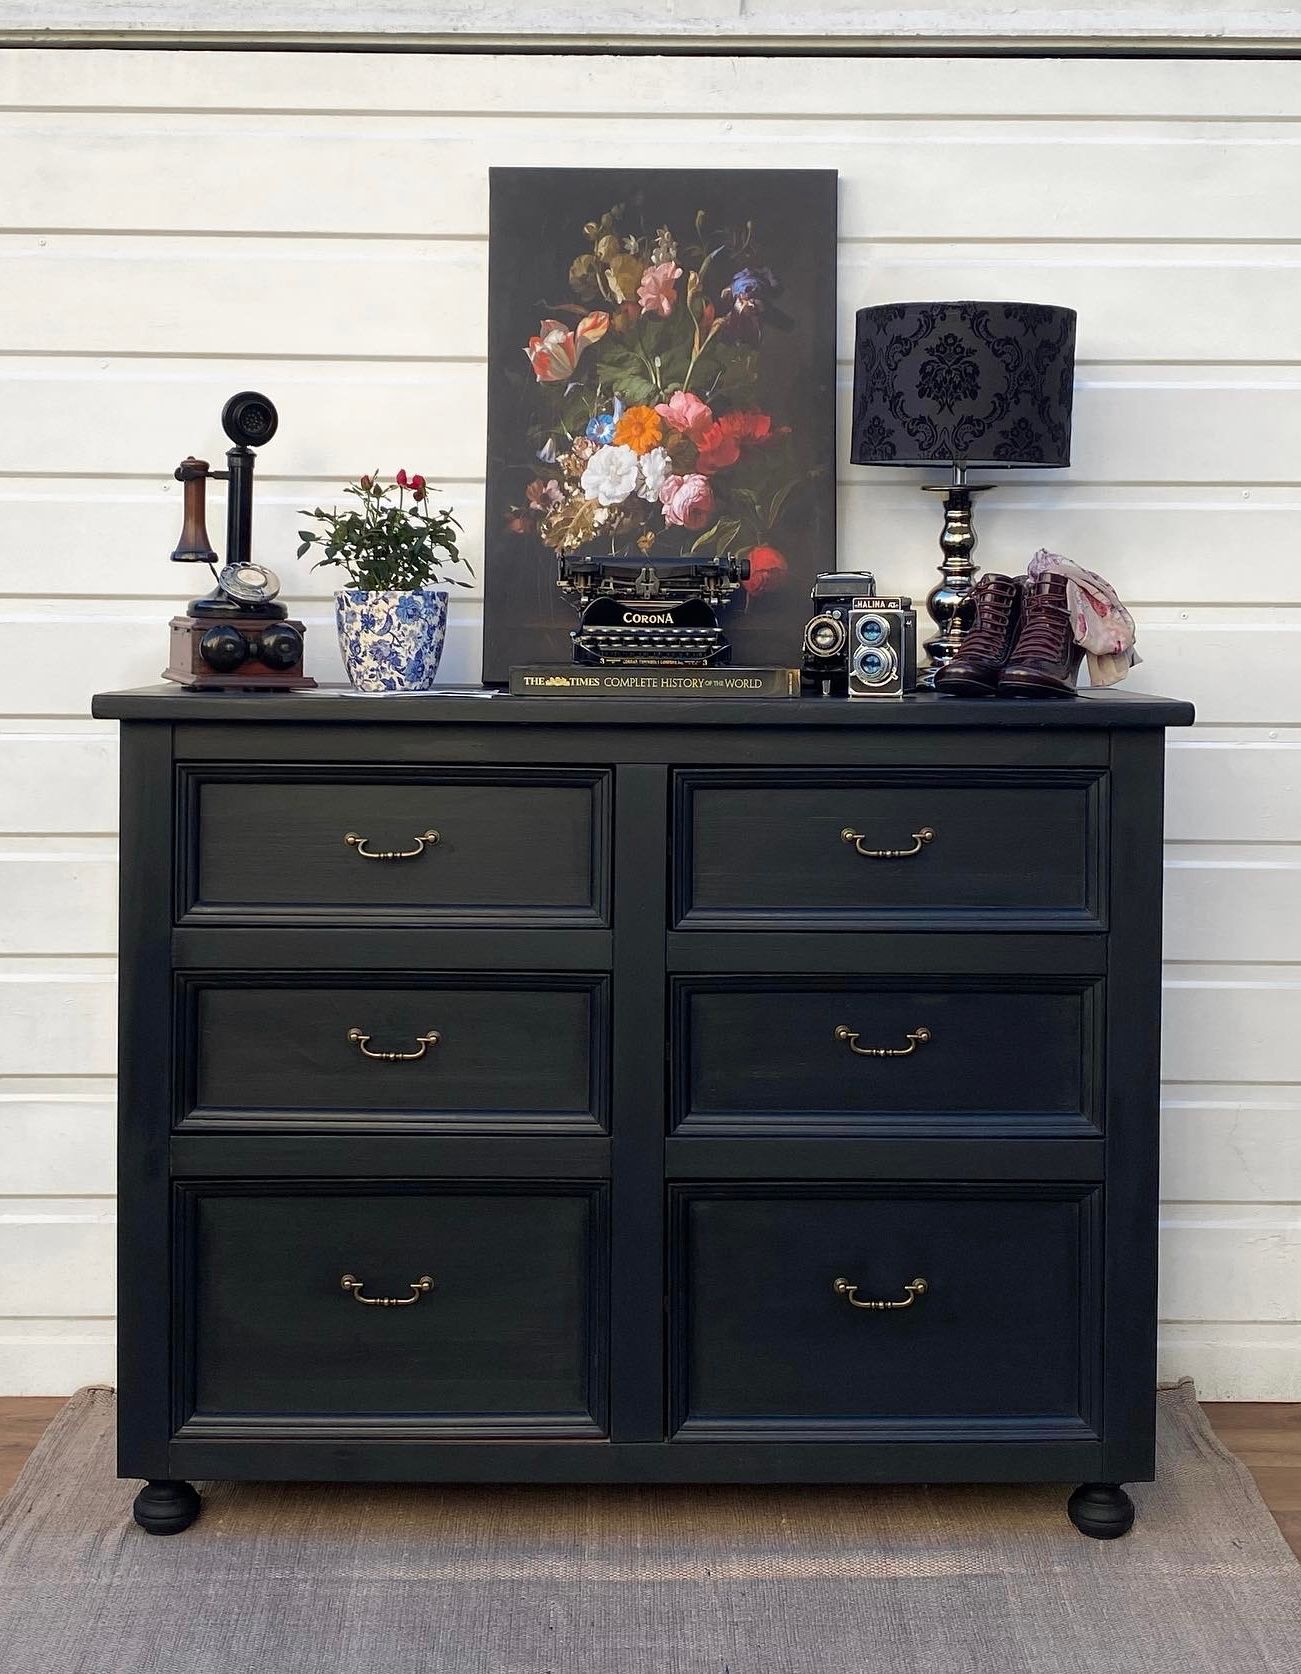
For this particular piece here I used ‘Rustins Matt Black Paint for Wood and Metal’ Its one of my favourite matt black paints to use that does not show any brush marks and dries evenly and seamlessly. I apply 3 thin coats of black paint and anywhere I feel needs another thin coat I will go ahead and apply in that area.
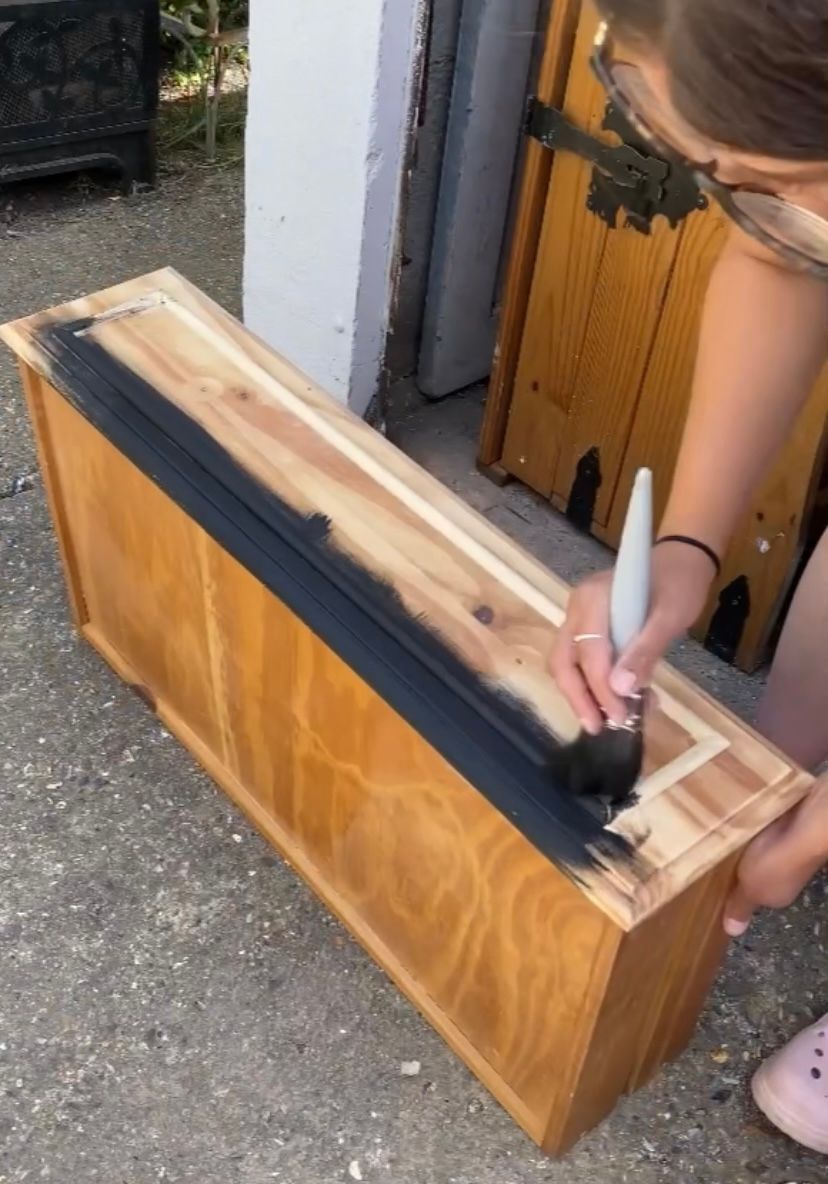
For warmer months or for thicker paint I keep a spritz water bottle on hand and spritz my brush with water a couple of times before dipping in the paint to help with spreading the paint more consistently and evenly without those brush marks or thick paint patches.
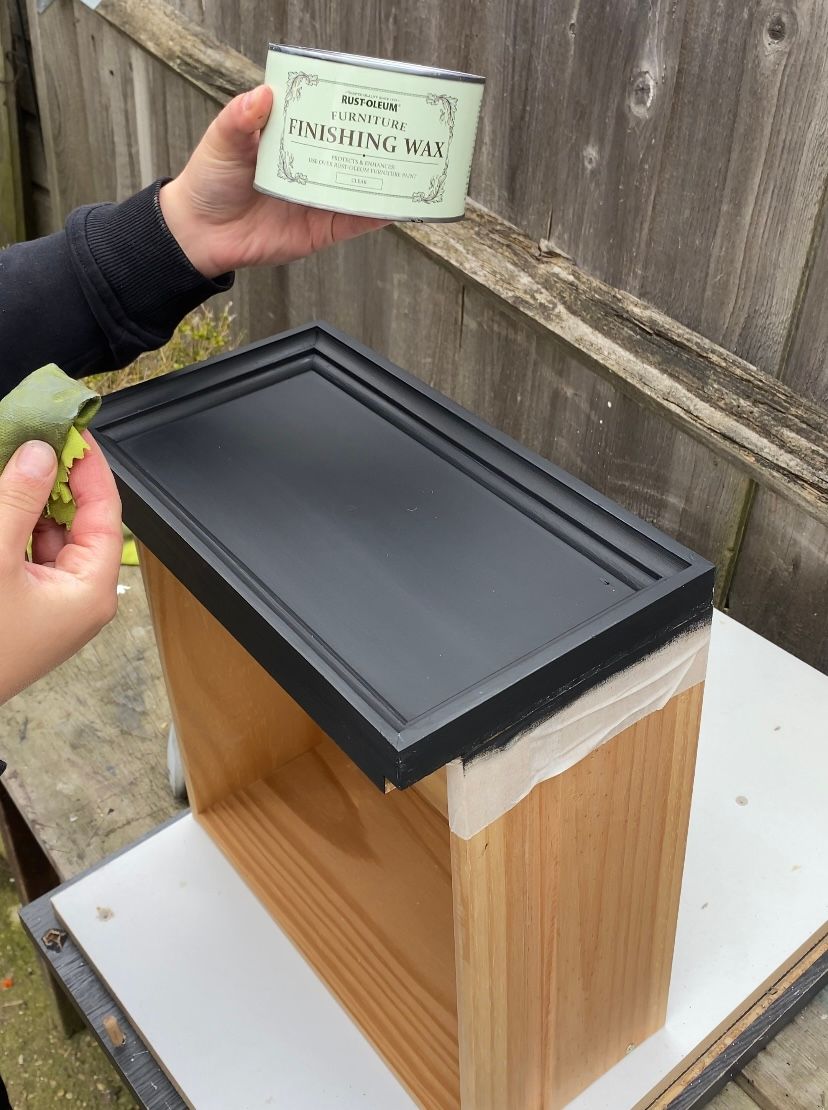
STEP 5 (Protecting Your Paint)
Once I am happy with the coverage and finish it is time to either Wax or use polyurethane varnish. You can use either finishing product with pine wood furniture but it’s the topcoat finish you prefer. With furniture finishing wax I find it easier and quicker to apply. It also dries a lot faster enabling me to do 3 coats in a shorter space of time. Furniture wax provides a light sheen to your painted surface and looks more invisible than polyurethane varnish. If you noticed you missed a section you can go in with the wax and touch it up. When applying wax you can use either a paint brush, waxing brush or a soft brush or a lint free microfibre cloth.
Polyurethane varnish however provides a thicker barrier finish between the surface and paint. It does take longer to dry and once applied don’t touch the surface. If there are any parts you missed or not happy with its better to let the poly varnish already on there to dry otherwise by tampering with poly while drying could cause an uneven top finish. You can always rectify any parts you missed in your second coat of poly varnish. When applying poly varnish you can use either a paint brush, soft brush or a paint sprayer.
STEP 6
Additional things you can also do to tinker with your pine wood furniture piece.
With these two pine wood chest of drawers I decided to add furniture legs and new handles to give these pieces a completely brand new look! Both of these additional touches are a great way of really personalising a piece and are manageable to do! I will write two extra blogs for you all explaining step by step on how to do these extras :)

I hope you found this blog useful and I have linked all the products mentioned above for you in the link below. Happy Flipping :)