What you need:
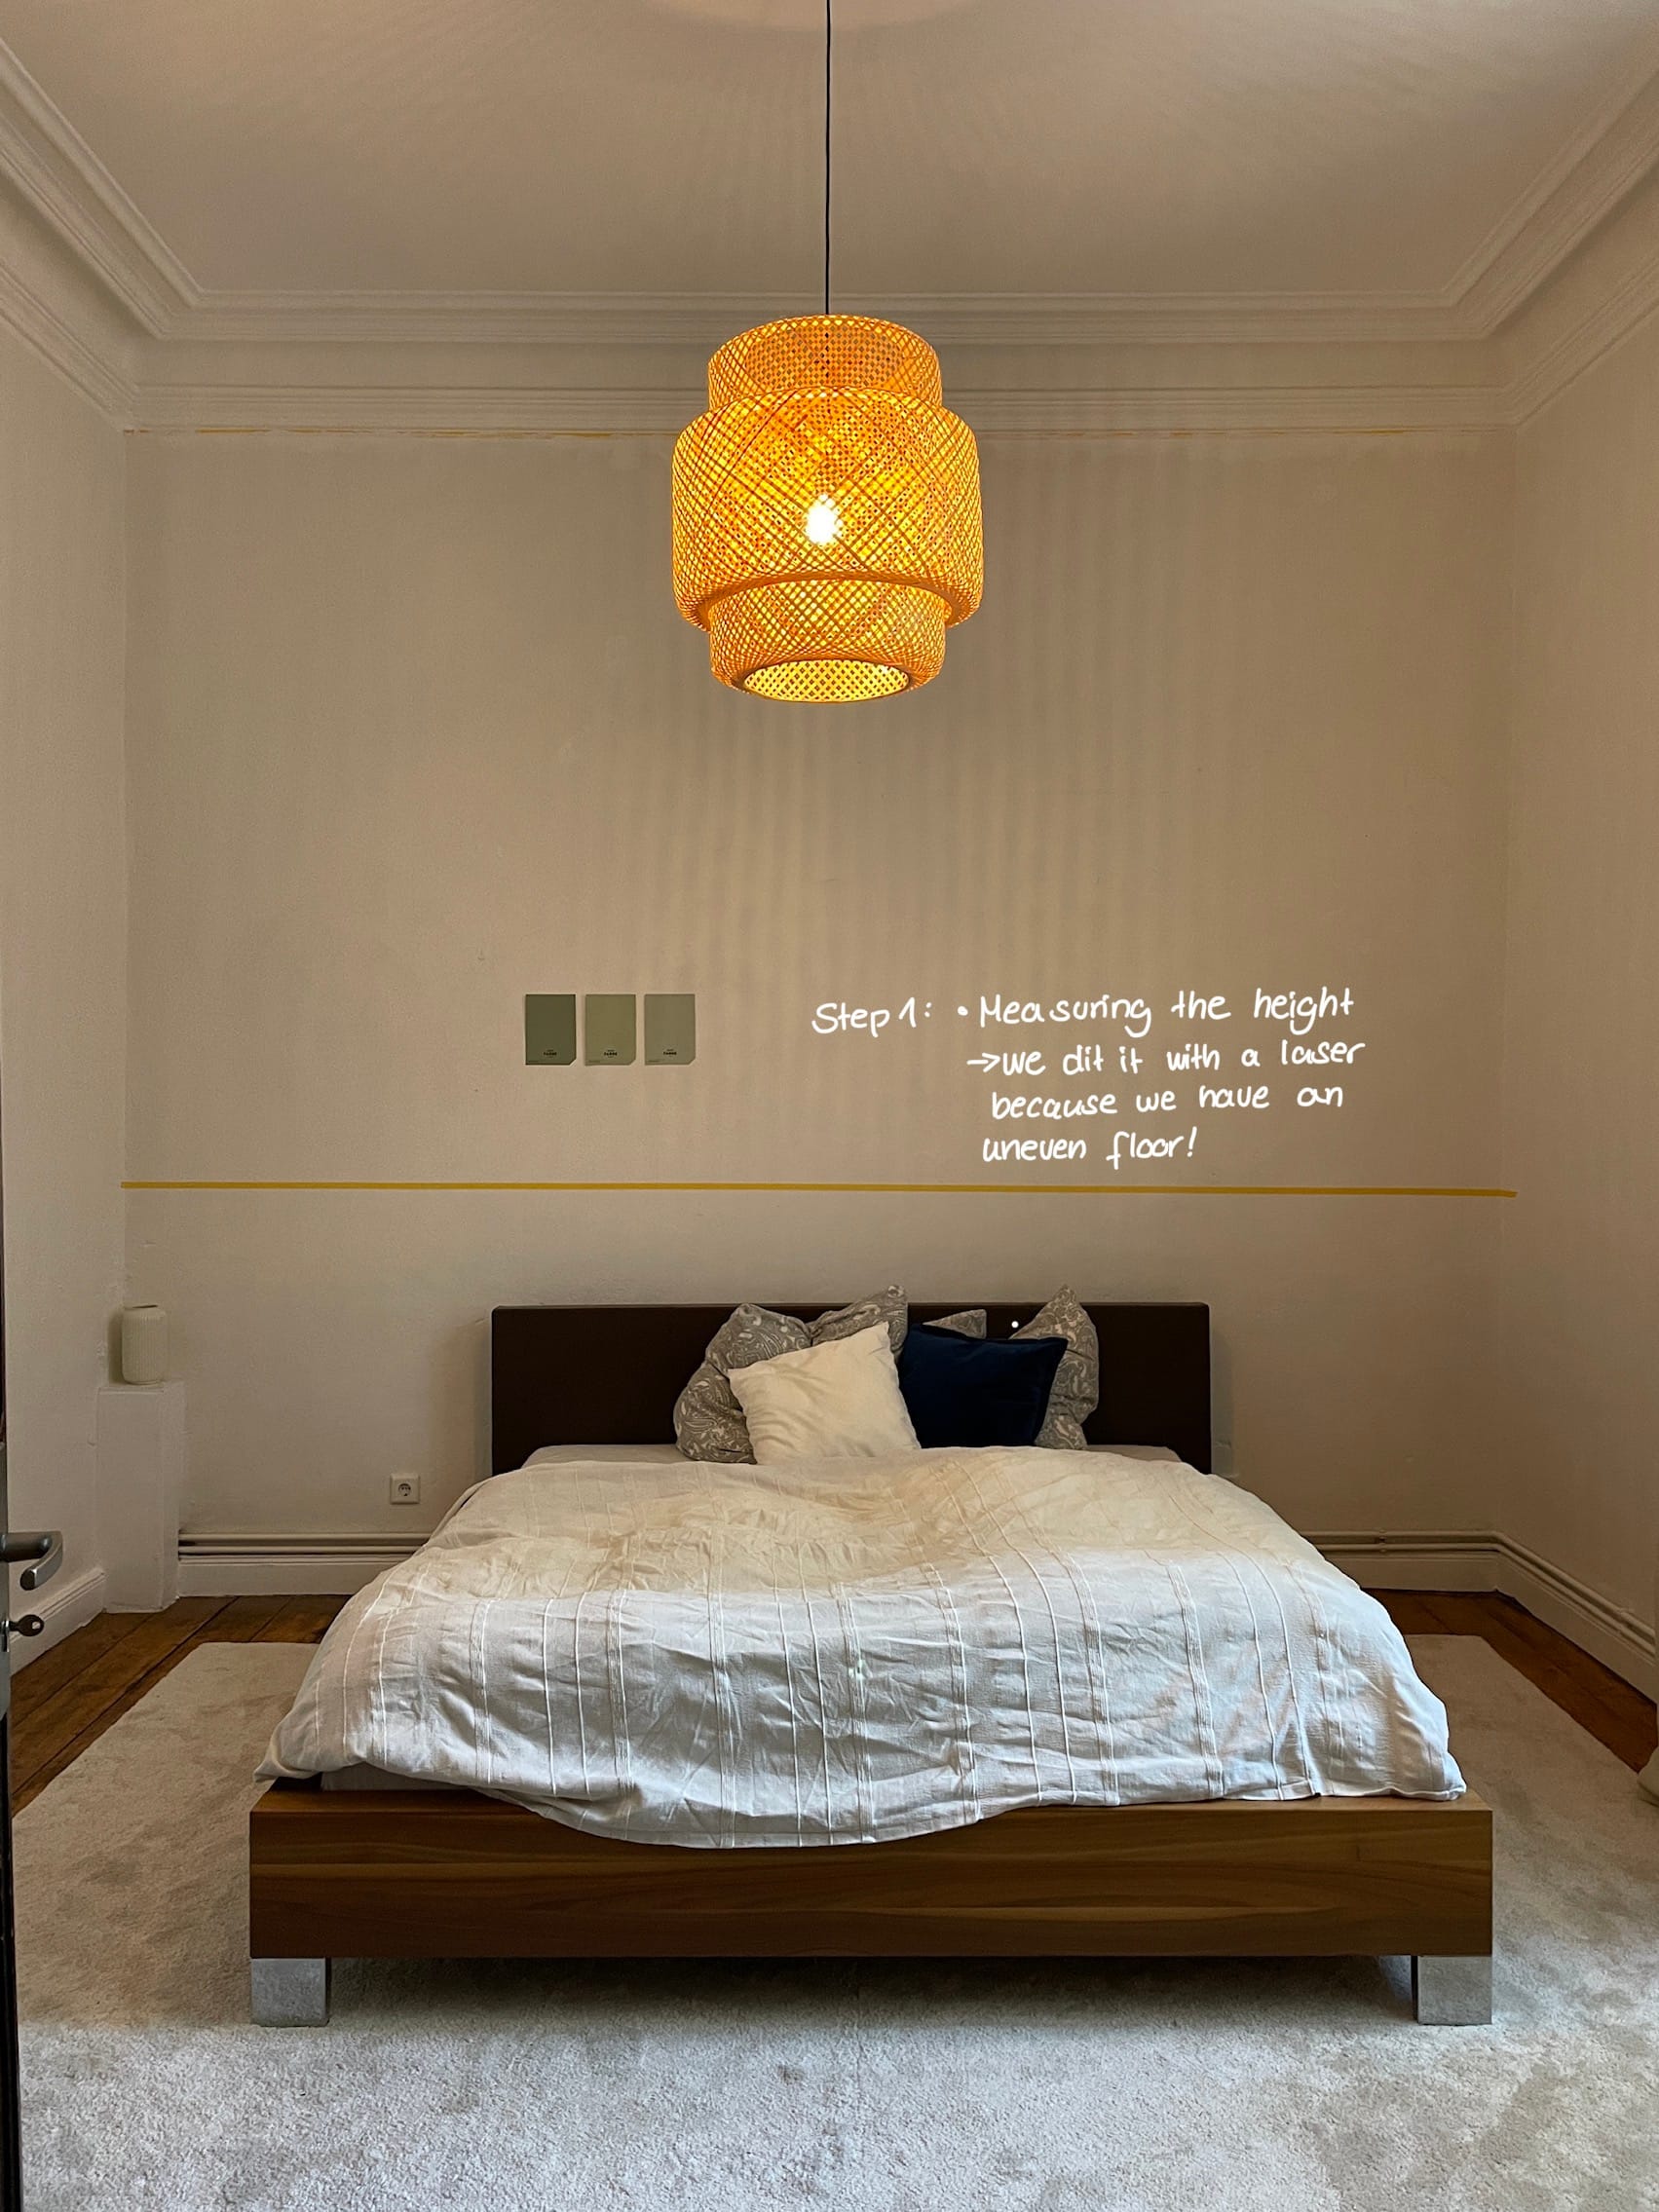
Measure your wall! What you need depends on the measurements. My wall is 4 m wide and 3.7 m height.
I bought:
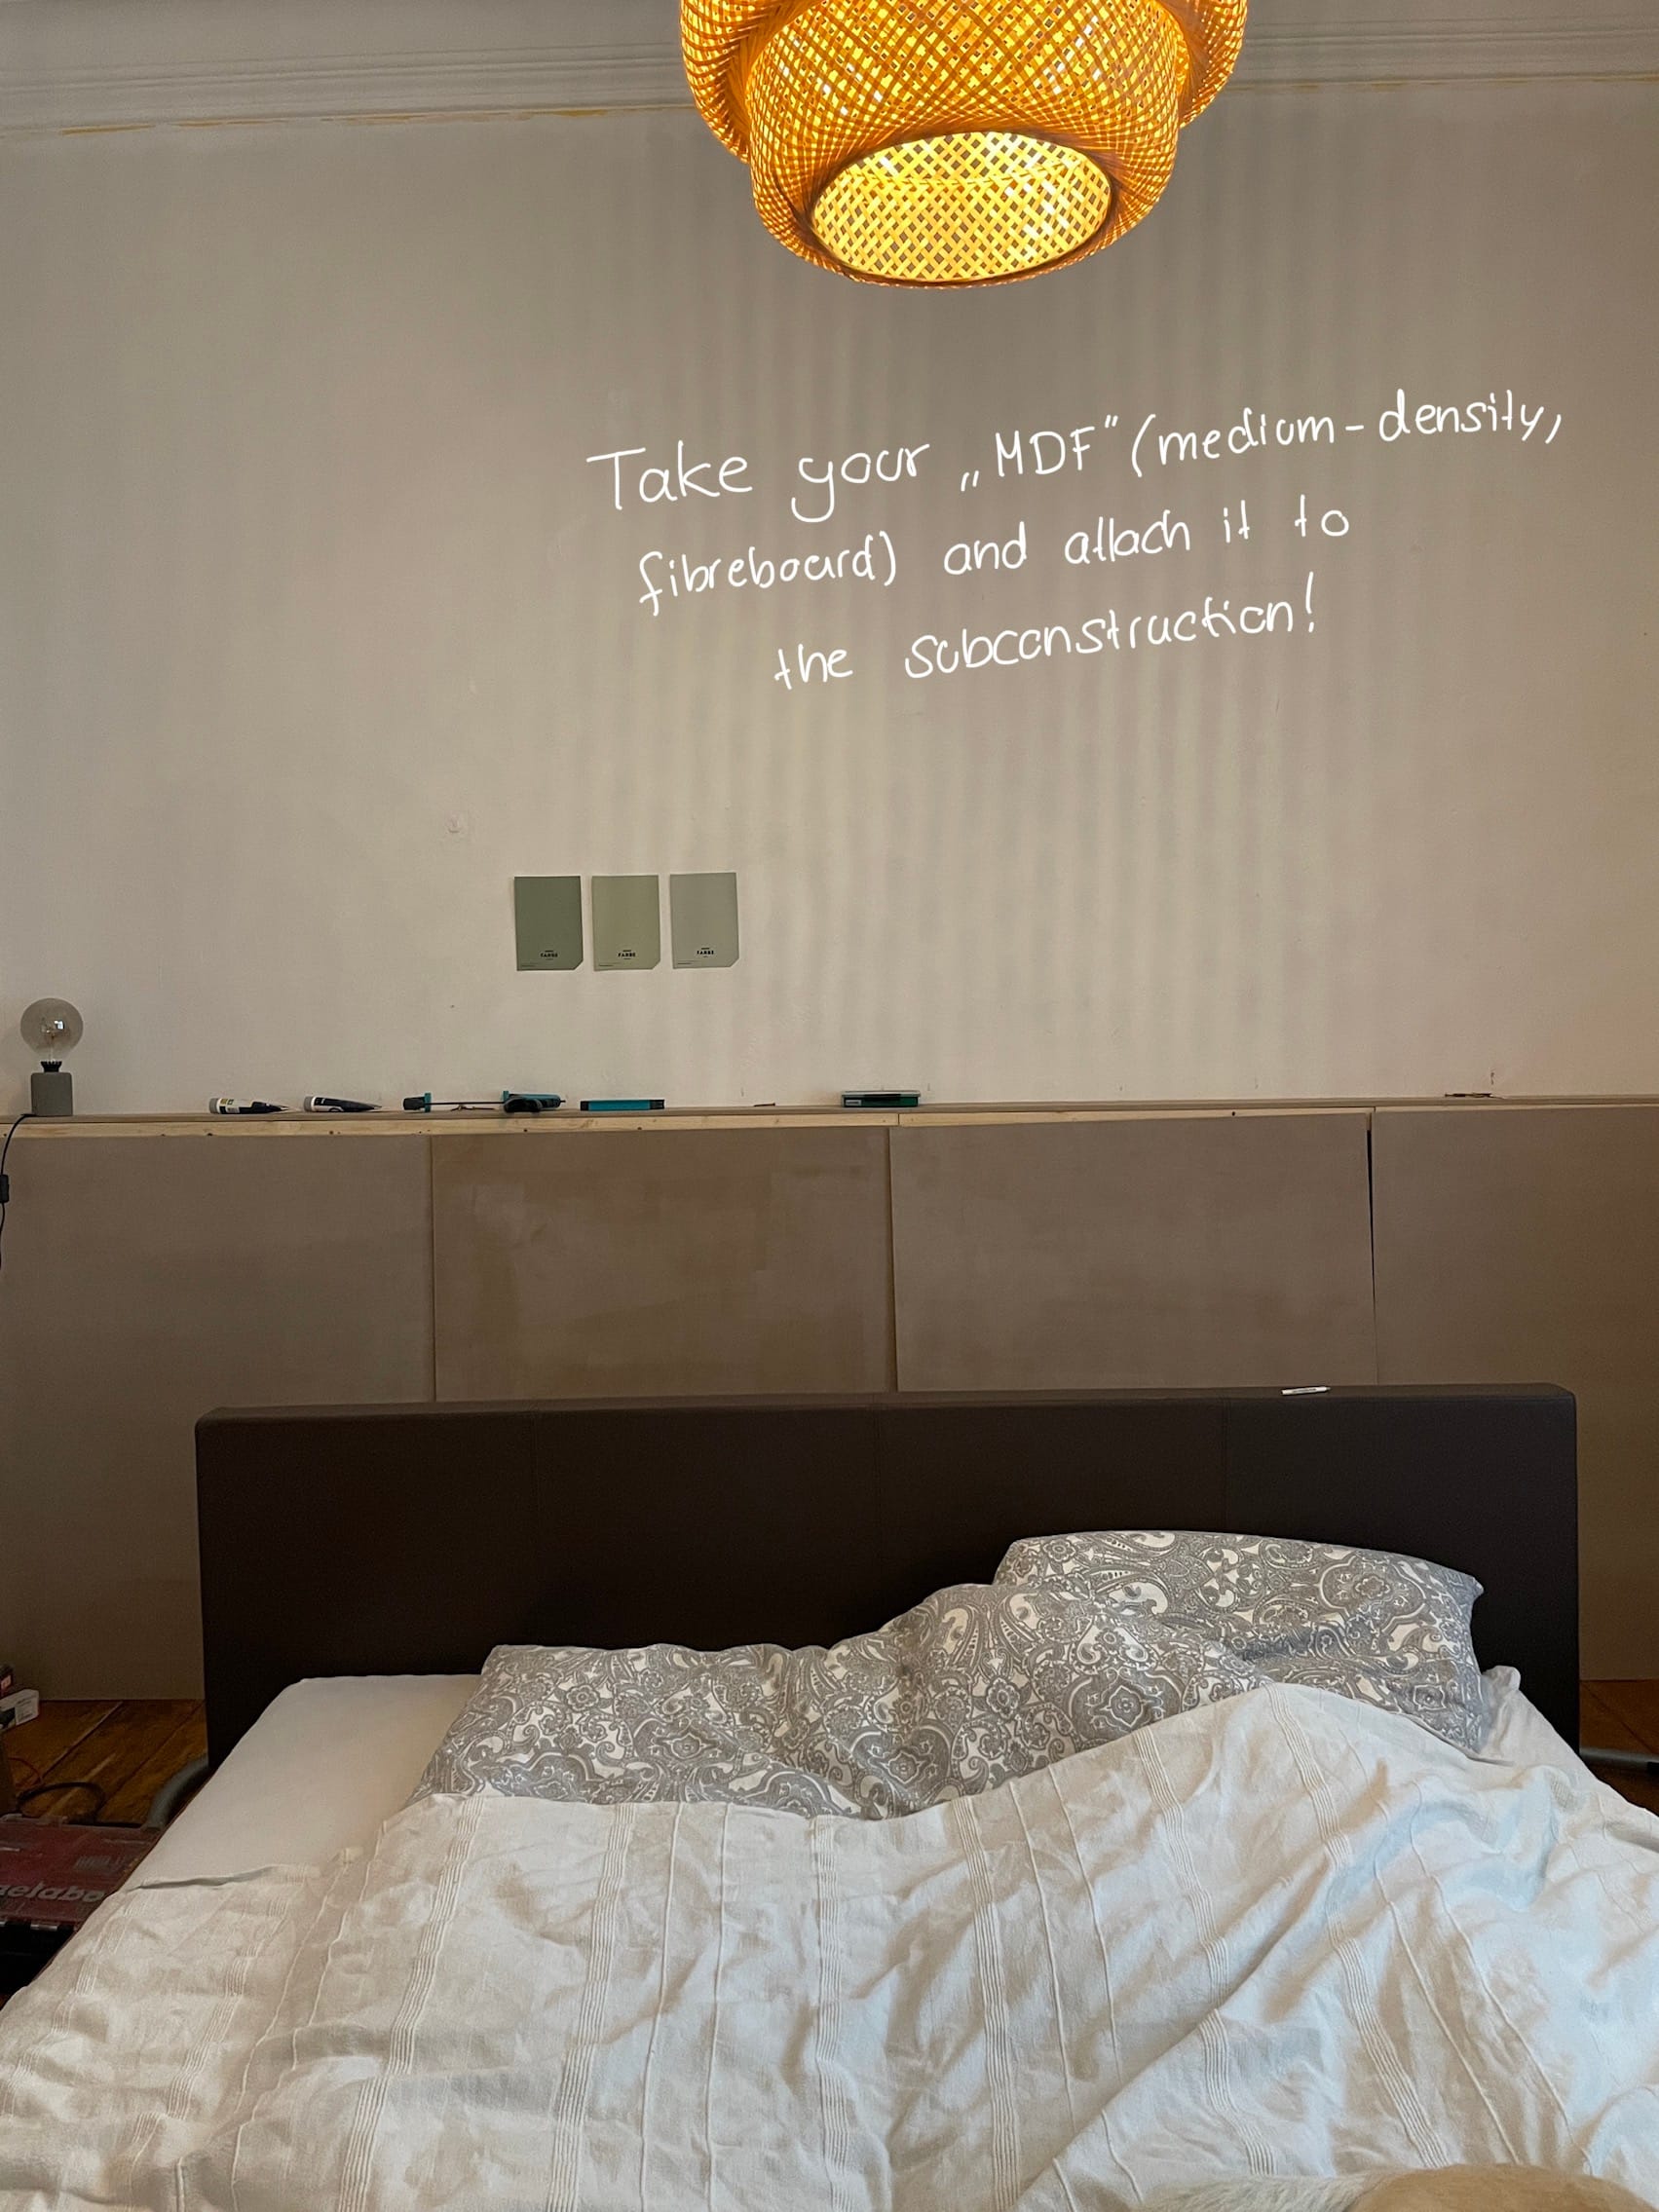
- 4 Panels (MDF) 110 cm x 0,12 cm x 100 cm
- 2 smaller Panels for the “top” also MDF 200 cm x 16 cm
- 9 roof battens á 300 cm x 4 cm x 2 cm
- screws and plugs
- filler paste
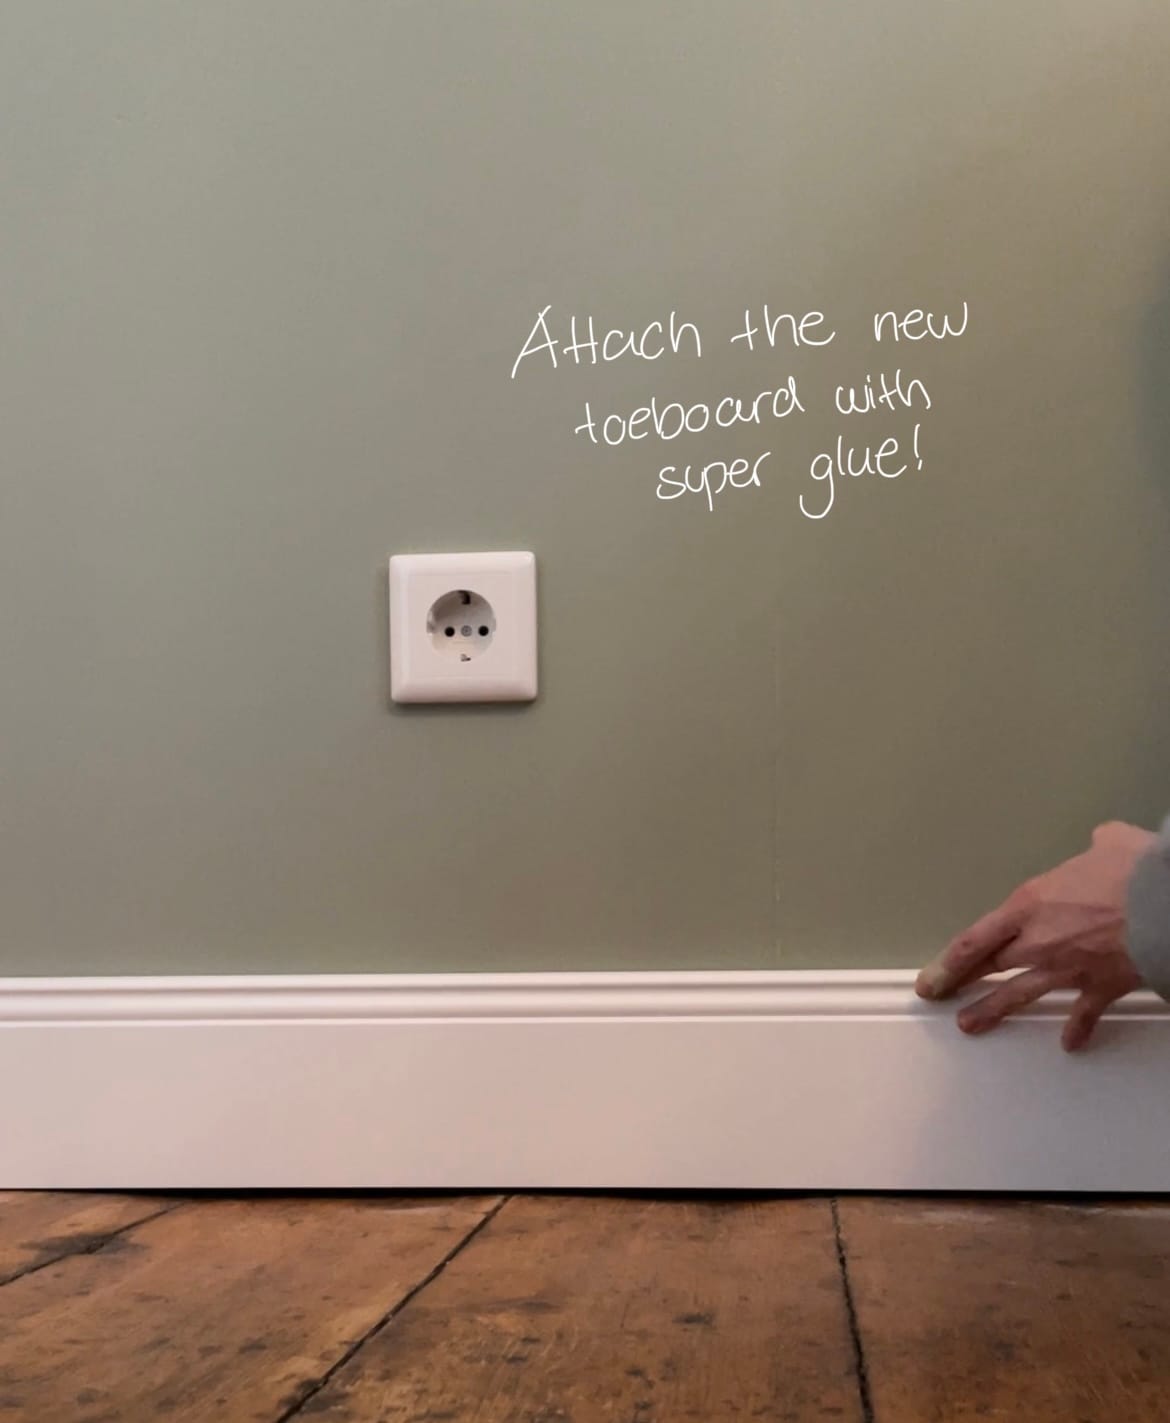
- new toeboards - or if possible, loose the old ones and use again :)
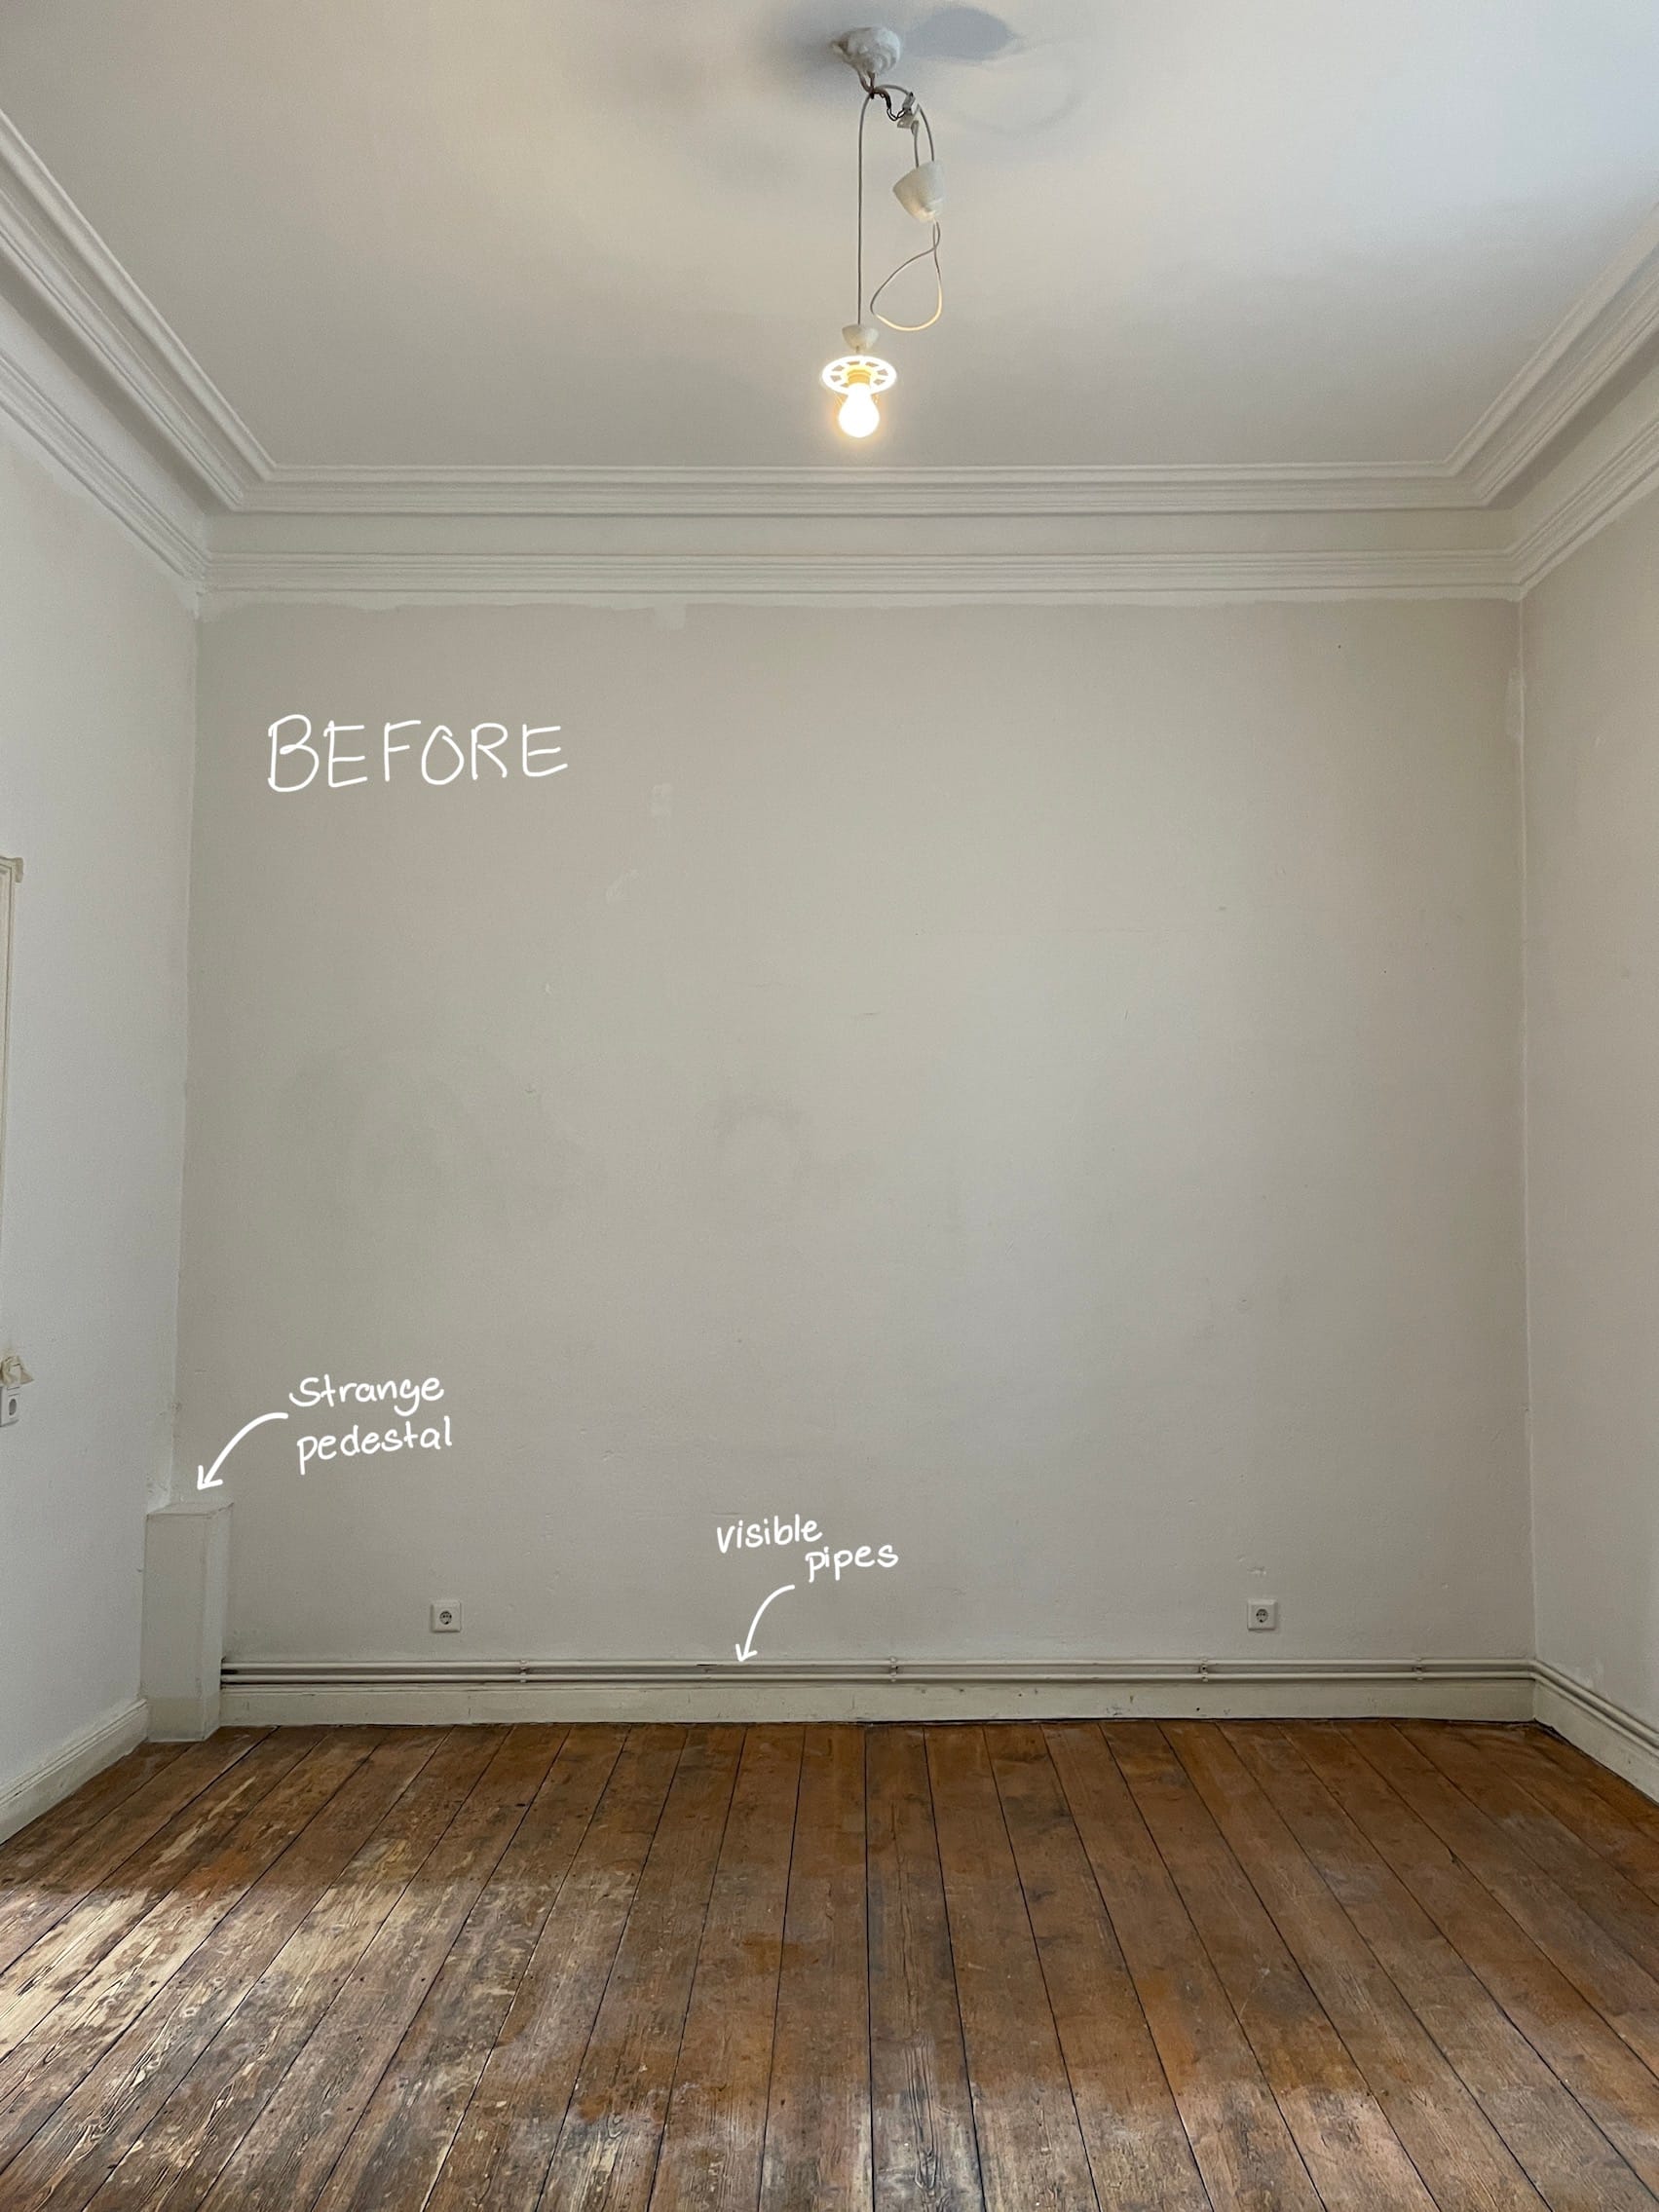
BEFORE
STEP 2: The subconstruction consists of two parts which should be prepared before attaching it onto the wall. You have to build the two parts at first!
The size of the small battens (Part 1 in the picture) is depending on the size of your projection. Mine is 16 cm deep in total (all three attached pattens together). But you can choose your preferred size and saw the pieces accordingly.
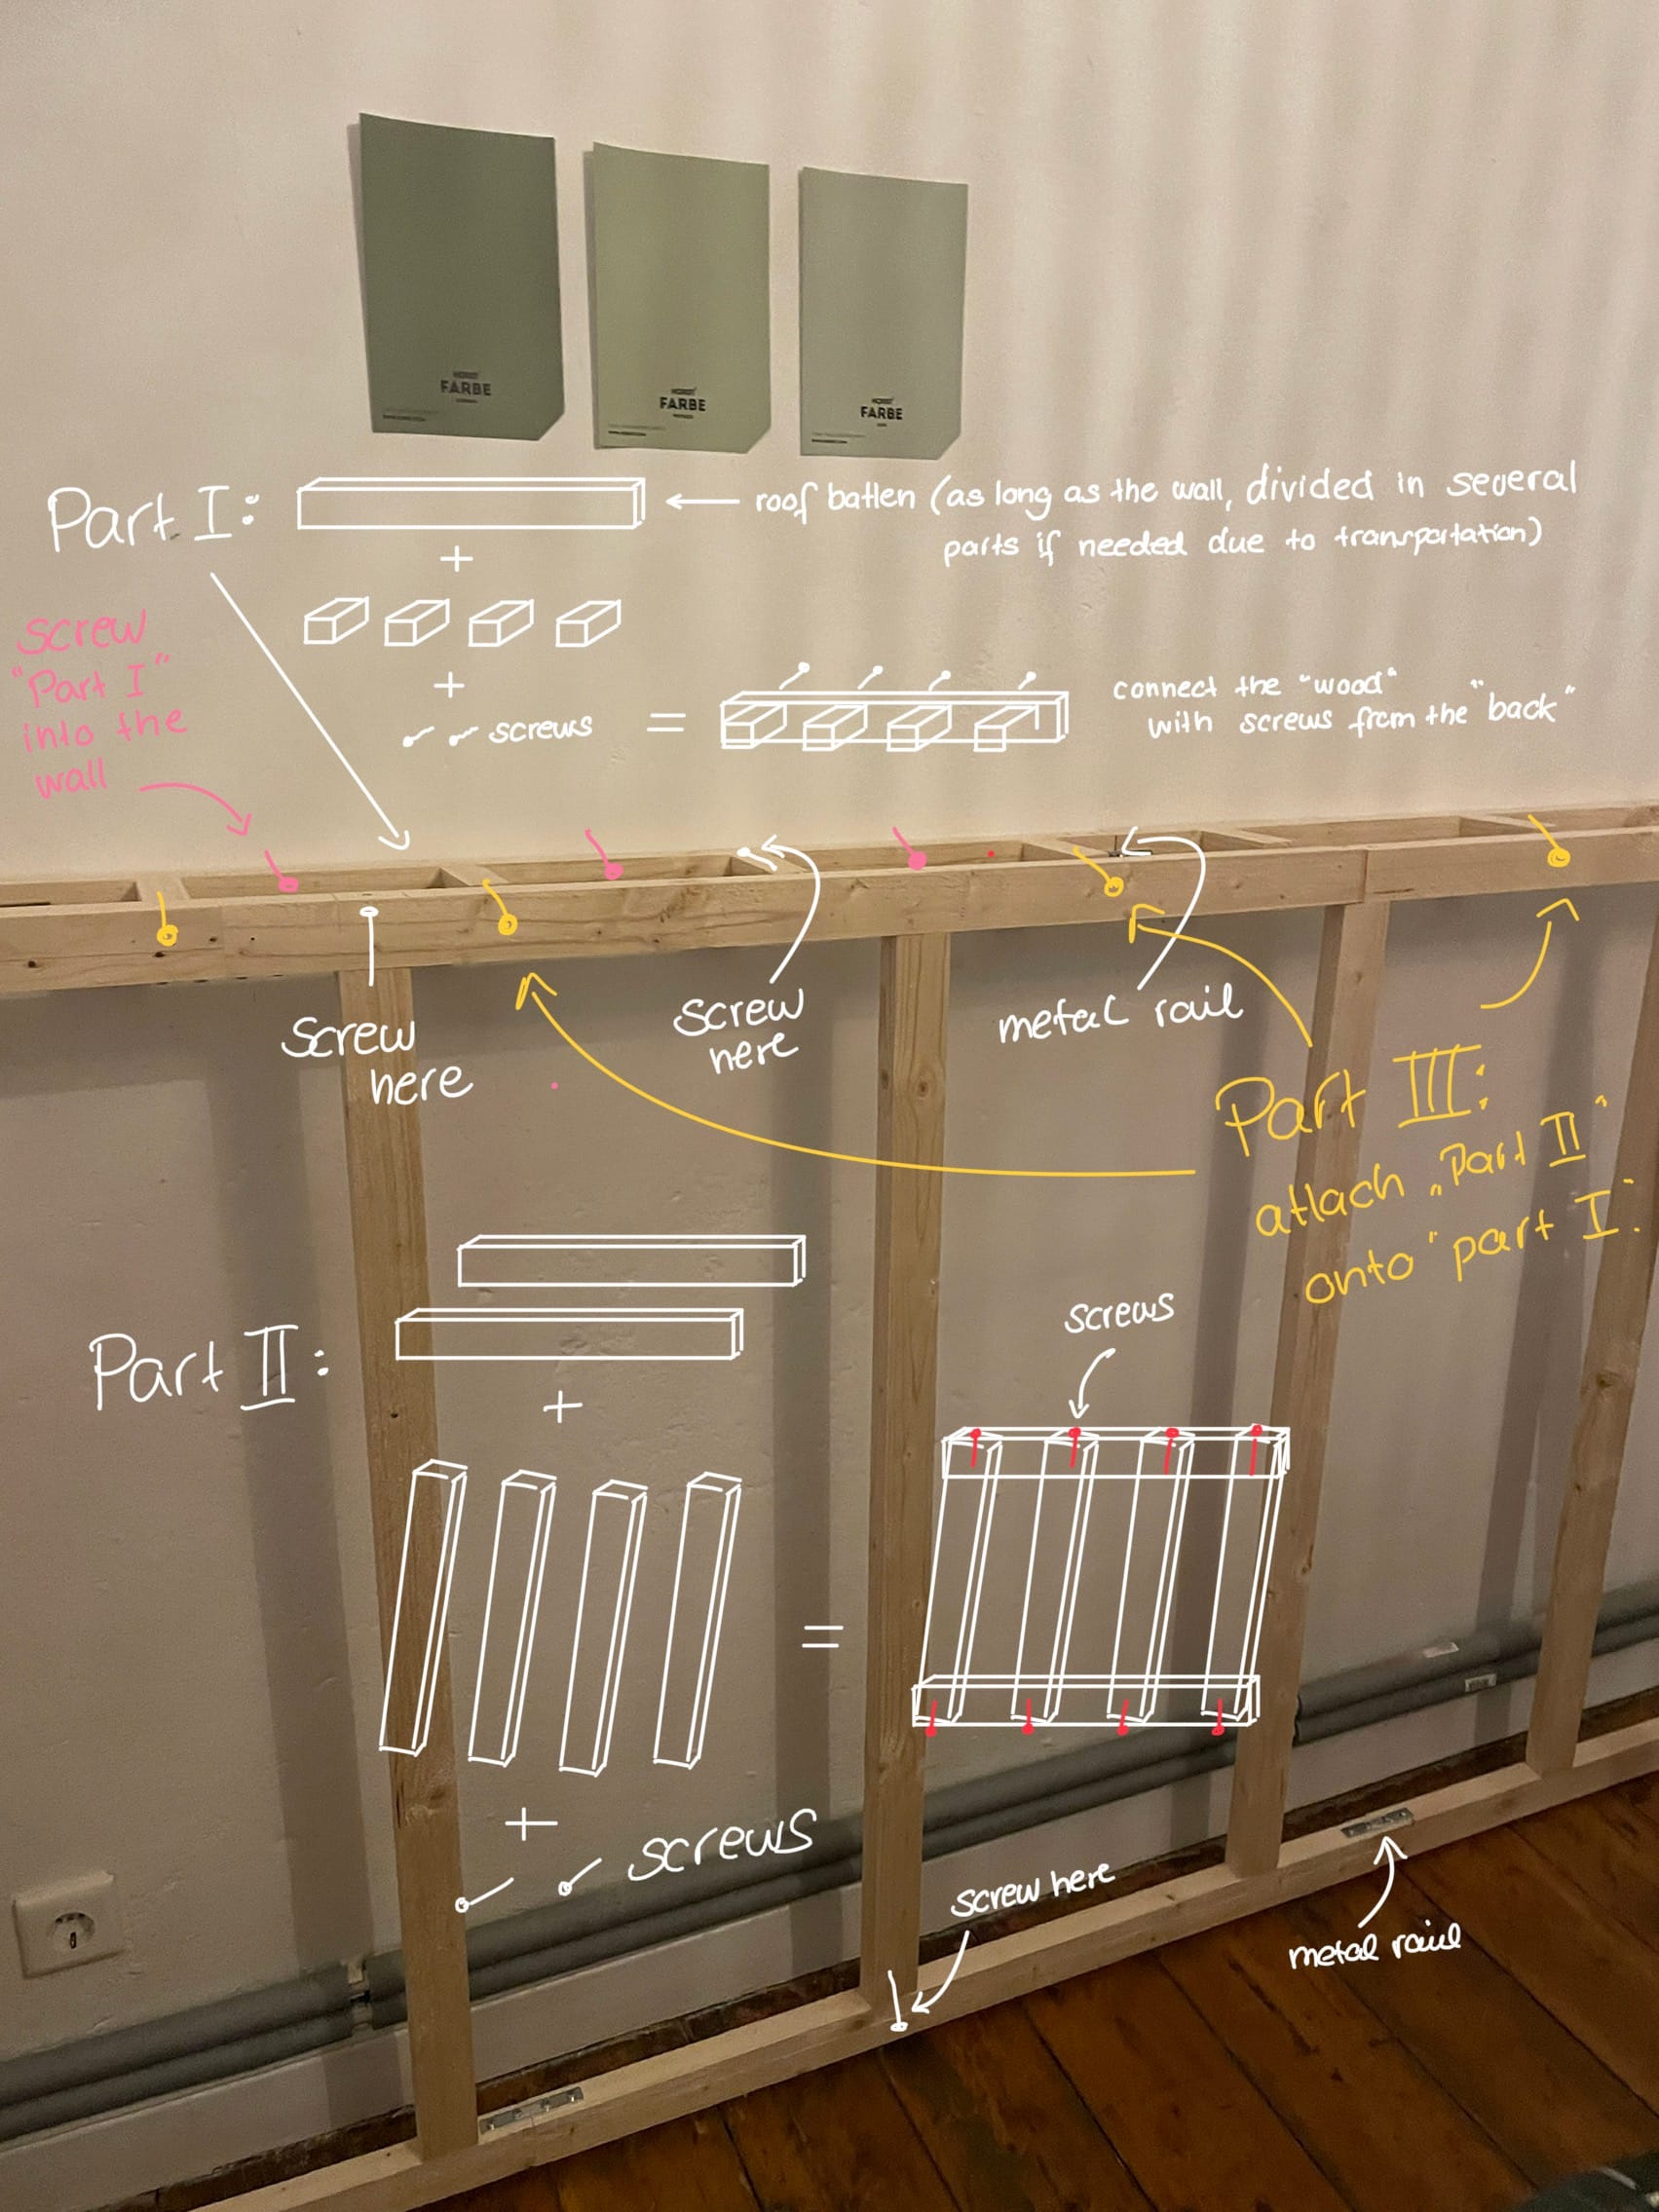
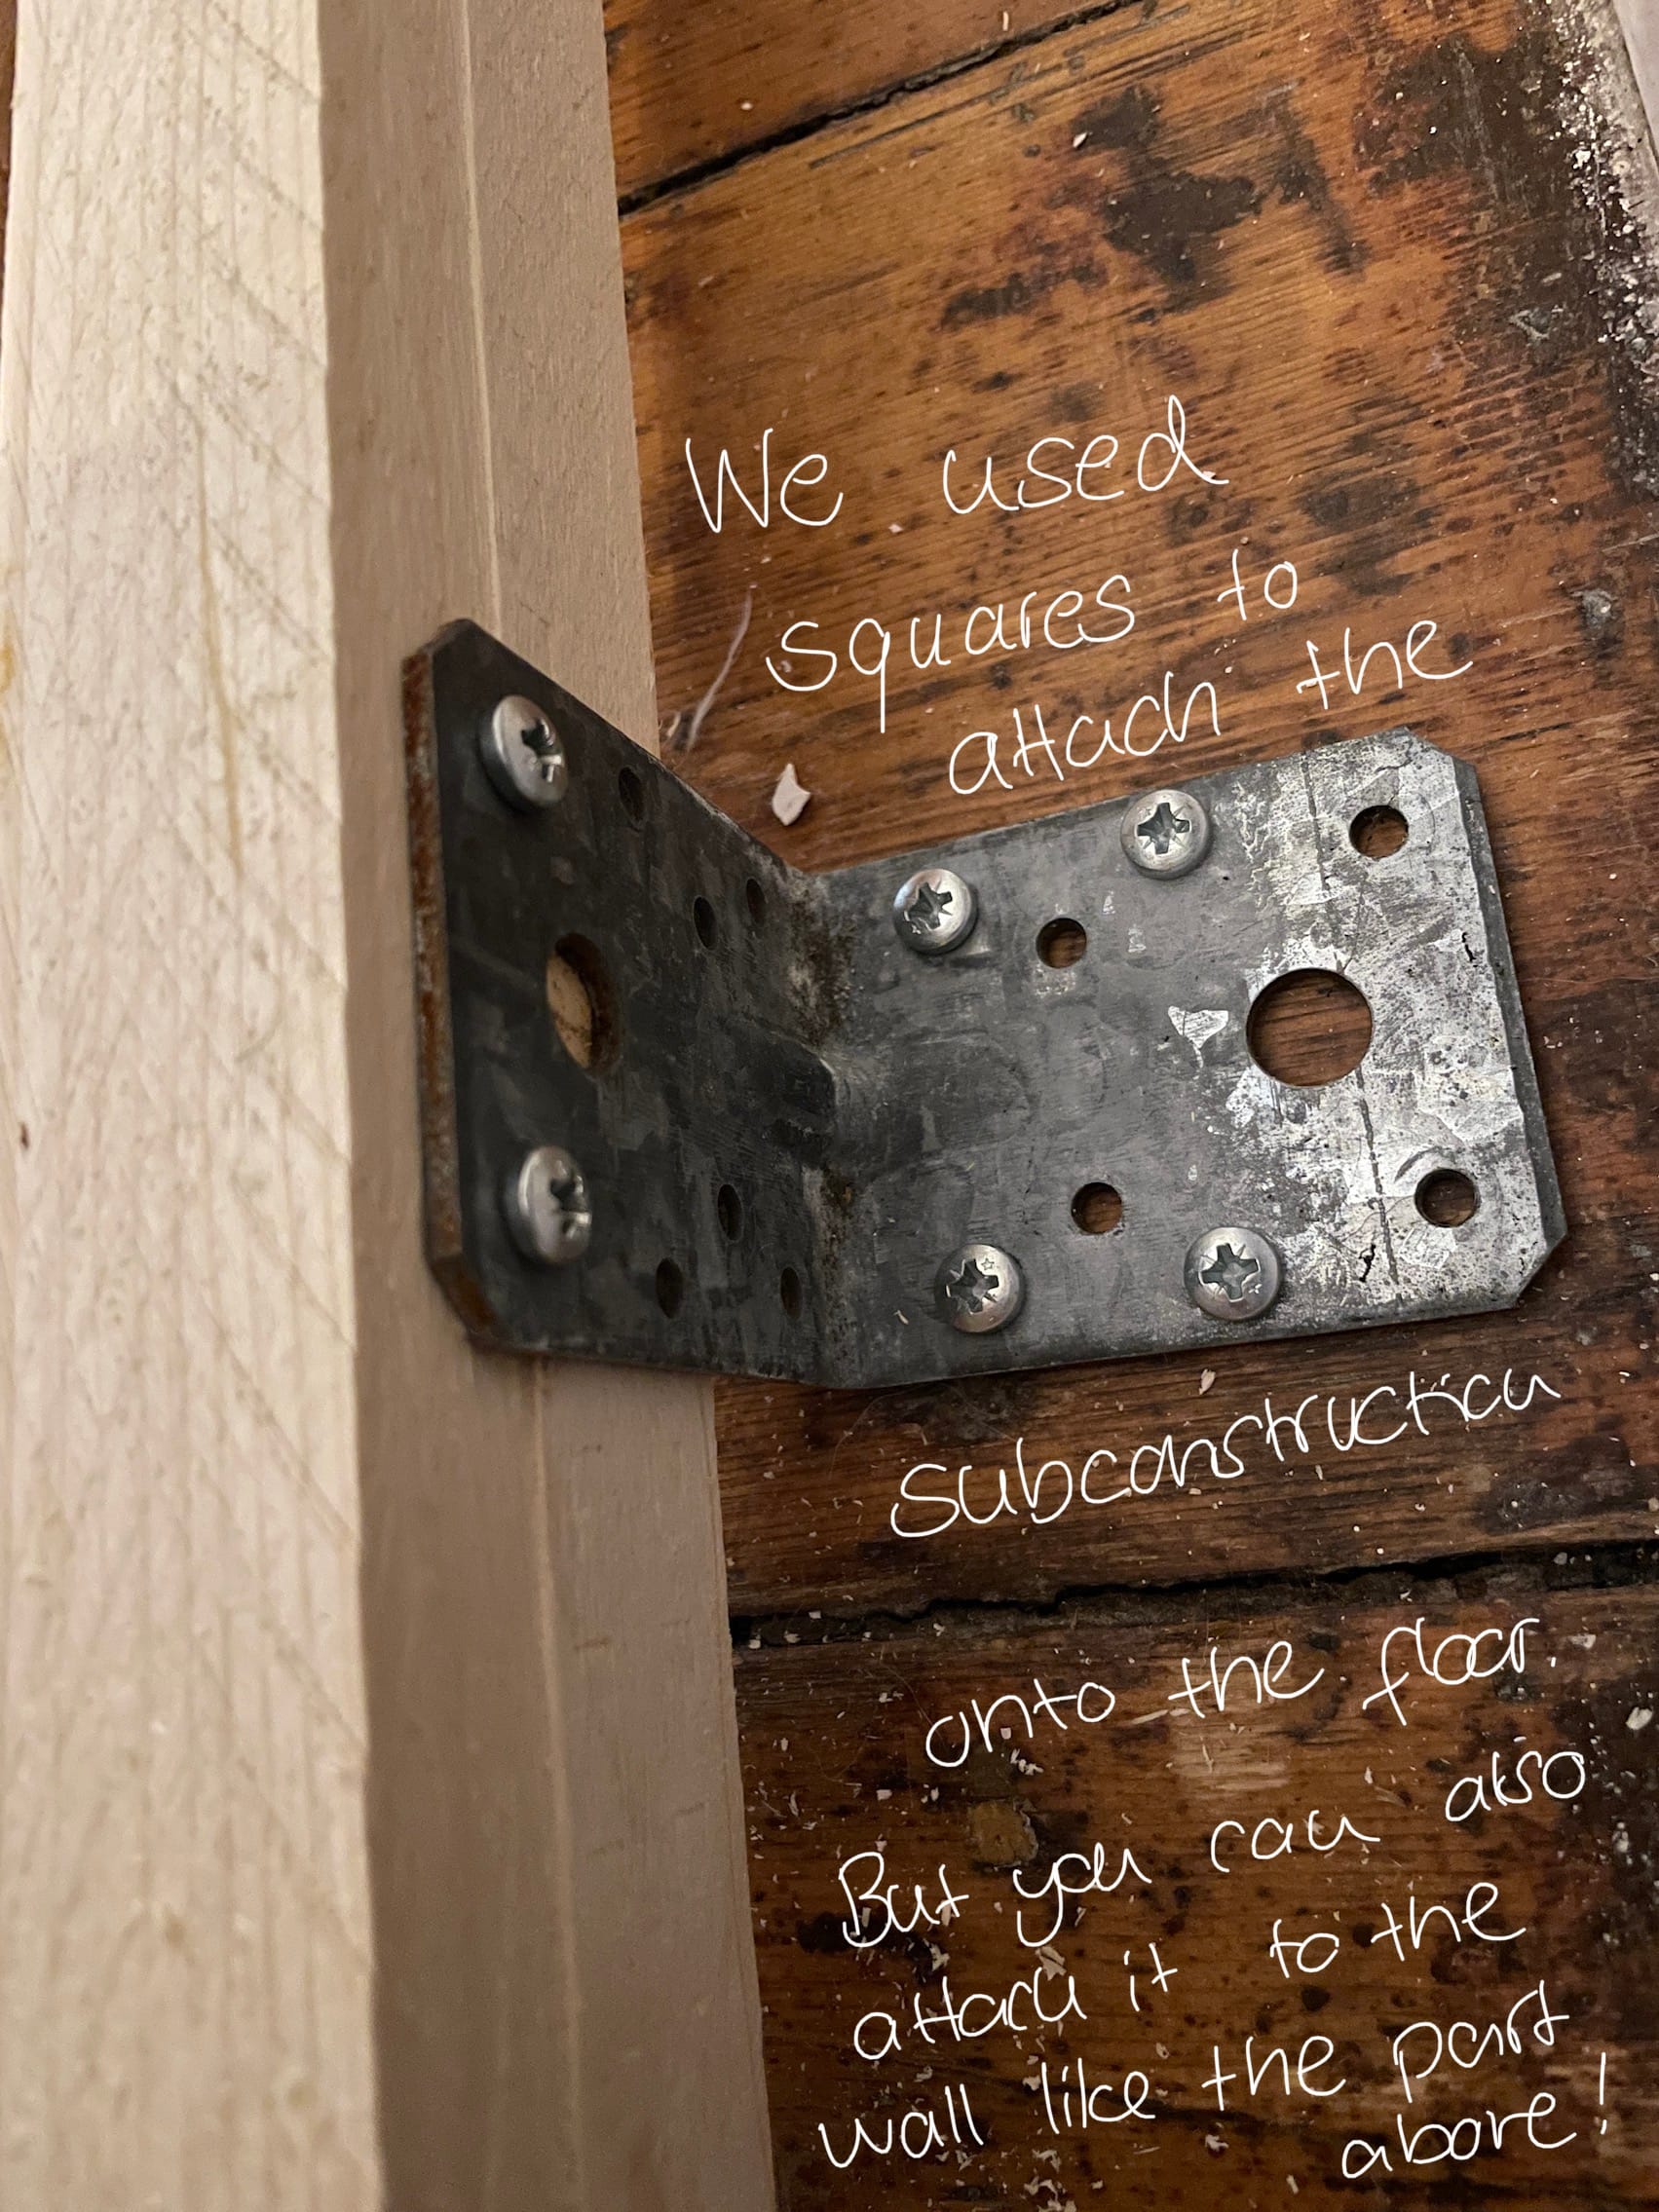
Please only screw into the floor if you own your space, or ask the landlord for permission :) Otherwise I would suggest to screw the part into the wall as well!
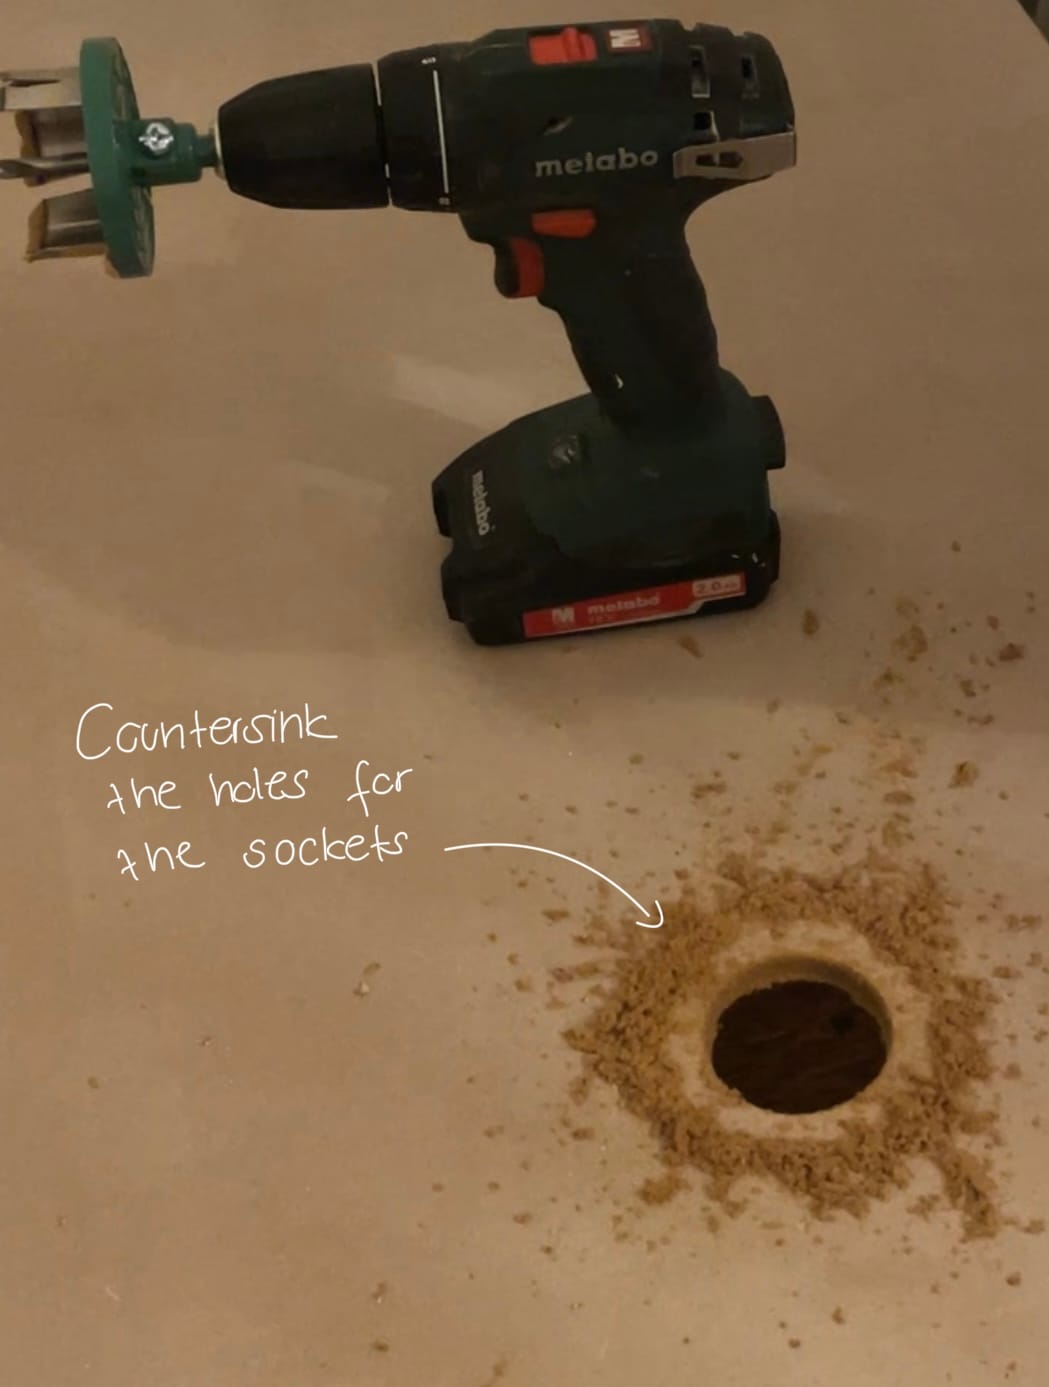
STEP 4: If you are not familiar with electric connections, please ask for help! And always turn out the fuse! Other than that, its not as hard as you think :) You “only” have to extend the cable with a luster terminal and put the socket into the new hole.
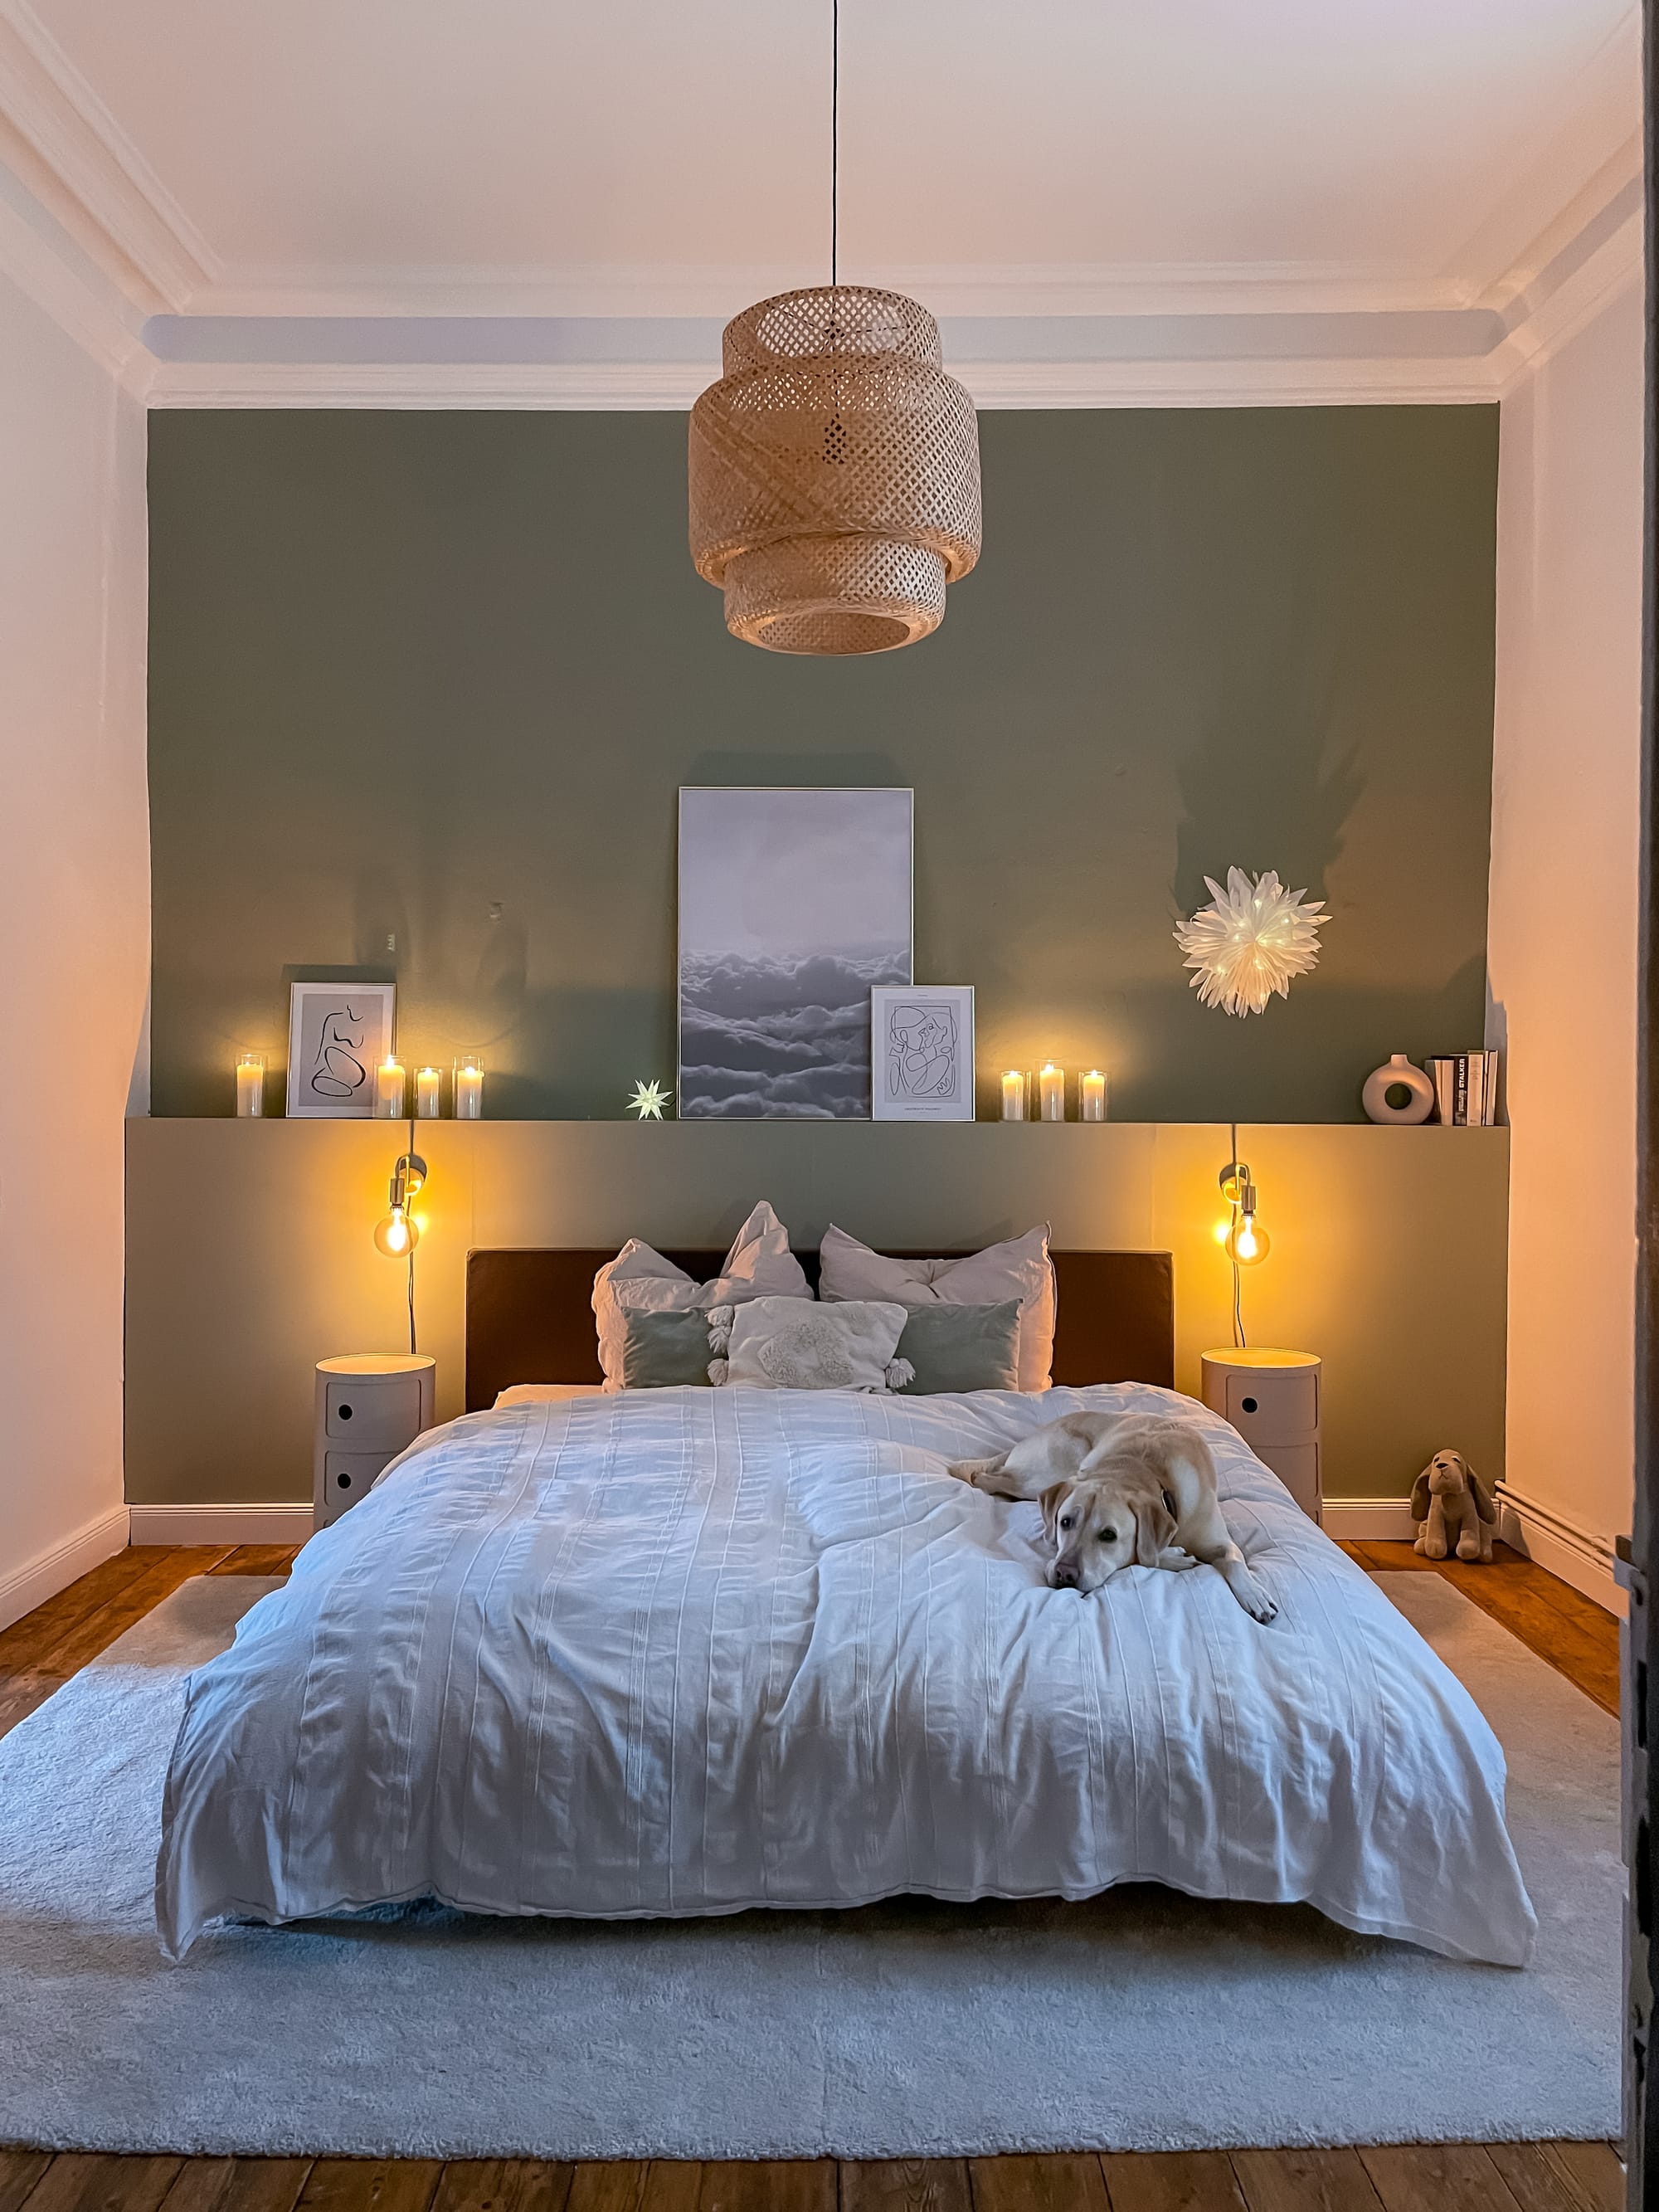
Now you are ready :) We attached some lamps and of course - don’t forget to decorate! I really hope the instruction was helpful. If you have any questions you can write me a message on my instagram: daviashome