

Greetings DIY enthusiasts! Today, I'm thrilled to reveal a project that's been close to my heart—the transformation of a room into a bunk haven for my little ones. Join me as I take you through the step-by-step journey of turning budget-friendly finds into a cozy and stylish bunkroom.
Maximizing Space with a Vision
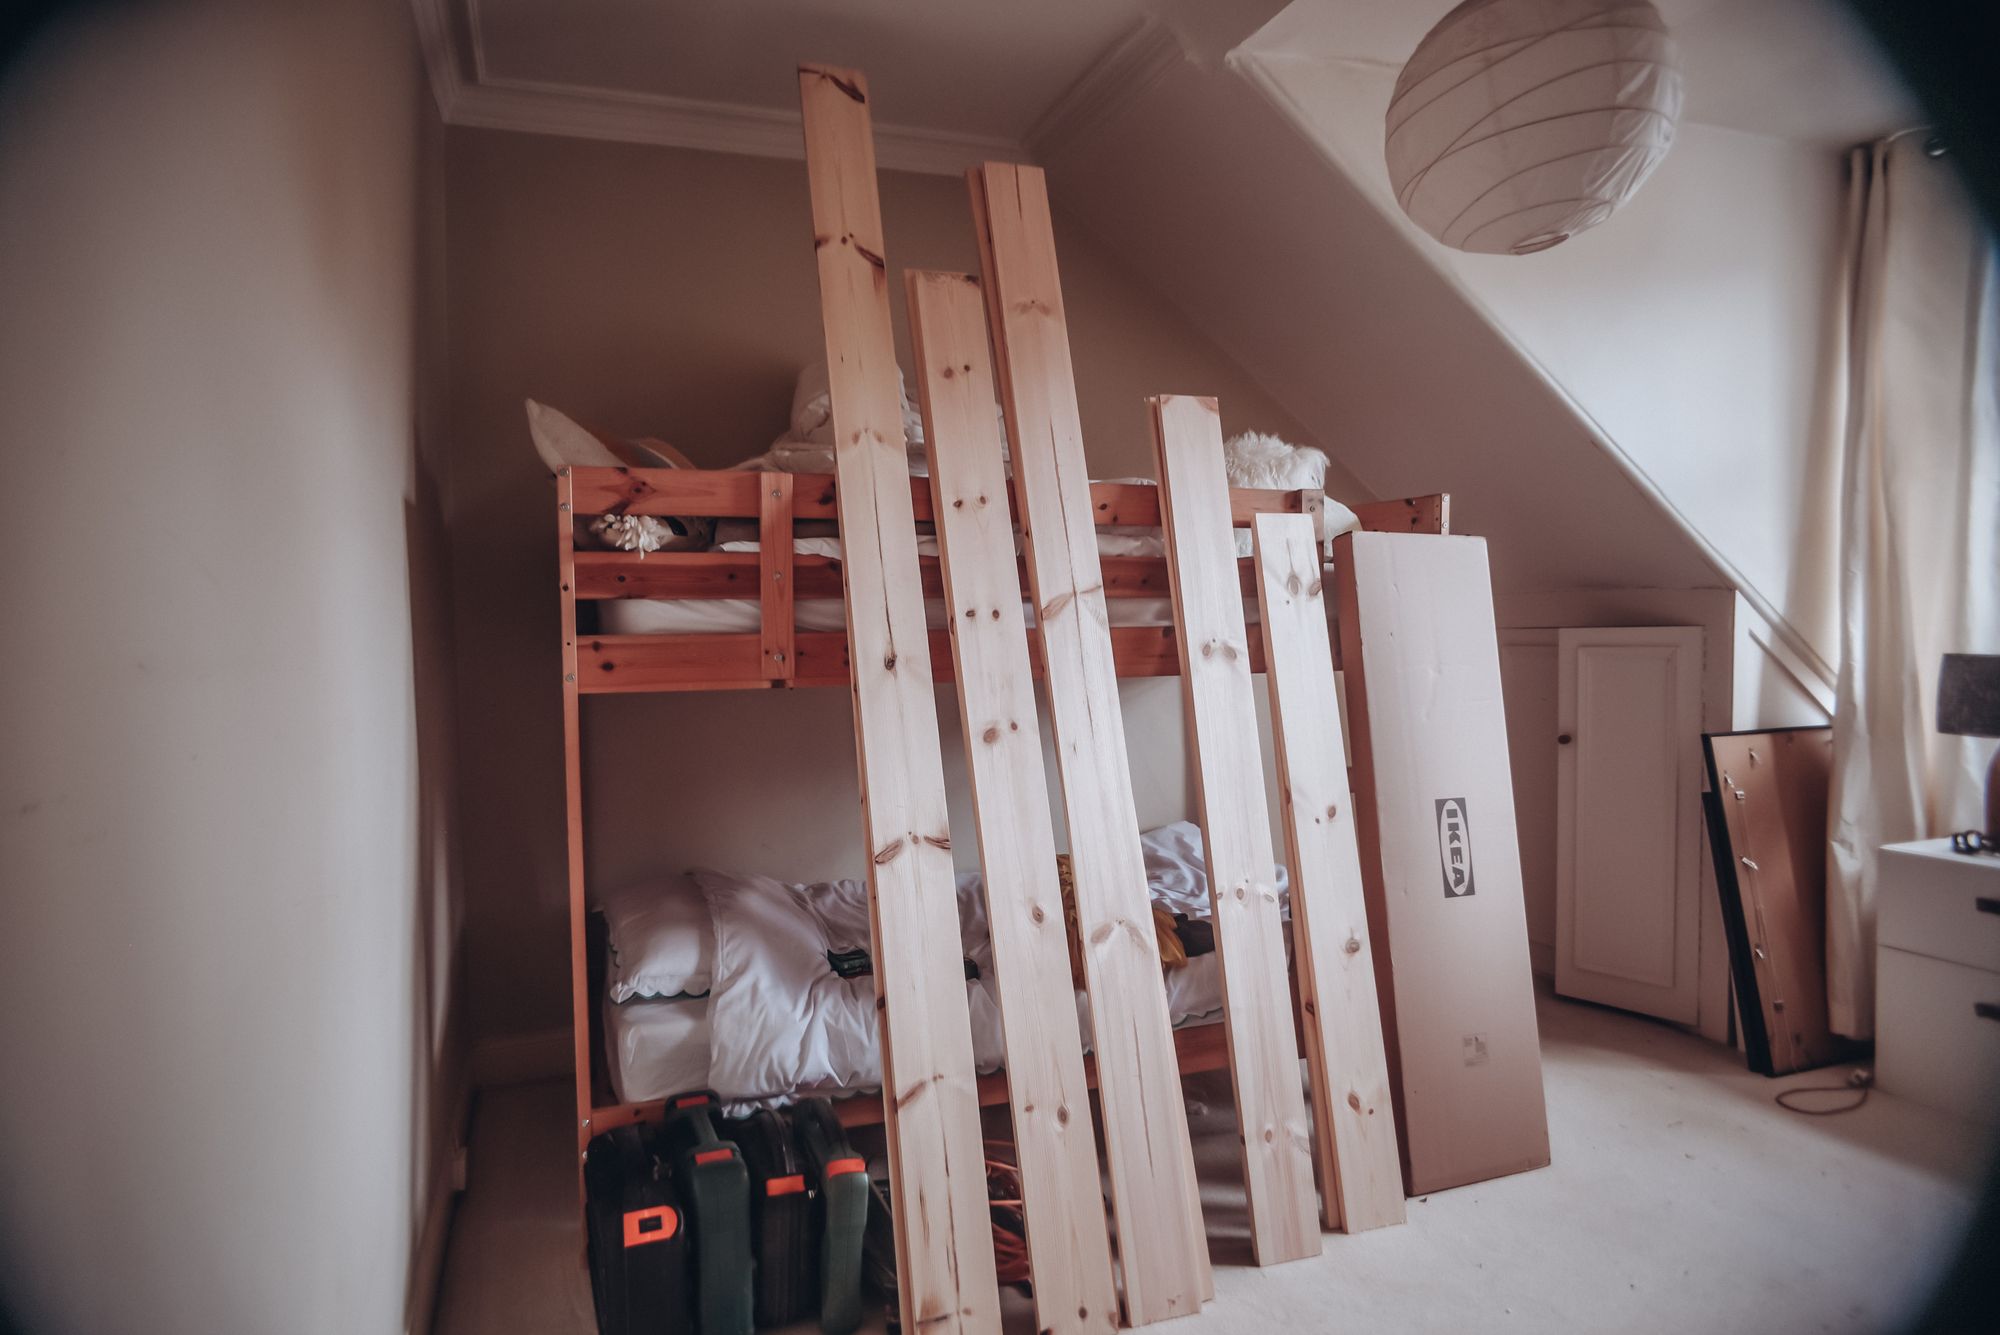
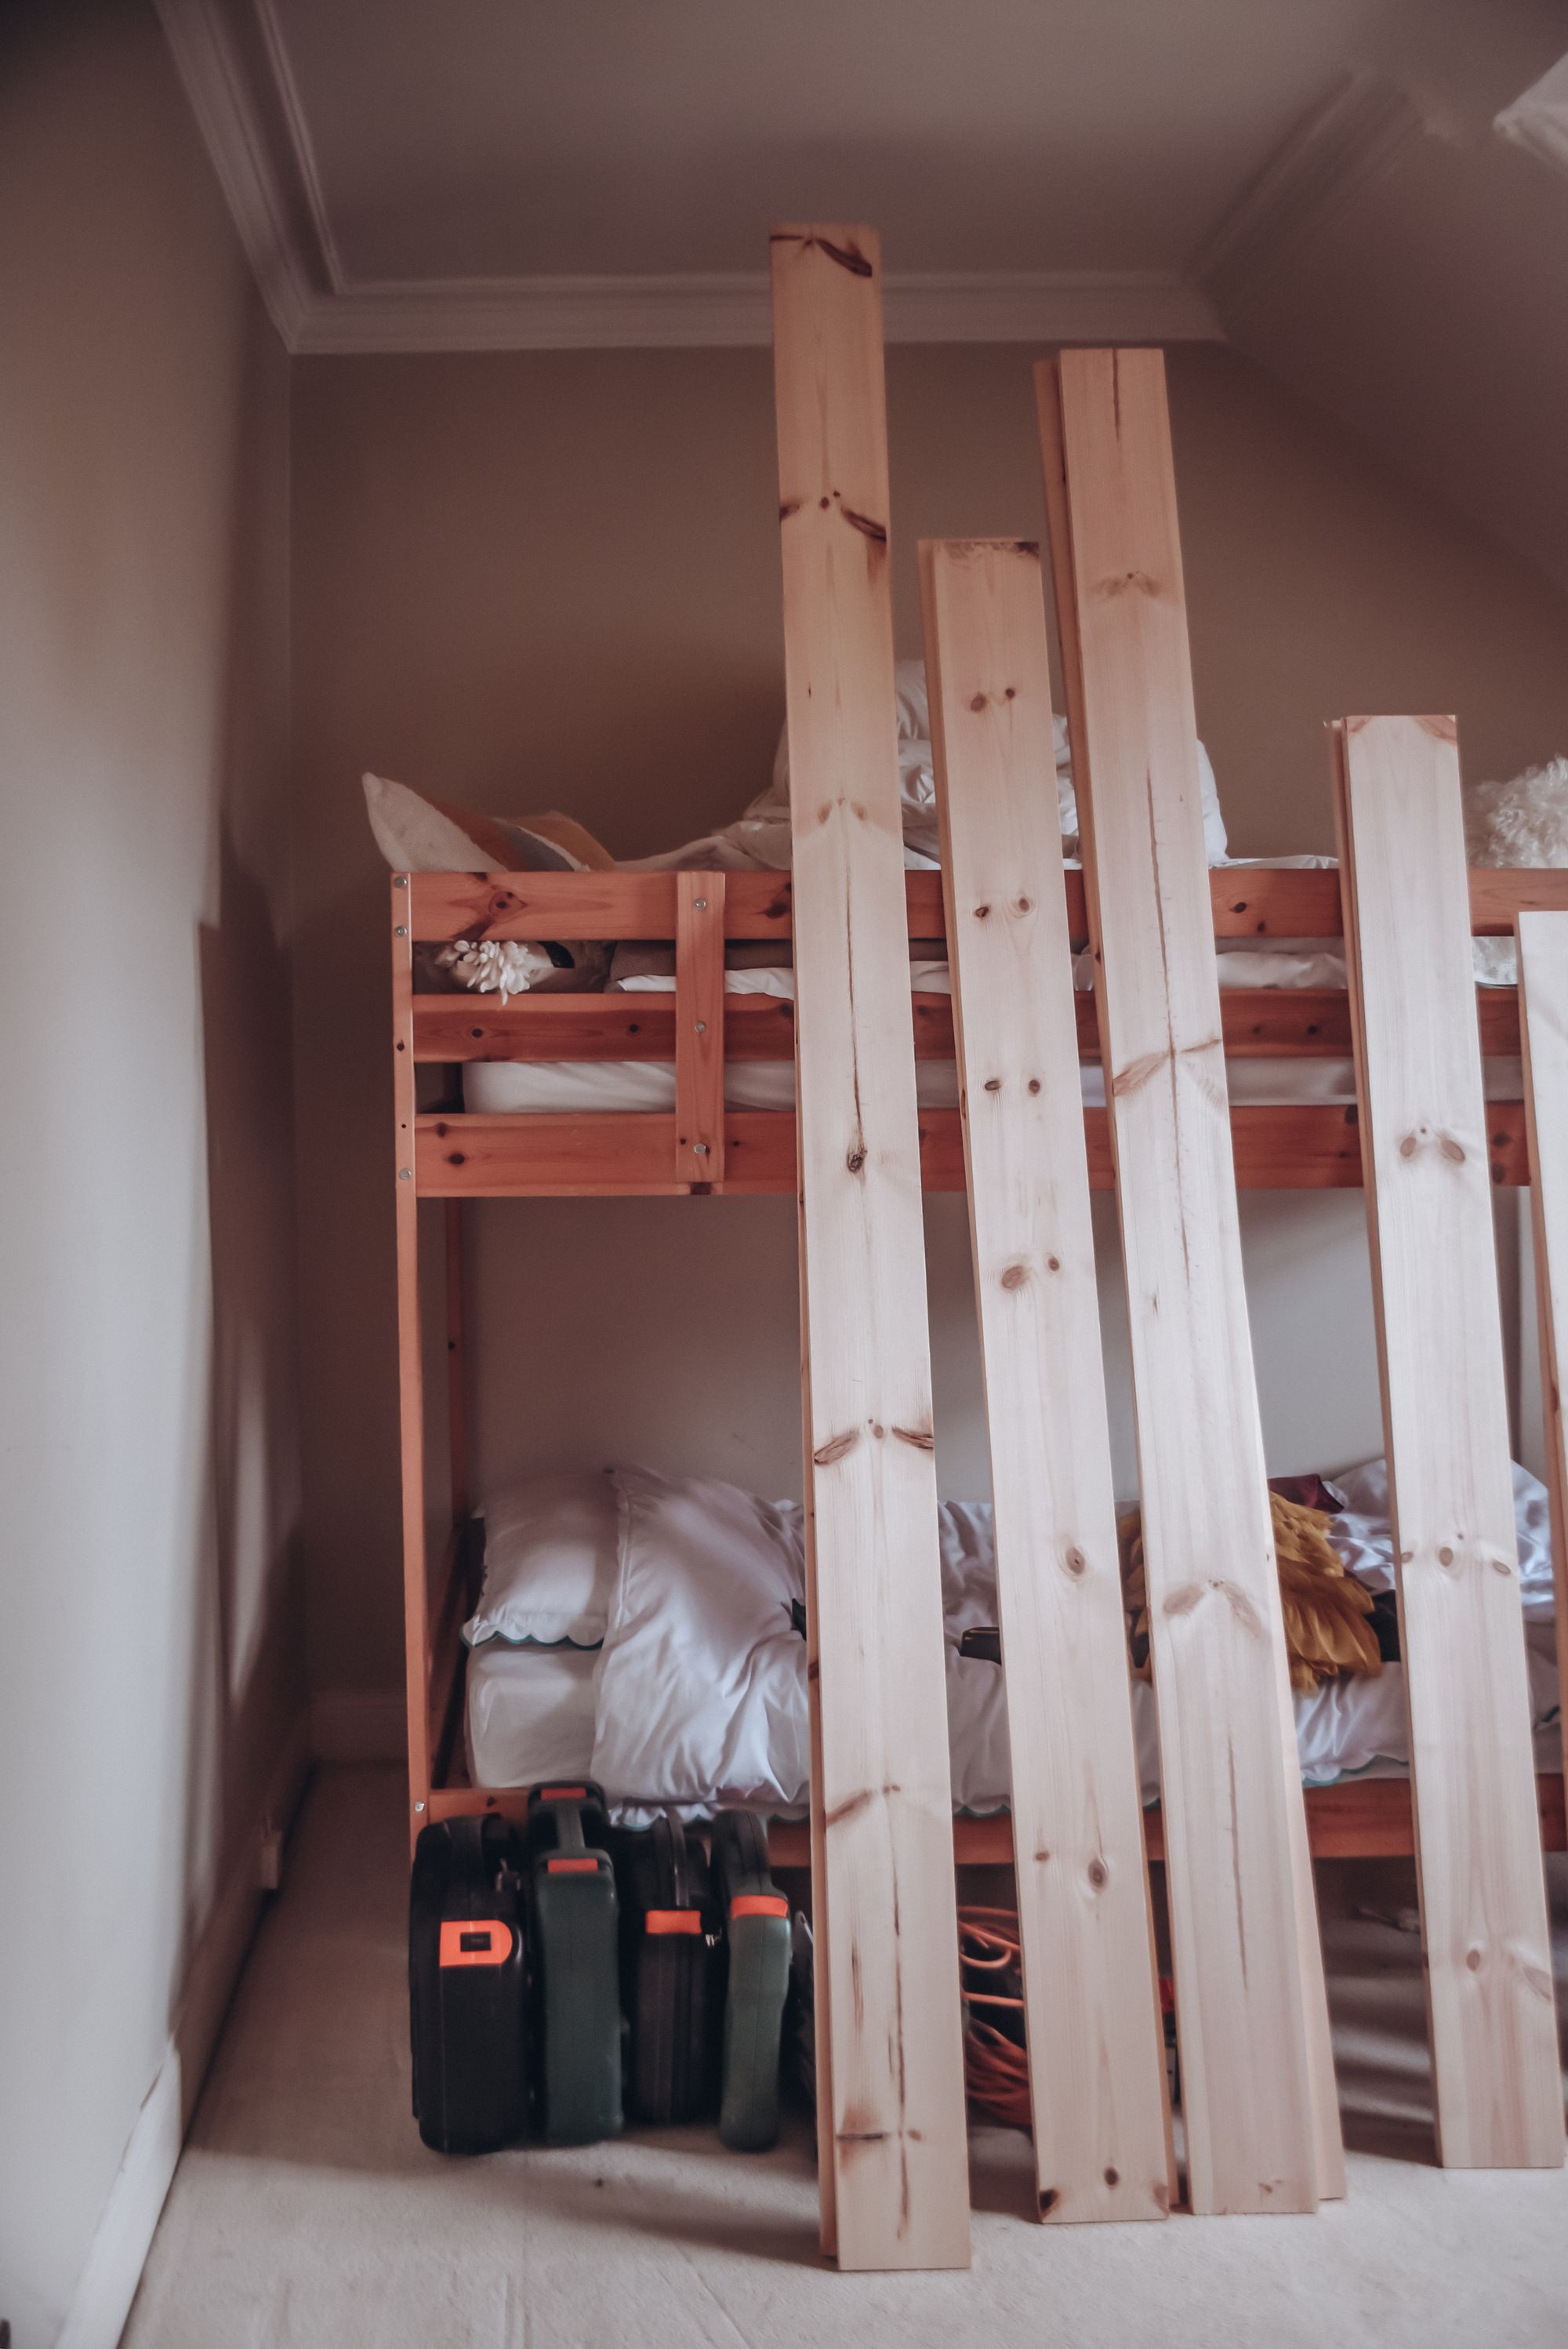
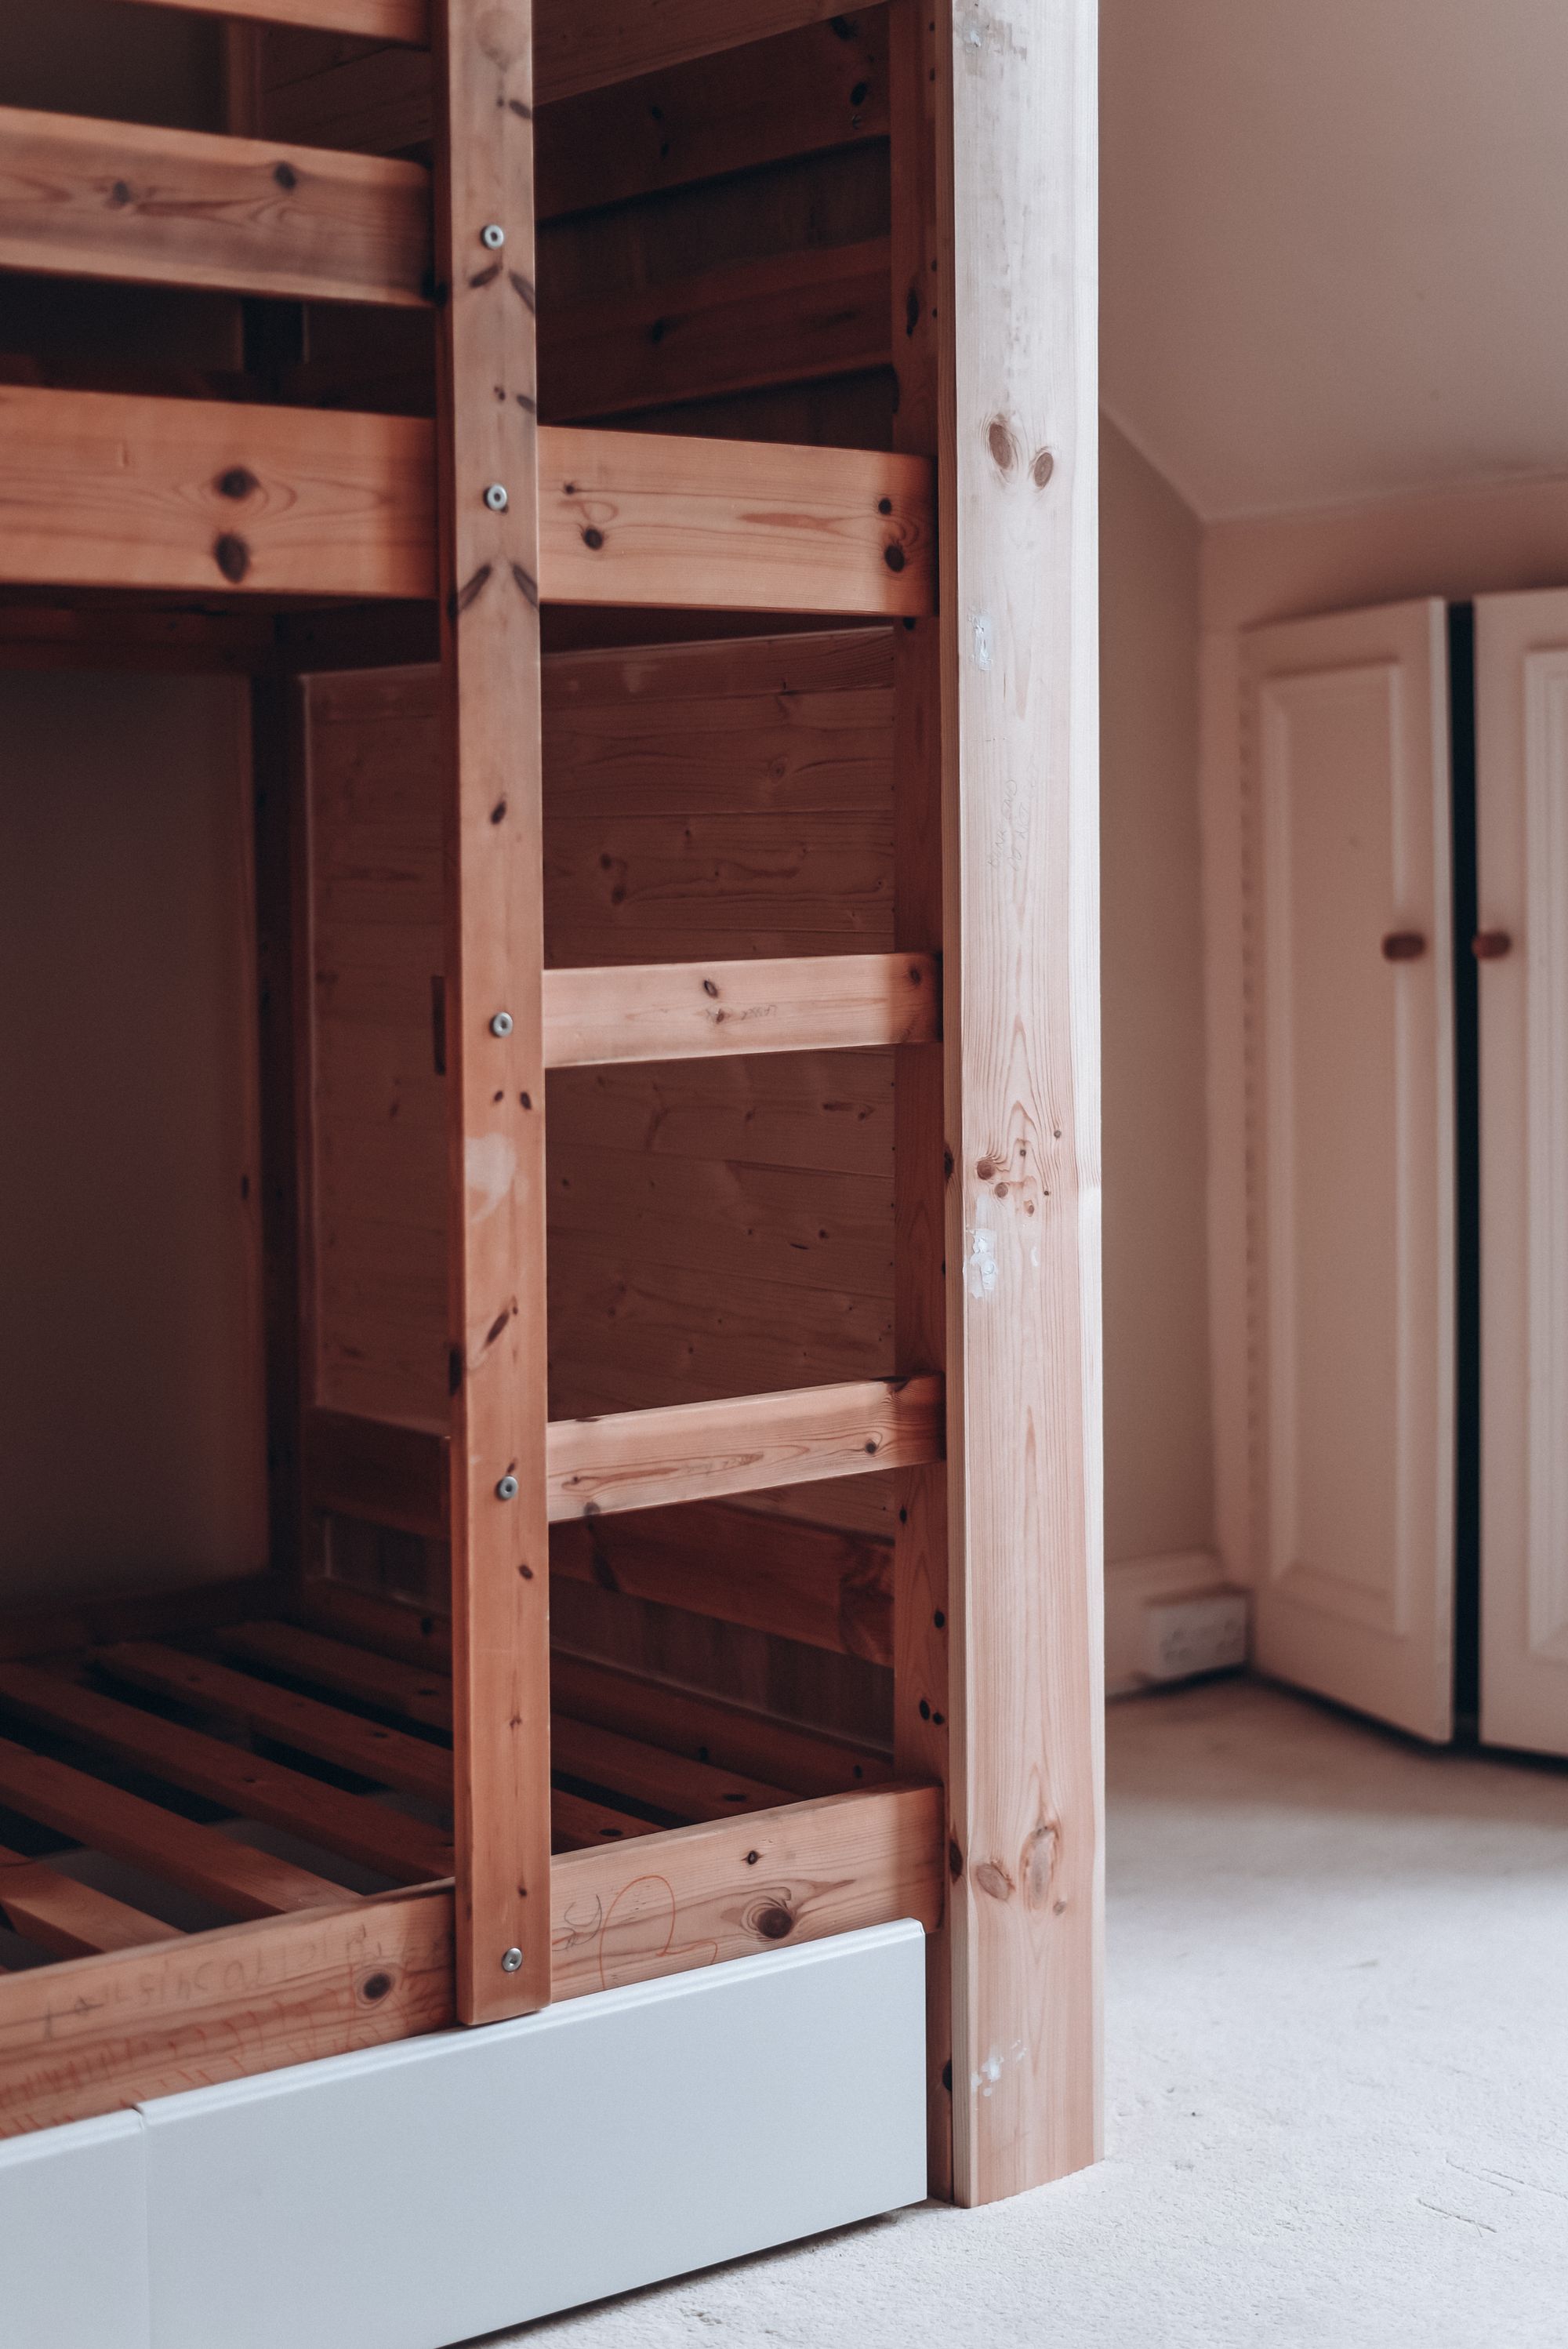
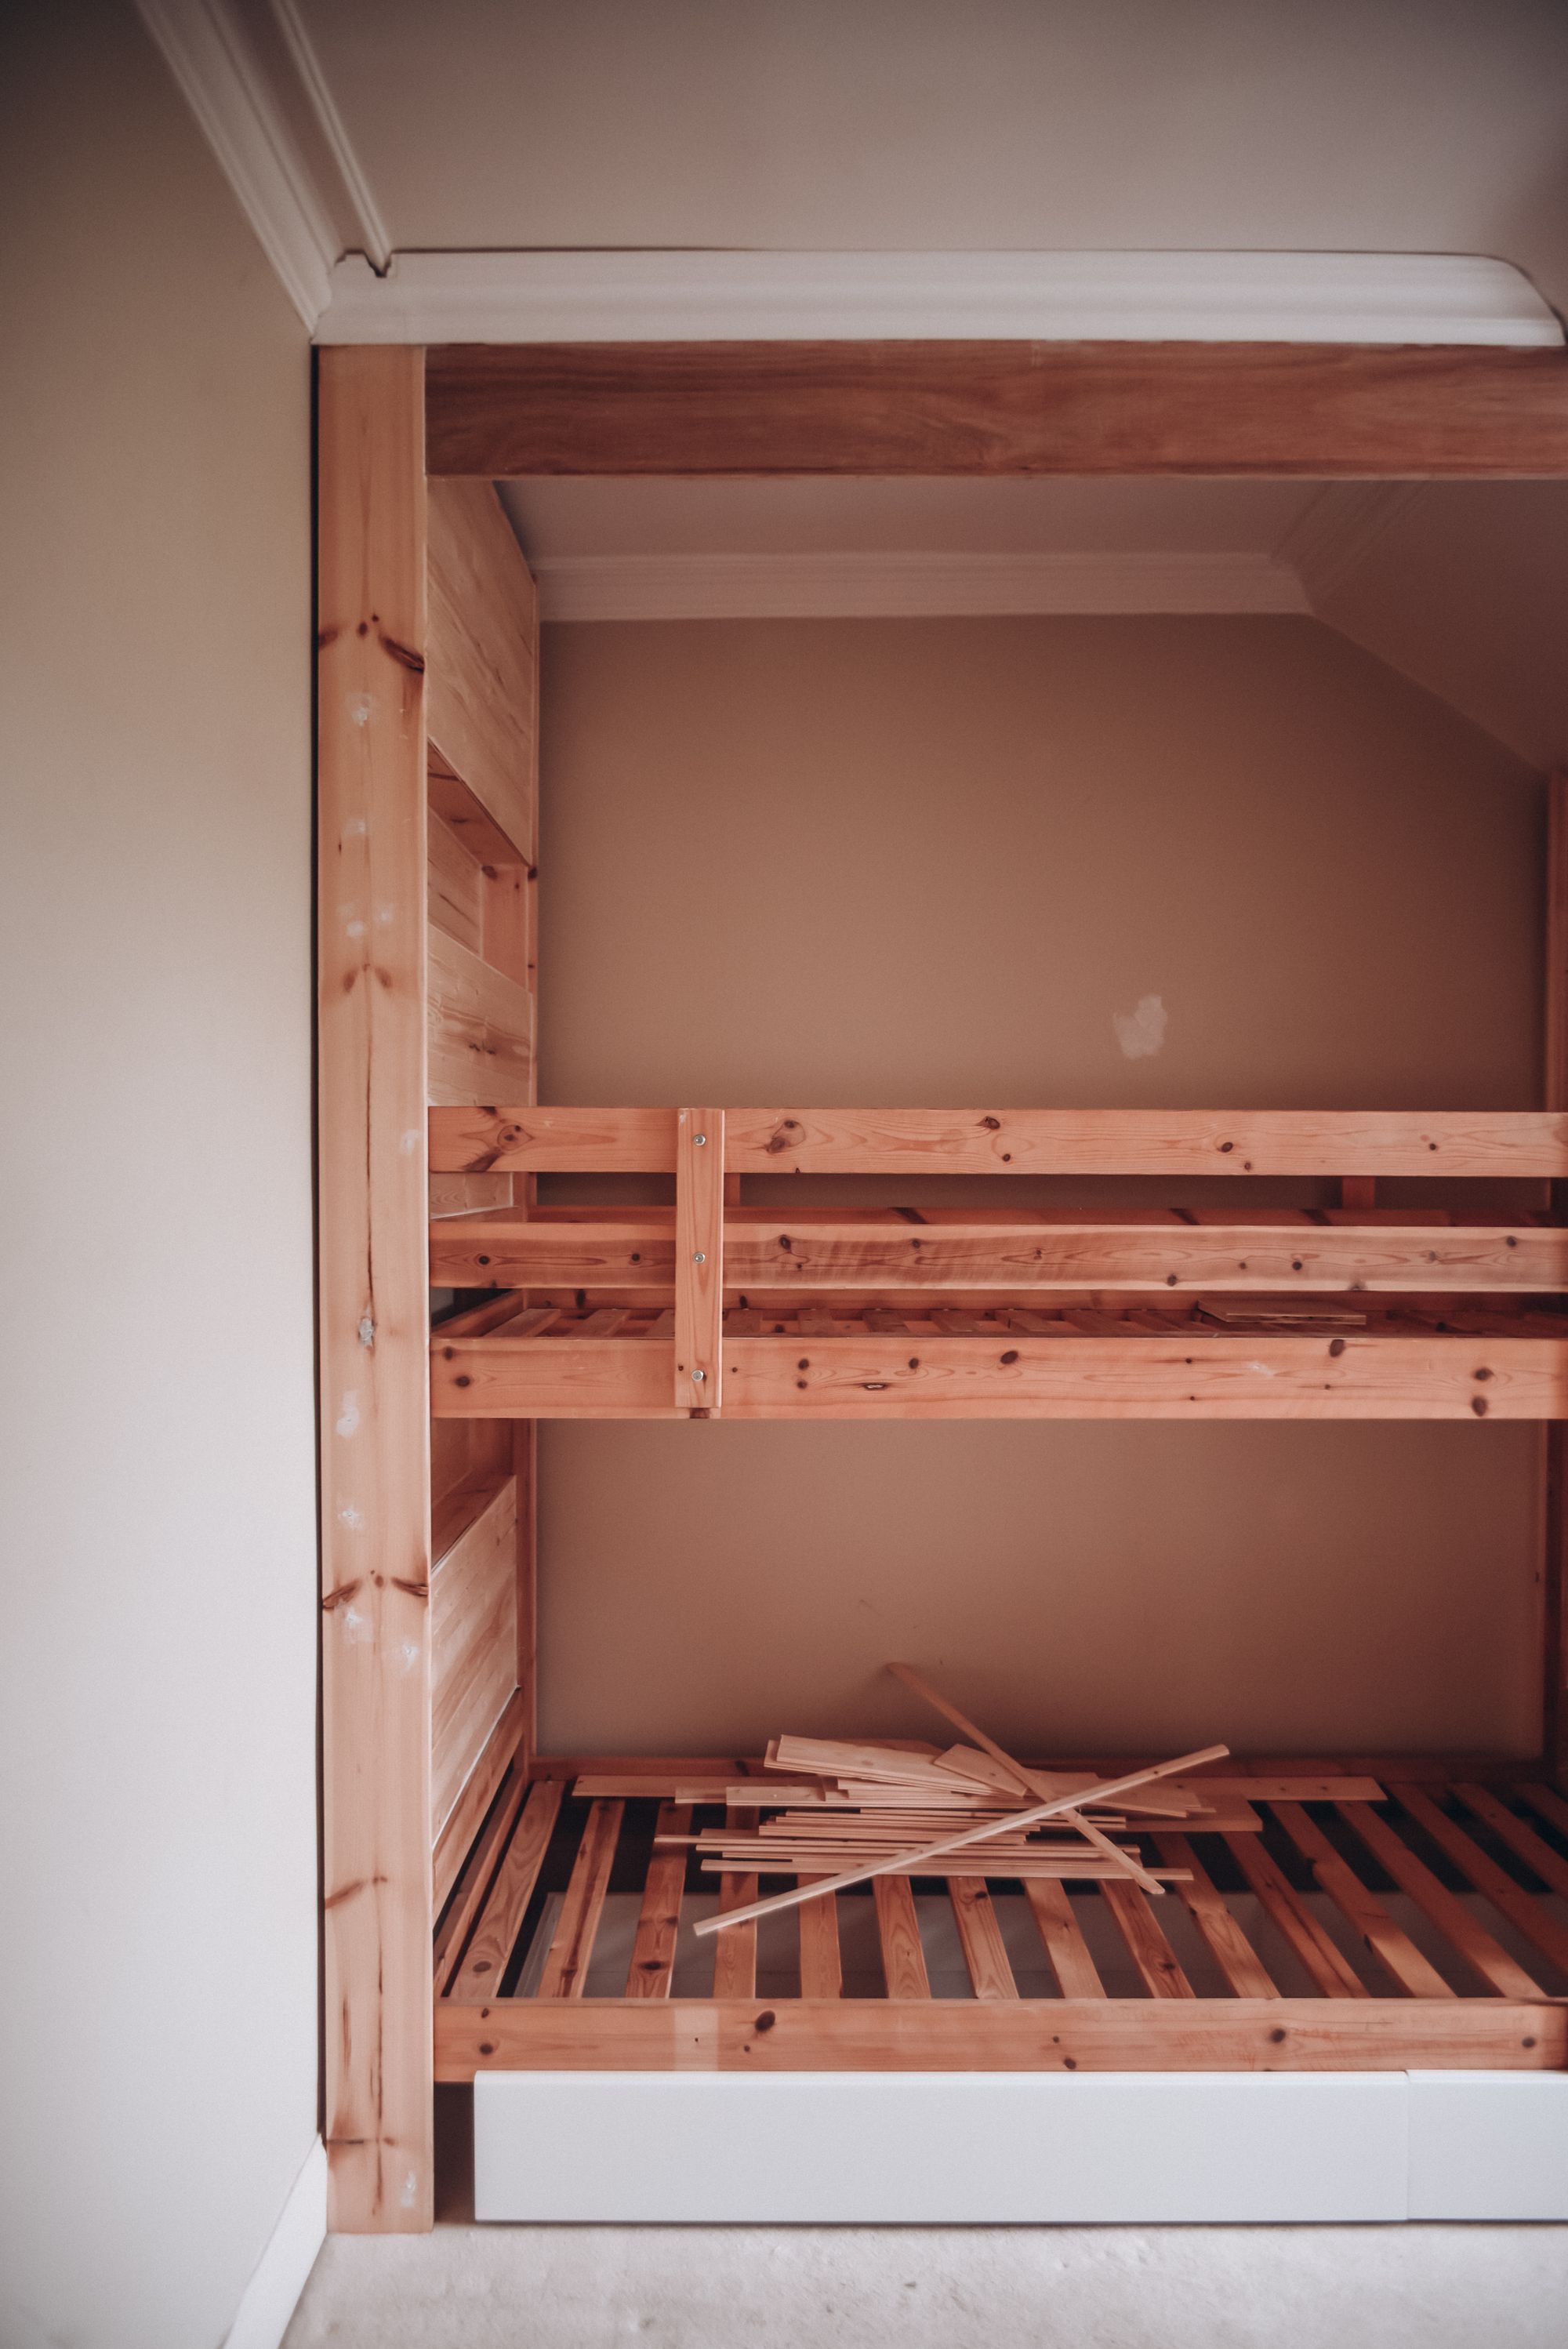
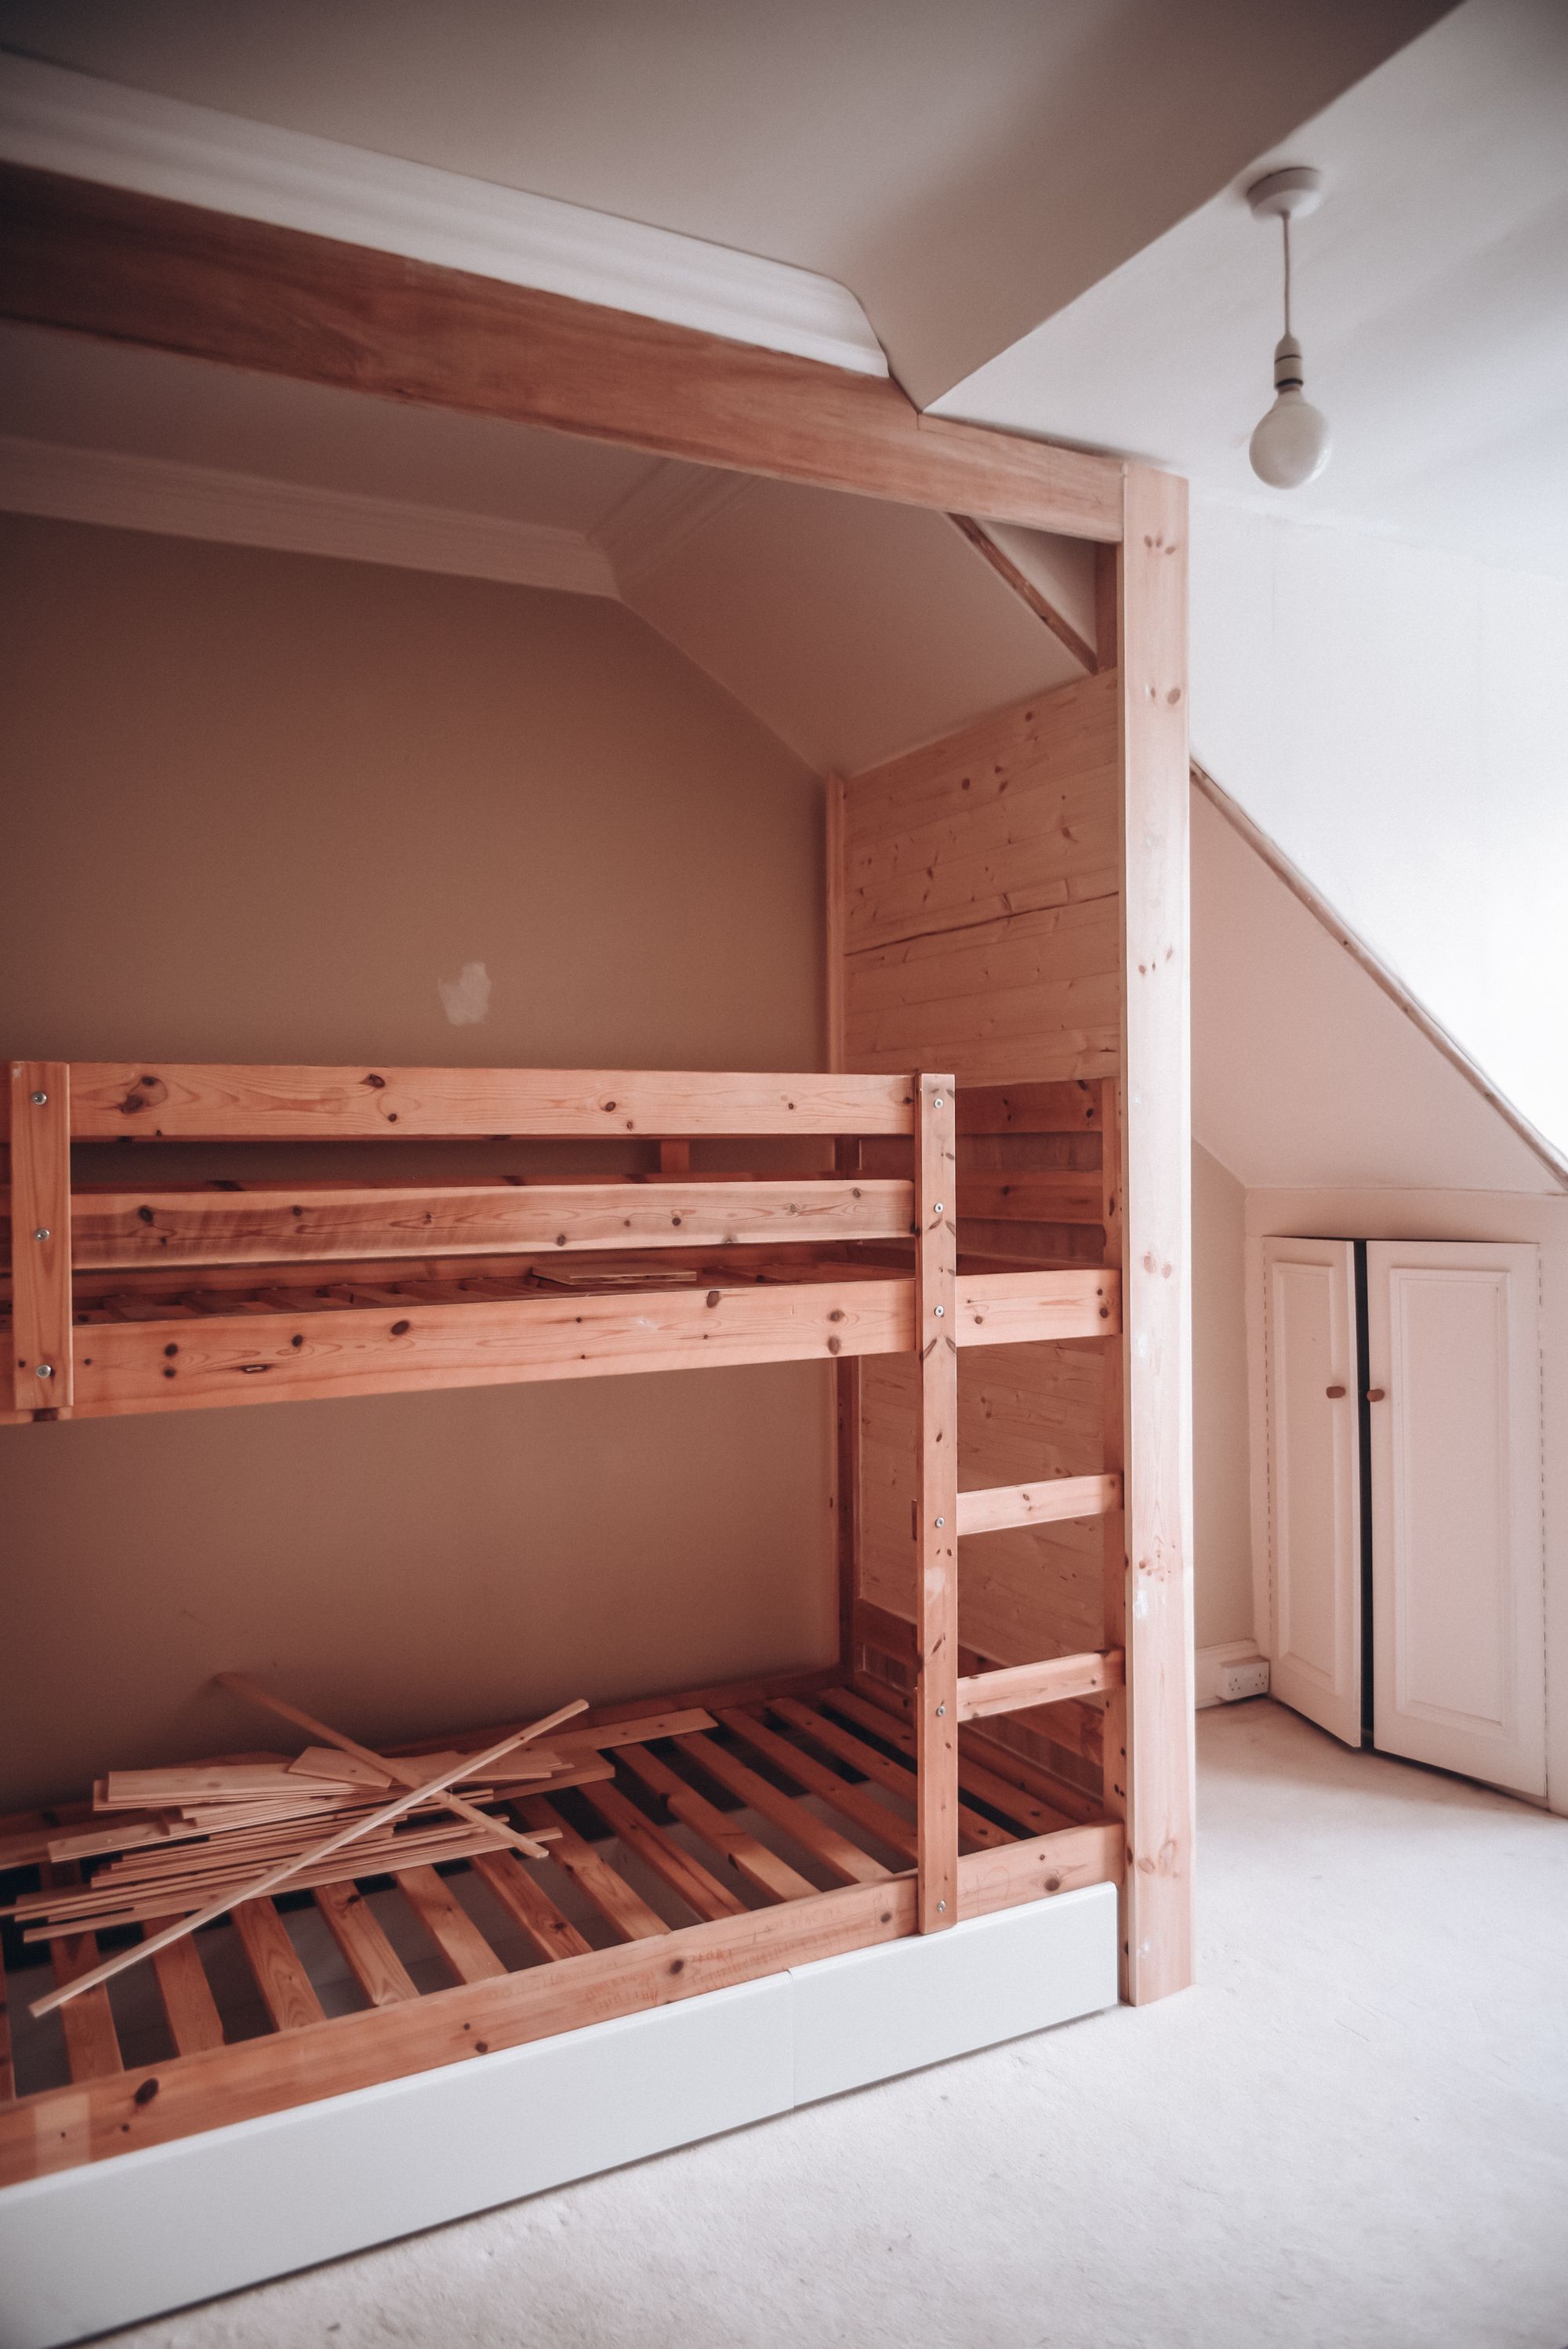
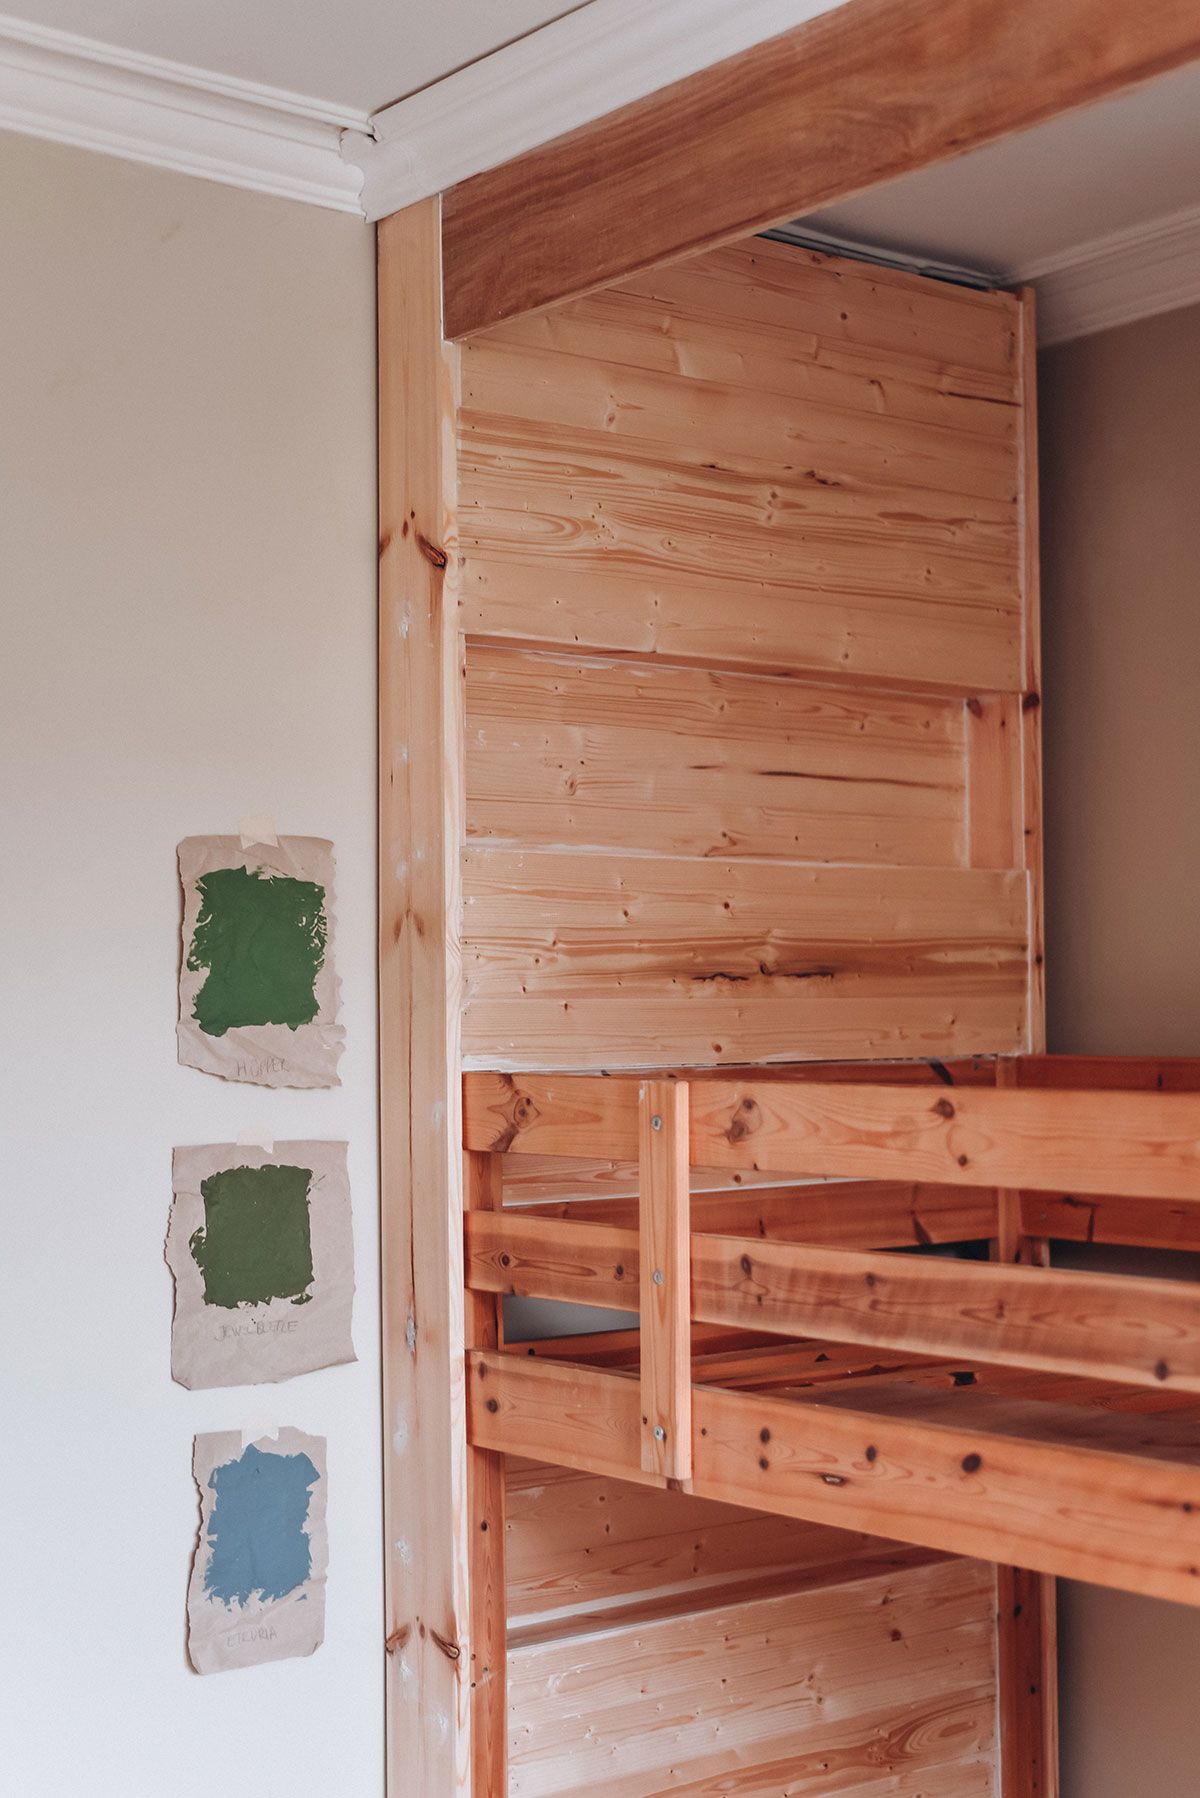
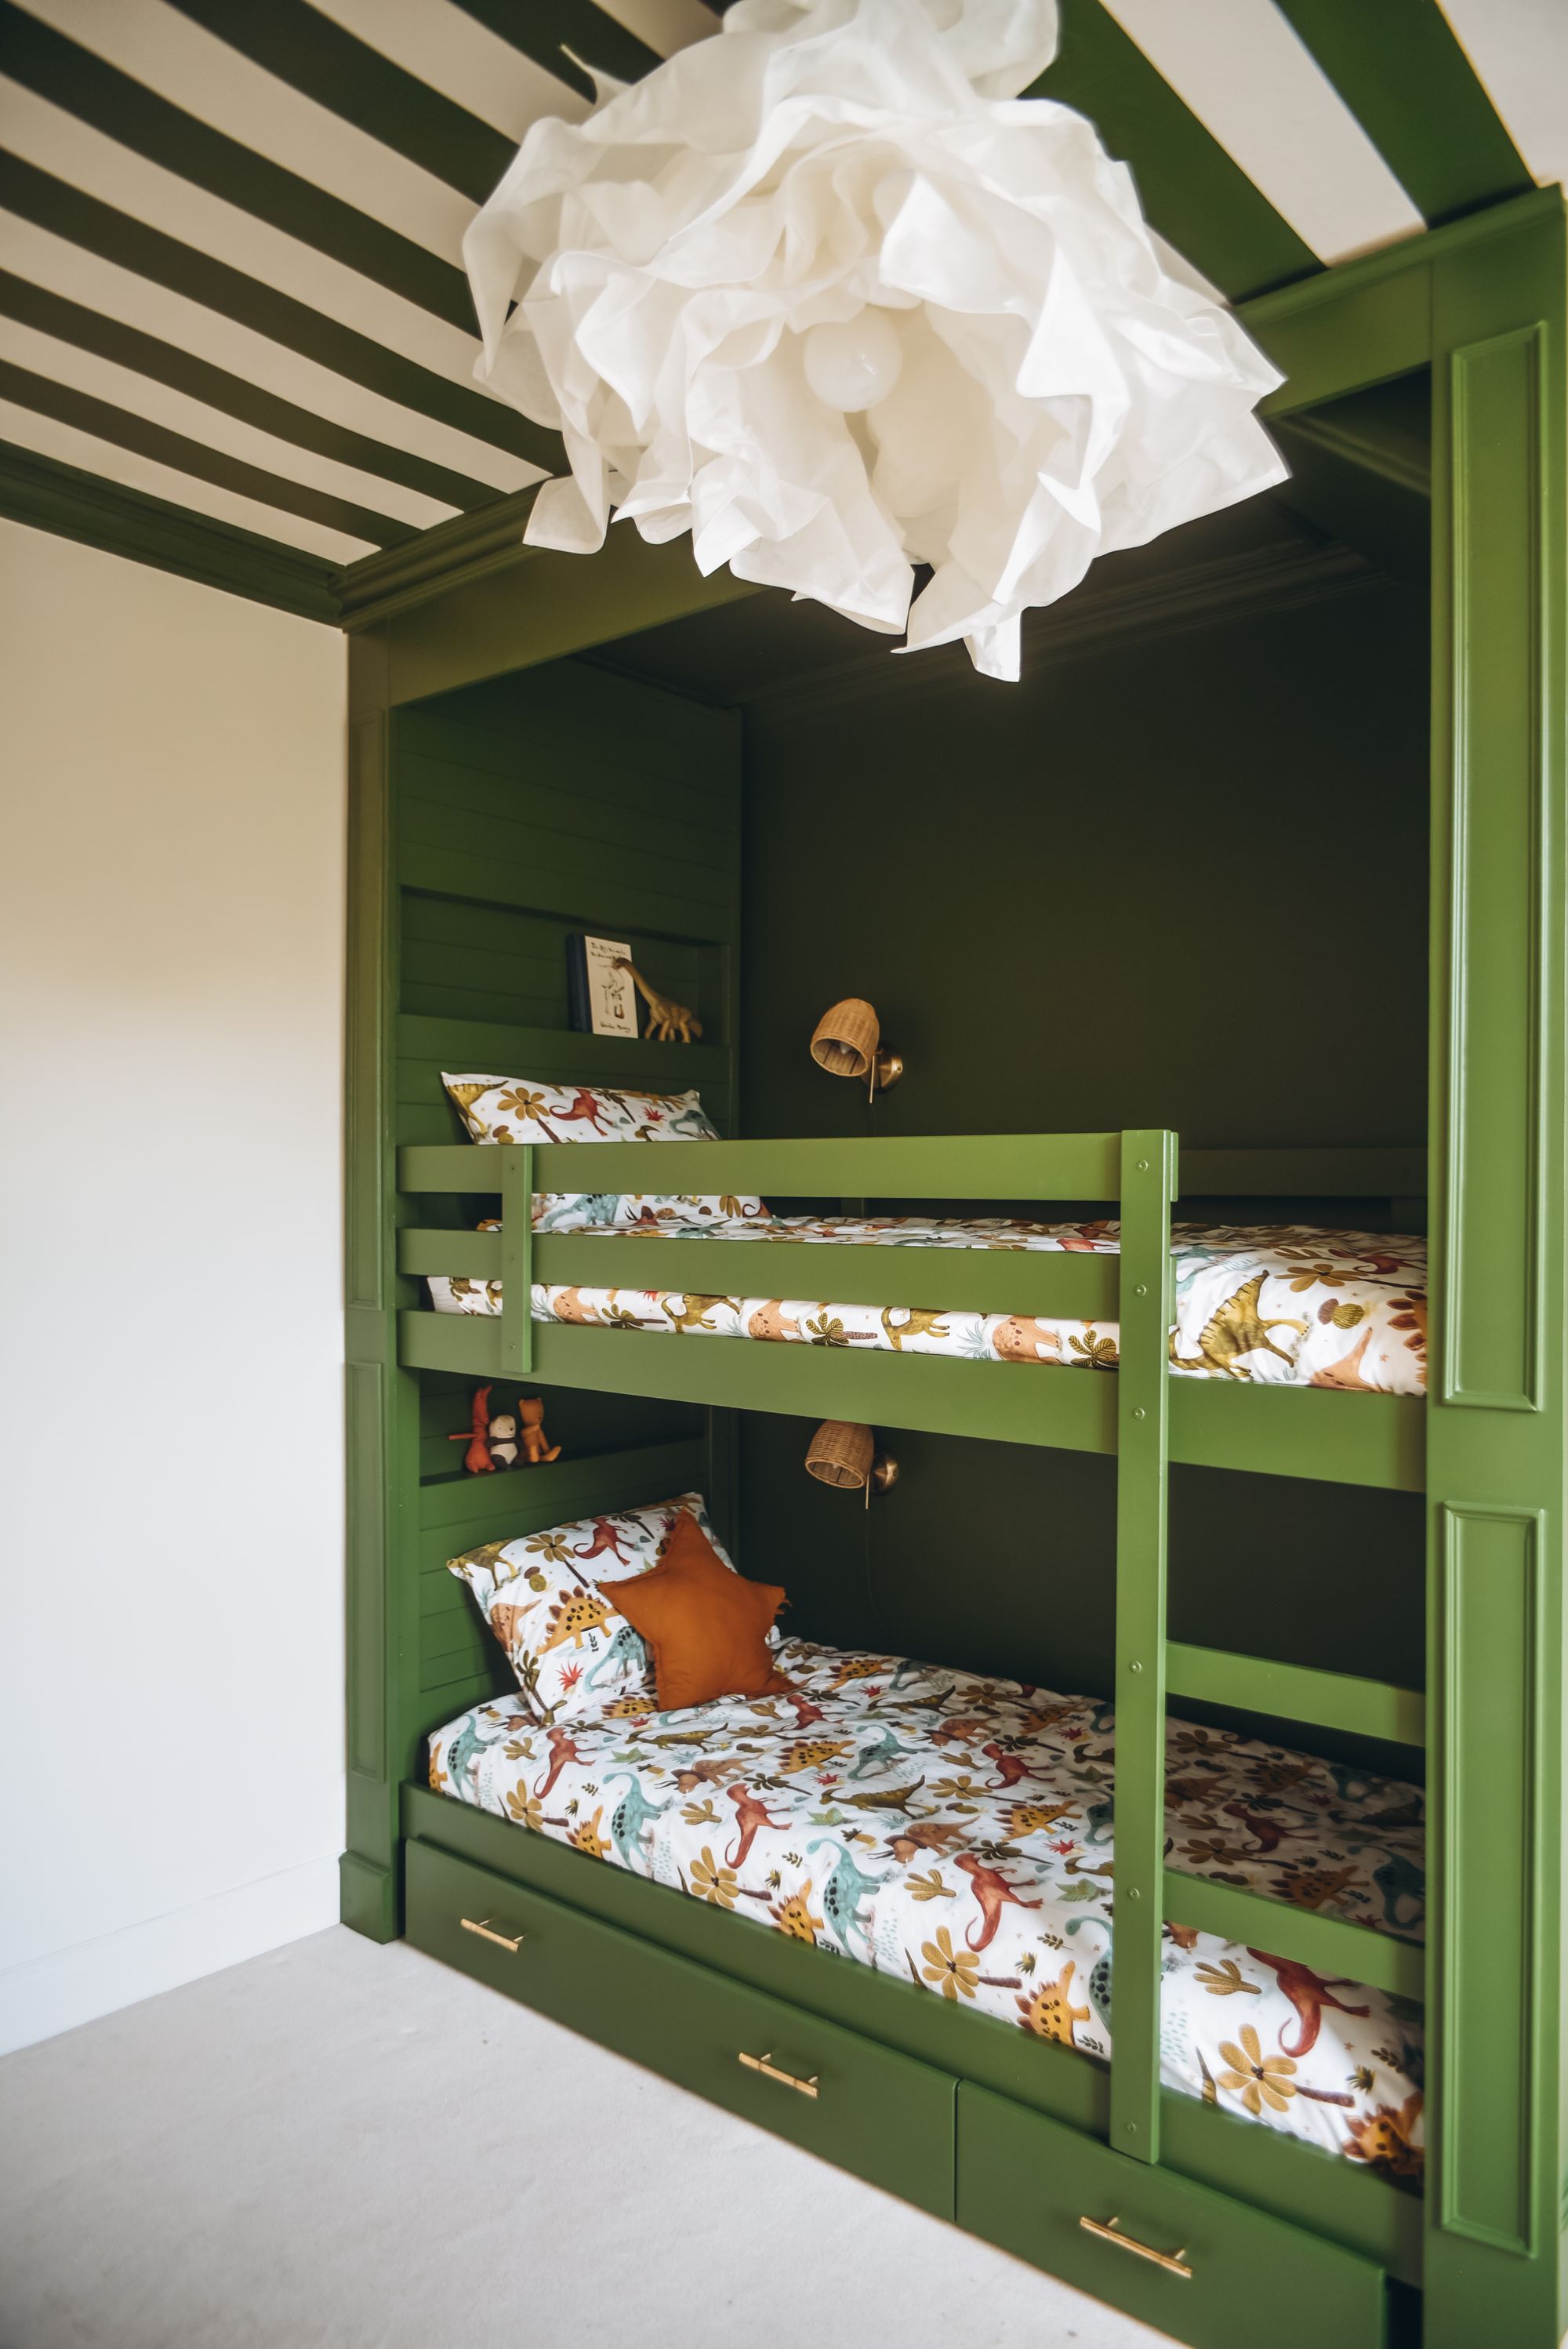
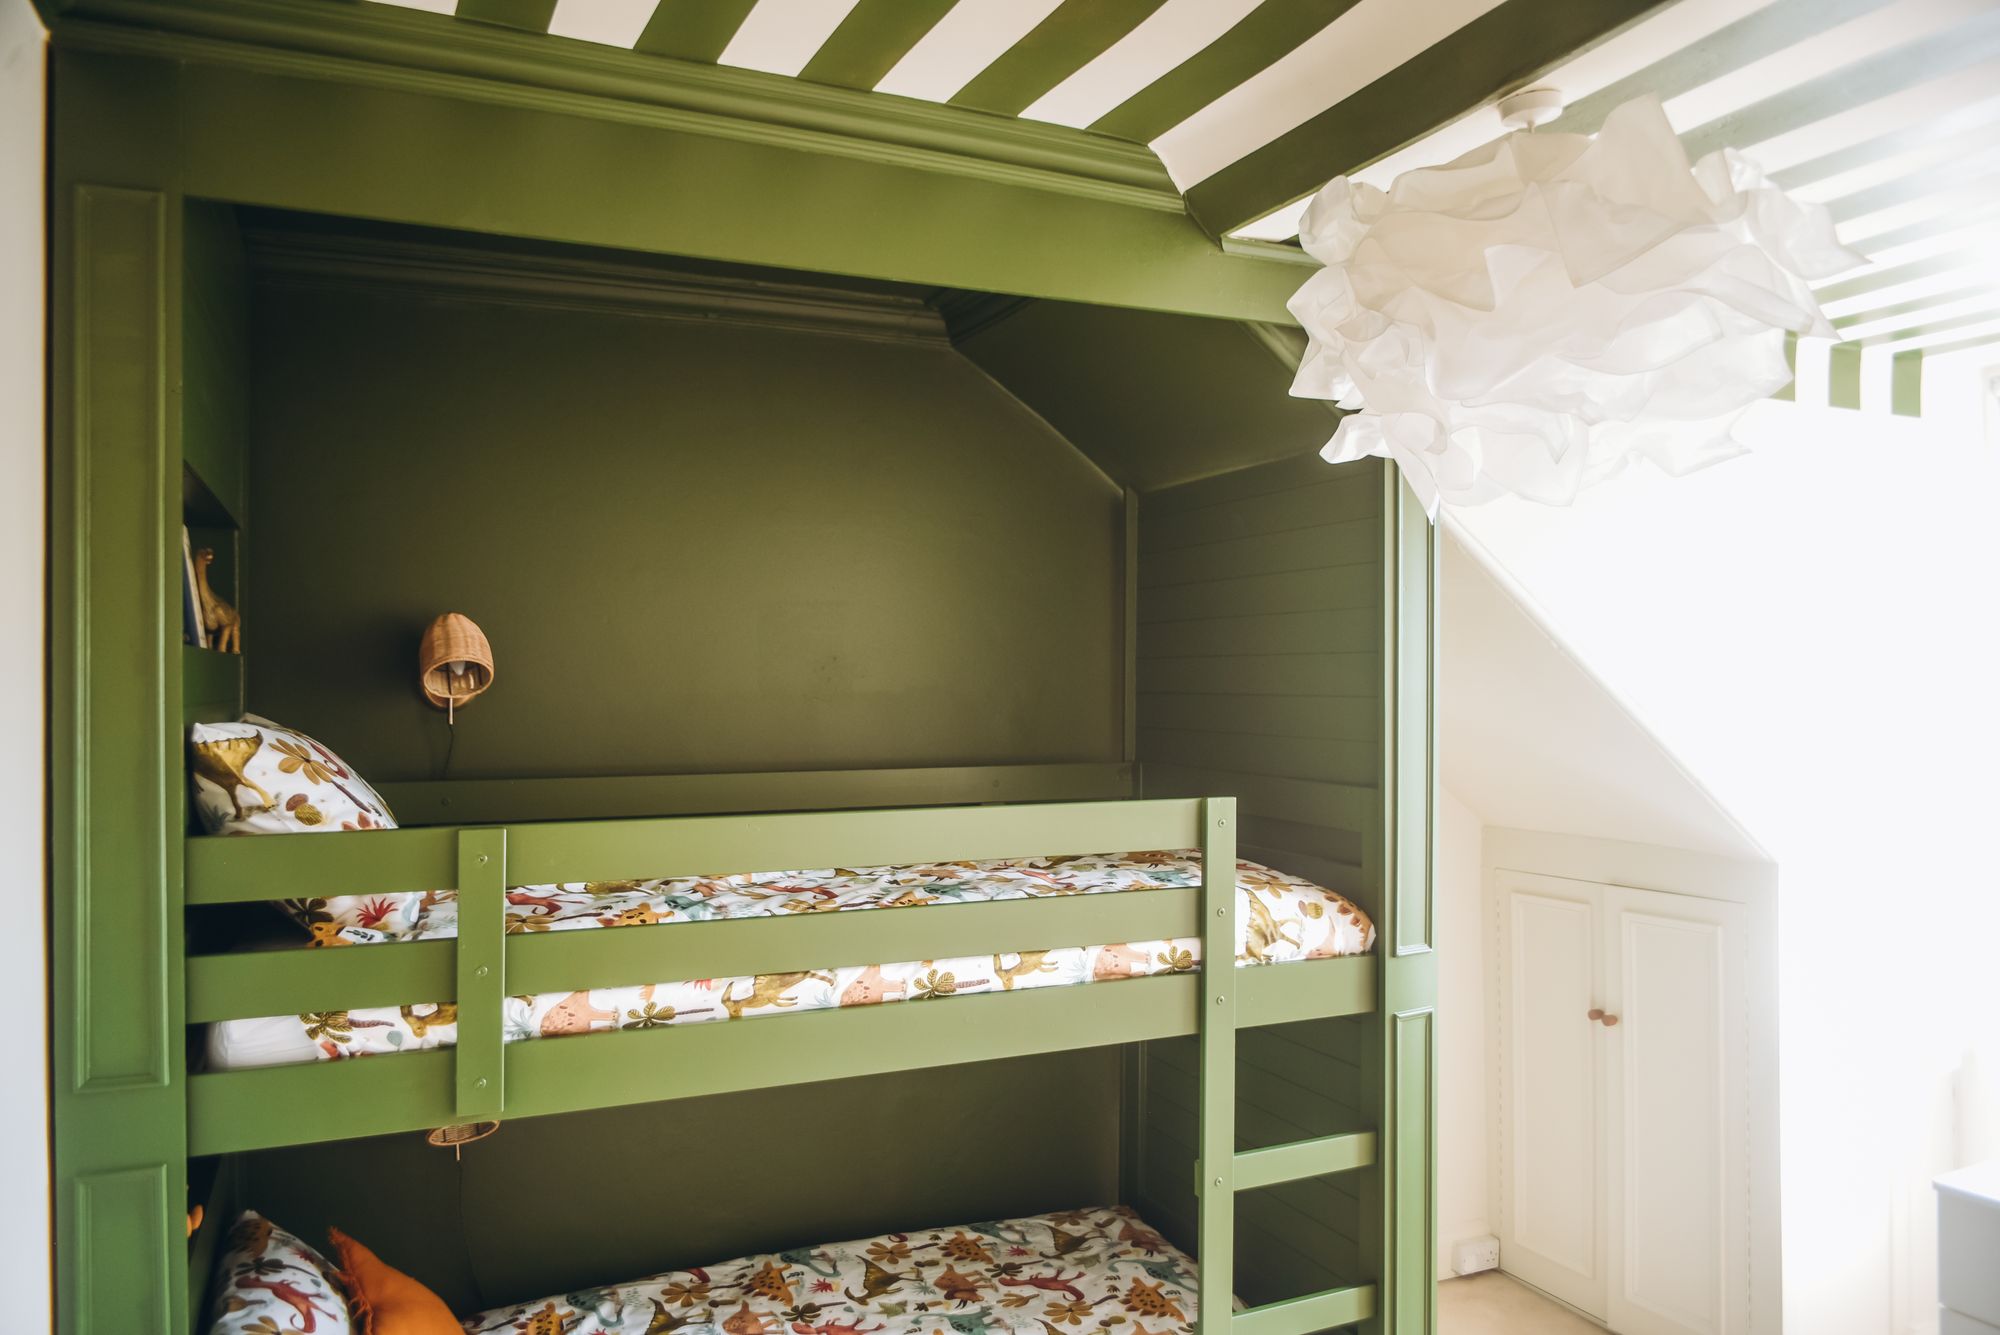
The initial vision was to create beautiful built-in bunks that would maximize the room's space. While considering various tutorials and timber costs, fate led me to a preloved gem—a pair of solid timber bunk beds for just £30. Not only did this align with my minimalist style, but it also ensured my children slept in something structurally sound and safe.
Despite the project extending over six months, the love invested in it never waned, and the final result exceeded my expectations.
Step-by-Step Guide: Crafting Bunkroom Bliss
1. Prepping the Base:
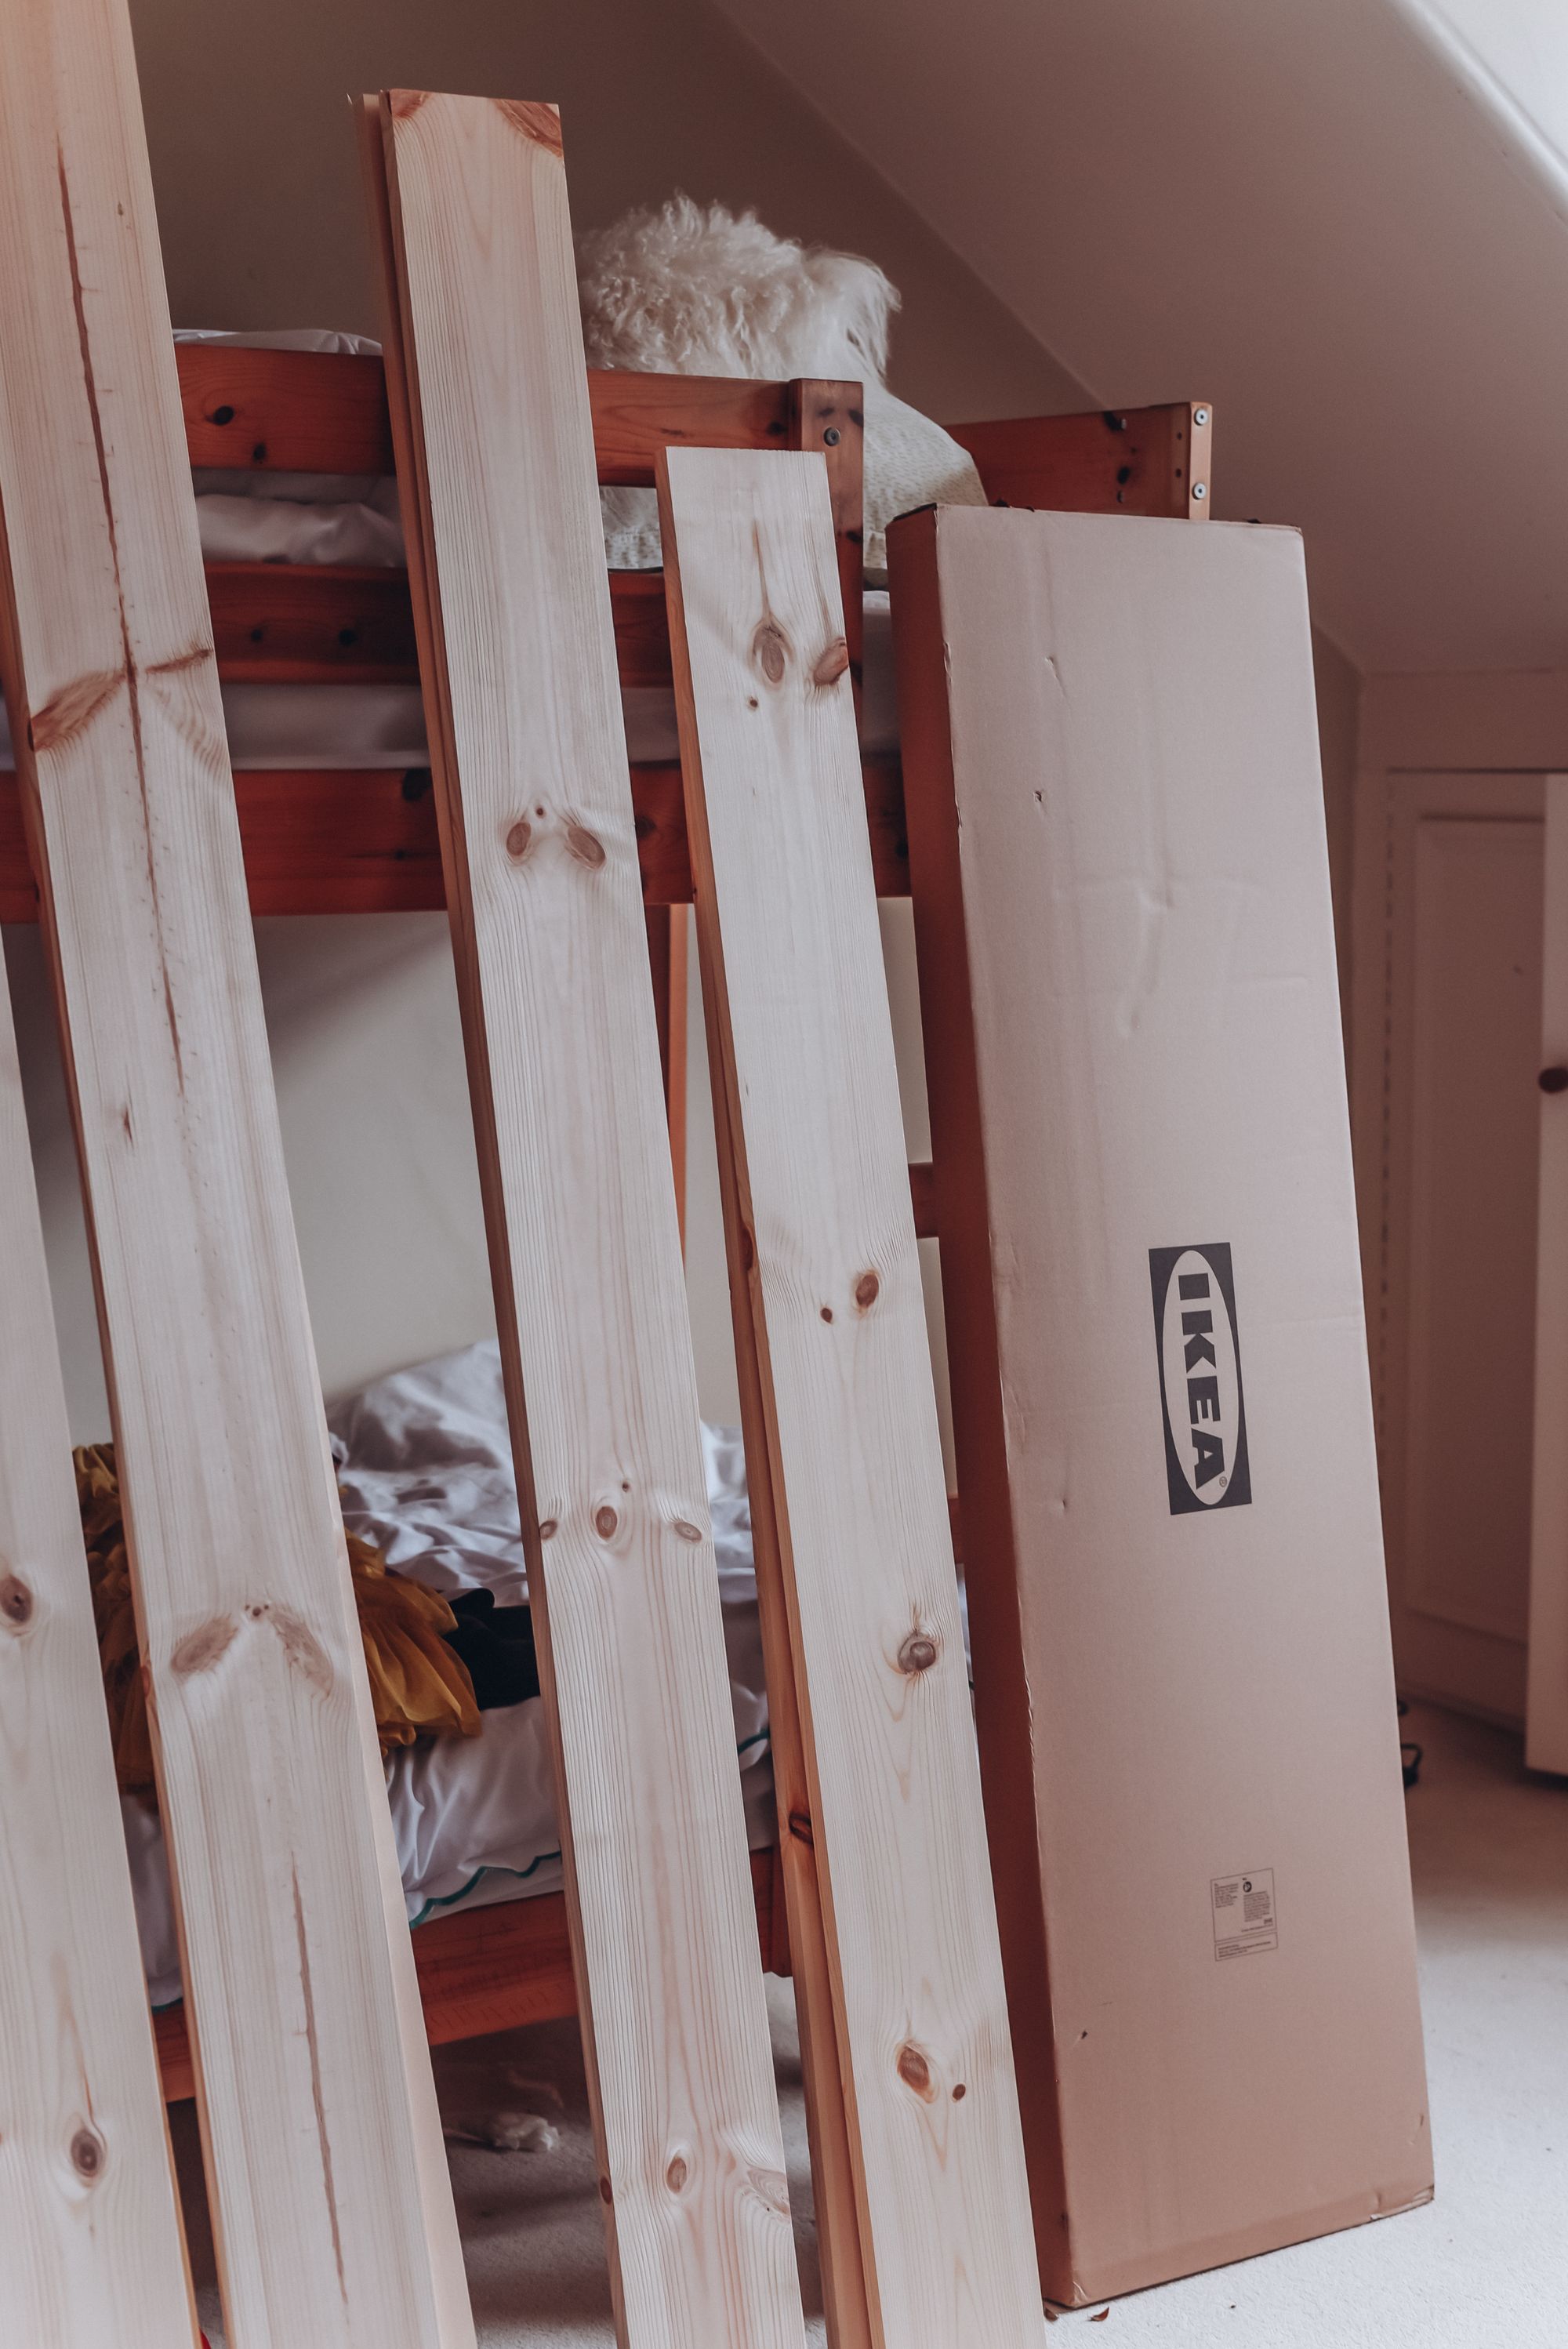
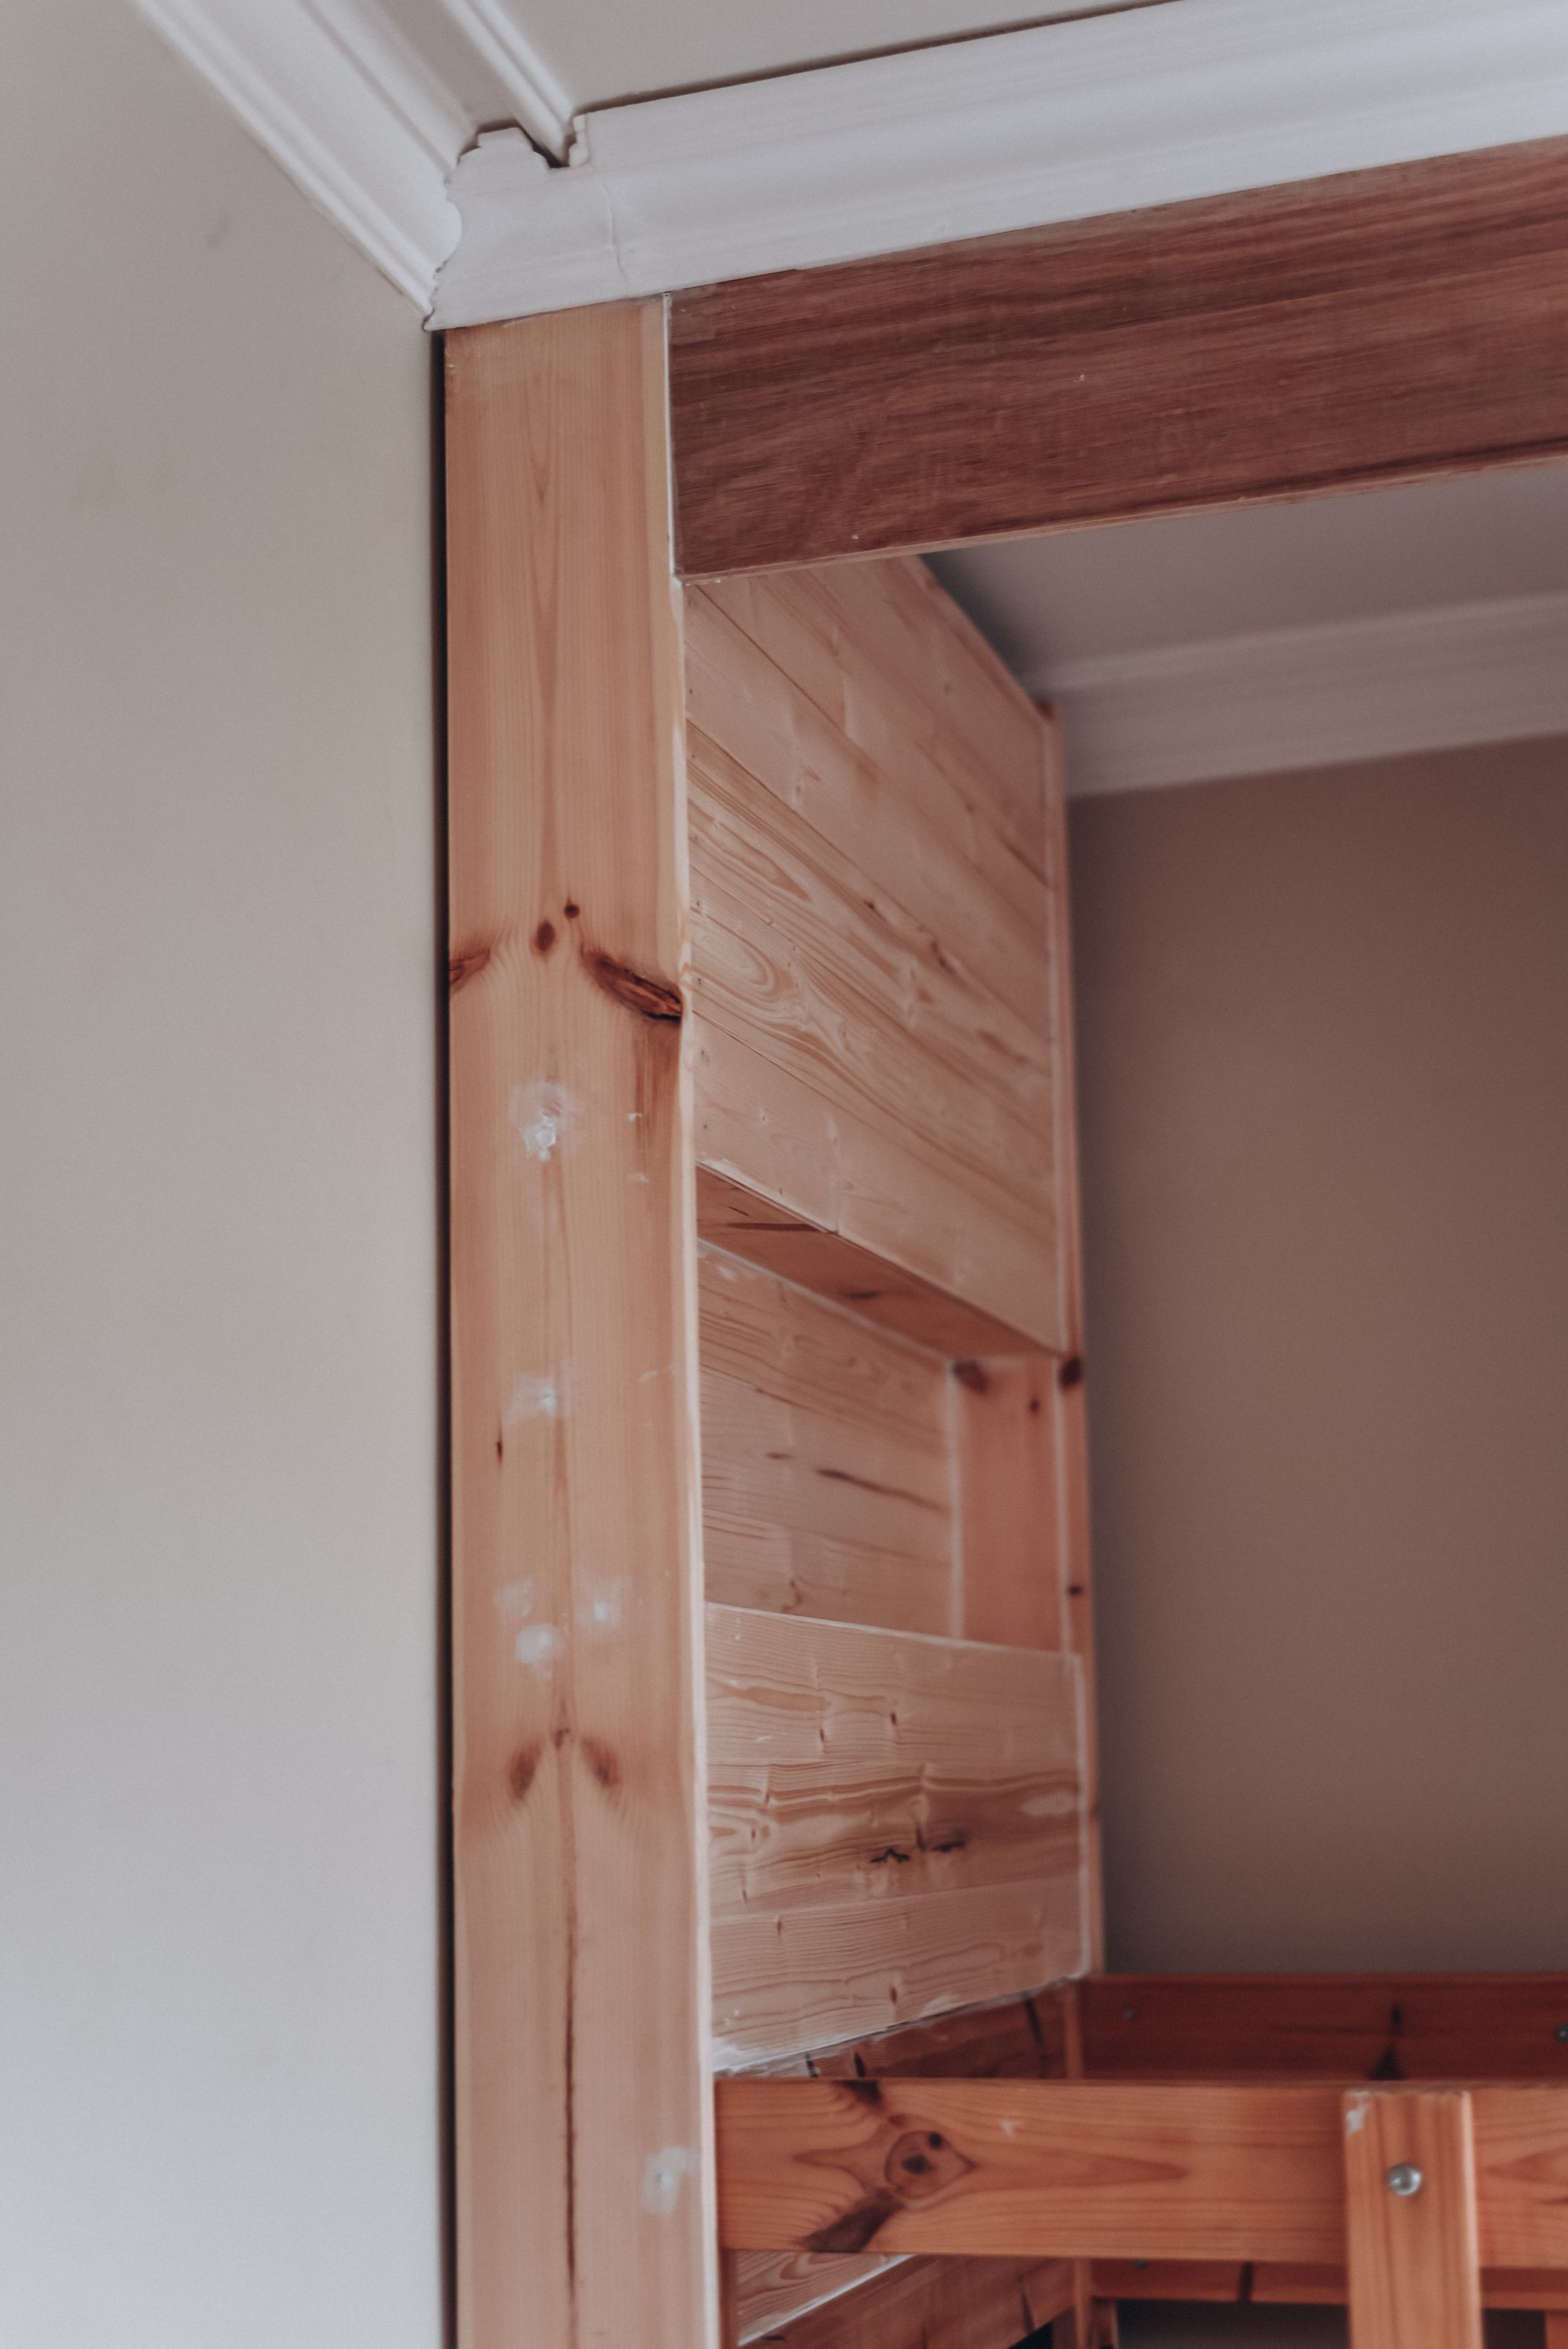
I kicked off the project by covering the bunk bed's uprights with lengths of pine. In hindsight, MDF would have been a more cost-effective choice, avoiding the bowing effect the pine caused. After all, a coat of paint was in the cards.
2. Building the Foundation:
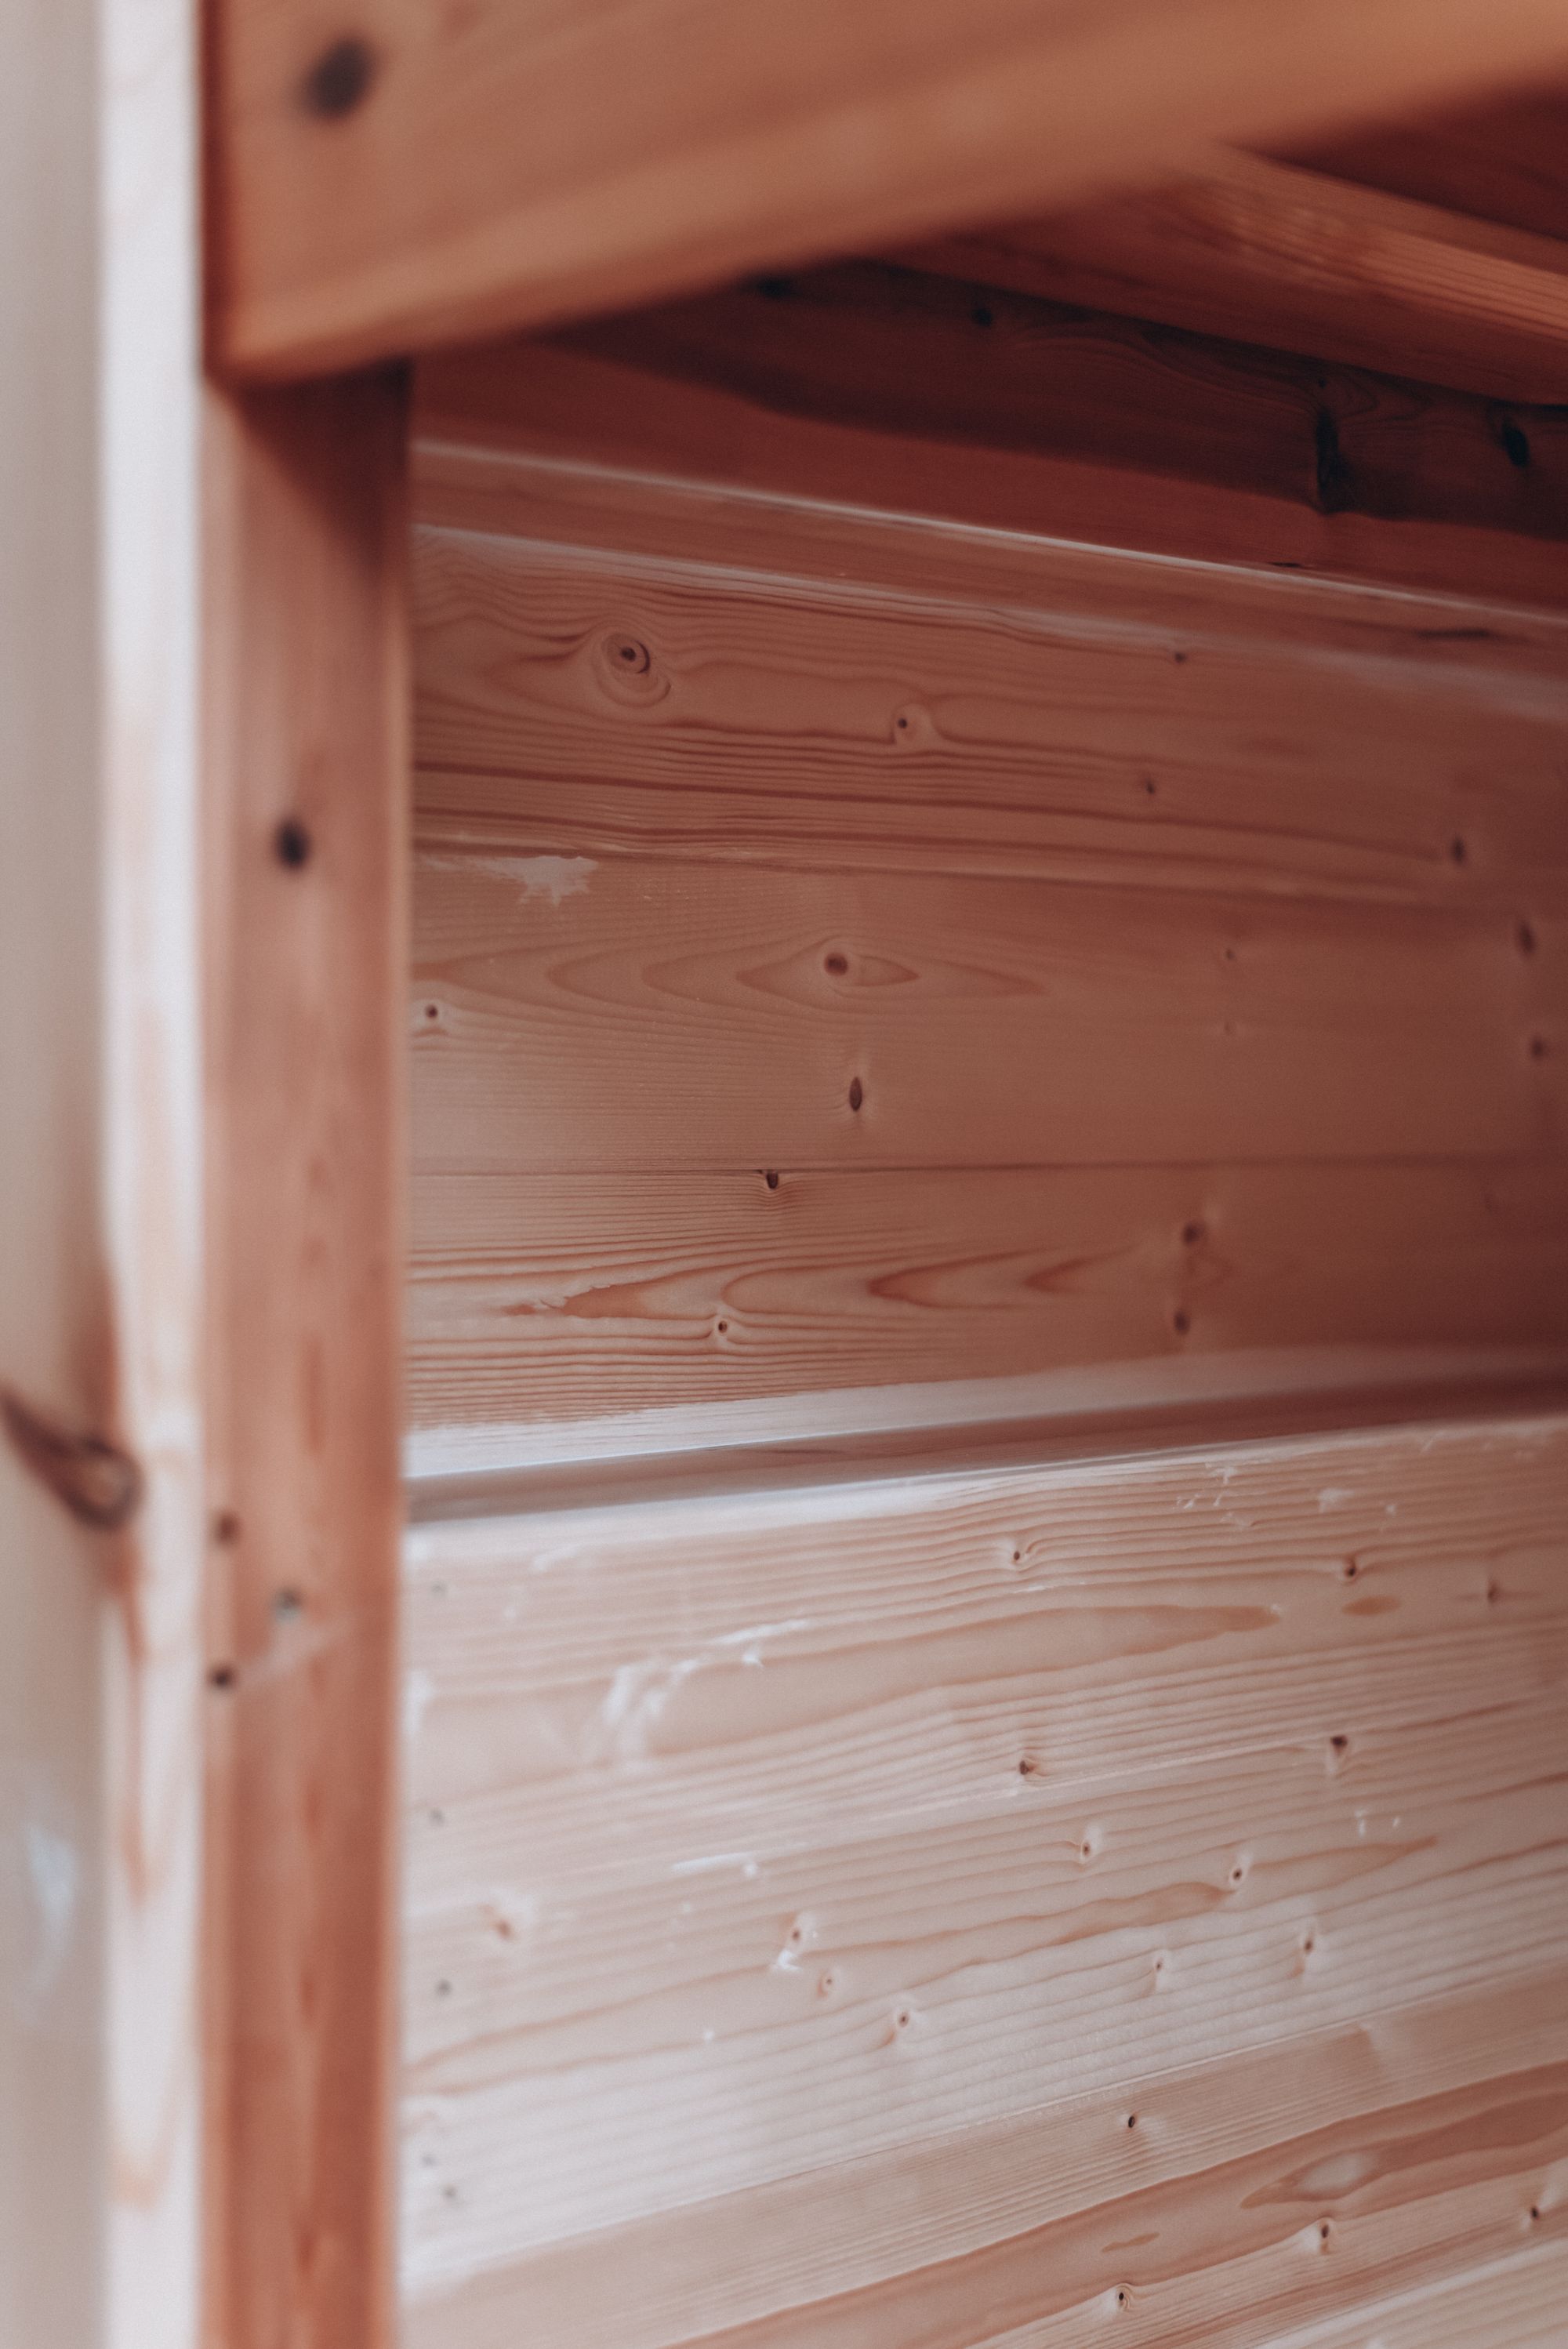
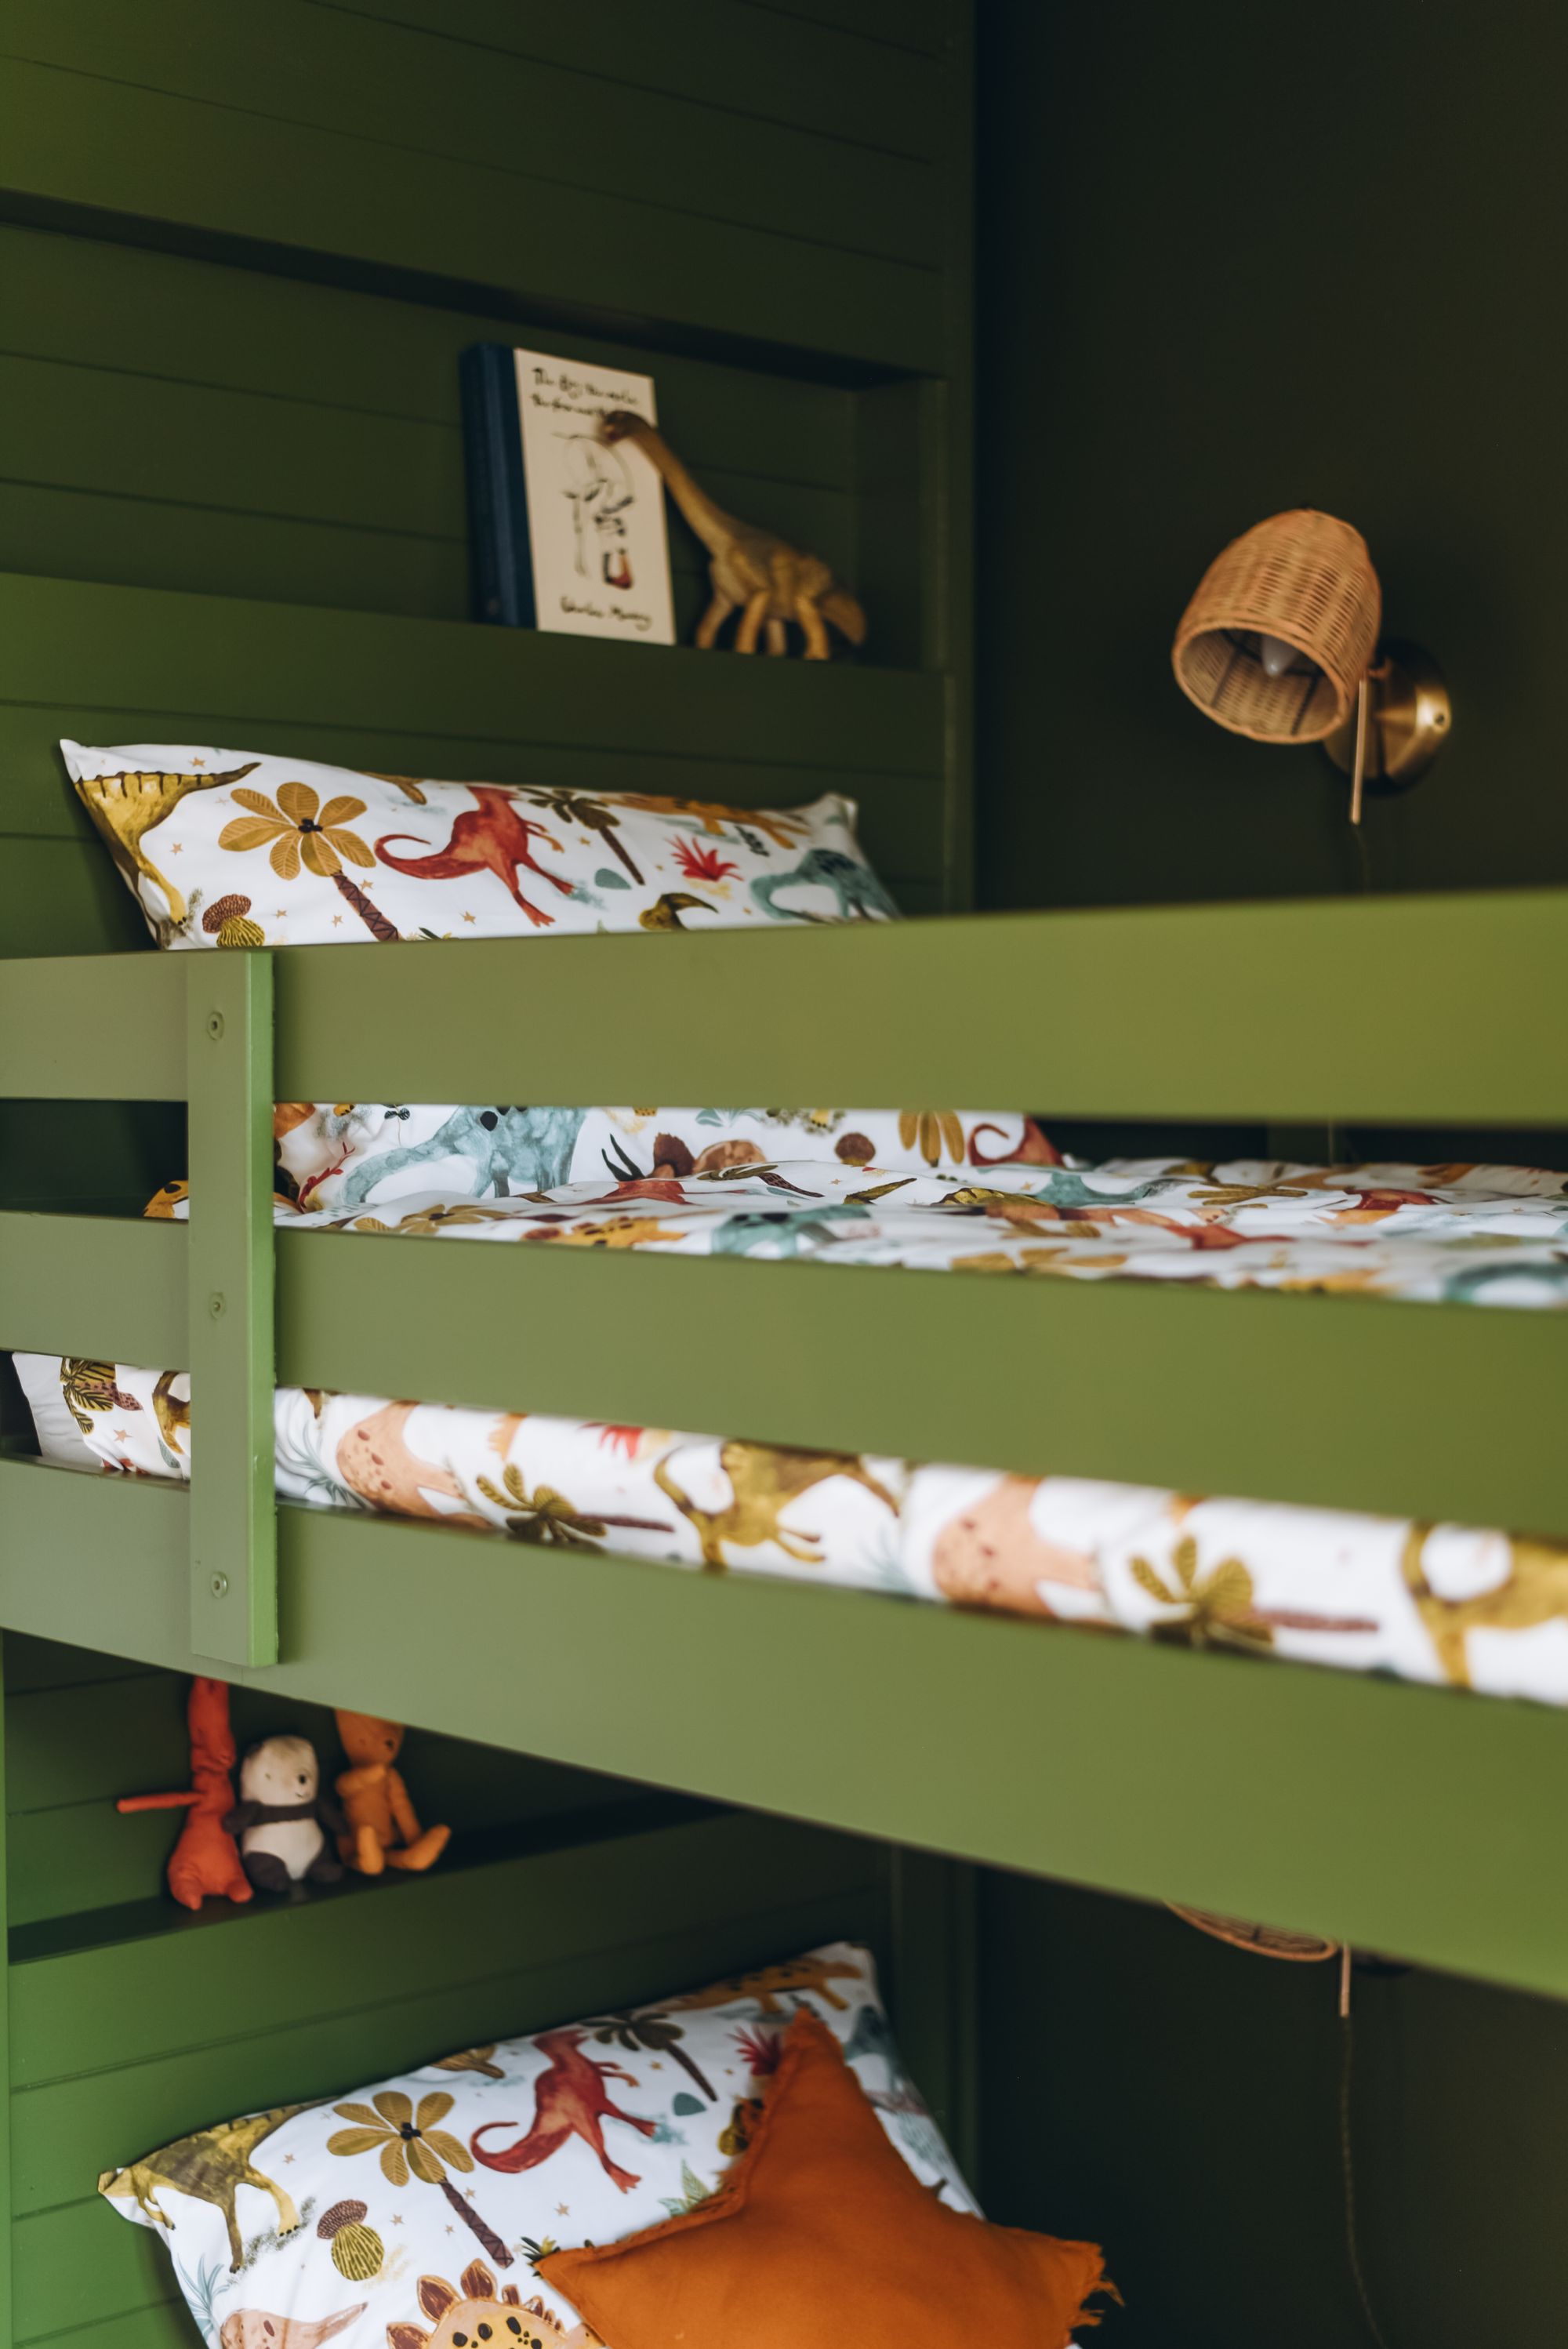
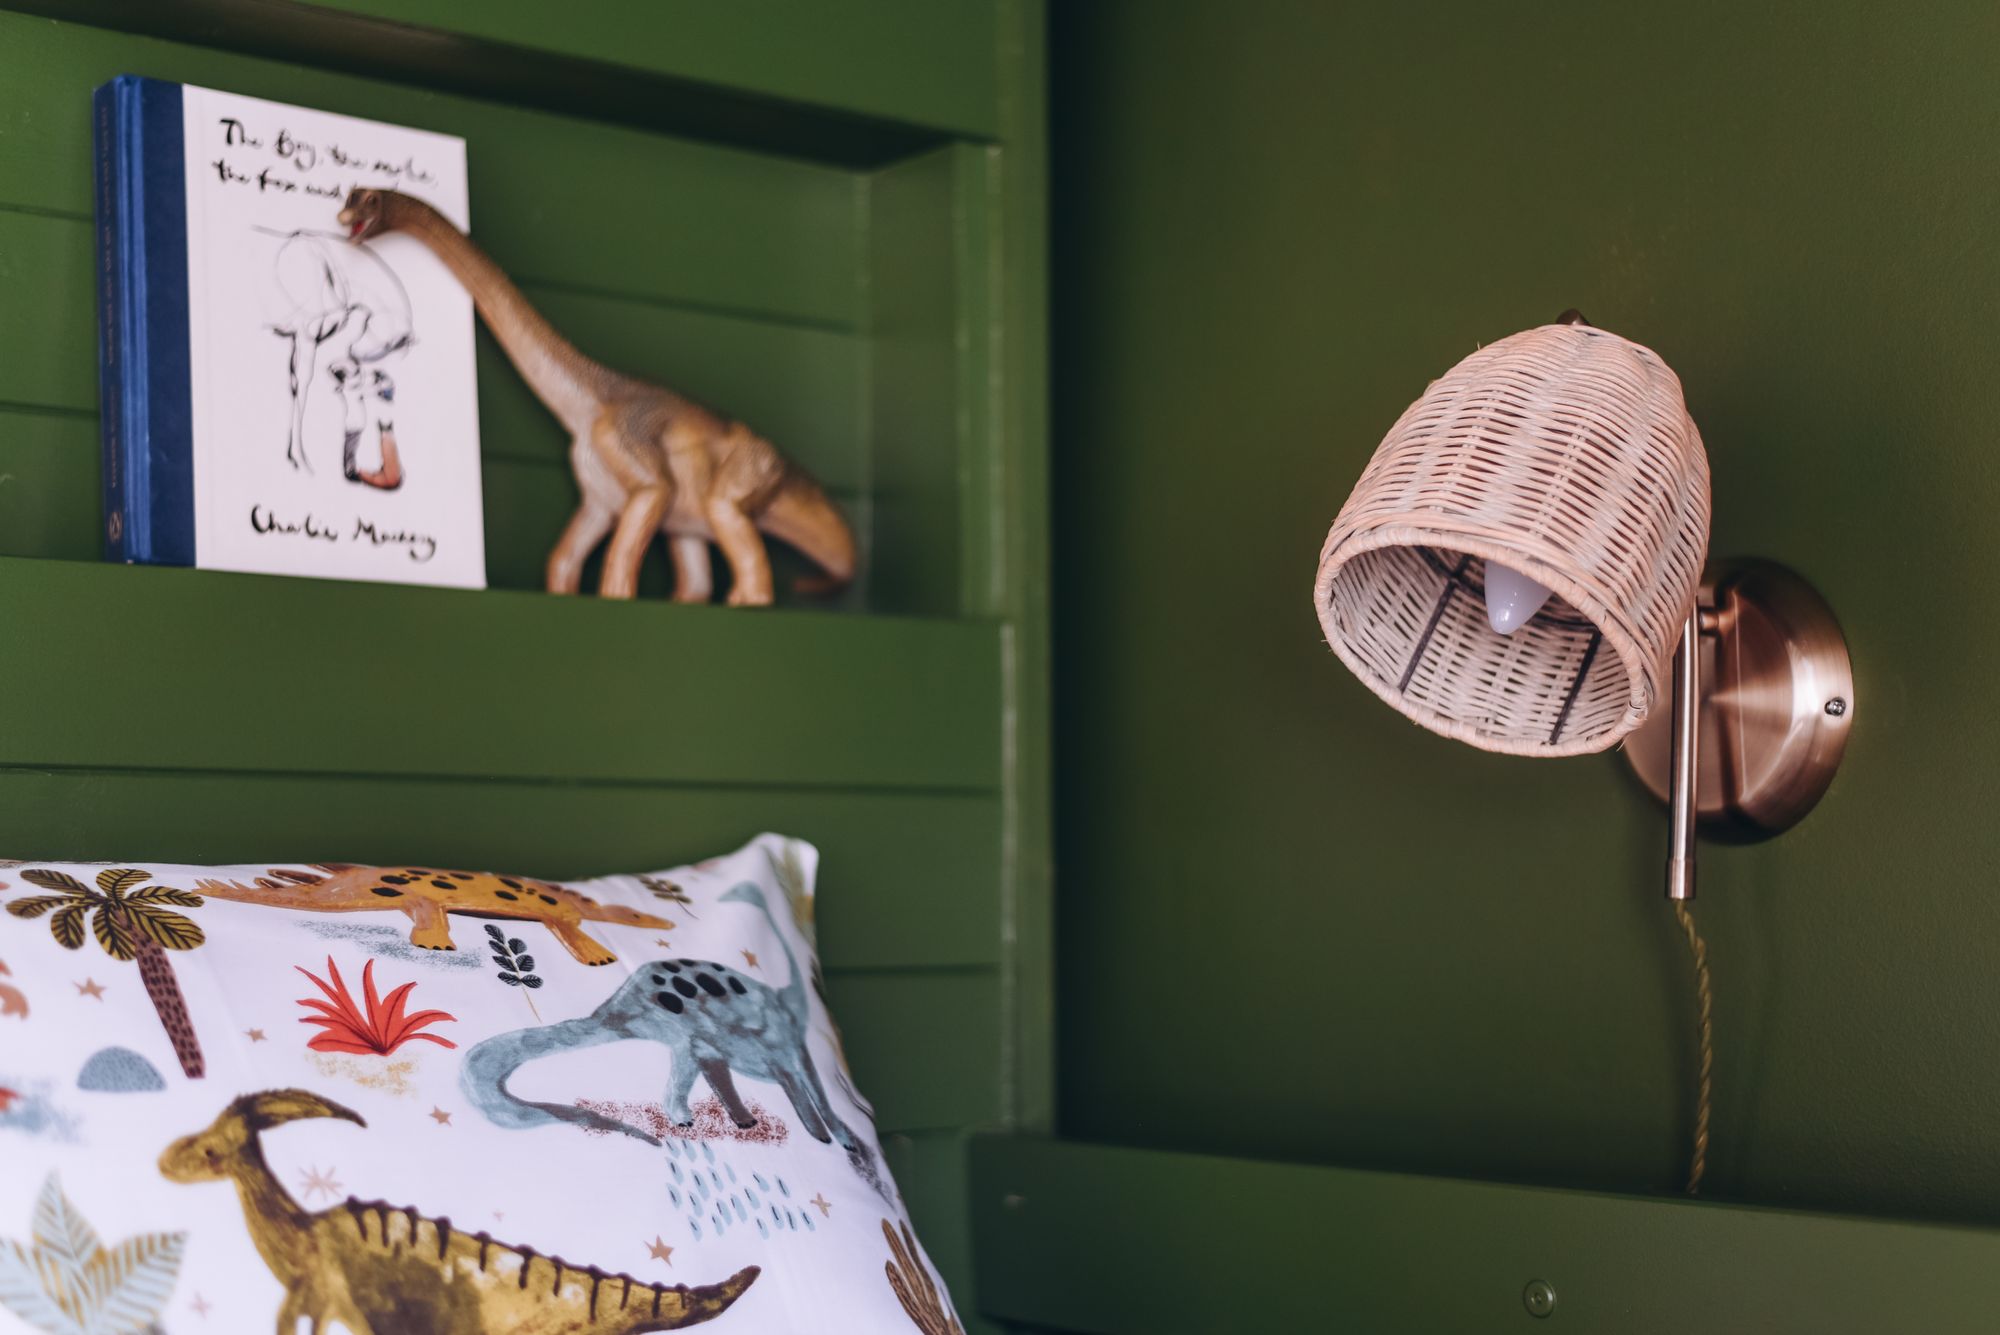
Tongue and groove cladding, recessed shelf building, and rounds of wood filler and decorator's caulk shaped the bunk's basic structure. The right side received a 21mm ply backing, a budget upgrade for a future climbing wall.
3. Adding a Traditional Touch:
Decorative trim and polystyrene coving infused a traditional vibe, perfectly aligning with the house's character. Opting for cost-effective coving, we worked around the original design, ensuring a seamless integration.
4. Painting Magic:
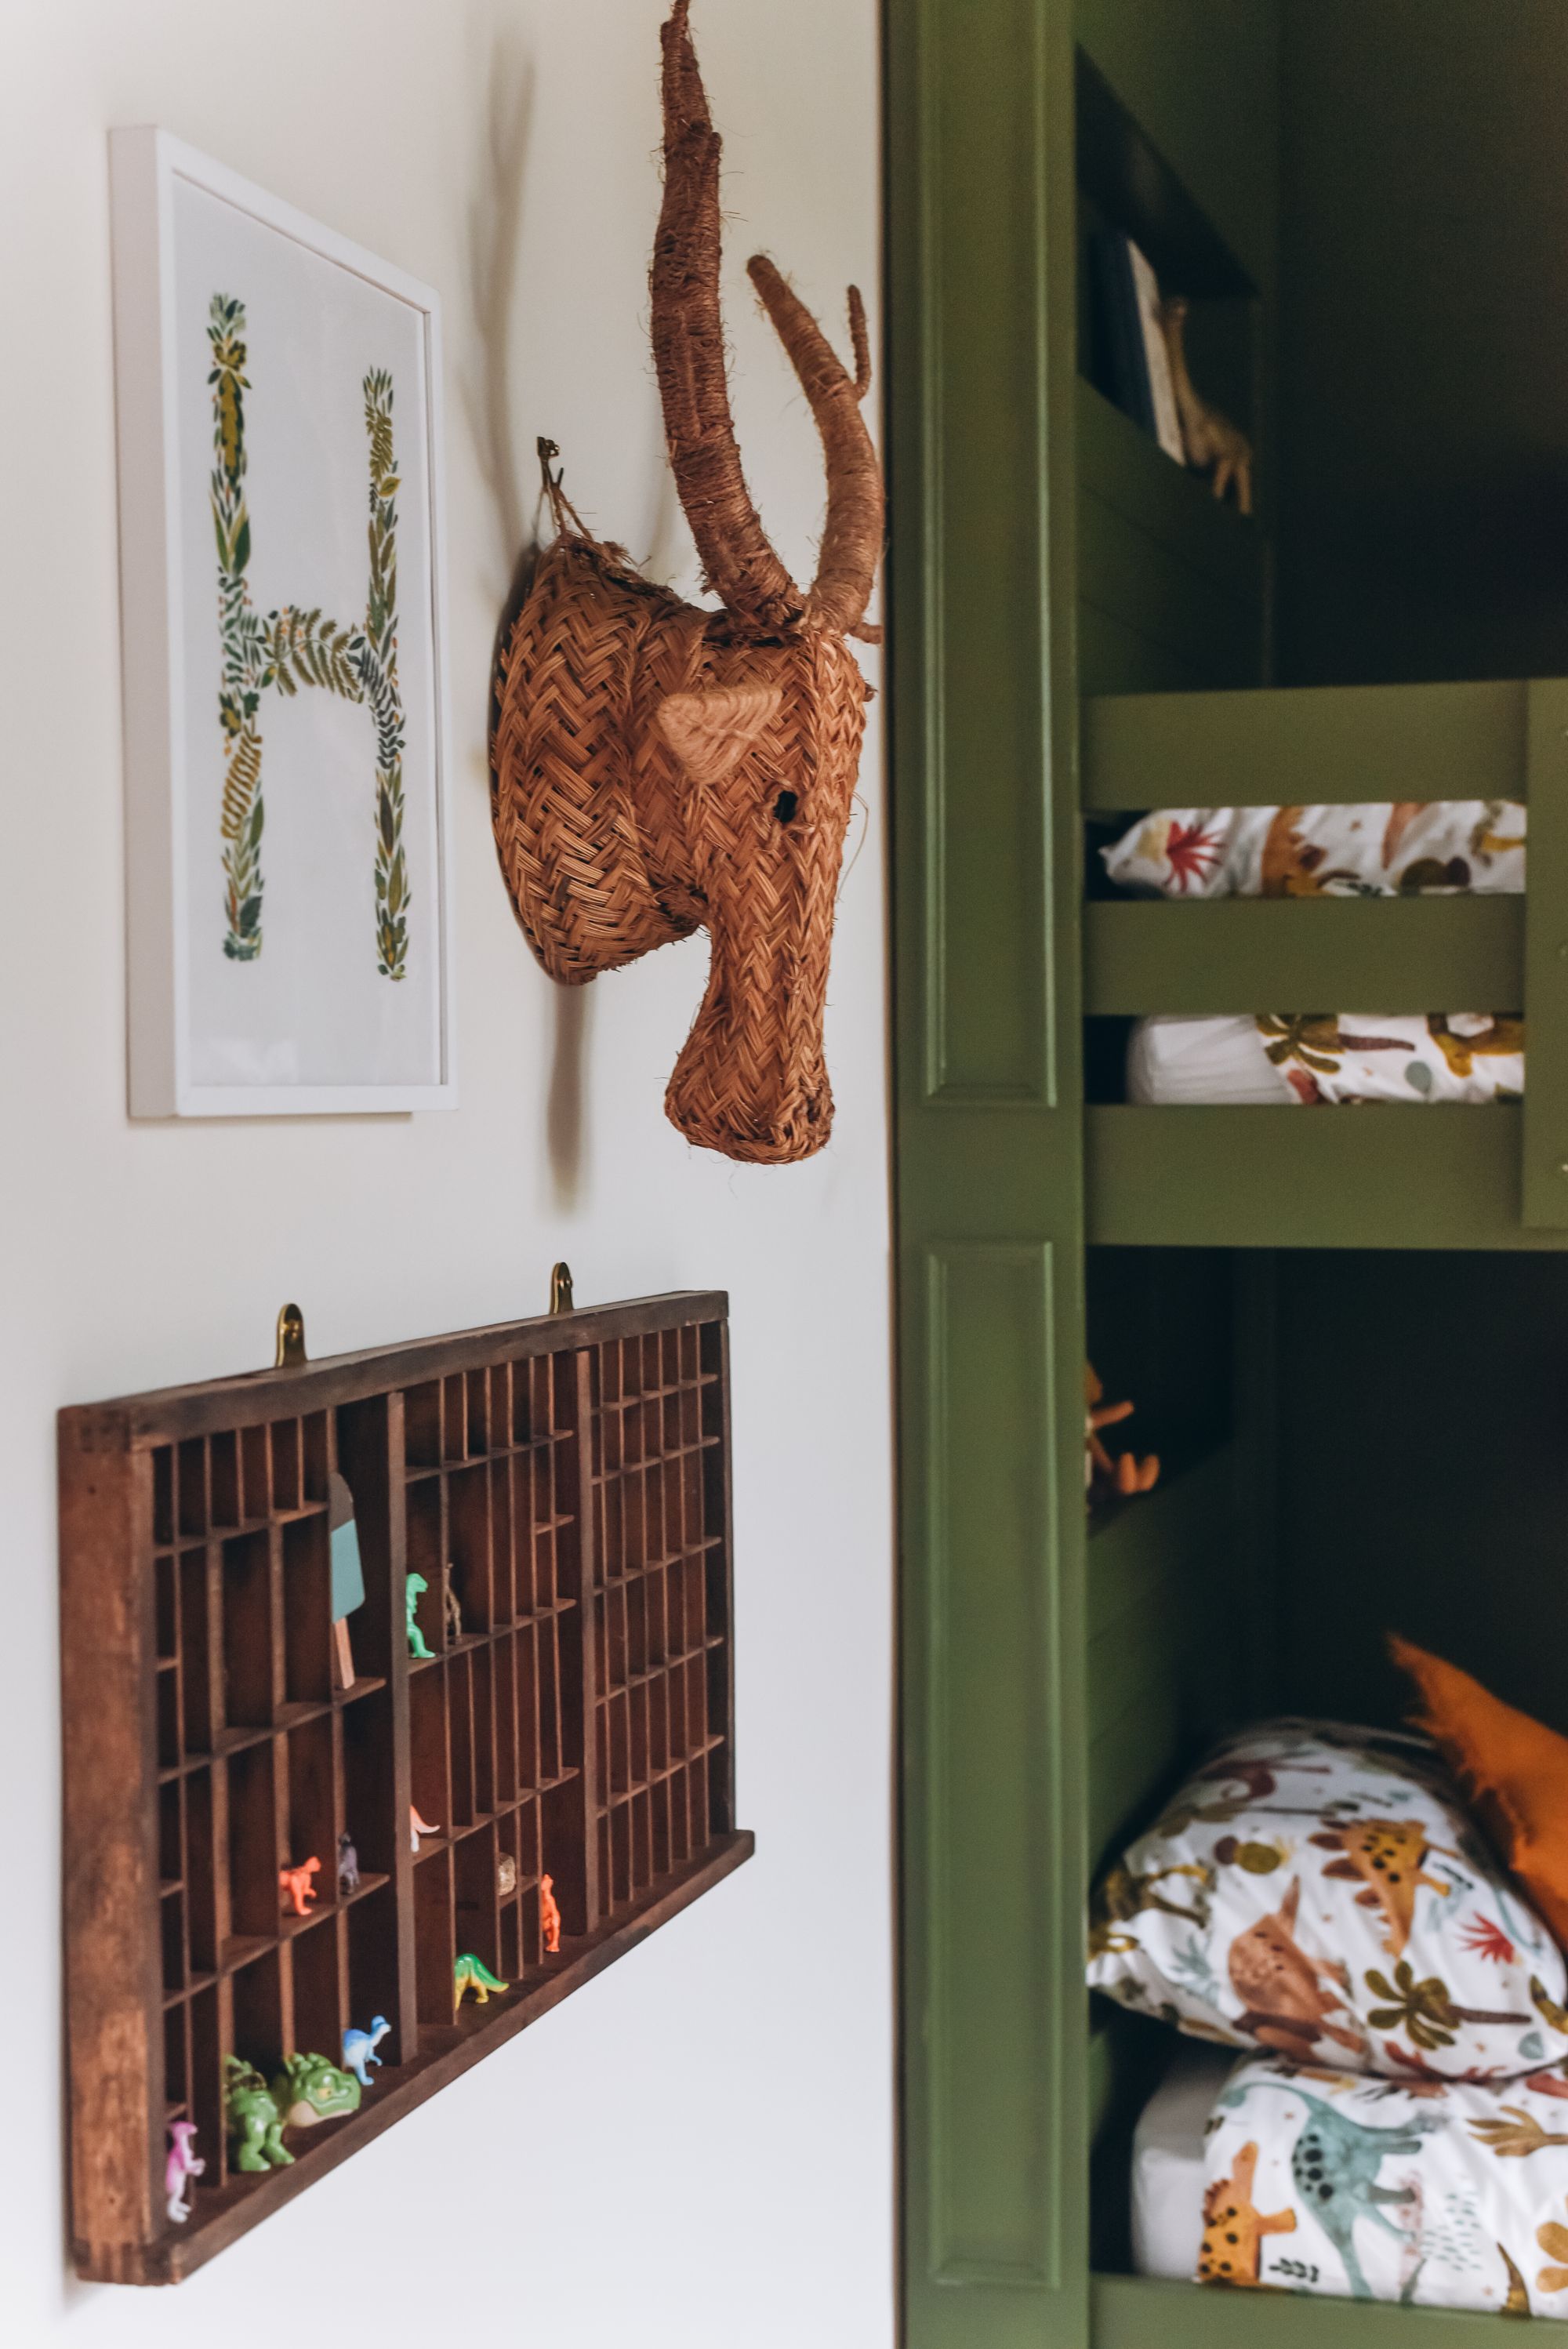
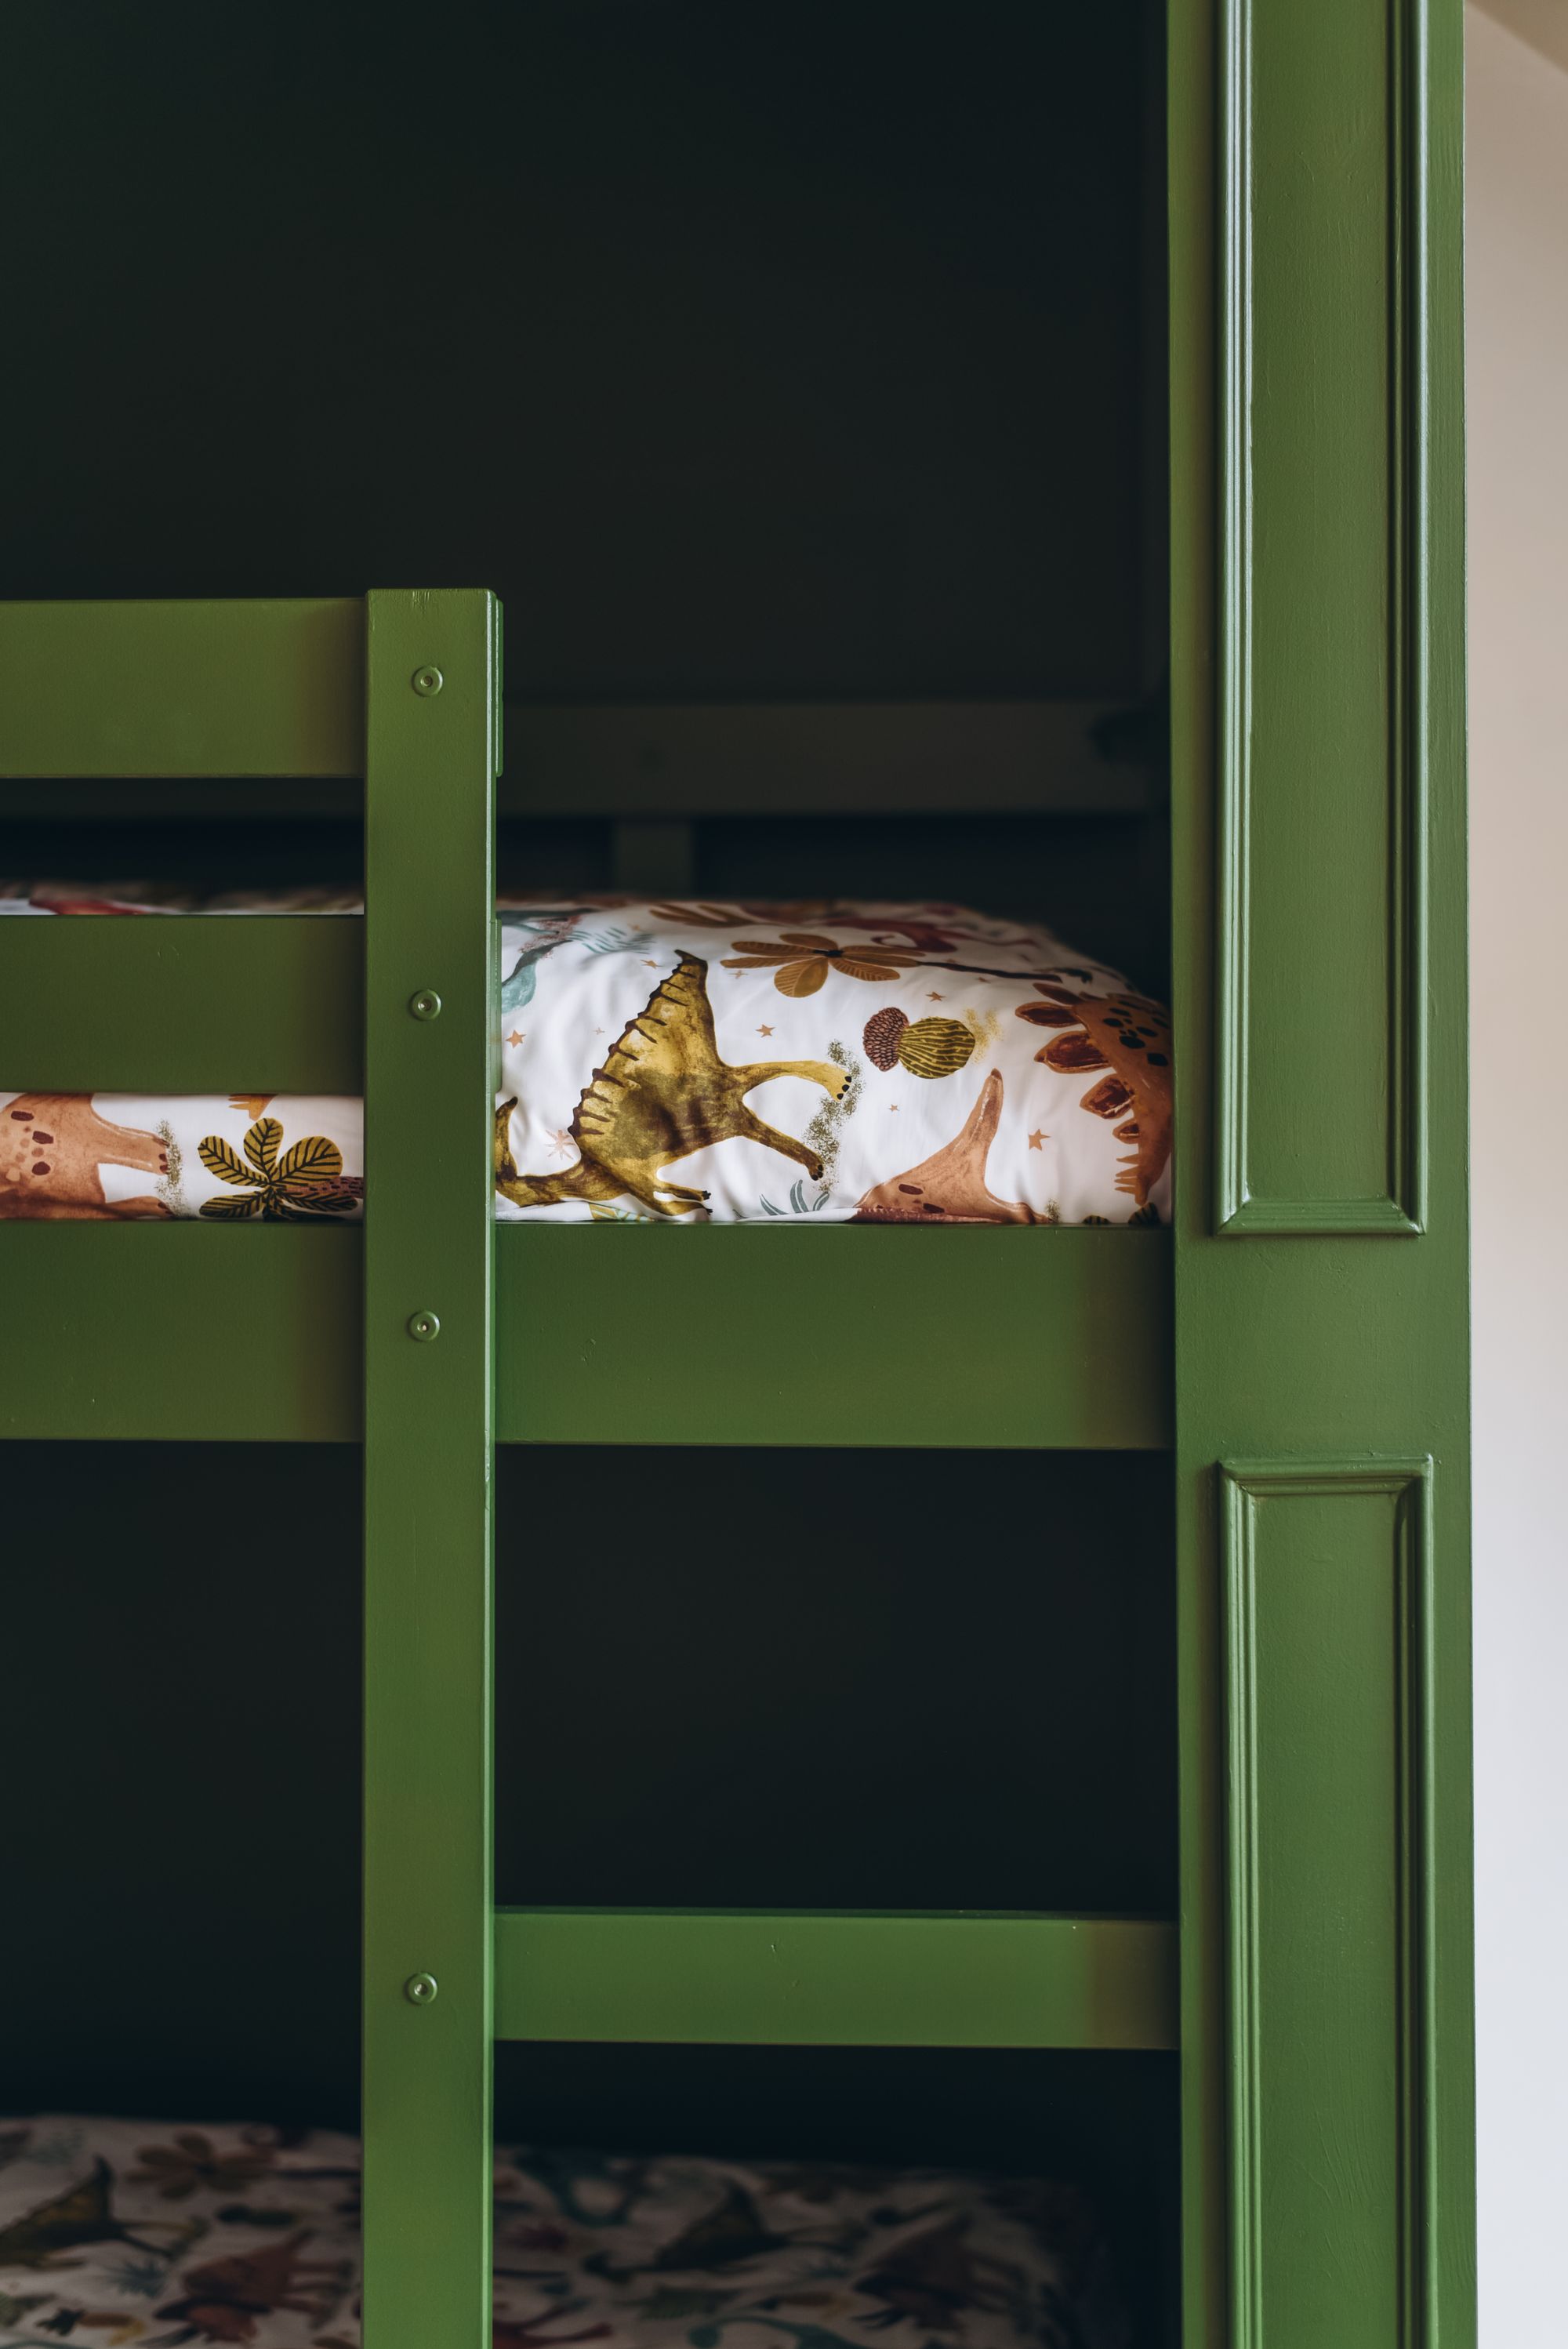
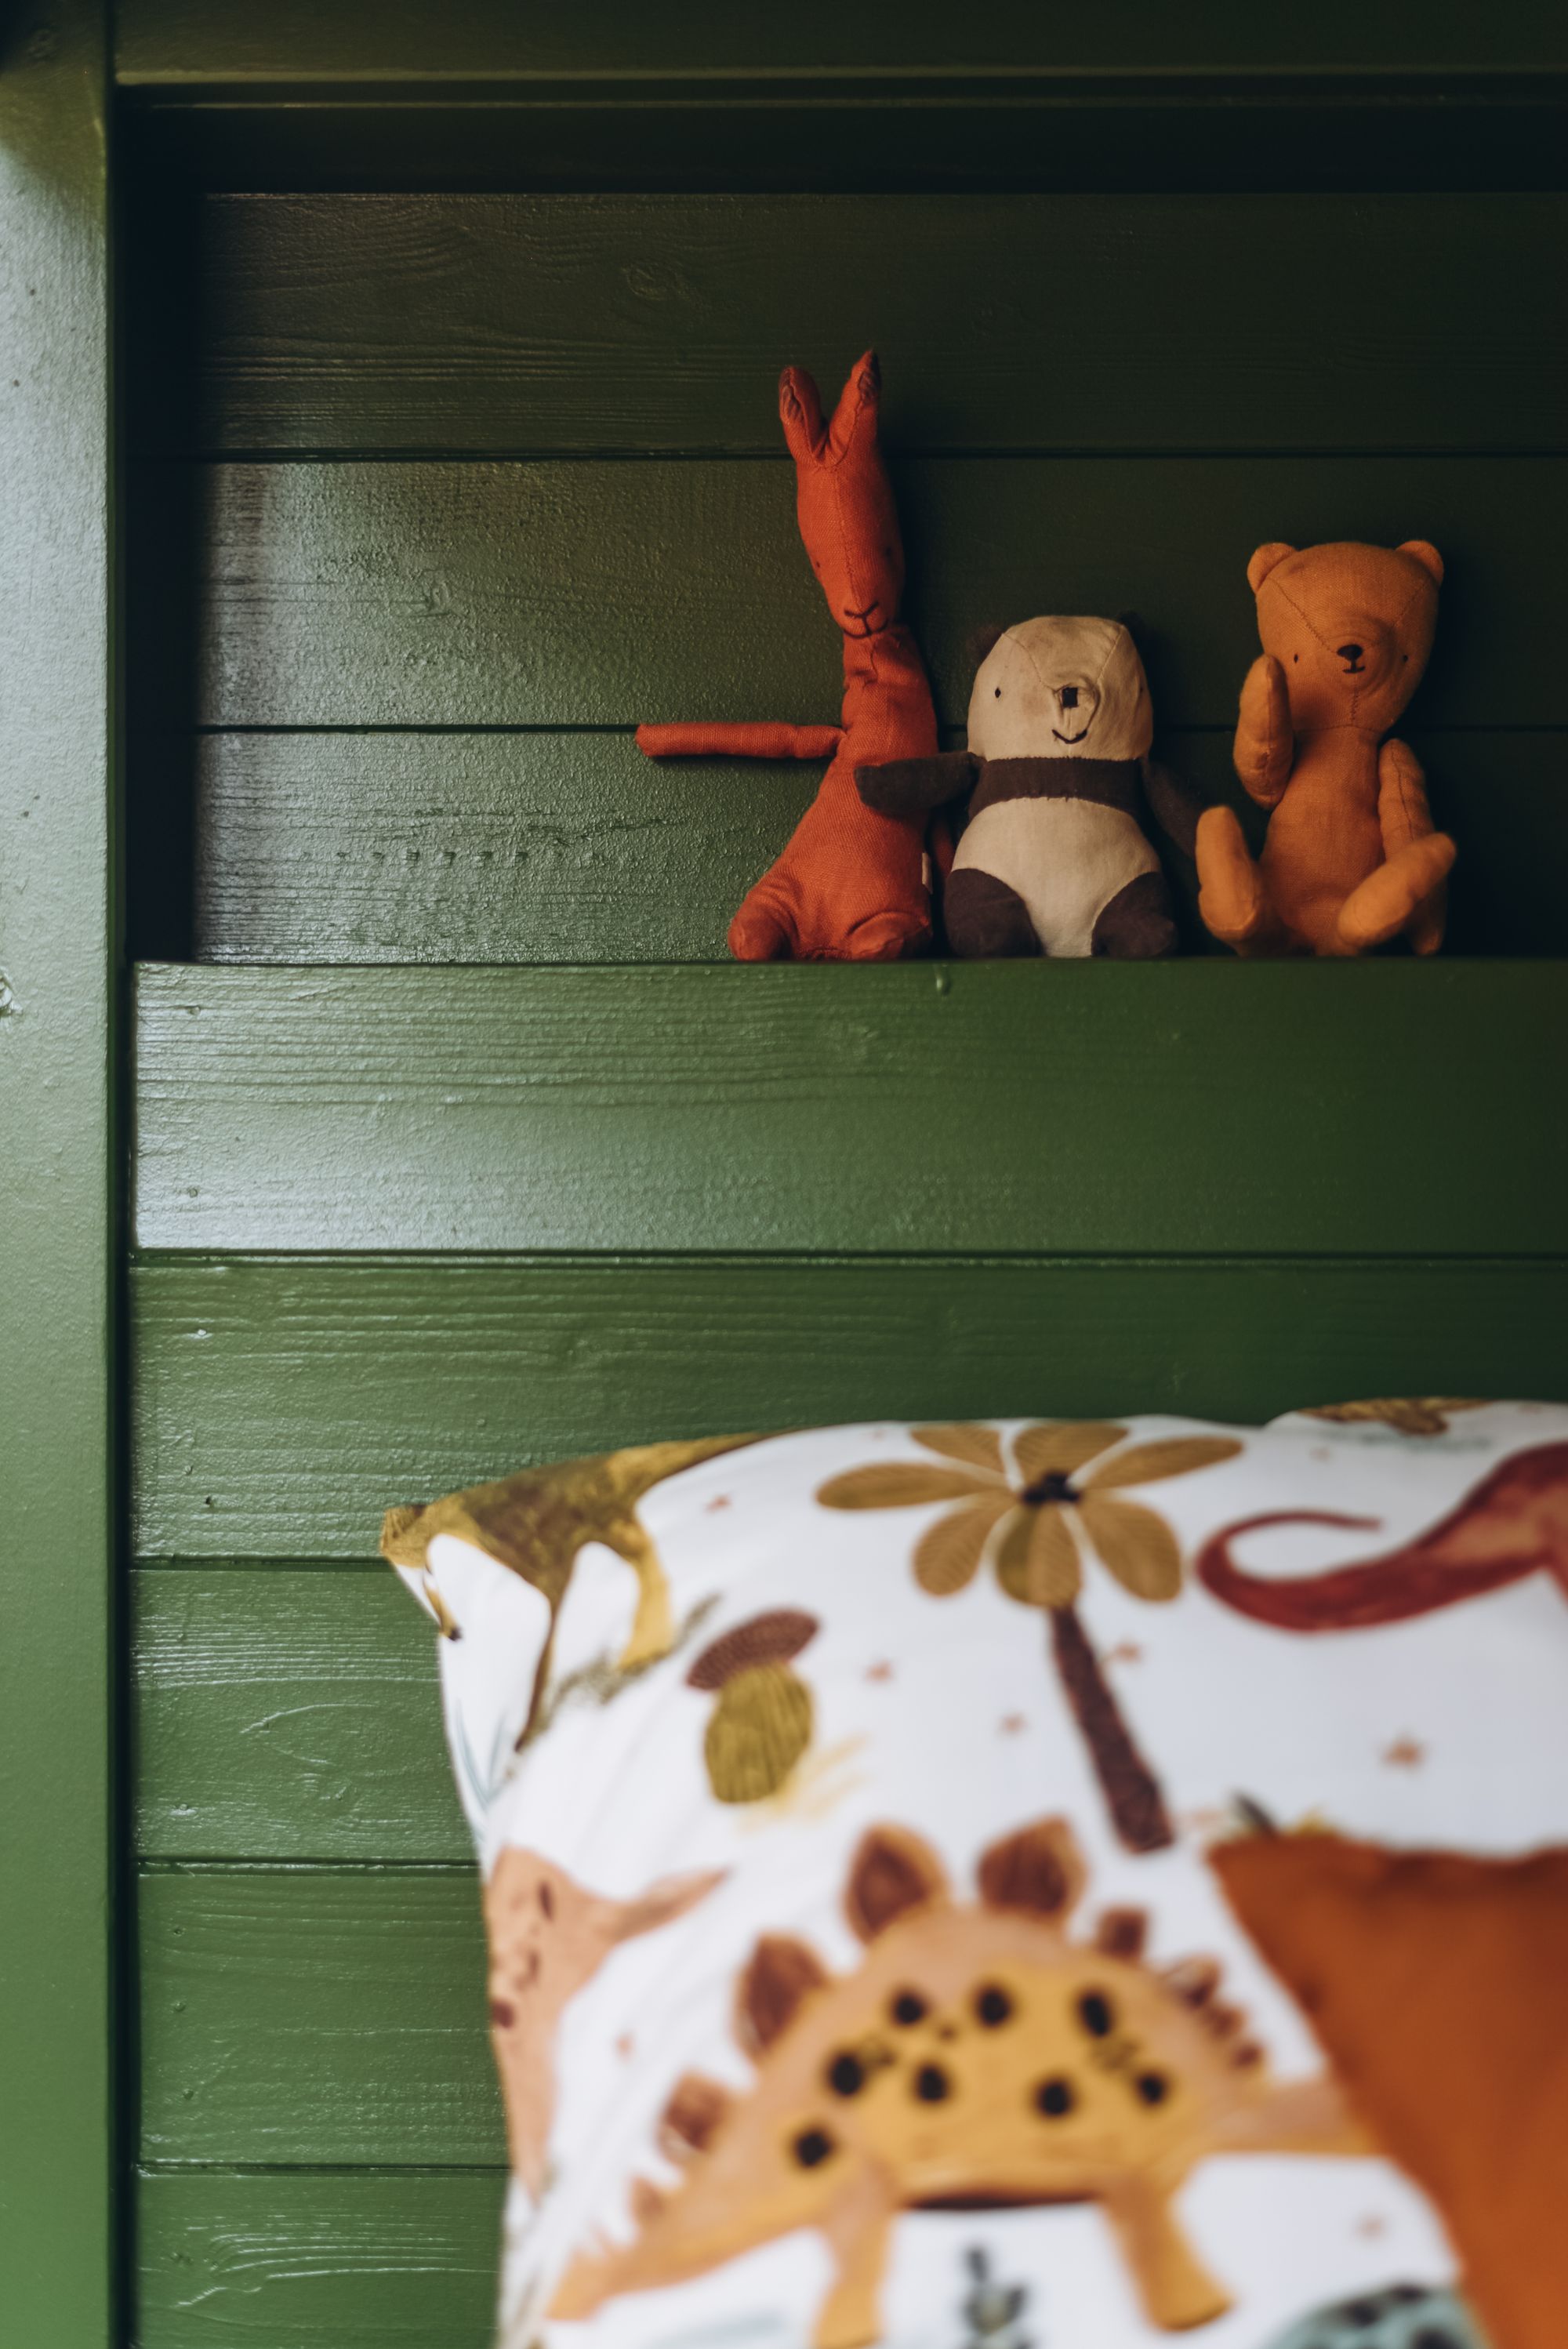
We sanded, primed, and painted both the bunk beds and storage drawers using Little Greene paint. The vibrant 'Jewel Beetle' green chosen by my son added a playful touch. Little Greene paints not only boast beautiful colors but also child-safe and environmentally friendly features.
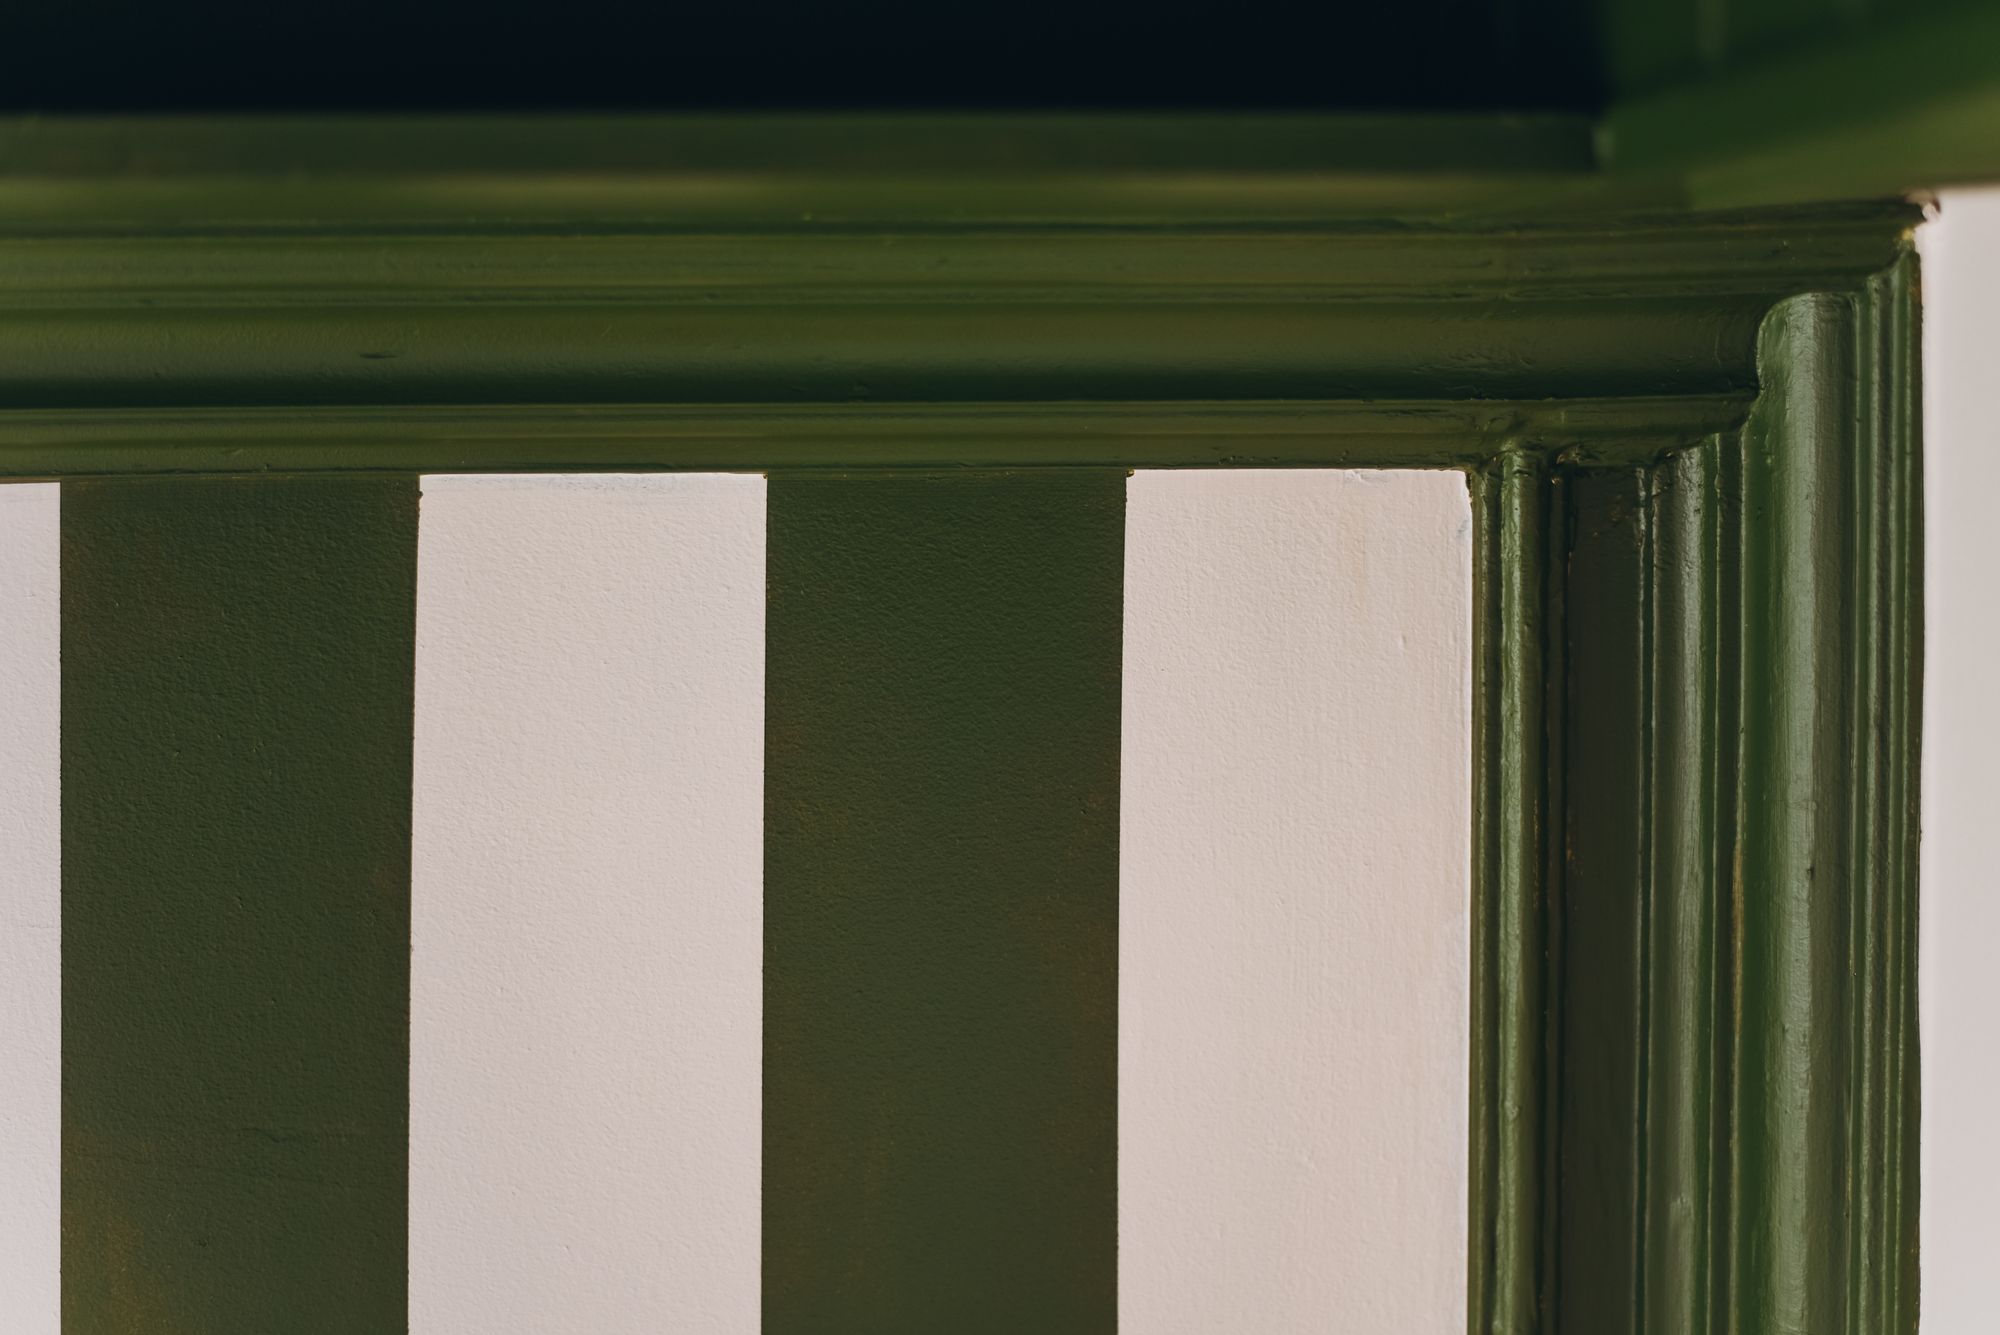
5. Stripes and Details:
Achieving those ceiling stripes required teamwork and precision with green Frog Tape. A top tip: peel off the tape when the final coat is wet for the crispest lines.
6. Finishing Touches:
Solid brass handles from From The Anvil served as the final embellishments—an investment that elevated the overall aesthetic.
Budget Breakdown: DIY Magic on a Budget
- DIY built-in bunk beds: £342
- M&J Timber (pine lengths): £140
- B&Q (cladding, wood filler, caulk, ply, wood screws, pins & cornice): £107
- Facebook Marketplace (solid pine bunk beds): £30
- IKEA (under bed storage): £65
- Little Greene (paint was part of a partnership)
- From The Anvil (handles were a gift from the brand)
Total: £684
I'm delighted with the outcome, and I can't wait to see the joy in my little ones' eyes. If you have any questions or need advice for your own project, drop them in the comments below. Happy crafting!
Creator: Wendy
Instagram: @thankfifi
Pinterest: @thankfifi