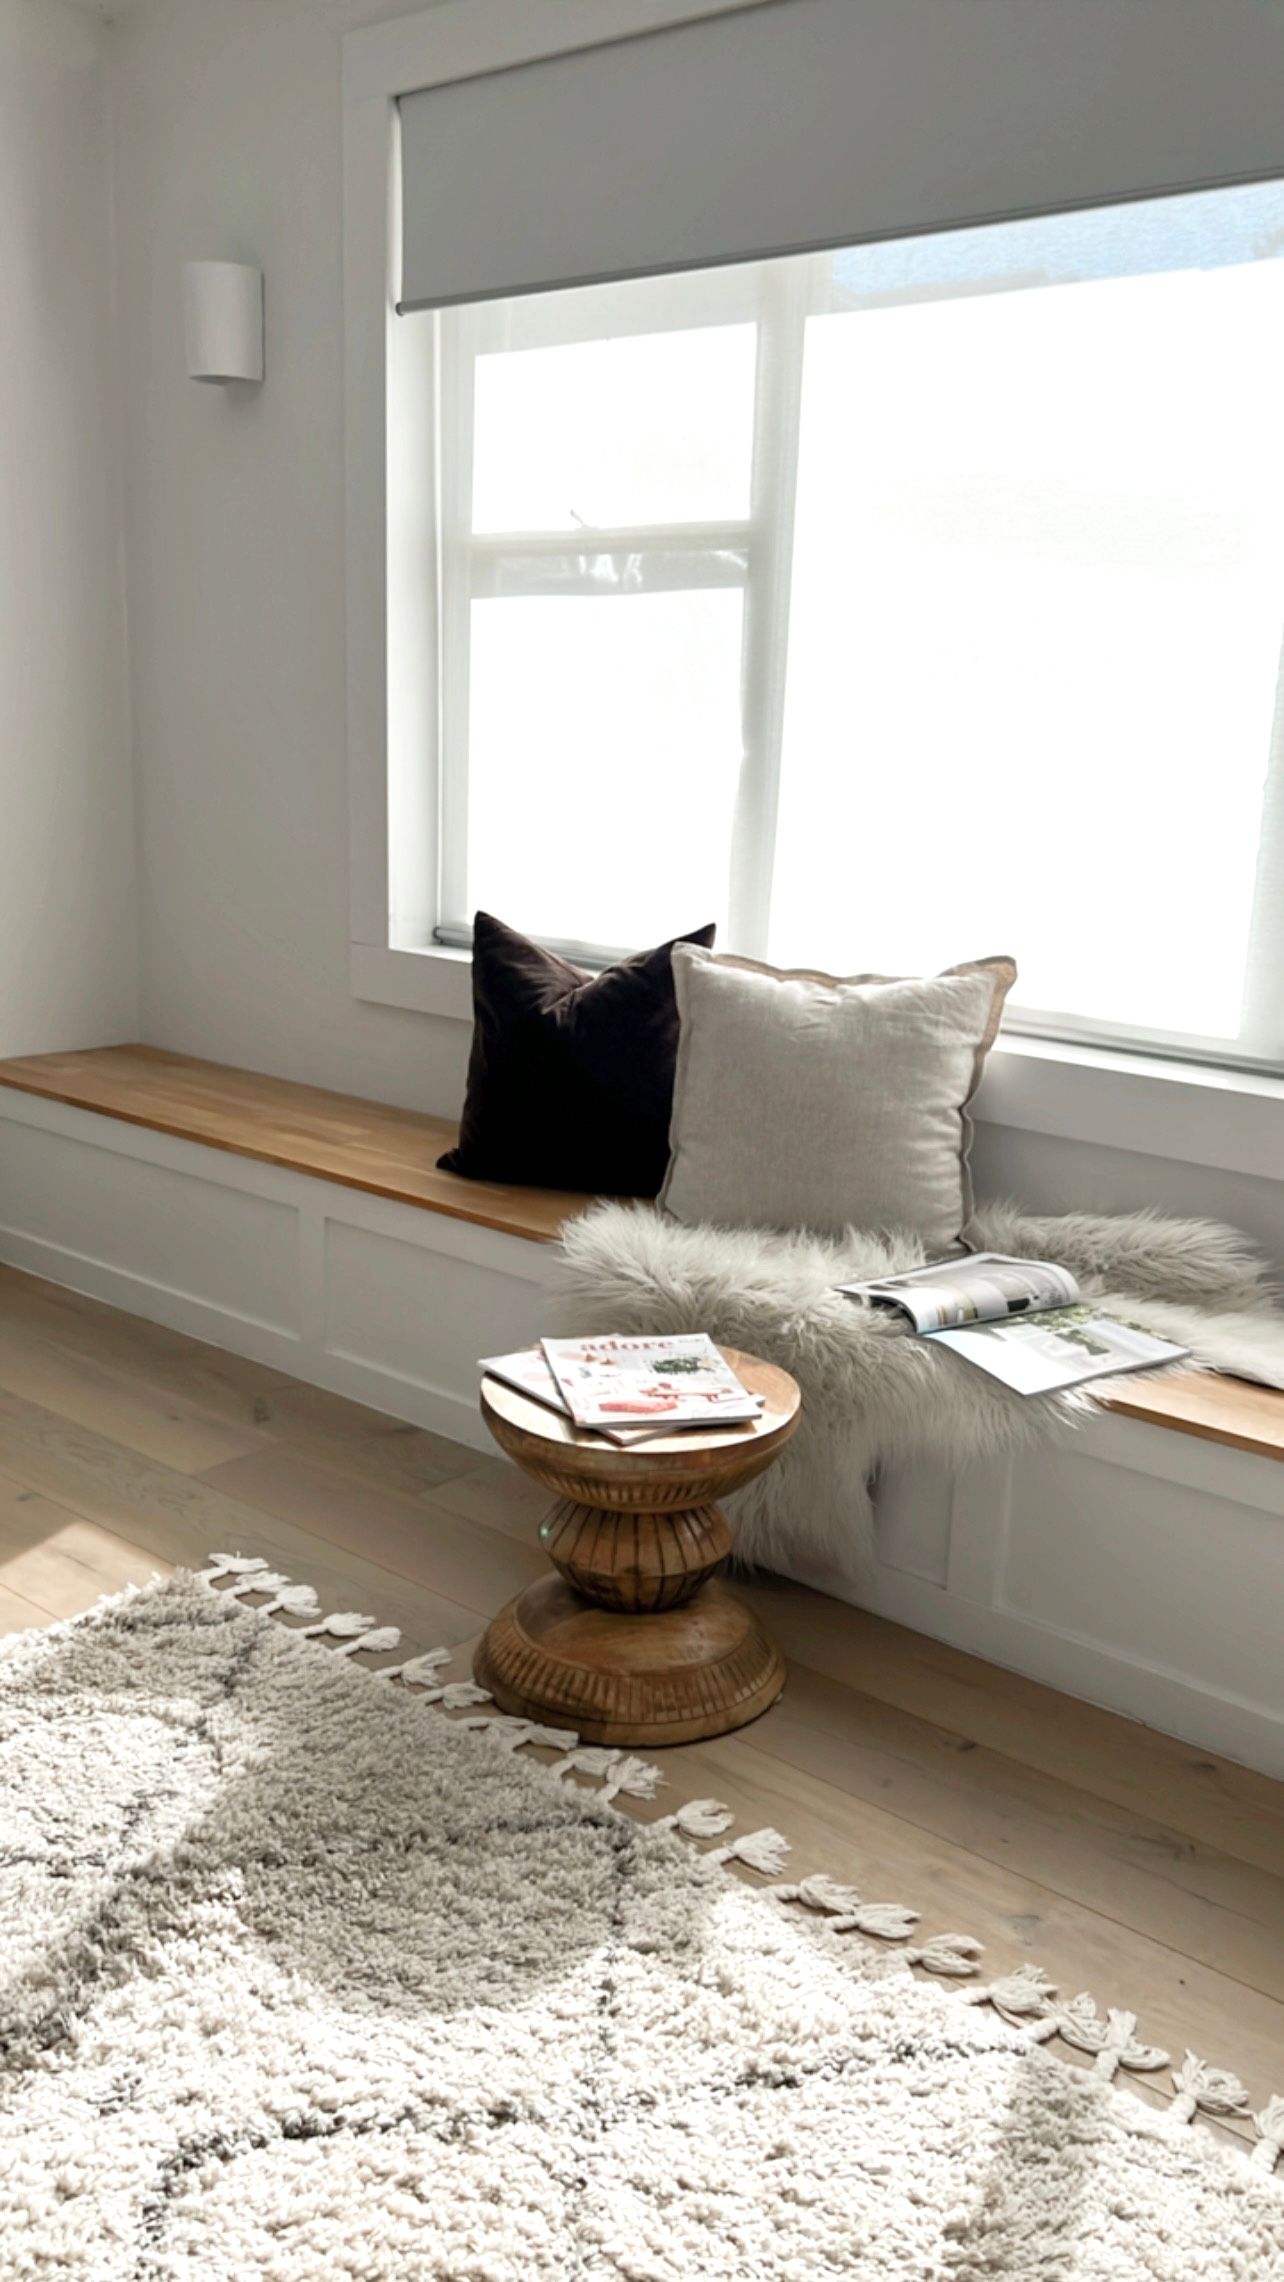
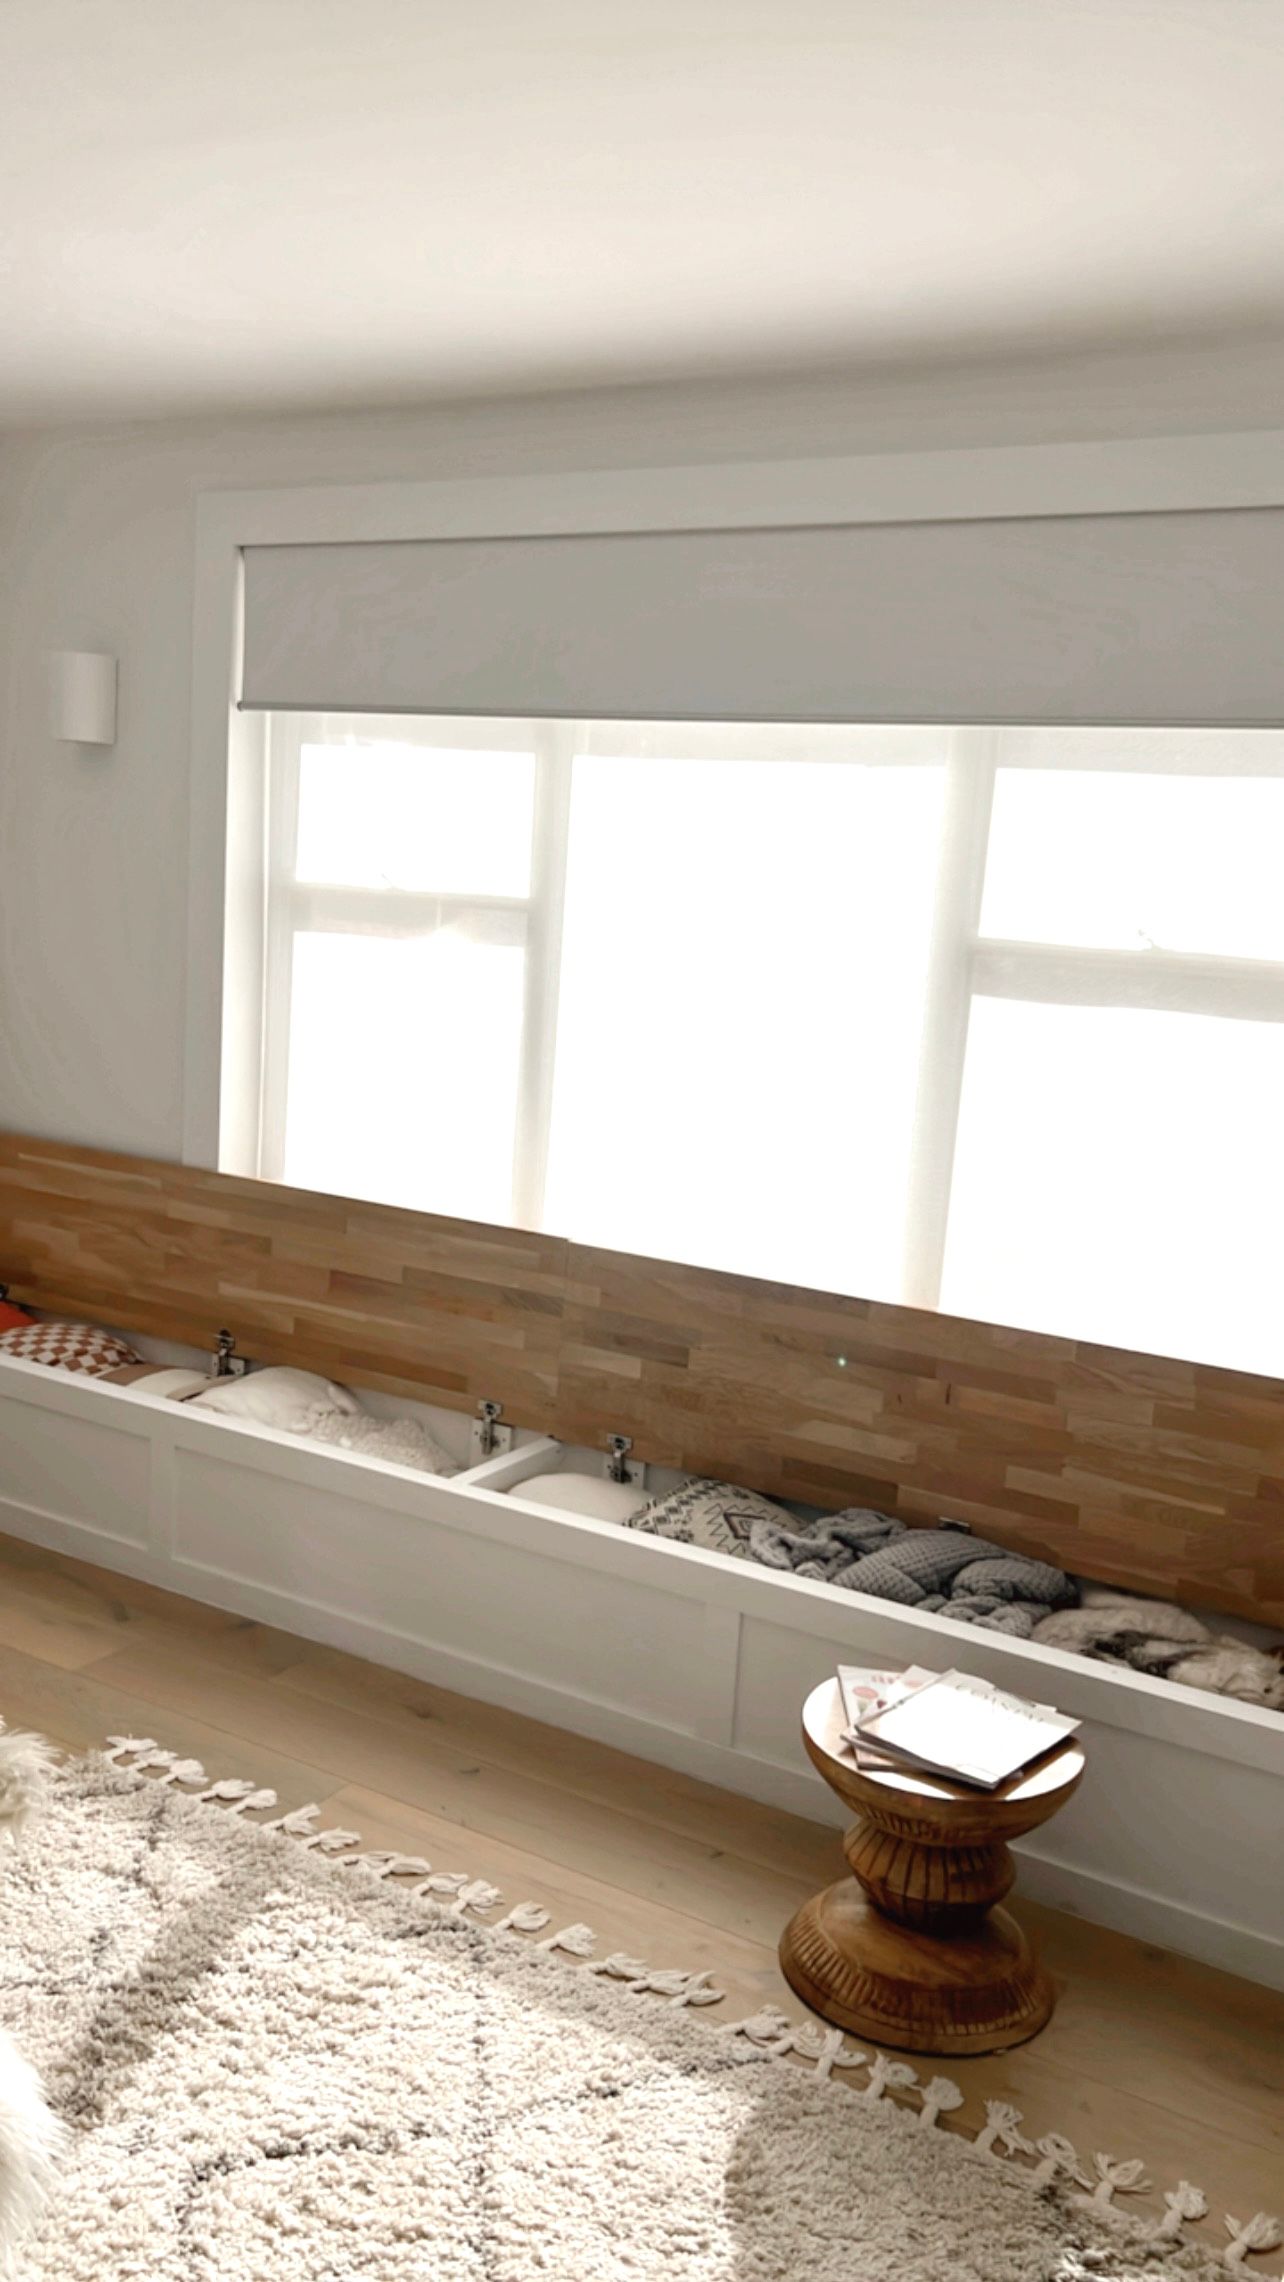
I really wanted a window seat in our lounge room so that I could use for storing cushions, throws and Magazines and books in there when not in use, so we set out to building this easy DIY under Bench Storage and seating, a relatively simple Diy, here I have taken a few photos to show you how simple it is to build one of these under your window or any space in your home.
What you will need:
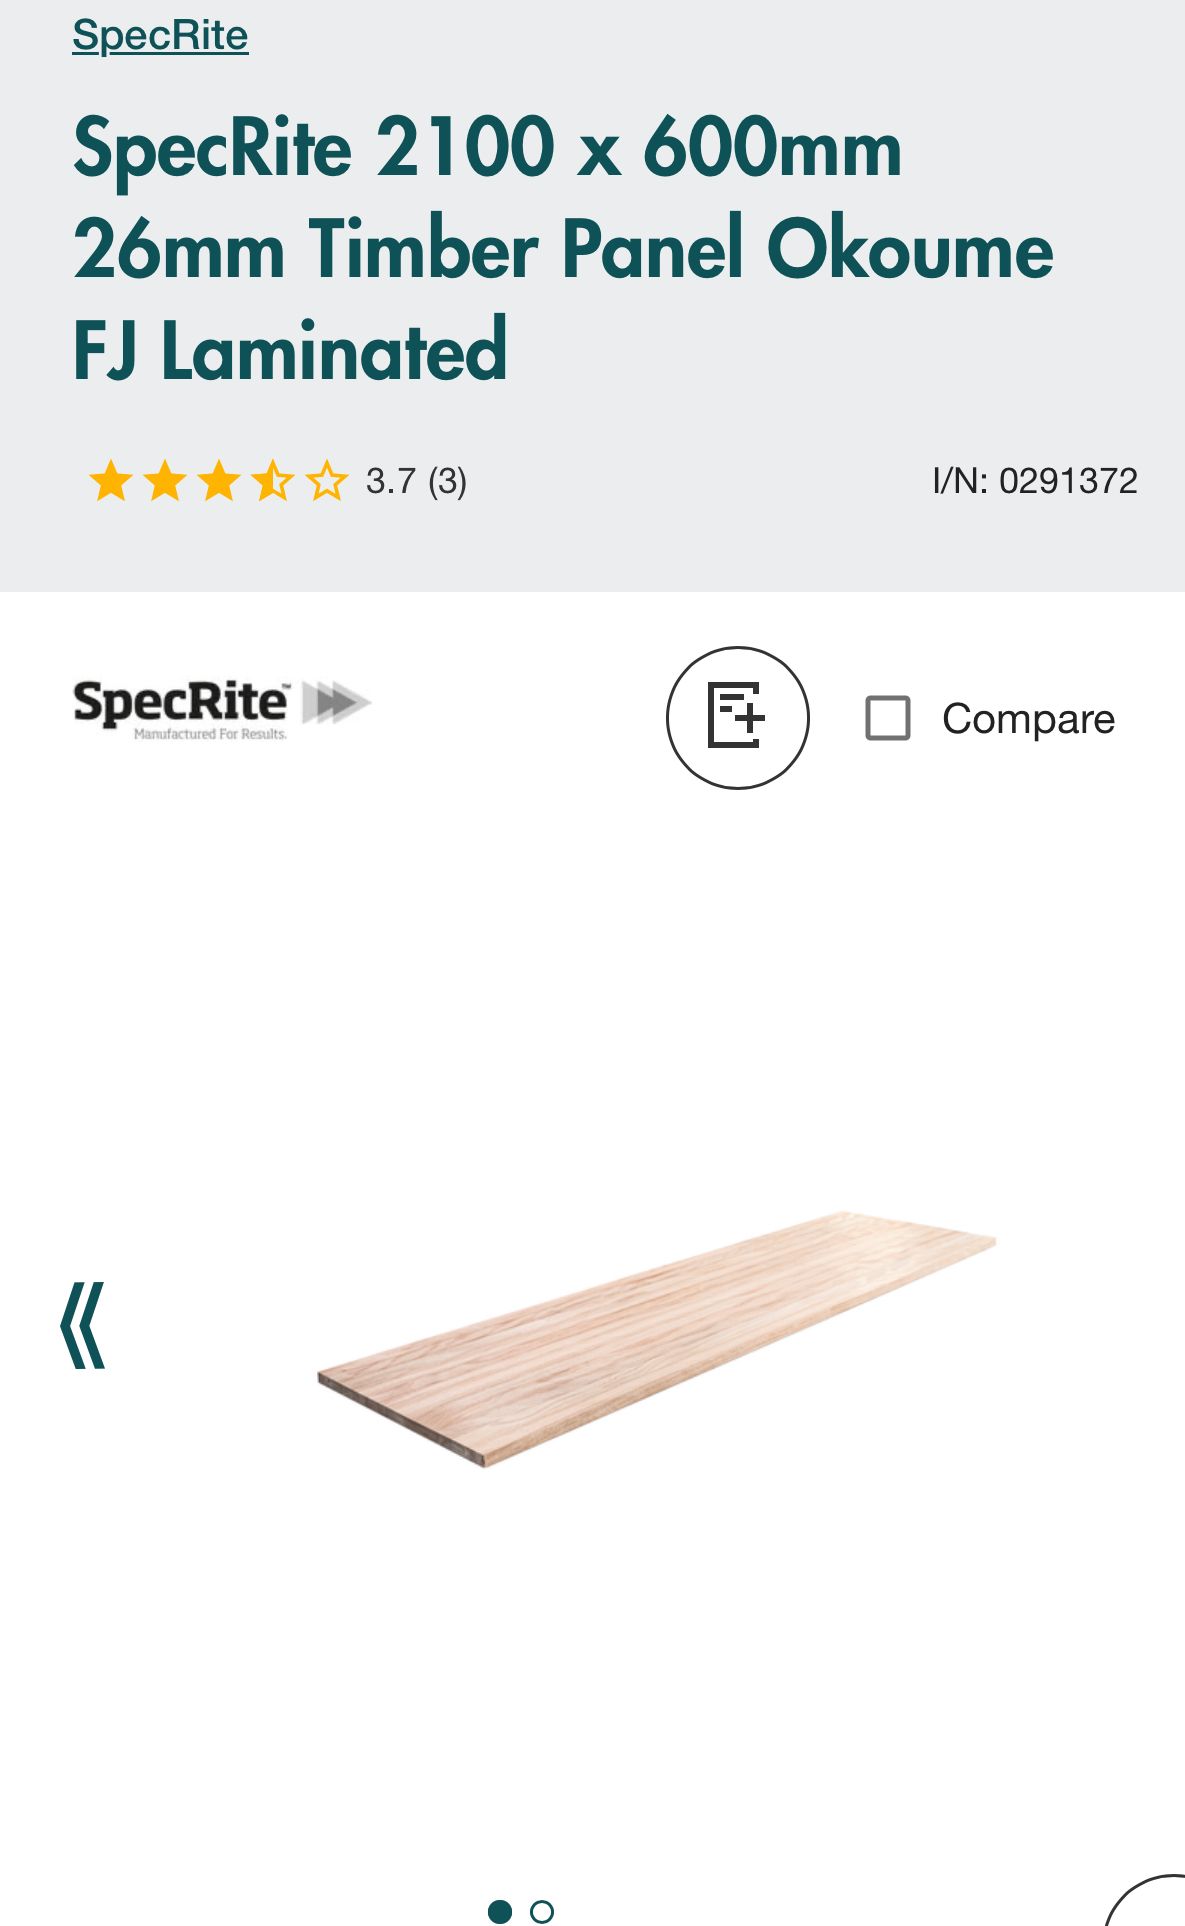
- Timber Oak Spec Rite Panels ( we purchased ours from Bunnings)
- Cupboard hinges
- MDF ( cut to size for your project)
- 3cm skirting board (used as a decorative Shaker style Trim)
- Nails
- Glue
- Screws
- Drop Saw
- Drill
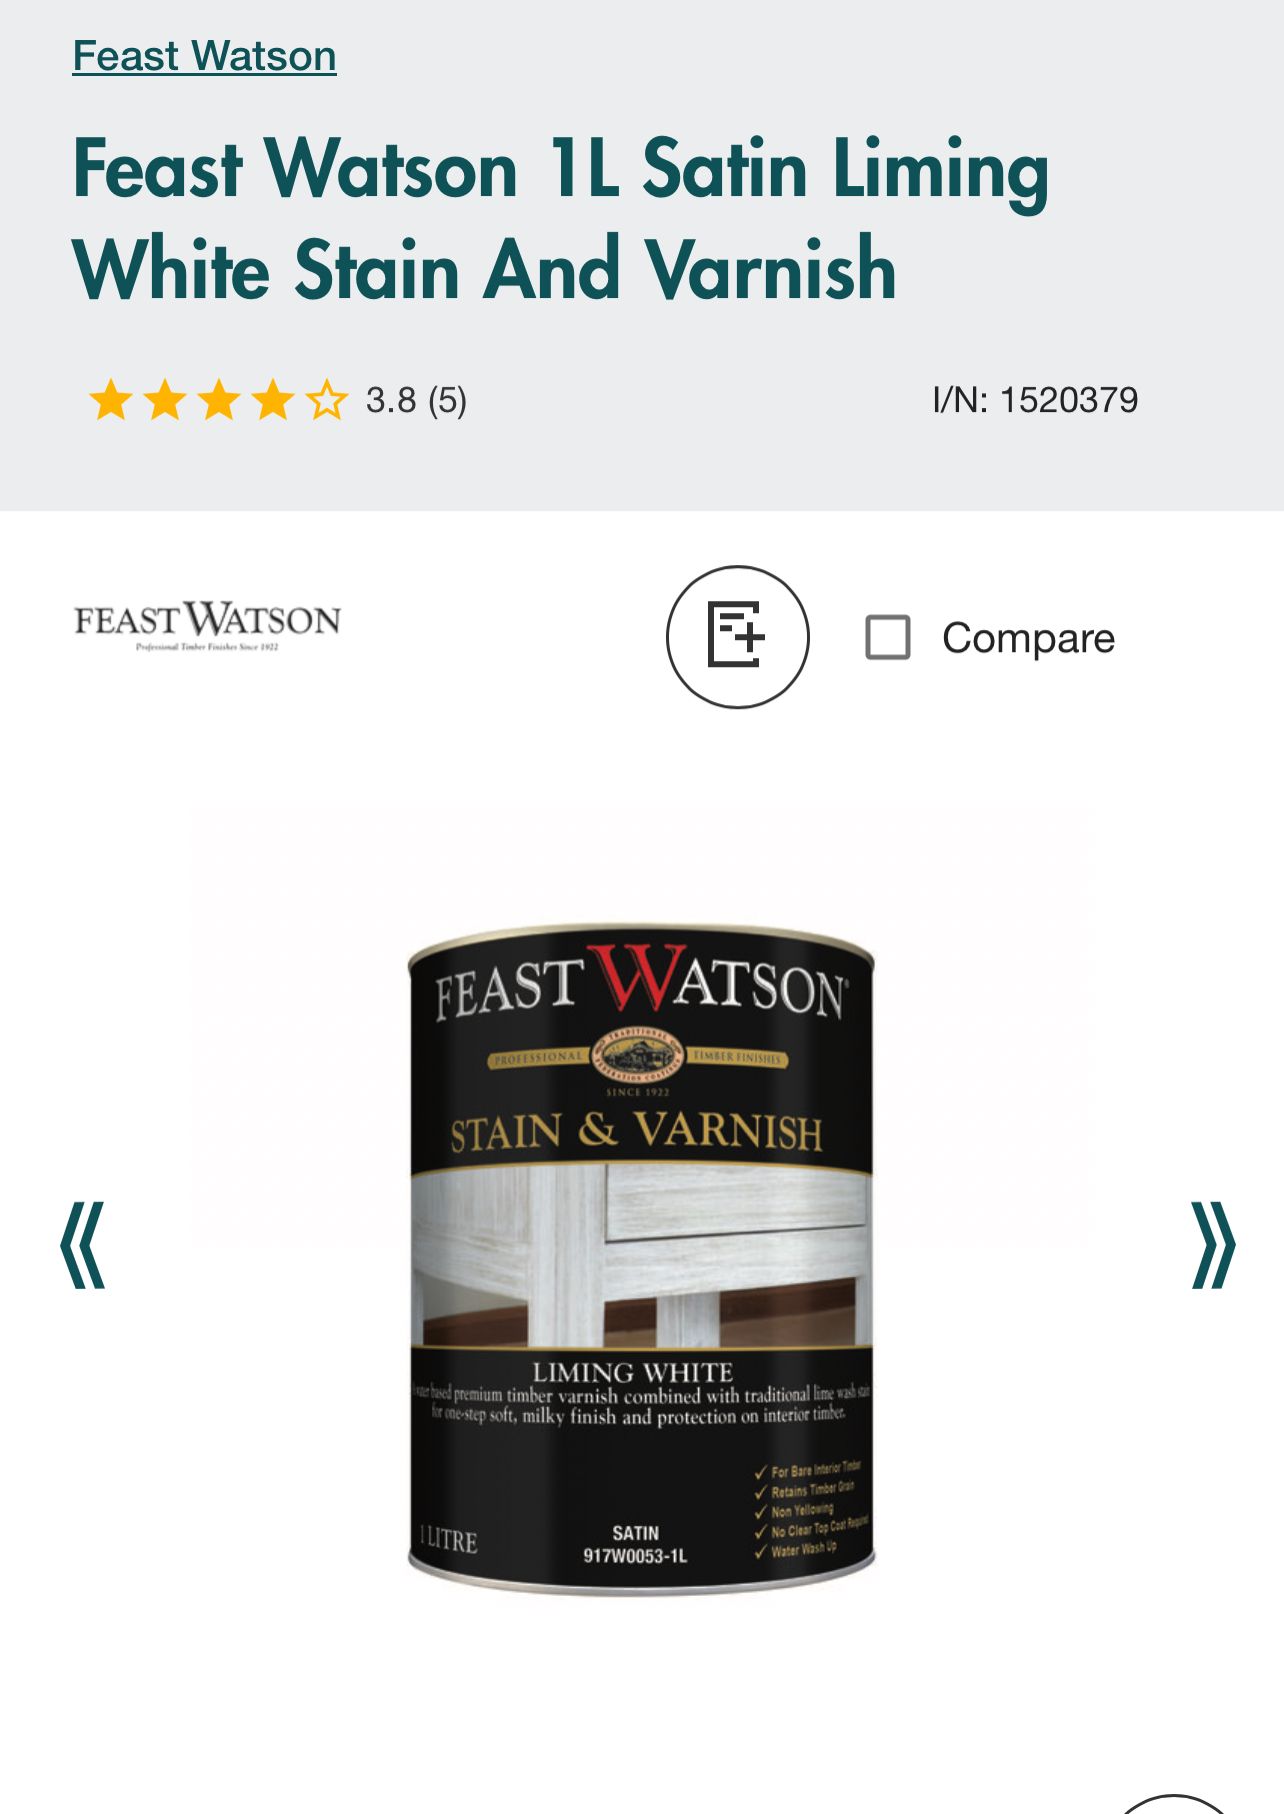
- White Acrylic water based paint & Feast Watson Liming white to stain and seal the timber top.
Step by Step Guide
- You will need to measure your area and cut your MDF to size, build your frame around the window or area you want to implement this storage bench, out of timber, we used H2 treated pine, you can custom yours to whatever width desired and length.
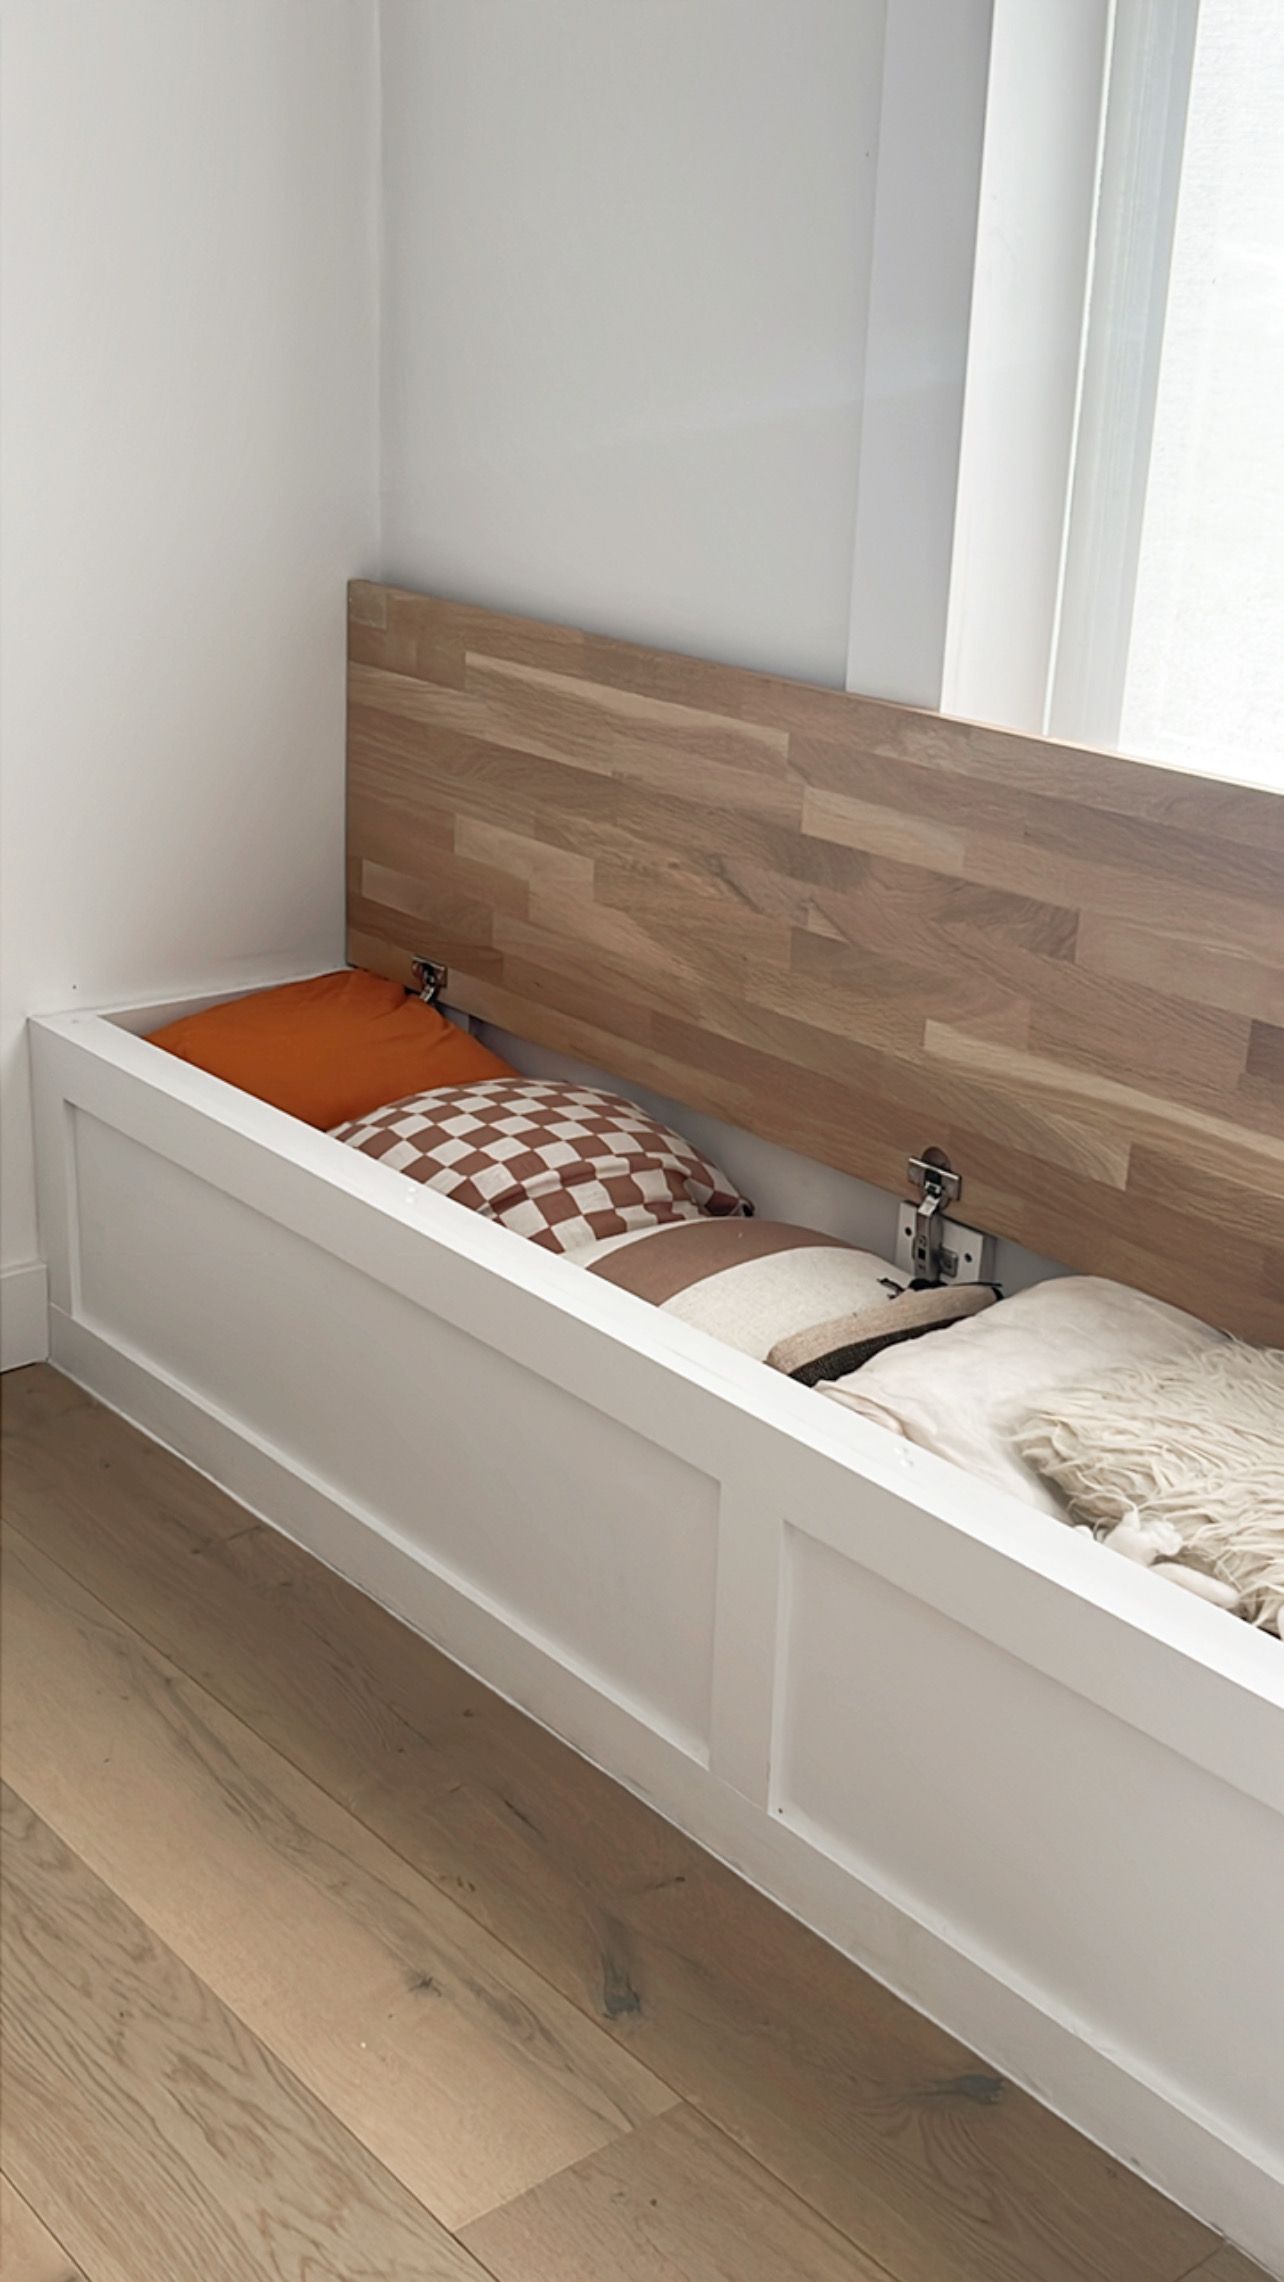
2. Once the frame is built attach your MDF to your frame with screws and glue, we built ours flush to each wall, so it was done in two pieces, when your MDF is attached and built, start attaching your skirting board as trim to create a shaker style look, you can custom design your trim or even use, VJ panelling to the front instead of MDF there are plenty options there for you to use.
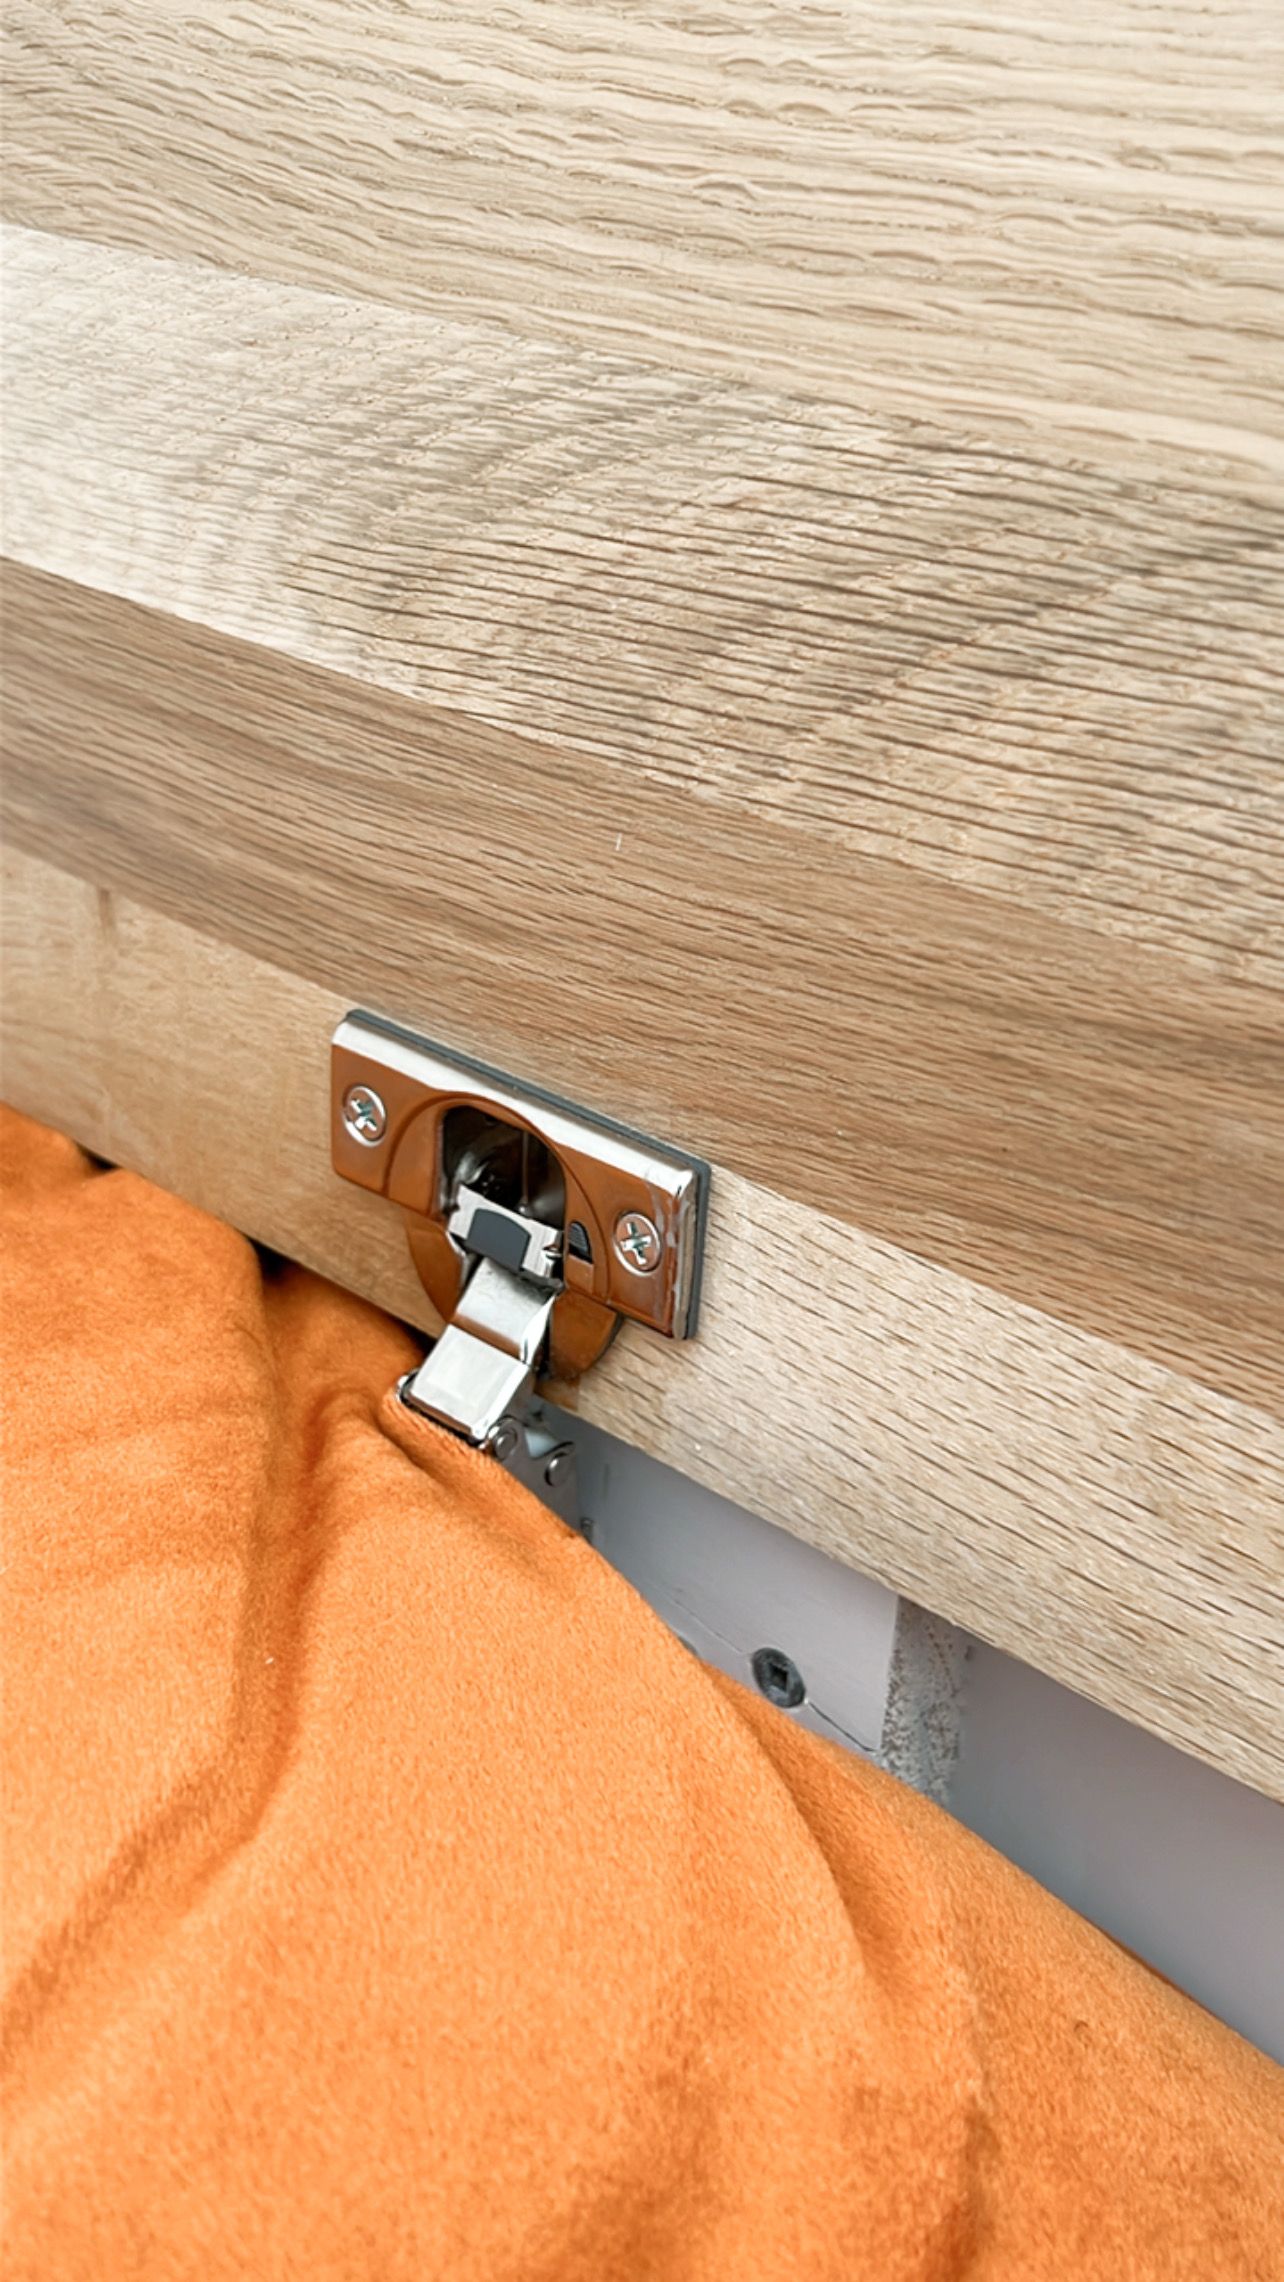
3. Once the box is built, start marking out where your hinges will go we spaced our apart and used three as our panels were 1.5 long, this will keep the paned from warping and keep it straight at all times, attach the hinges and make sure you have support timber behind as per my photo of hinges to support the weight.
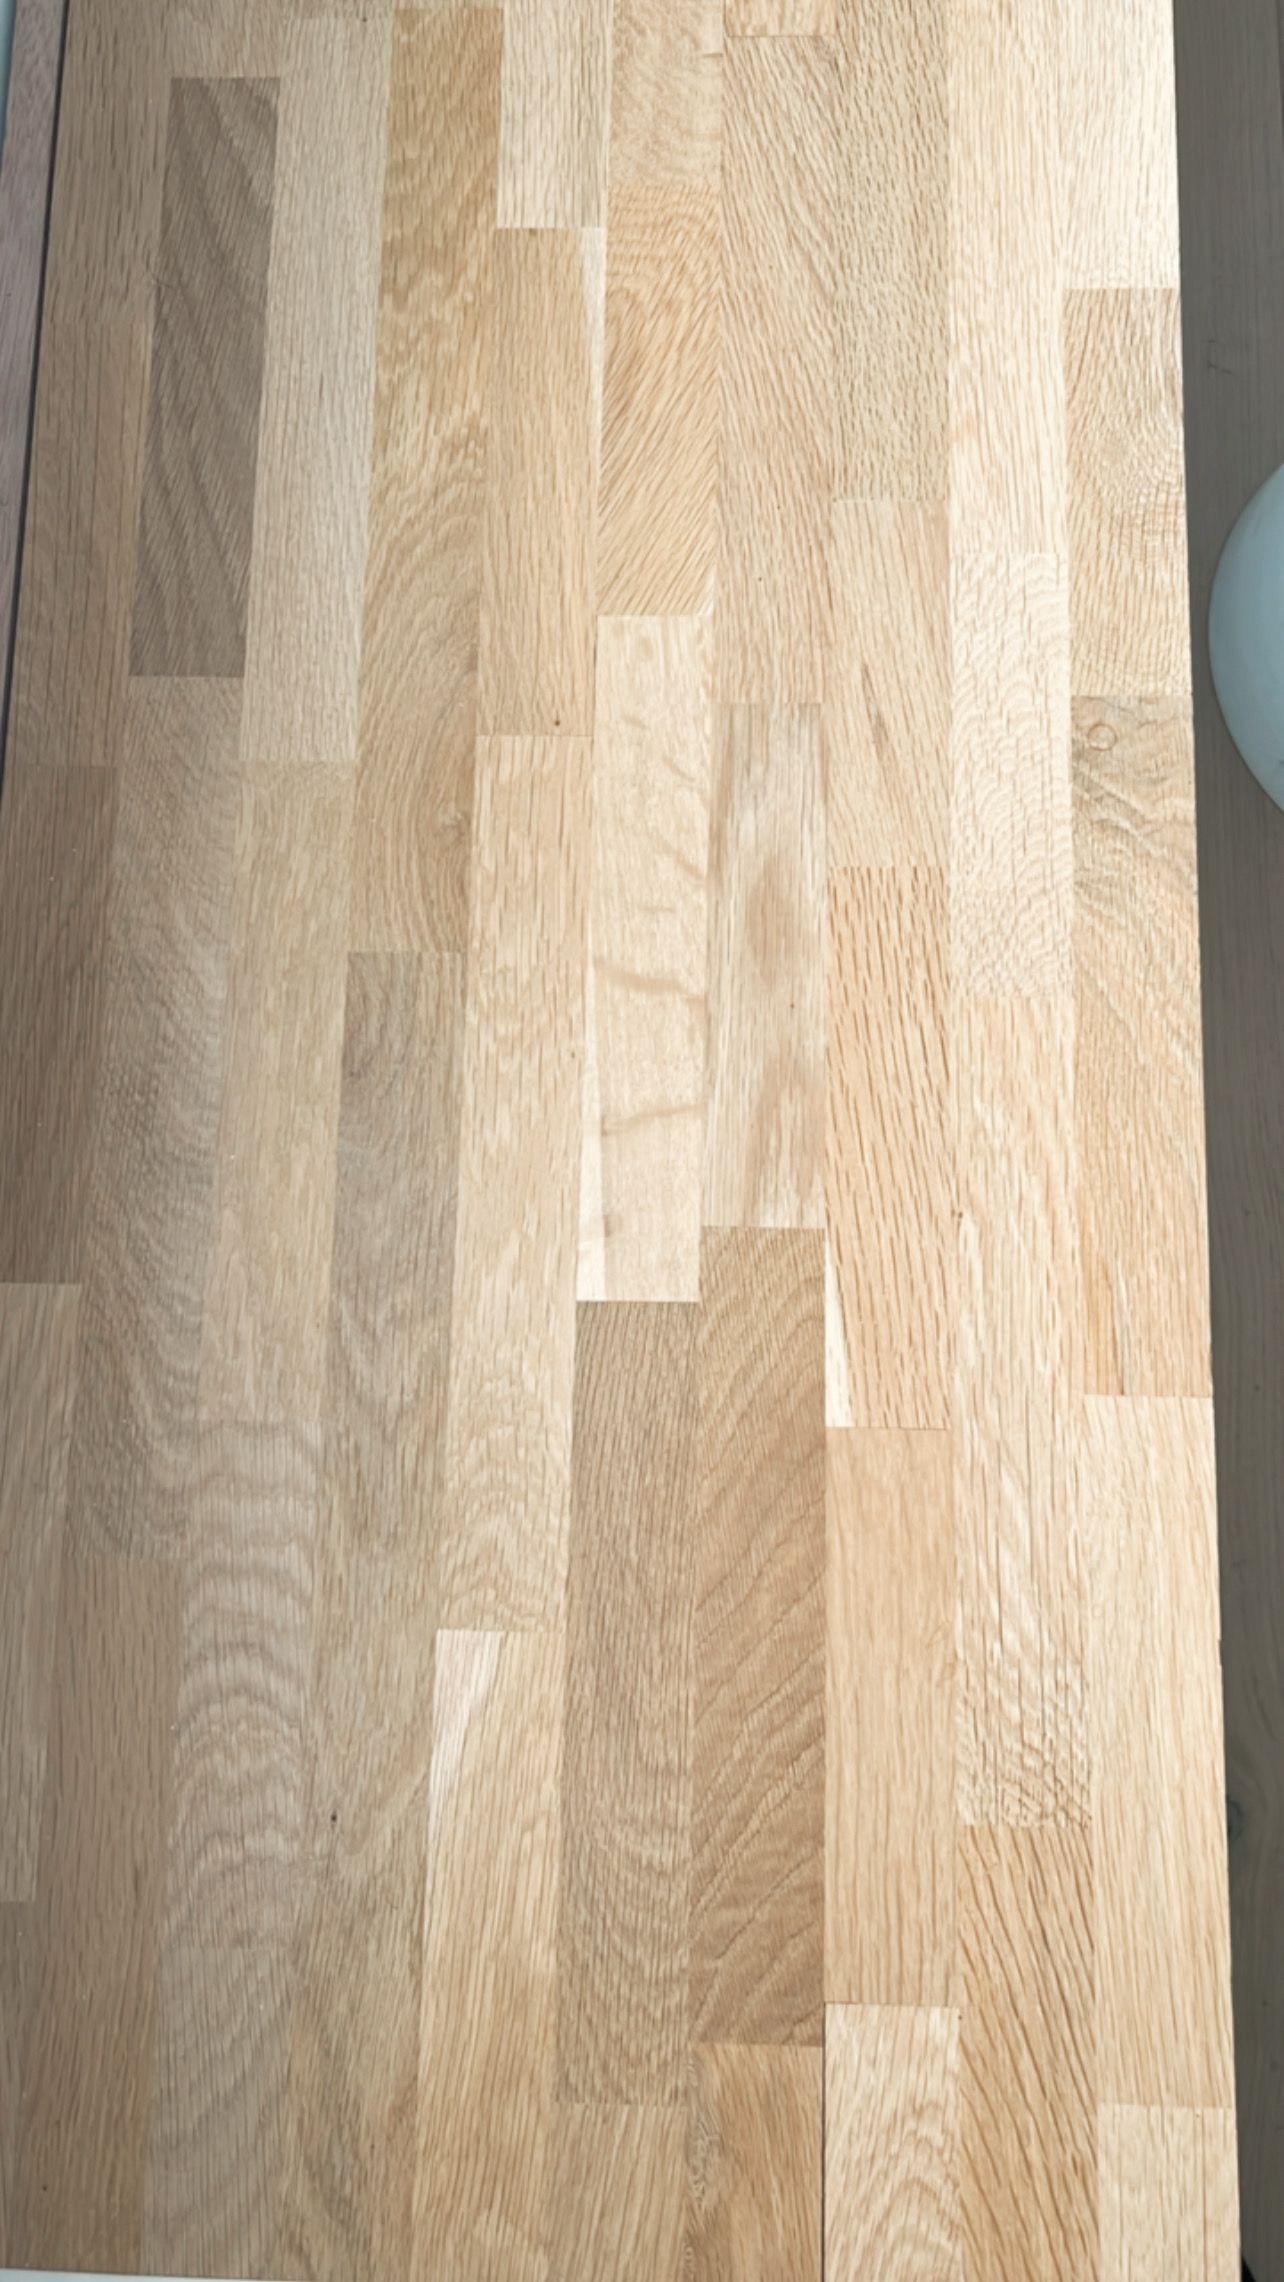
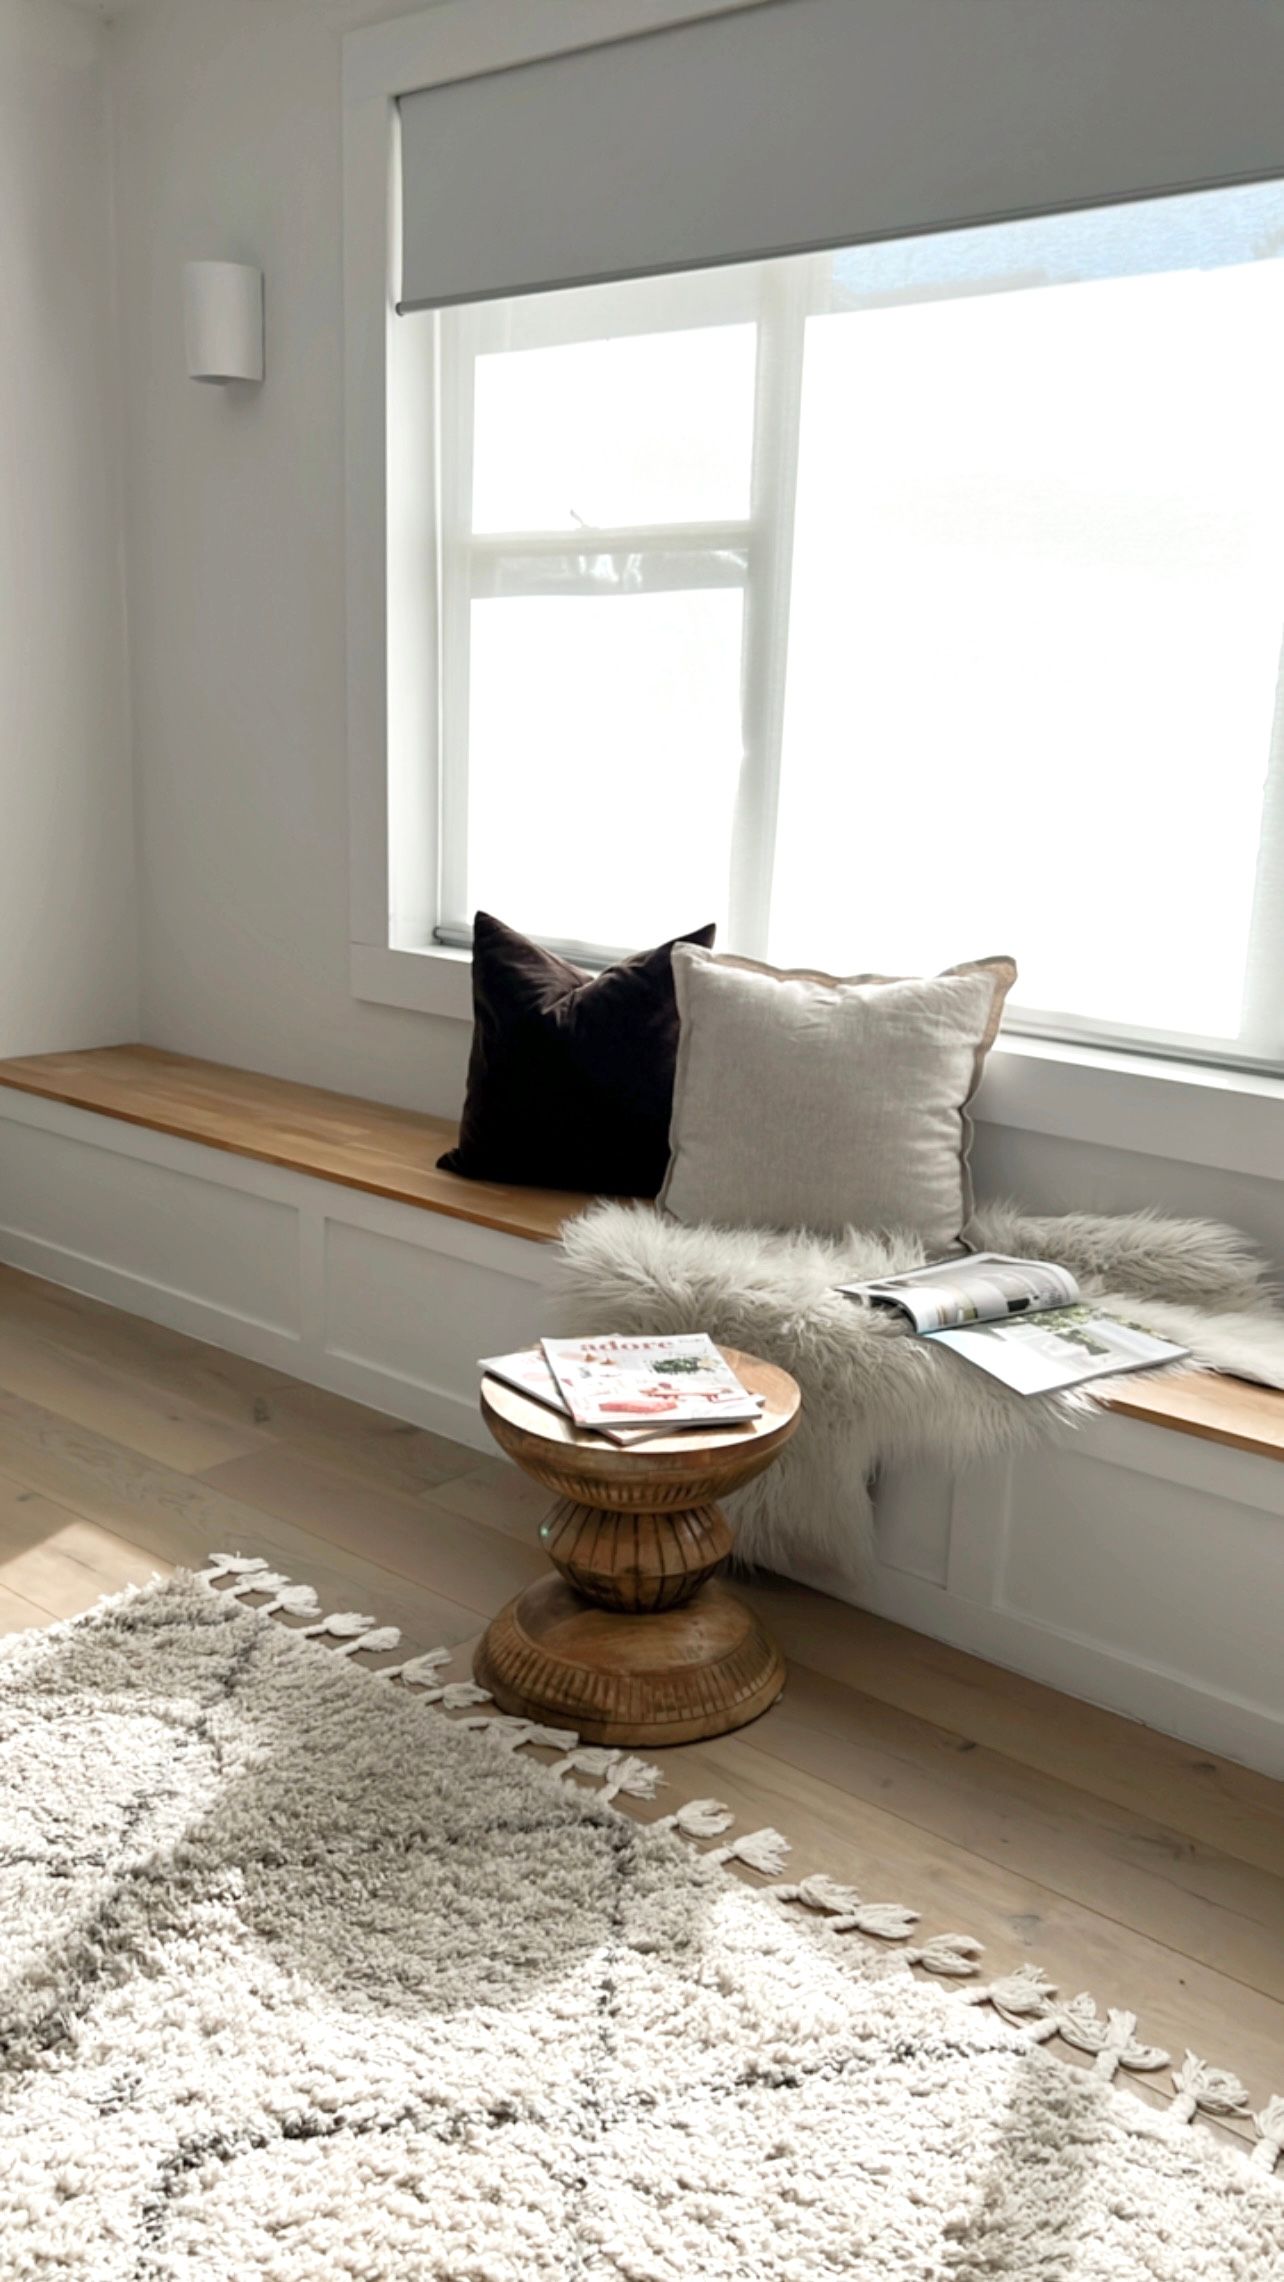
4. Paint your front panel with an acrylic water based paint and stain the timber top to your desired colour or stain. ( we used Feast Watson liming white to keep it looking natural)
And there you have it a beautiful place to read a book and enjoy the sun, with the added bonus of storage, I have mine filled with all our cushions, throws and a few magazines, the best part is that it keeps the area free of clutter and looks amazing styled with a few cushions on top, you can even get a piece of foam and cover it to size and make a long cushion seat for it. I am considering doing that next.
Creator: Rosanna
Follow: Play Interiors on instagram for more on Styling, DIY's and Reno Tips.
Instagram: @playa_interiors


