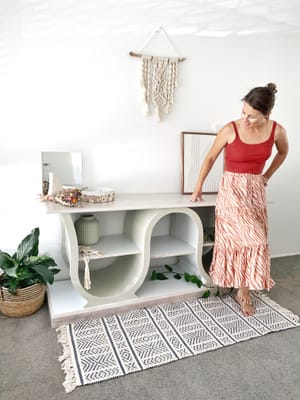

How to create a bathroom vanity unit from a thrifted
vintage chest of drawers and a old wooden blind.
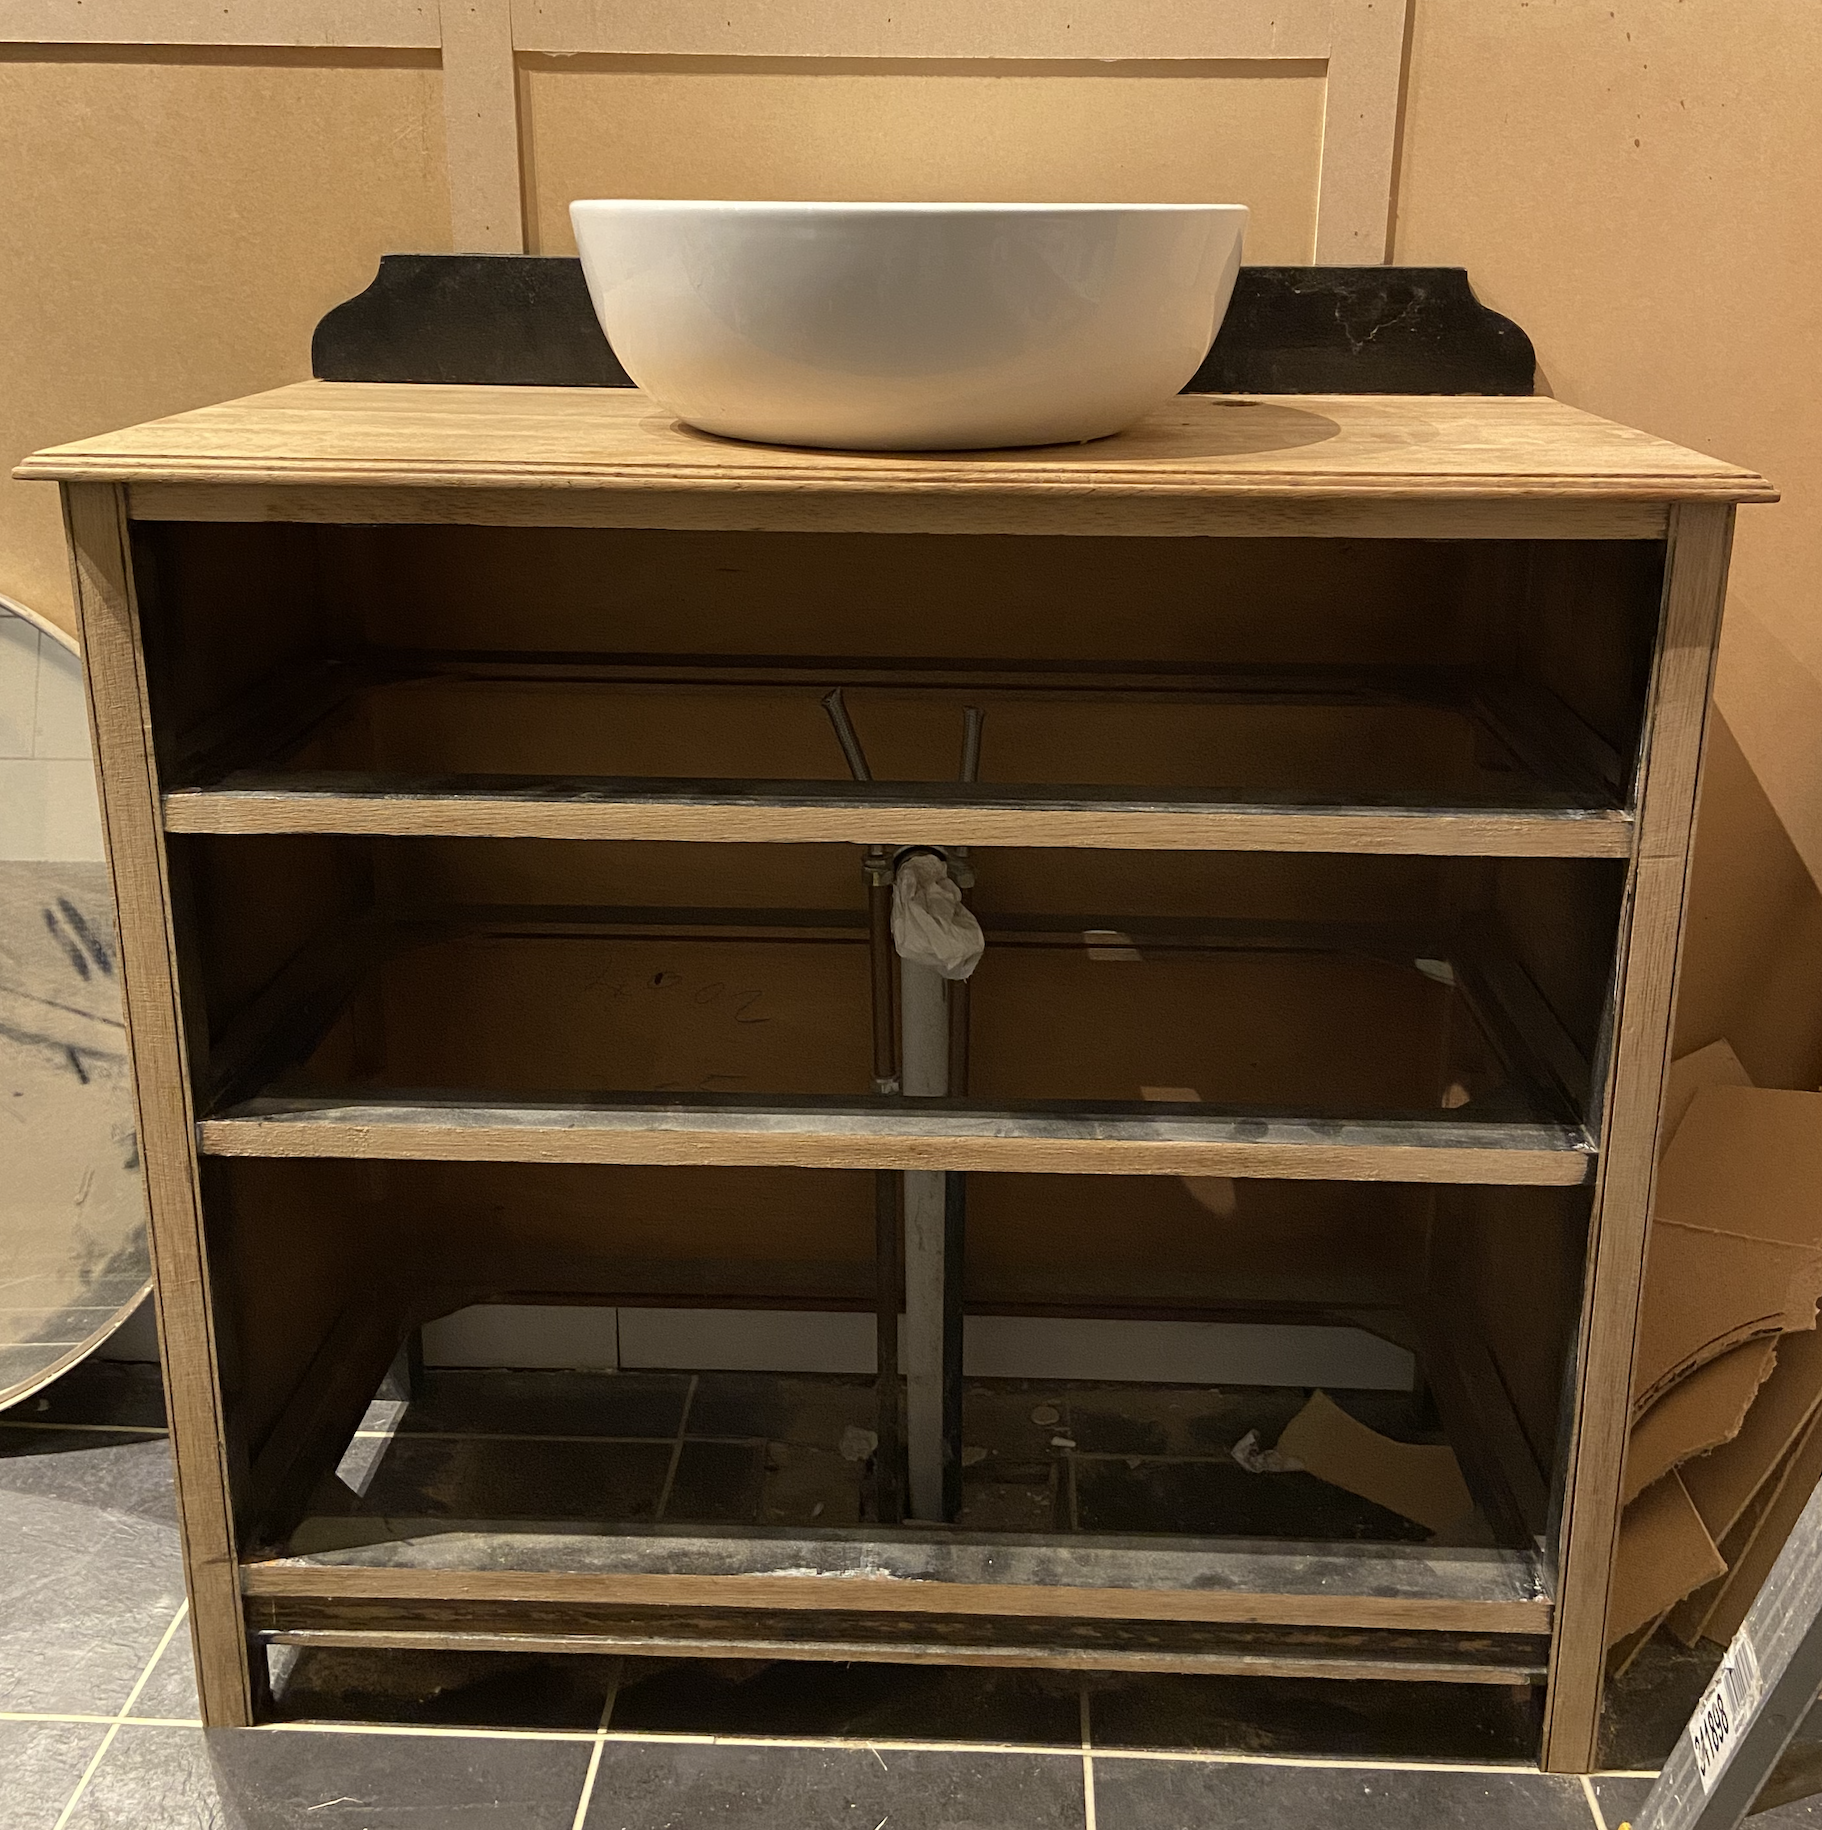
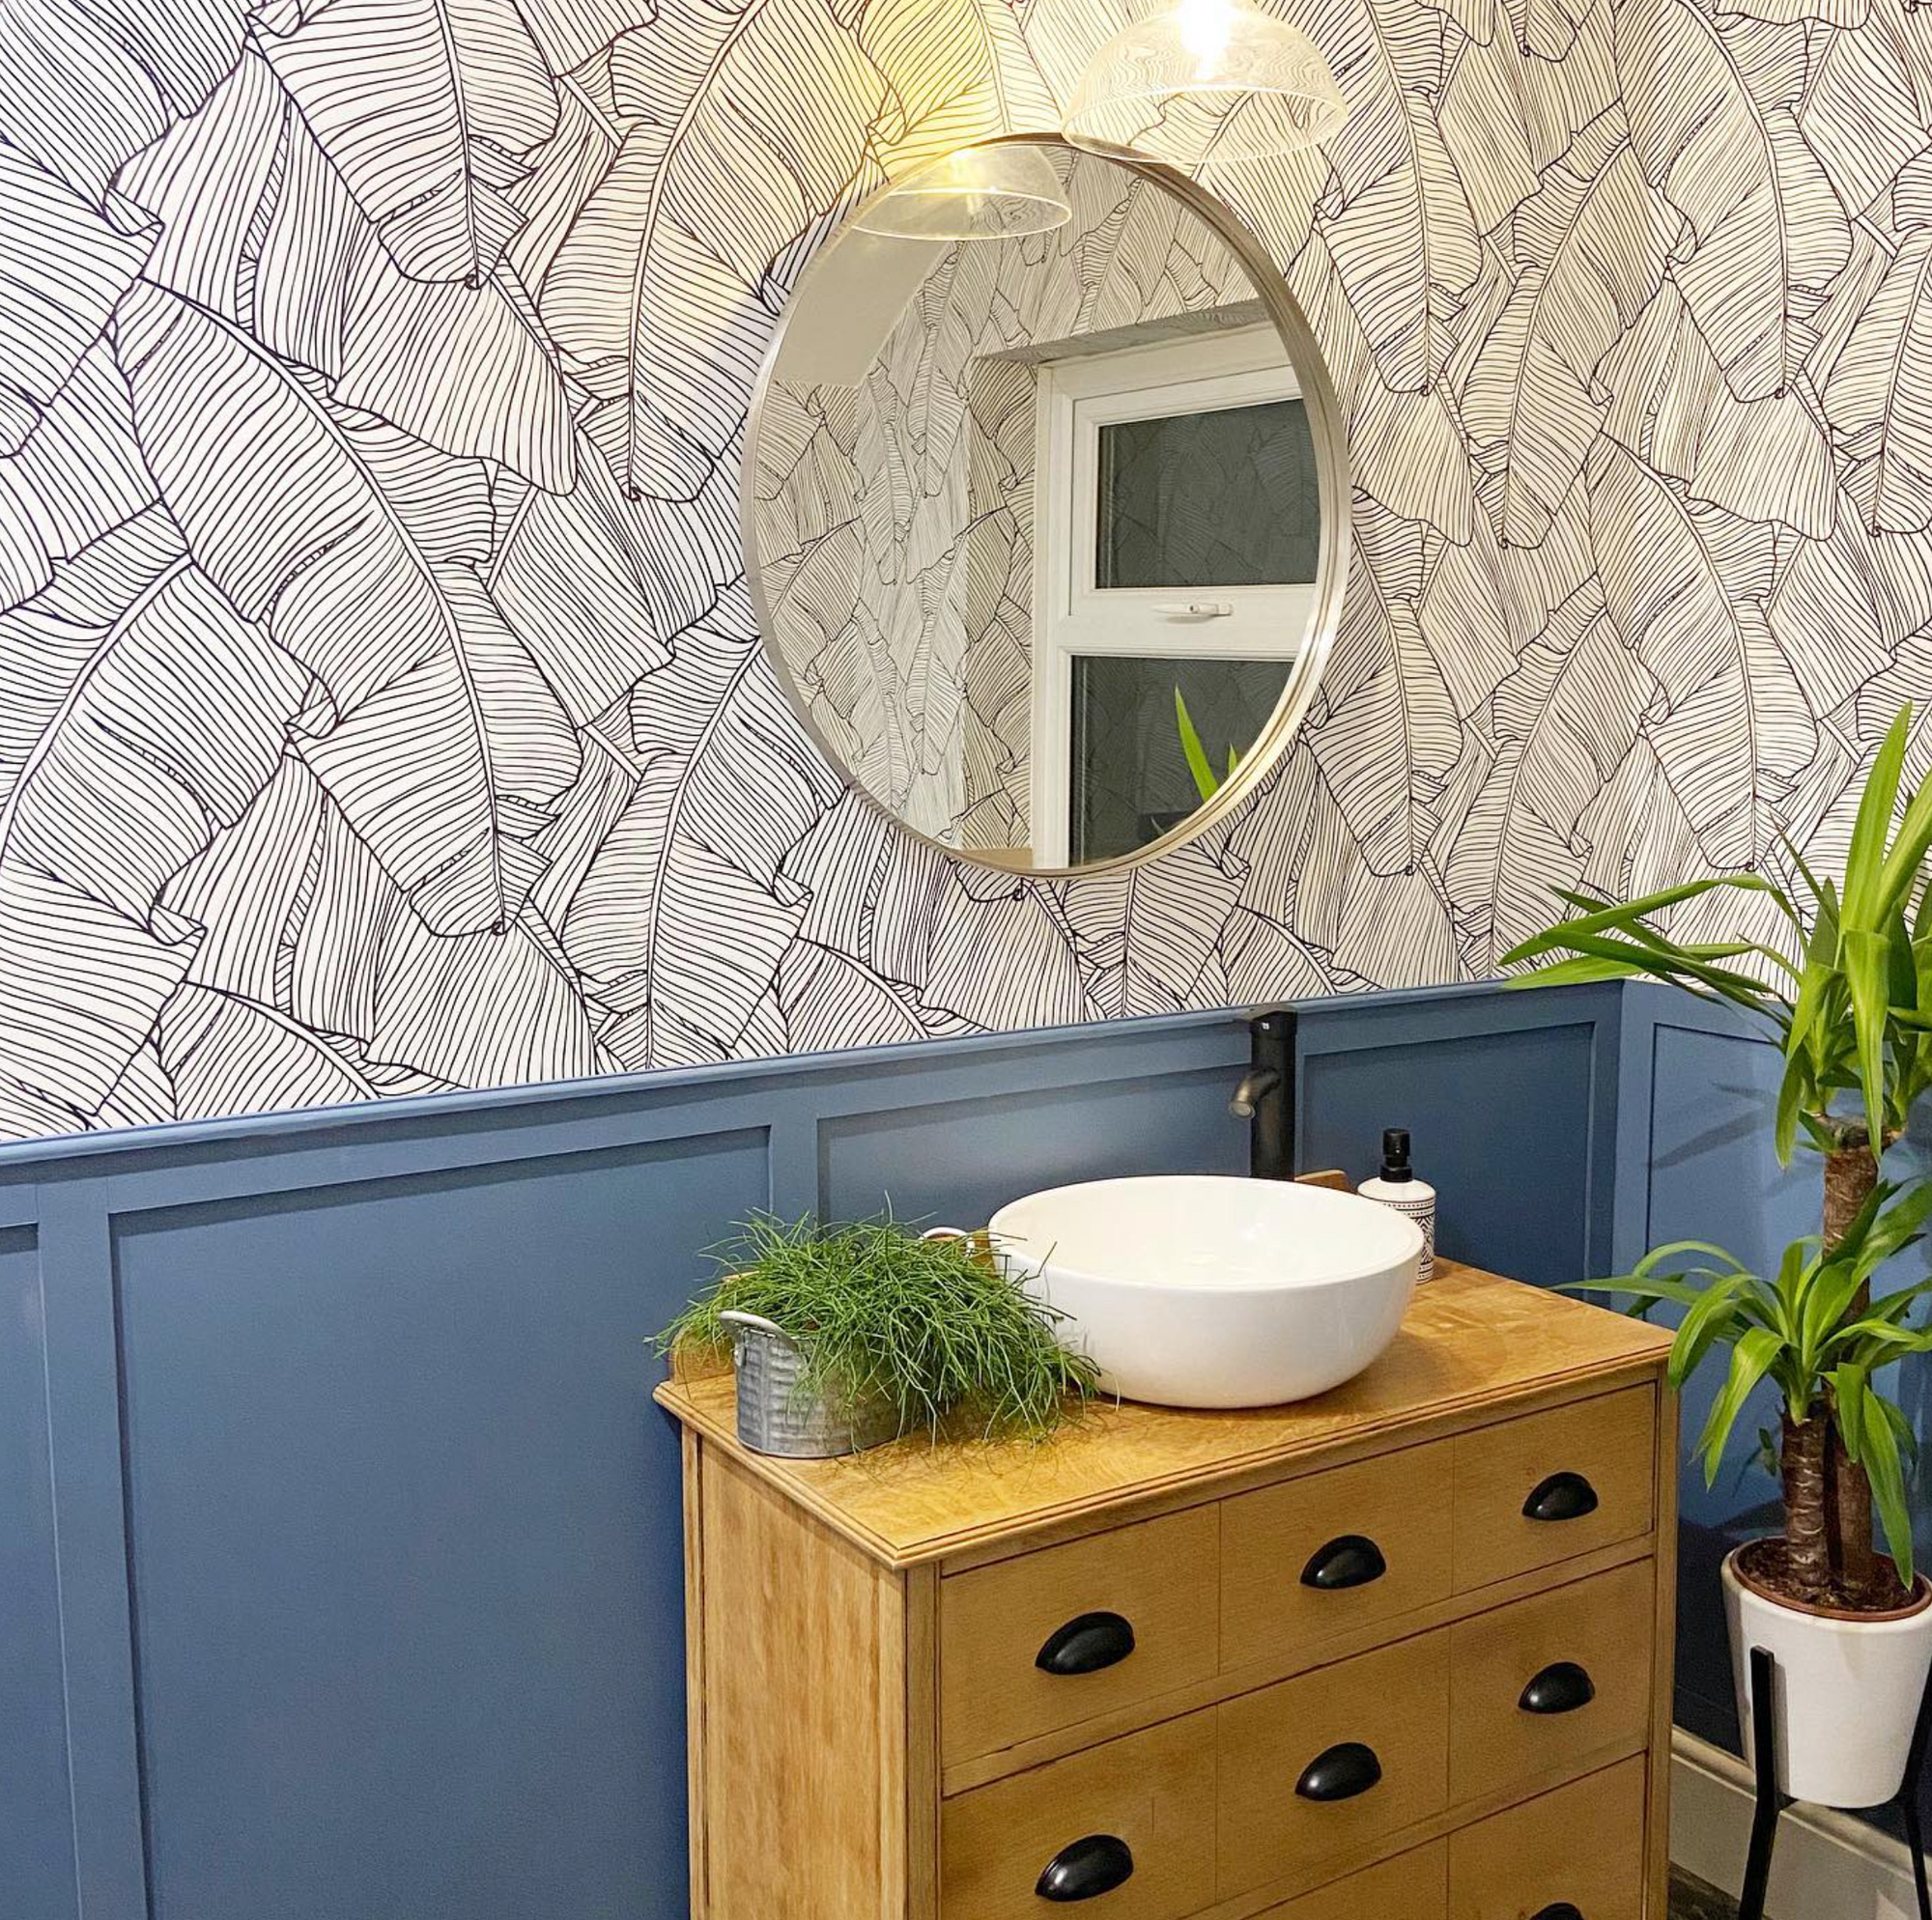
Whilst doing my bathroom budget spruce up, I found a bargain of a buy on a secondhand selling site, a vintage chest of drawers for £20. The plan was to convert them into a vanity unit to replace the basin and pedestal style we inherited in our bathroom when we purchased the house.
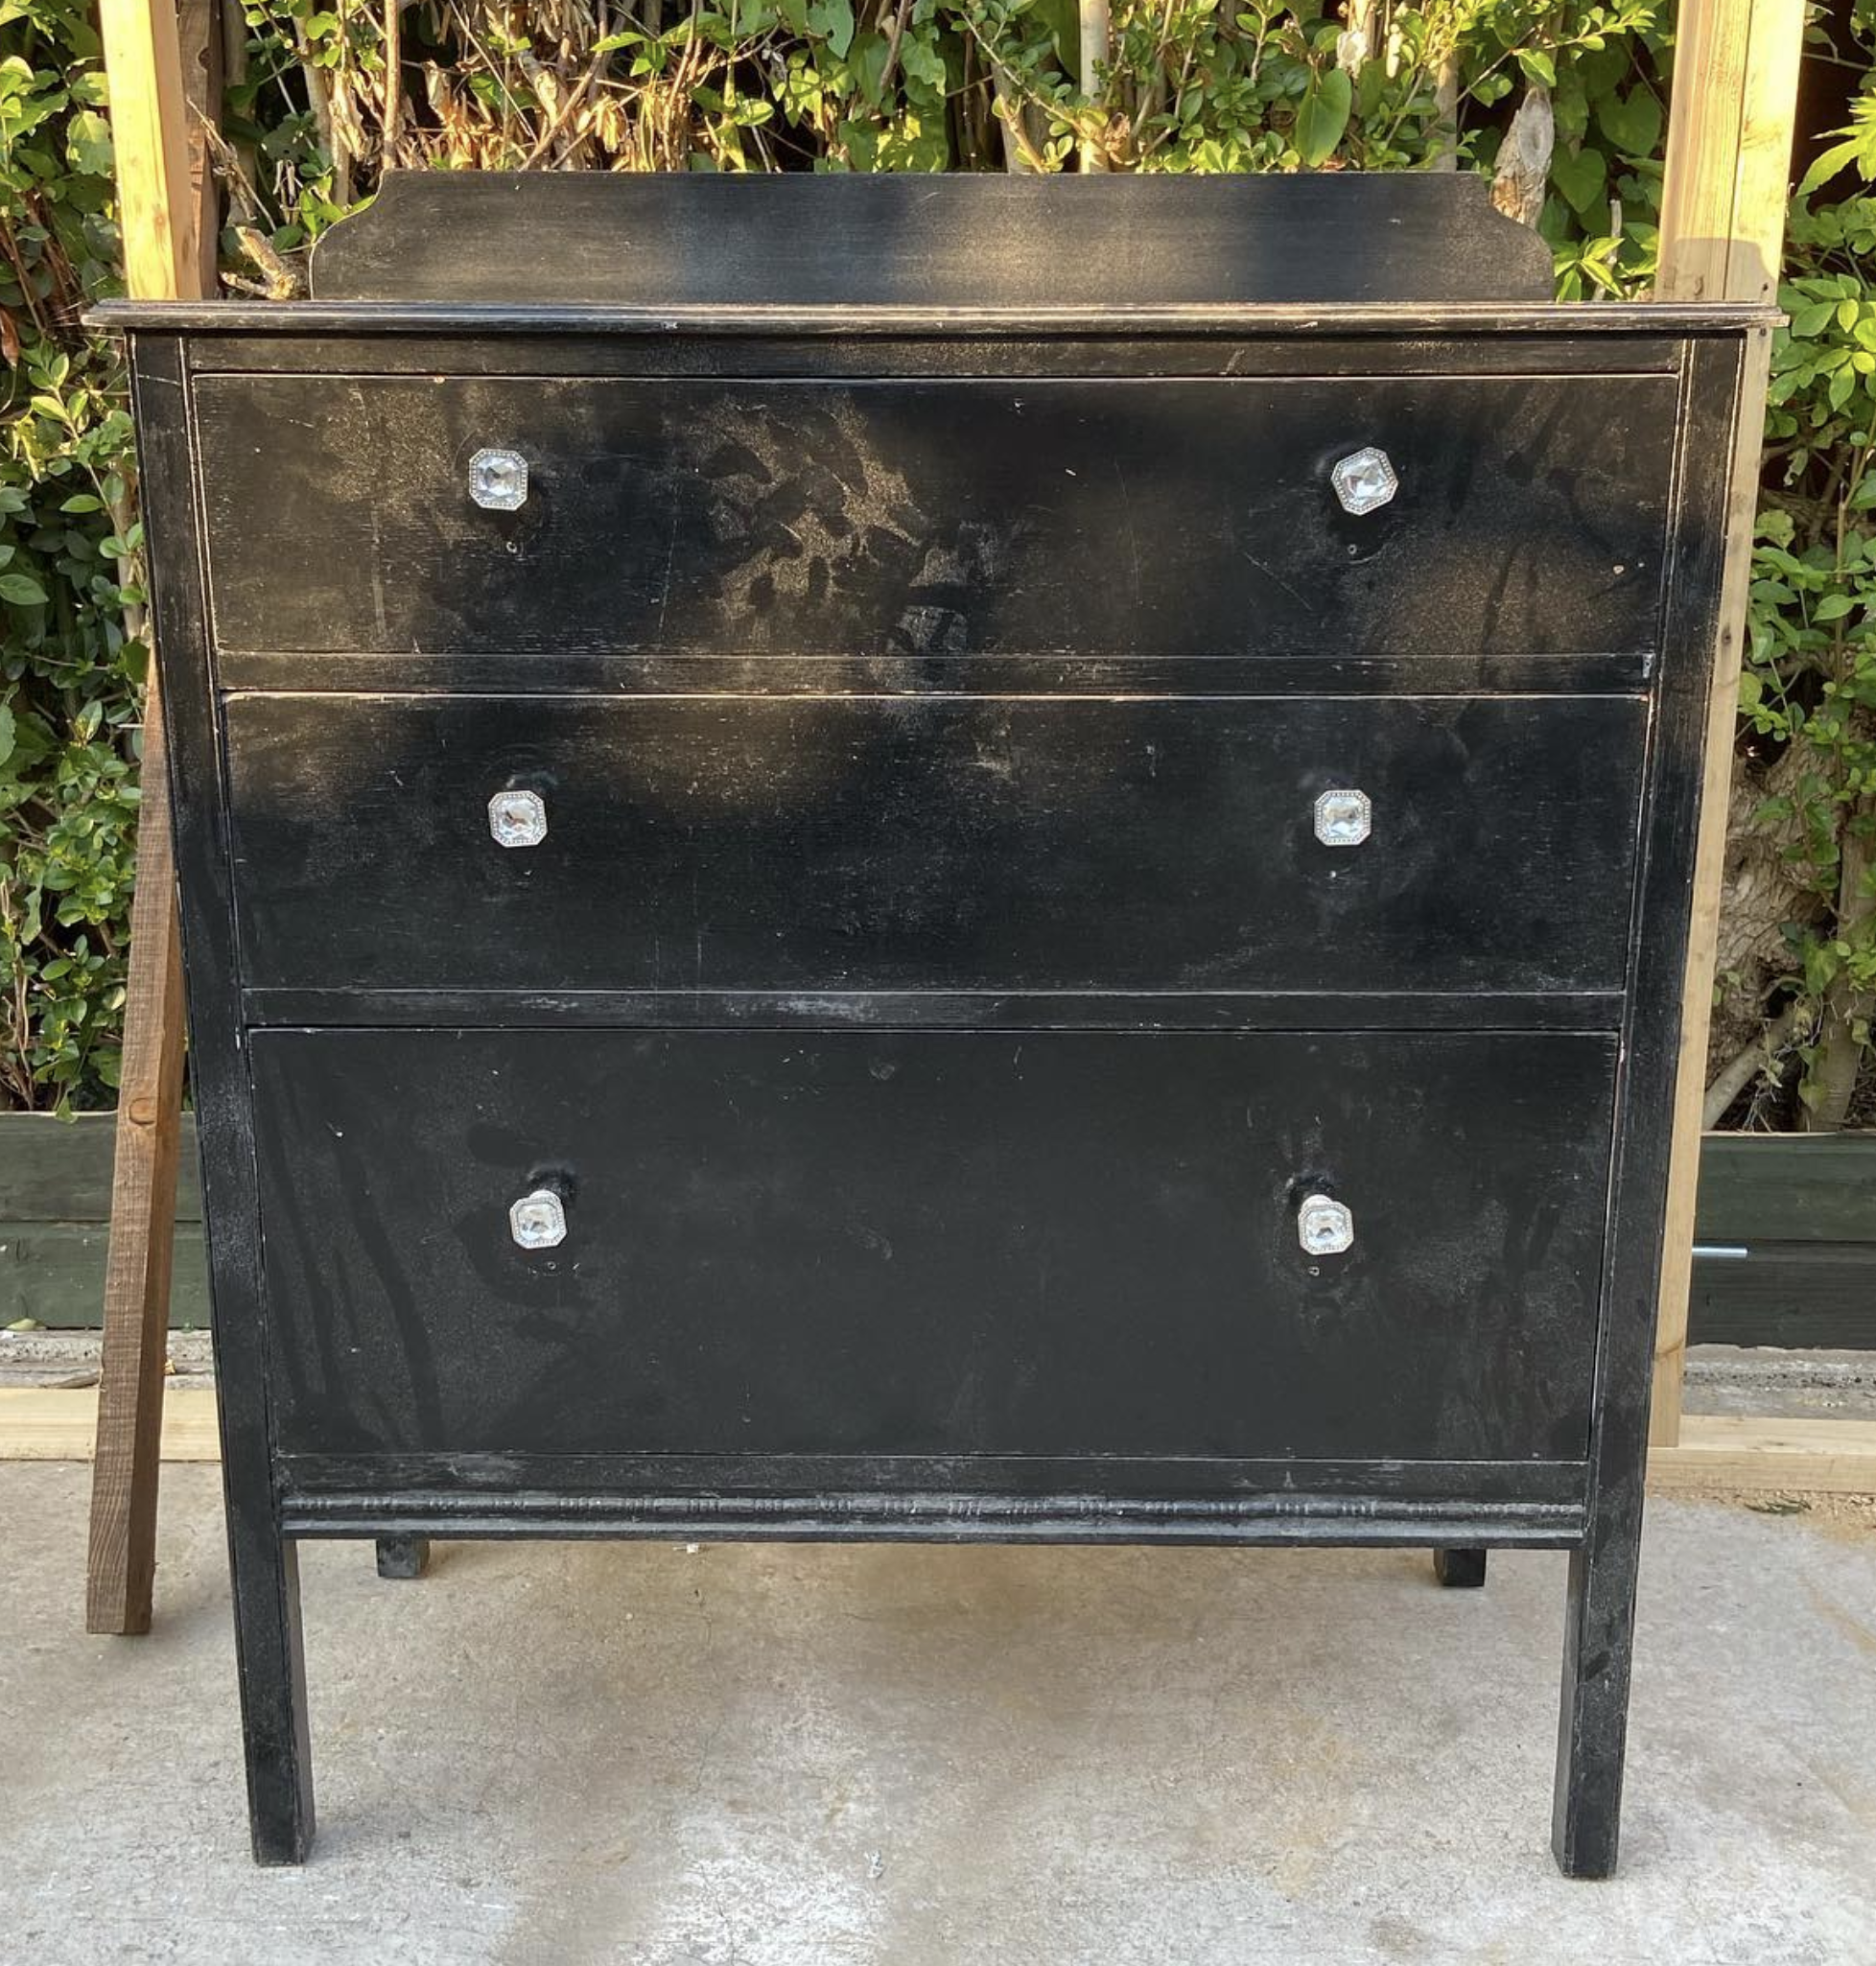
They had been badly painted in thick black gloss paint and was a little high for a vanity but this can easily be changed, as getting the right height and size is key to create a vanity unit. Also solid wood is a must too, not a wood veneer (Thin layers of wood) Just as you will get a better finish, sanding etc and they will better for the bathroom. So first job was to sand off all the paint.
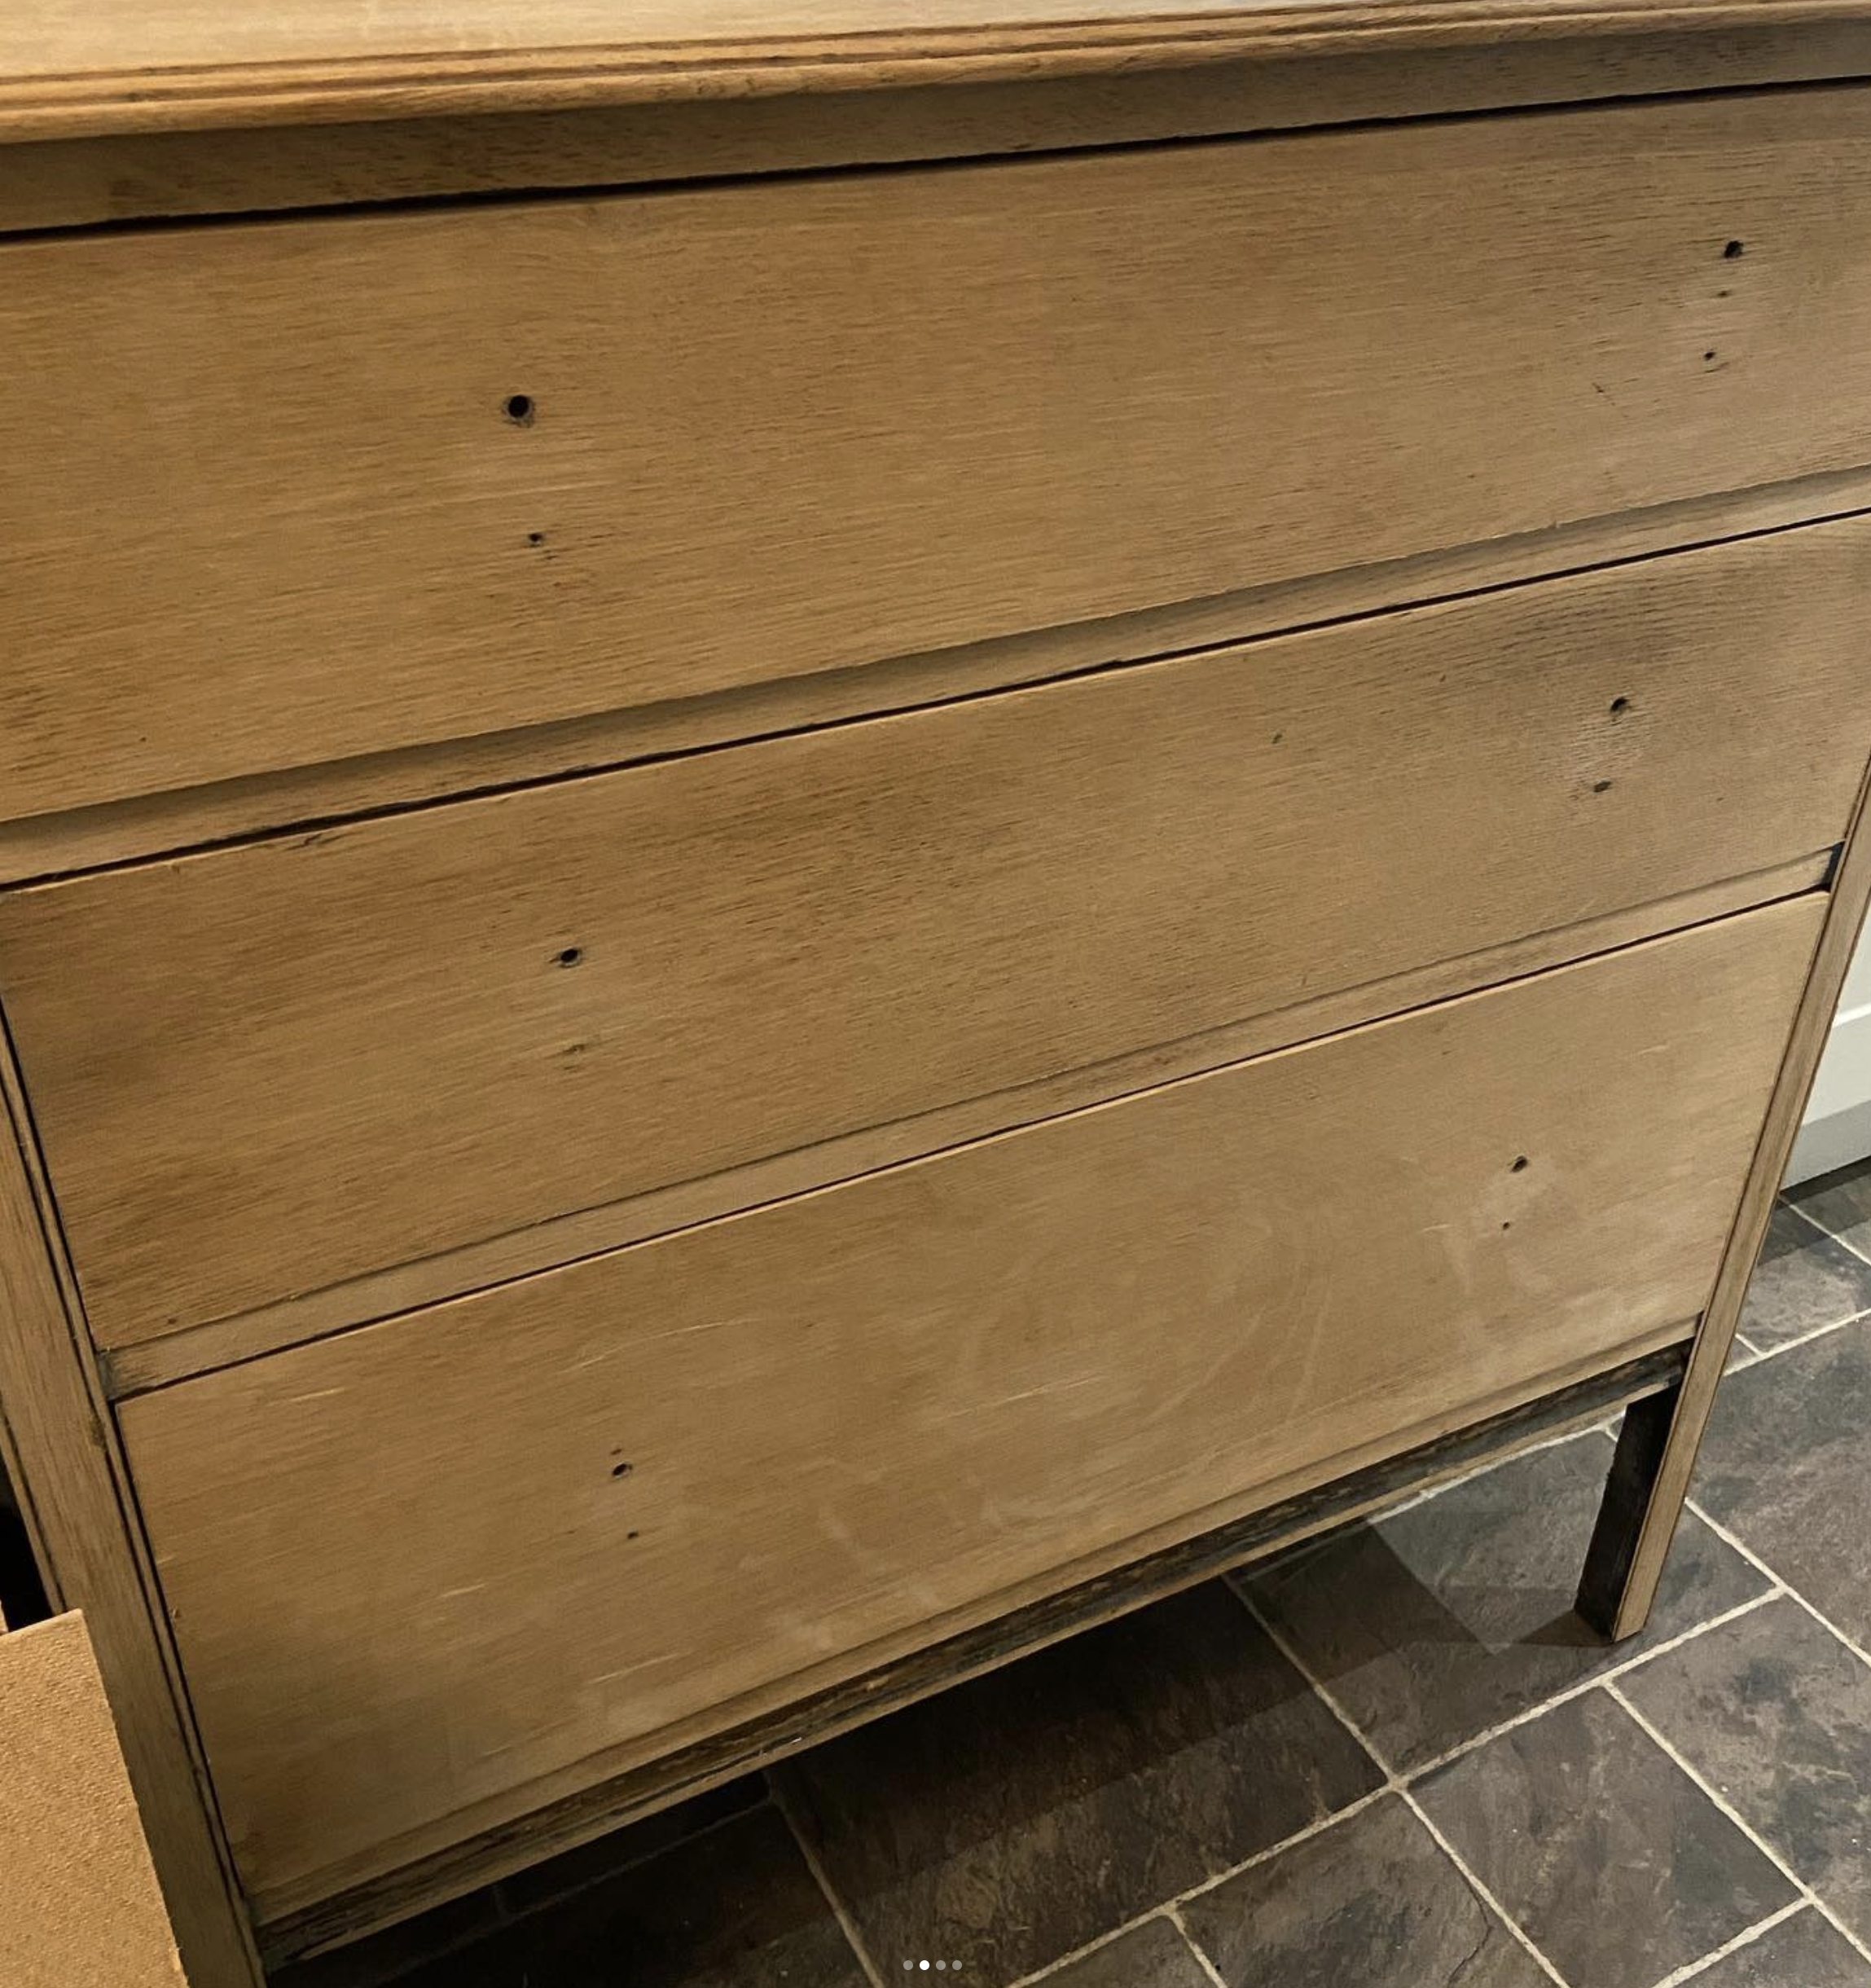
Here is it all sanded, looking much better. Just need to fill the old holes using wood filler. We prefer to used the 2 part wood filler on these type of projects. As it cures quicker than normal wood filler.
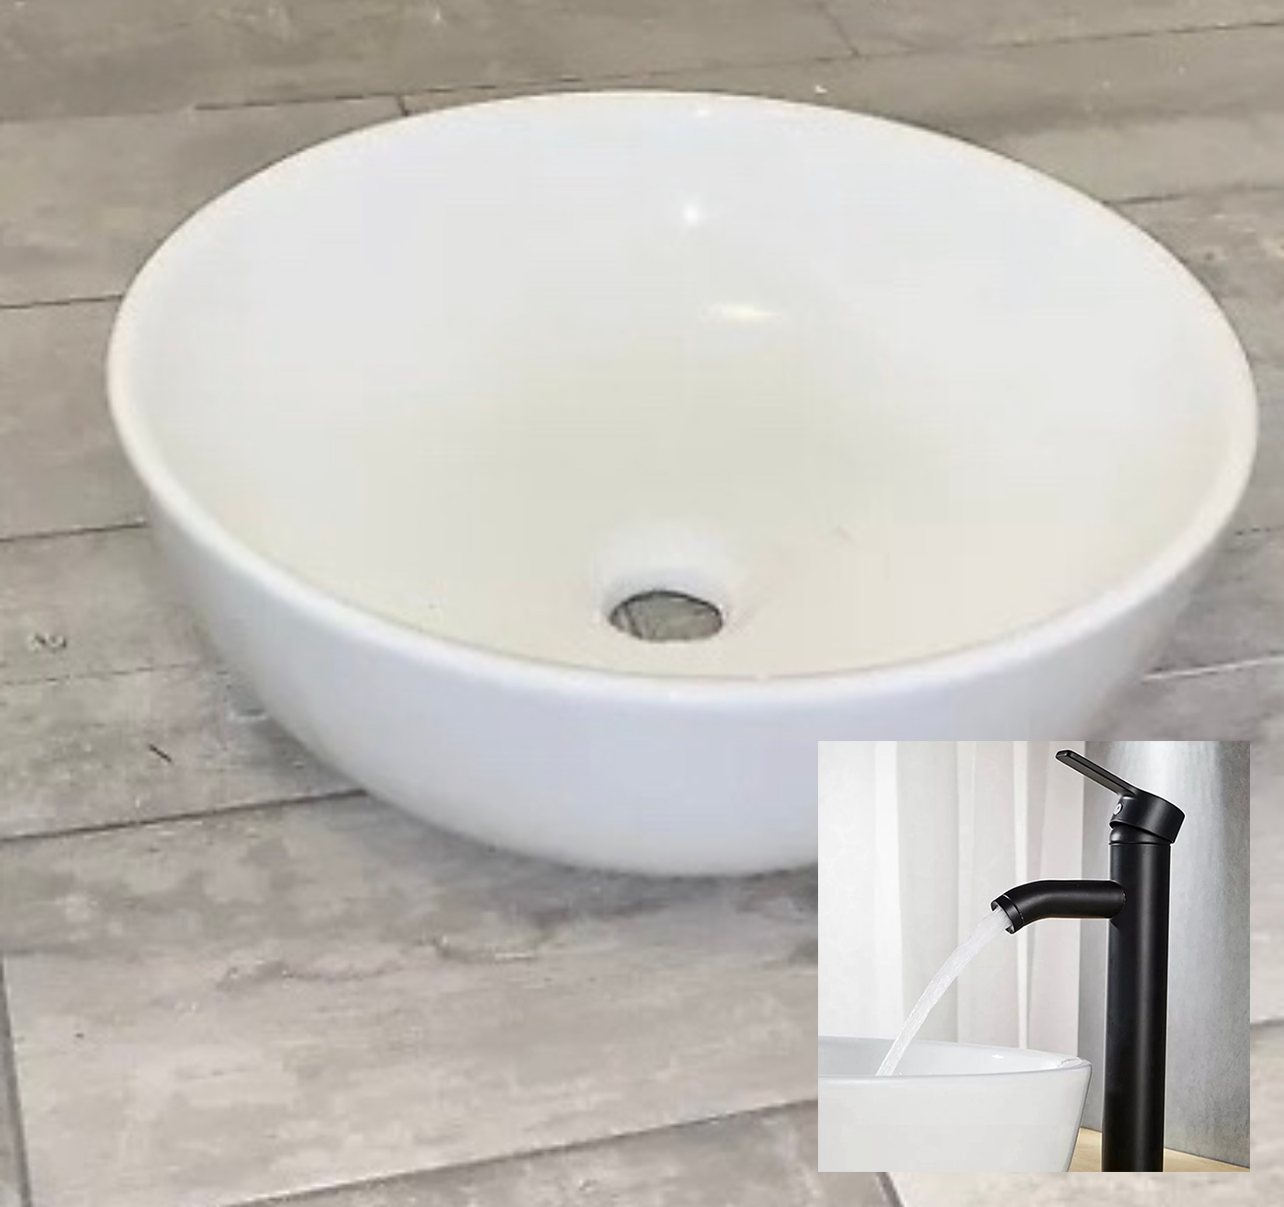
Keeping costs down I bought a new ceramic sink off from another online site for £10 and a tap off ebay.co.uk for £13.
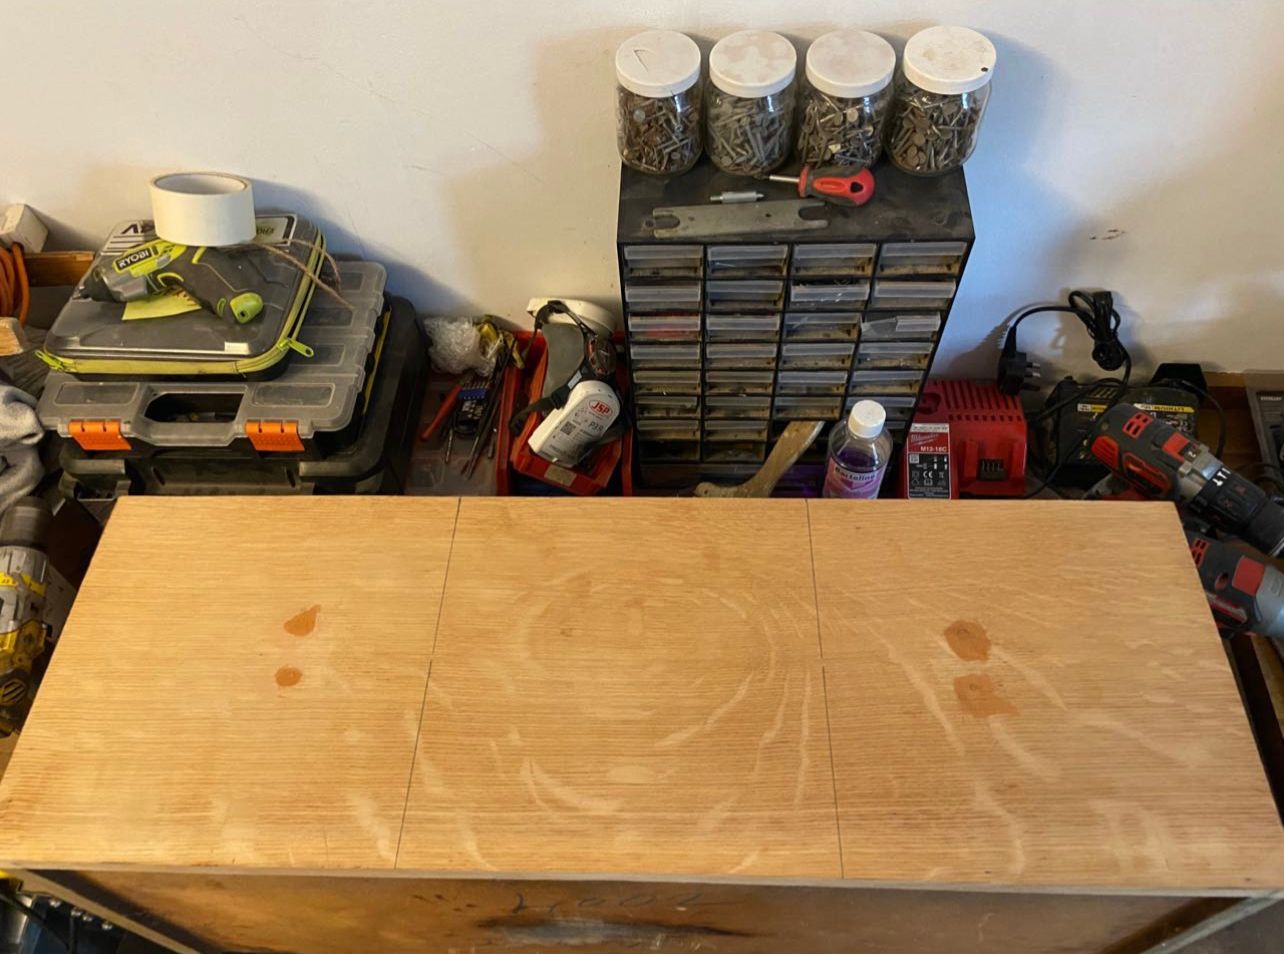
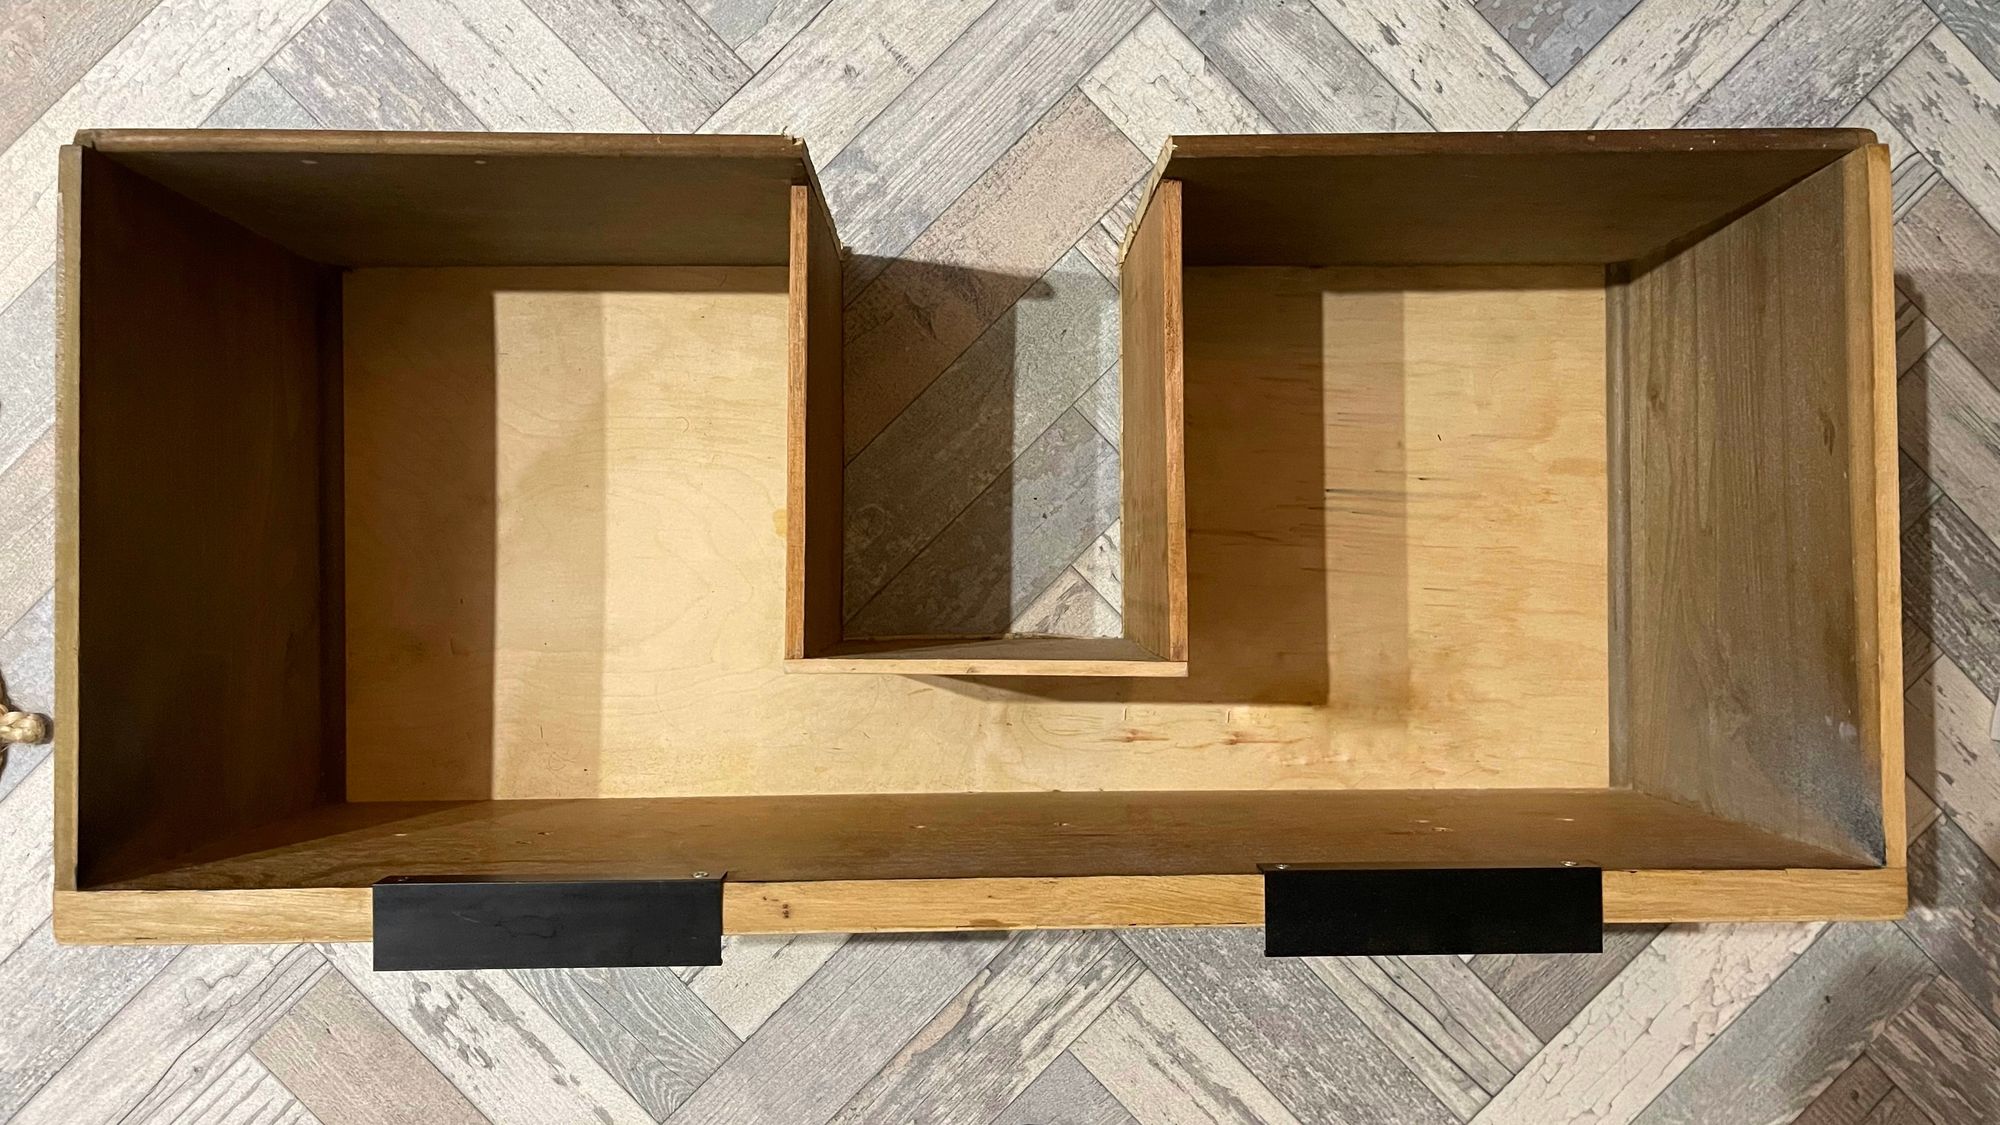
As I wanted to the drawers for storage, we had to plan and cut around the pipes. So, they would easily open and close without any interference with the drainage pipe running down the middle. Here it is just trying it out for size, we drilled out holes in the top for the sink drainage and the tap.
We altered all 3 drawers to look like the below and we boxed around the cut out using timber from a similar aged piece. To look more in keeping.
Now for the fun part, upcycling the outer part of the vanity for the bathroom.
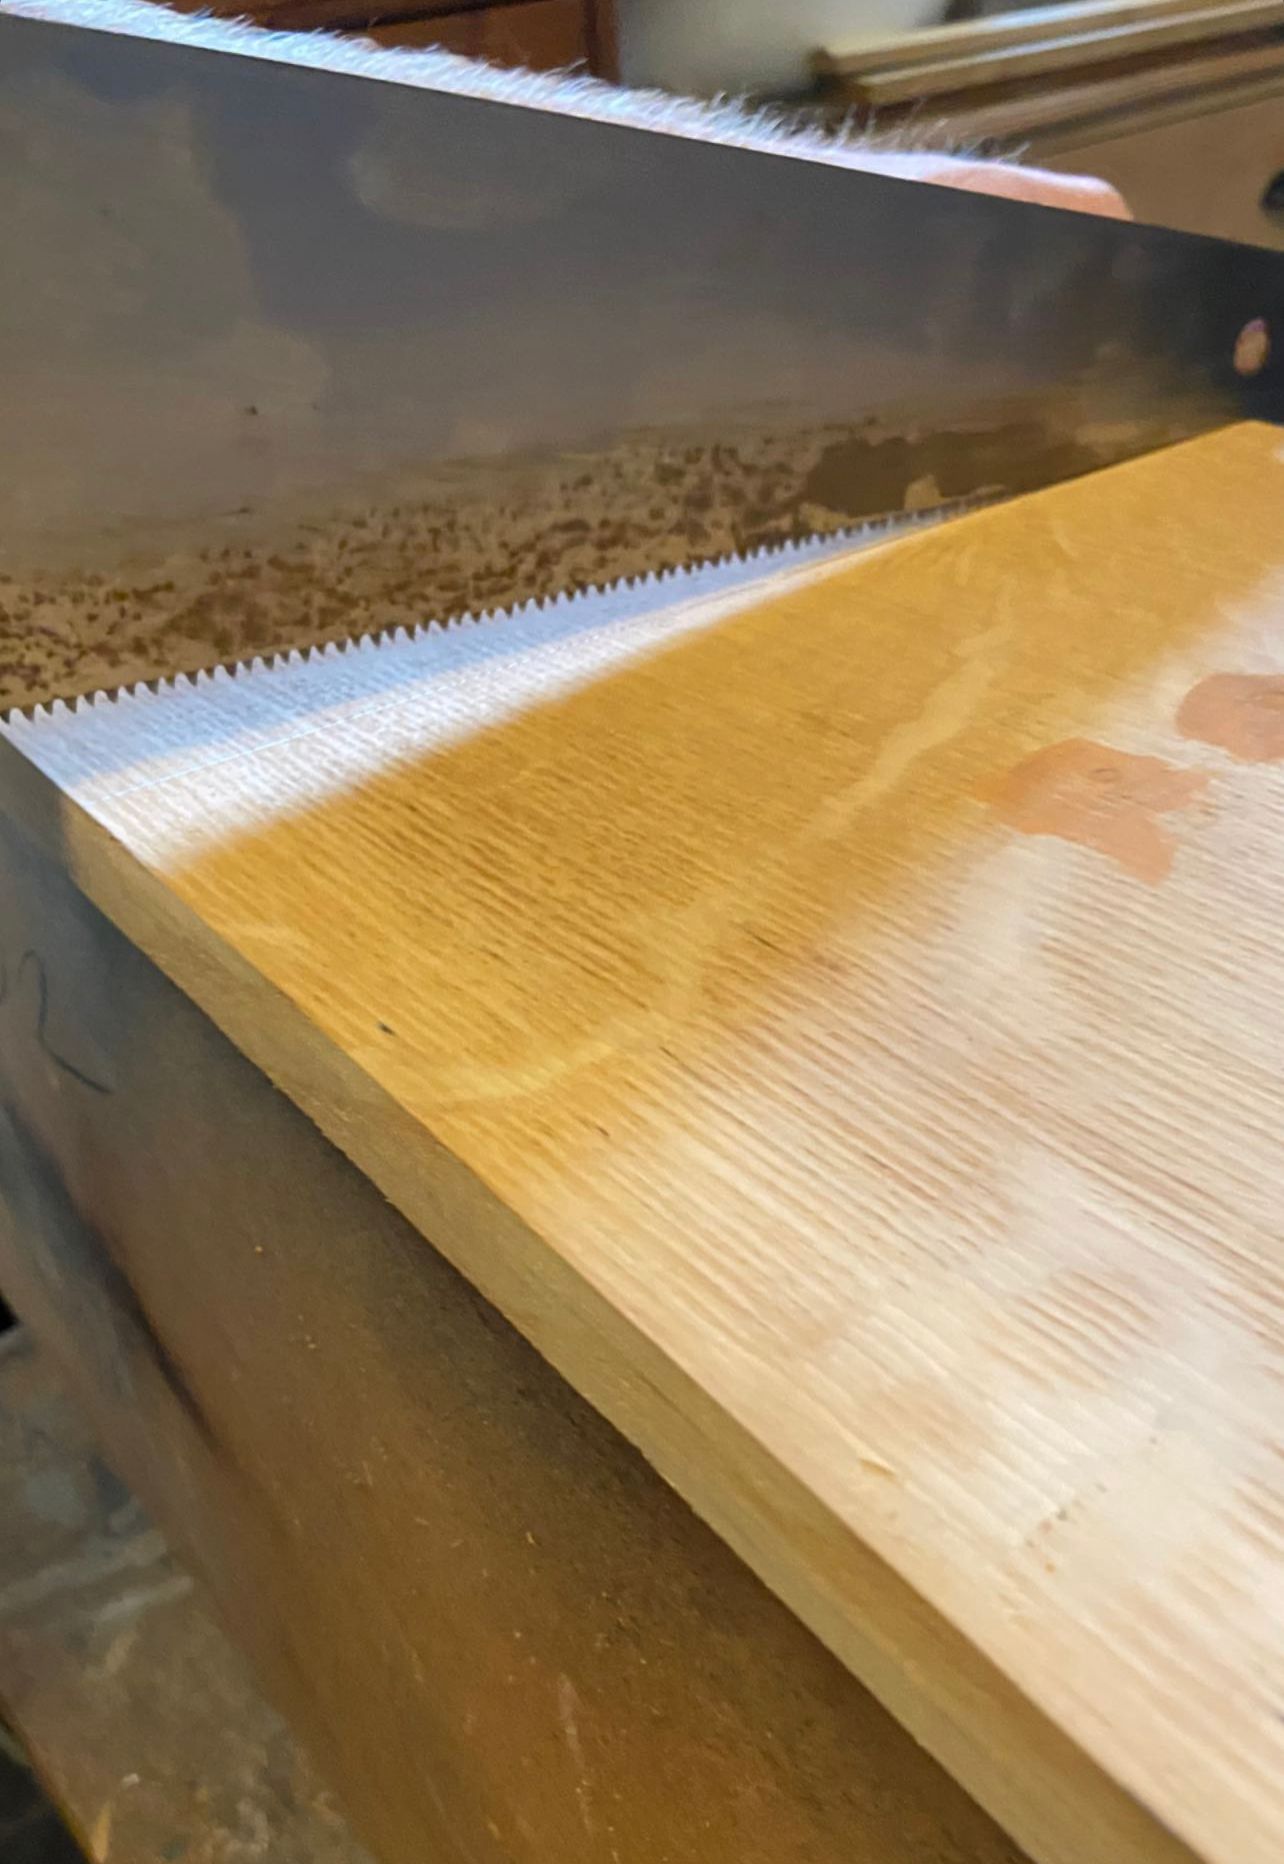
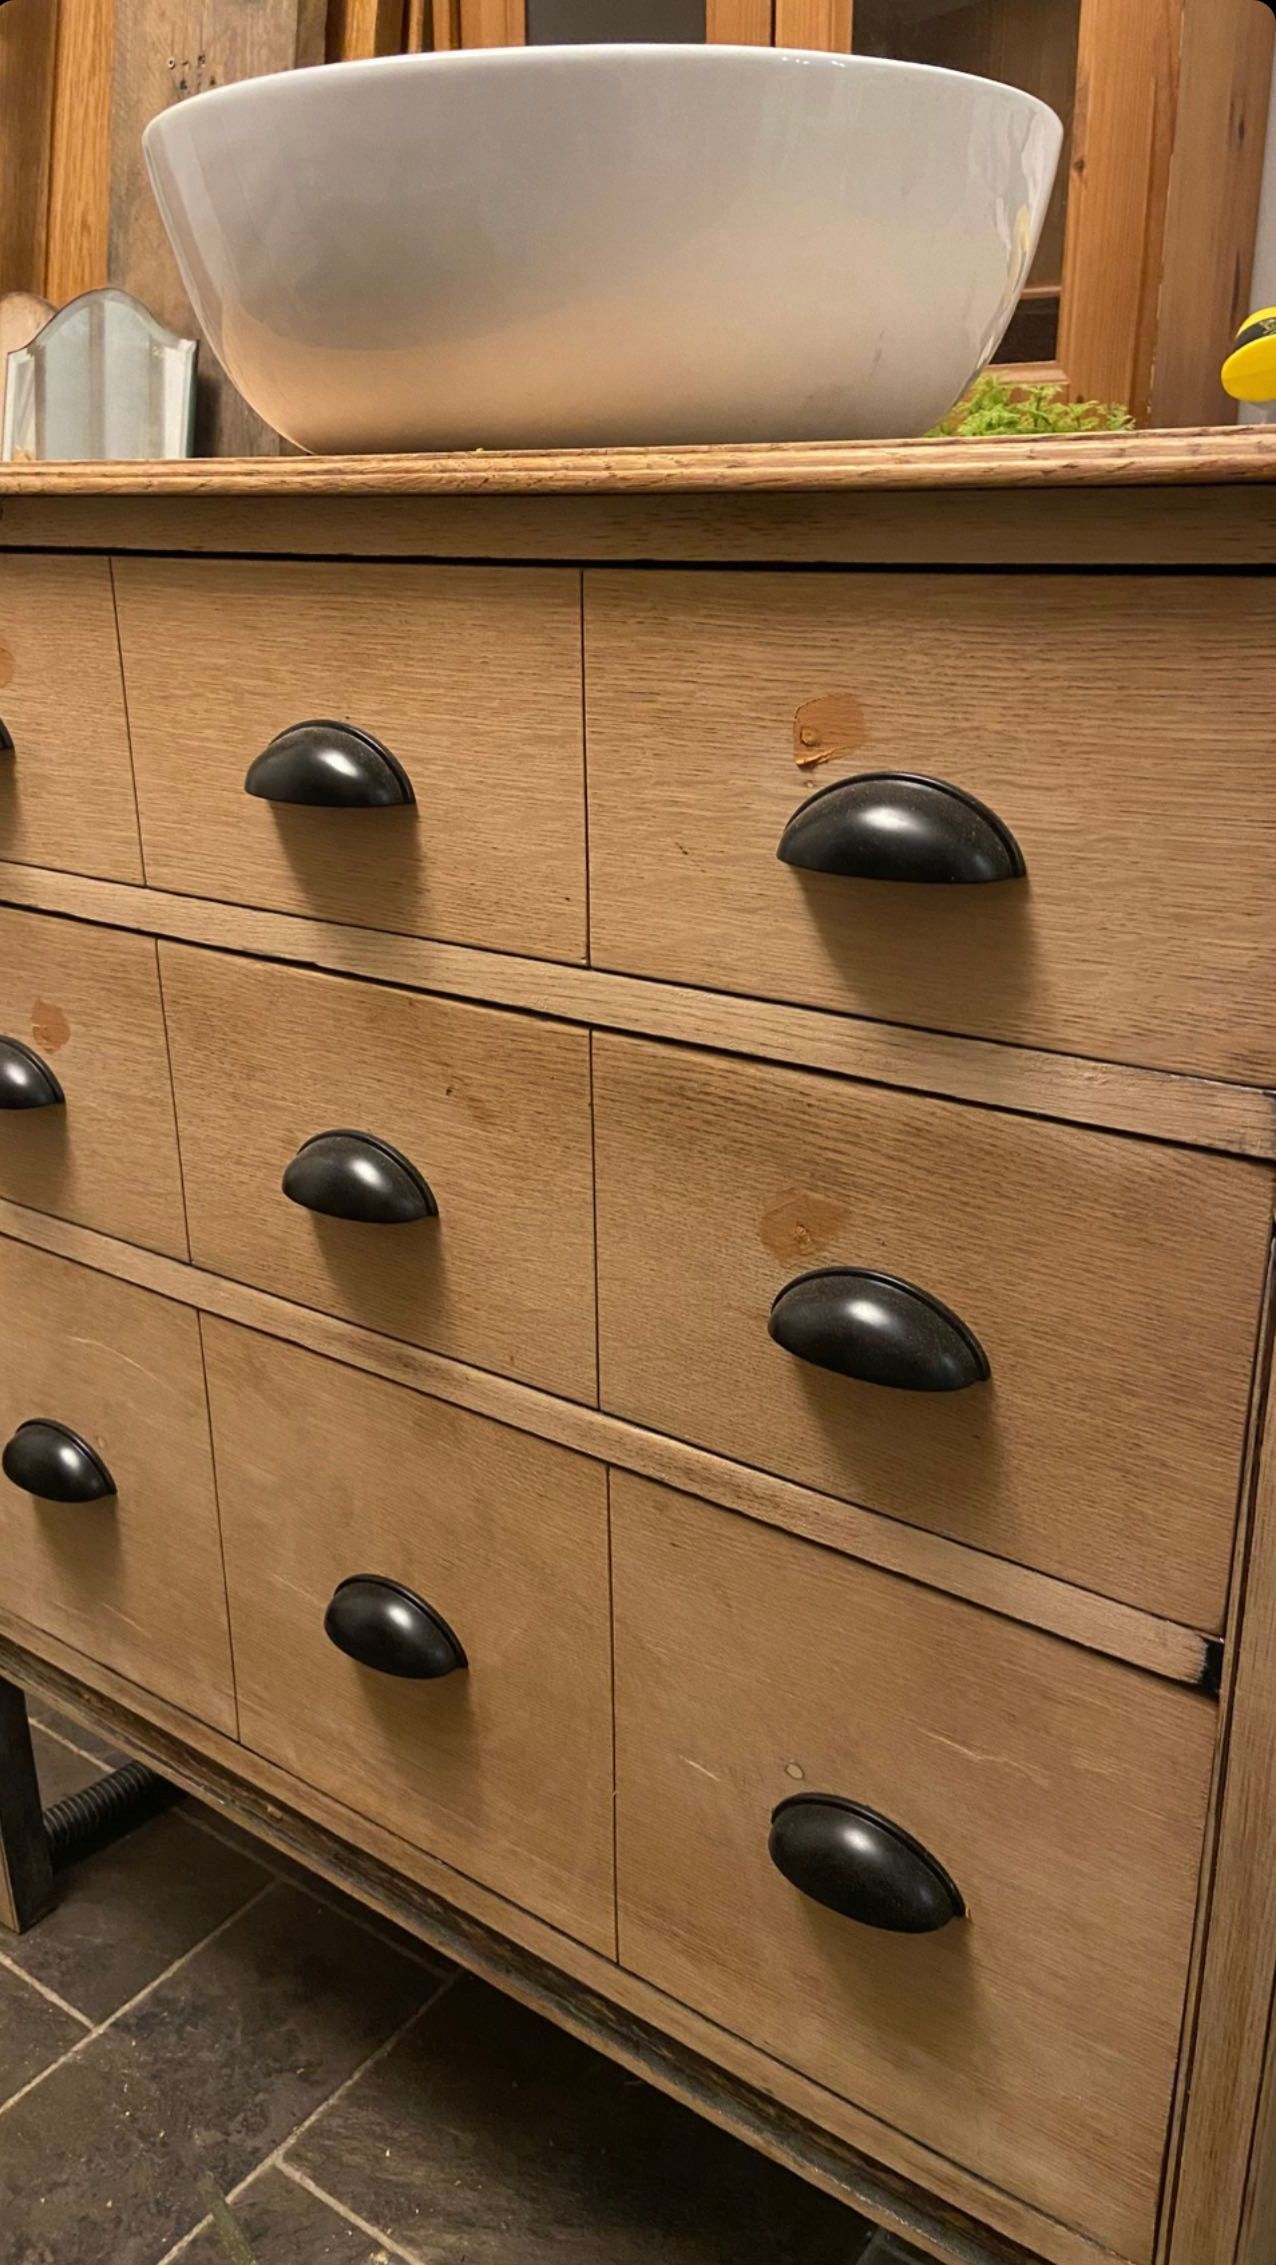
Originally, I really wanted to turn them into a apothecary style with industrial handles. So to create the multi drawer look, we started by splitting the drawer fronts into thirds and using a handsaw cutting slightly into them.
This is to give the look of individual drawers. This is how it turned out when we added the black cup handles.
So we fitted it in place and I loved the look and the natural wood.
But the original handle holes bothered me, we couldn't seem to disguise them. We should have really used the new handles to cover the holes but we didn't, we centralised them. or use sawdust in the filler from the drawers to help disguise them.
So I needed another idea to hide these. There was a lot of slatted cladding on furniture in the shops. So using an old wooden blind that was left in the house by the past owners, that we'd taking down and was going to the landfill. I thought of using it to clad the drawer fronts.
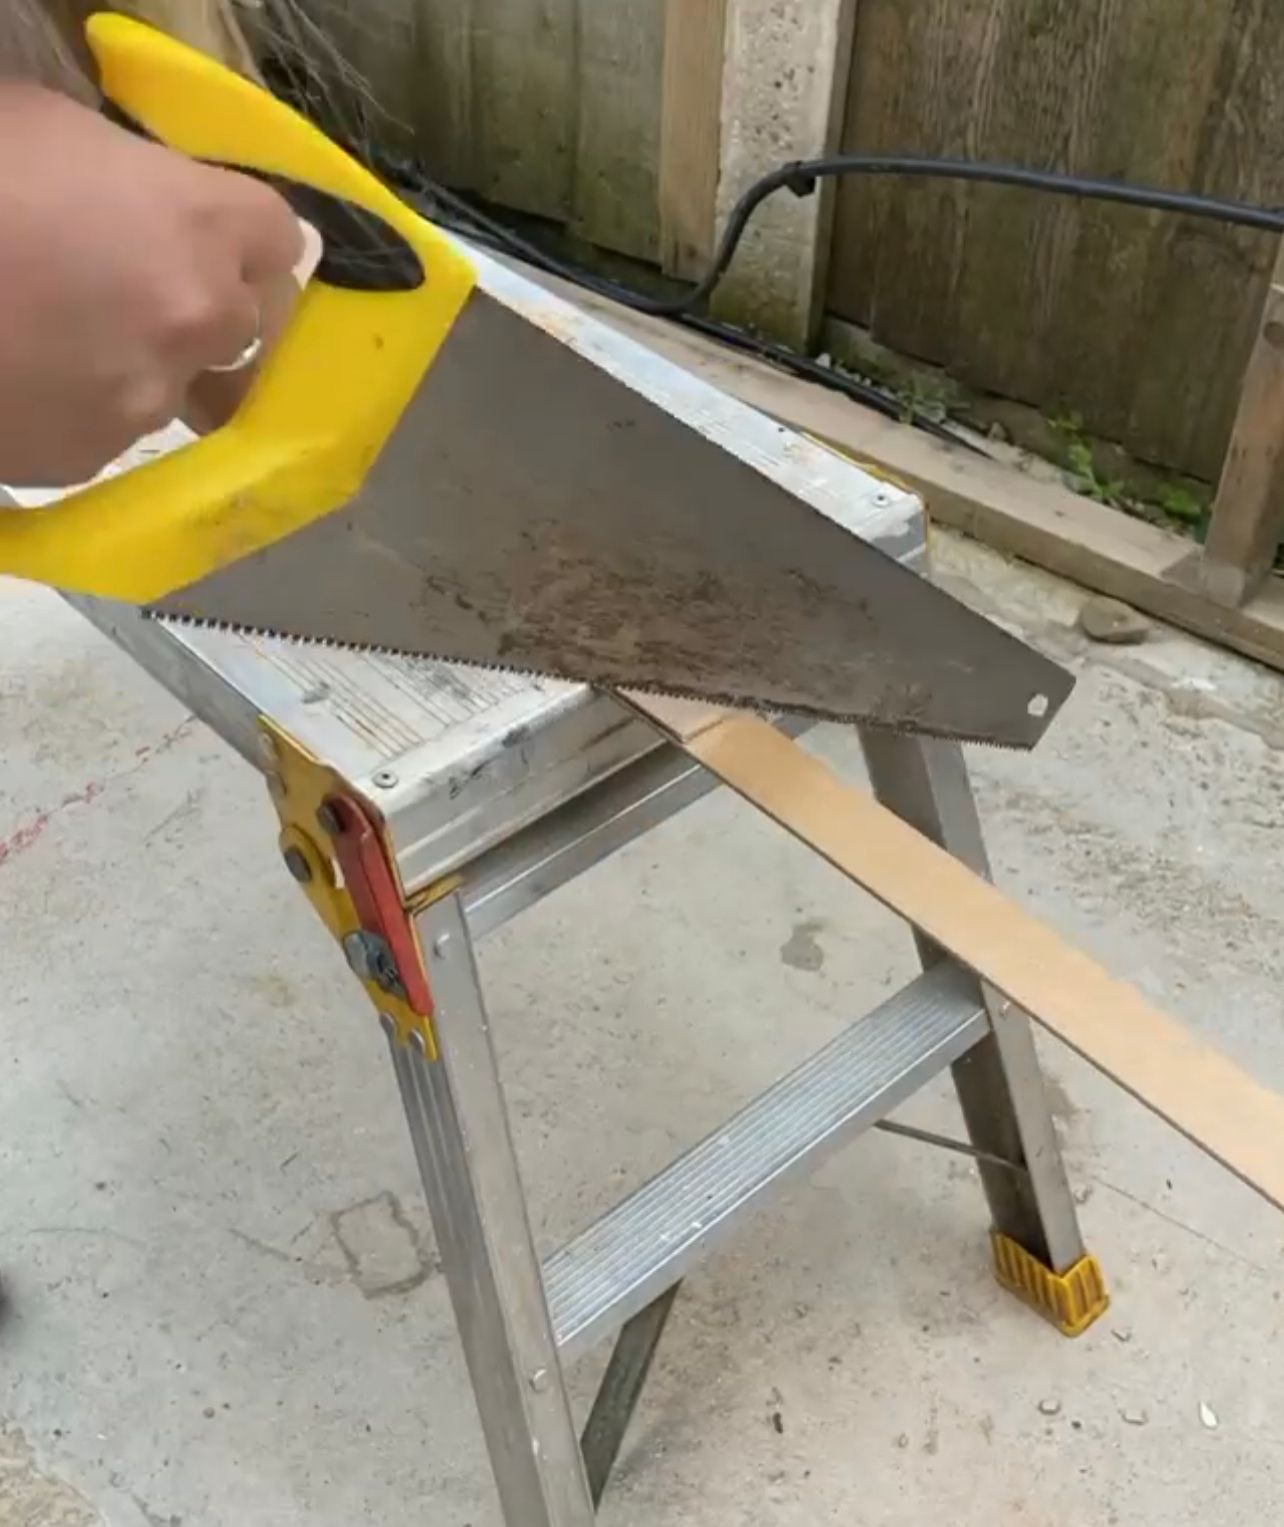
The trusty handsaw came into use again, cutting up the blind slates into length a little larger than the fronts themselves, you'll see why later.
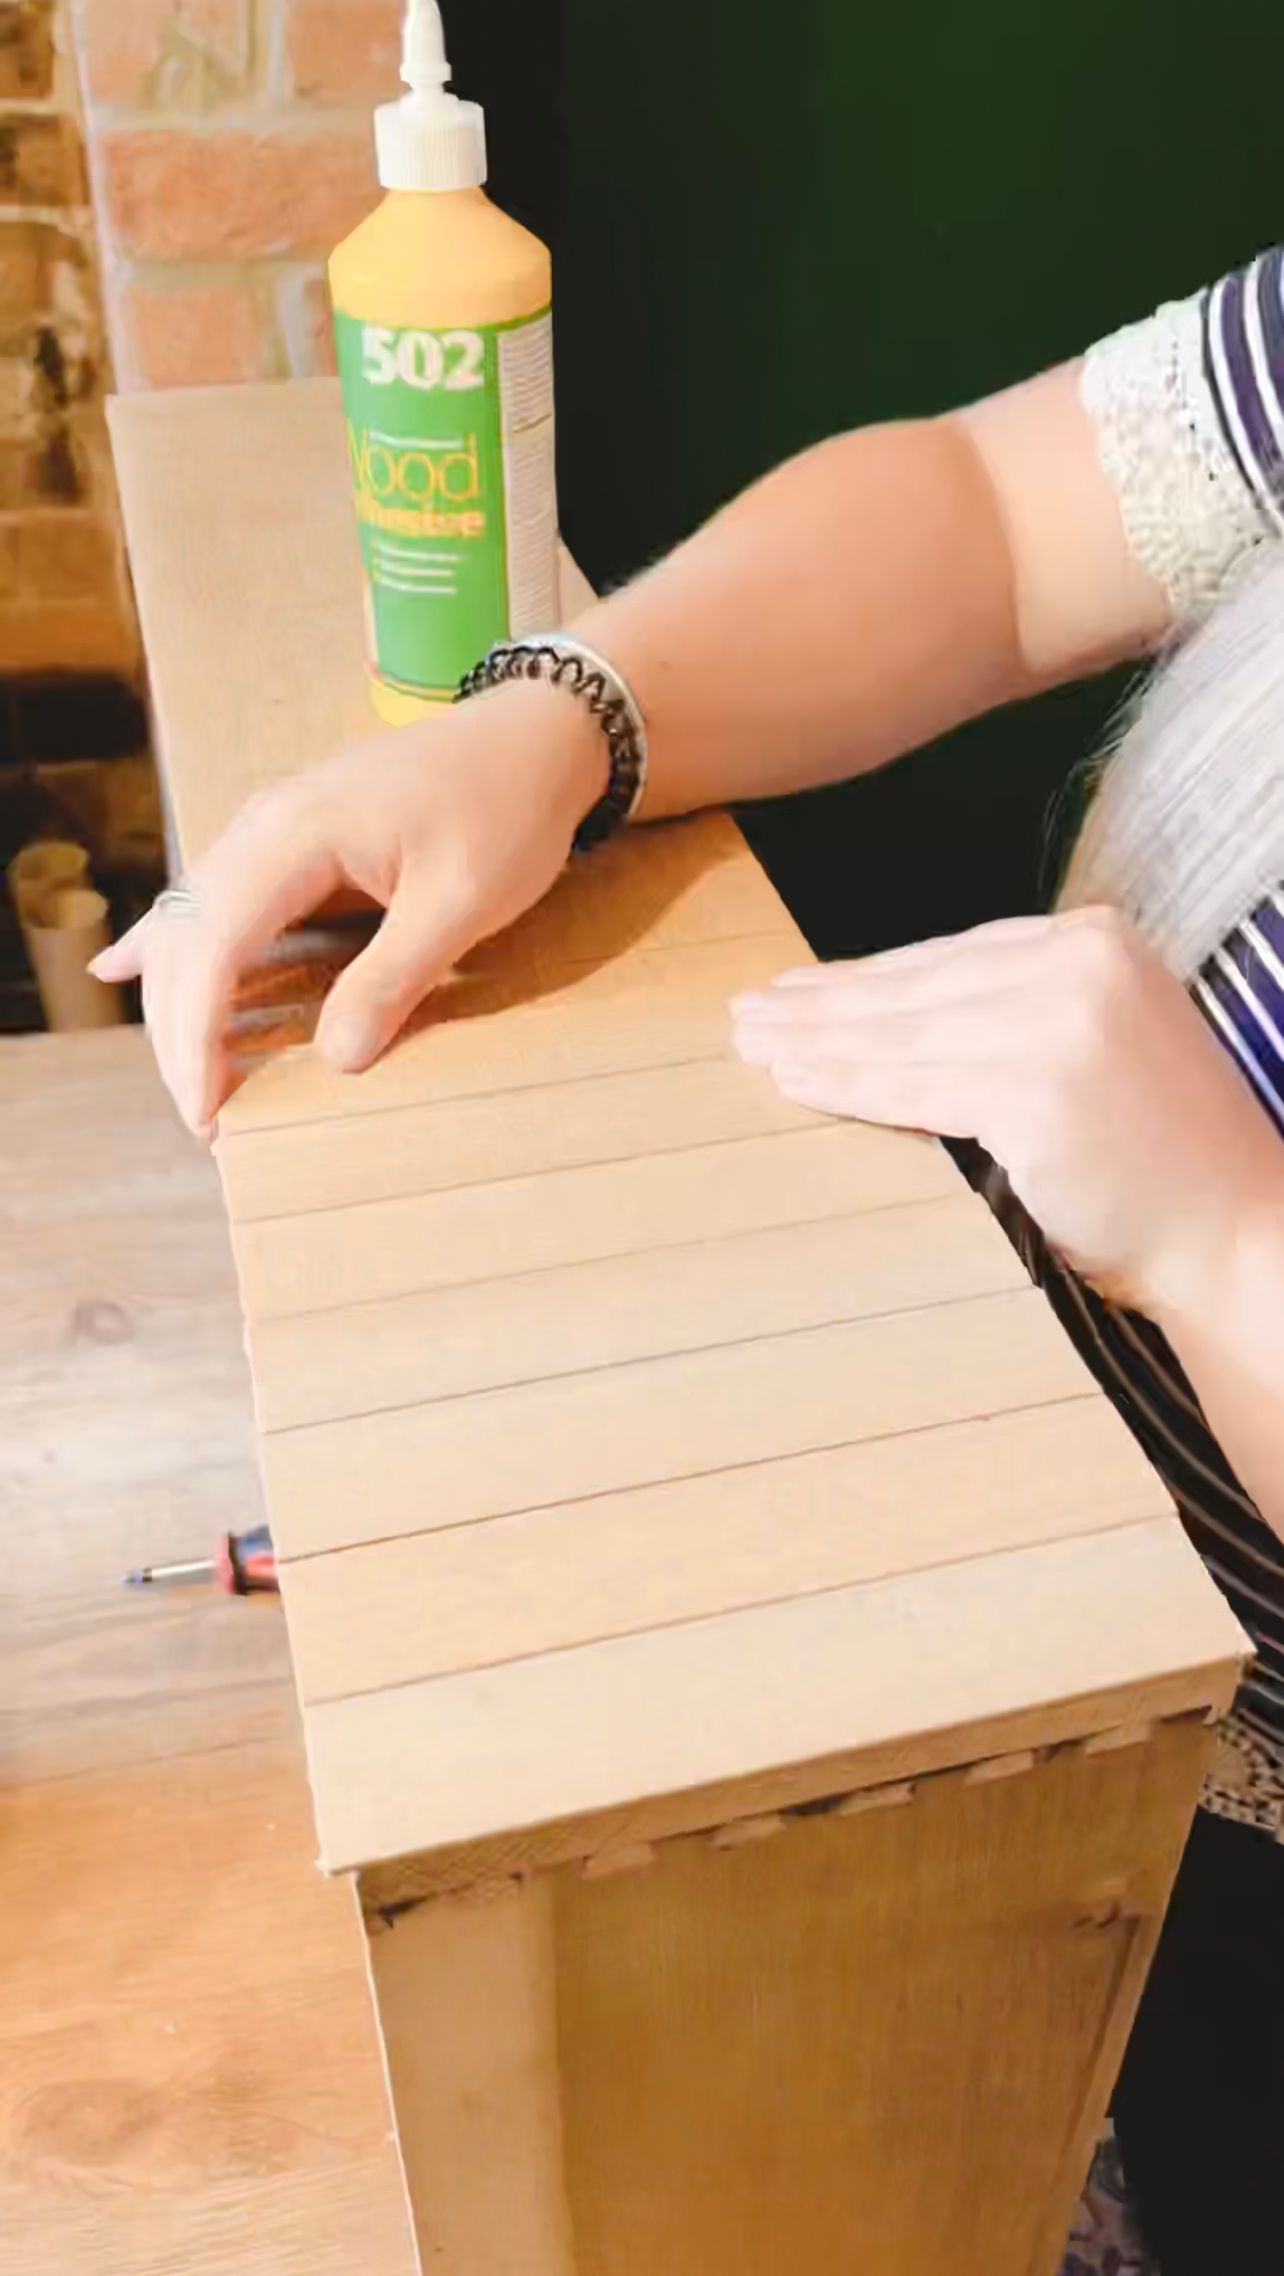
I then glued them using wood adhesive and when the fronts were completely cladded, placed something heavy on them to hold them in place whilst the glue dried. Now the blind slats had a medium oak type finish on them, which I wanted to remove.
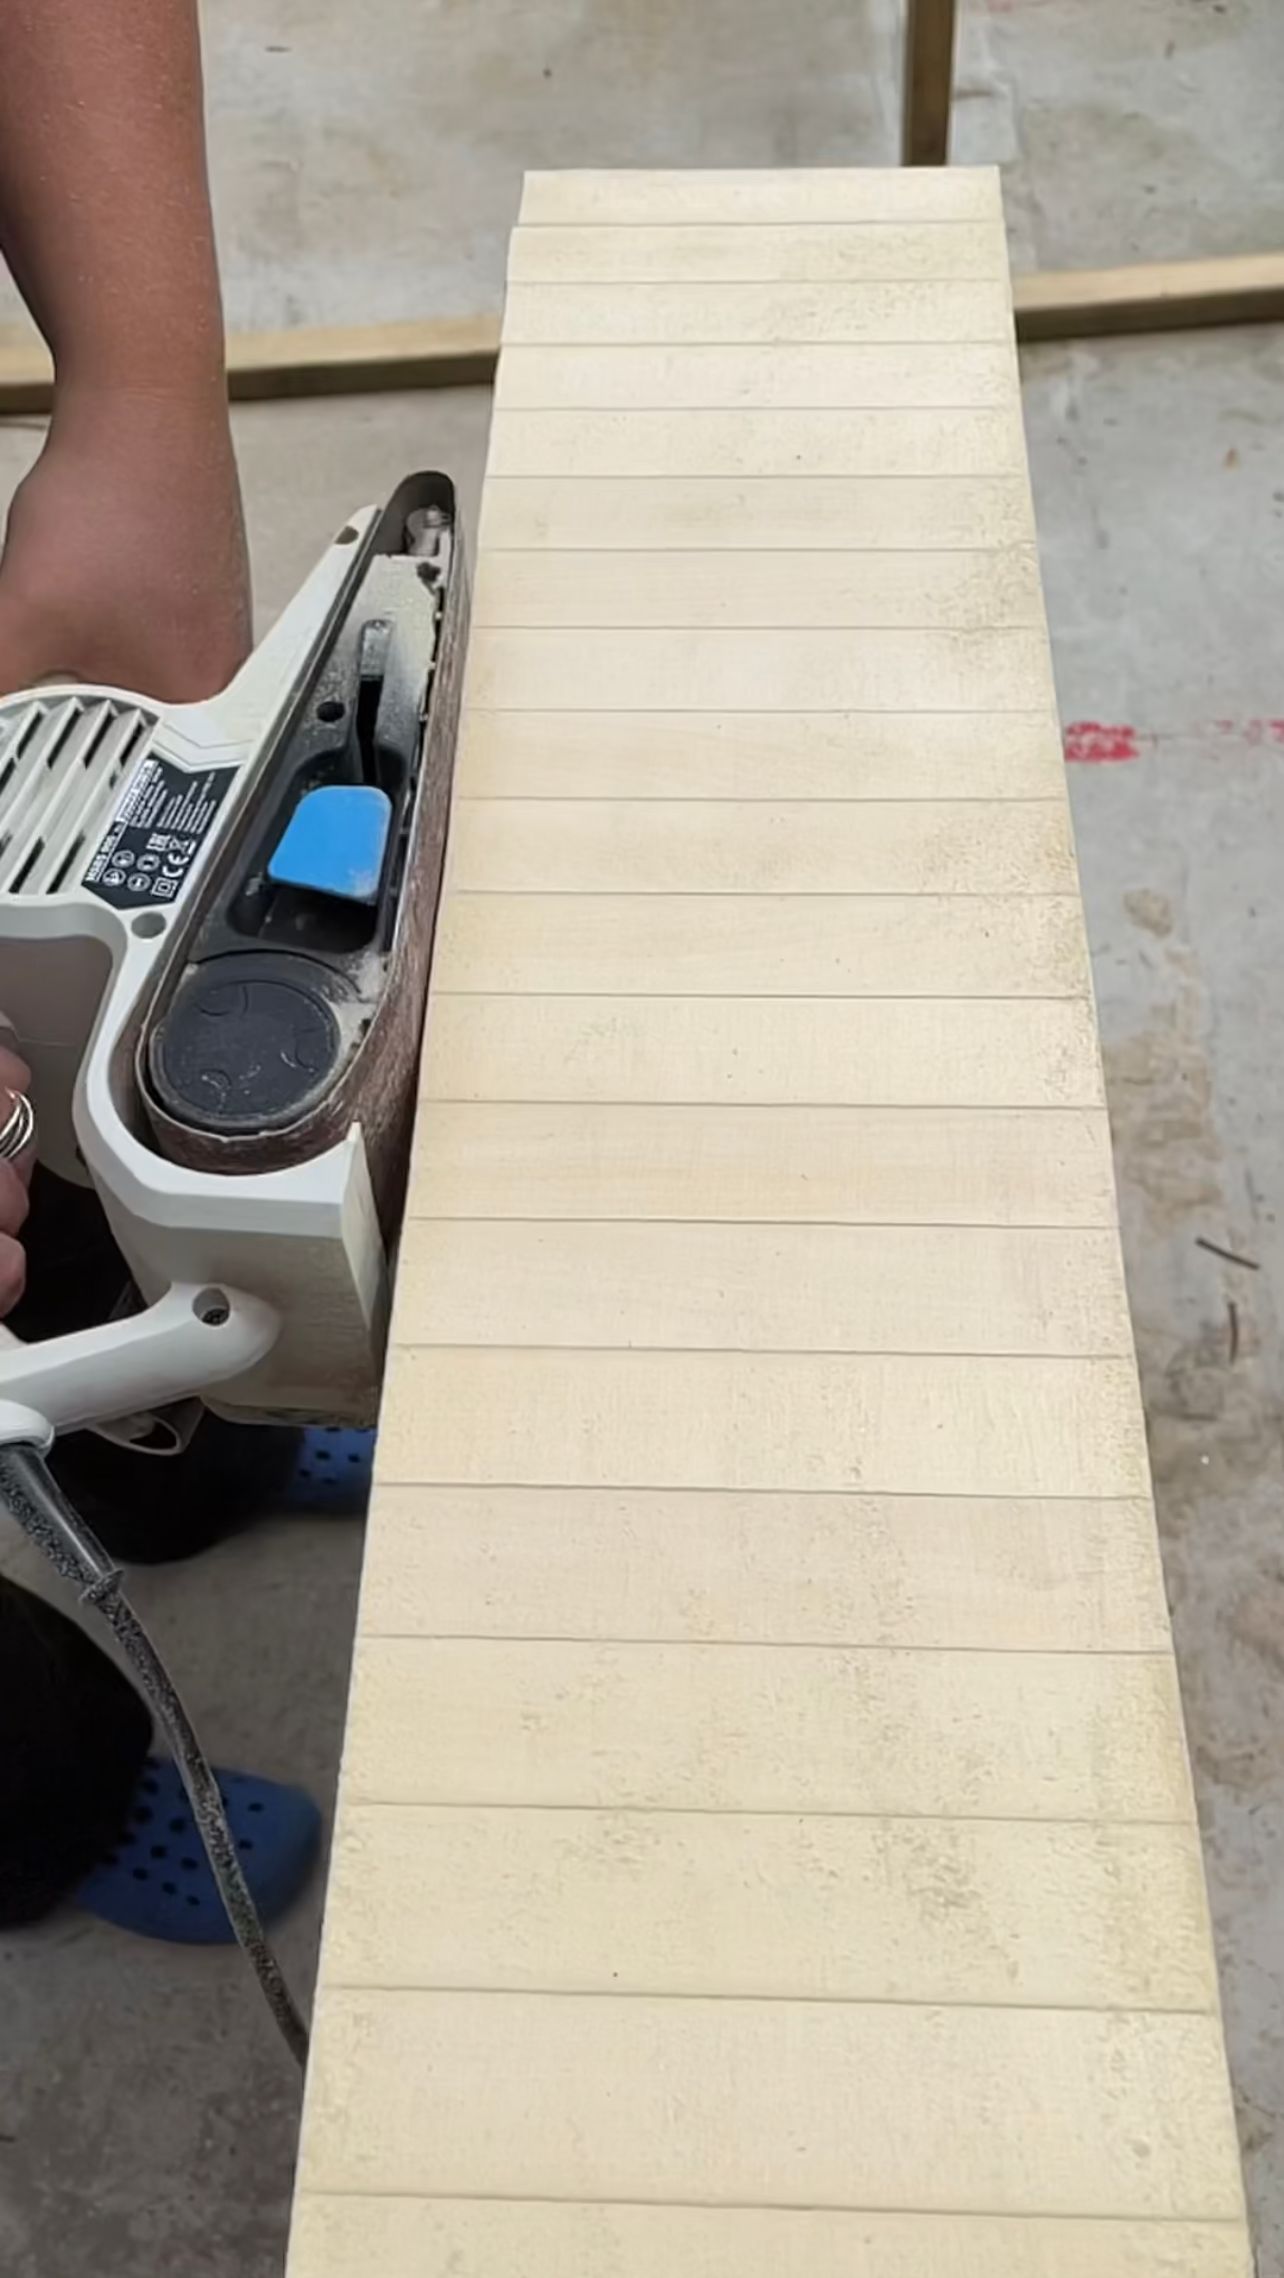
So using the belt sander I removed the this, revealing a beautiful paler colour. I also used the sander to trim the edges, so these were flush with the drawer edges. You get a better finish doing this way instead of trying to cut cladding all the same length. Once, sanded I applied a Polyvine decorator varnish in satin. With it being in the bathroom it needed to be protect from water.
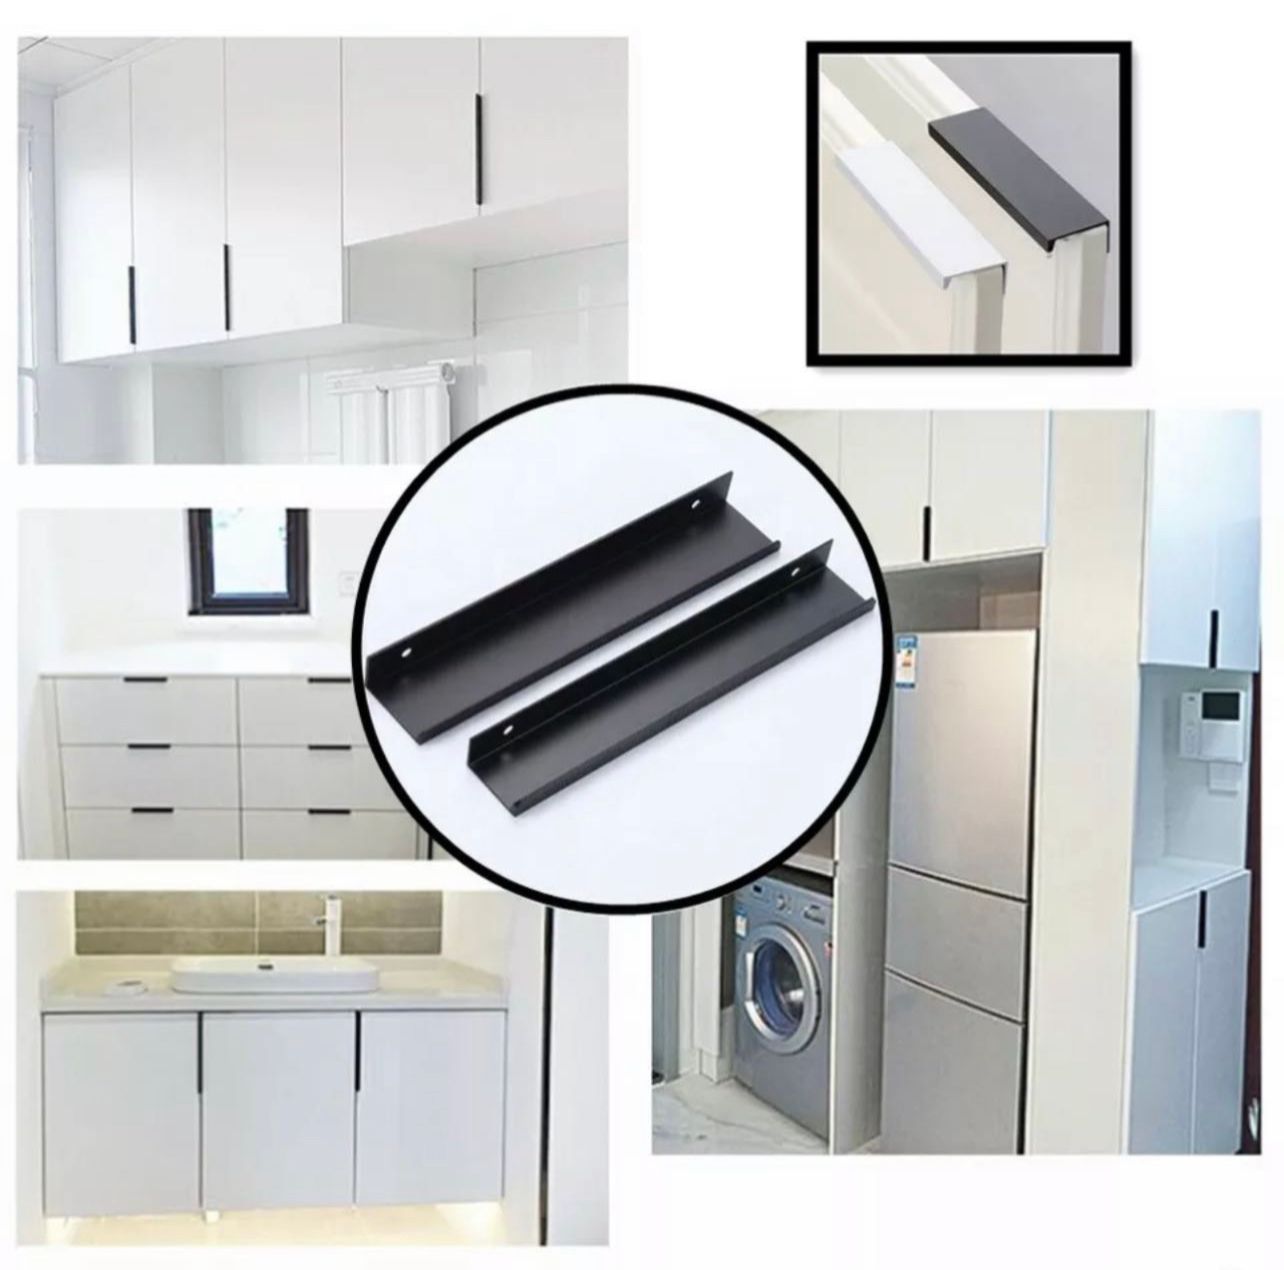
I also decided to change the handles again, to a more modern thin pull style. That would lip over the edge. Something similar to these.
For the outer frame I decided to change the warm oak colour we had before and go with a white washed wood look. To create this look, we used white emulsion and a wet towel rag to stain the wood, to give a bleached look. So the woodgrain could still be seen.
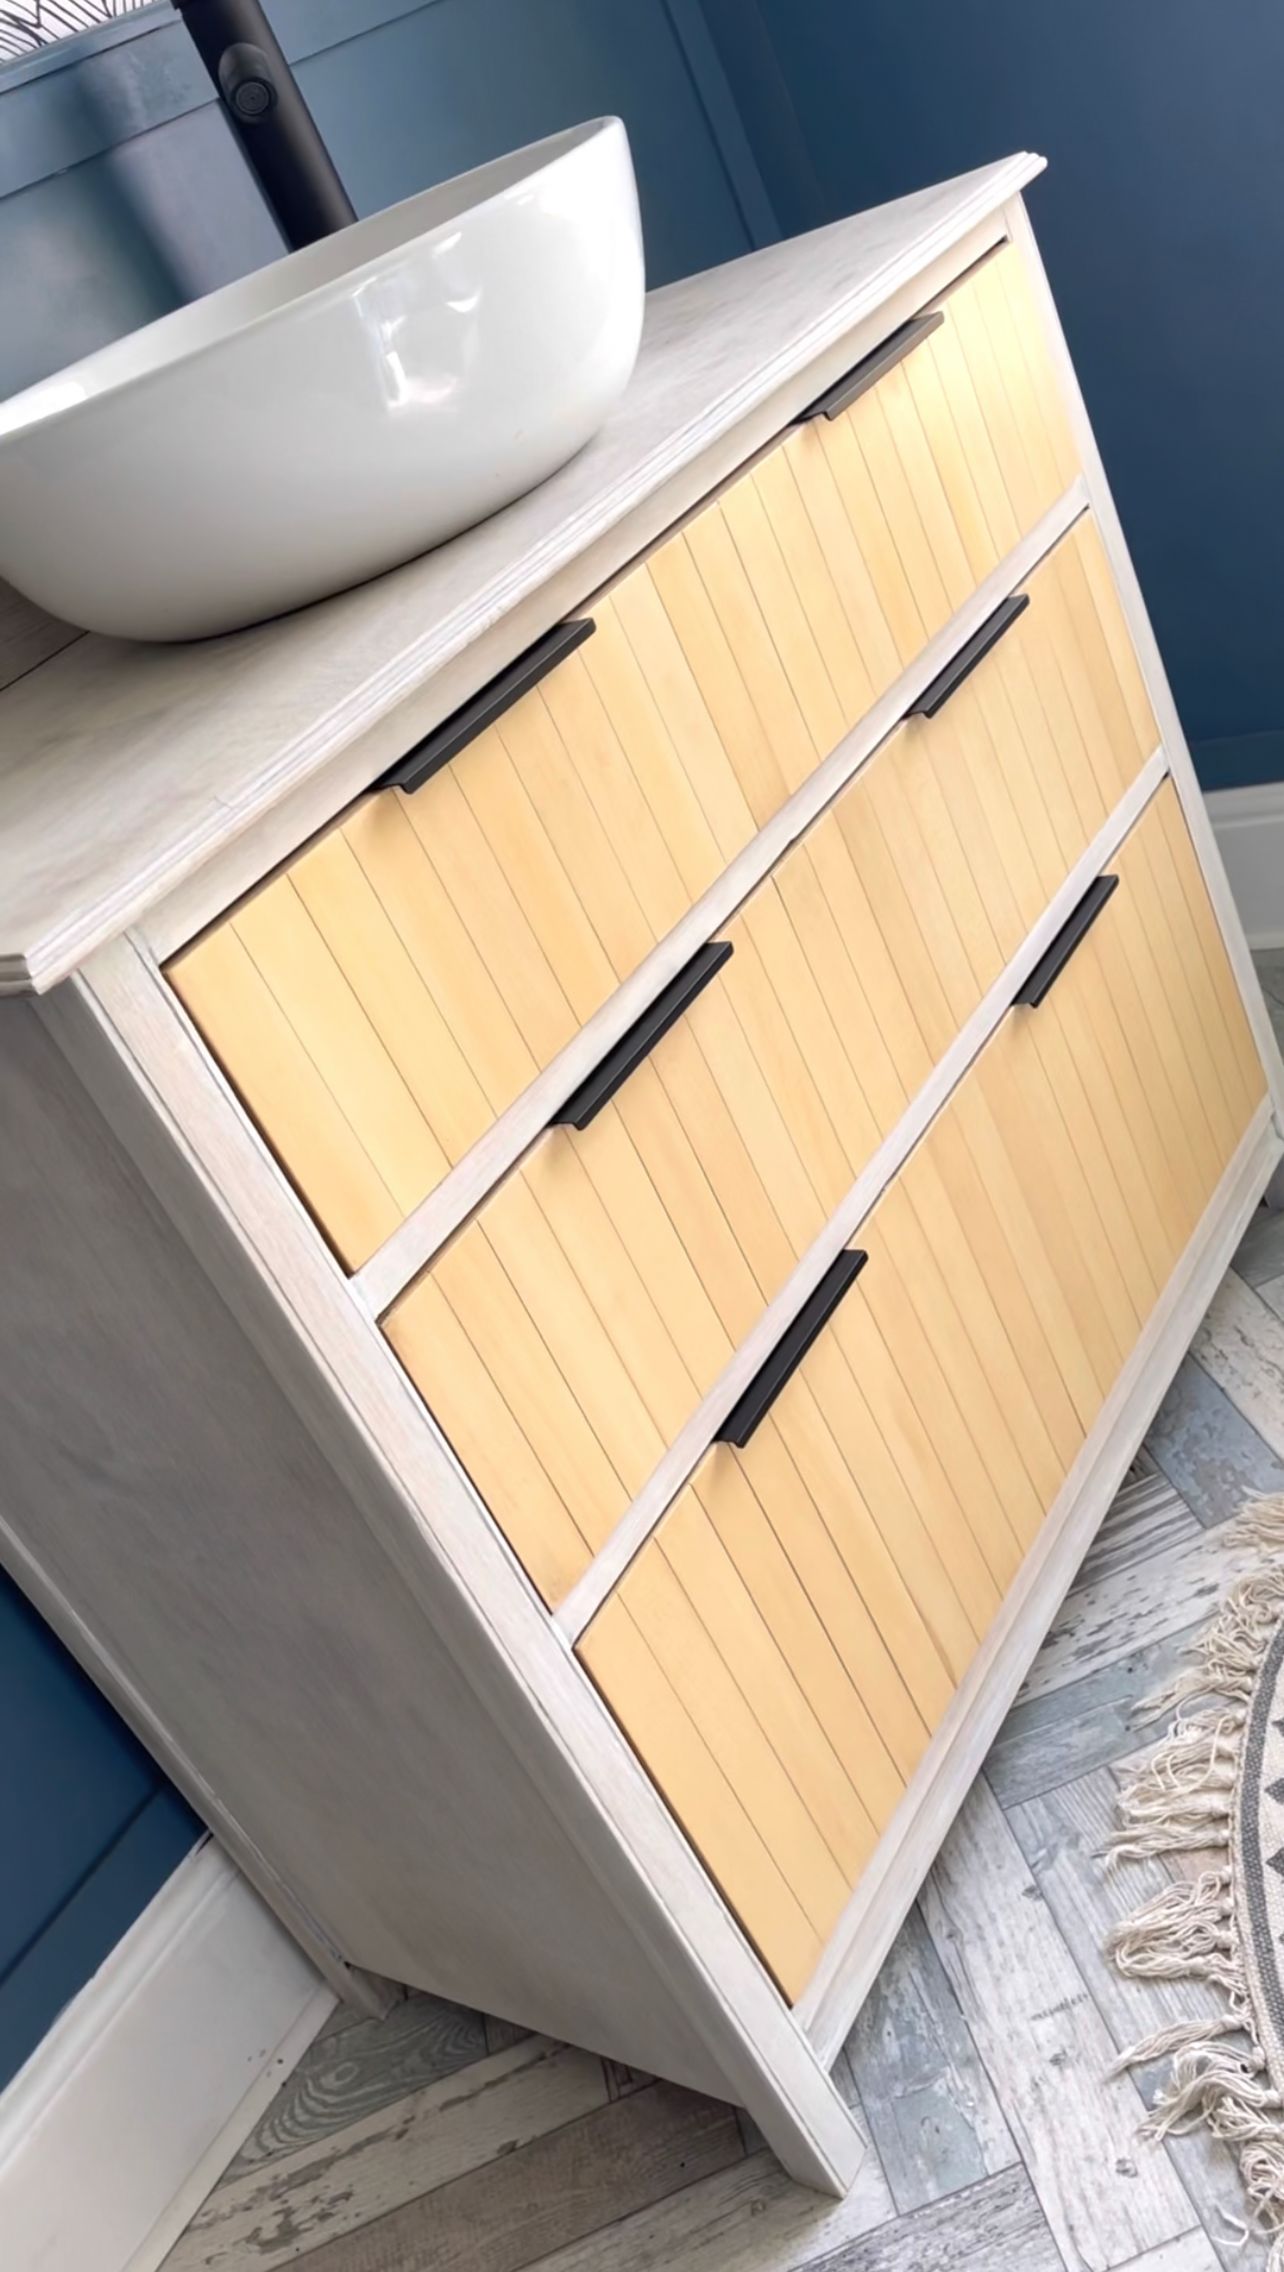
So by recycling old wooden blind slats, we created a completely new look for the vanity. Heres a before and after. I just love the effect, by best upcycle yet!
Thank you for reading.