

This handy hack will help you draw perfect circles, arcs and arches

If you find this post useful, pop over & give me a follow on Instagram or Tiktok where I share all the behind-the-scenes info about the projects I'm working on, DIY tips, tricks and money-saving techniques for creative home styling!
There are quite a few DIY projects which require you to draw a circle or arch. Colour blocking with paint is a common one, as is cutting MDF arches to customise furniture. You can use string and fiddle around tying it to a screw and pencil, or you can simply hook your tape measure on instead, read how below...
Step 1:
Decide how big you want the circle and where you need it. Insert a screw at the centre point.

Step 2:
Take the radius measurement (the distance from the centre to the circumference) on your desire circle and set the tape measure to that measurement. Be sure to lock the tape measure so it can't move, by pressing the lock button on the side (the black button in the image below).

Step 3:
Tape a pen onto the side of the tape measure using masking tape.

Step 4:
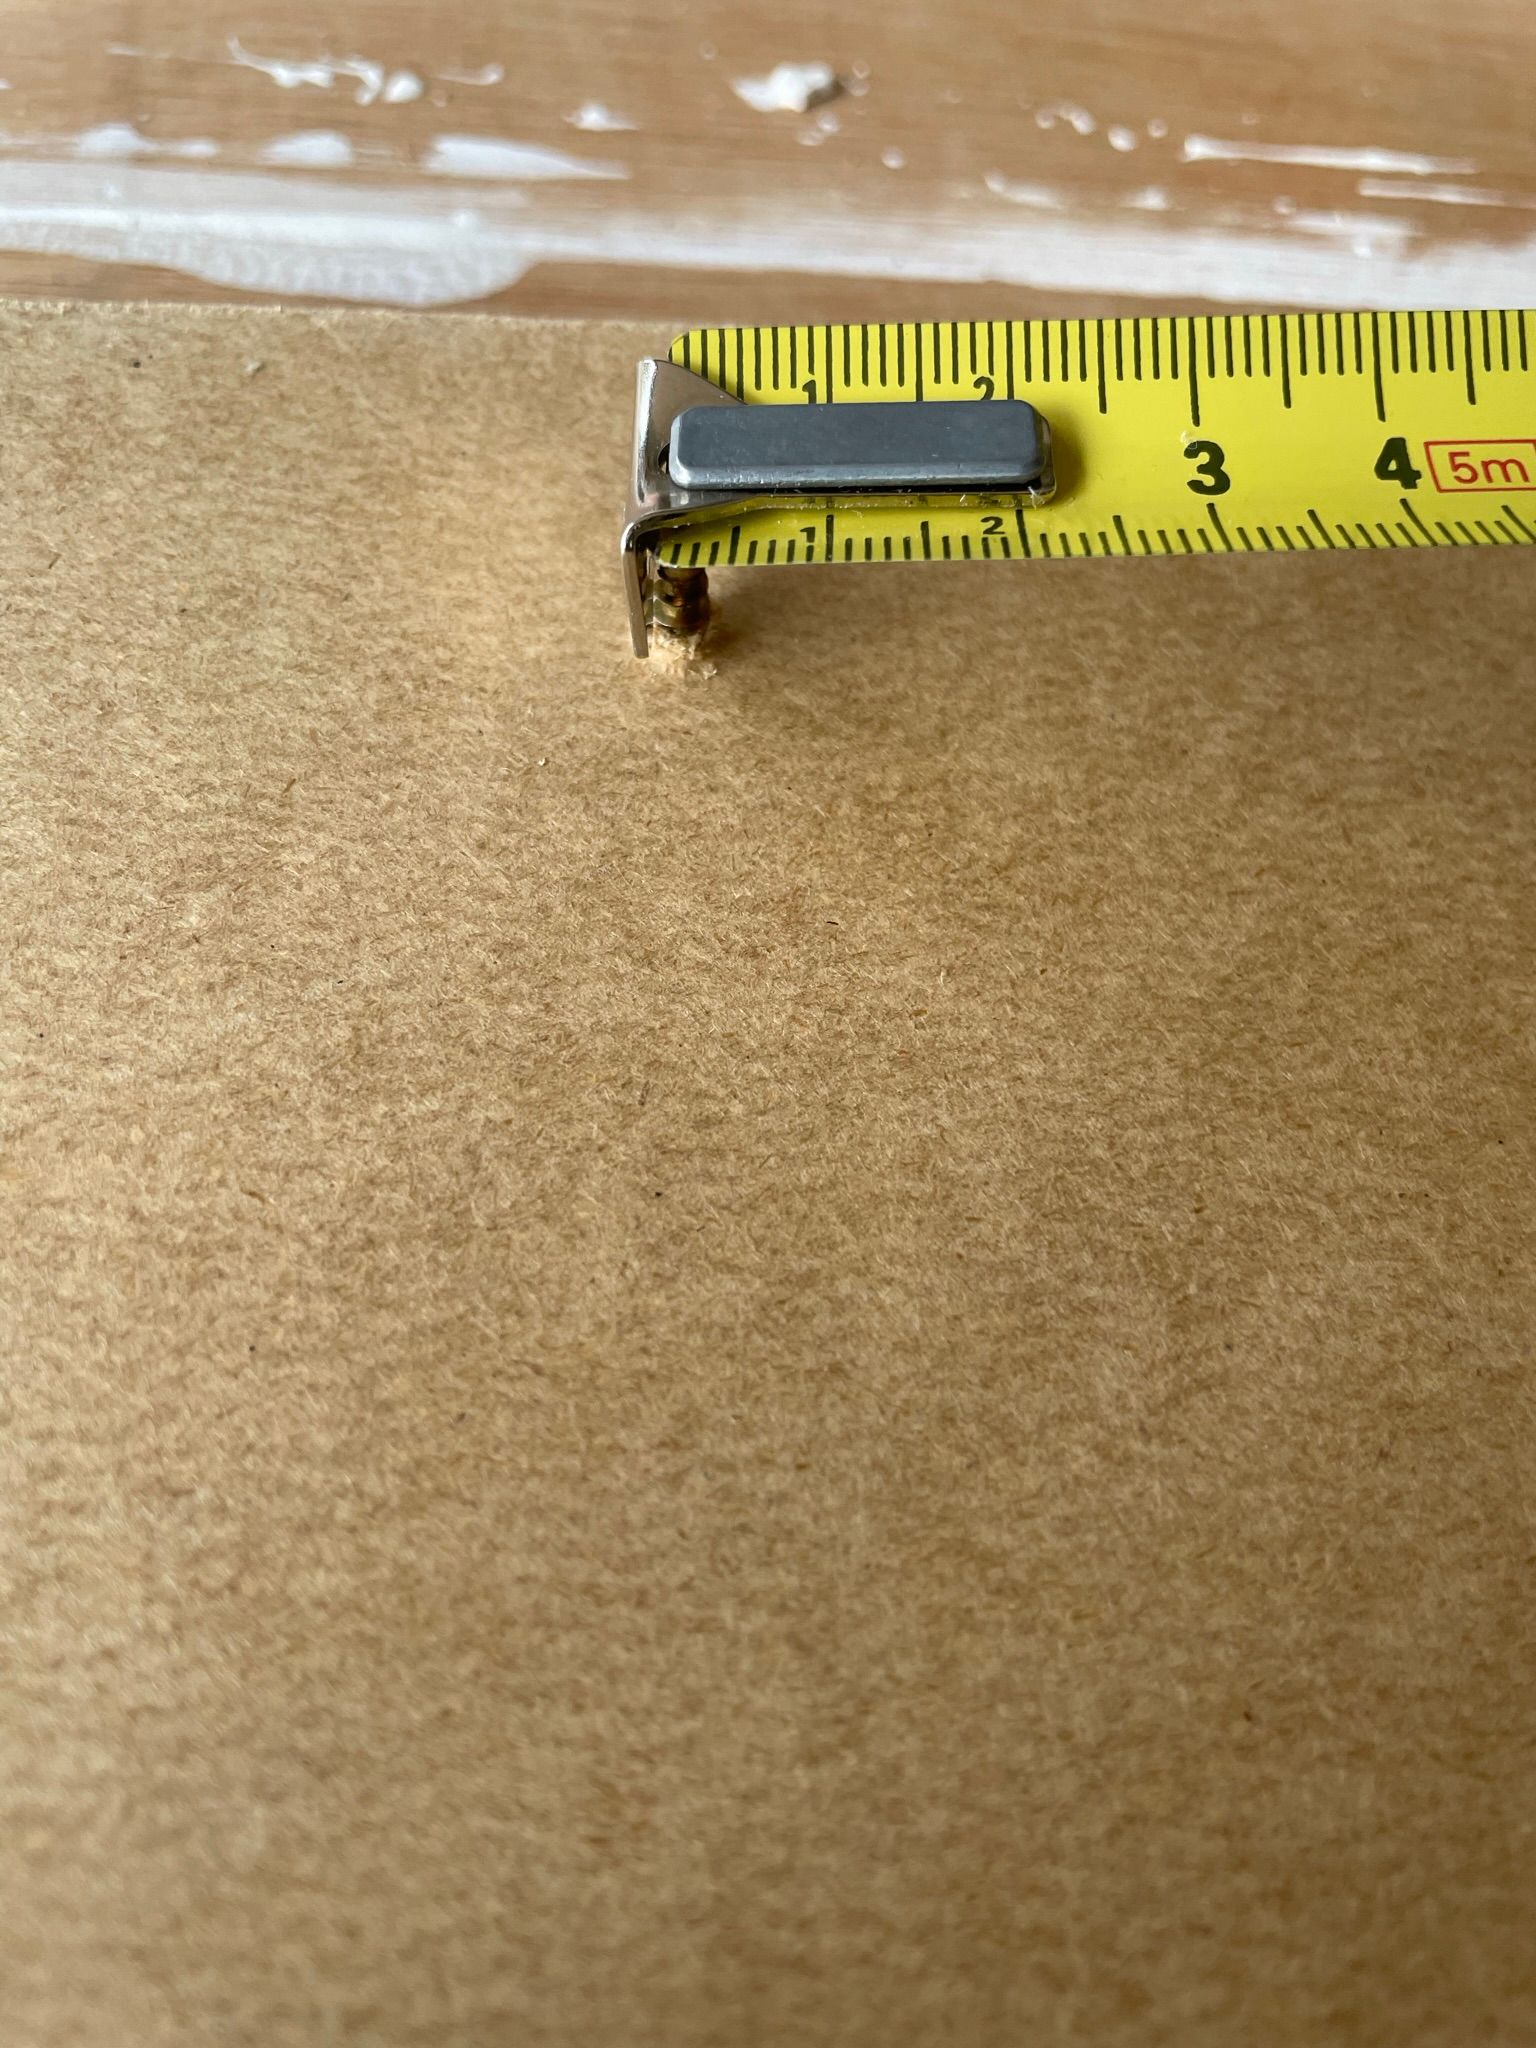
Hook the metal end of the tape measure onto the screw.
Step 5:
Rotate the case of the tape measure round in either a clockwise or anti-clockwise direction. As you do so the pen will mark out the circumference of the circle.

Ta-dah! I told you it was an easy one! Just remove the screw and fill the hole and you are ready to paint or cut your circle out.


