A simple, low-effort setup that helps your little one take ownership of their daily routine — all on their own.
Why it matters more than you think
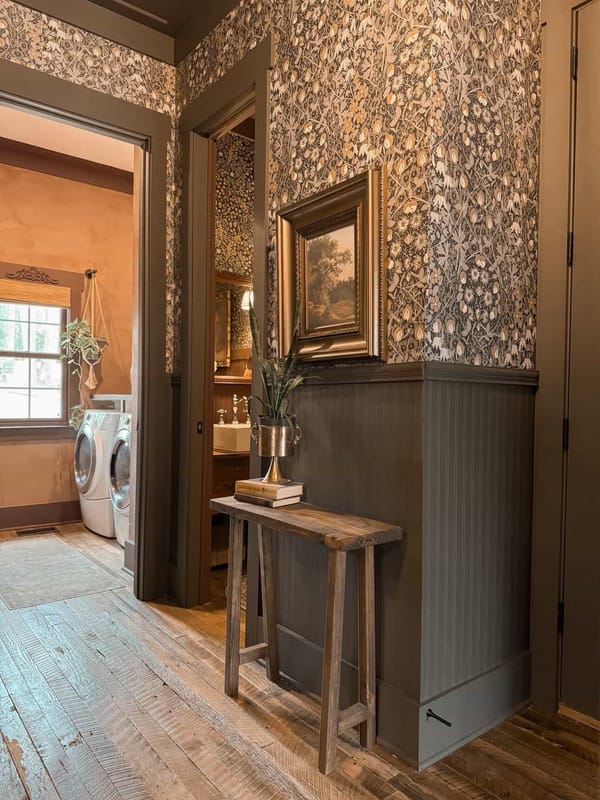
There's something really special about watching your toddler hang up their own jacket or find their mittens without any help. It's a small moment — but it builds confidence, routine, and a sense of ownership that sticks with them as they grow.
A toddler independence zone is exactly what it sounds like: a dedicated, accessible spot in your home where your child can manage their own belongings. No reaching up, no asking for help, no frustration. Just a simple, organised space designed entirely around their height and their needs.
The best part? You don't need much to make it work. A few thoughtful materials, a consistent setup, and your toddler will be taking charge of their routine in no time.
What you'll need
- Wooden cubby unit
- Simple labels
- Wicker baskets with lids
- Hooks (for jacket and backpack, if applicable)
That's really it. You can absolutely add to this over time, but starting minimal is the key to keeping the space functional — and avoiding overwhelm for both you and your toddler.
Setting it all up
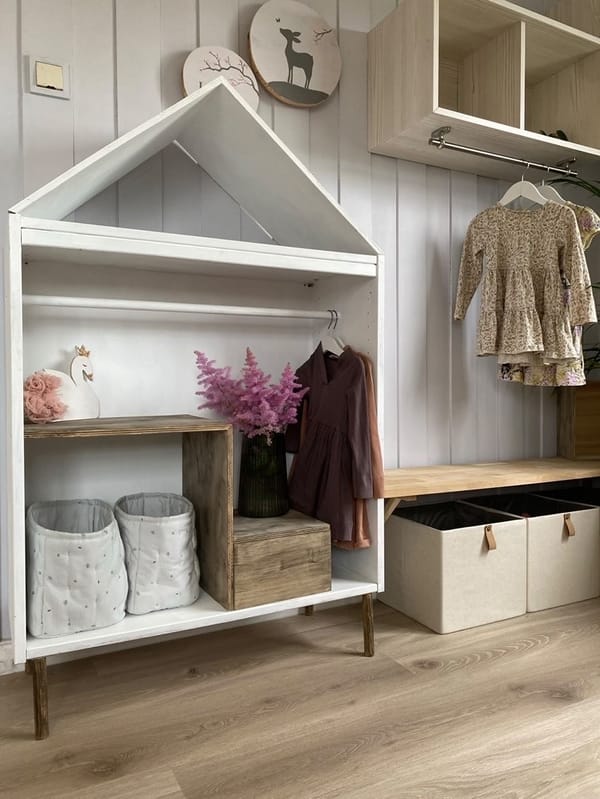
Step 1: Choose the right cubby
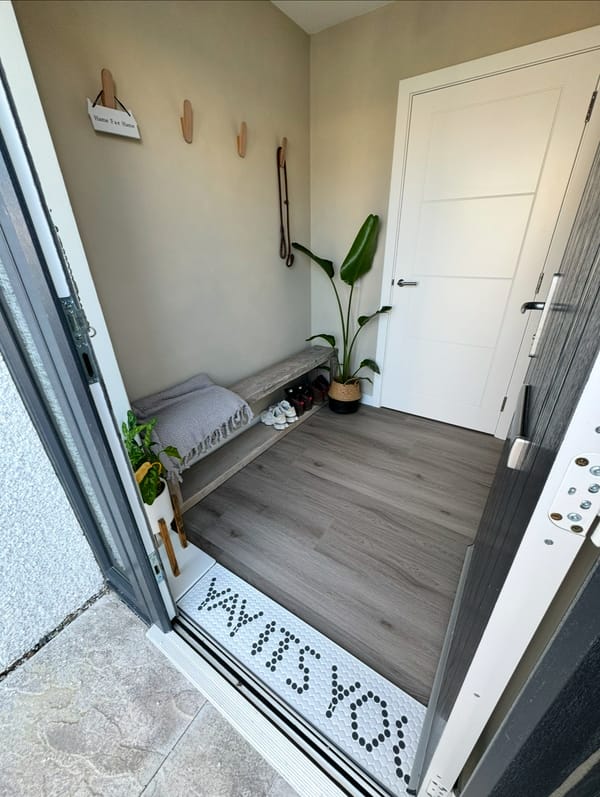
Start by picking a low, accessible cubby unit — one your toddler can reach without stretching or climbing. The whole point of this setup is independence, and that starts with everything being at the right height. A floor-level cubby or a low shelf unit works perfectly. If it's something they'd need your help to reach, it defeats the purpose.
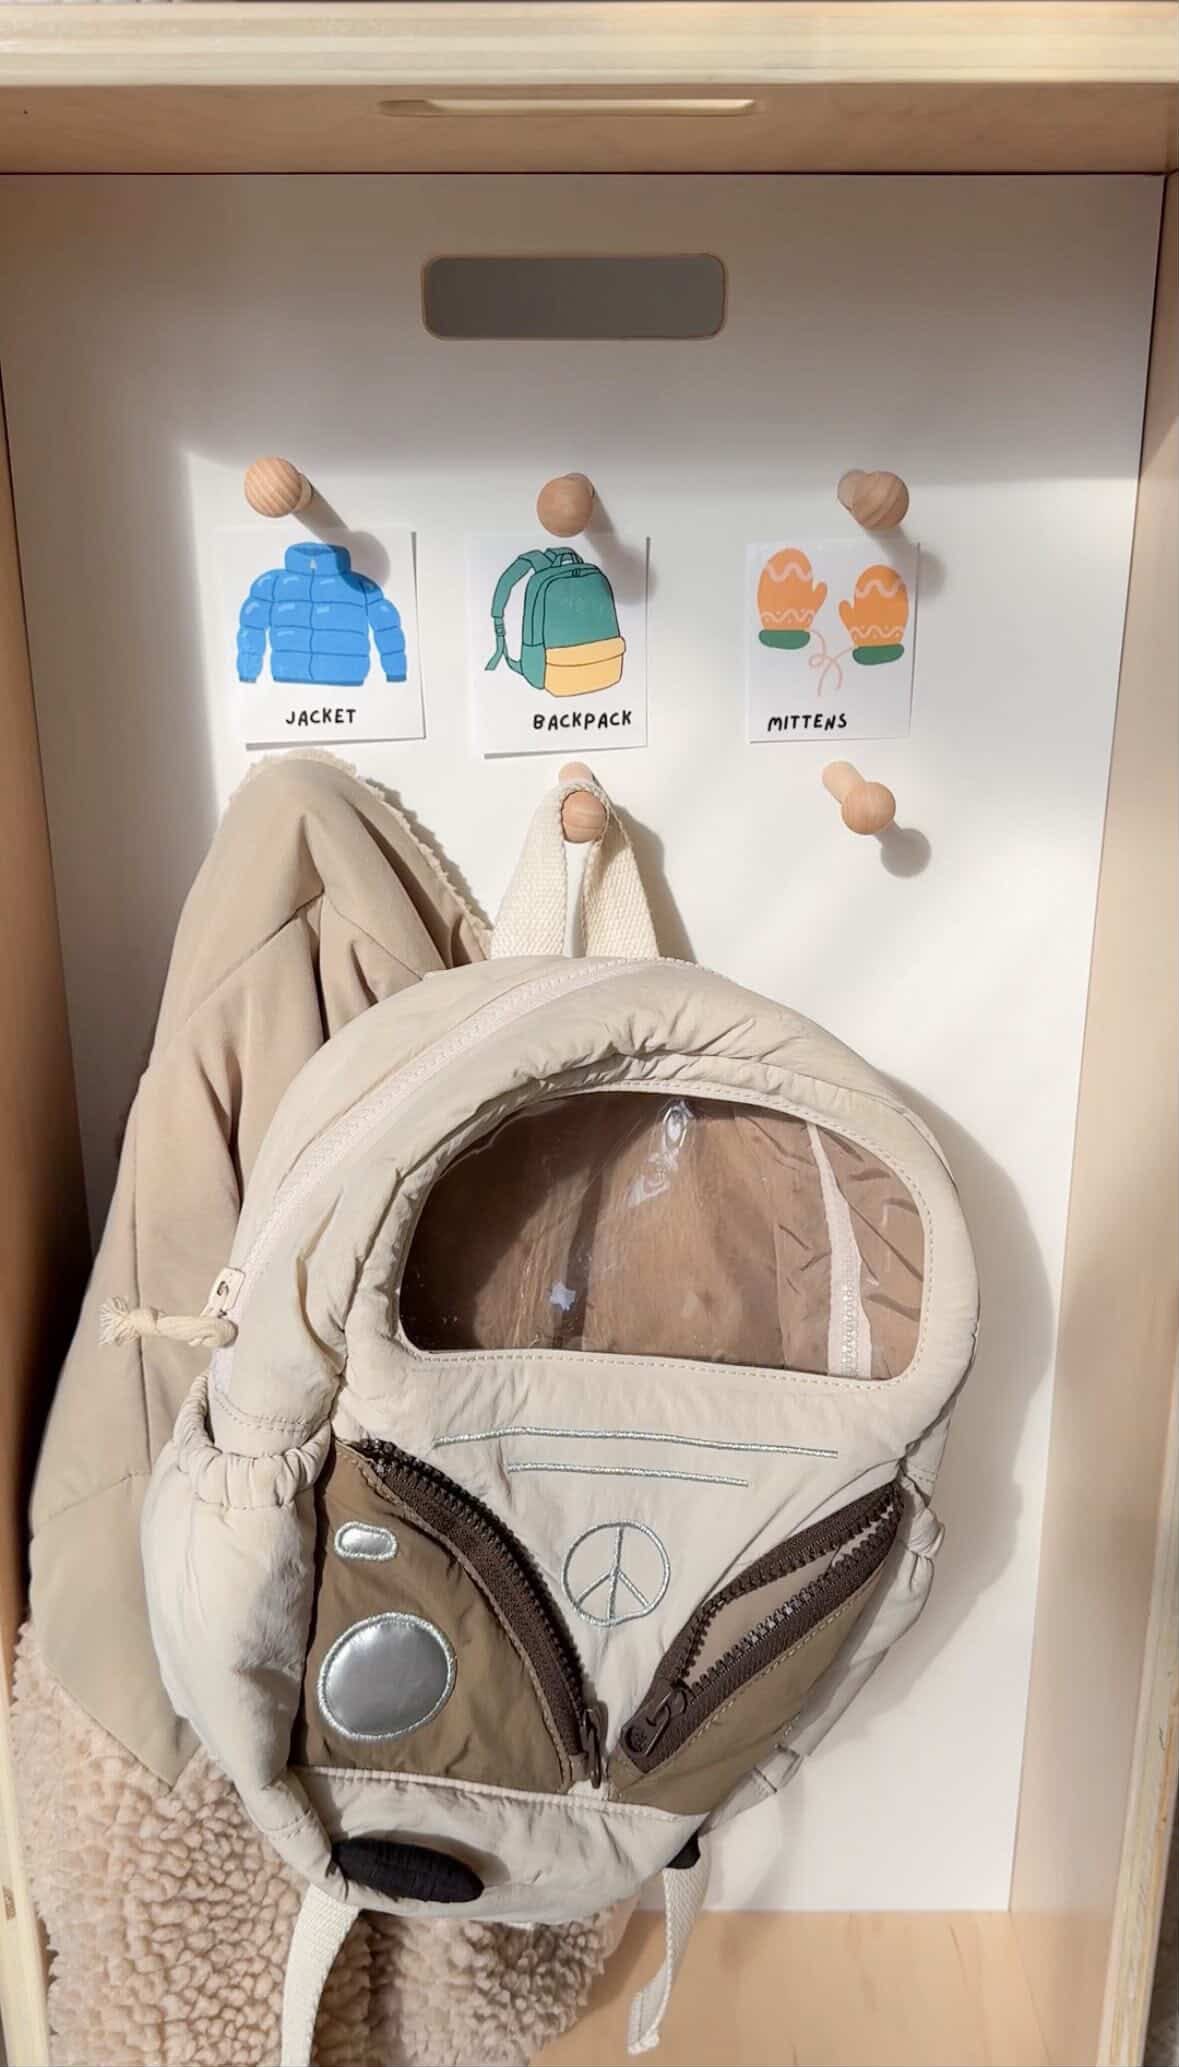
Step 2: Assign each section a purpose
Once you have your cubby in place, decide what goes where. Give each section or compartment a single, clear purpose — one for the jacket, one for mittens, one for the backpack, one for the lunchbox. Keeping it specific helps your toddler know exactly where to go when they're getting ready or packing up. No digging, no guessing.
Step 3: Add simple labels
Labels are one of the most underrated parts of this setup. Even before your child can read, simple labels — whether they're words, pictures, or a combination — help them recognise where things belong. It supports both routine-building and early literacy at the same time. Keep the labels clear and consistent, and update them as your child's reading skills grow.
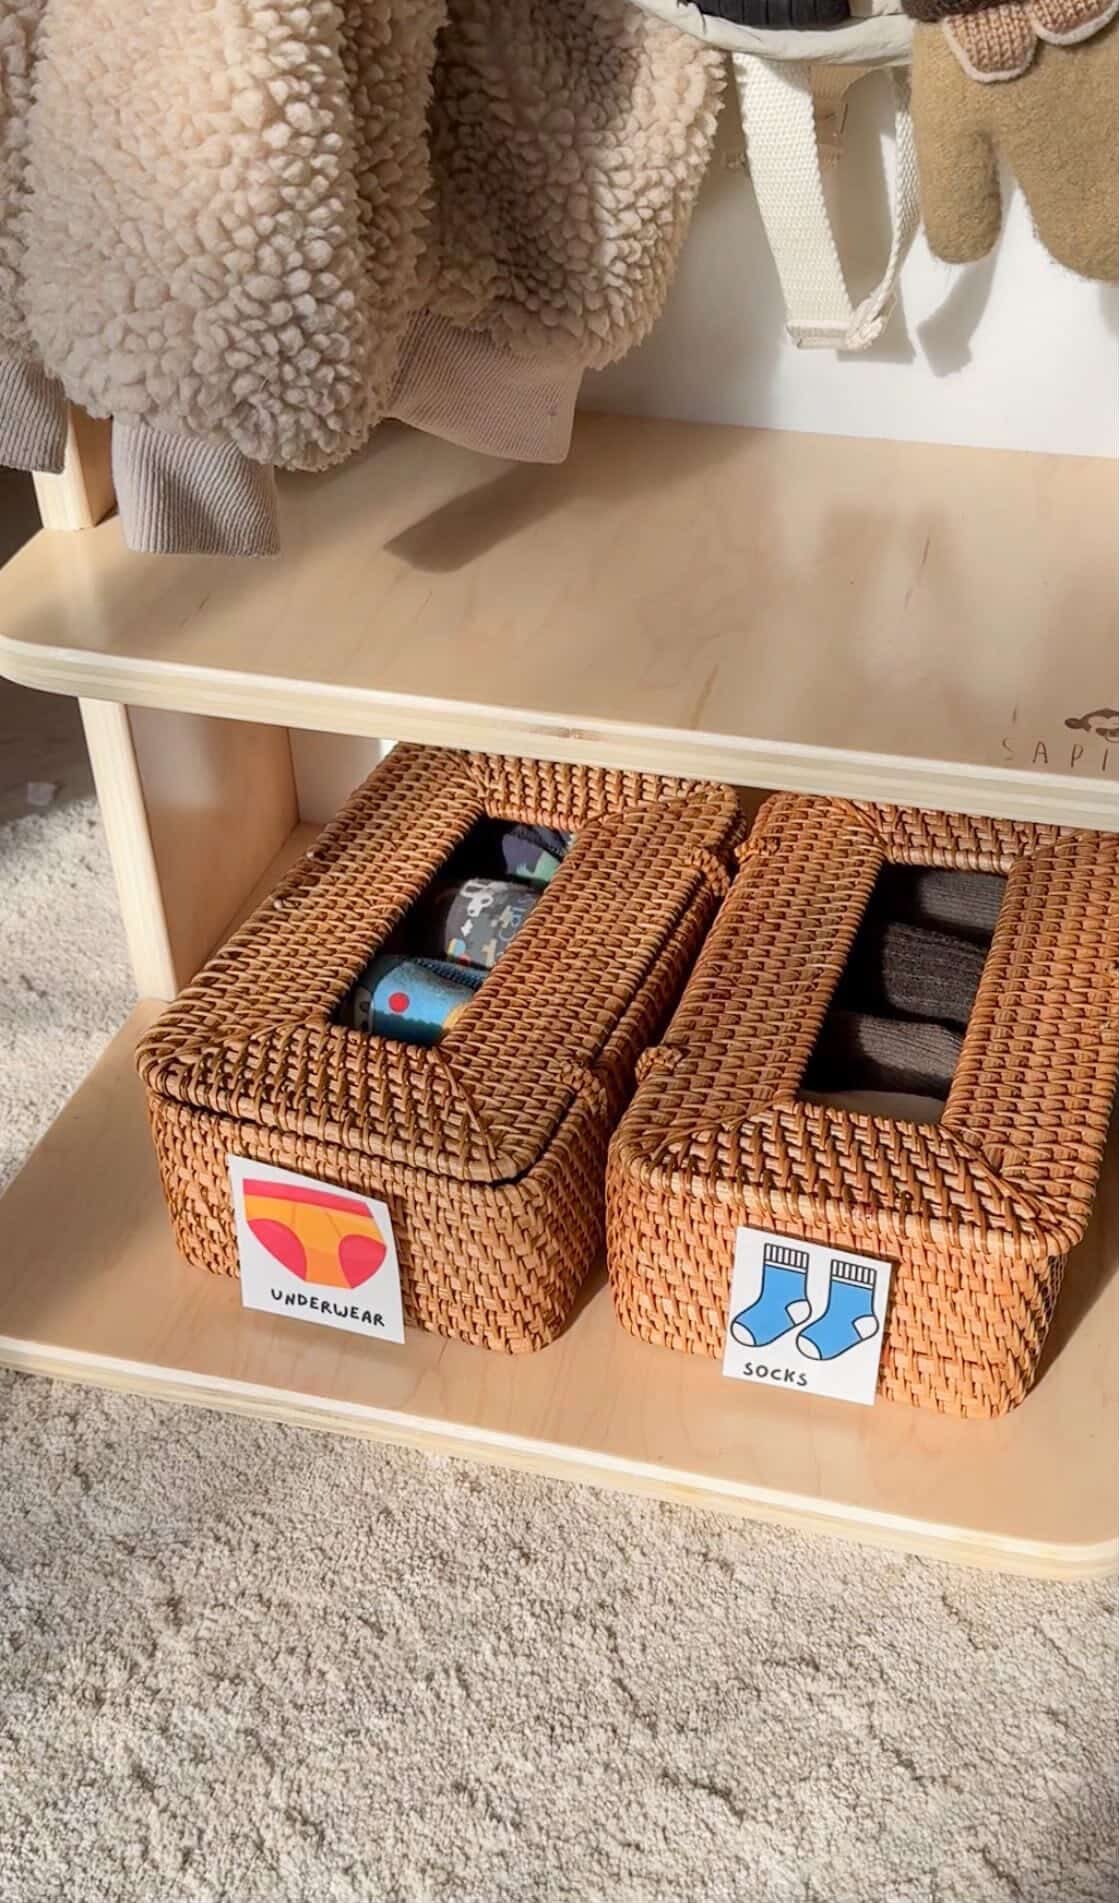
Step 4: Use wicker baskets for smaller items
Smaller items like socks and underwear can get messy fast. Wicker baskets with lids are a great solution — they keep the smaller things contained, they look tidy, and they're easy for toddler hands to open and close. Tuck them into one of the cubby sections and label them just like the rest. It makes a surprisingly big difference in keeping the whole space from feeling cluttered.
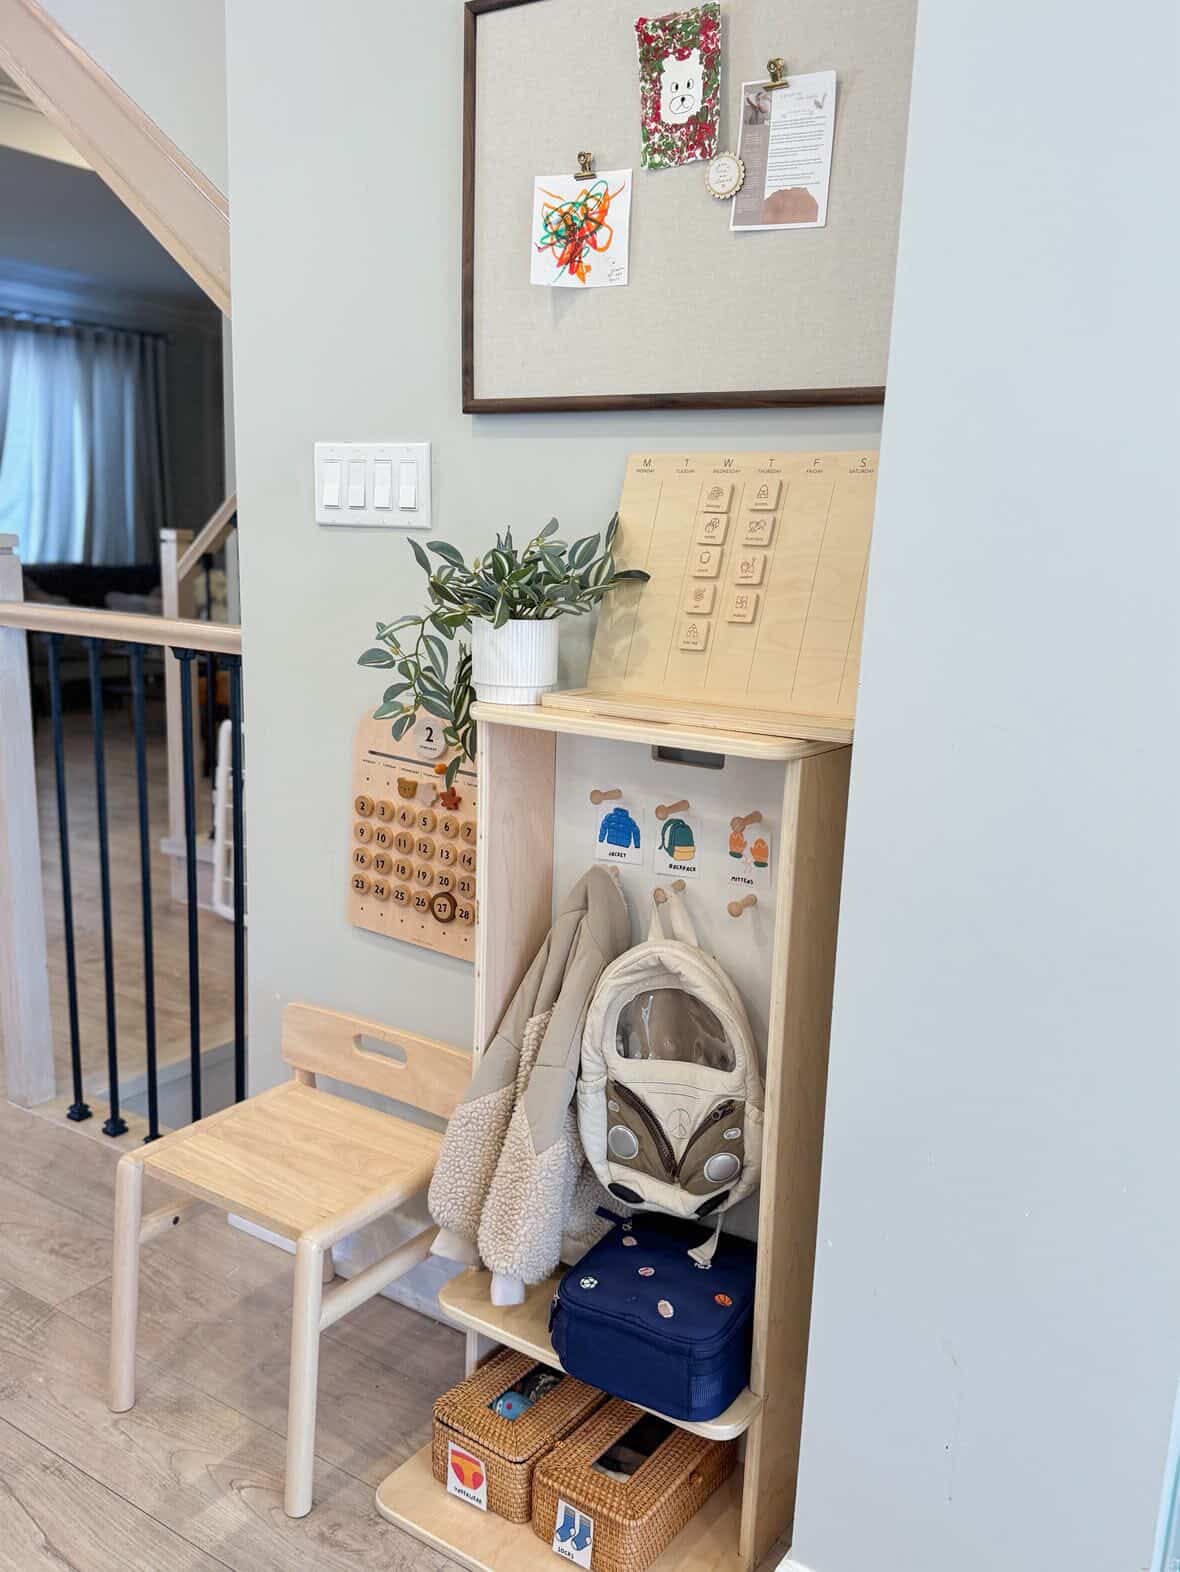
Step 5: Keep it minimal and at toddler height
Once everything is in place, step back and ask yourself: can my toddler reach all of this on their own? Is there anything here that doesn't need to be? The goal is a setup that's easy to use every single day, so resist the urge to add extra items. A minimal, well-organised space is far more effective than a fully stocked one that feels overwhelming. And as your child grows, adjust the setup to keep up with them.
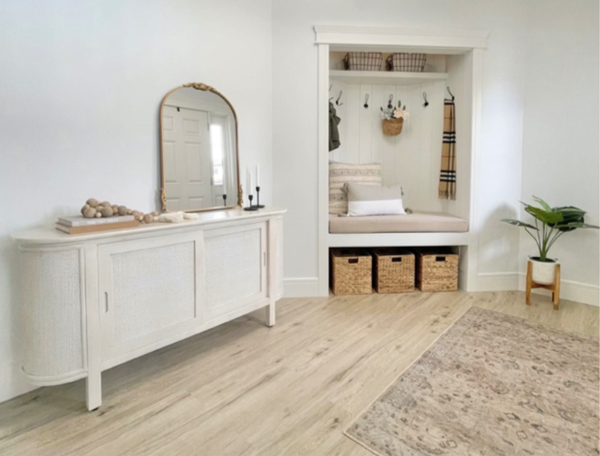
Small space, big confidence
A toddler independence zone doesn't have to be elaborate or expensive to make a real difference in your daily routine. With just a low cubby, a few labels, and some wicker baskets, you're giving your child the tools they need to feel capable and in control — and that's something worth a lot.
Start simple, stay consistent, and enjoy the little moments when they do it all by themselves.
Creator: Sharon
Instagram: @happilees_