A Step-by-Step Guide
Looking to add some rustic charm to your home decor? Why not try building your own vintage-inspired bench? With a few basic tools and some affordable materials, you can create a stylish and functional piece of furniture that will look great in any room of your house.
Here's what you'll need:
- 1 x 1.5mt H3 280x45 Timber (for the bench seat)
- 2 x 90 x 35 lengths of H3 Timber (for the legs)
- Timber screws
- Timber Nails
- Wood glue
- A hand sander
- A hammer
- A drop saw
- Angle grinder with a wire brush
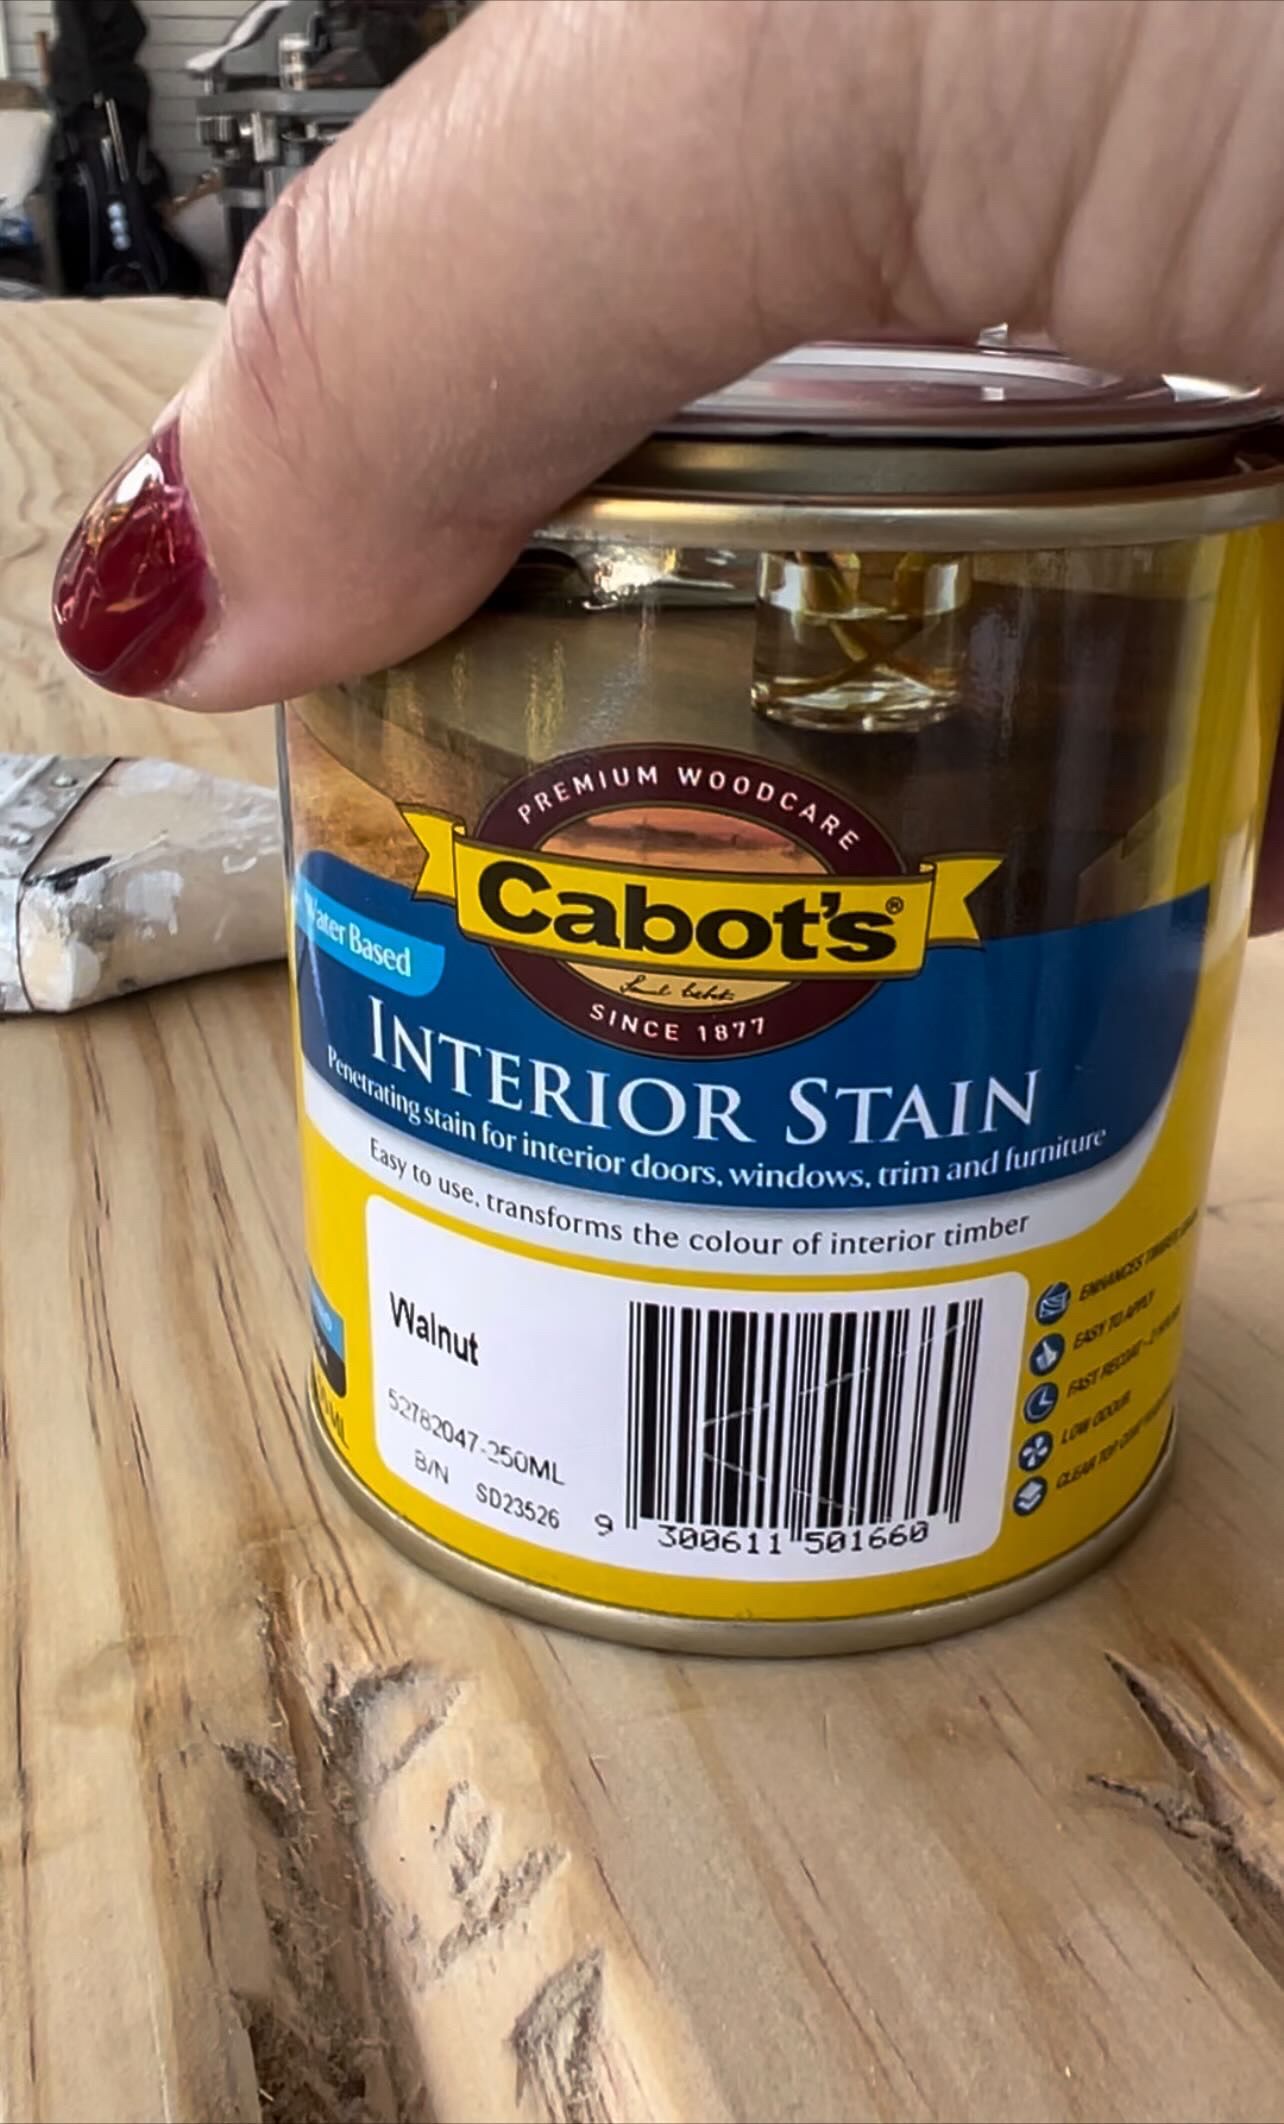
- Cabot’s interior stain “walnut”
- A drill (added to the list, oops!)
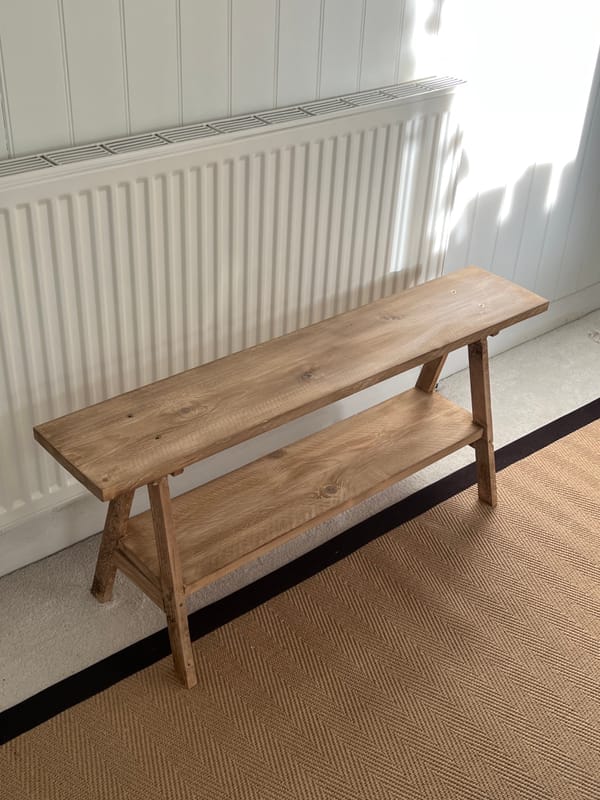
To create your own vintage-inspired bench.
Follow these simple steps:
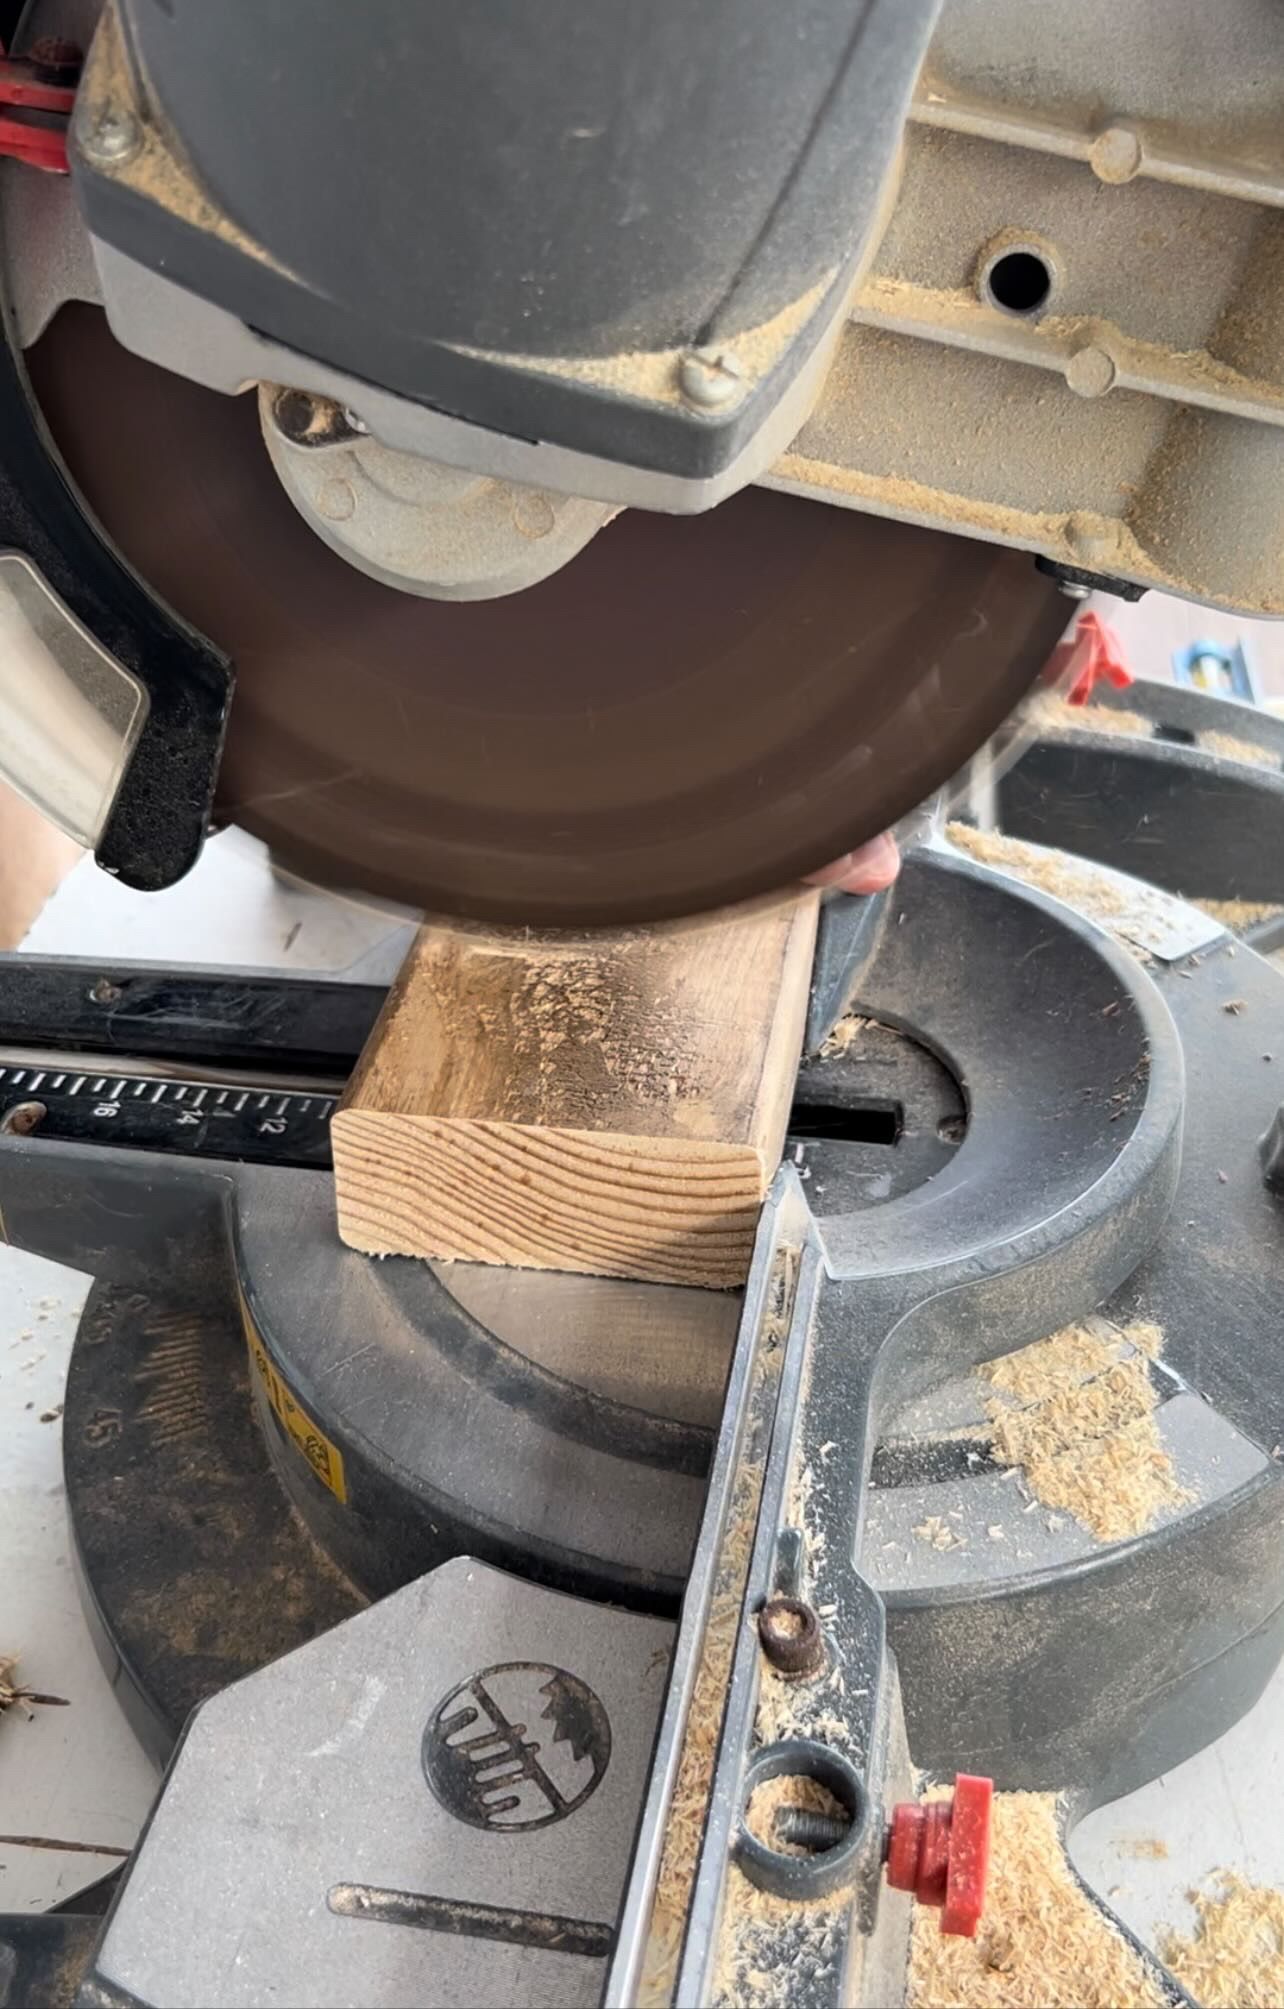
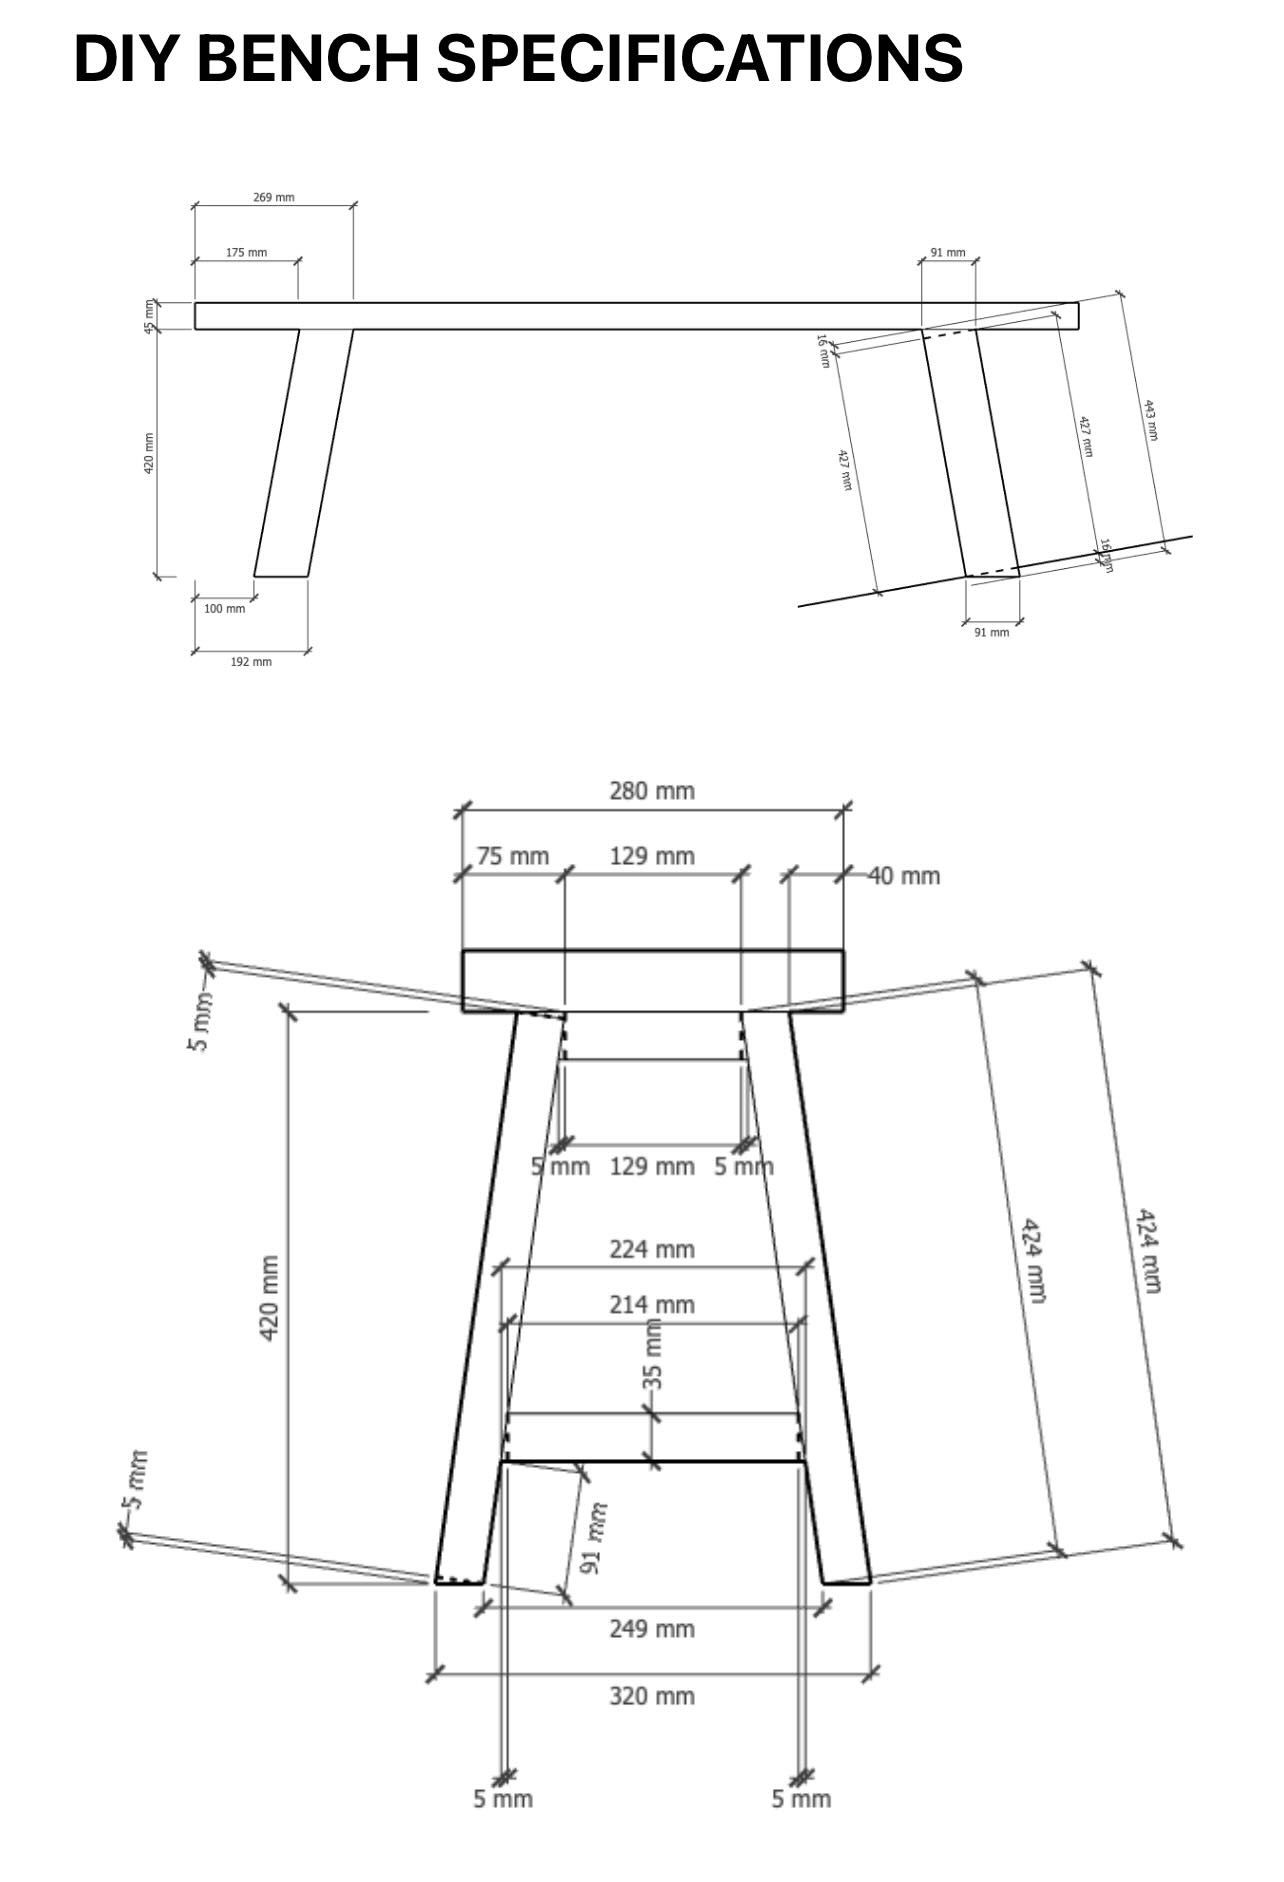
Step 1: Cut your timber
Using the measurements and pieces provided in the sketch, cut your timber to size using a drop saw.
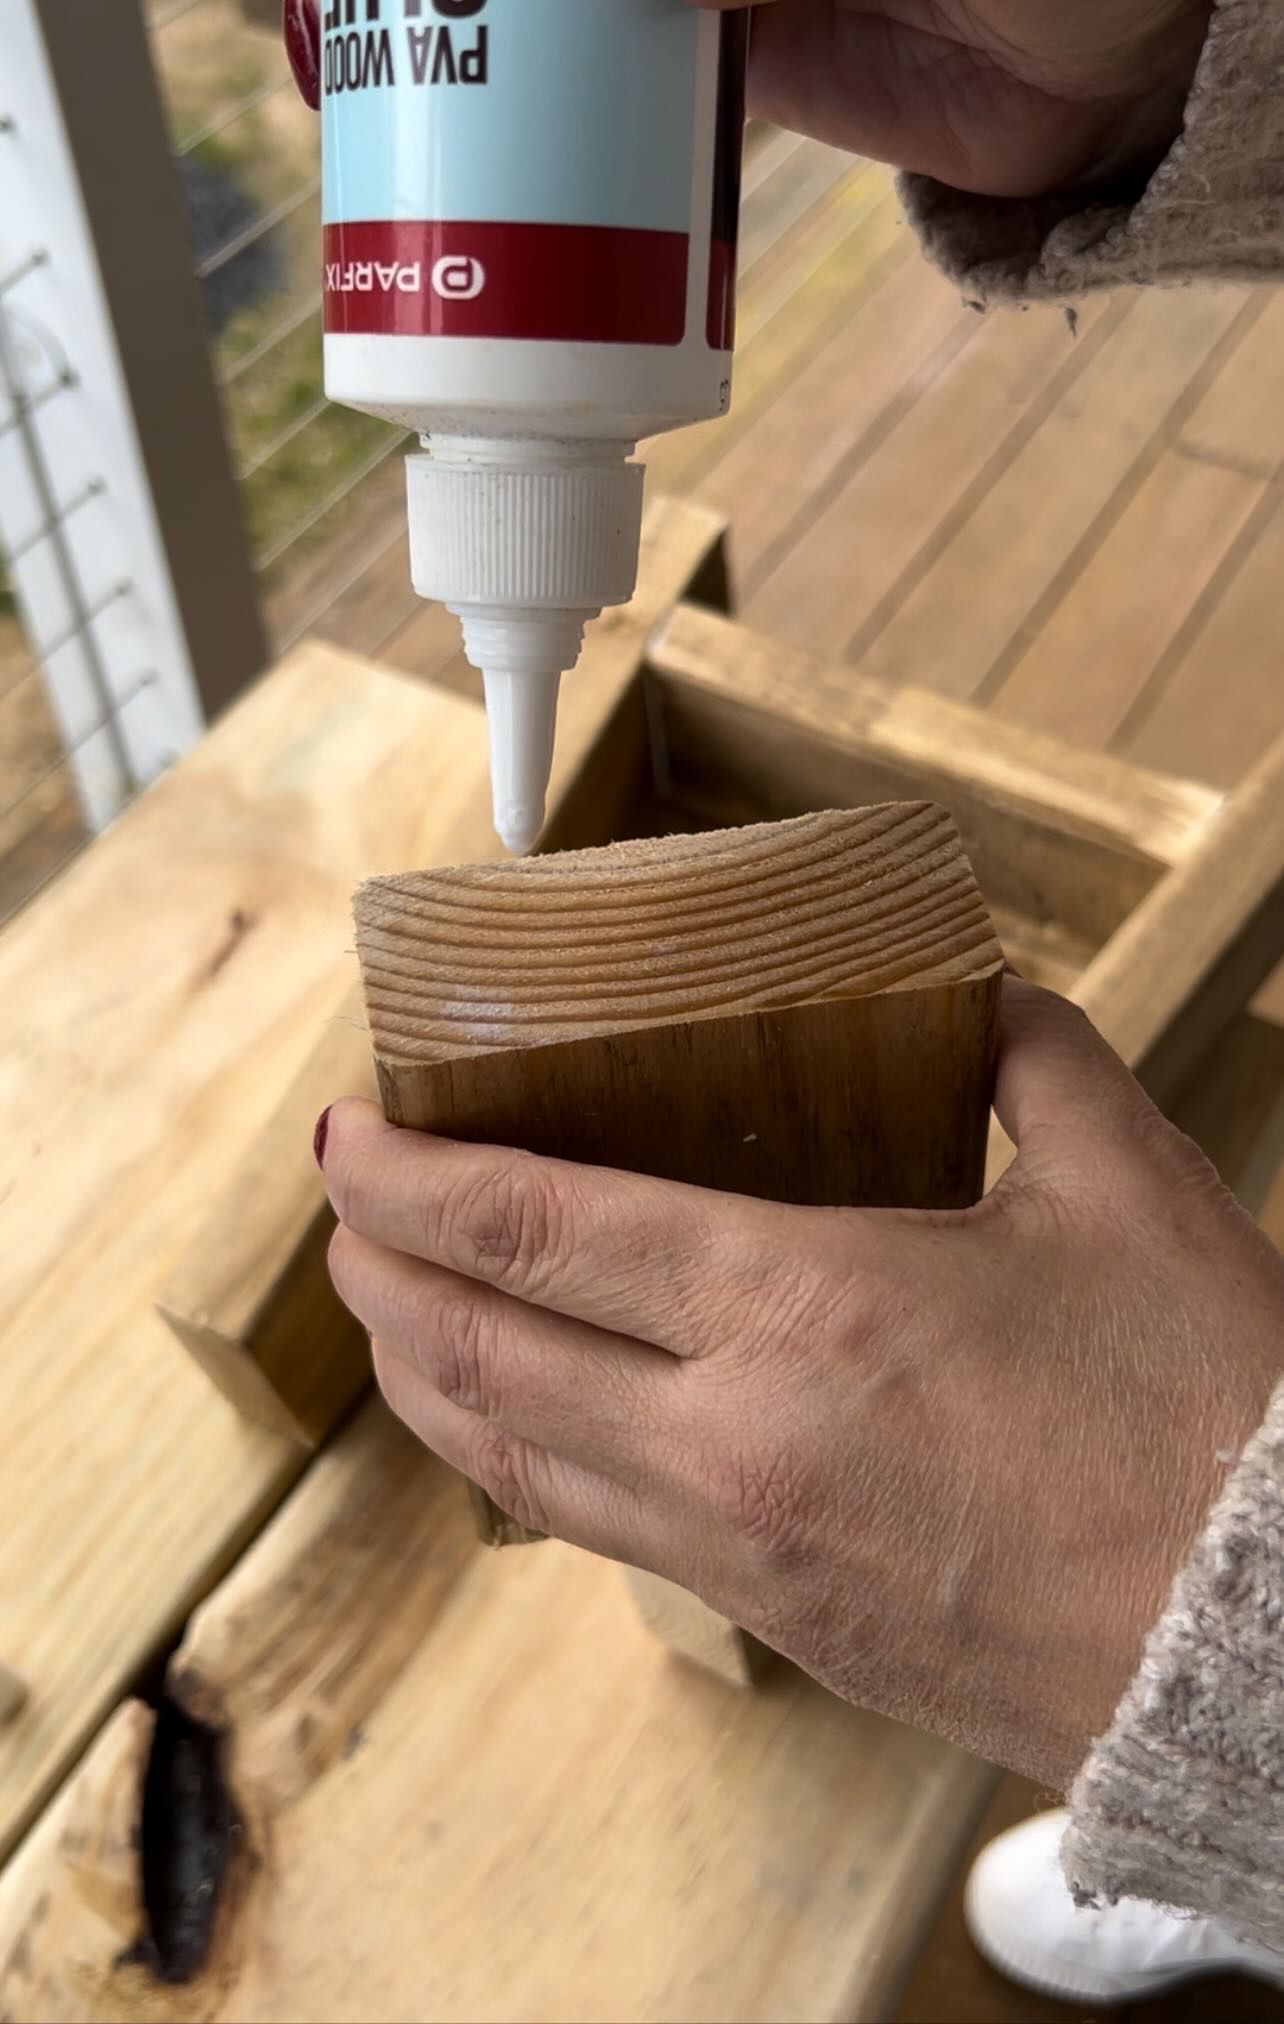
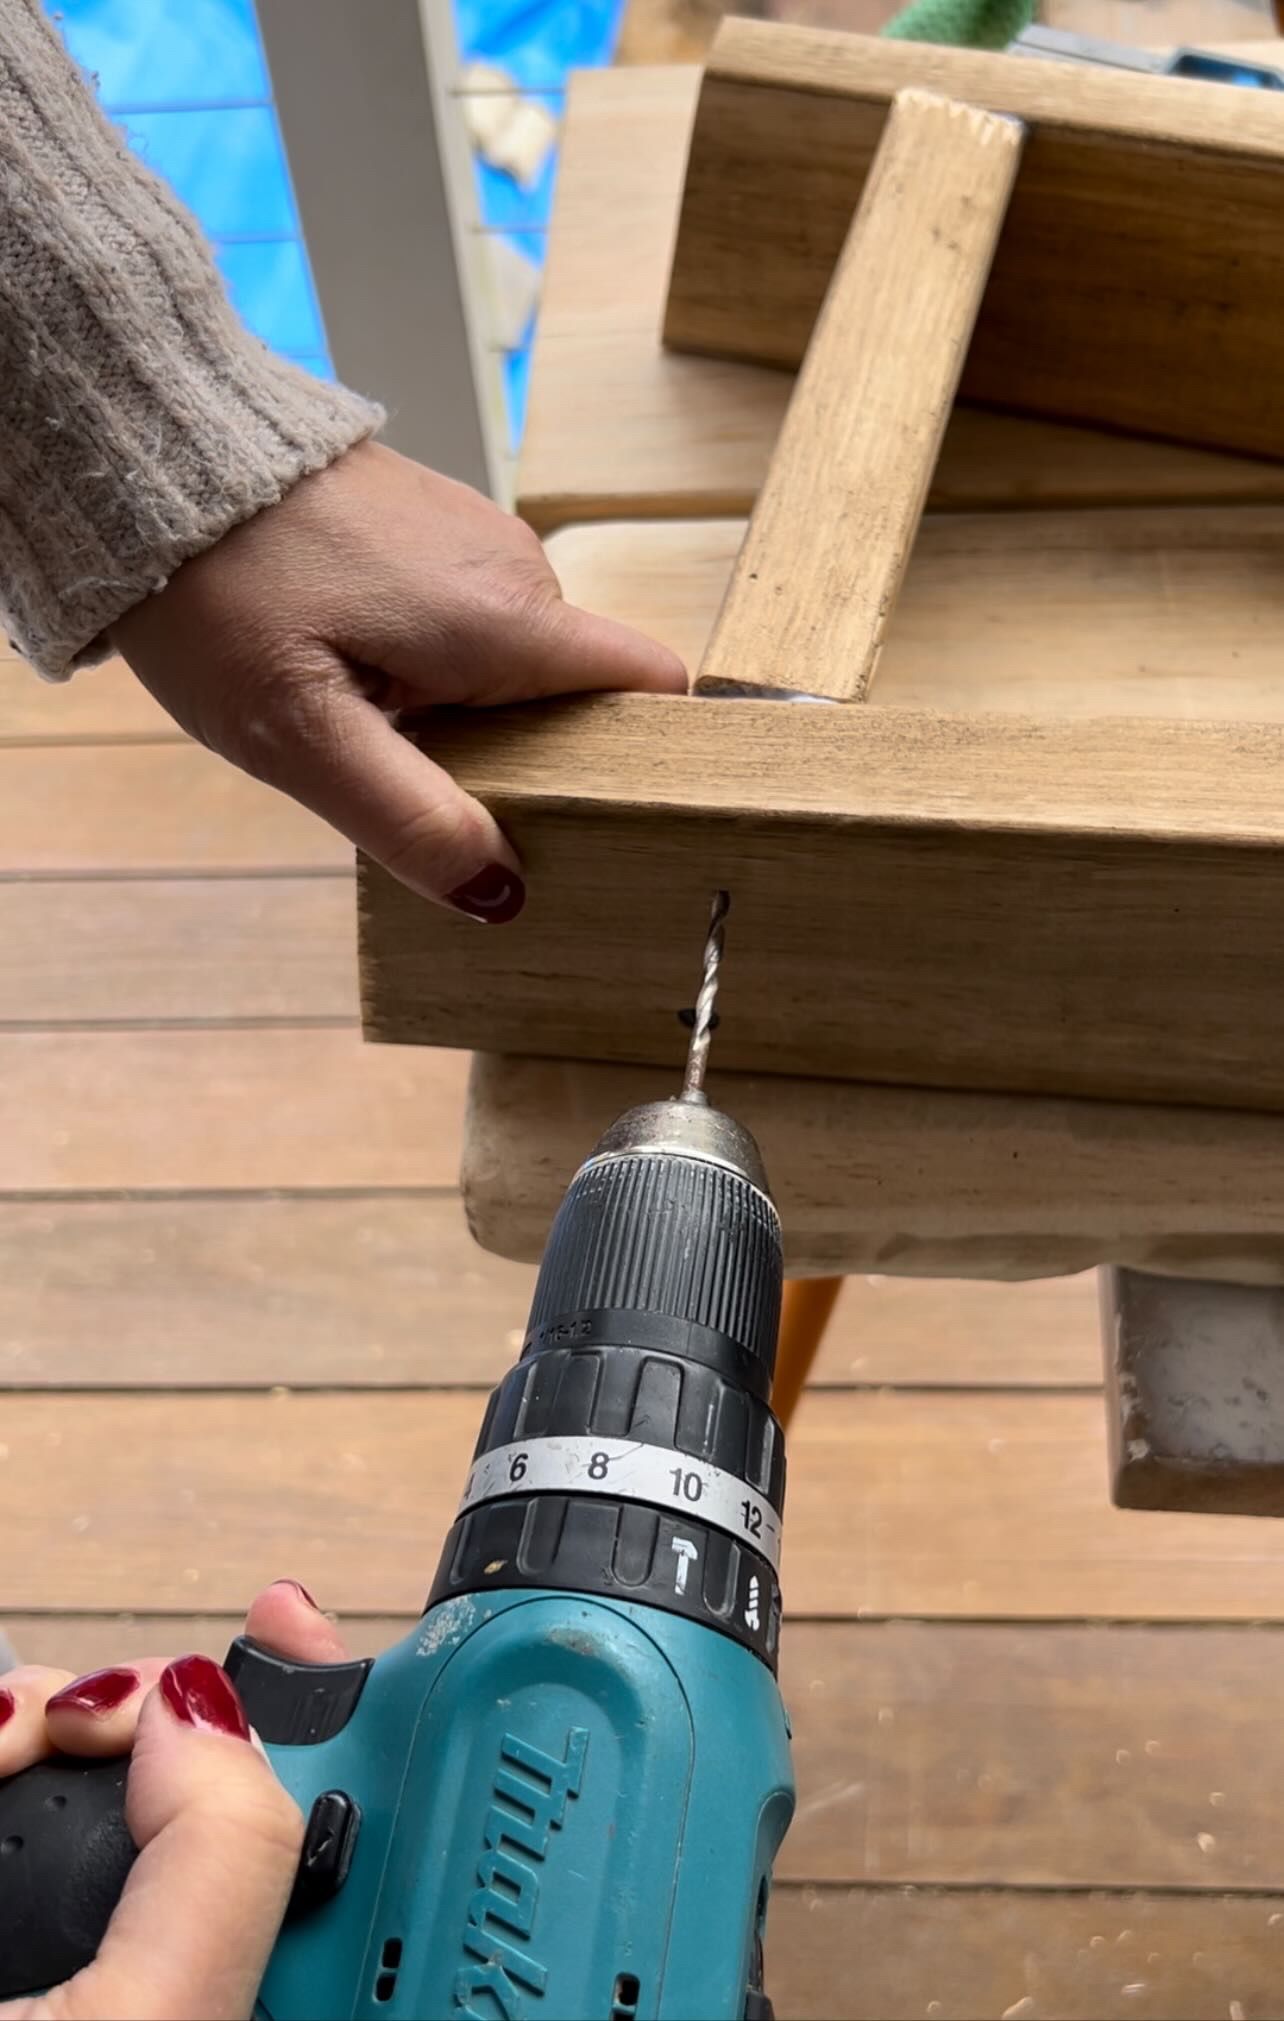
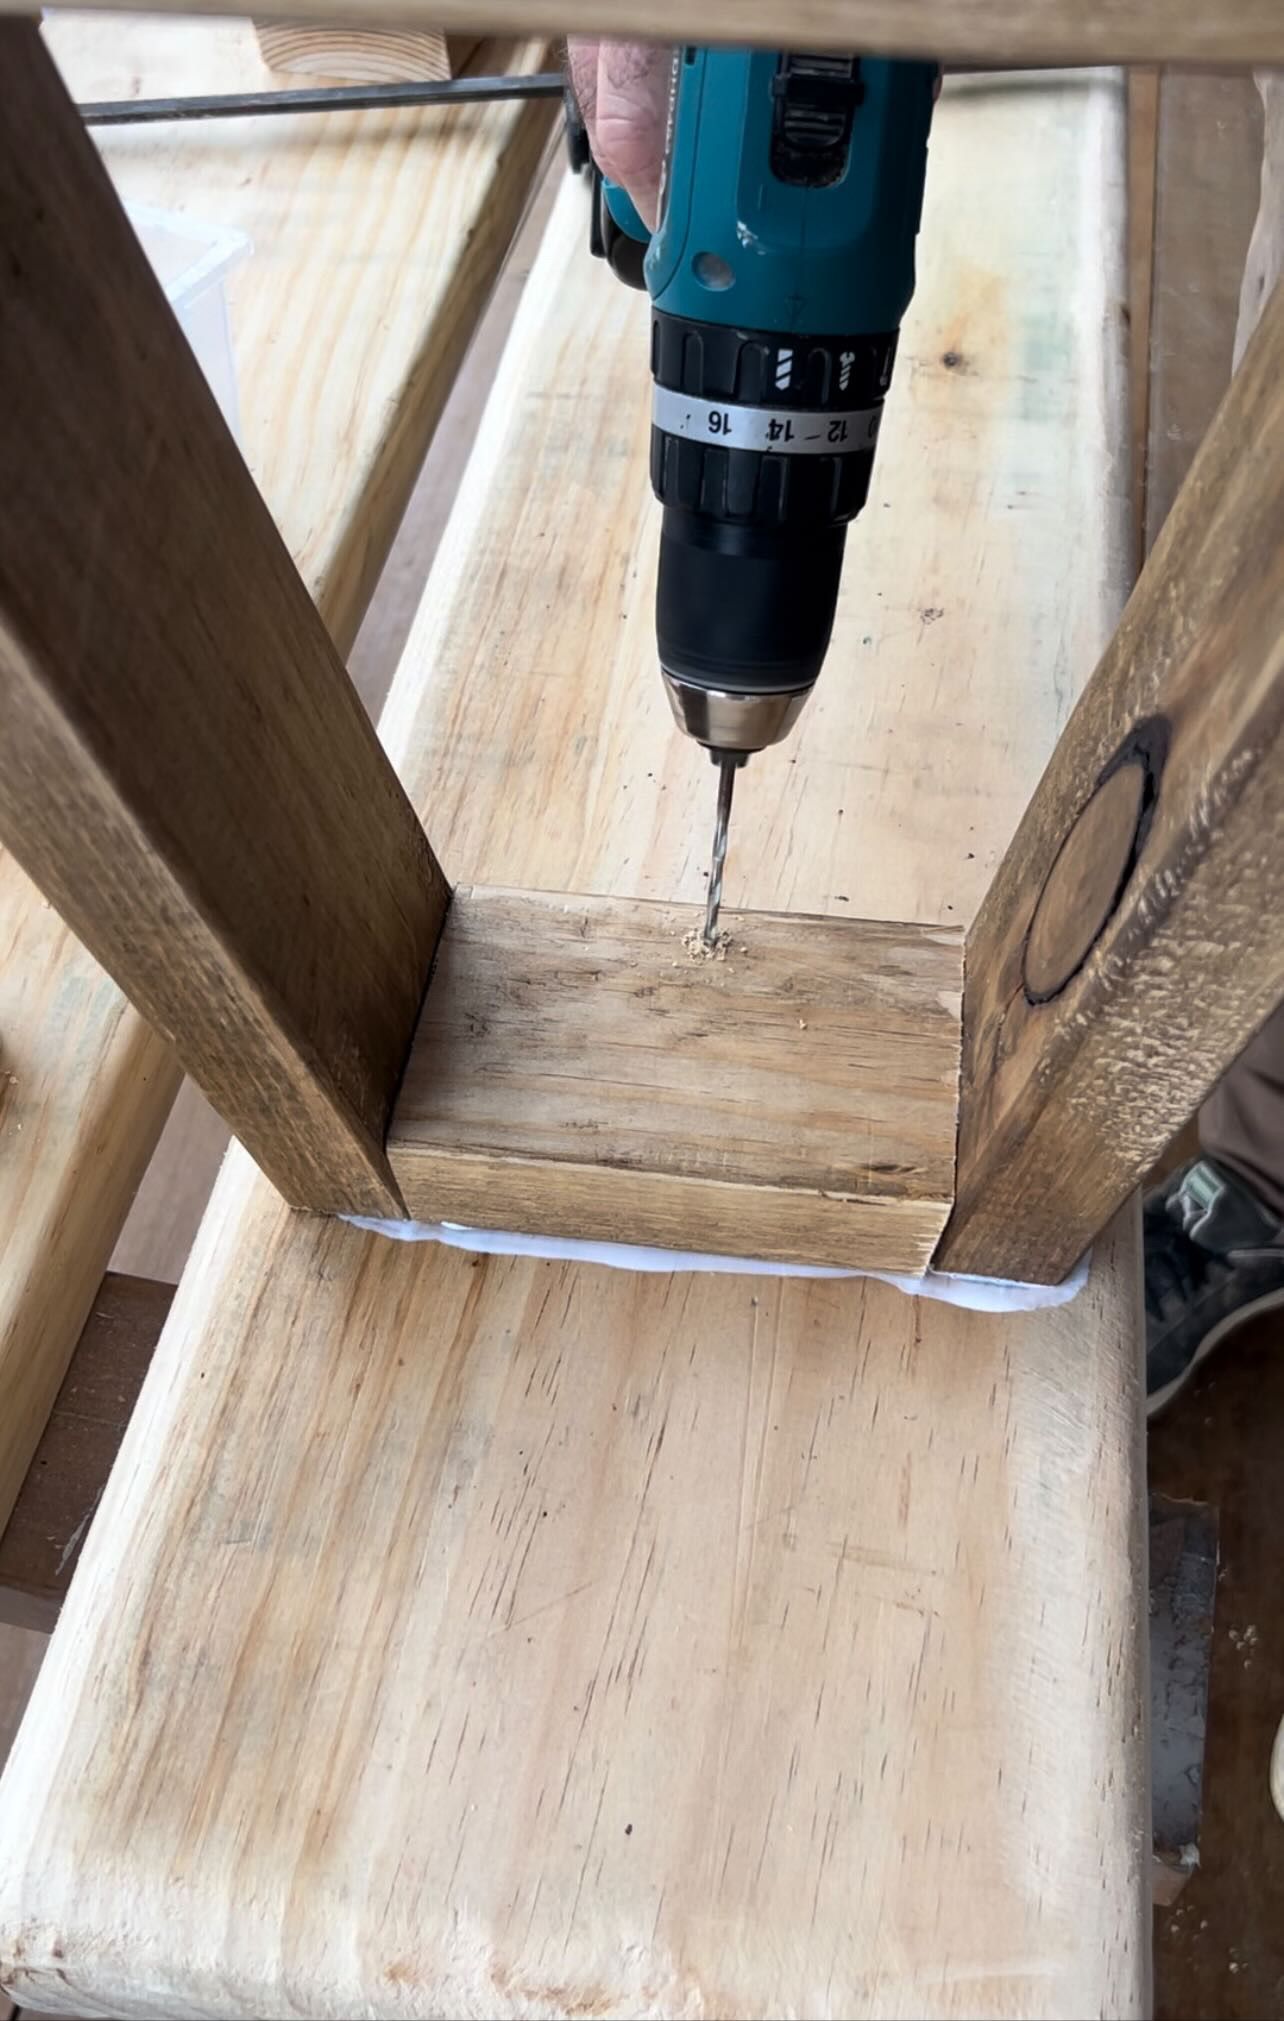
Step 2: Assemble the legs
Using wood glue and timber screws, assemble the legs and attach them to the bench seat. Make sure to attach each piece securely to ensure stability.
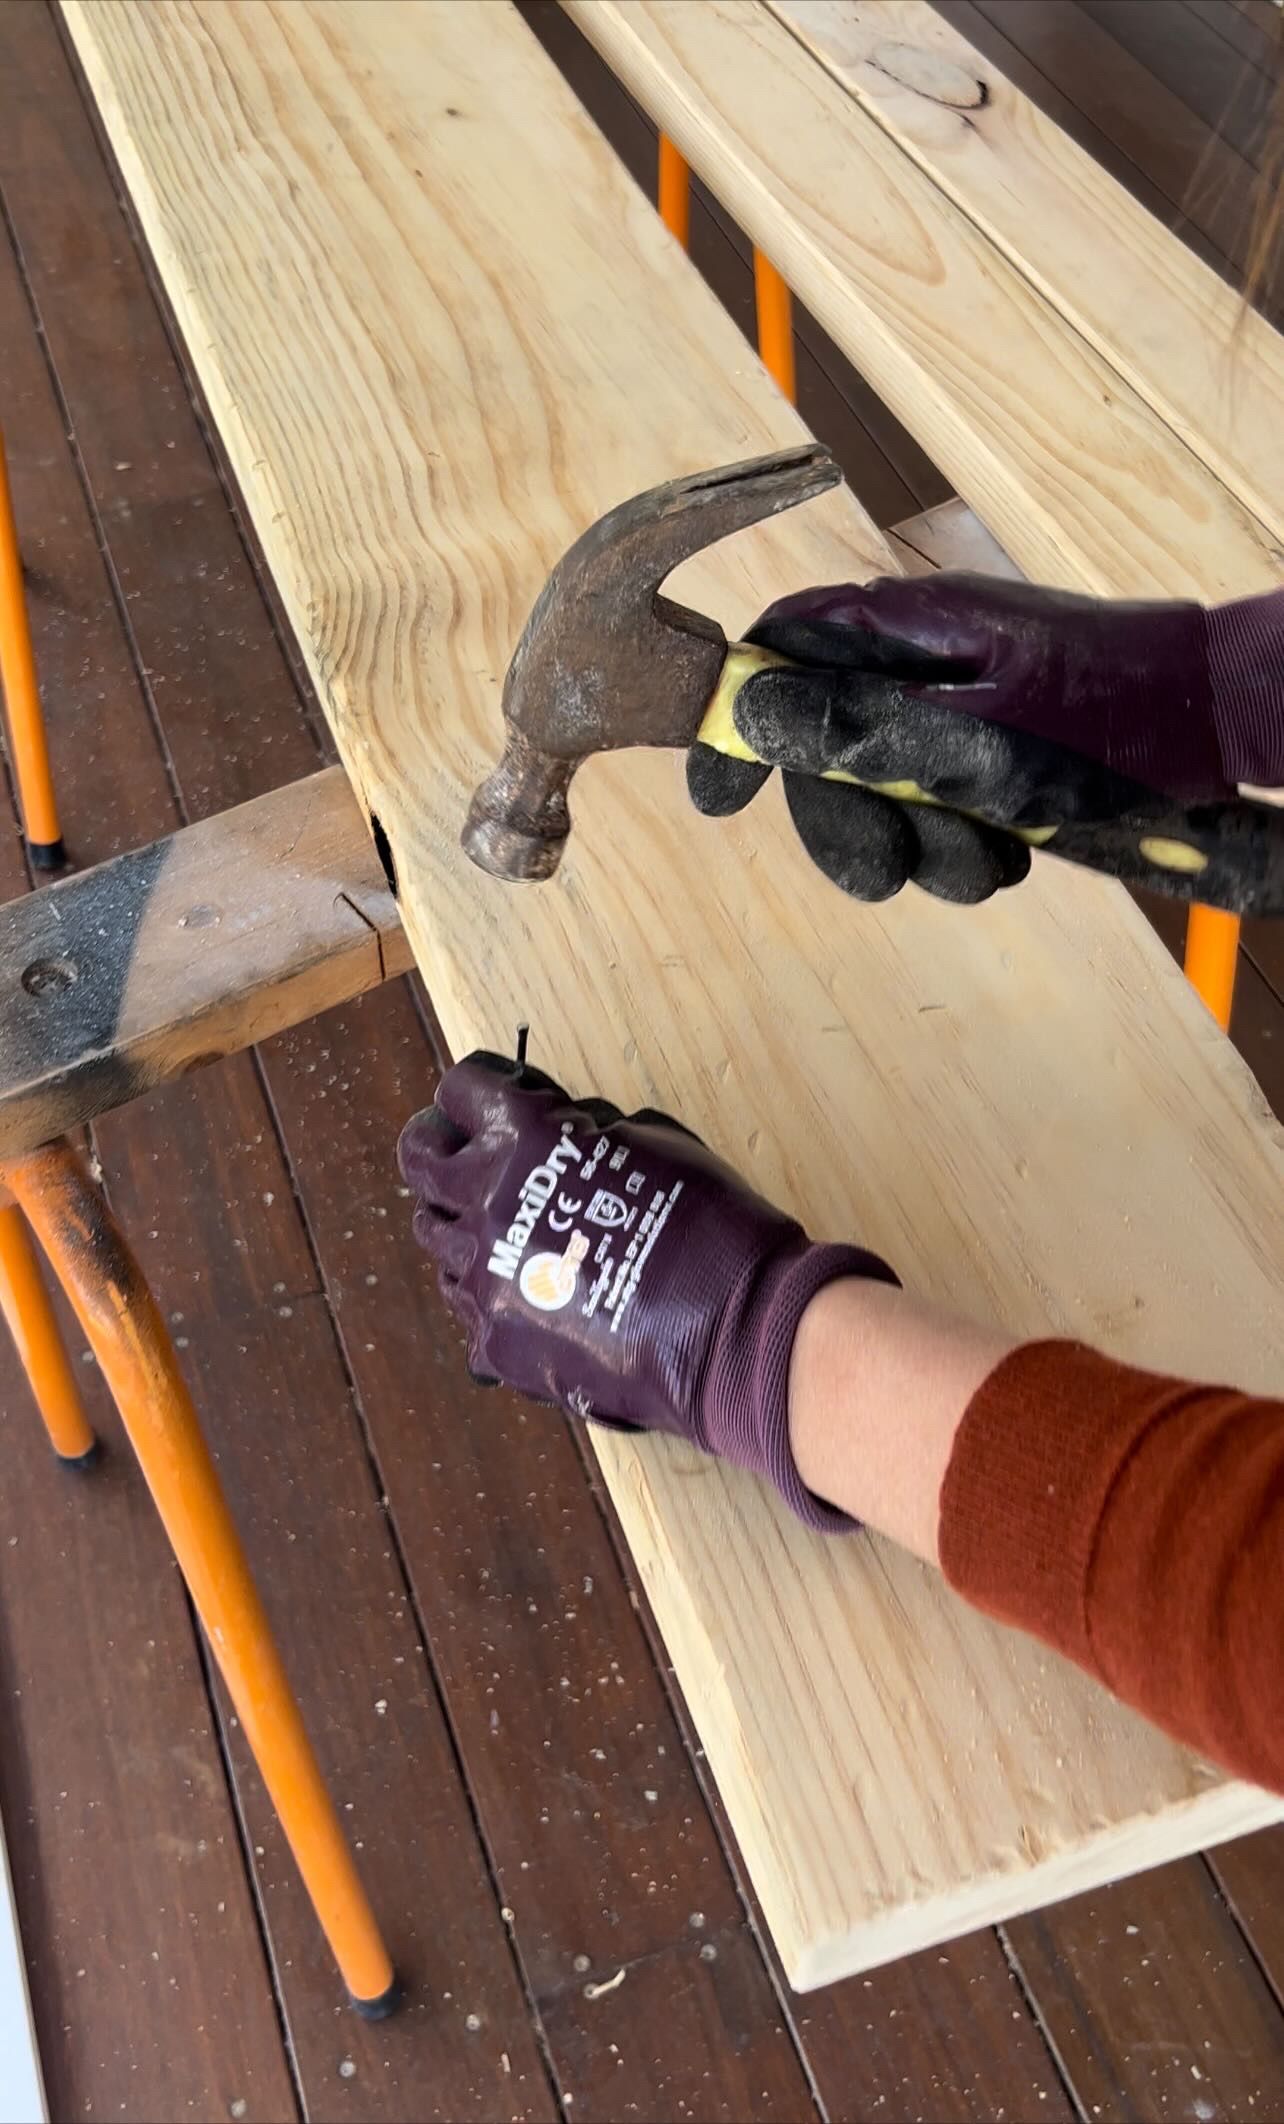
Step 3: Distress the seat
Using a long nail and a hammer, create a distressed look around the edges of the bench seat. Then, use an angle grinder with a wire brush to round the corners and give the seat a worn look. Finally, use a hand sander to smooth out any sharp bits.
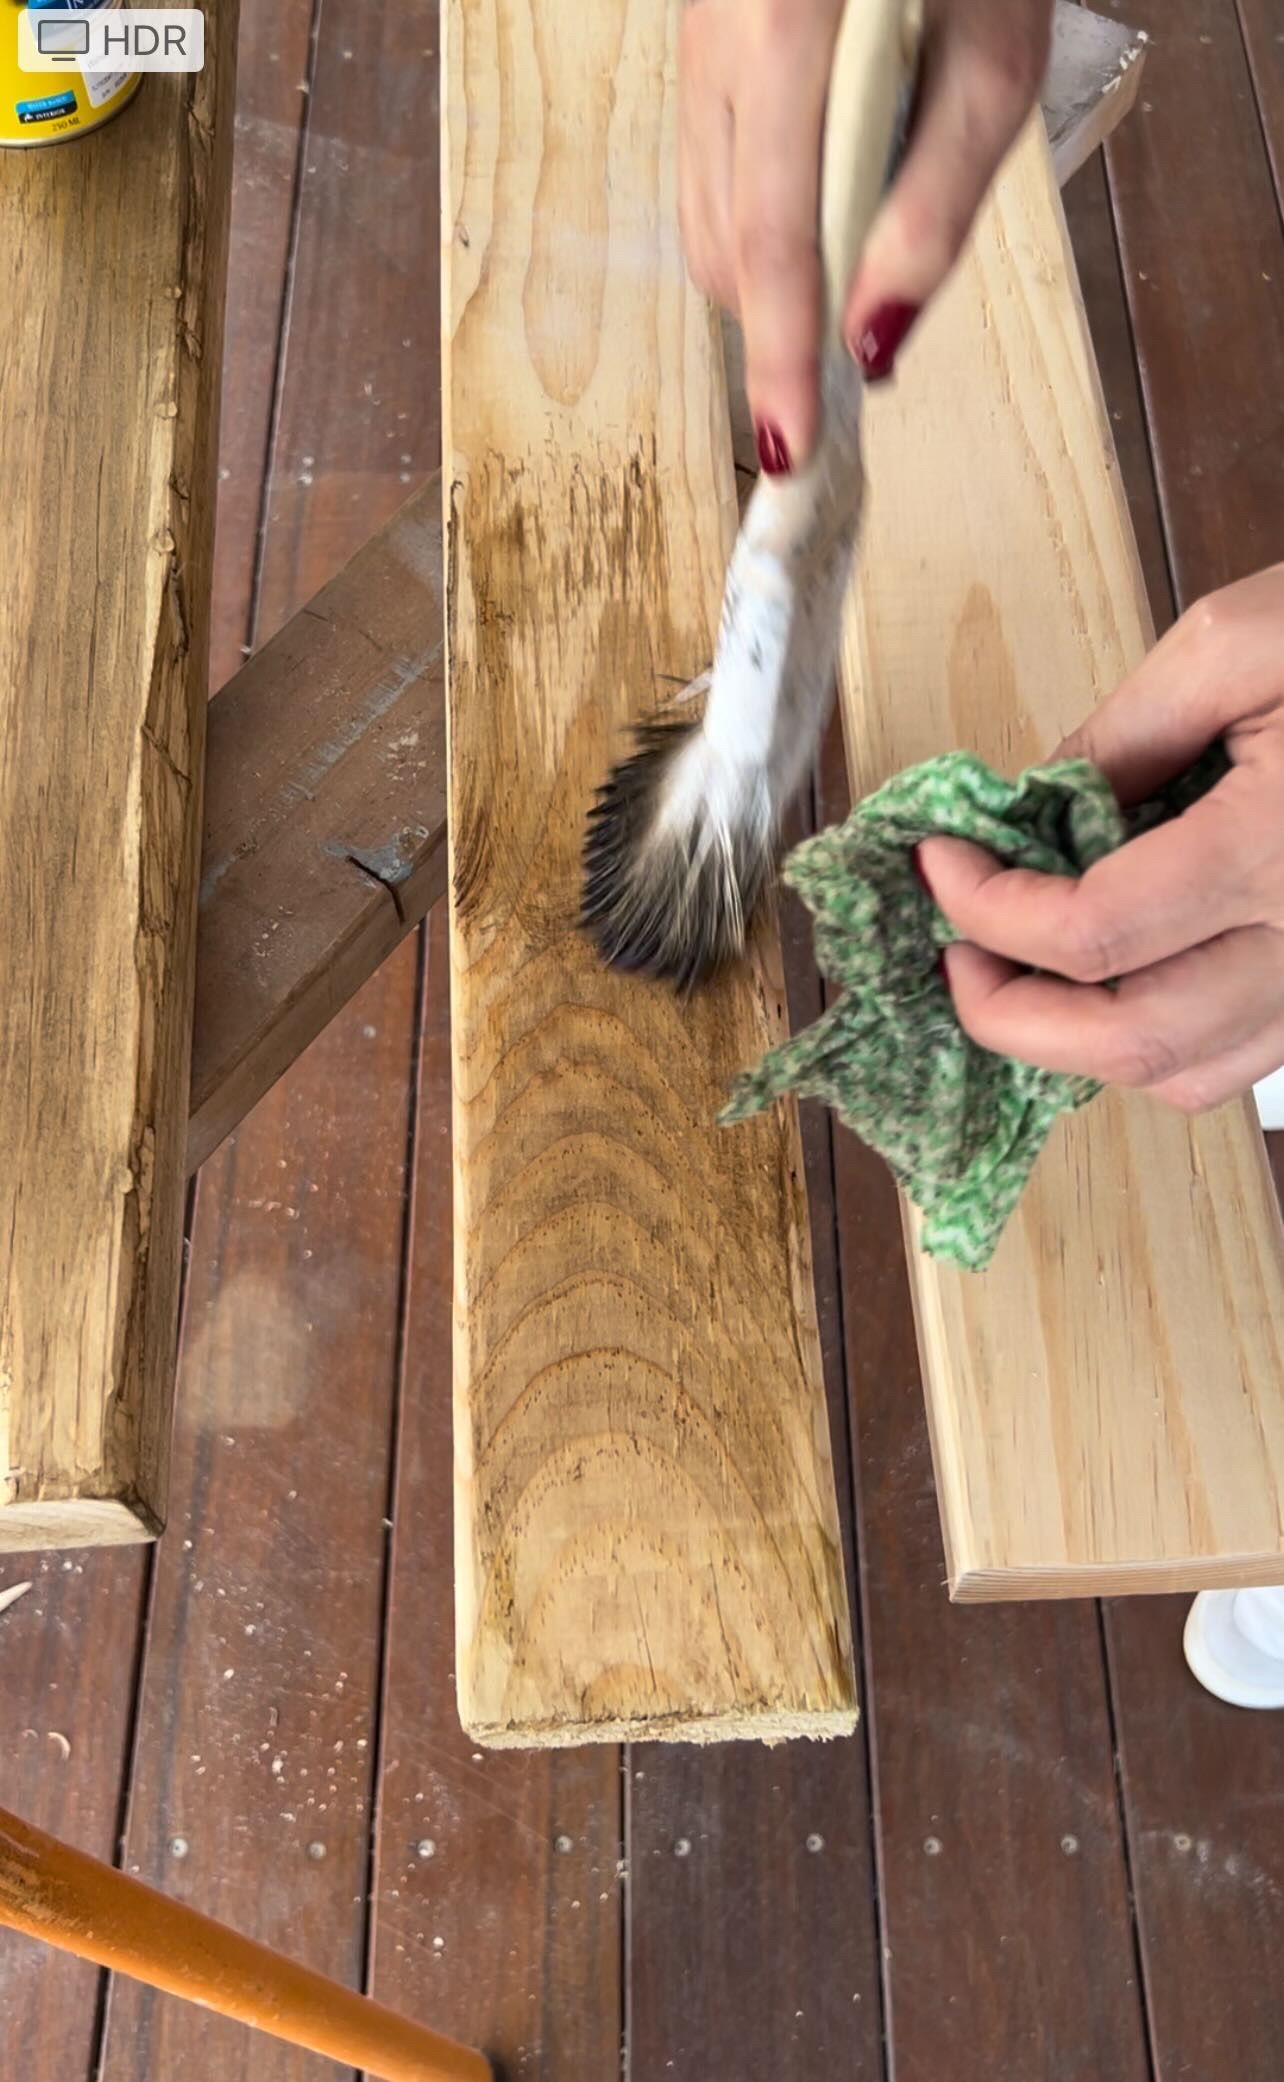
Step 4: Stain the bench
Apply Cabot's interior stain in "walnut" to the bench, wiping away any excess and repeating as needed to achieve the desired color.
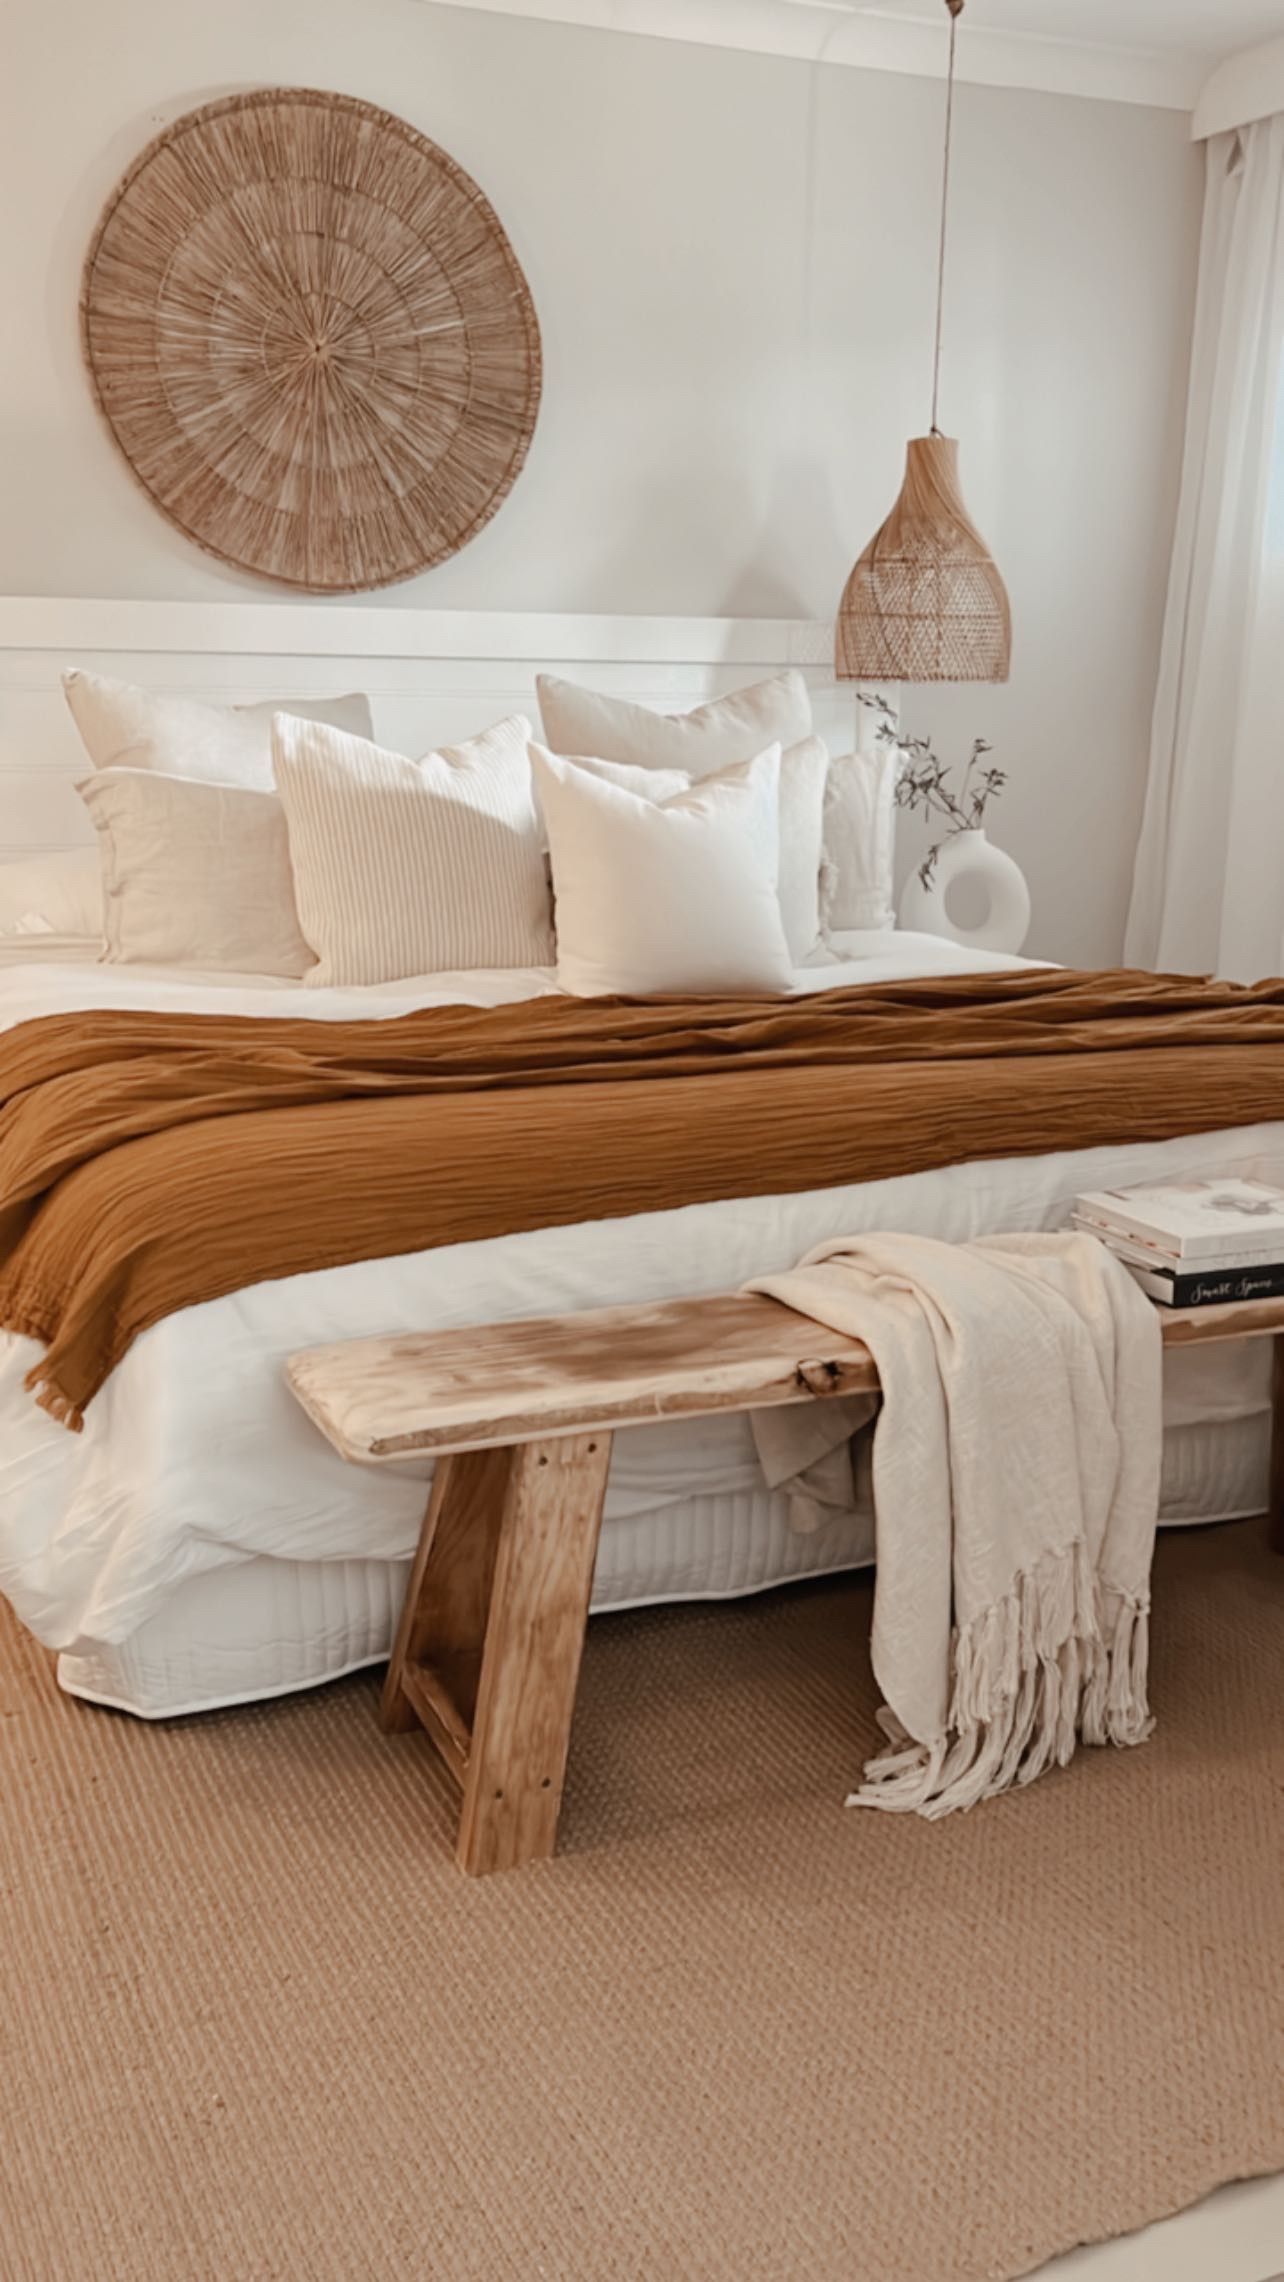
And there you have it! Your very own vintage-inspired bench, perfect for adding a touch of character to your home. Don't forget to tag Bunnings for all your materials!
CREATOR: Ros

Instagram: @playa_interiors