
A tutorial to create a modern slatted multi
purpose storage space for your bins.
When we moved in there was already a make shift log store, which we added a shelf for loose wood but it looked so unattractive and it was right outside our back door.
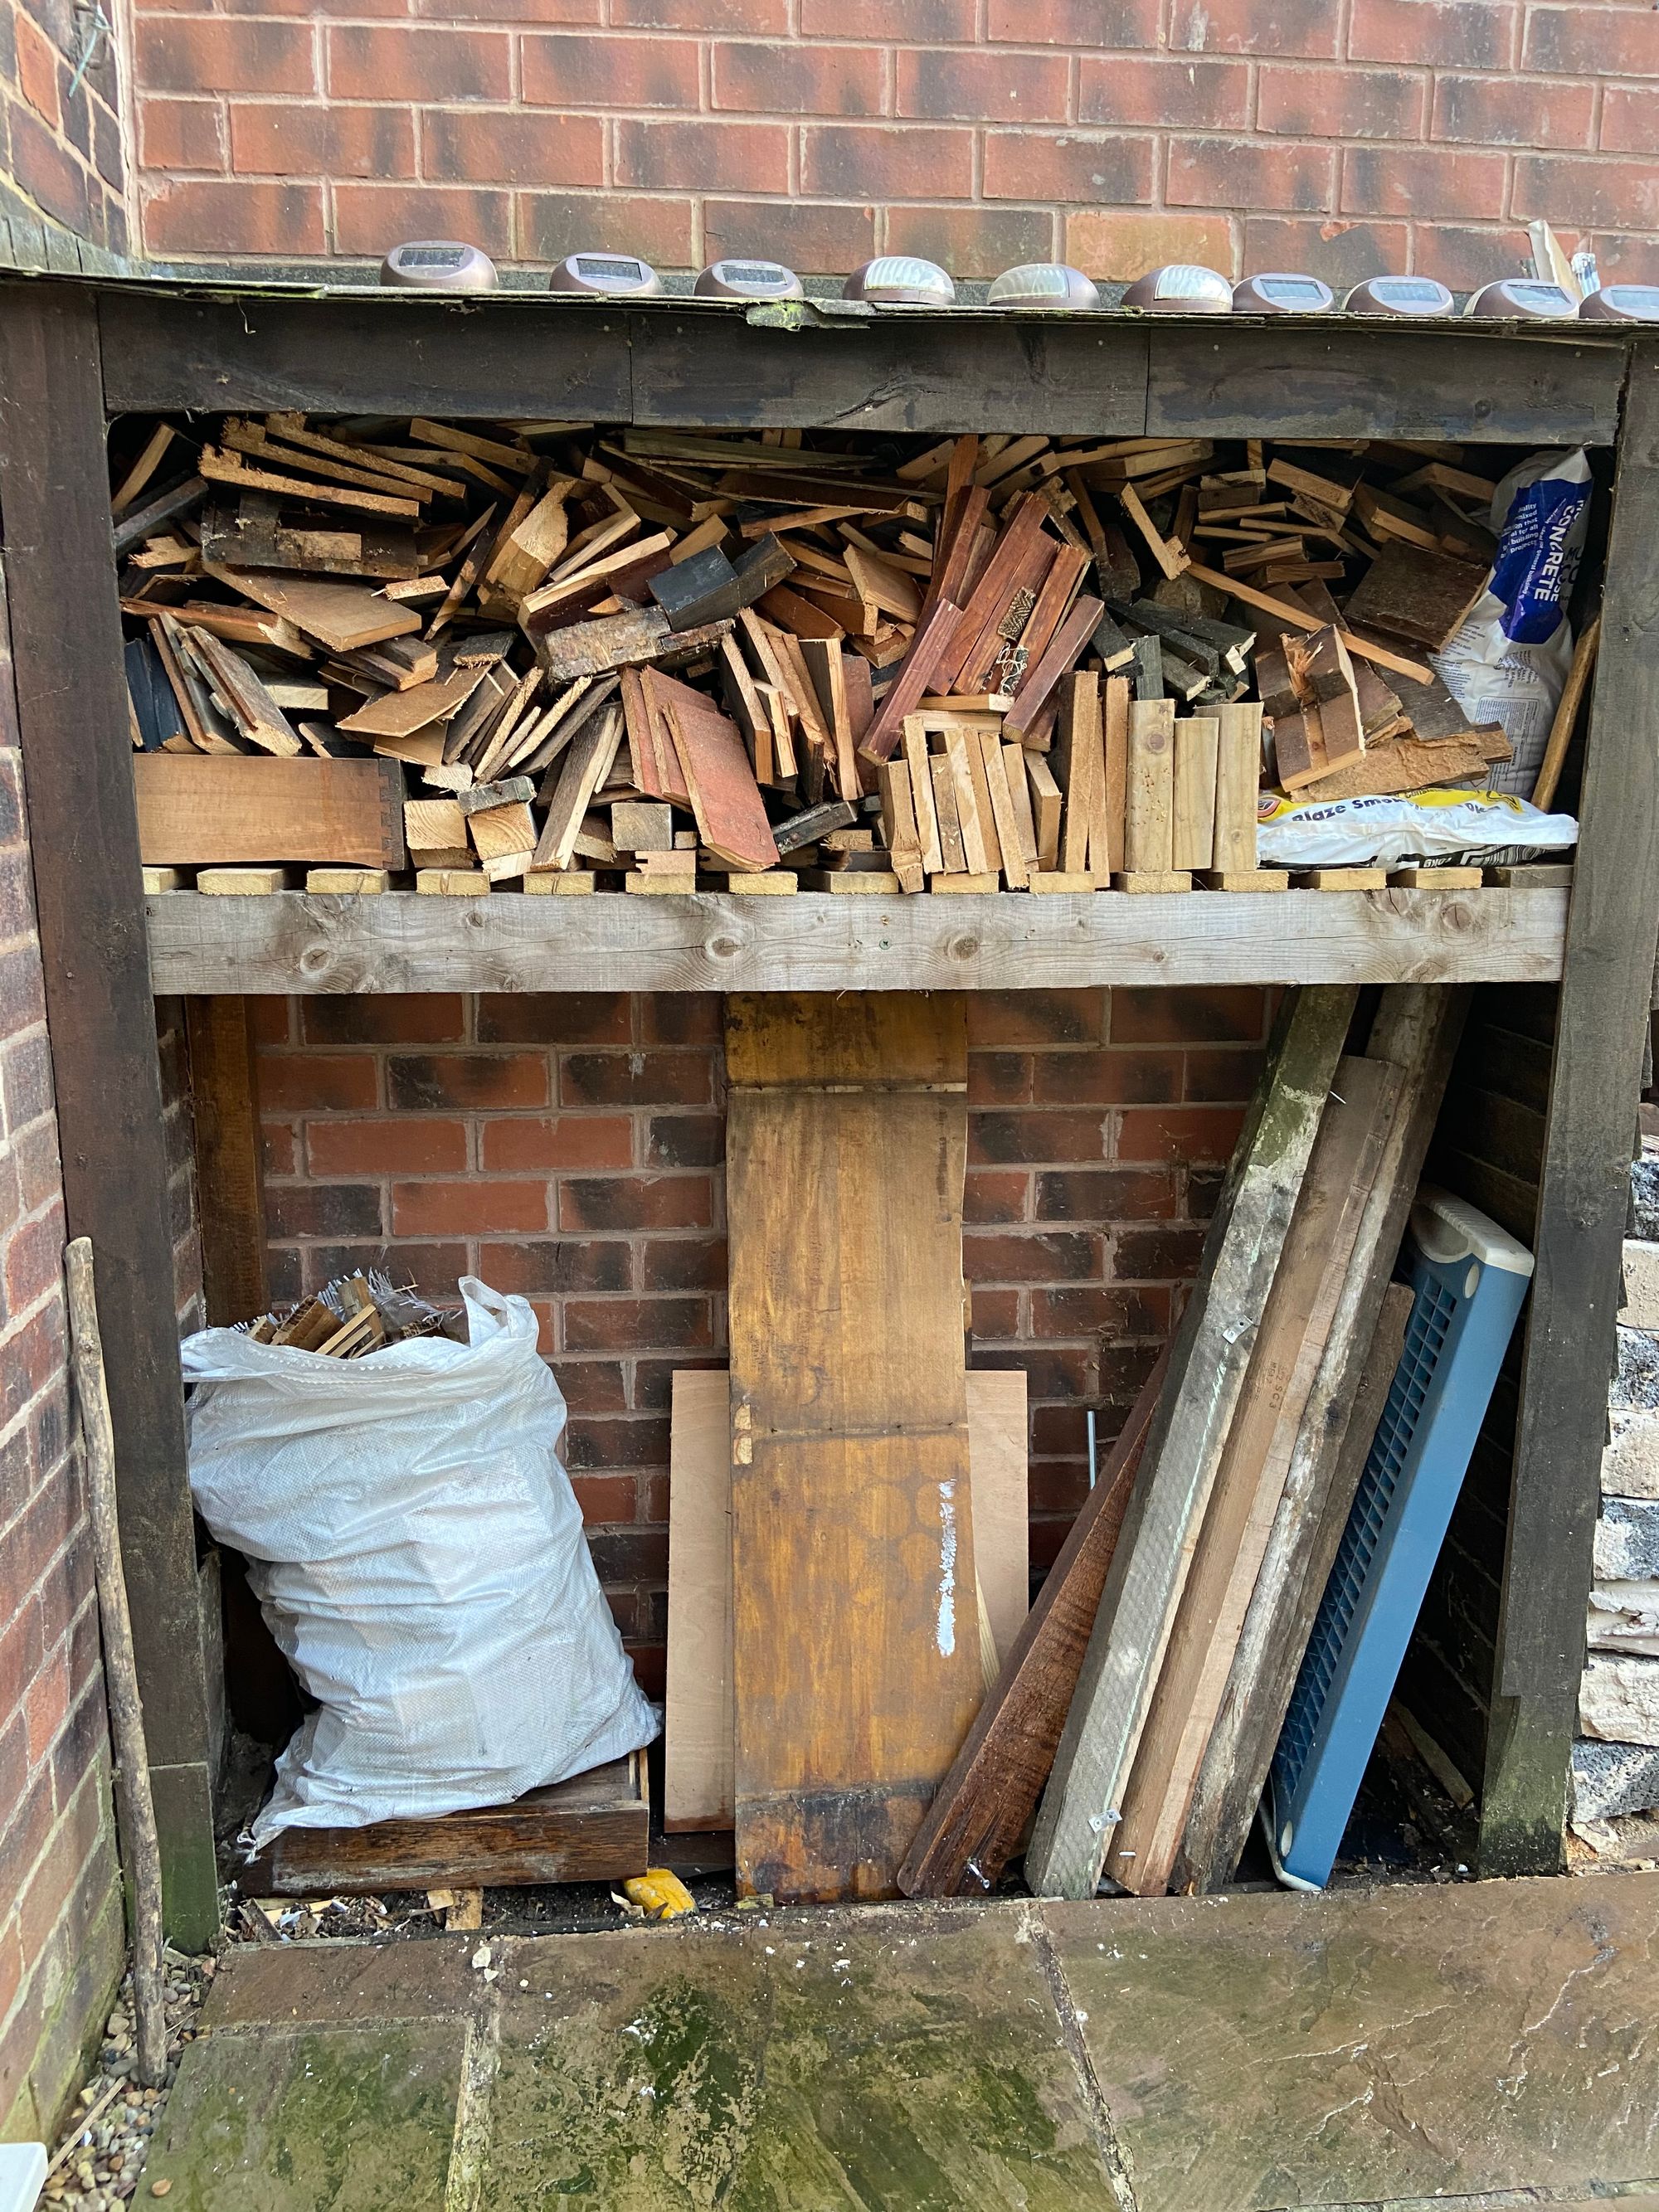
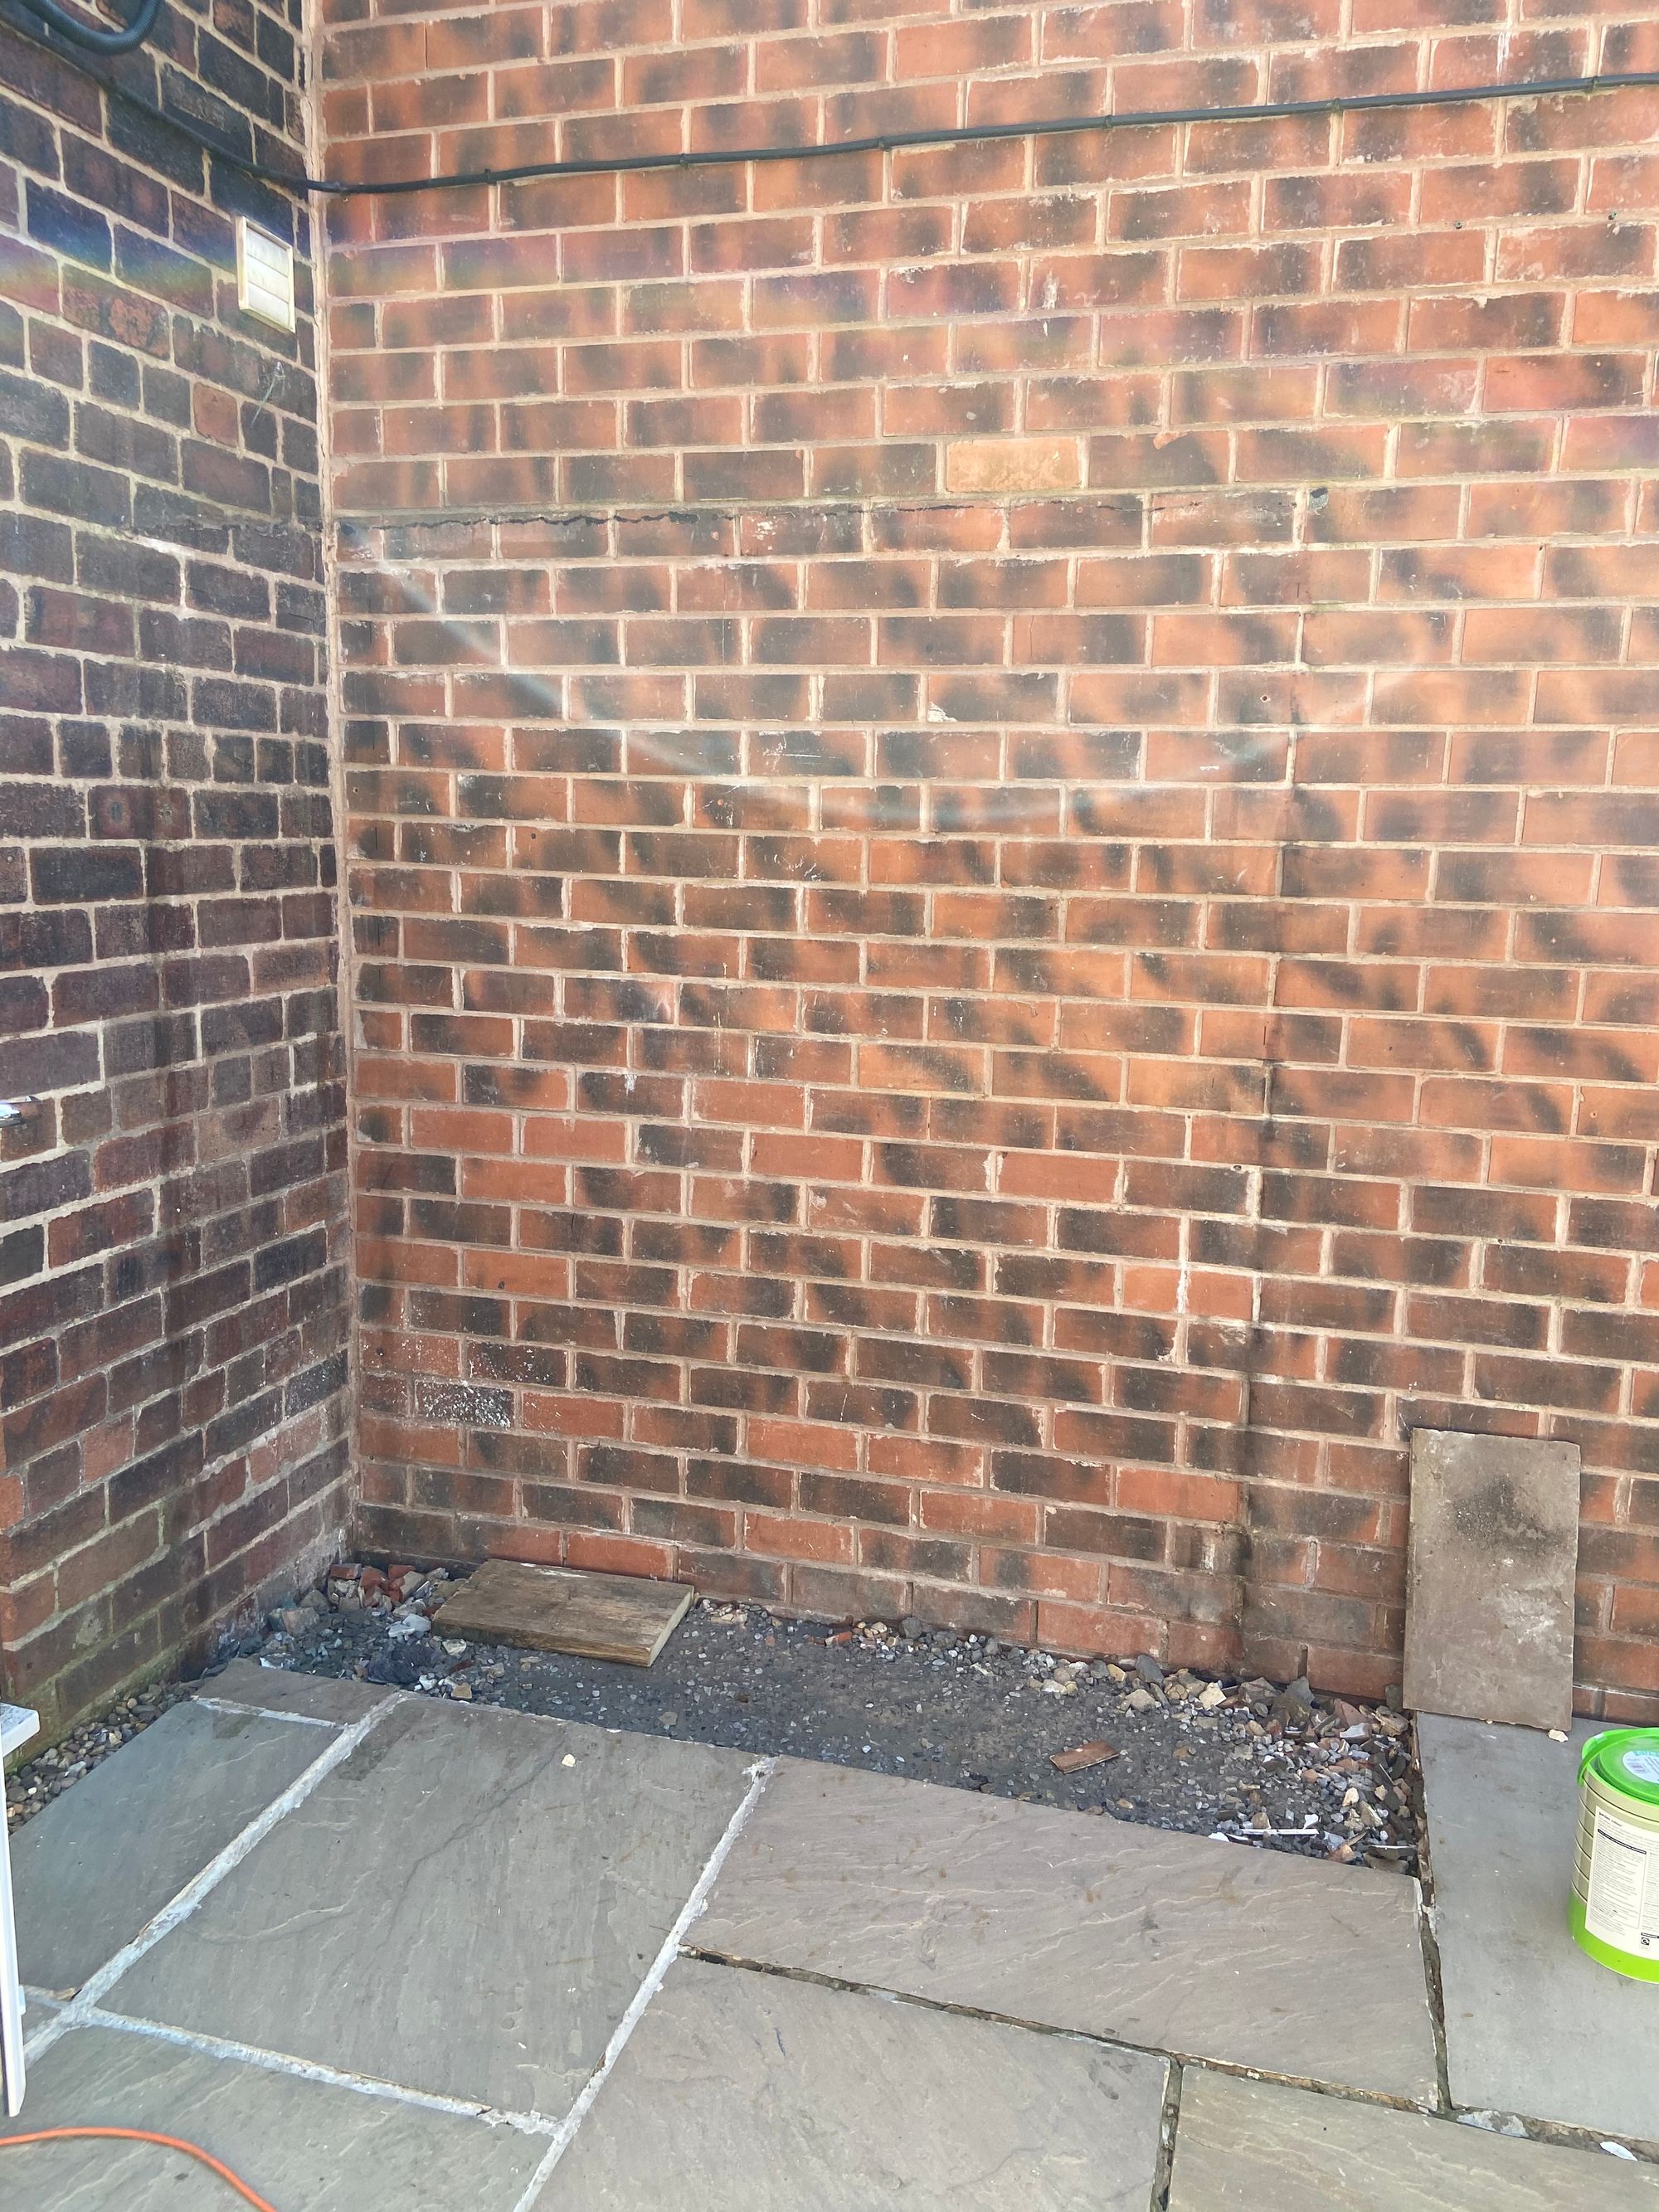
So we dismantled the old log store and cleared the space ready to build a new one.
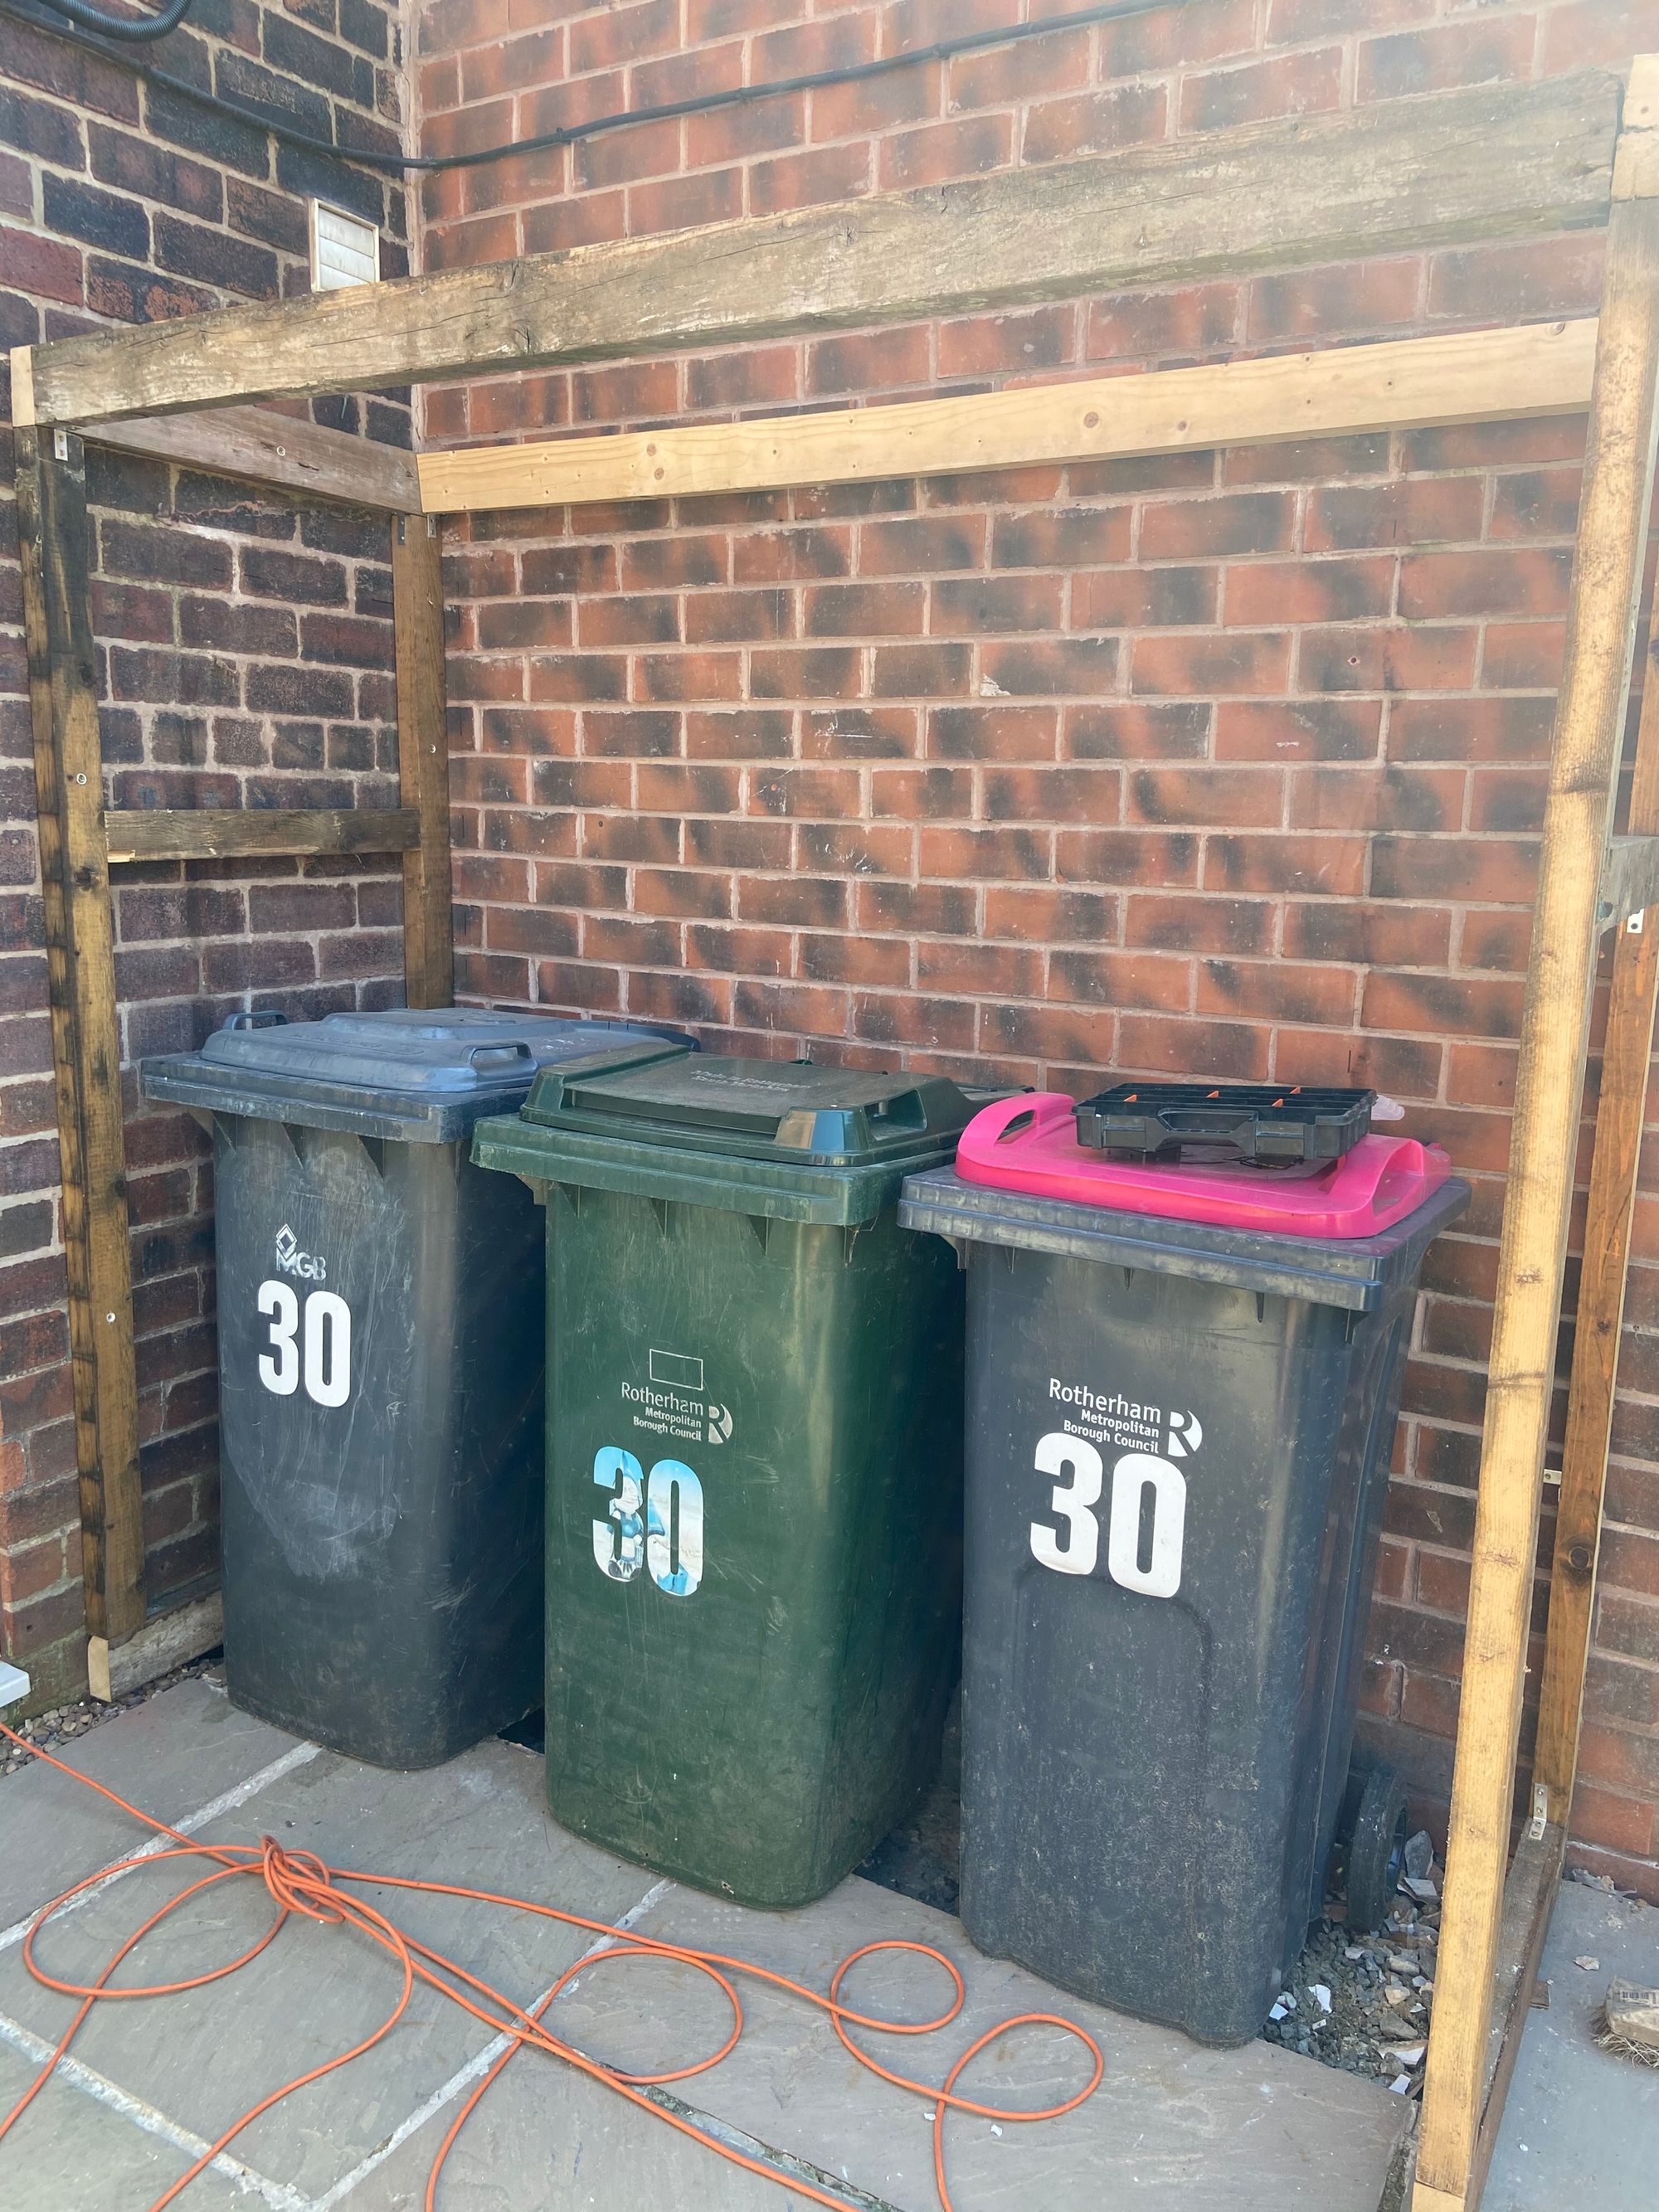
Recycling some old timber, we built a wider and much higher frame than the previous log store to fit all 3 bins comfortably and this was fixed to the wall.
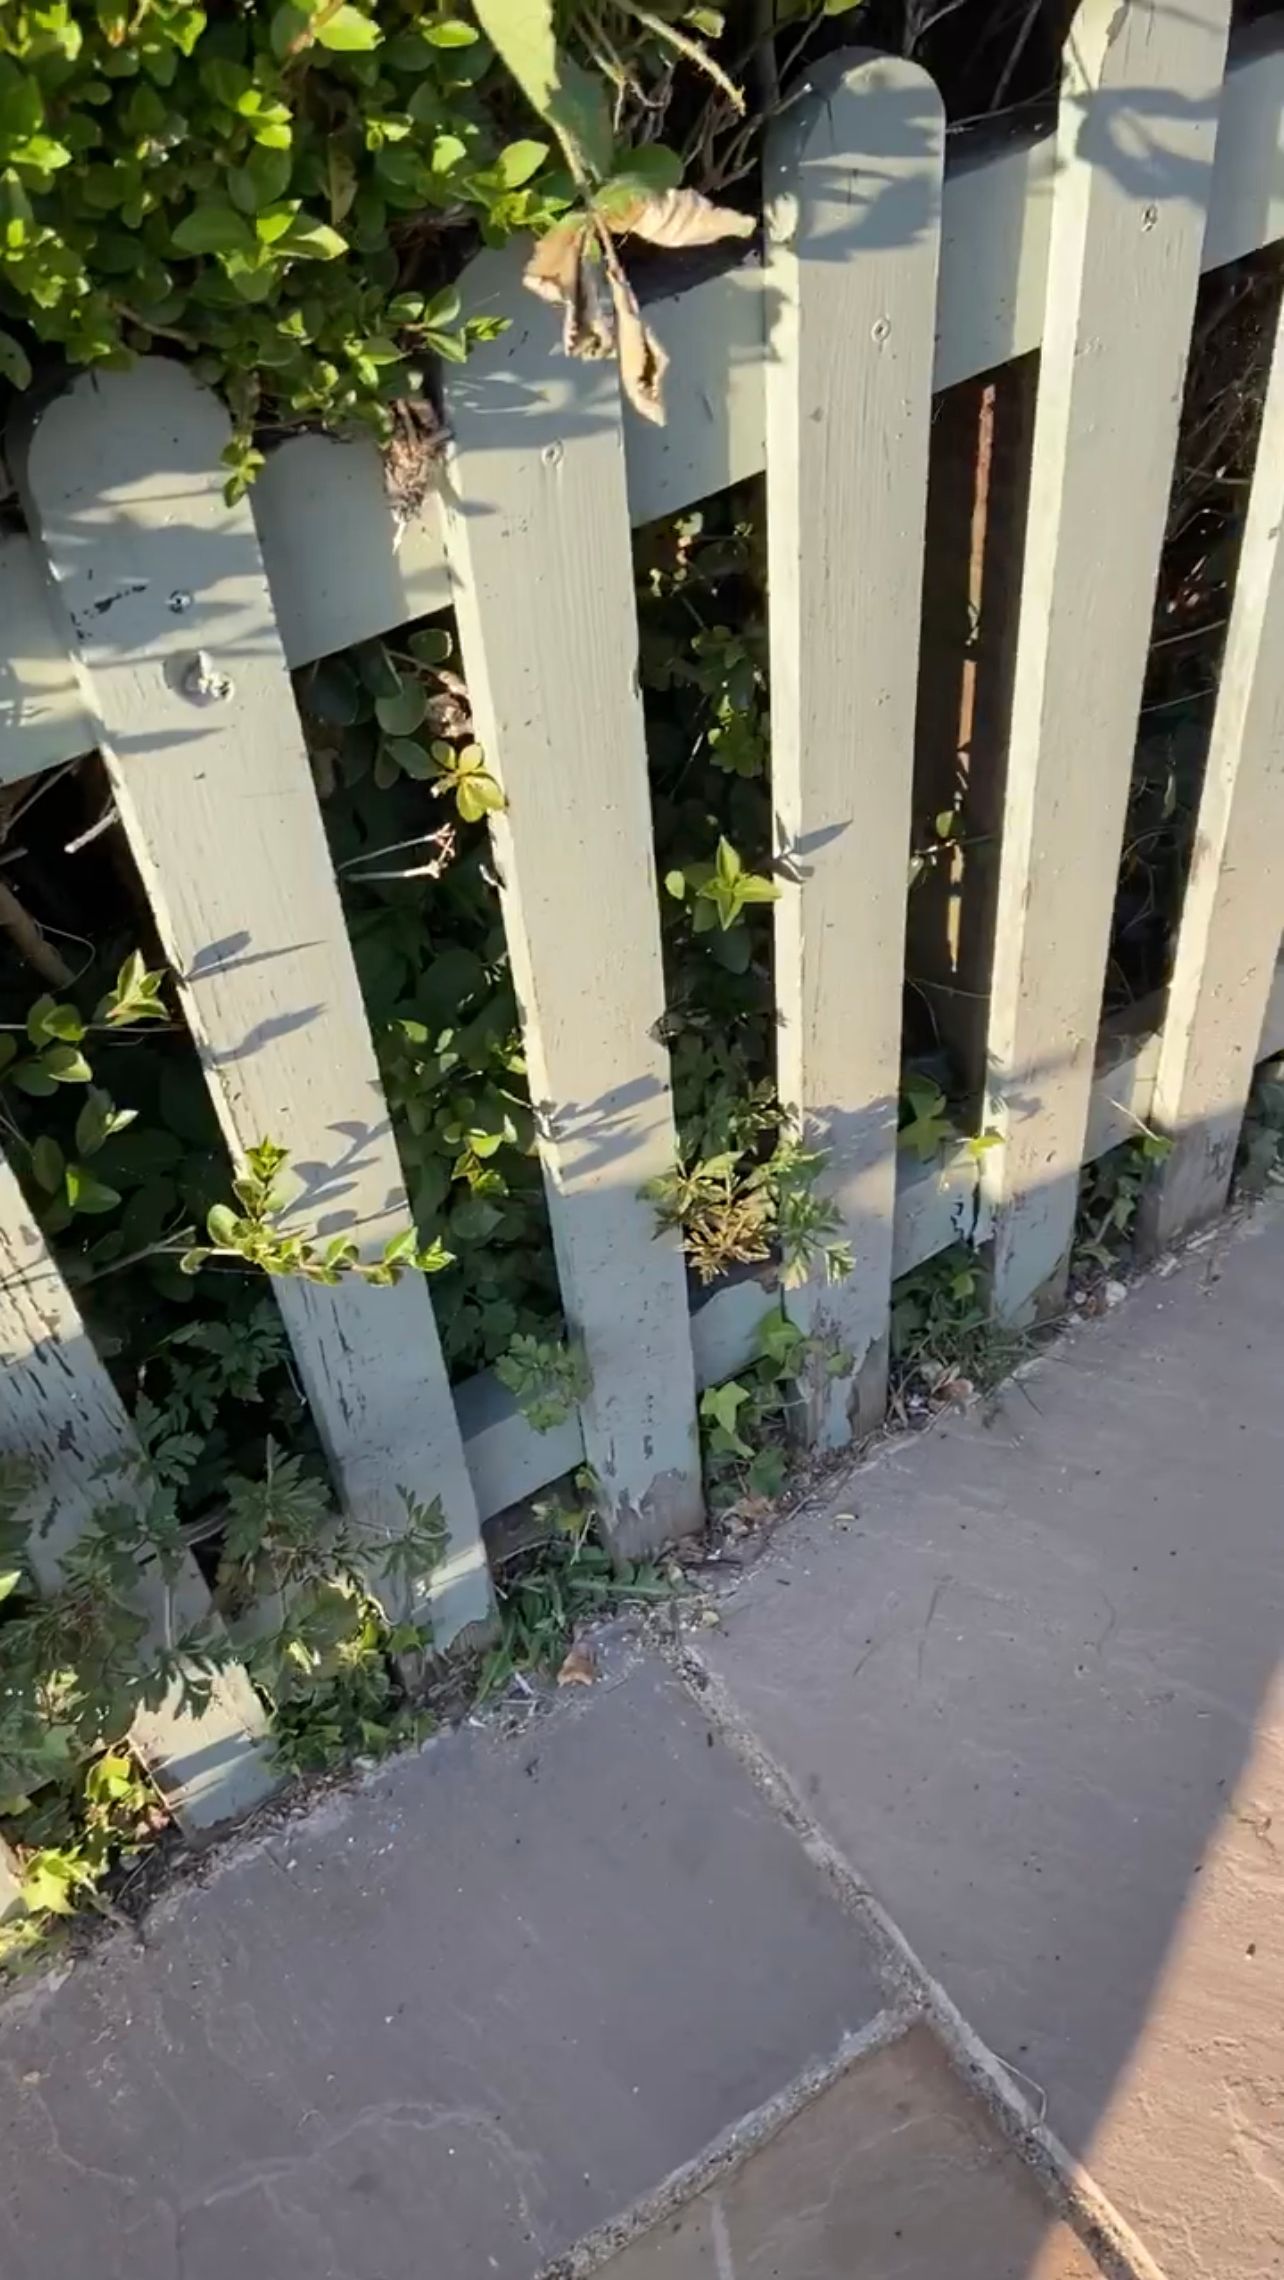
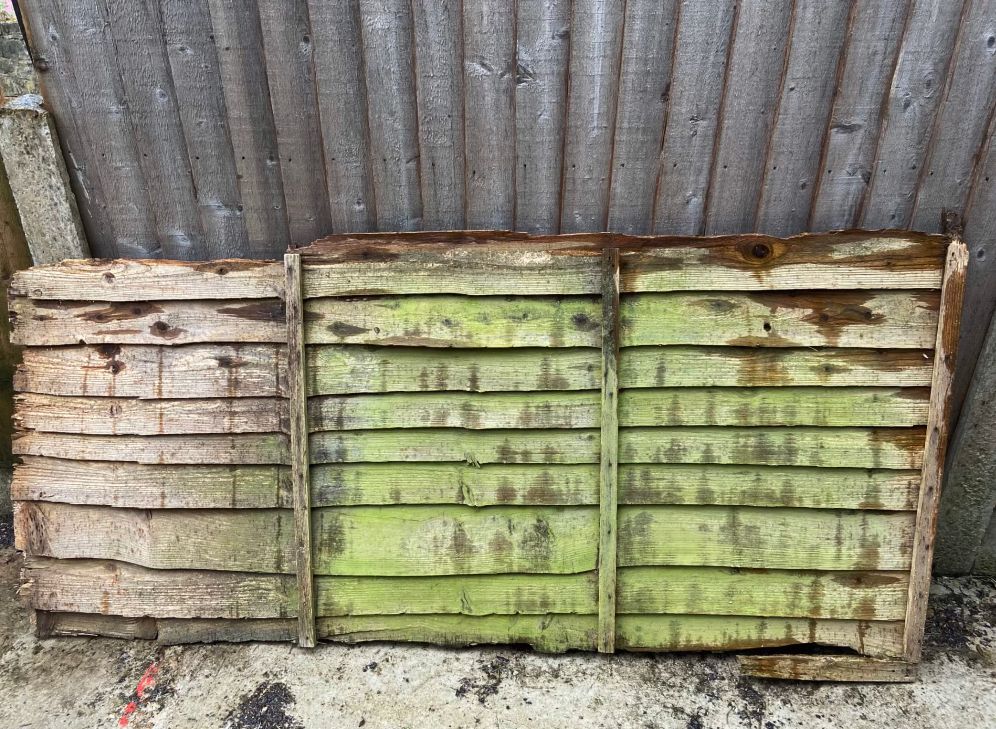
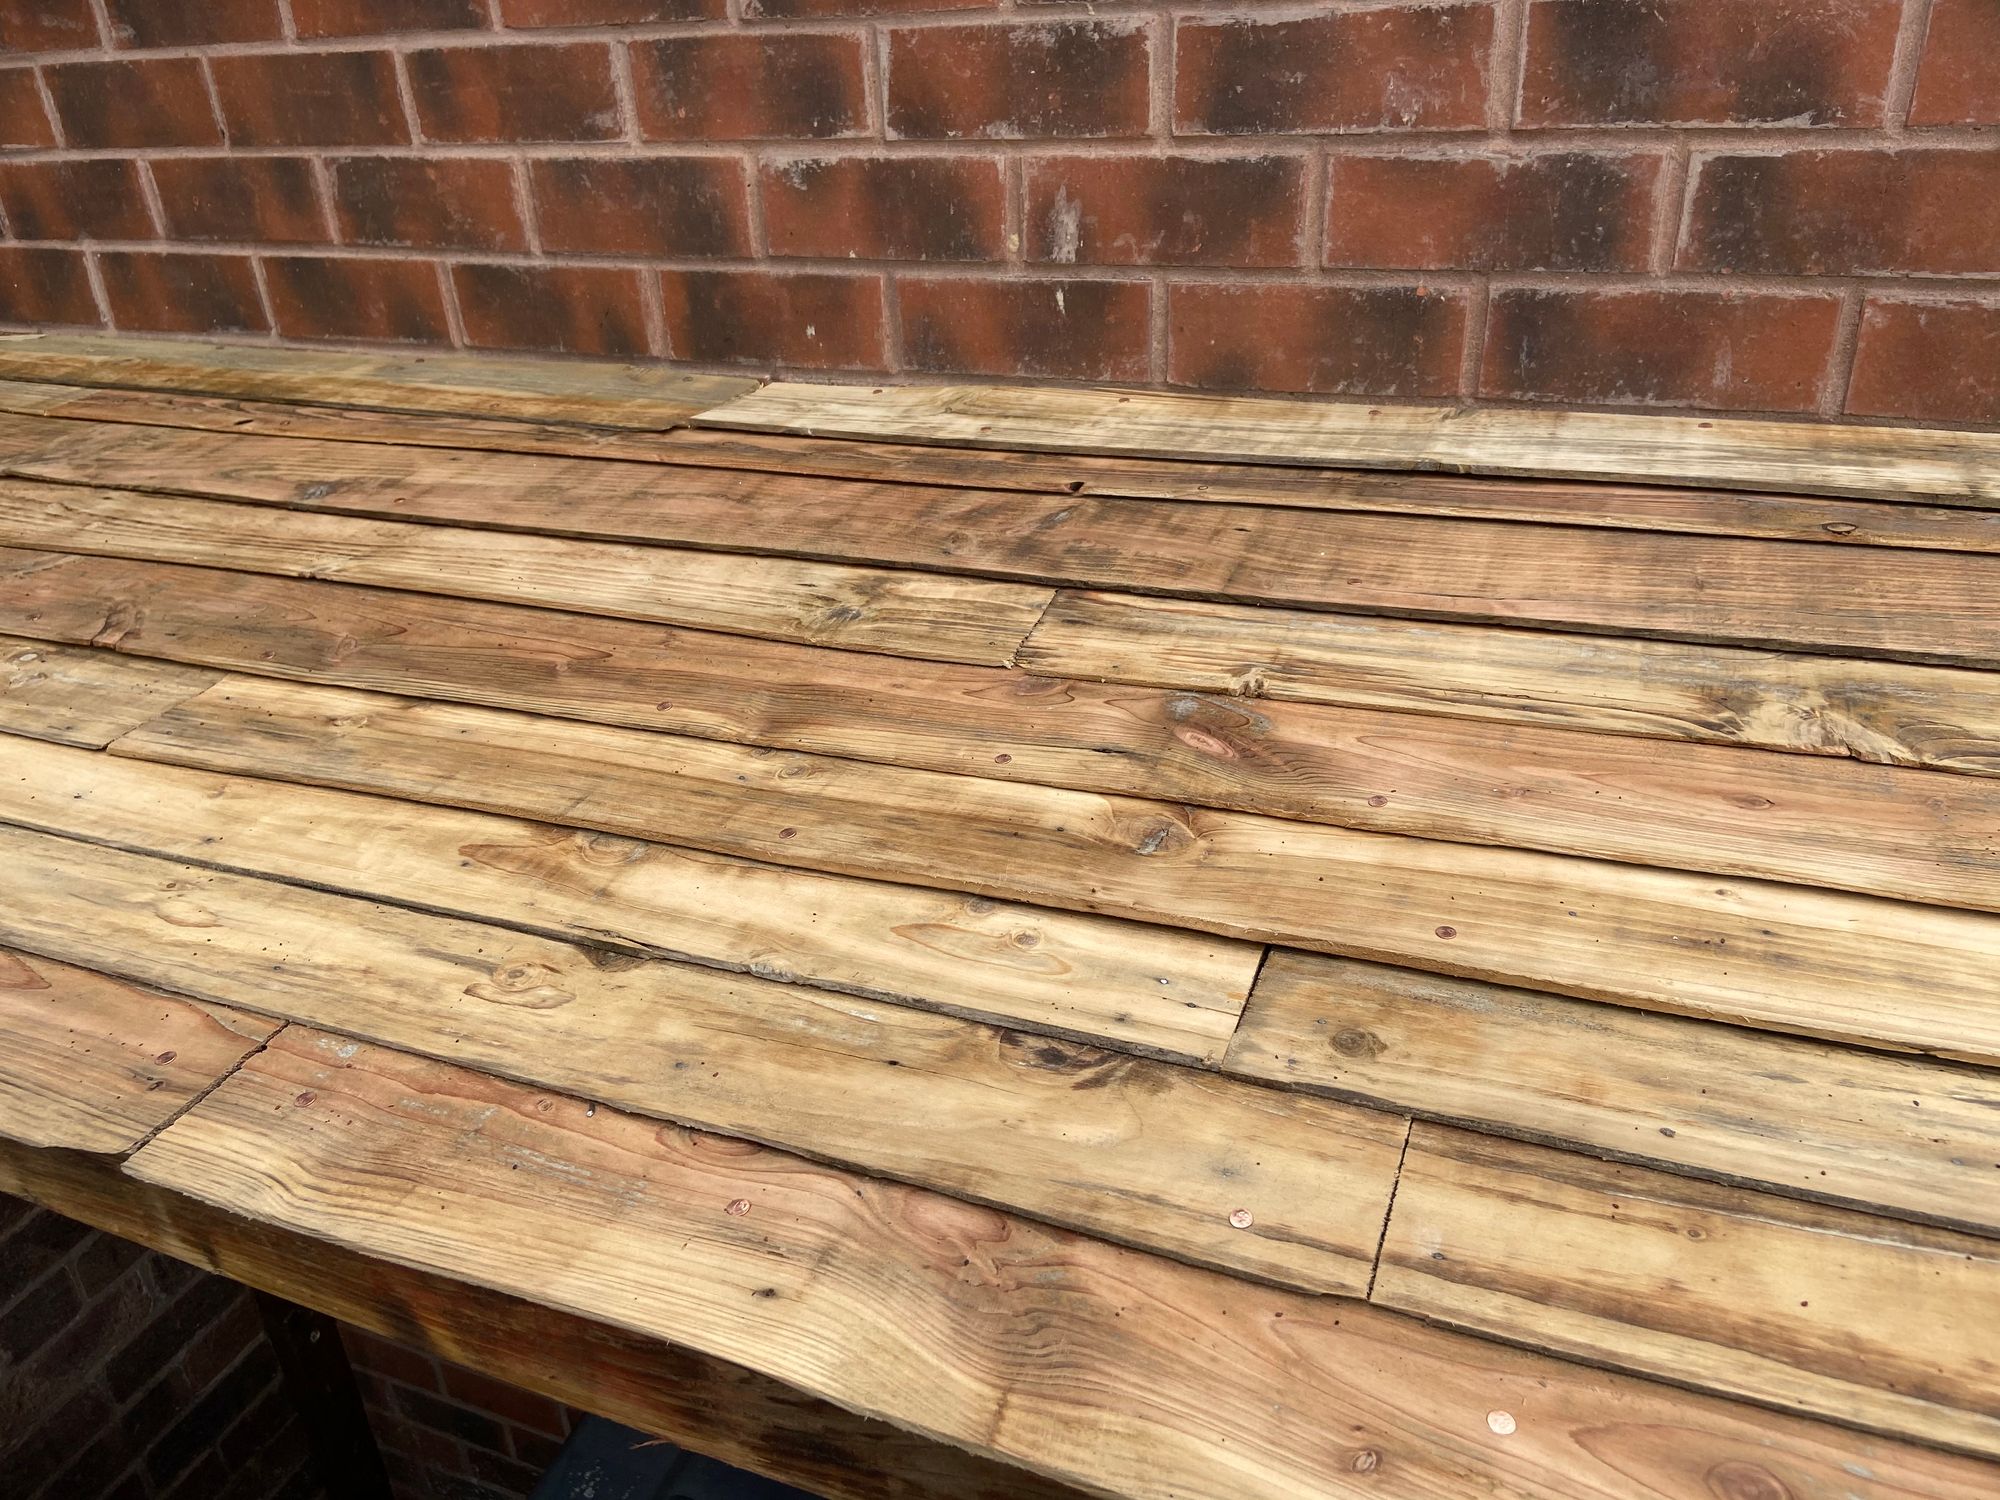
Reusing some picket fencing that was already in the garden when we moved in. We sanded off the old paint and cut the planks in half to create slats.
We started by cladding the side using the same method as the planter. (See slatted planter post for more info)
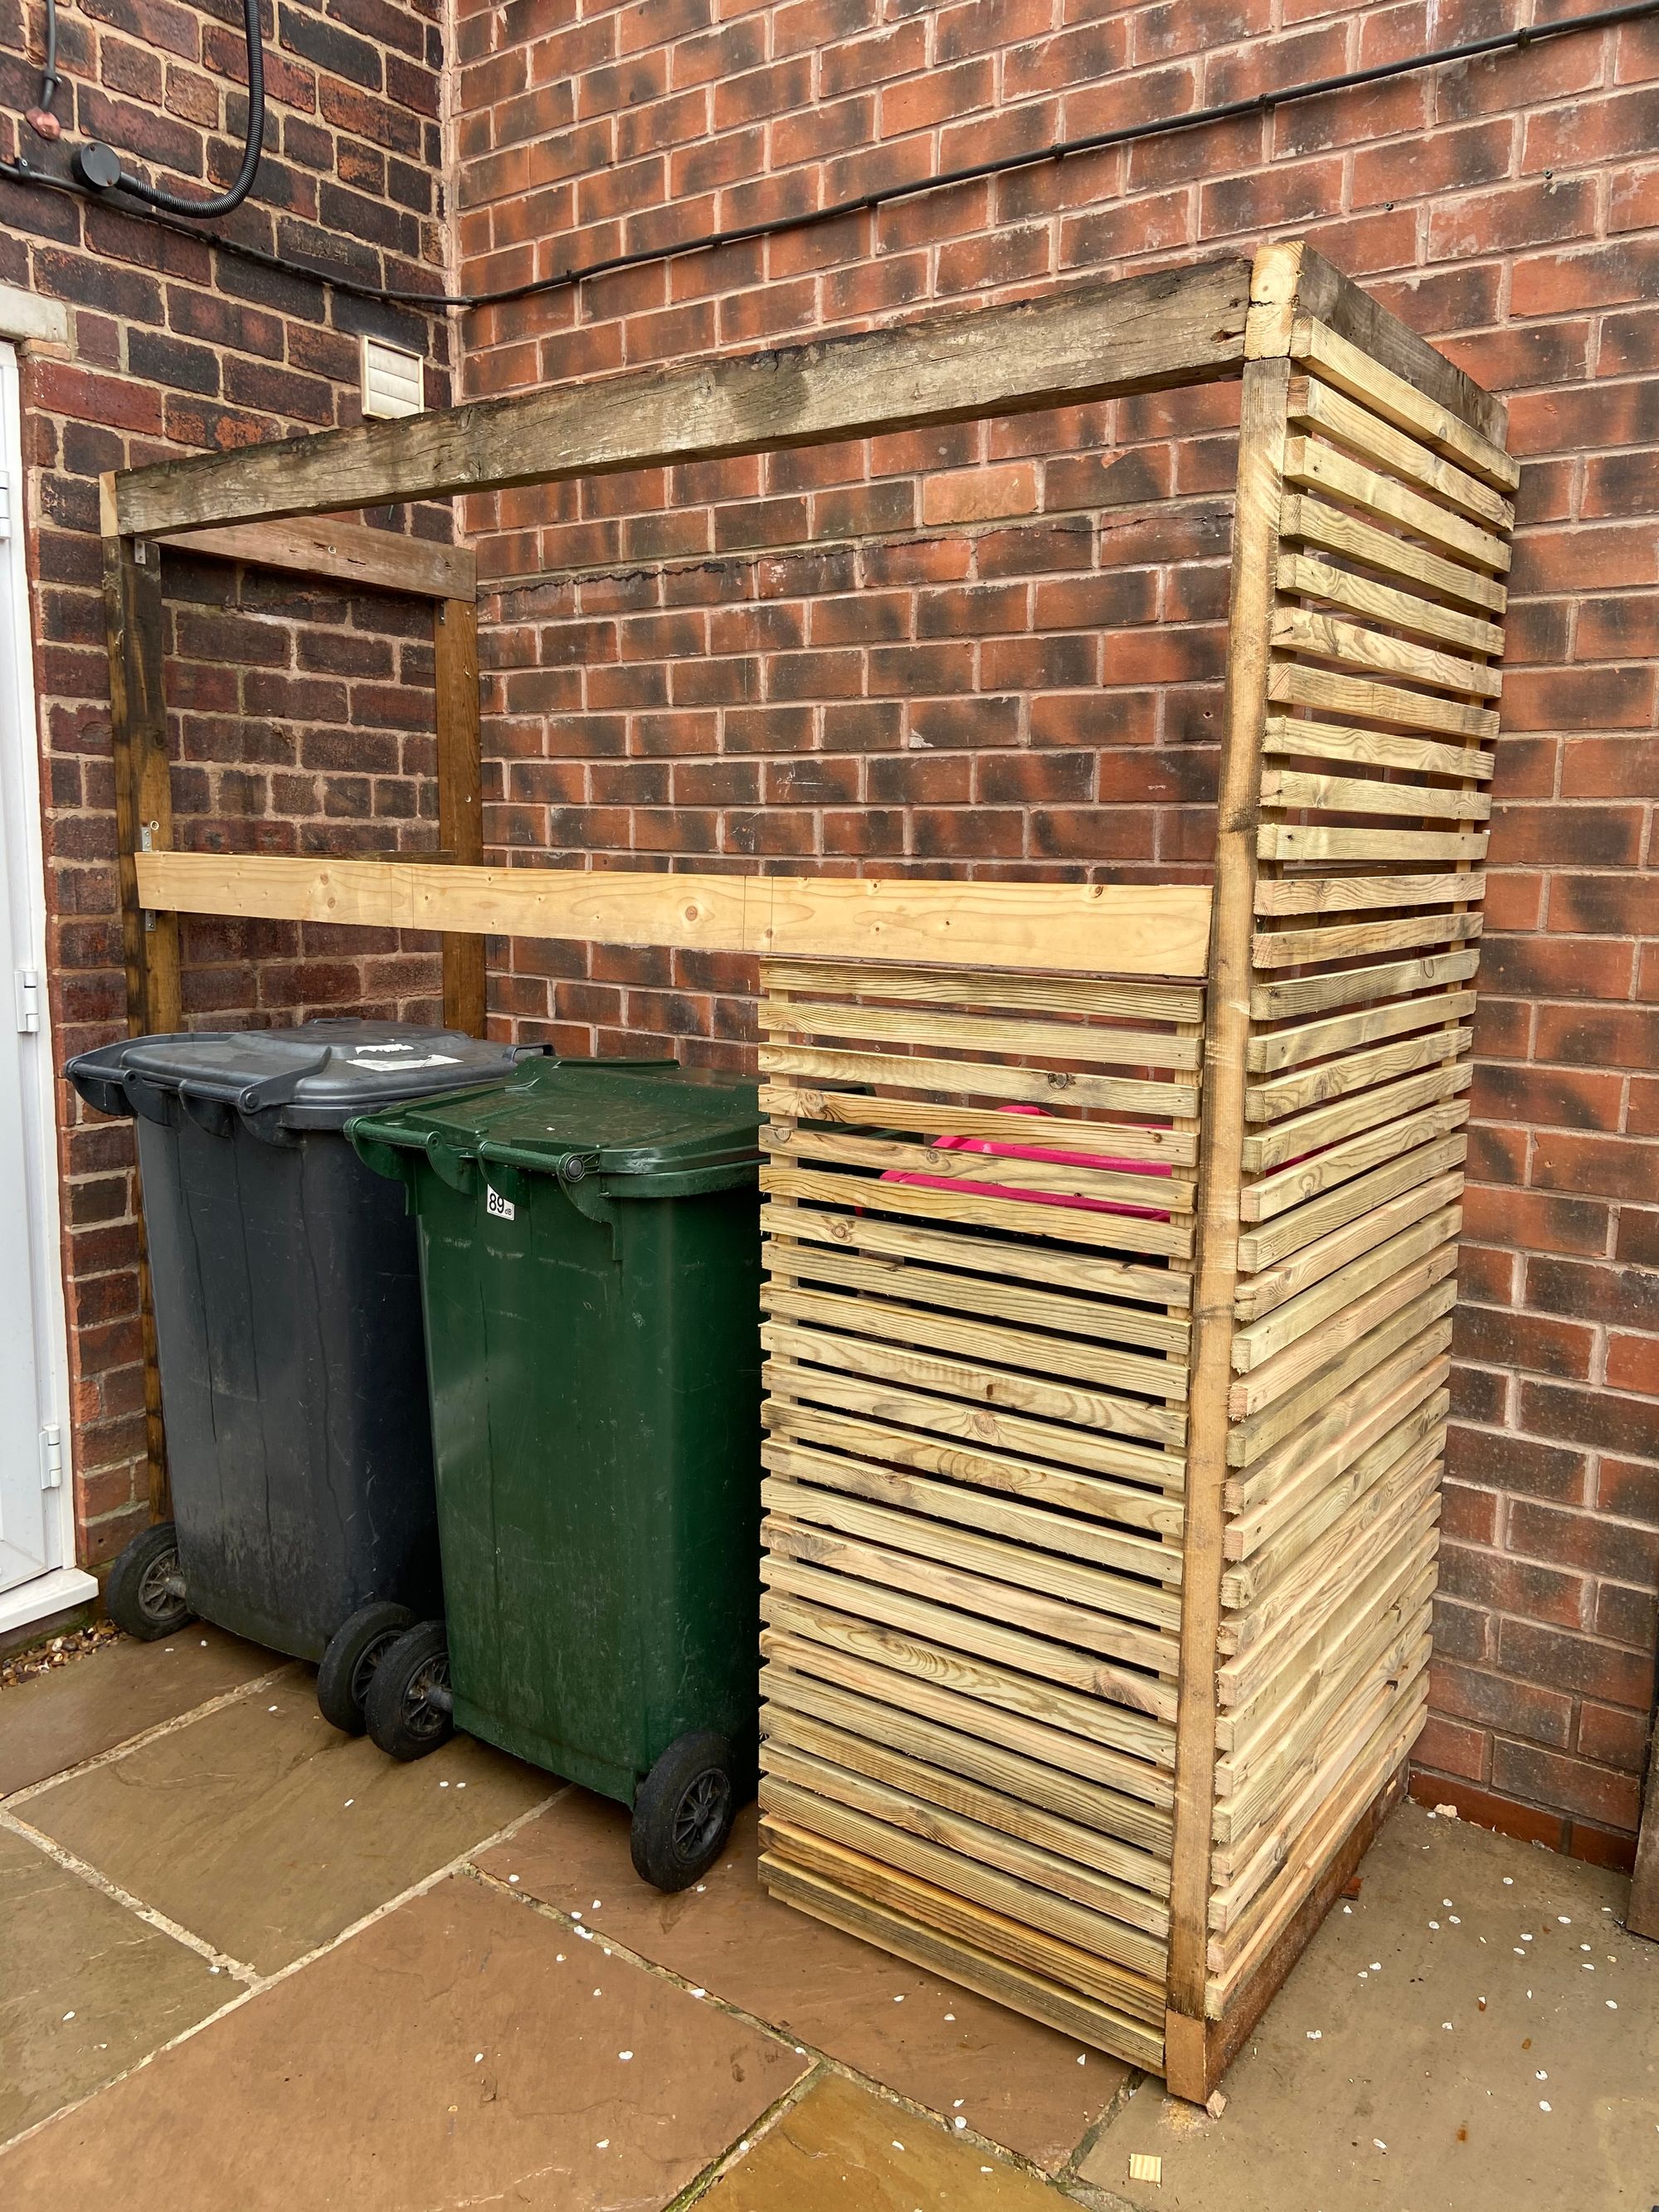
Then we created a frame for the doors using the same kiln timber timber we used for the slatted planter.
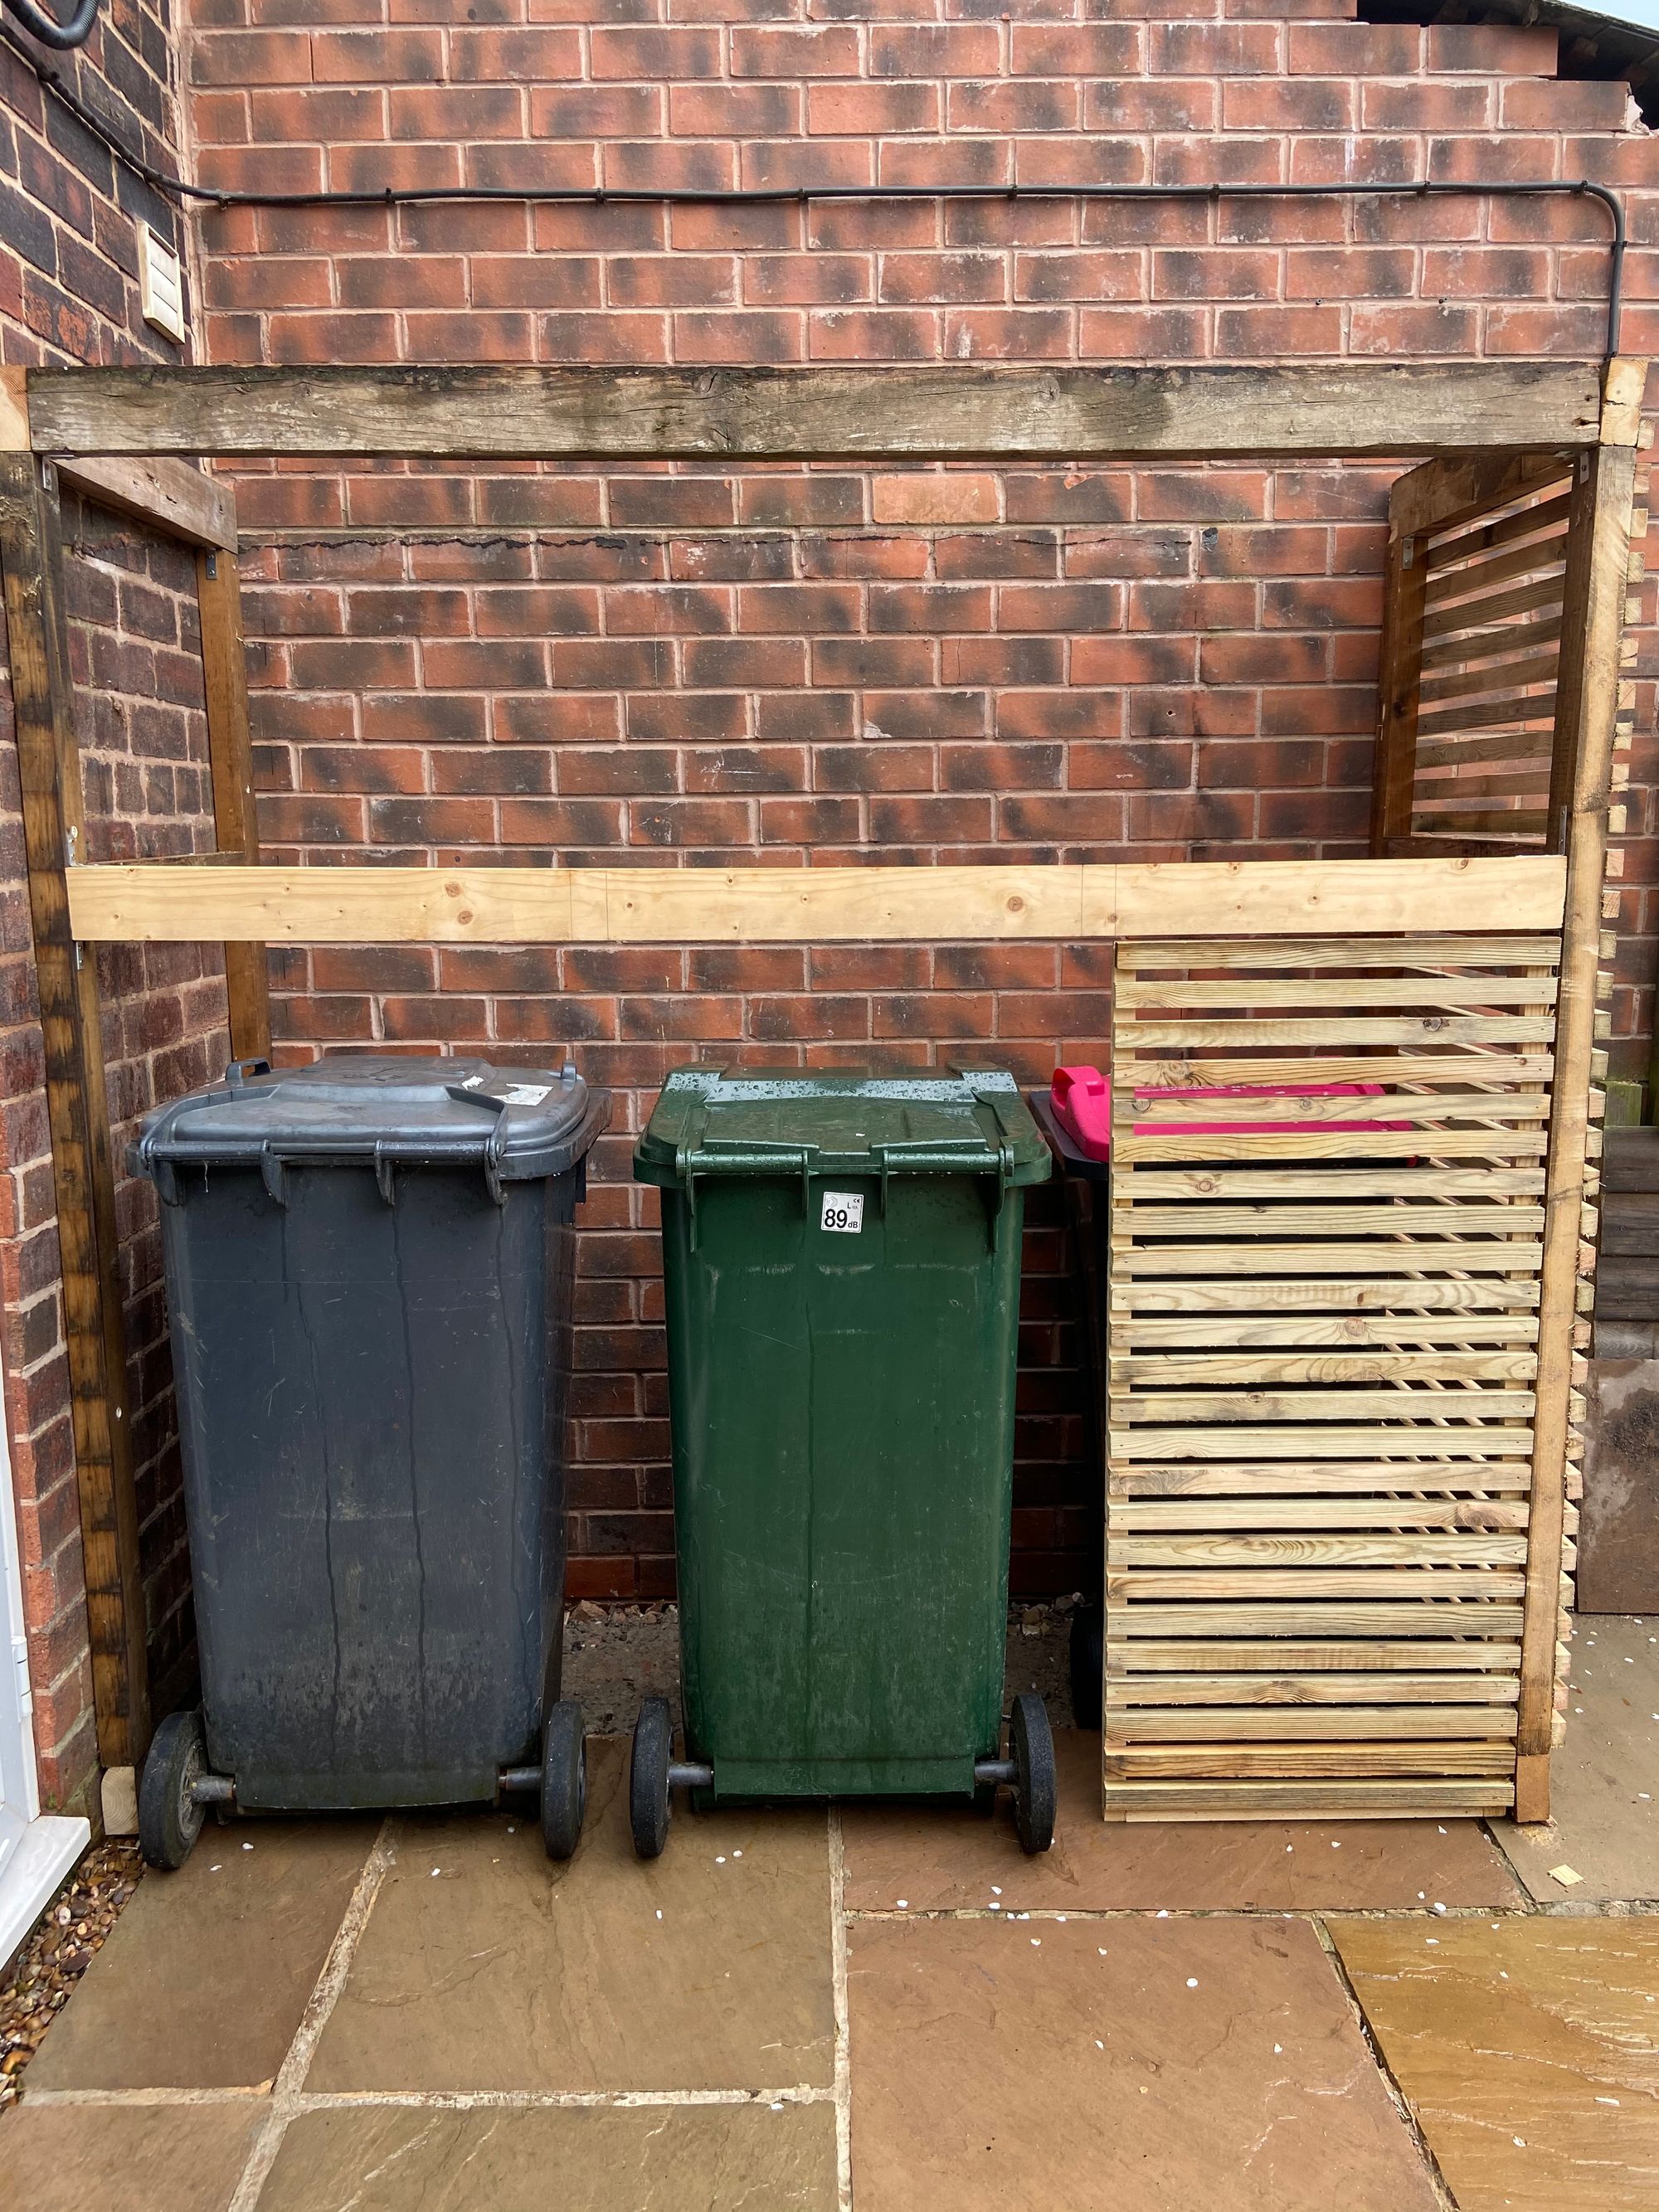
We then added 2 vertical pieces of timber to hang the other 2 doors from.
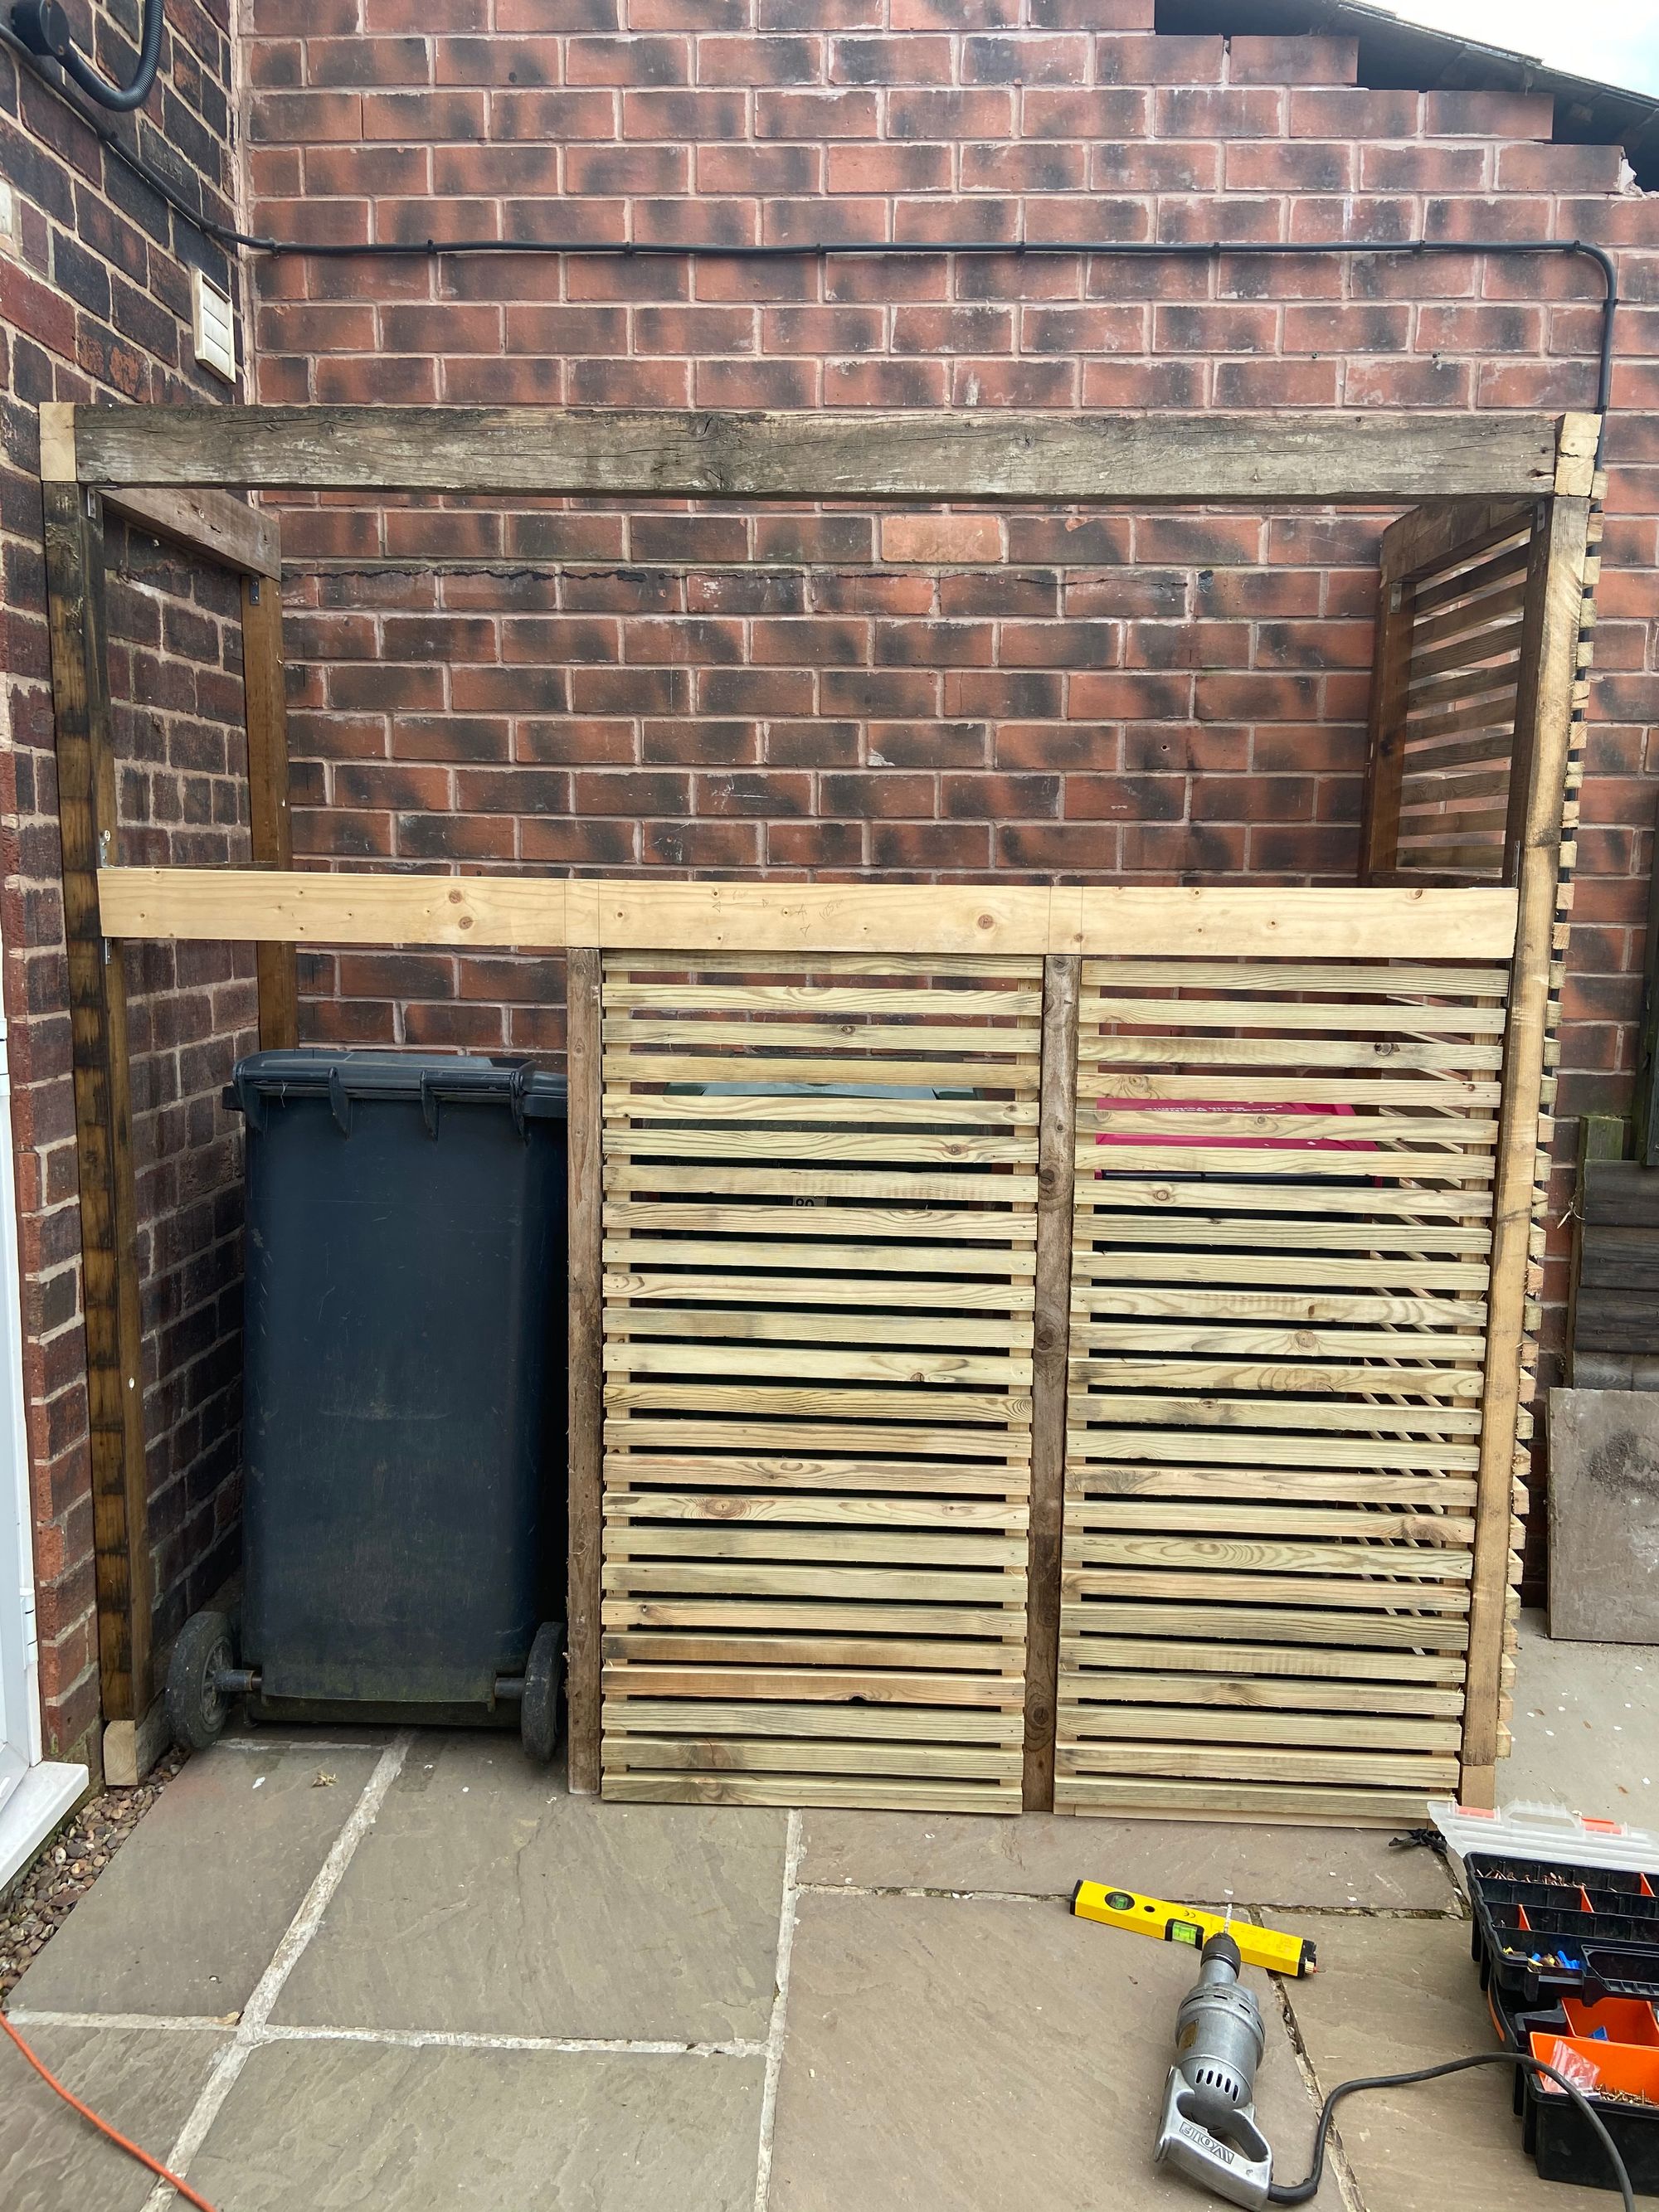
These were fixed to the floor with metal L brackets.
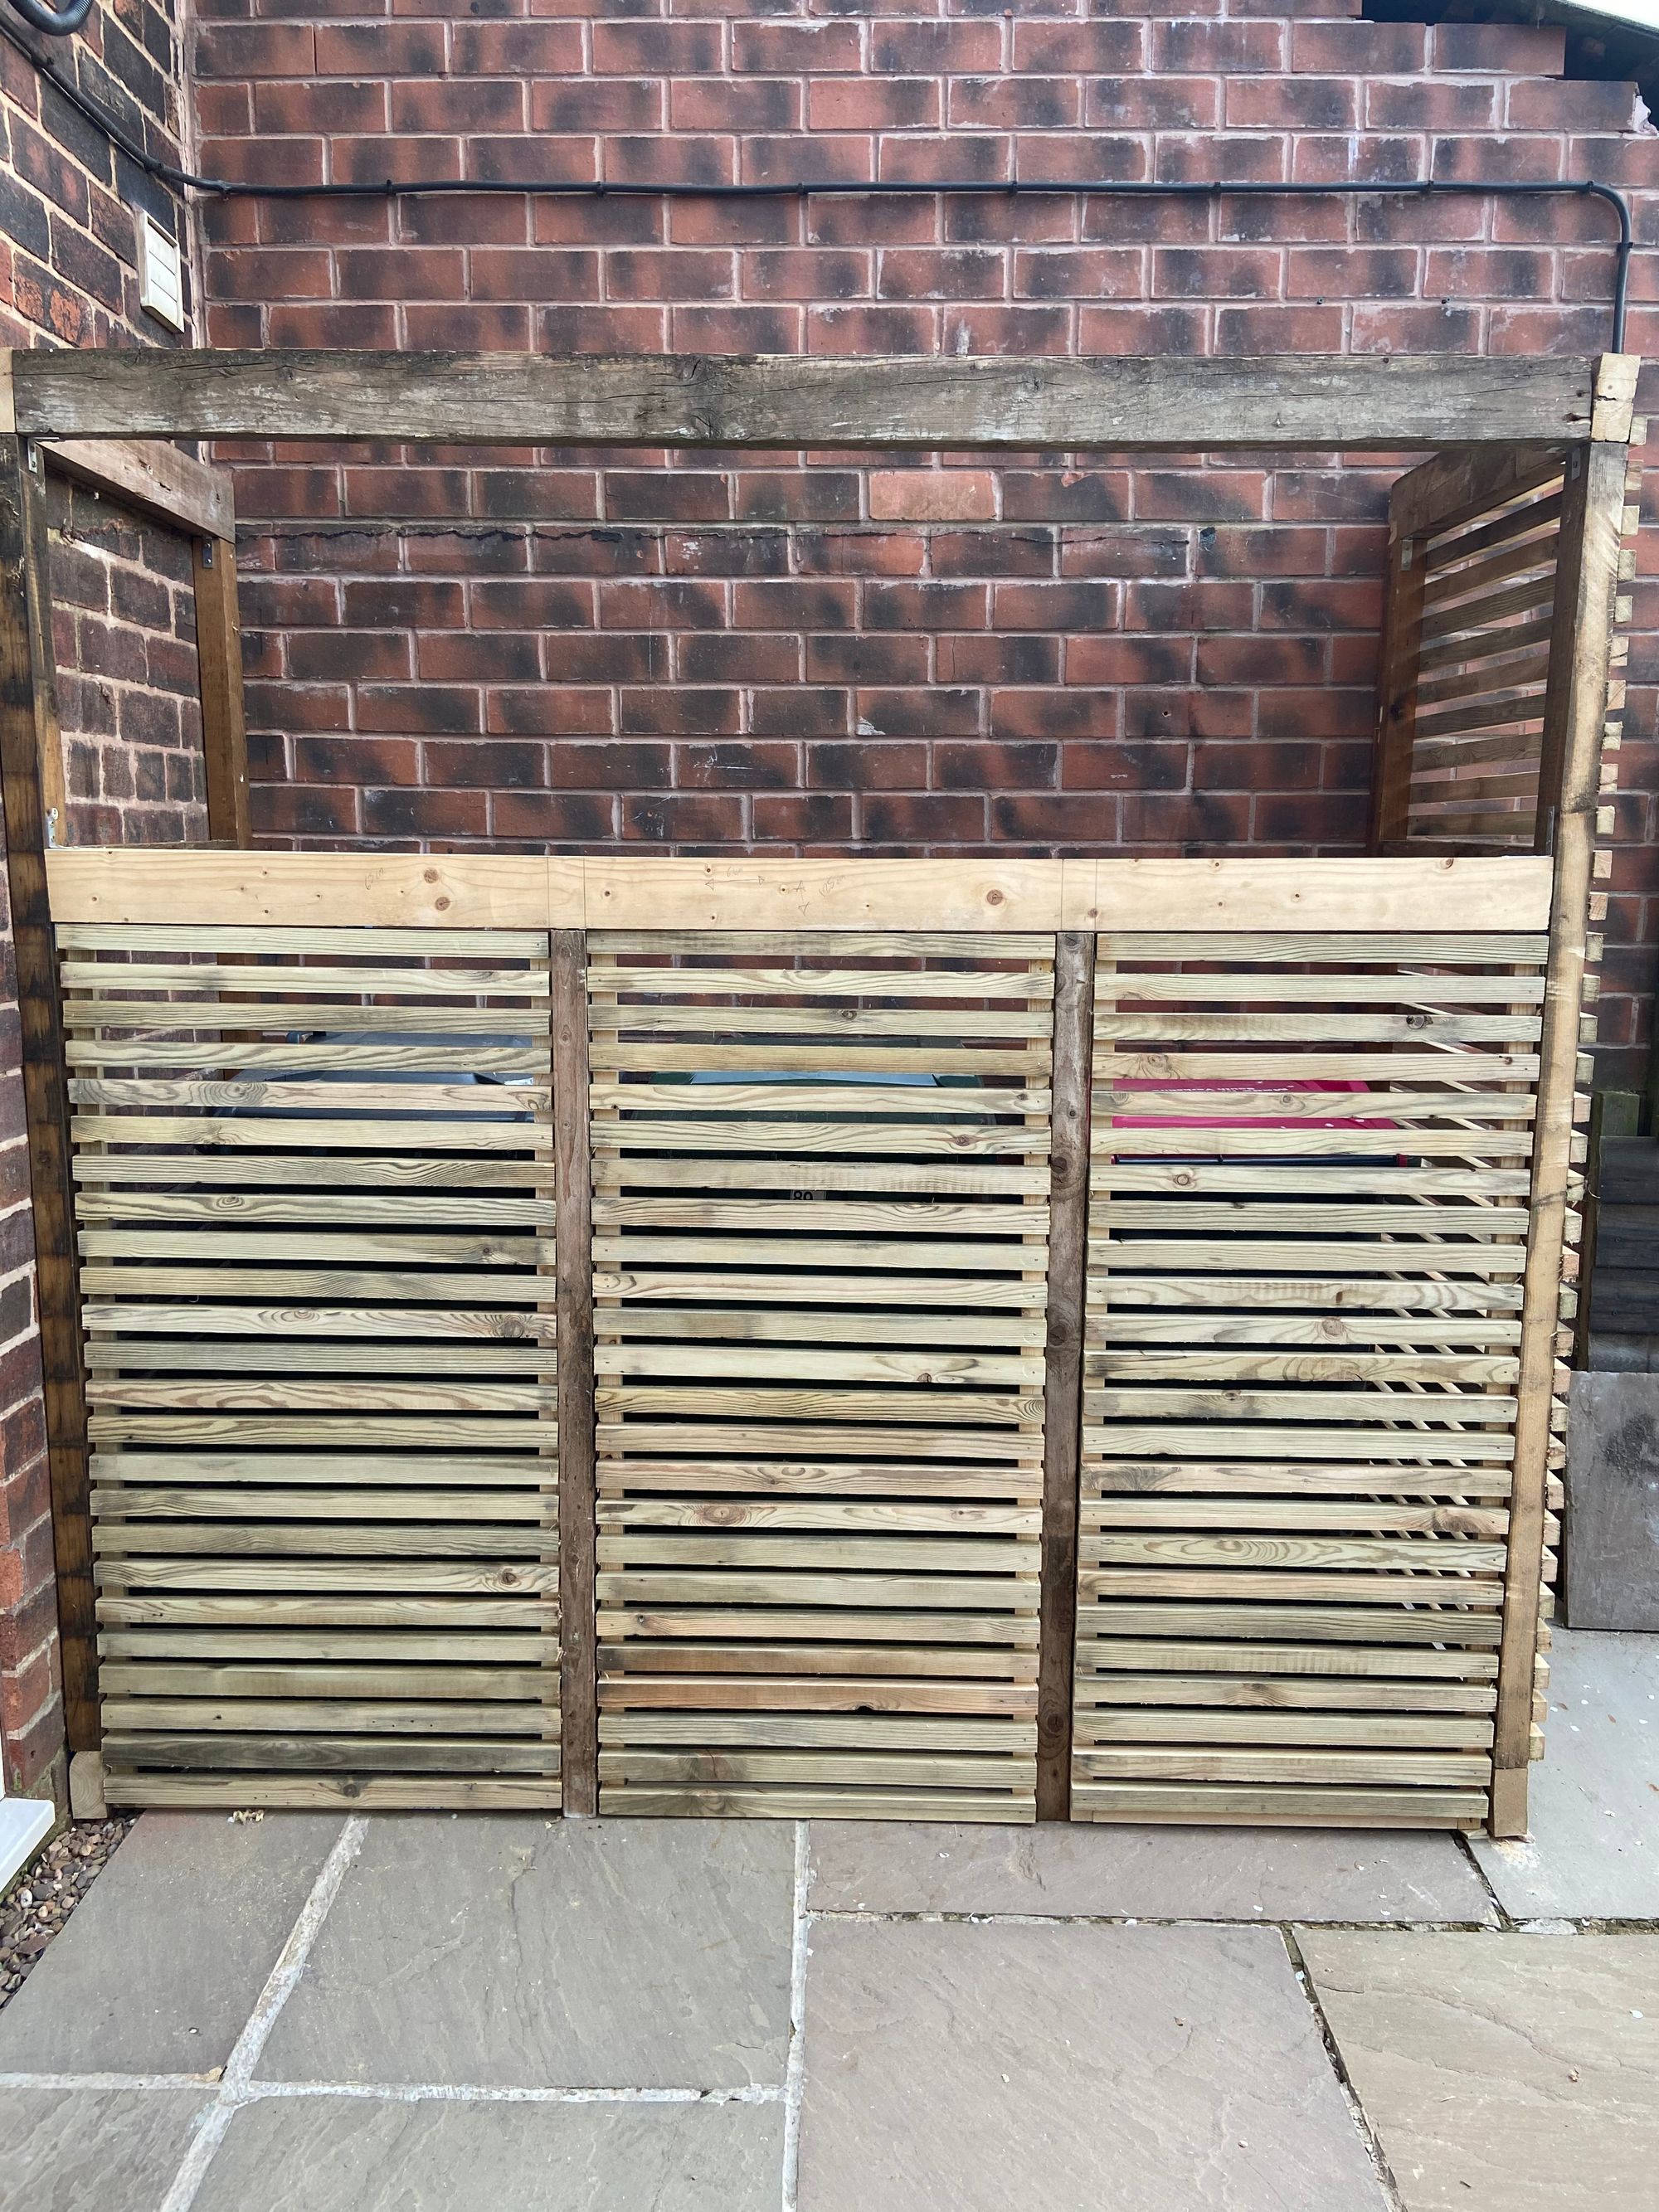
Now its starting to take shape, bye bye ugly bins. Now to make a roof.
We recycled yet again, some old fence panels. Sanded them, coated them in exterior varnish and overlapped them to create this wood tiled look.
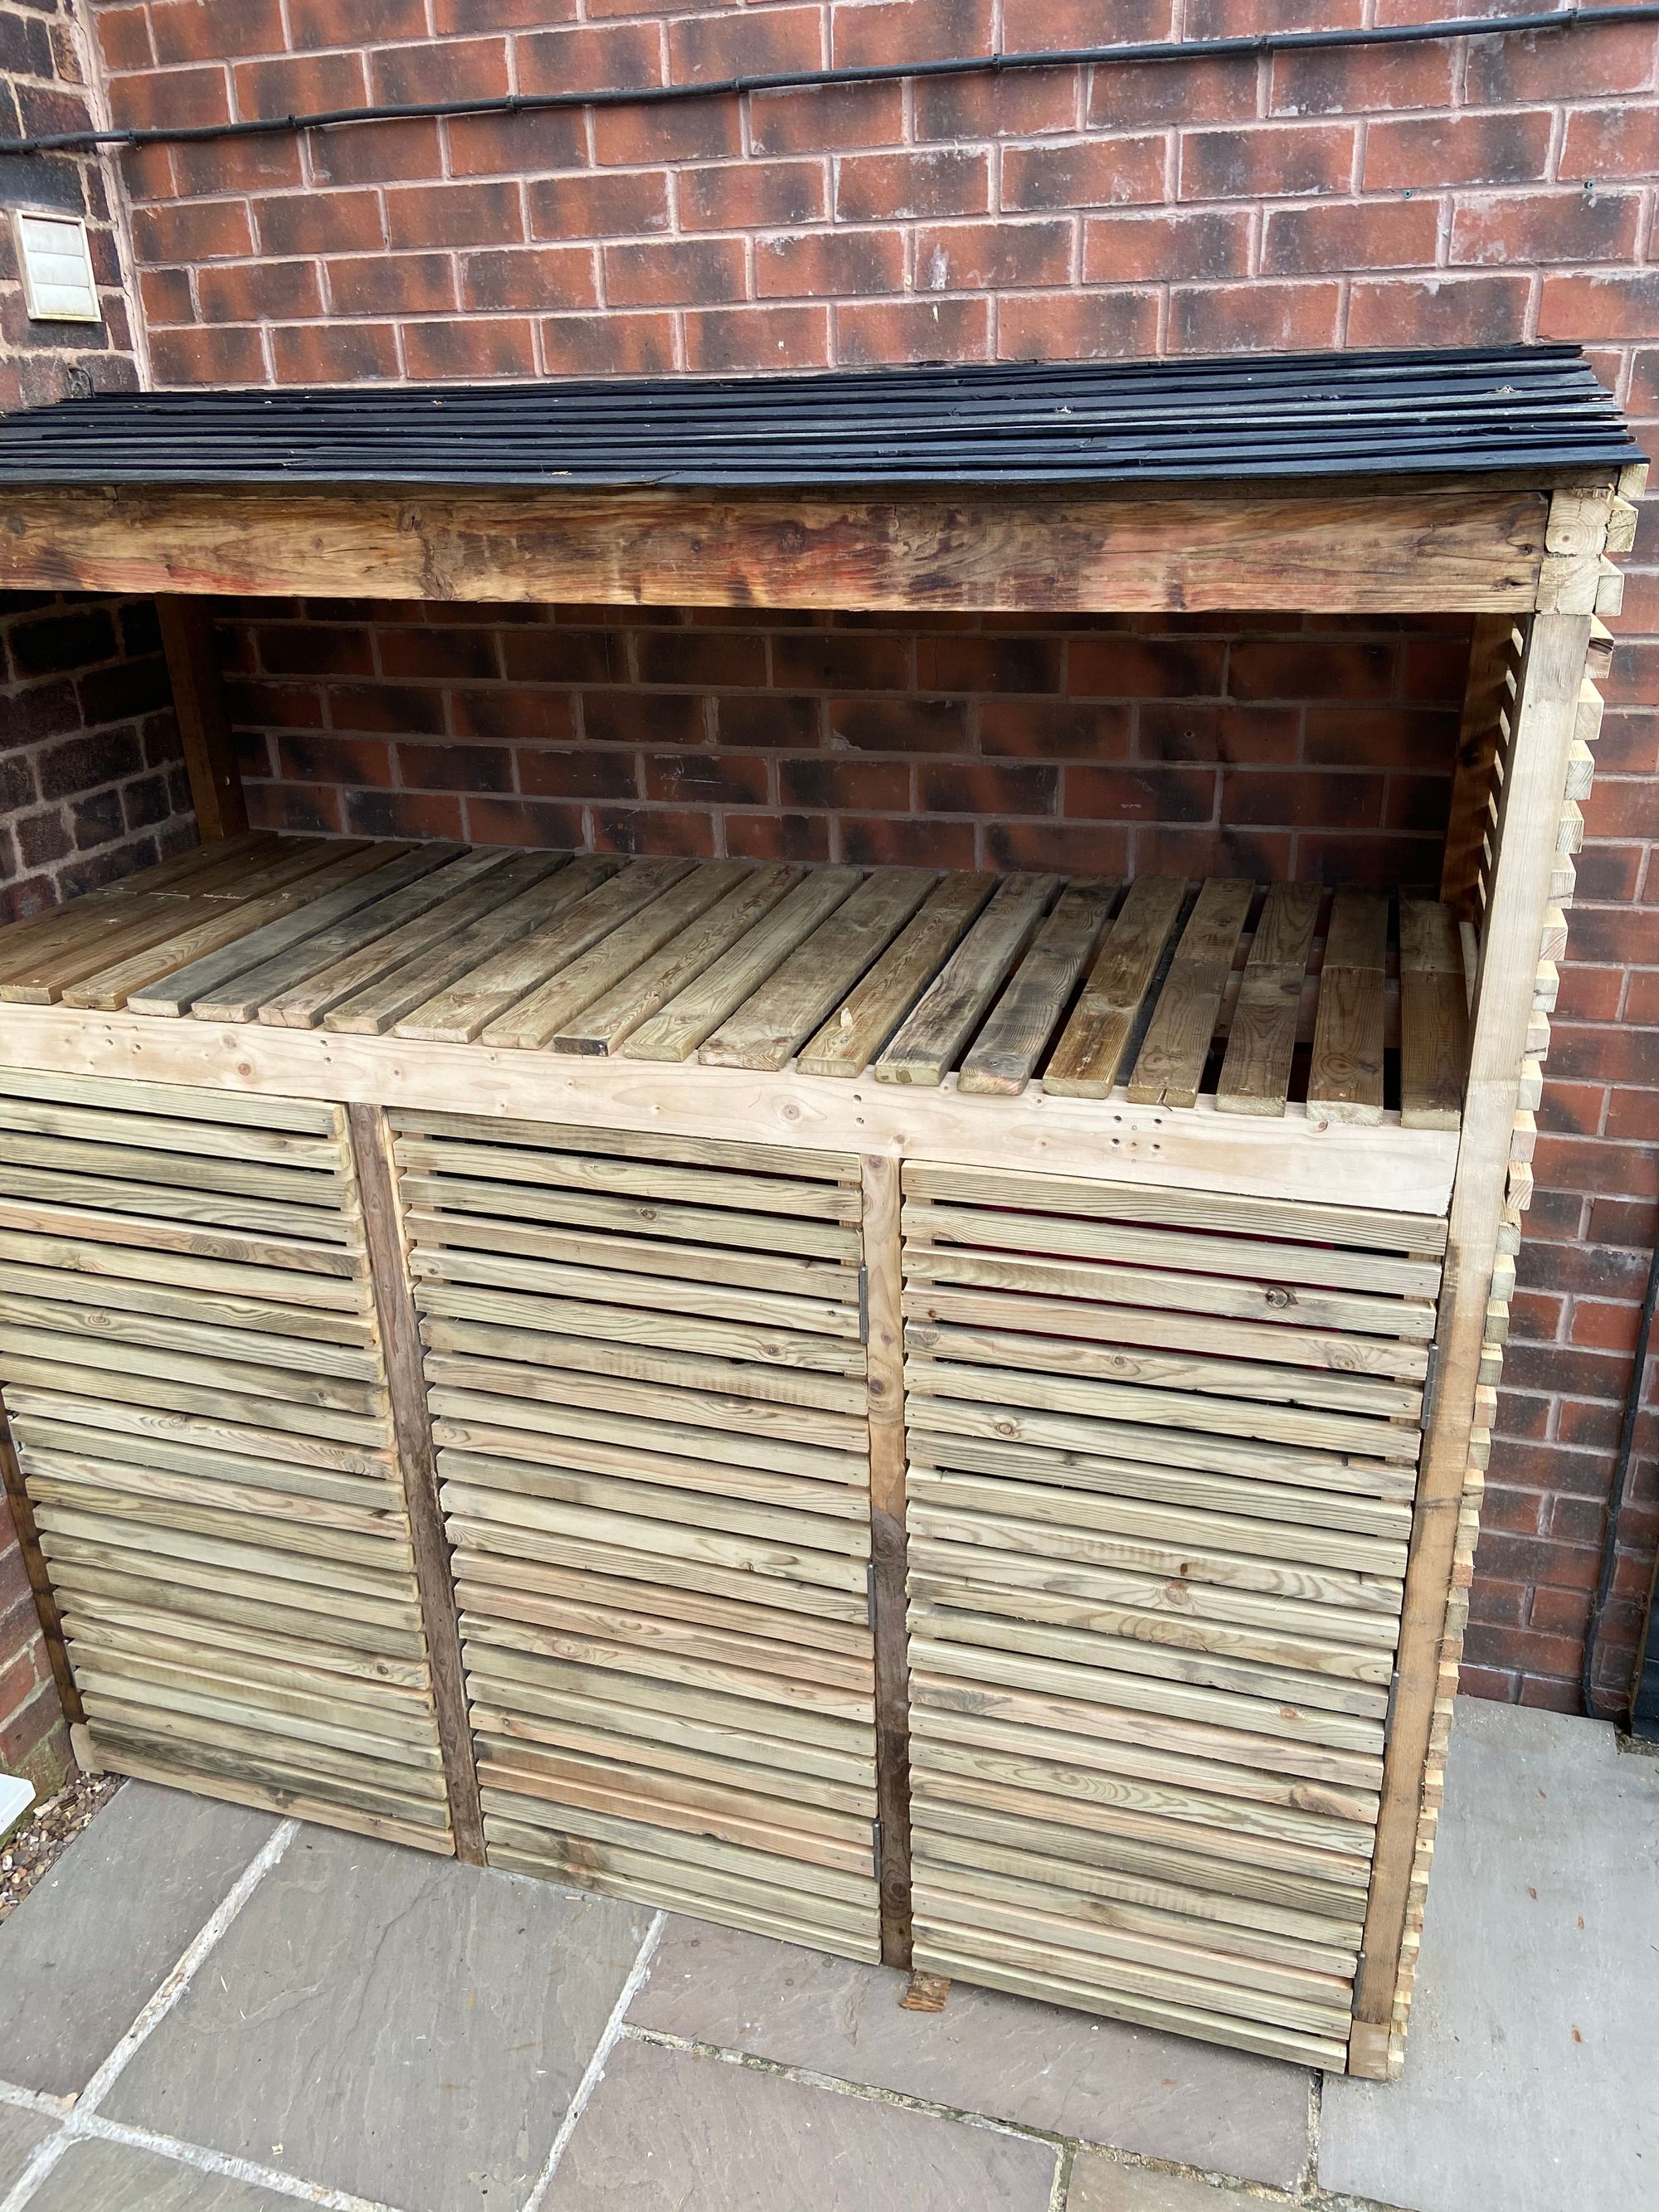
We then decided to paint it with black fence care. With the left over planks, we create a shelf for logs and kindle. Also we sanded all the front of the frame, so the timber was the same colour and sealed this with exterior varnish.
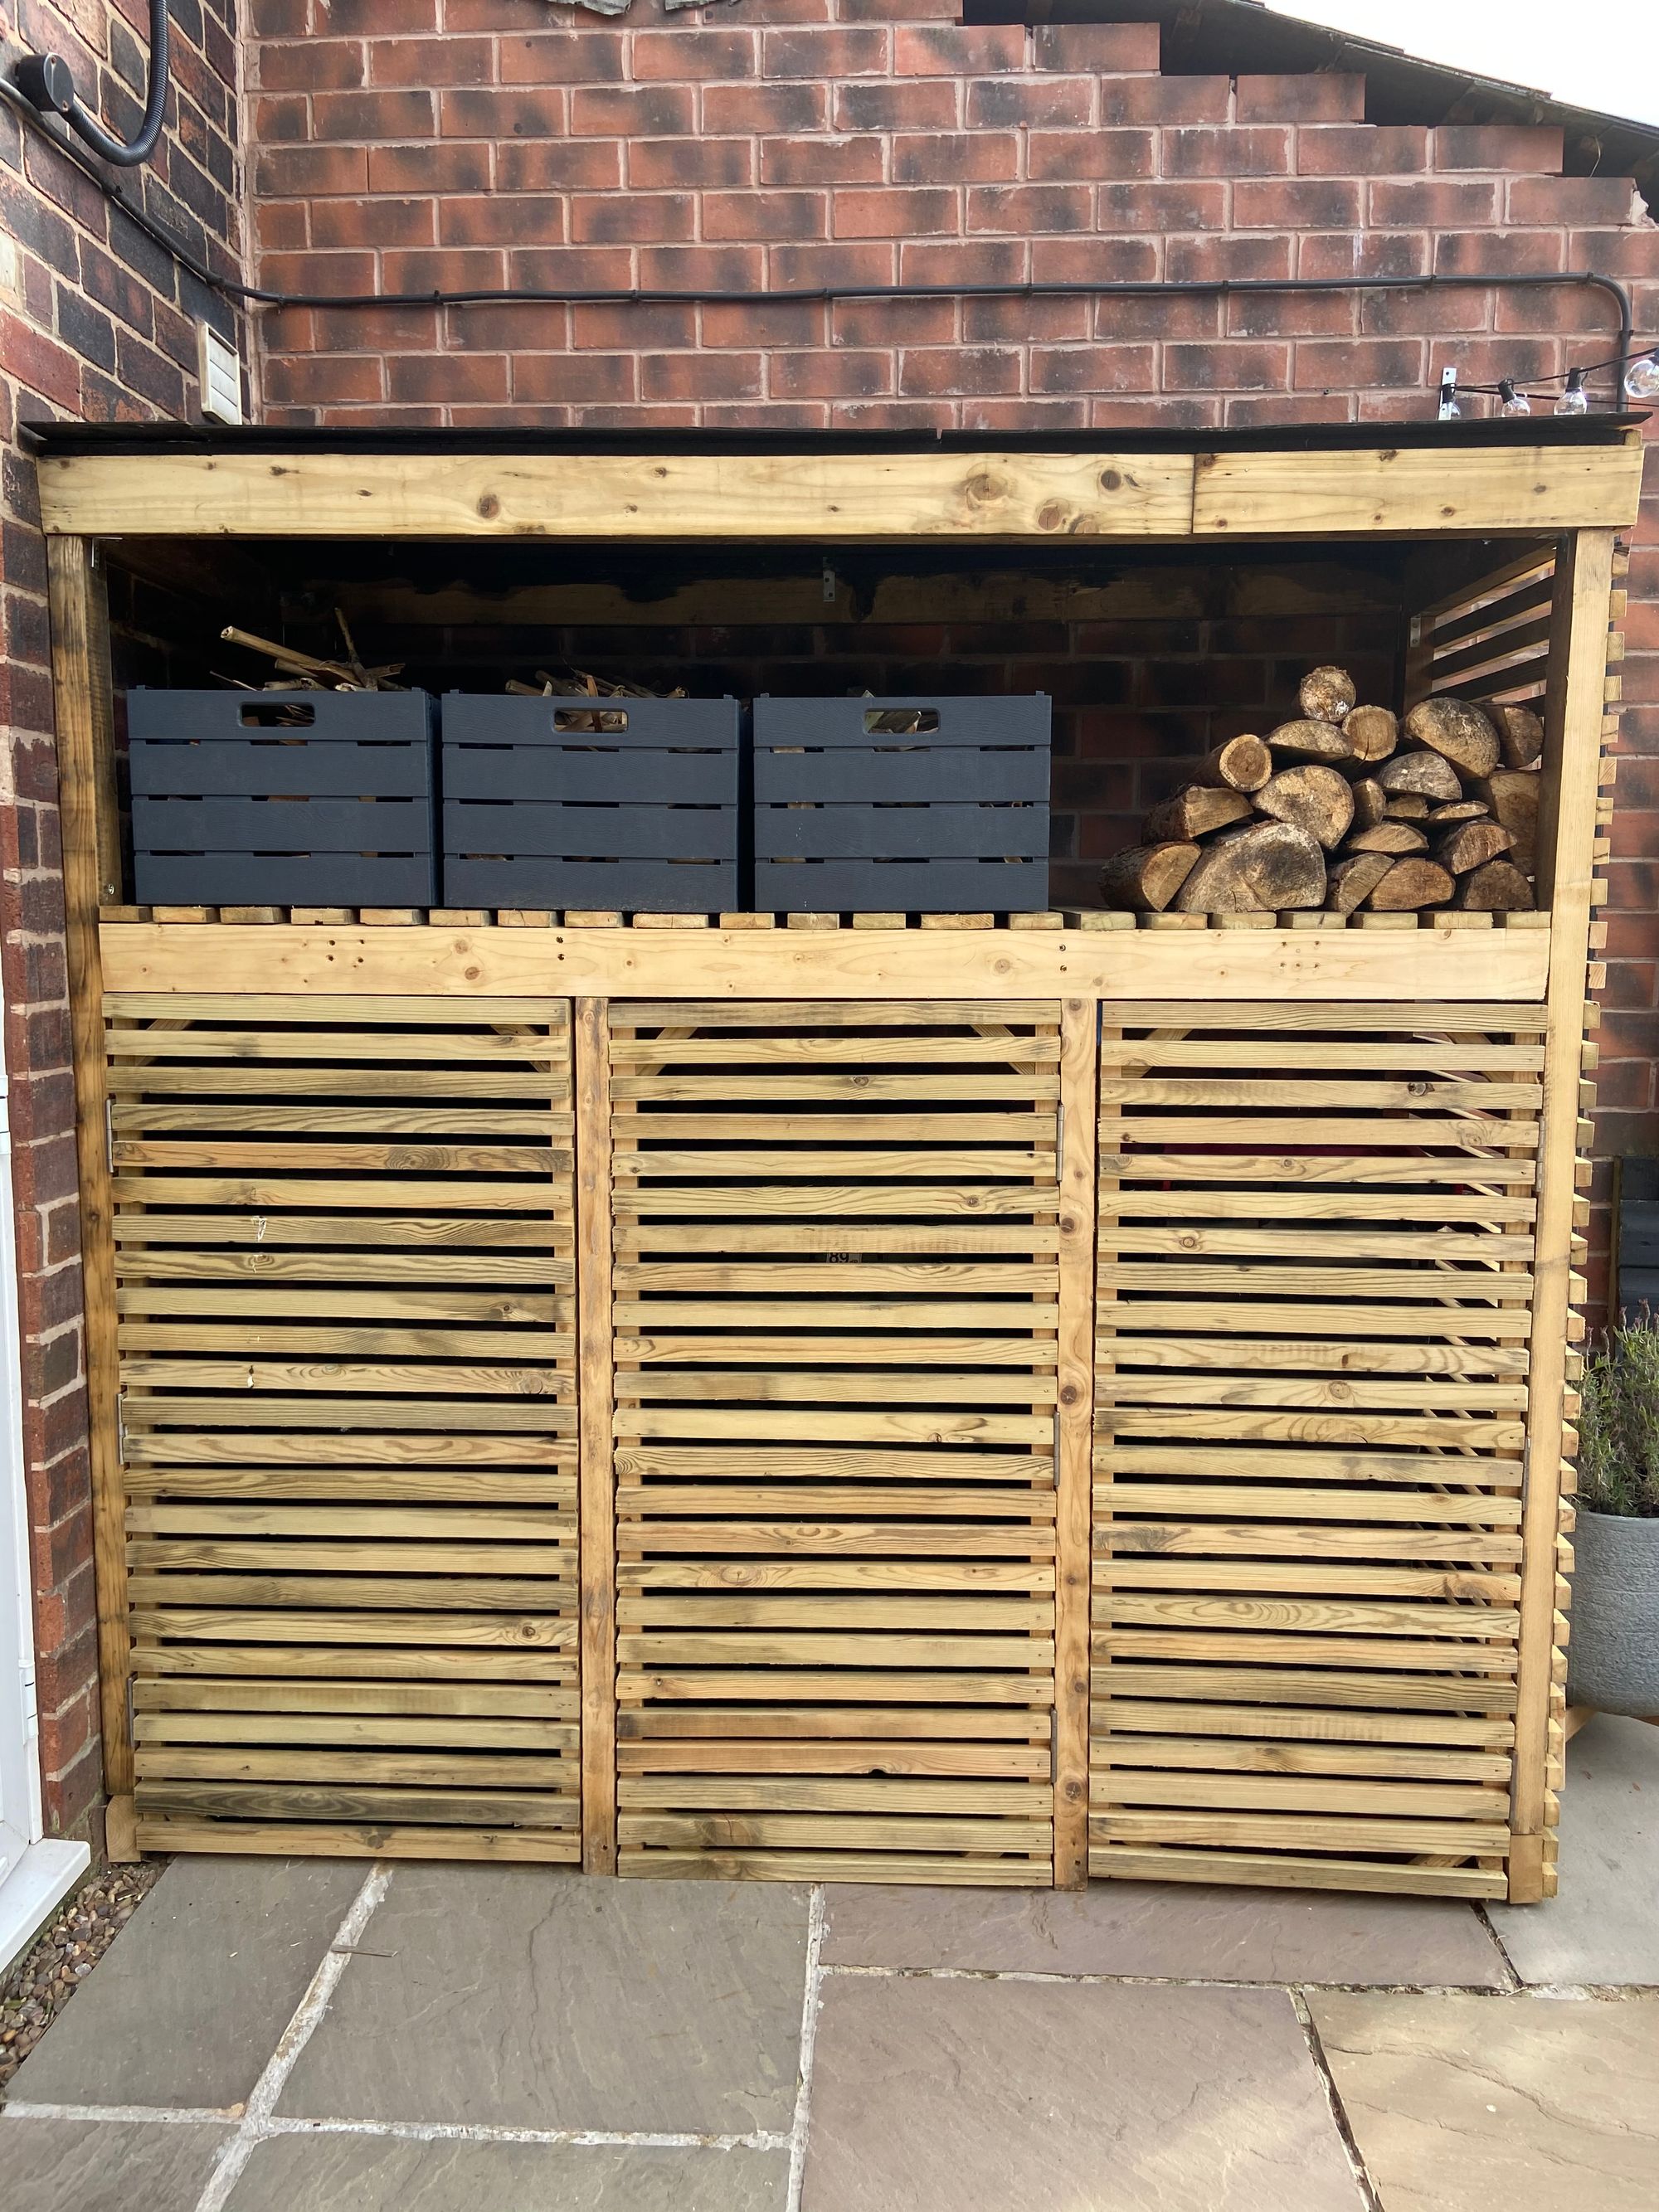
Here is the finished project. A multi purpose place for the bins and for storing logs for our log burners. See our previous posts for all our DIY garden projects. Thanks for reading.