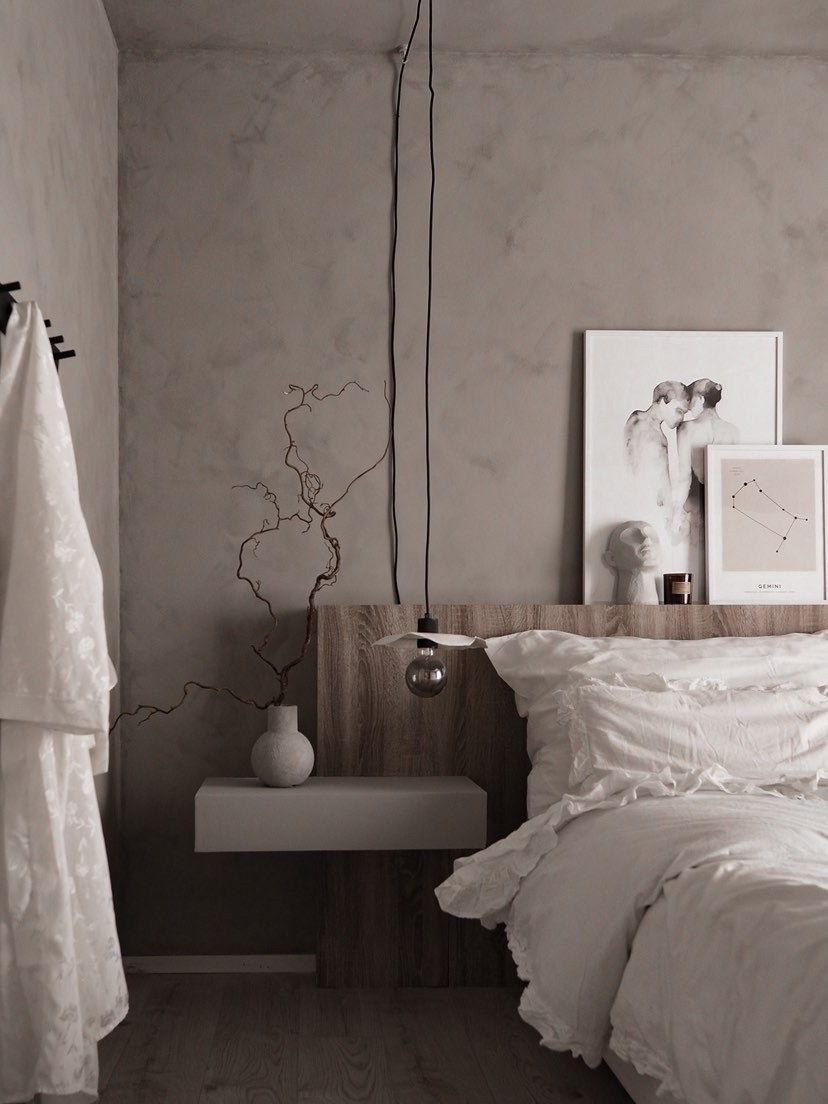
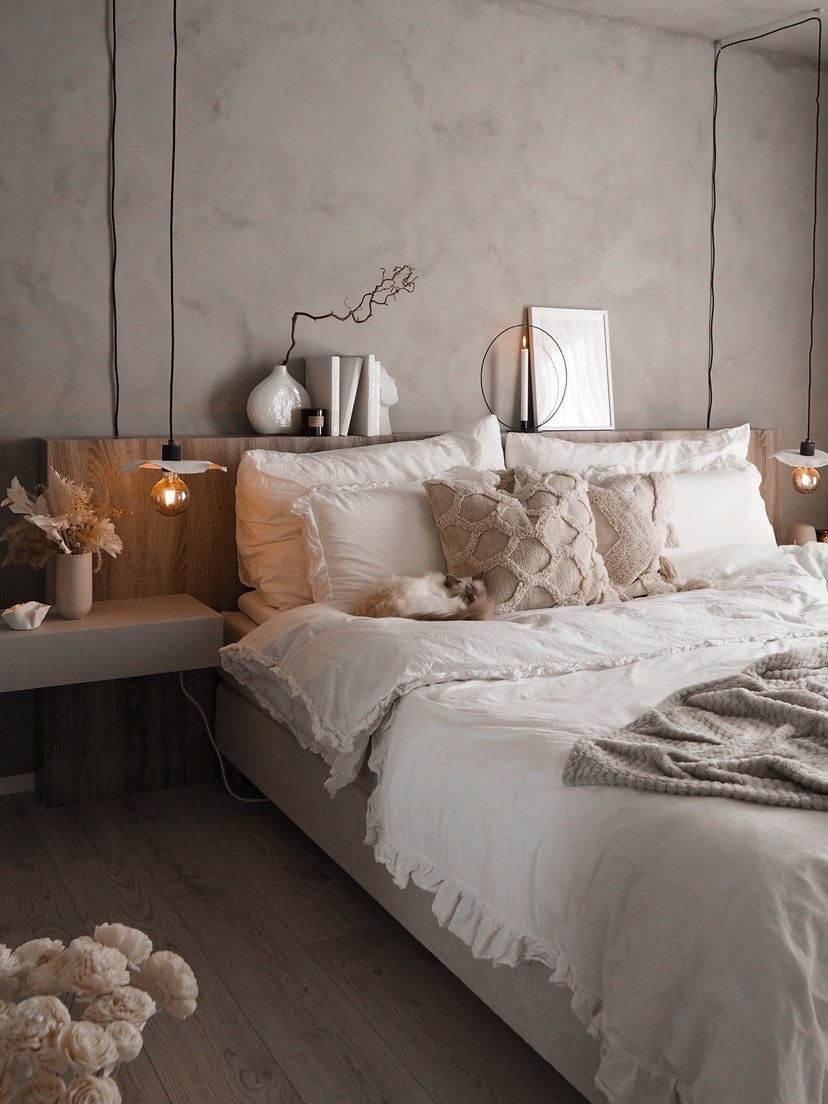
Are you looking to add a personalized touch to your bedroom without breaking the bank? A customized headboard is an excellent solution! In this blog post, we will guide you through the steps to create a DIY headboard that perfectly suits your style and budget.
Materials:
- 36x148 mm planks
- Screws
- Veneered chipboard
- Filler
- Sandpaper
- Paint
- Decorative foil
Frame
To create the frame of the headboard, use 36x148 mm planks. The frame should be 2.64 m in length and 0.97 m in height. The three vertical supports that hold up the frame should be spaced approximately 33 cm from the edges, with one in the middle. Don't forget to make holes in the top and the supports for any electrical outlets or wires. Secure the frame to the wall with angle brackets.
Surface
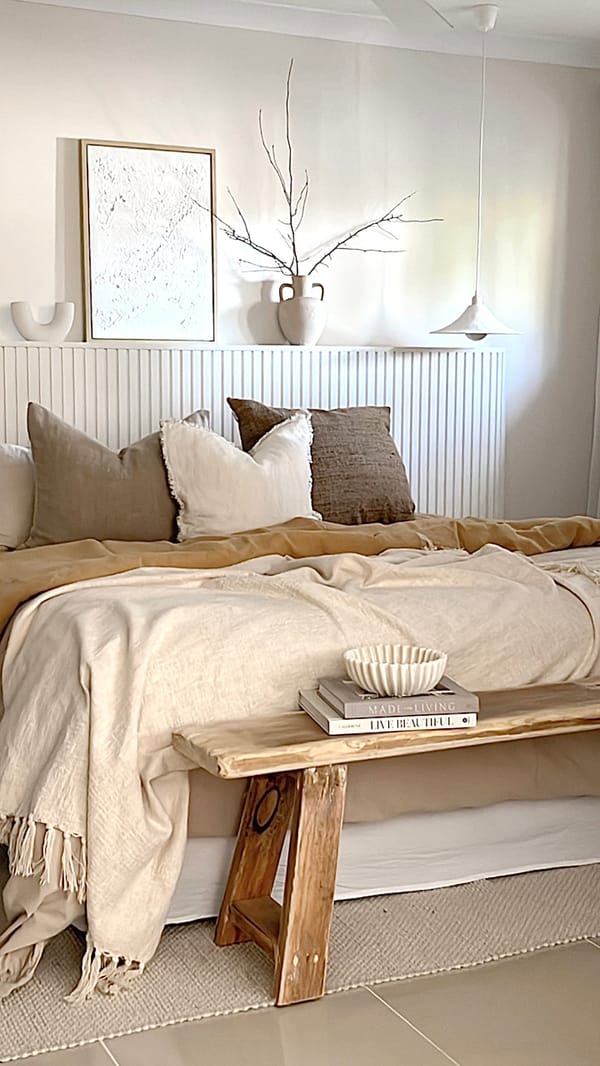
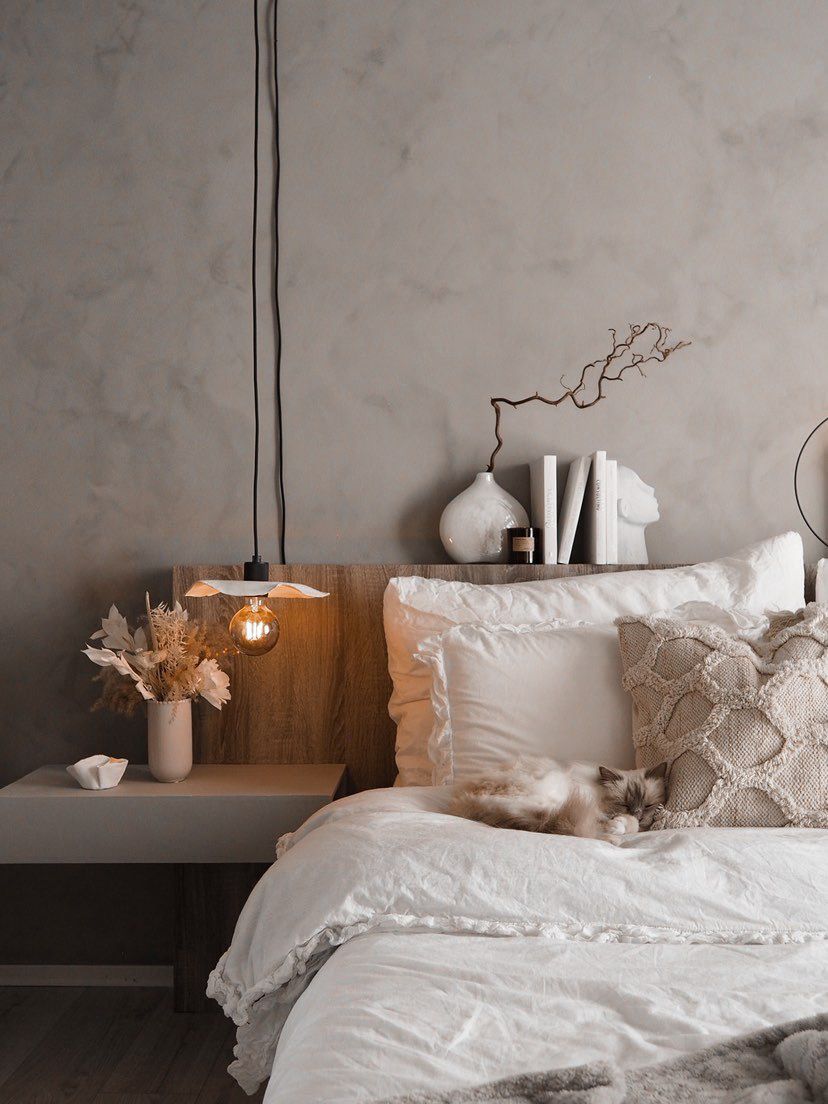
To create a smooth and finished look, cover the frame with veneered chipboard, screwed onto the frame and the supports. Remember to make holes in the chipboard for any electrical outlets. After the chipboard is securely attached, fill in any gaps with filler, sand it smooth, and paint it in the color of your choice. We recommend a neutral tone such as white, beige or grey.
Decoration
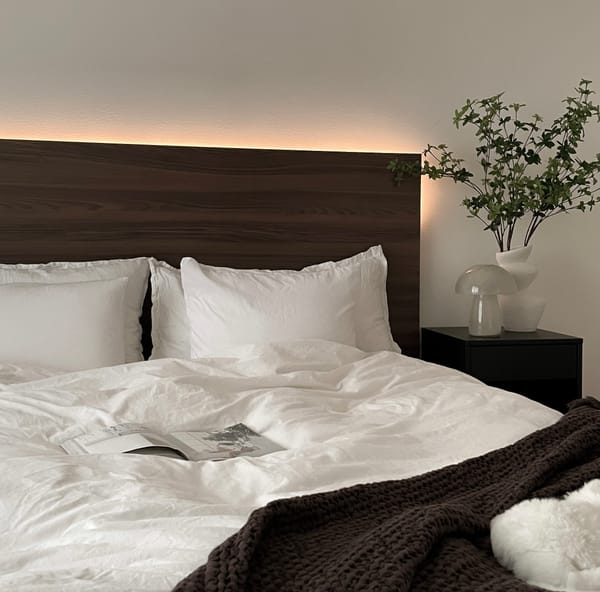
The final step is to add decorative foil to the headboard. We recommend using a high-quality decorative foil in a warm, earthy tone like "Sonoma Oak Truffle" from Lindas Dekor. This foil can be easily applied to the painted surface of the headboard, creating a textured, wood-like finish that adds warmth and character to your bedroom.
With these simple steps, you can create a beautiful and customized headboard that will make your bedroom feel cozy and inviting. Plus, since you made it yourself, you can be proud of your unique creation while enjoying a good night's sleep. Happy DIY-ing!
CREATOR: Henriette

Instagram: @henriettes.hjem