No space (or budget) to remove the upper cabinets in your kitchen? No problem! In this guide, we’ll show you how to easily convert your IKEA upper cabinet into a stylish open shelving unit. This budget-friendly DIY project is relatively simple to execute. Follow the step-by-step instructions below to give your kitchen a personal touch without breaking the bank.
Materials and Products Needed
- IKEA Upper Cabinet (existing or new)
- High-Quality Water-Based Primer
- Matte Lacquer Paint in the color NCS S 3005-Y20R (color-matched on Havstorp)
- HAVSTORP Fronts for the rest of the kitchen (optional, for a completely new look)
- Fine Grit Sandpaper
- Wood Filler
- Paint Brushes and Rollers
- Screwdriver or Drill
Step-by-Step Guide
Step 1: Remove the Doors
- Remove the Doors: Start by removing the doors from your upper cabinet using a screwdriver or drill. Keep the screws and hinges if you plan to reuse them elsewhere.
- Fill the Holes: Use wood filler to fill in the holes left by the hinges. Allow the filler to dry completely according to the manufacturer’s instructions.
- Sand Smooth: Once the filler is dry, sand the filled holes and the entire surface of the cabinet to ensure everything is smooth and even. Start with medium-grit sandpaper and finish with fine-grit for a smooth finish.
Step 2: Prime and Paint
- Apply Primer: Apply a coat of high-quality water-based primer to the shelves and side panels of the cabinet. This will help the paint adhere better and ensure a longer-lasting finish. Allow the primer to dry completely.
- First Coat of Paint: Apply the first coat of matte lacquer paint in the color NCS S 3005-Y20R. Use a paintbrush for the edges and a roller for larger surfaces to achieve a smooth finish. Let it dry thoroughly.
- Second Coat of Paint: Once the first coat is dry, apply a second coat of the same paint. This ensures even coverage and a professional look. Allow the second coat to dry completely.
Step 3: Optional – Change the Fronts
- New Fronts: For a completely new look, consider changing the fronts of your cabinet. The HAVSTORP fronts from IKEA are a great option. Follow the instructions included with the fronts to install them properly.
- Handle Installation: If you opted for new fronts, you might also want to install new handles or knobs to match the new style. This is a simple way to enhance the overall look.
Project Cost and Difficulty
- Cost:
- Only open shelving: Approximately €100
- Including new fronts and handles: Approximately €500
- Difficulty: 2/5 – This project is relatively simple and suitable for beginners with basic DIY skills.
Final Thoughts
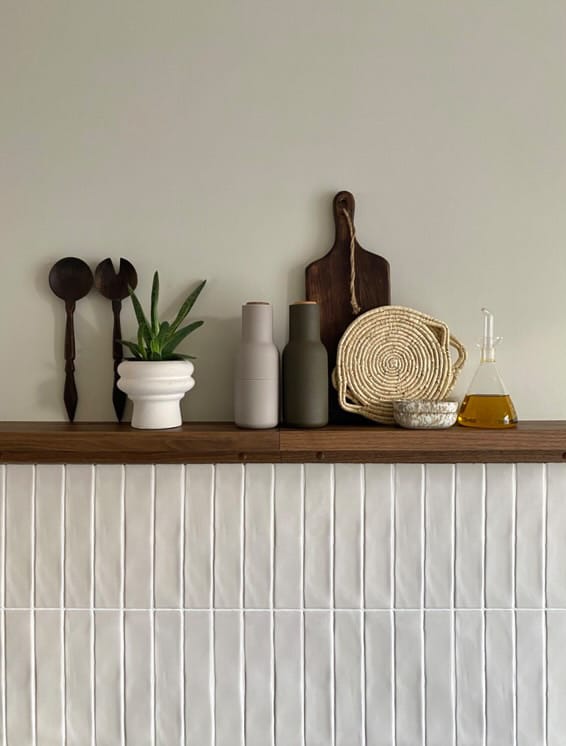
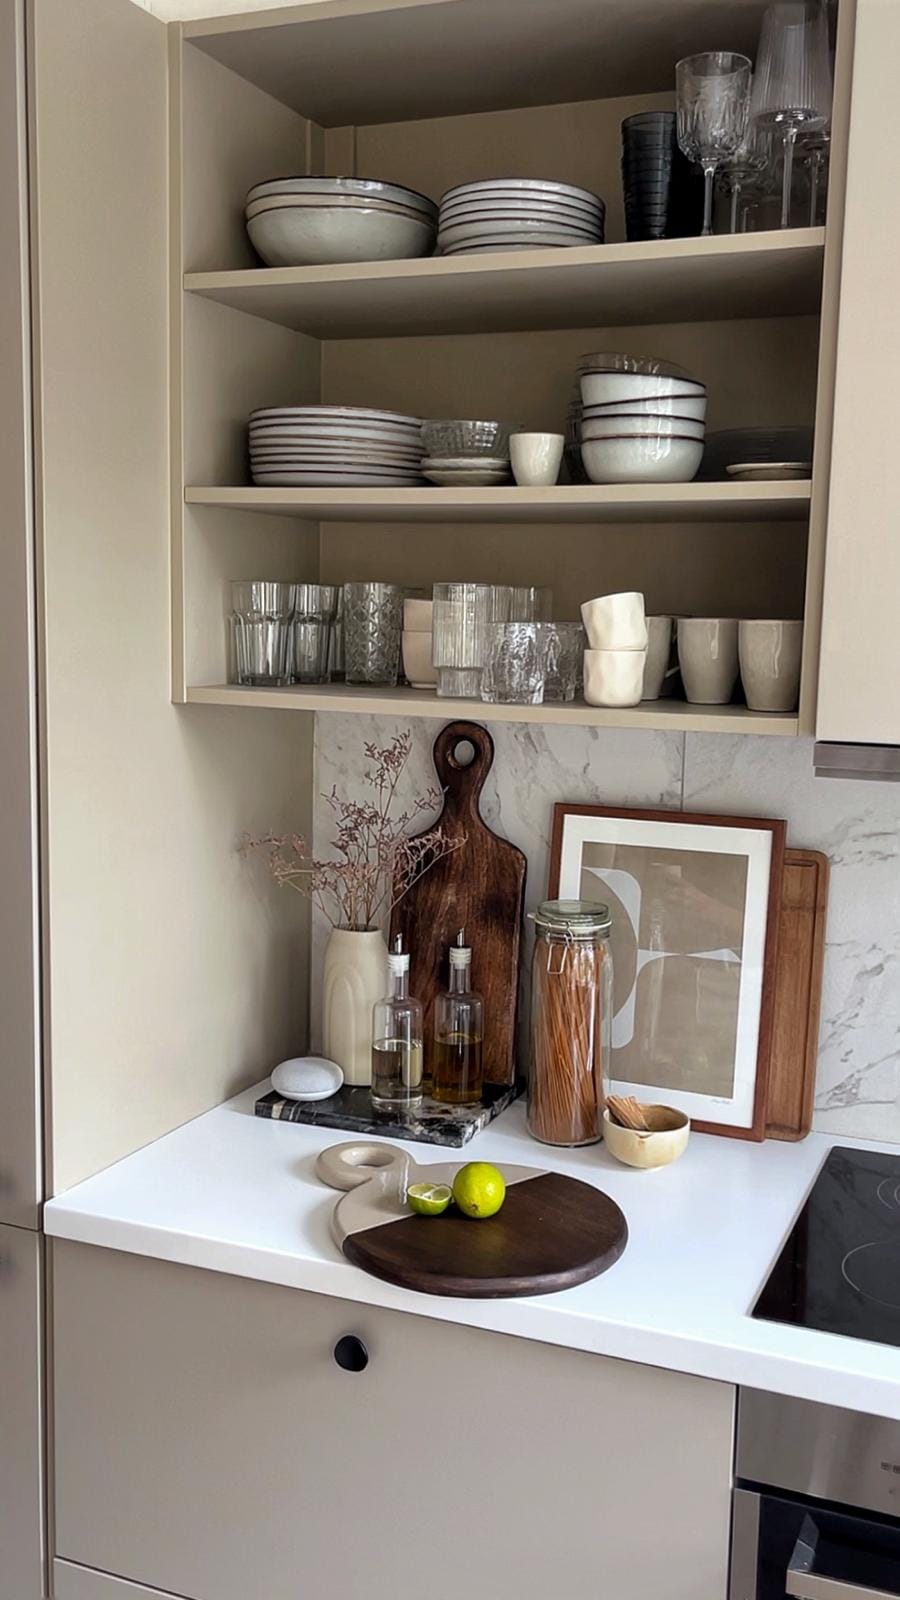
This IKEA hack is a fantastic way to update your kitchen without a major renovation. By converting your upper cabinet into open shelving, you can create a more open and airy feel in your kitchen. Plus, it's a great opportunity to showcase your favorite dishes or kitchen decor.
With these steps, you'll have a beautiful, custom open shelving unit that adds personality and functionality to your kitchen. Happy DIYing!
Creator: Robin
Instagram: @homeofrobin
Tiktok: @homeofrobin