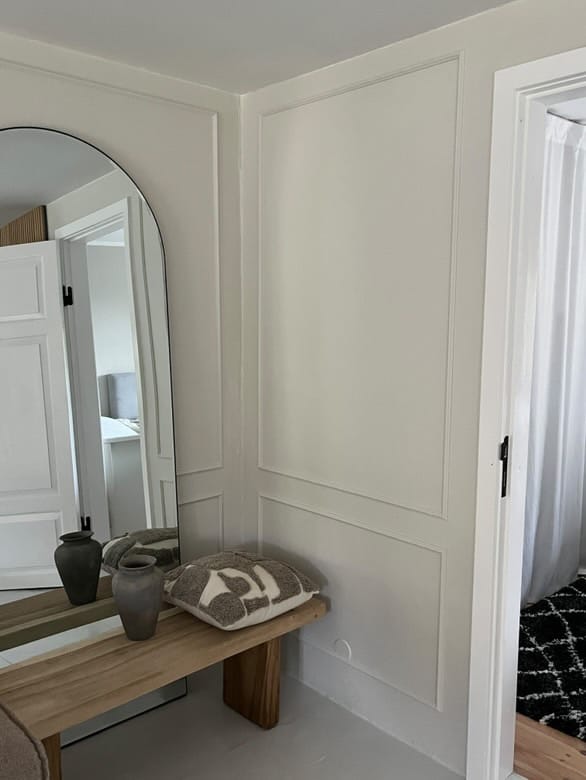
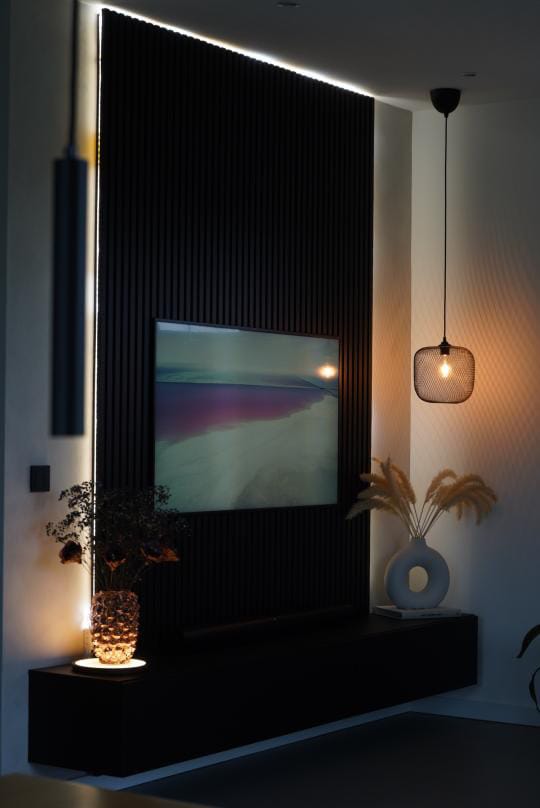
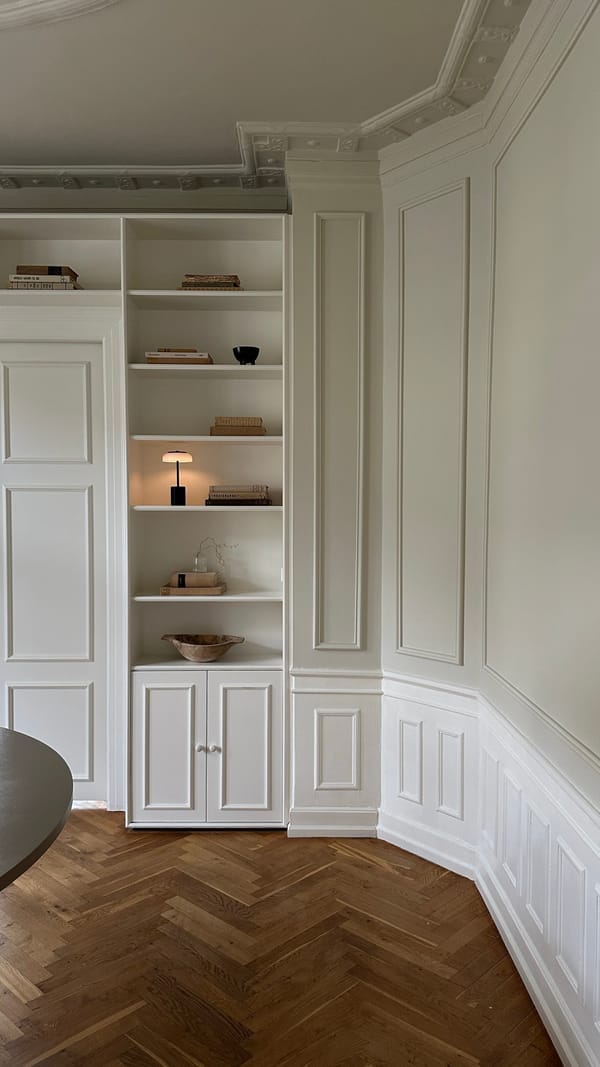
Are you looking to add a touch of elegance and sophistication to your home? Wall panels are a fantastic way to achieve a chic and modern look. In this guide, I’ll walk you through the process of installing wall panels to create a stunning accent wall. Let’s dive in!
Materials and Products You Need:
- A laser or a thumbstick for precise measurement
- A pen for marking
- Scissors designed for cutting panels
- Panels (I used the "Almue" style)
- Glue specifically for wall panels
- Grout for smoothing out gaps
- Paint (I chose Dyrup’s "Singing Sand")
Step-by-Step Guide:
Step 1: Measure and Mark
First, use a laser to measure and draw on the wall where the panels will be placed. I follow my “10 cm rule,” ensuring there are 10 cm between the end wall and the panels, as well as 10 cm between each square. This spacing creates a balanced and visually appealing look.
Step 2: Purchase and Cut Panels
Head to your local hardware store to buy the wall panels. I recommend the "Almue" style for its elegant finish. Cut the panels to the correct size at the store to minimize waste and only pay for what you need.
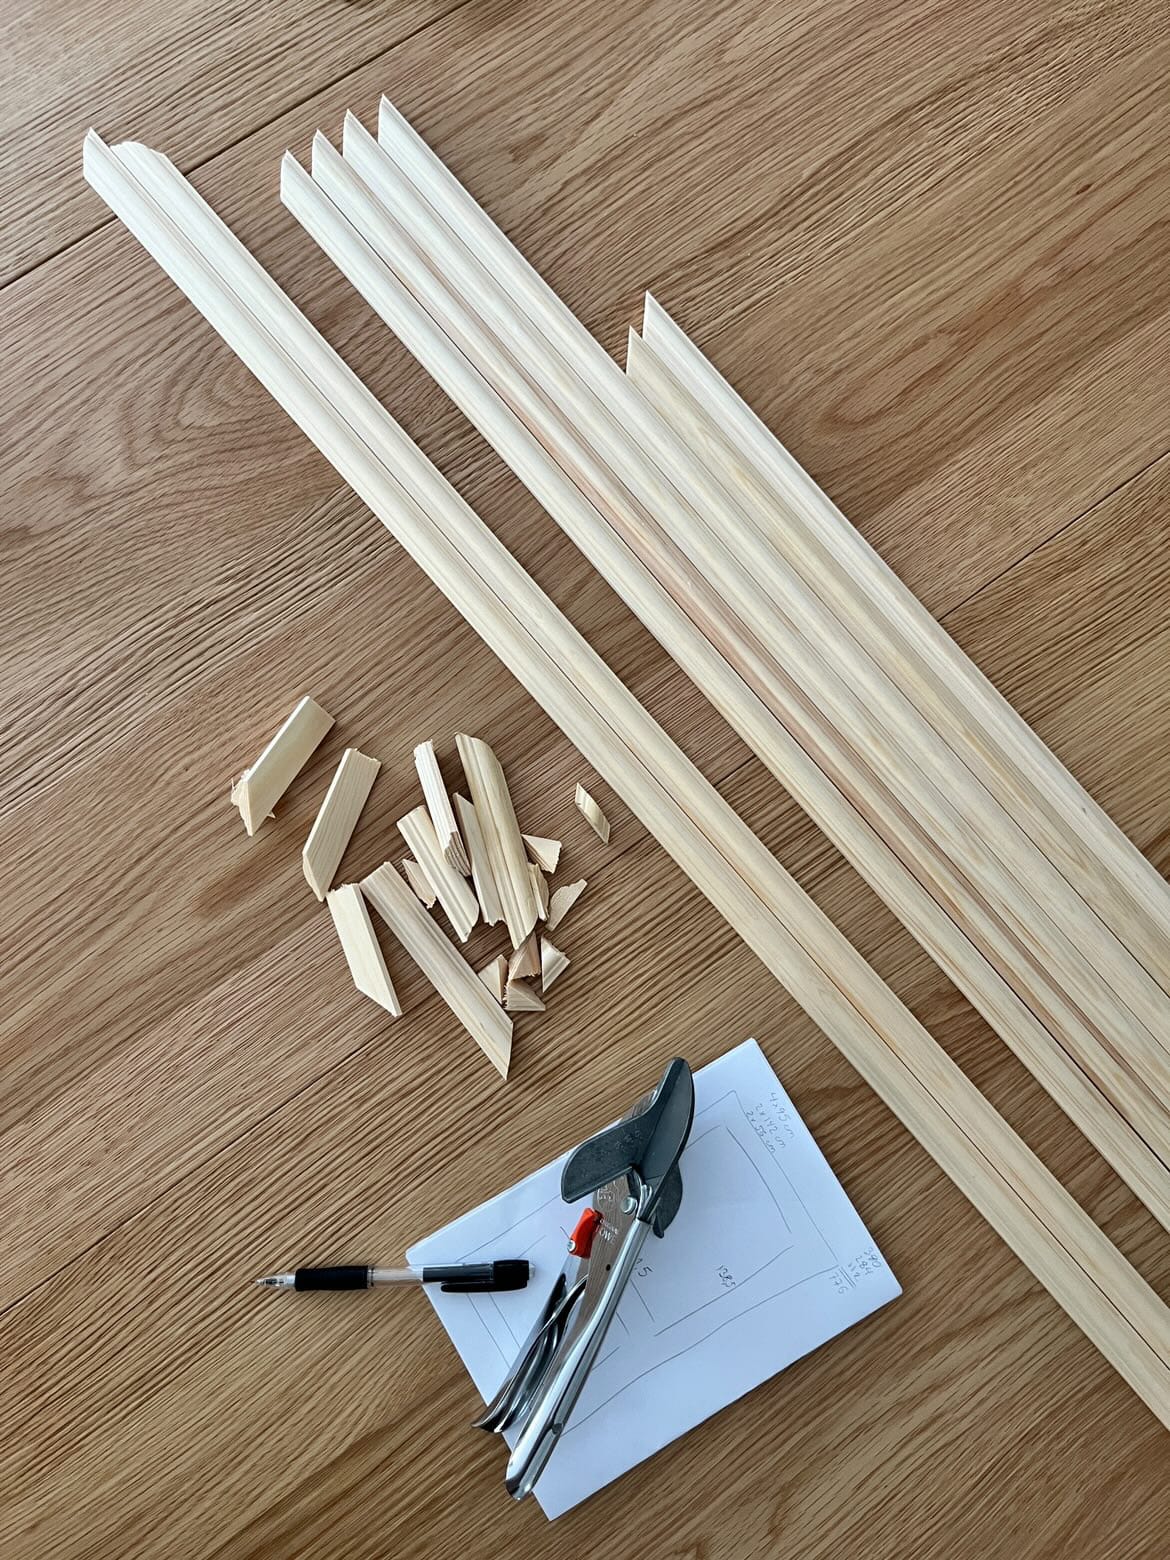
Step 3: Apply Glue and Install Panels
Use glue made specifically for wall panels. Apply the glue to the back of the panels right before placing them on the wall to ensure a strong bond.
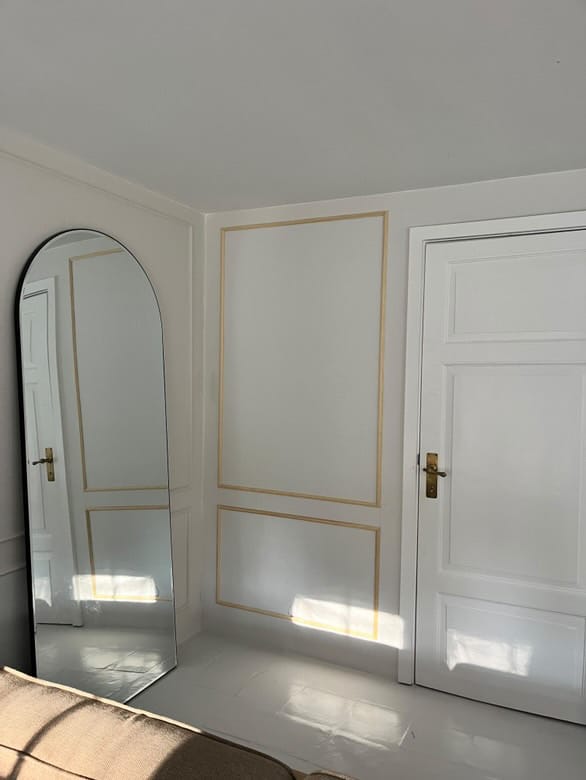
Step 4: Grout the Gaps
Once the panels are dry, use grout to fill in any holes and smooth out uneven areas. This step ensures a seamless and polished finish.
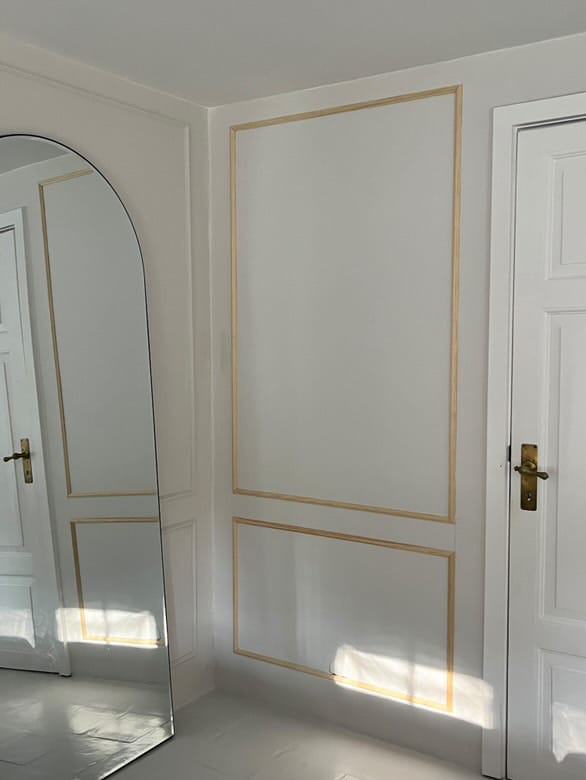
Step 5: Paint
After the grout has dried, it’s time to paint! I applied two layers of paint from Dyrup in the color "Singing Sand." This soft, warm hue adds a touch of sophistication to the space.
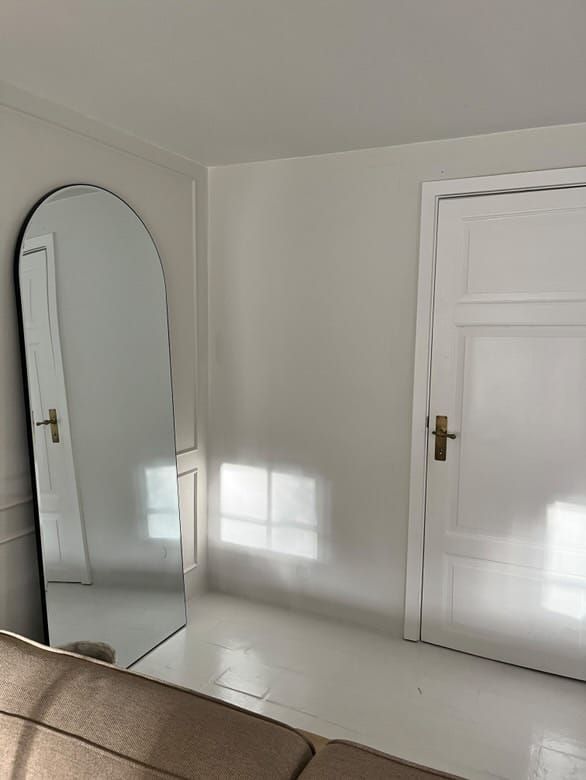
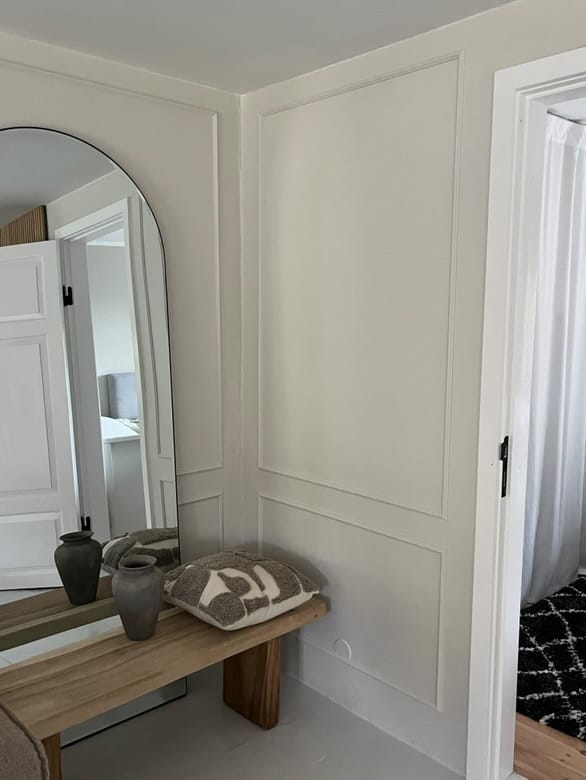
Before & After
Tips for Success:
- Cutting Panels: Use scissors designed for cutting panels to achieve clean, precise edges.
- 10 cm Rule: Maintain a 10 cm gap between the end wall and the panels, and between each square for a harmonious look.
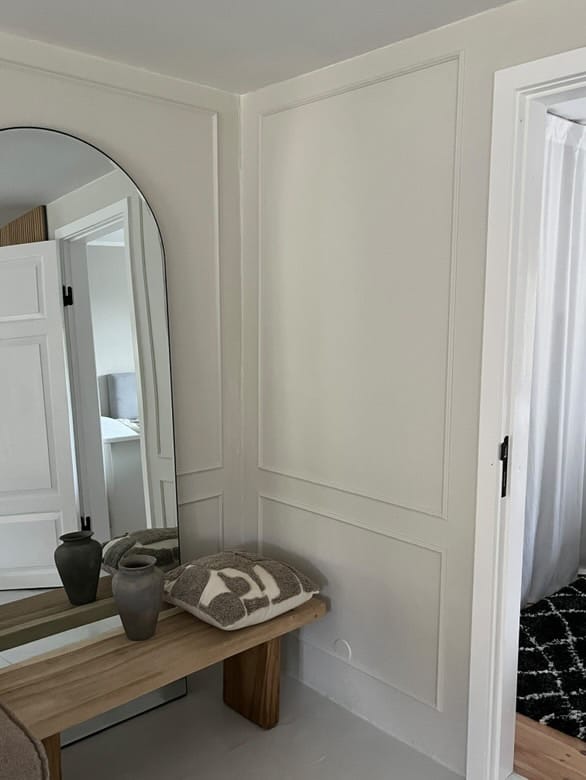
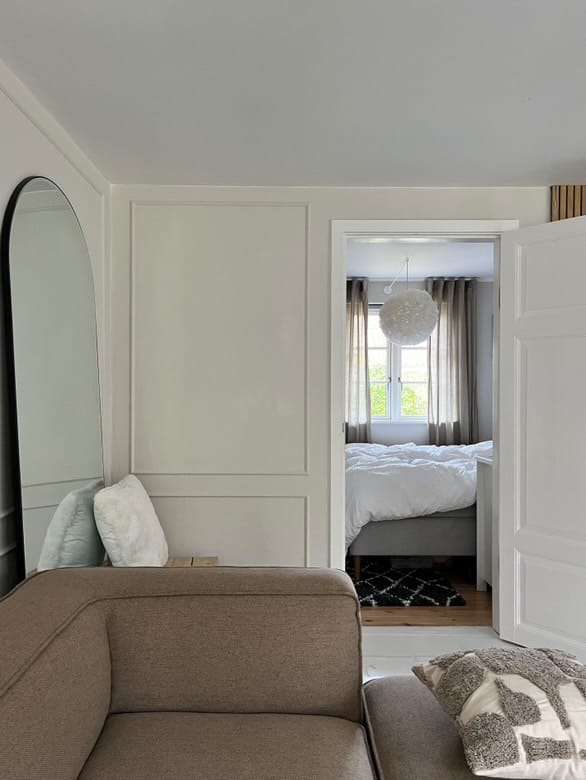
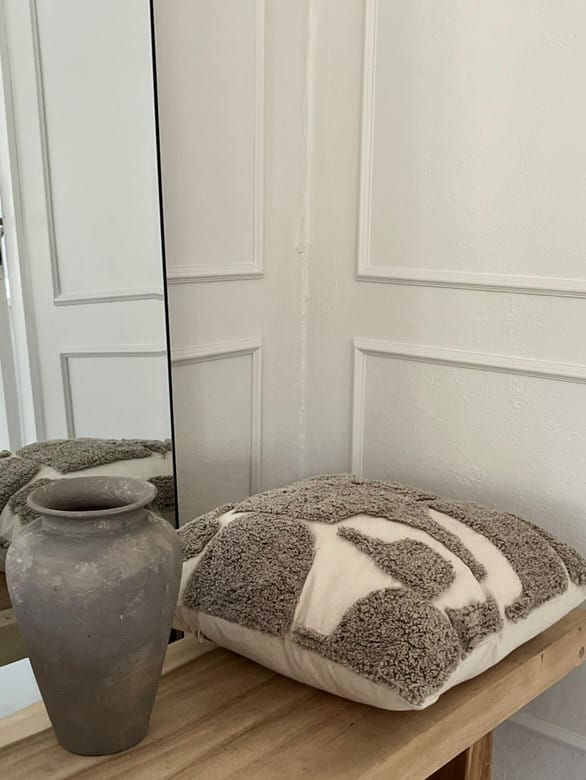
By following these steps, you can transform any room into a stylish and inviting space. Don’t be afraid to get creative and make the design your own.
Happy decorating!
Creator: Nikita
Instagram: @millas_bolighack


