
My kitchen was in dire need of a refresh. I decided to give it a modern update without breaking the bank, using special paint, wooden panels, and polished concrete.
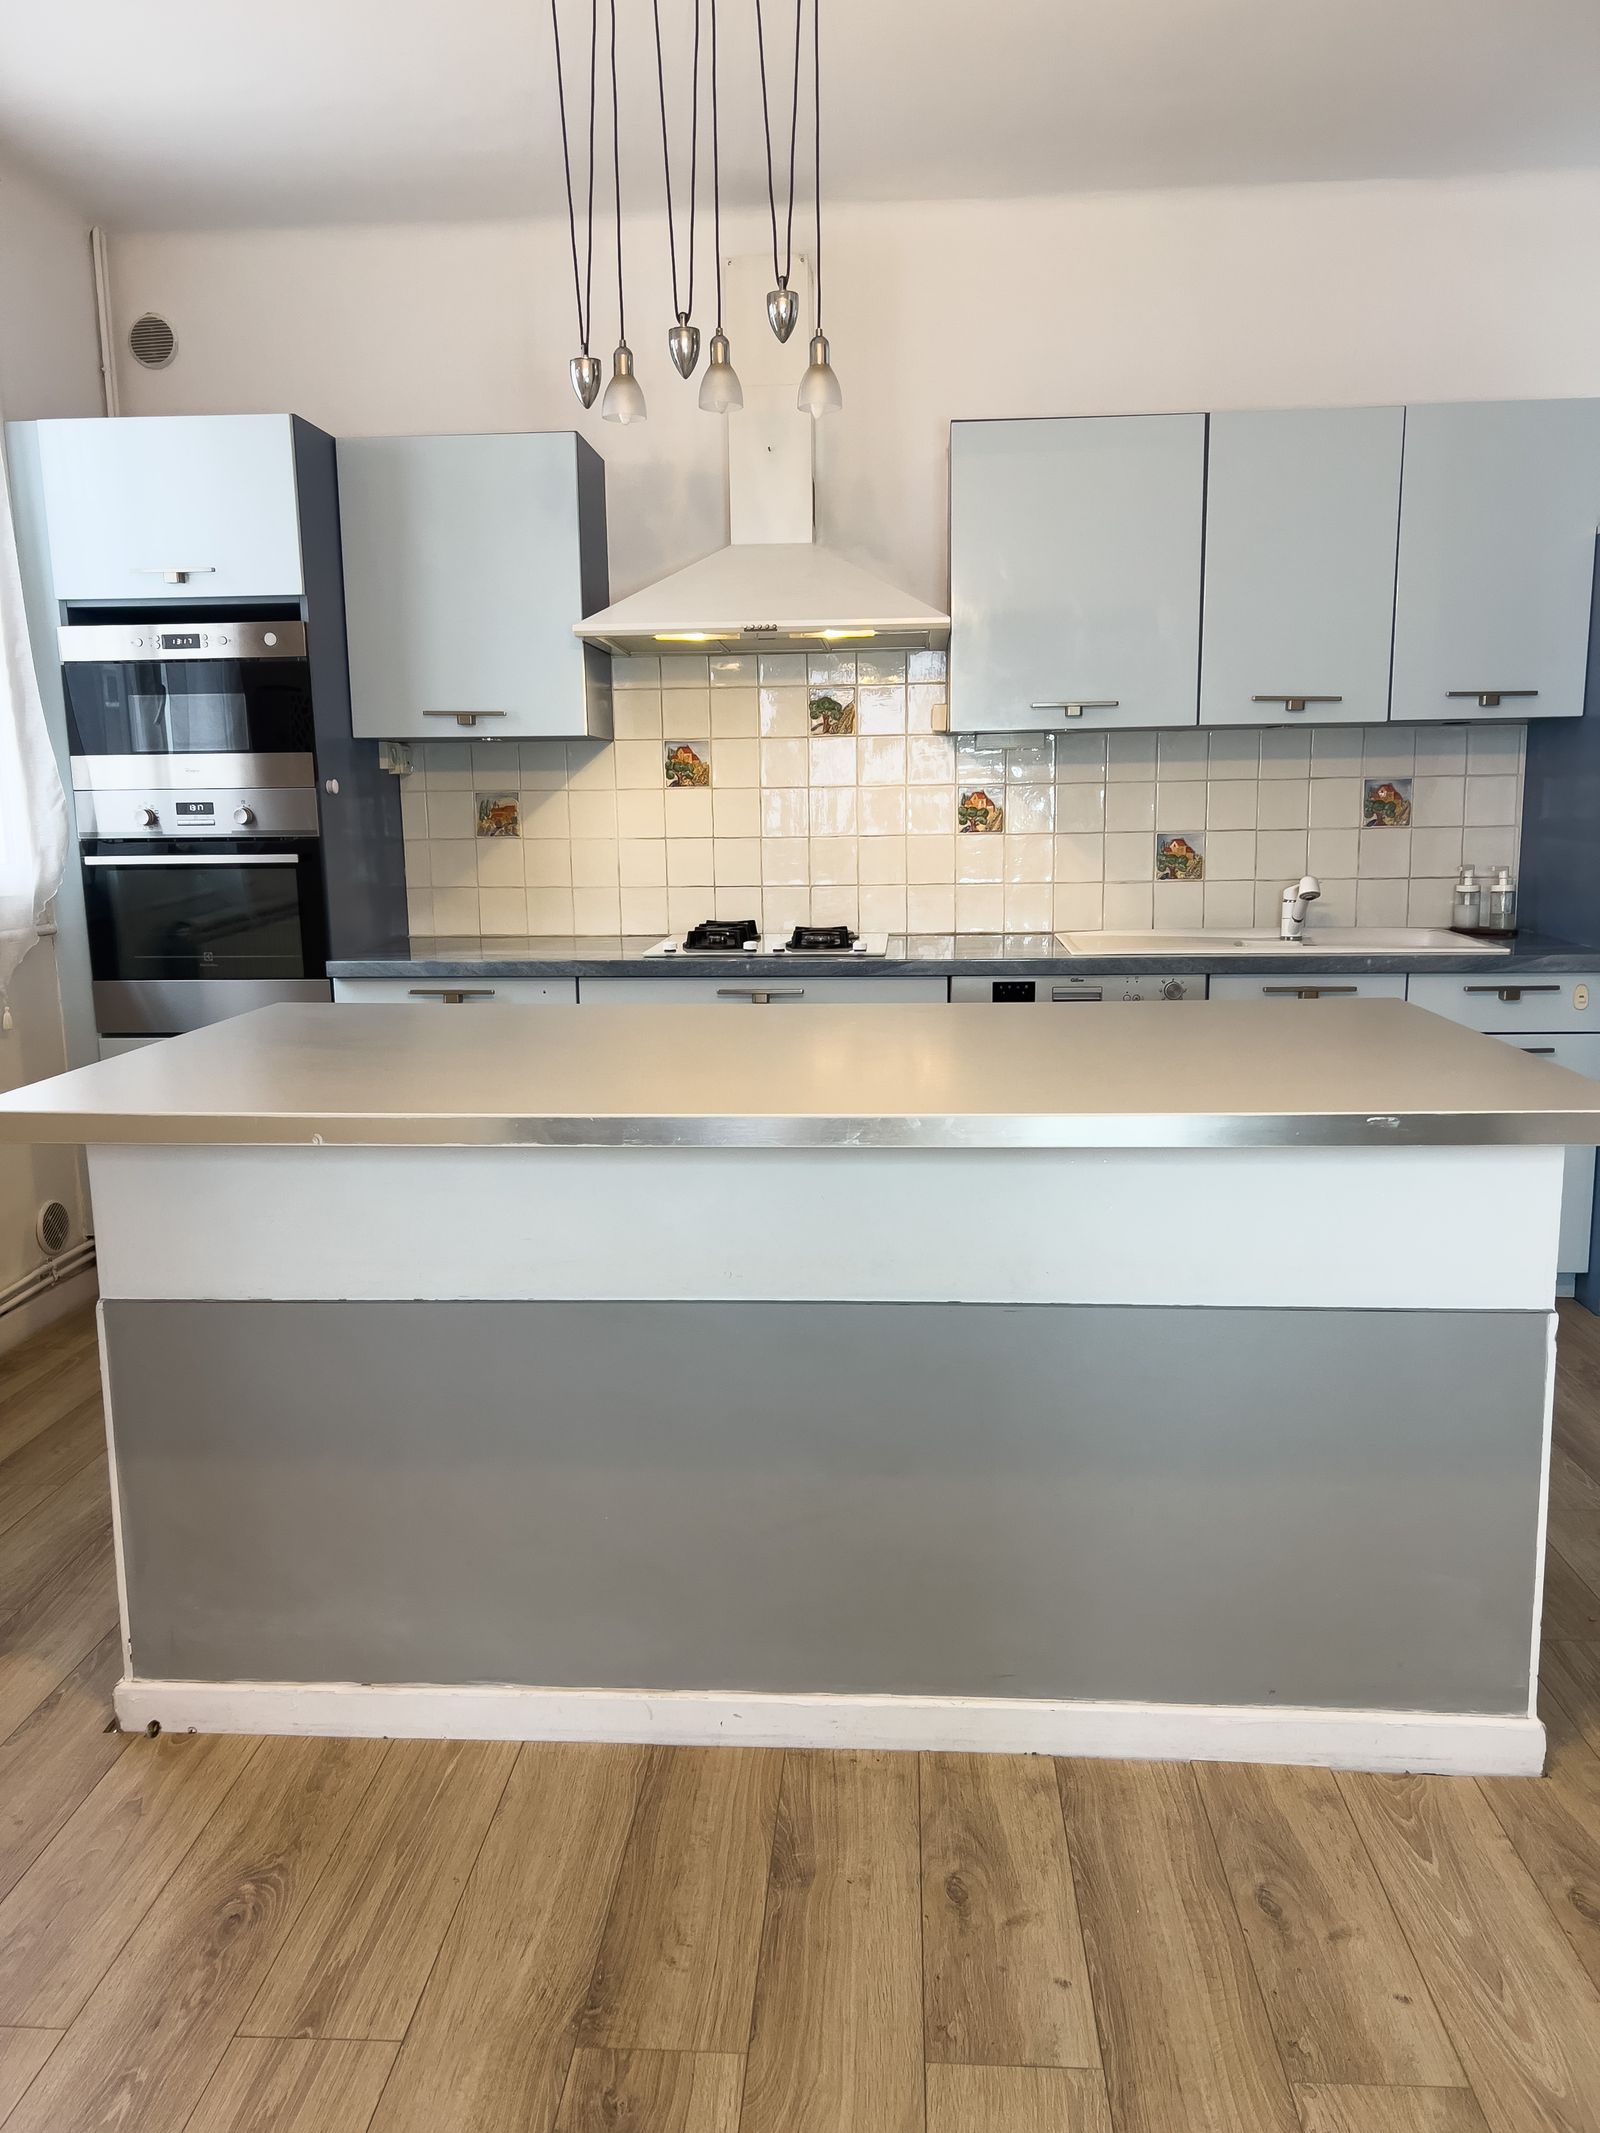
Before the Makeover
The first step was to choose a modern and fresh color for the kitchen from a color chart. I opted for neutral tones, specifically the Moon 5 shade from the Luxens brand. Depending on the lighting, it exhibits hints of gray, beige, and a touch of khaki - truly incredible! This is a special paint designed to cover lacquered furniture, requiring two coats and proving to be very easy to work with.
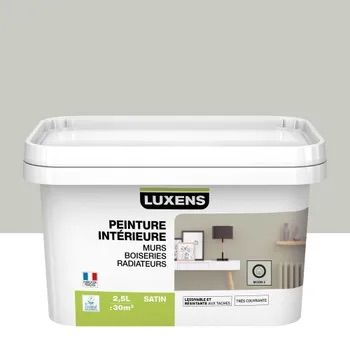
Moon 5
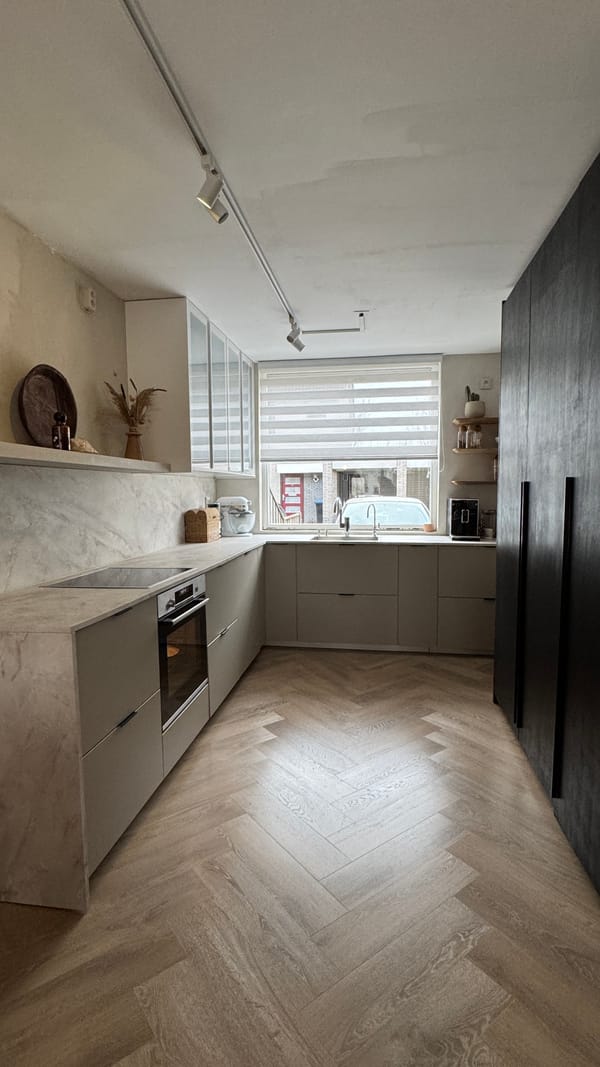
To cover my central island and countertops, I used polished concrete from Harmony Béton (reference BC02 traditionnel). I fell in love with this raw and authentic material with timeless charm, featuring various textures and decorative effects with its perfect imperfections.
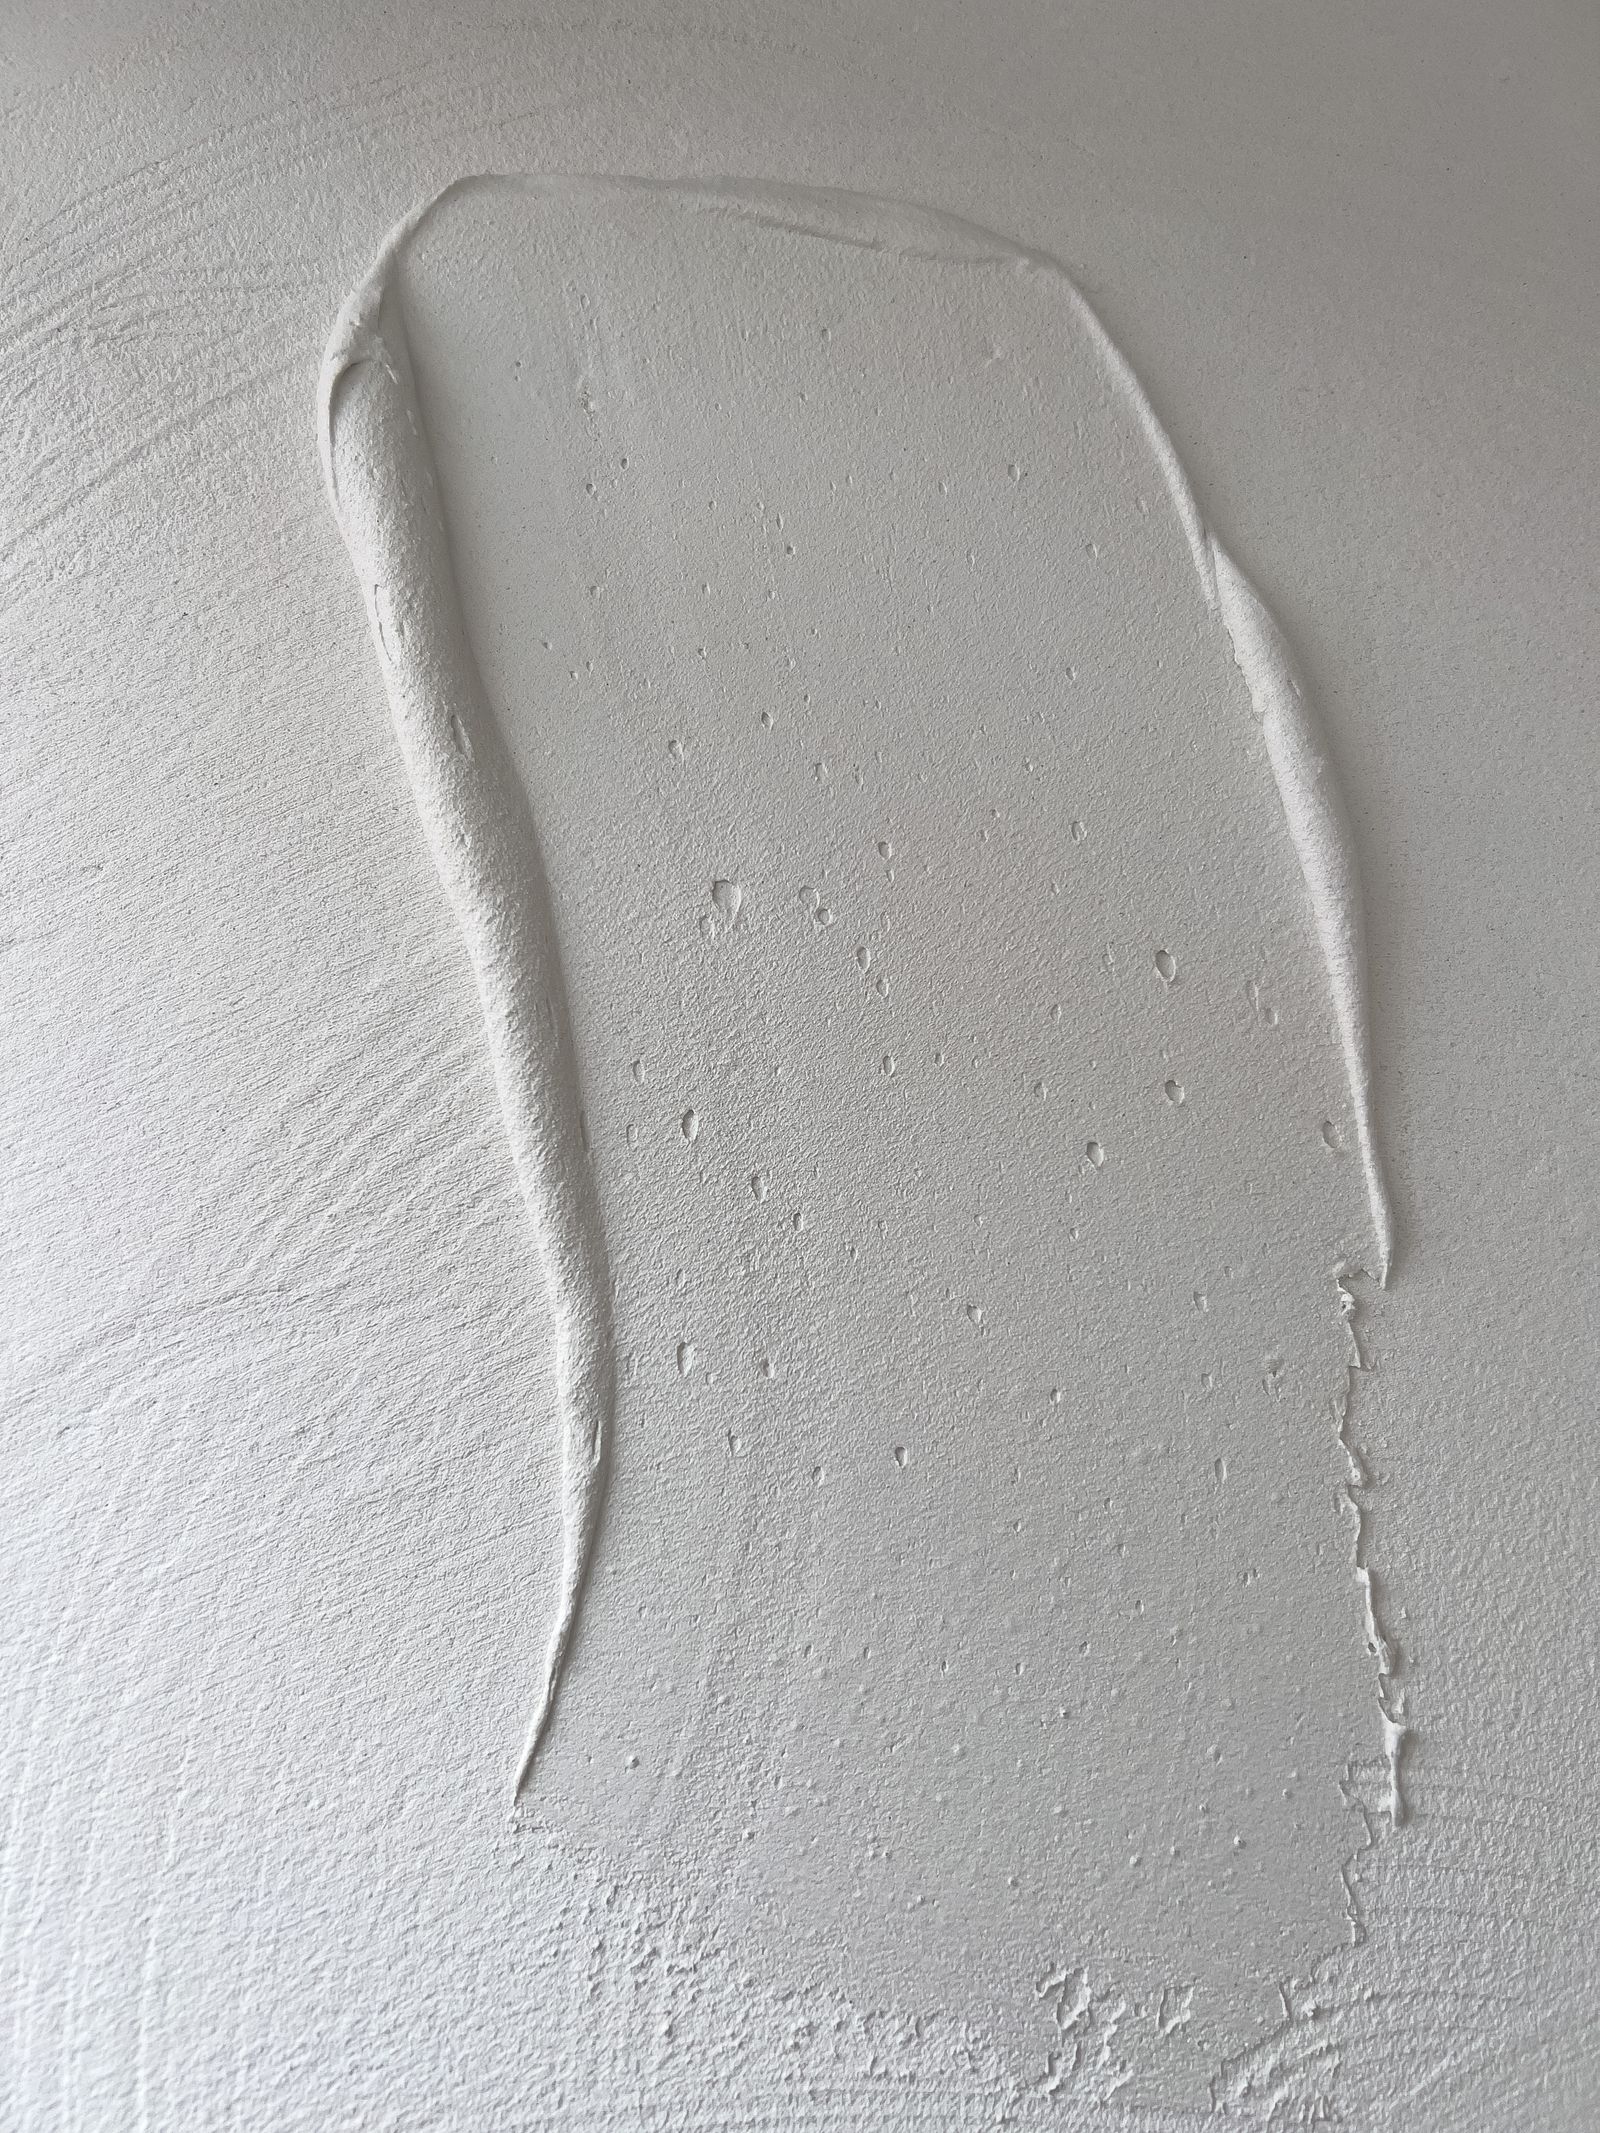
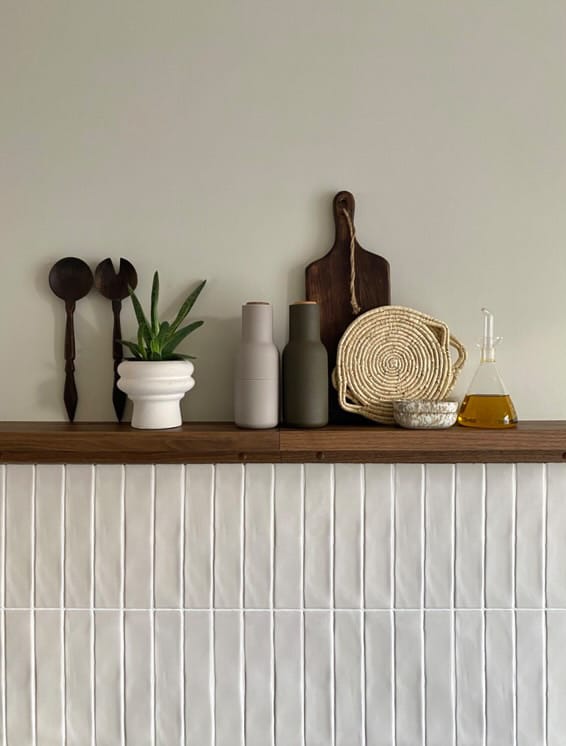
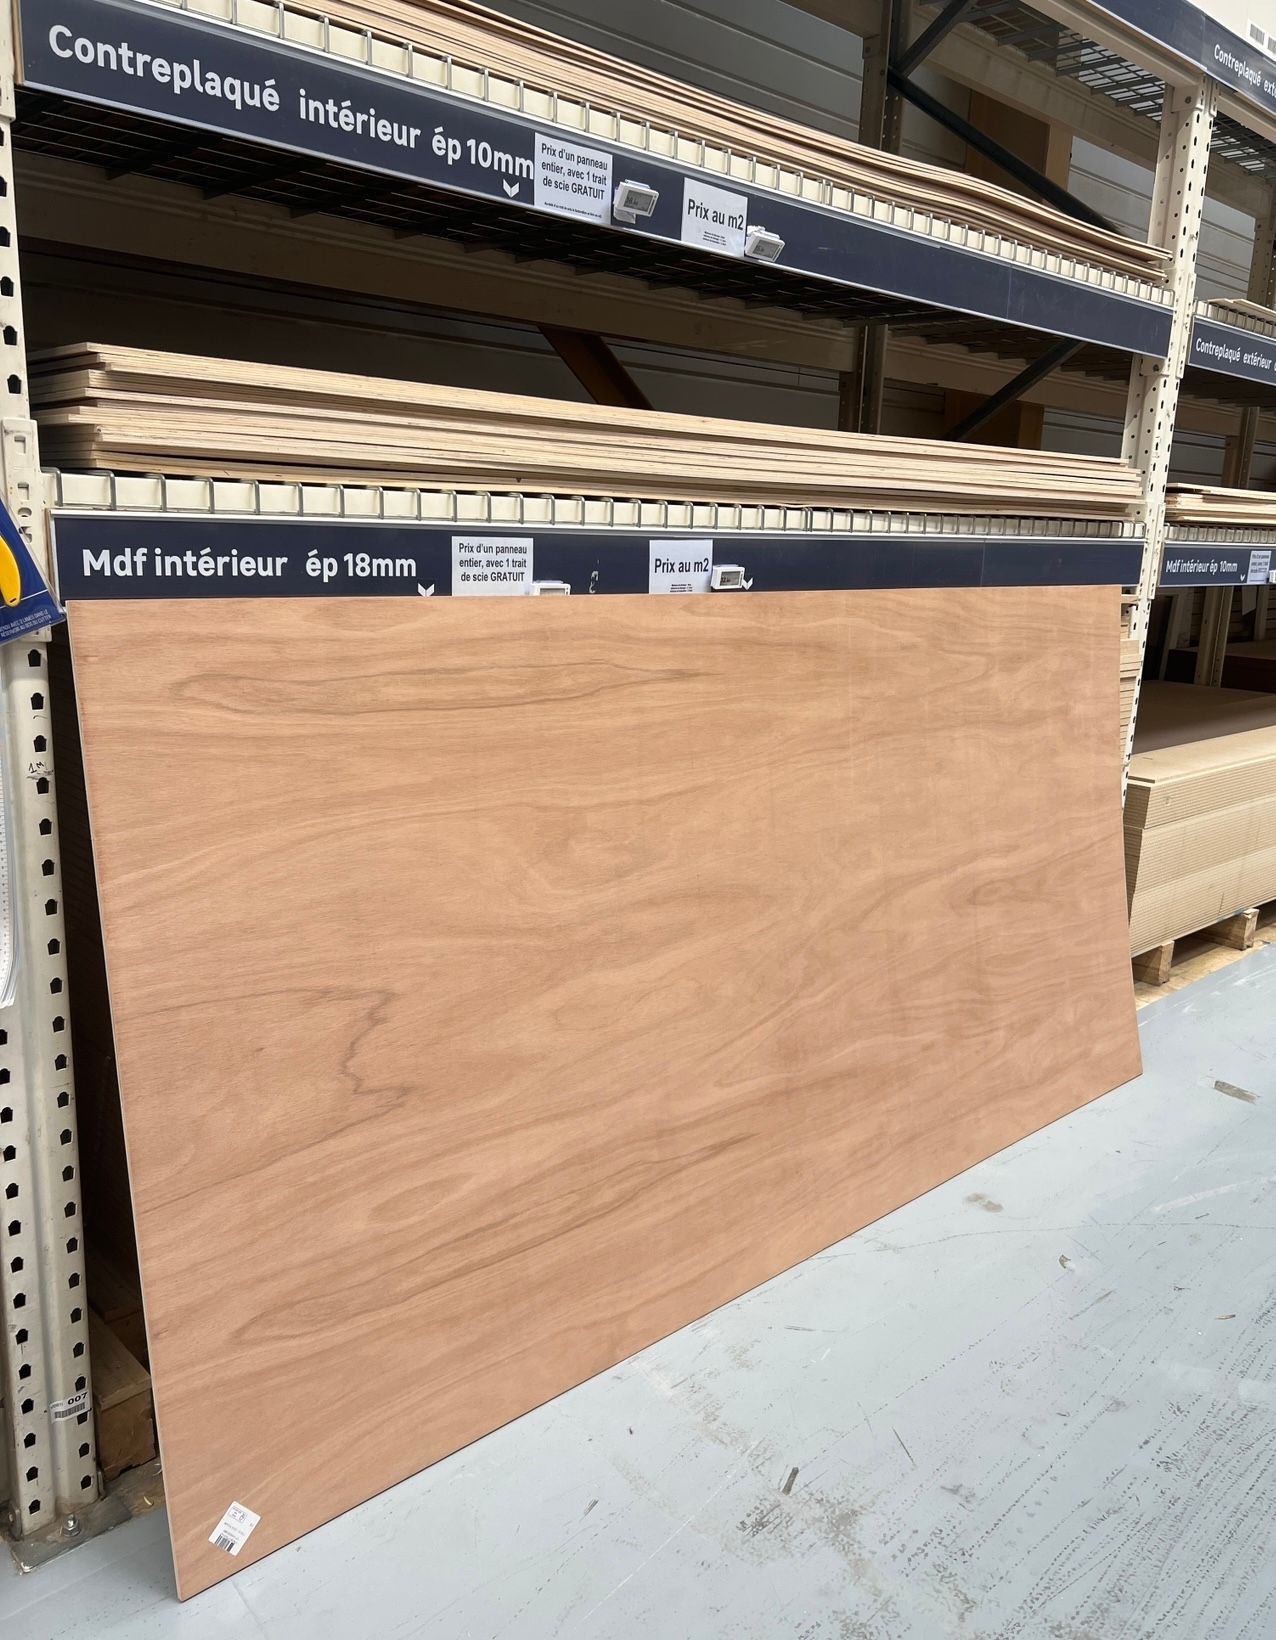
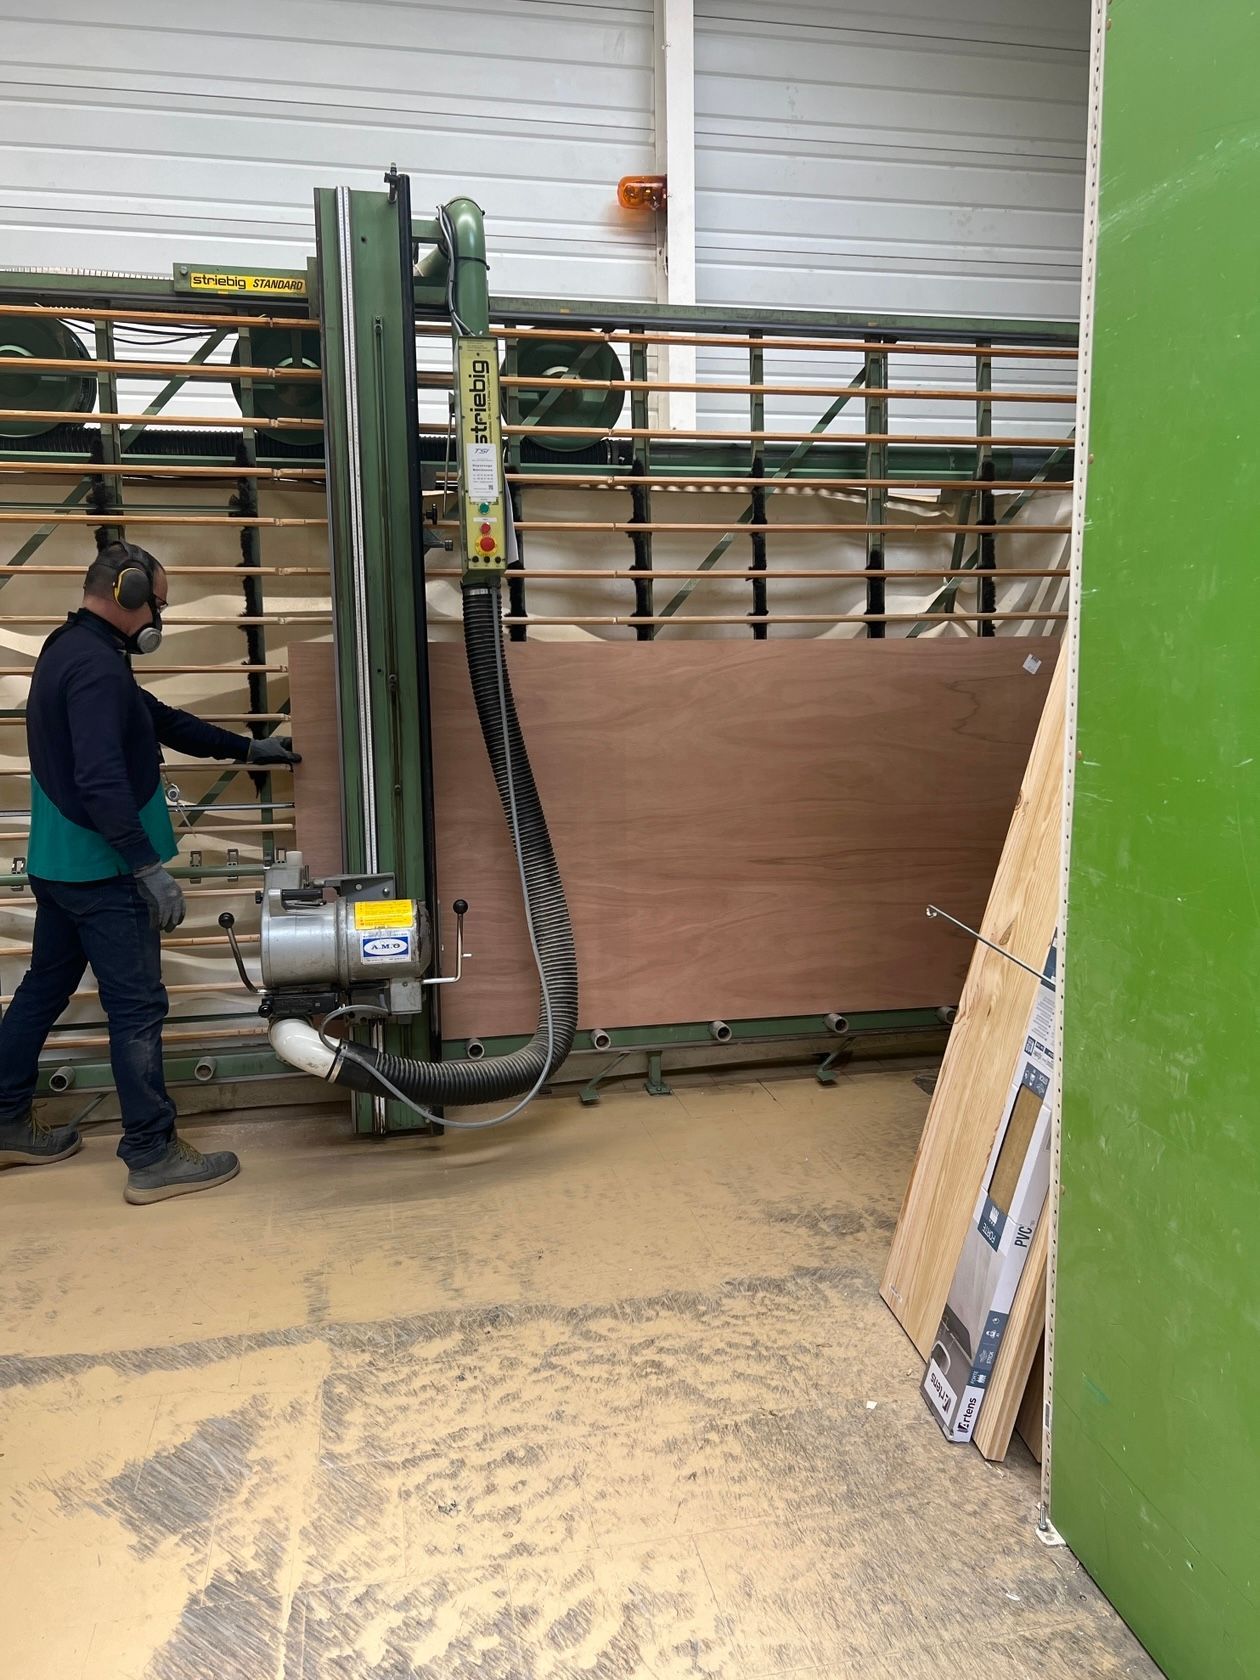
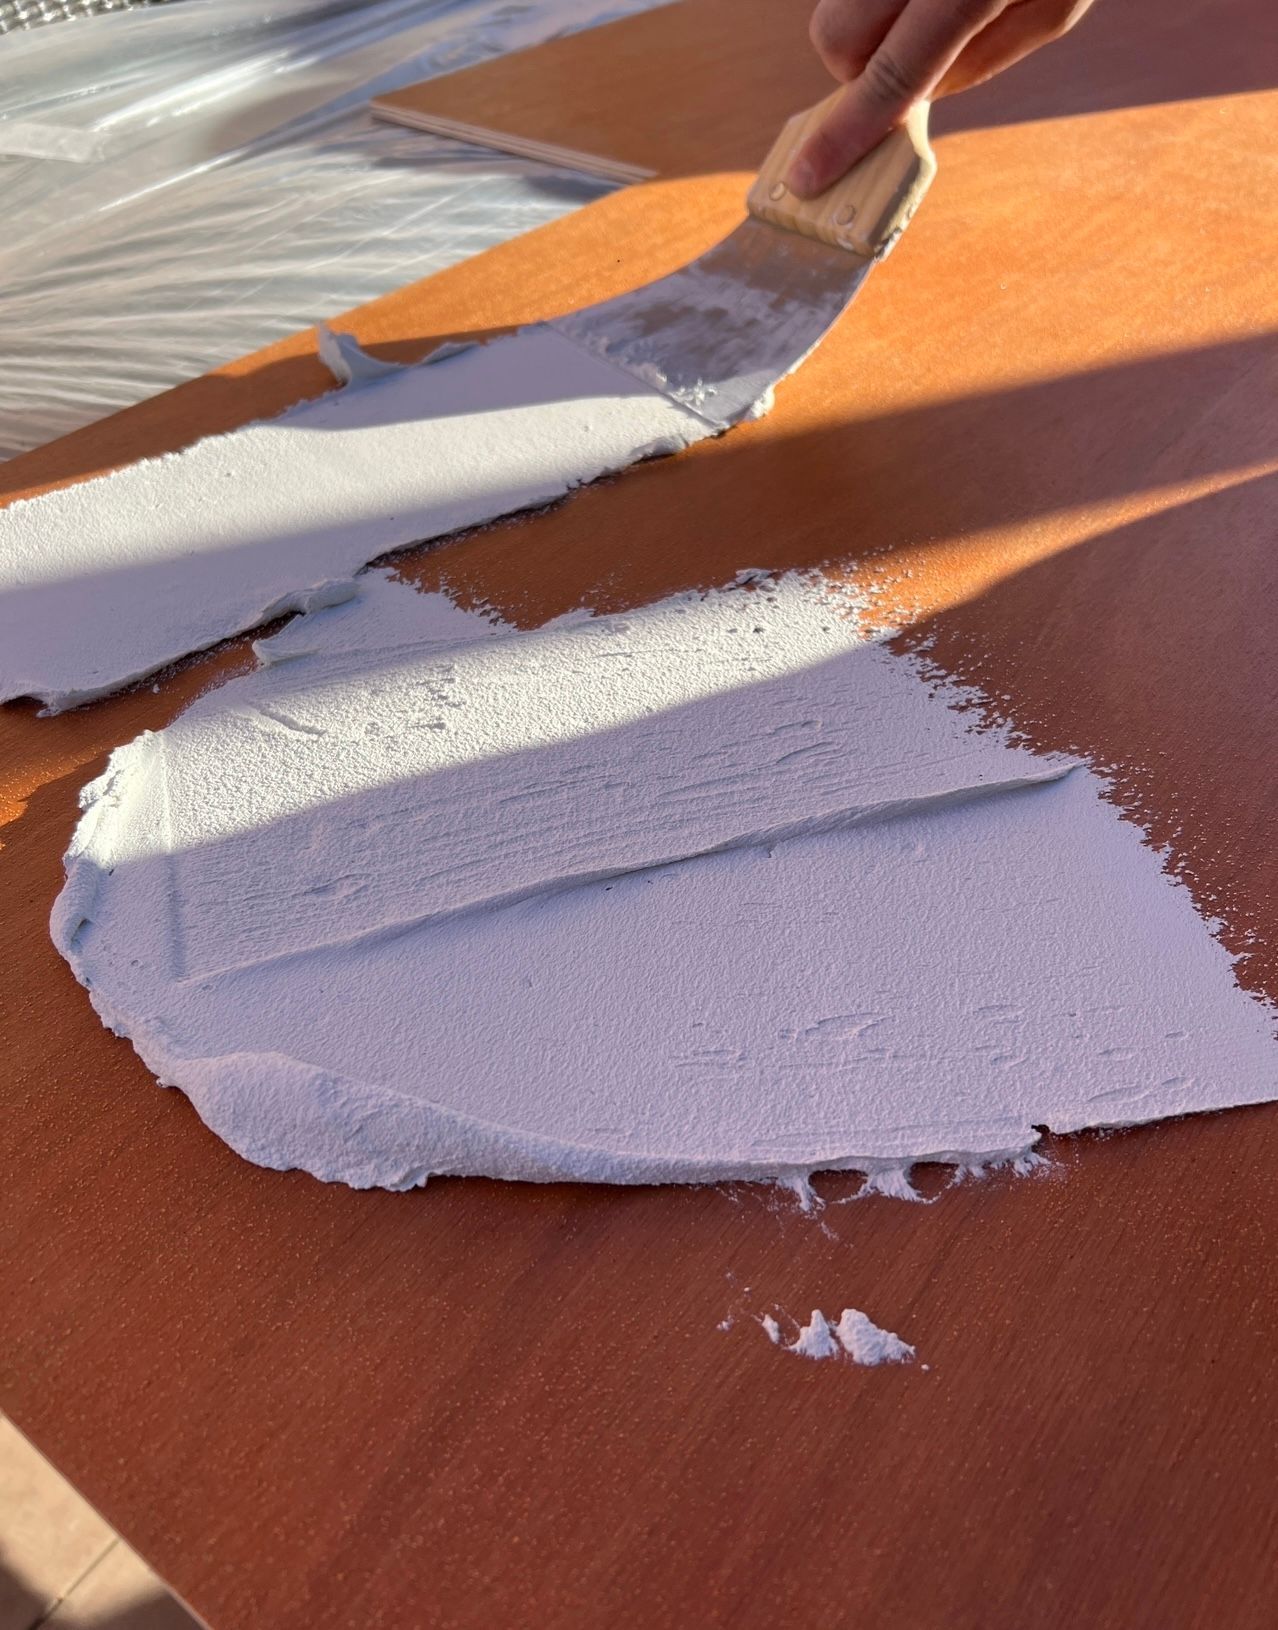
I couldn't find a suitable backsplash, so I decided to create my own. We chose plywood as the primary material, cut it to the required dimensions, and the total cost for 2.5 square meters was 28 euros - significantly cheaper than a traditional backsplash. We connected the cuts, and then covered them with the remaining polished concrete.
DIY Backsplash
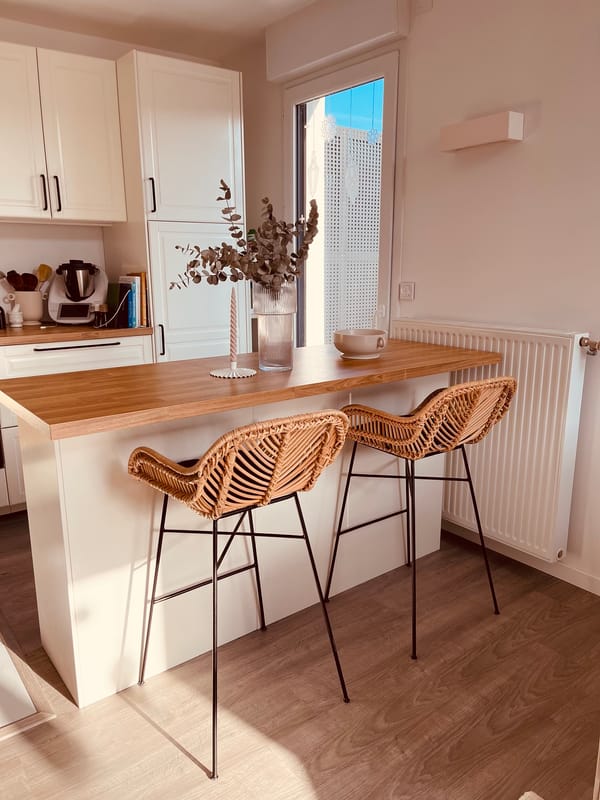
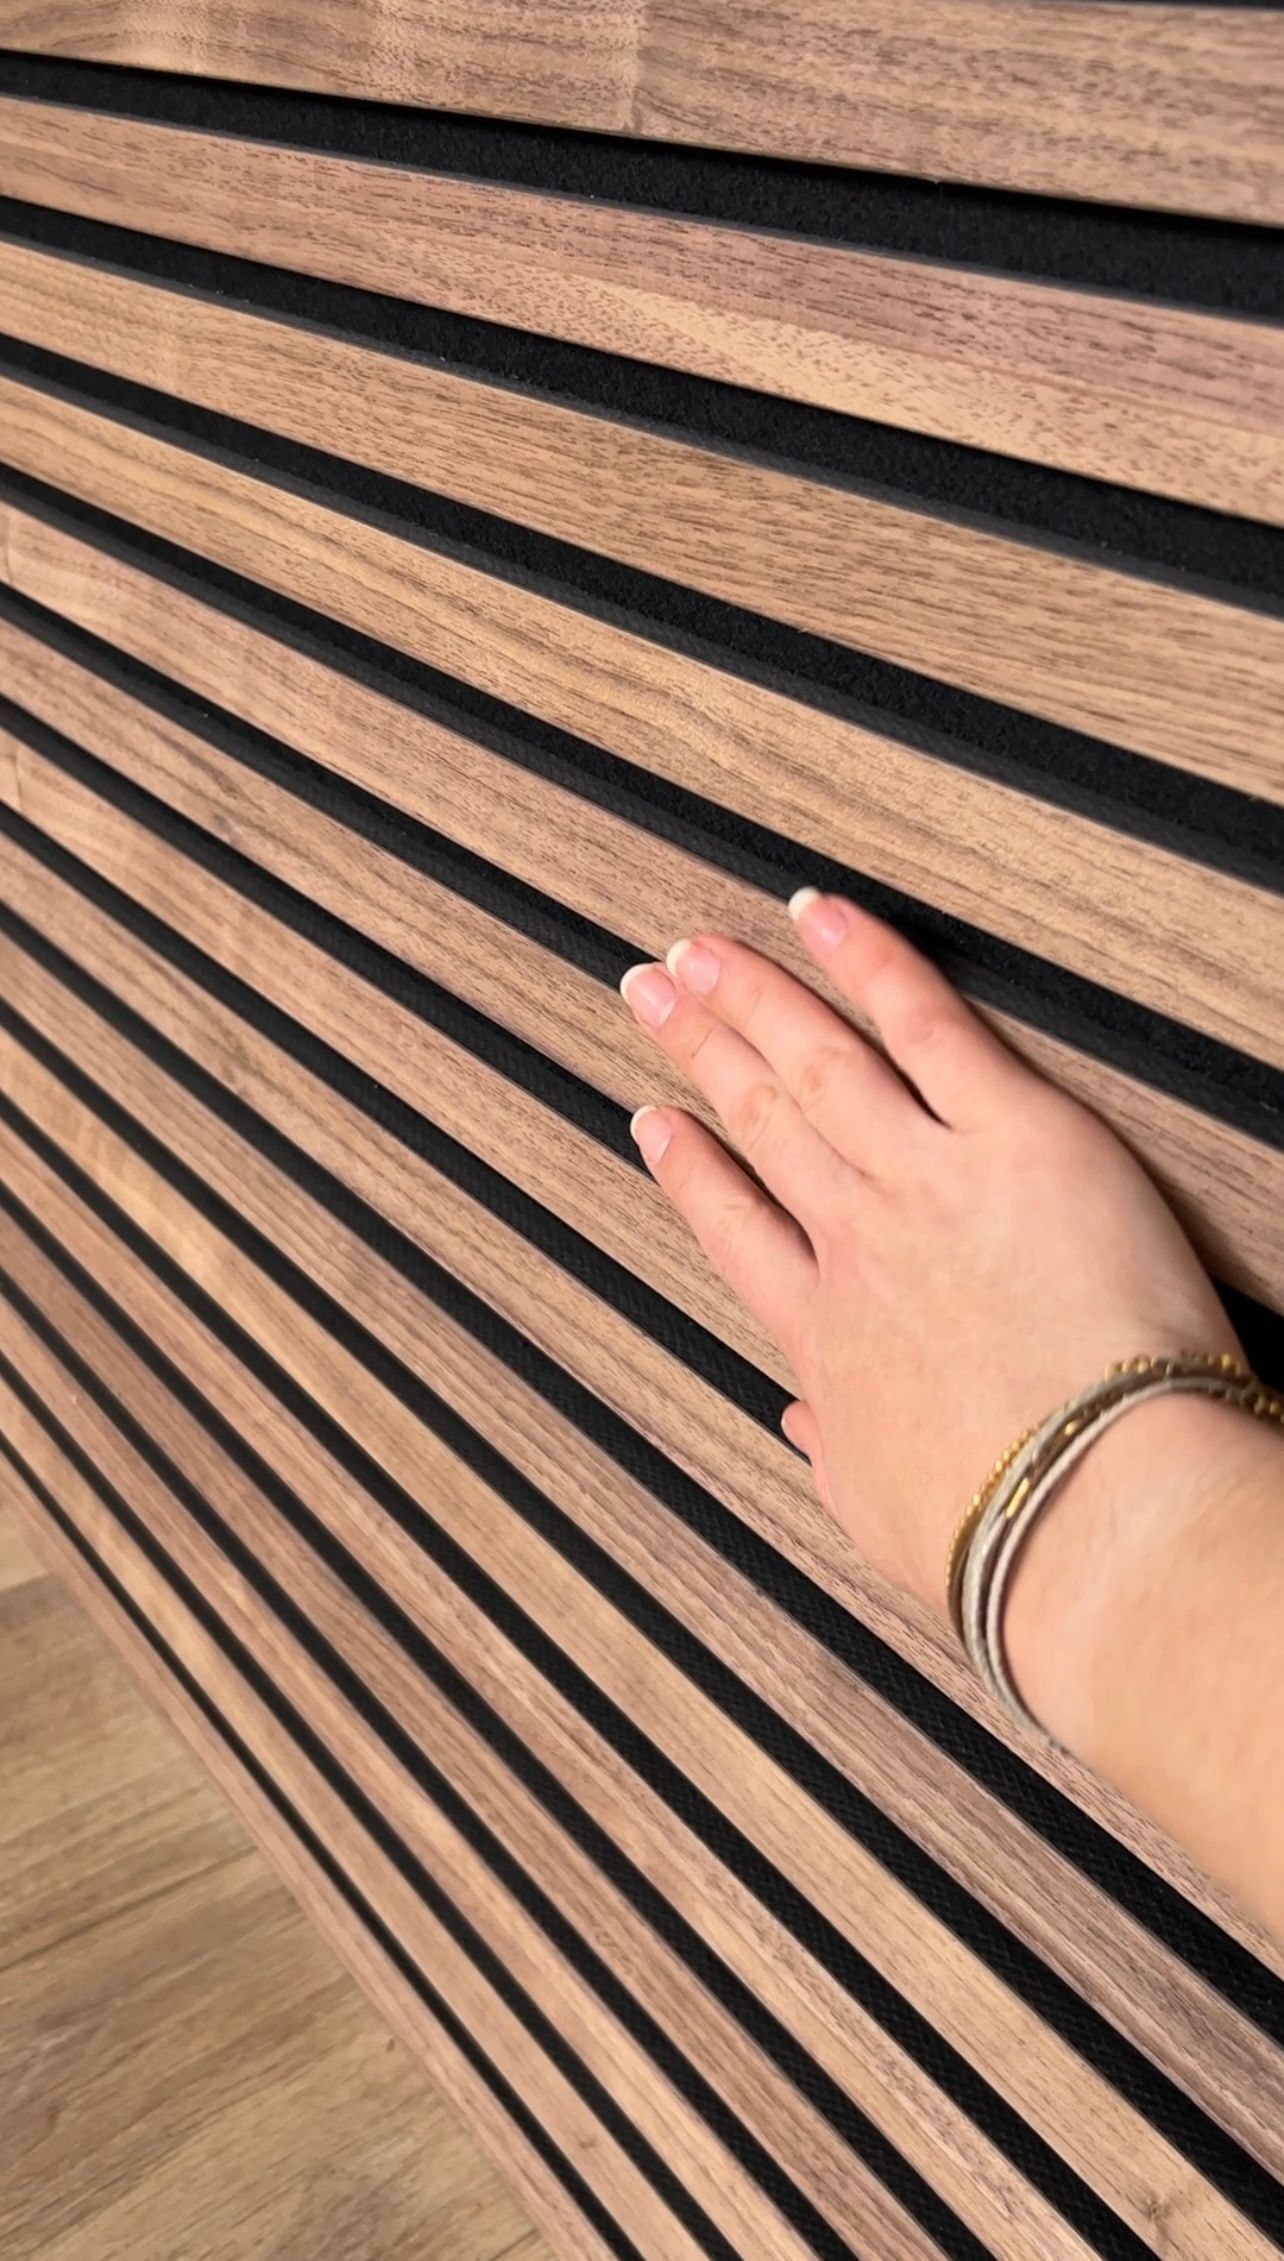
To add a touch of uniqueness to the kitchen, I incorporated wooden batten acoustic panels from Woodupp on the front of the island. These battens brought warmth and character to the kitchen.
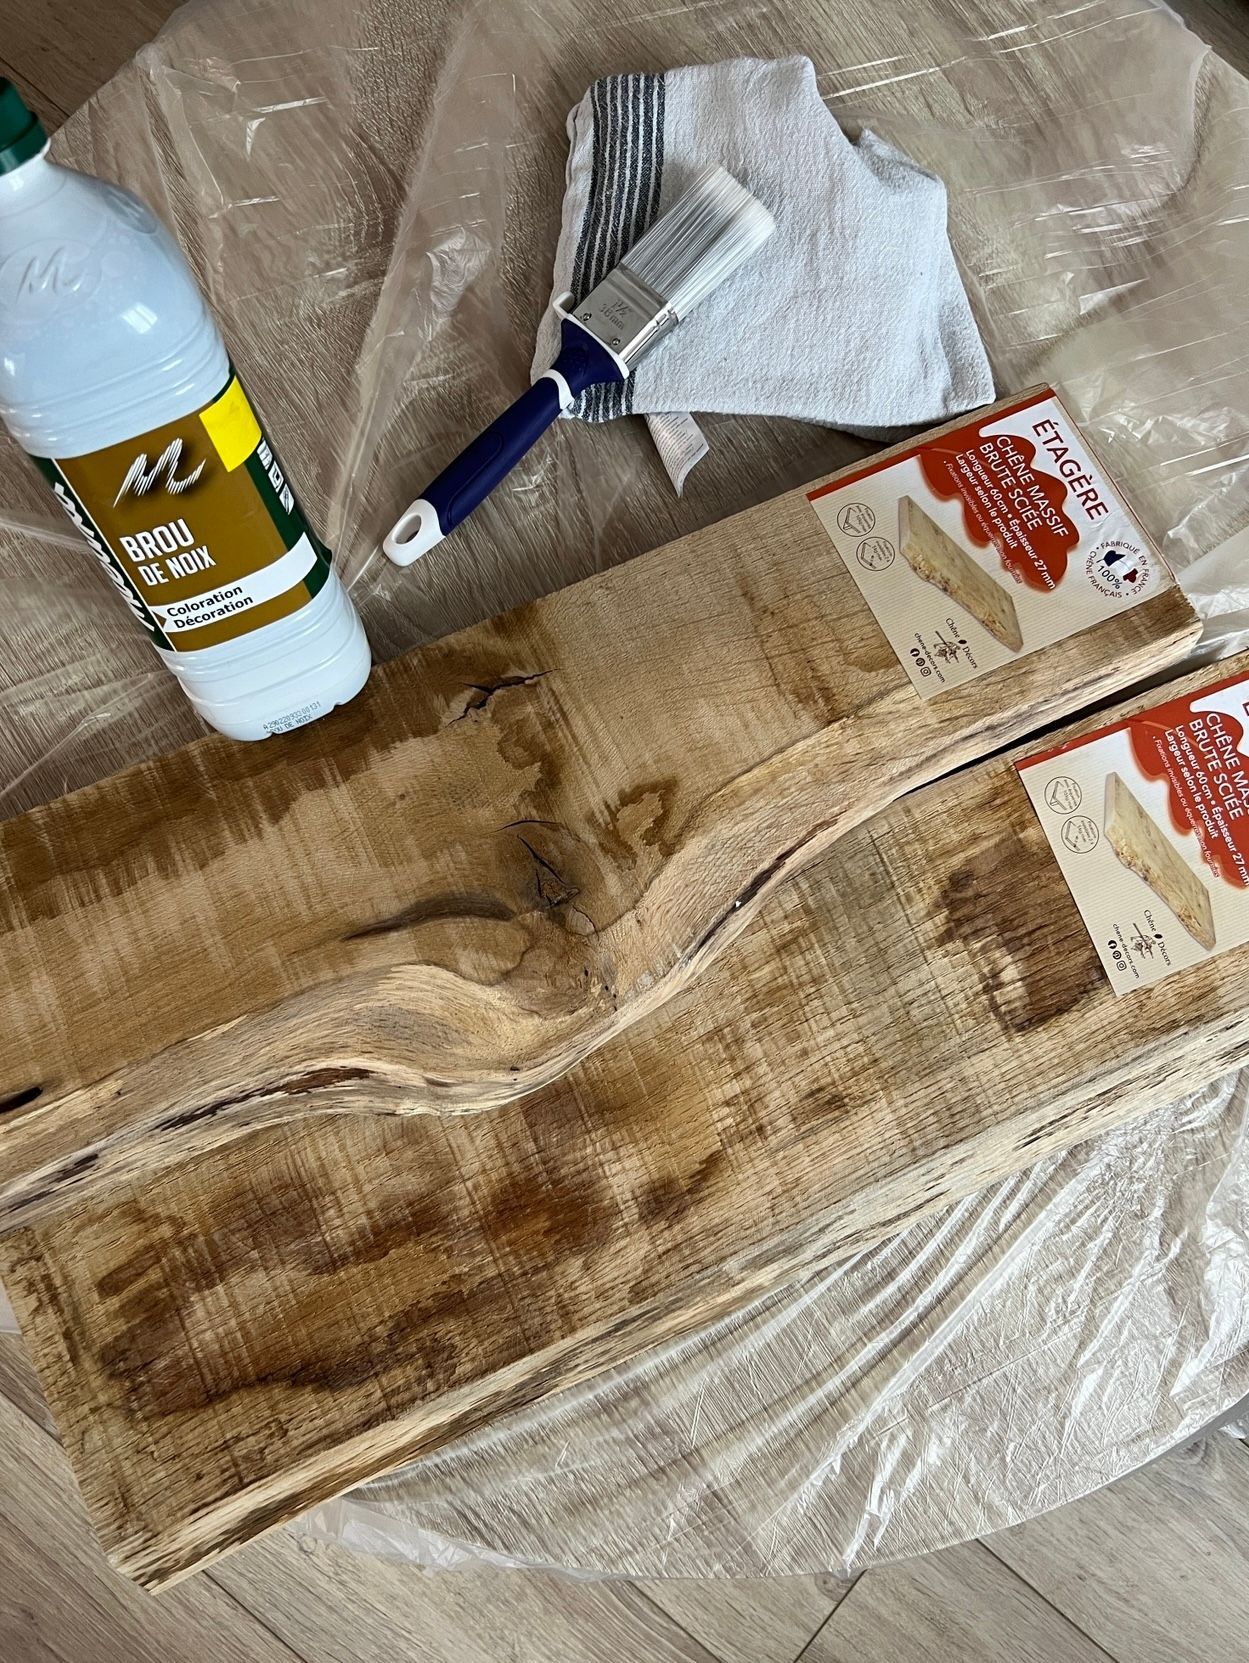
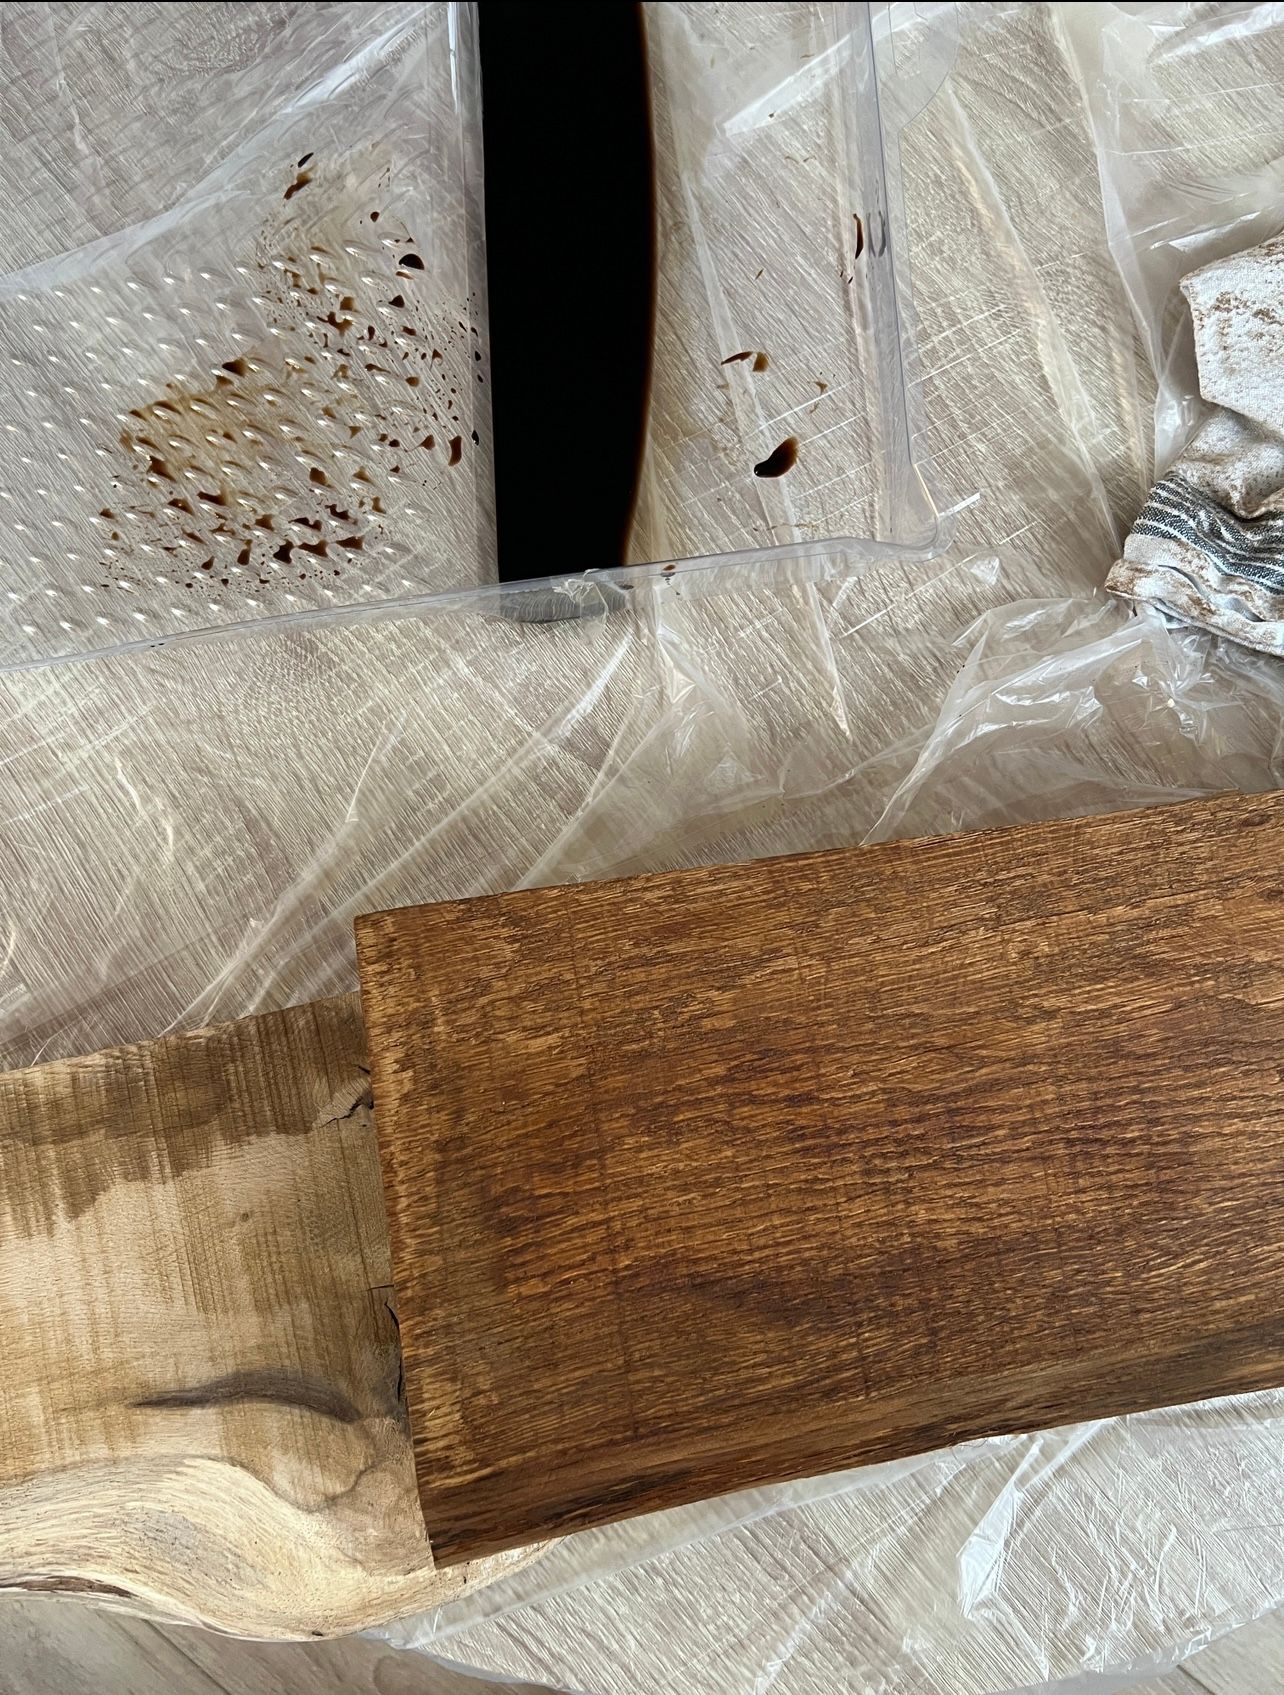
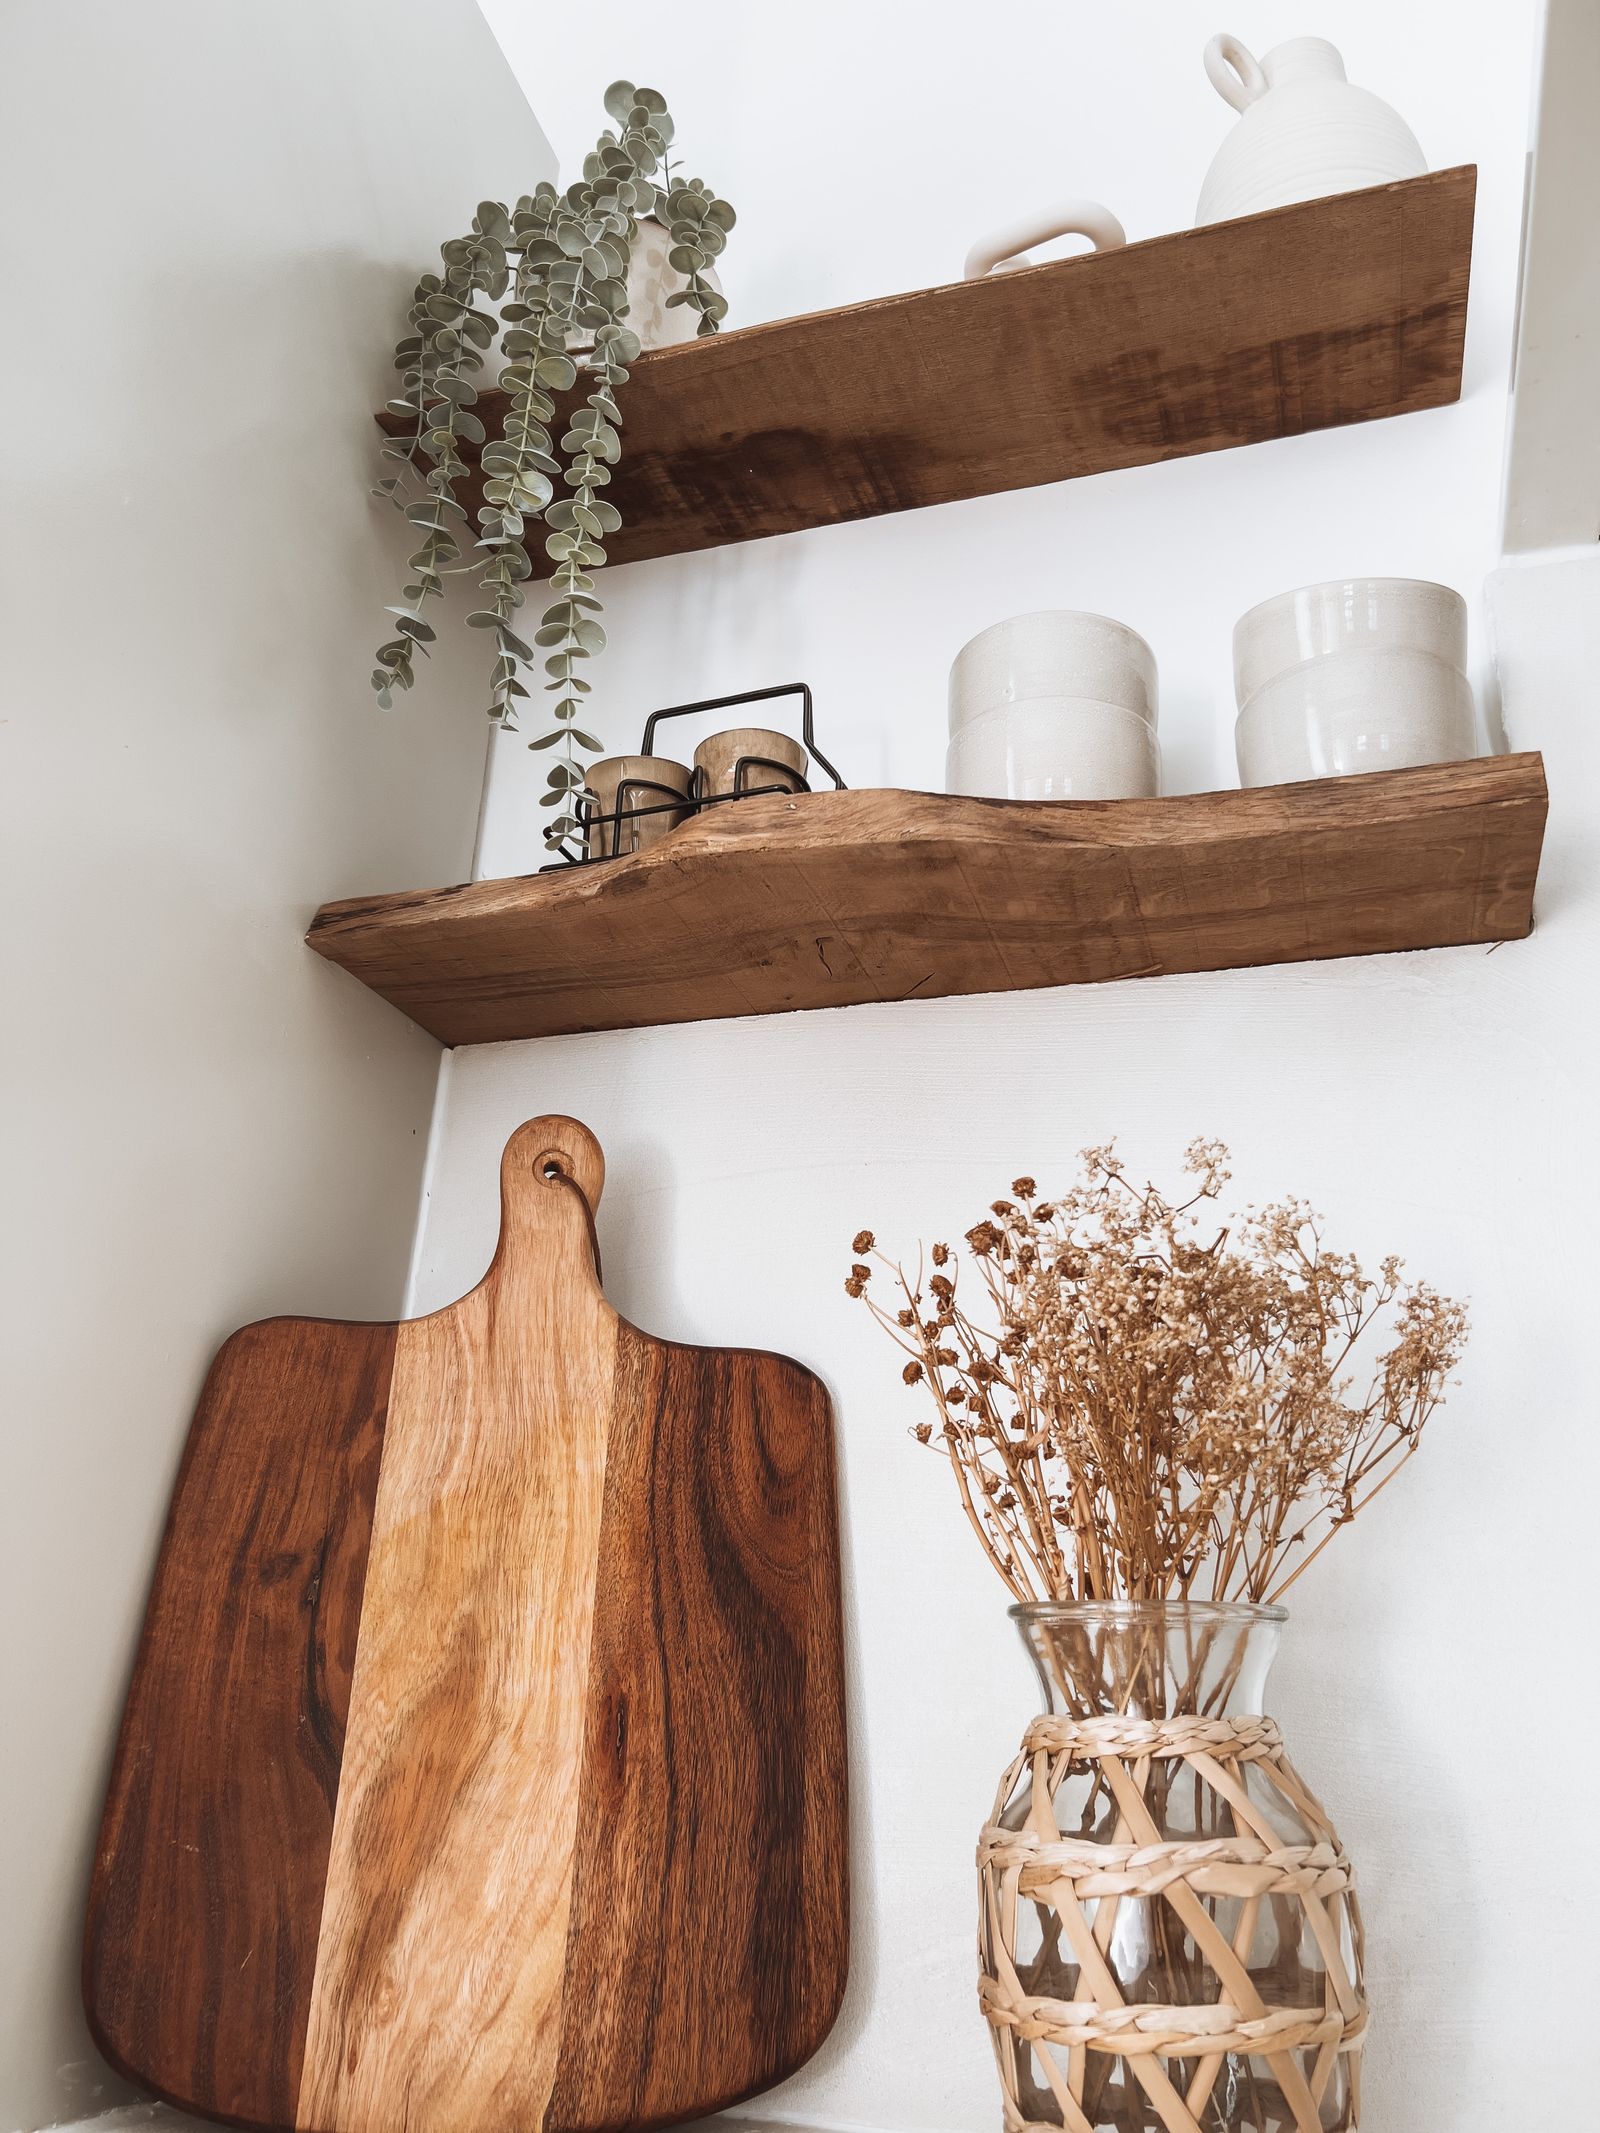
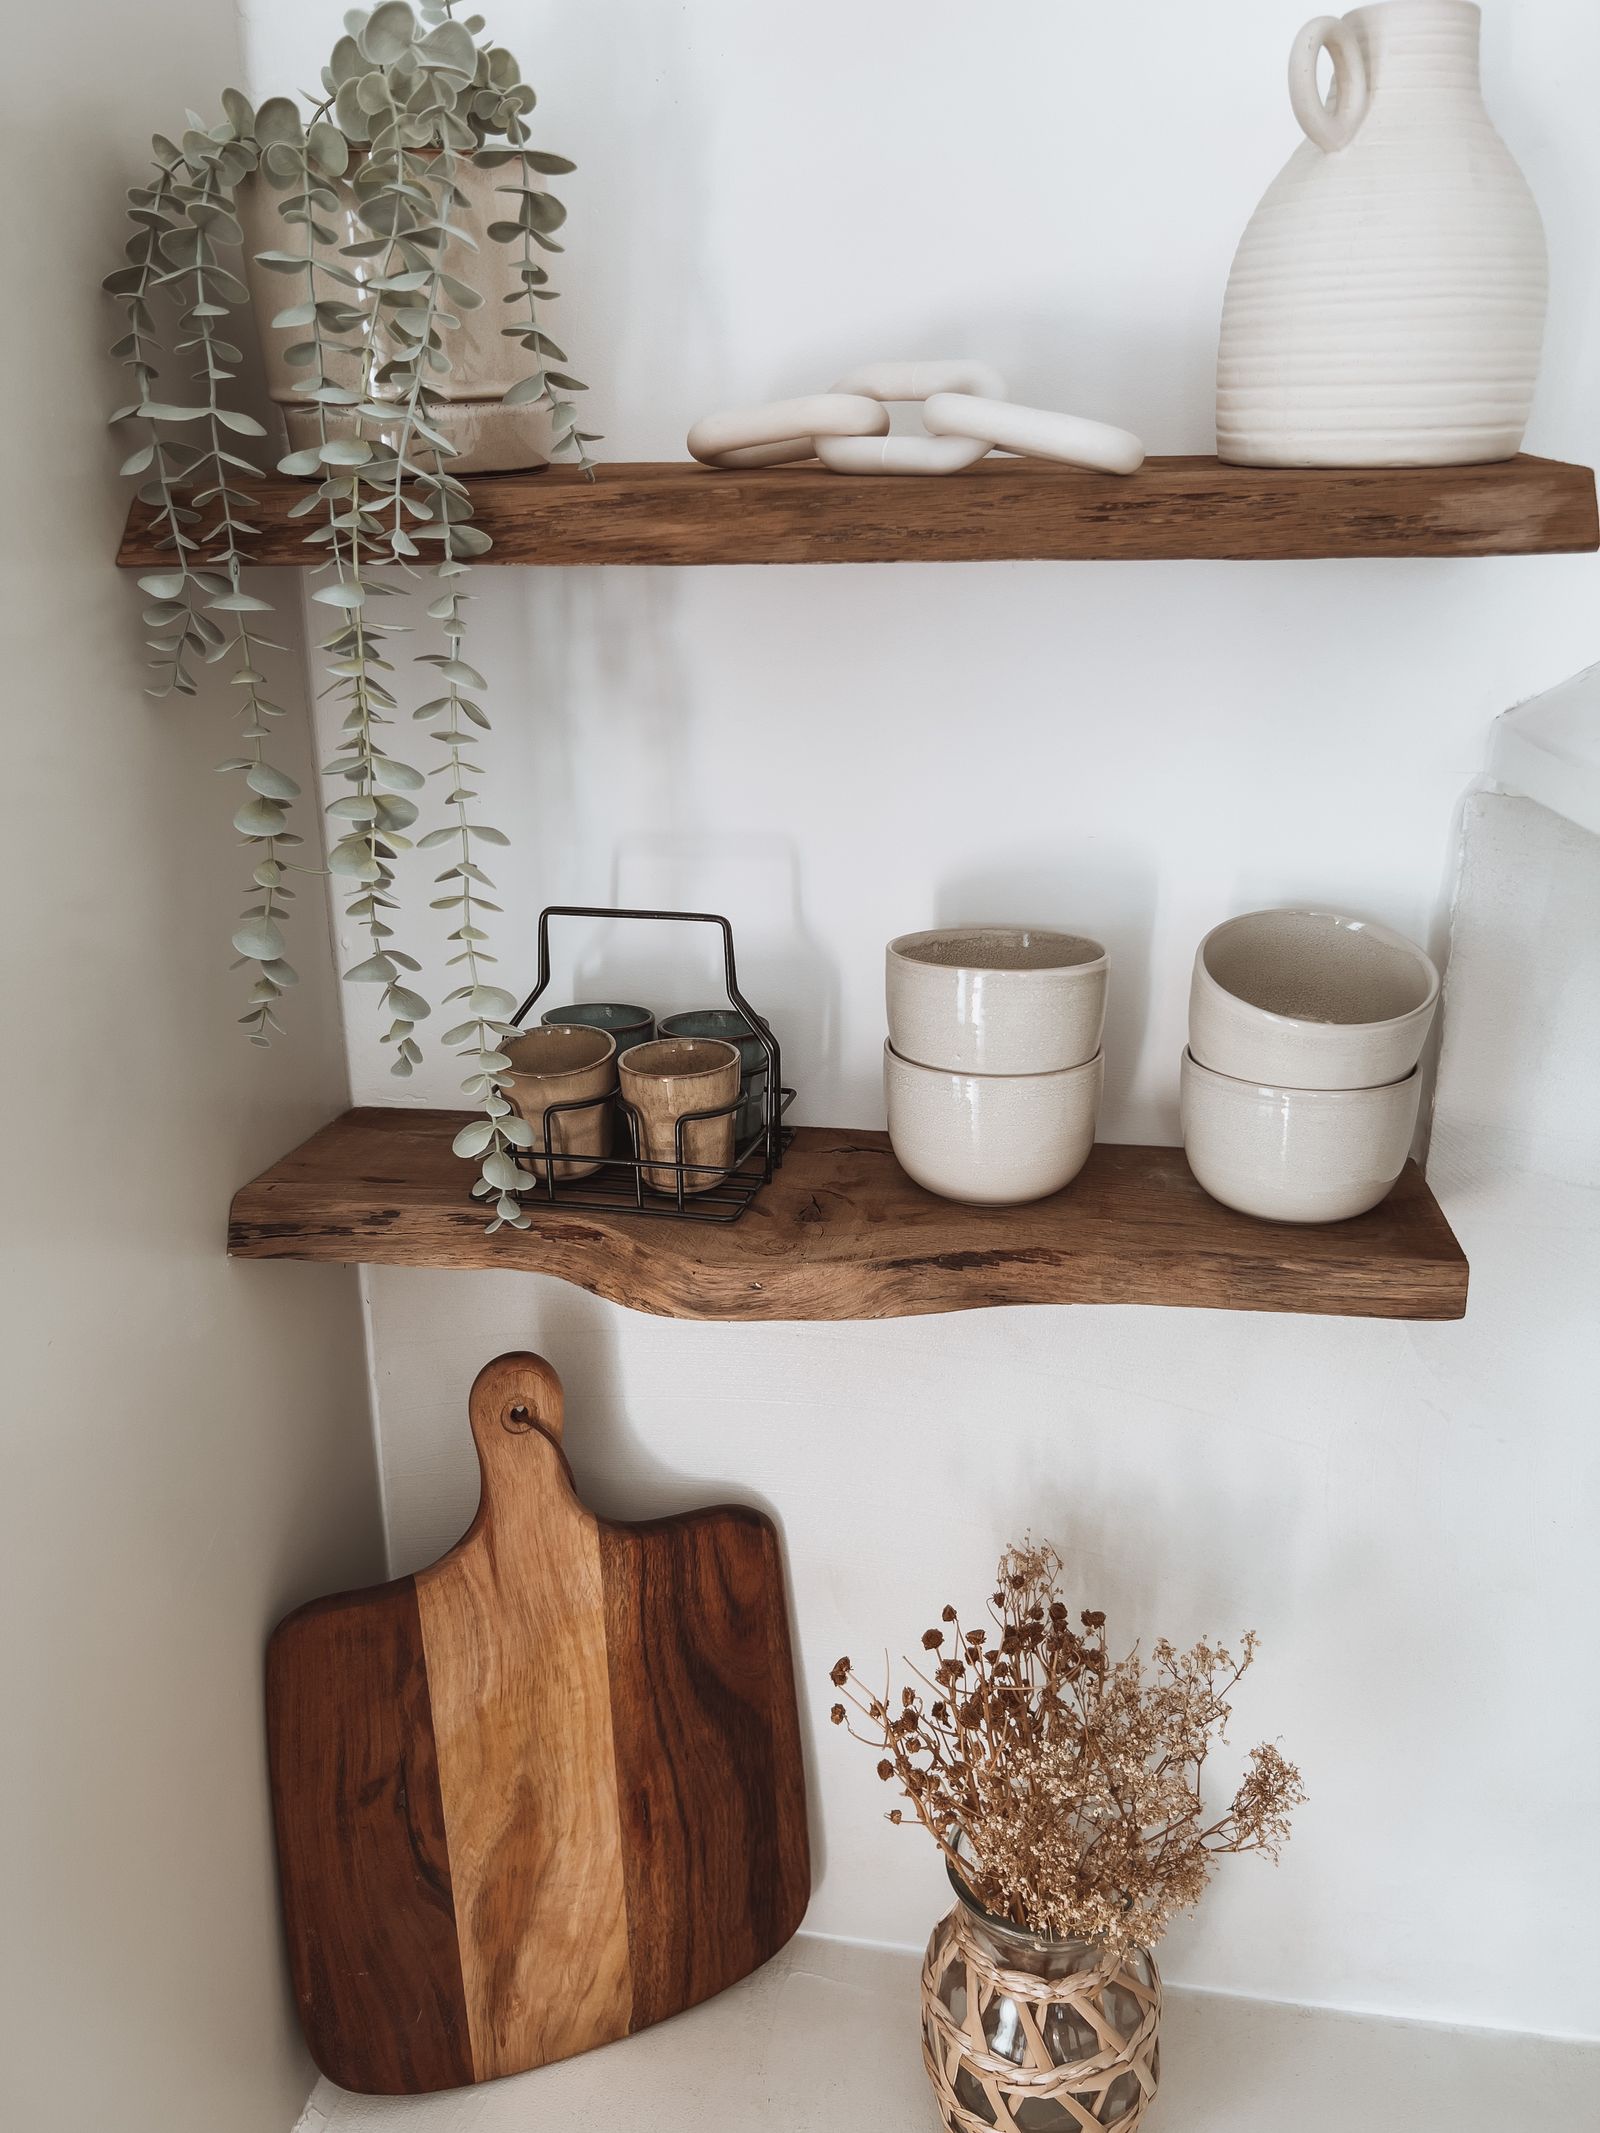
I also used wooden planks to create open shelves in place of my old upper cabinet, providing space for decorative objects, plants, and more. I'll detail this step in another article.
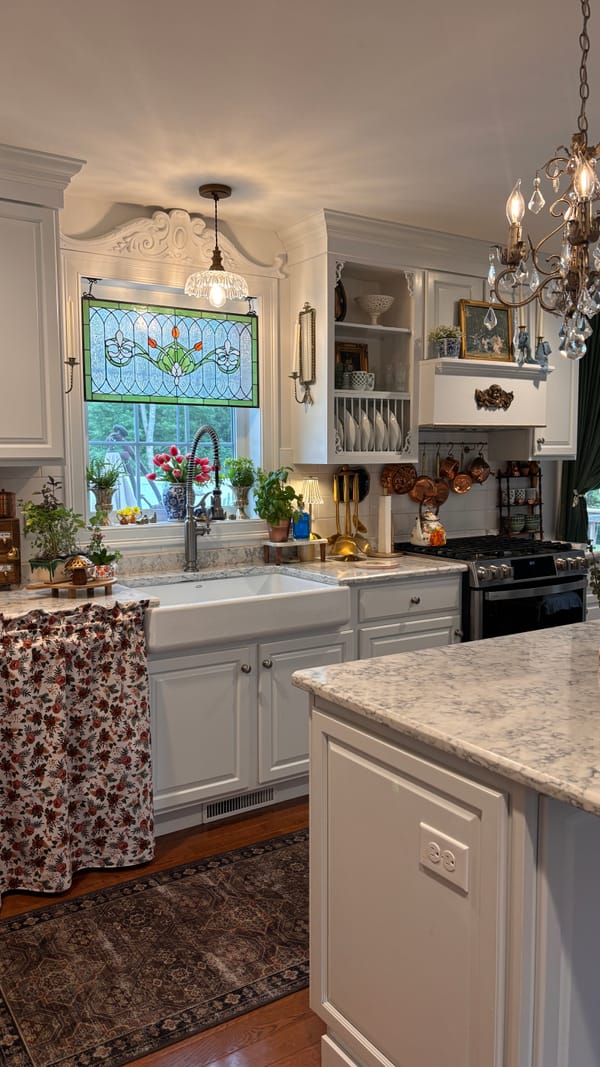
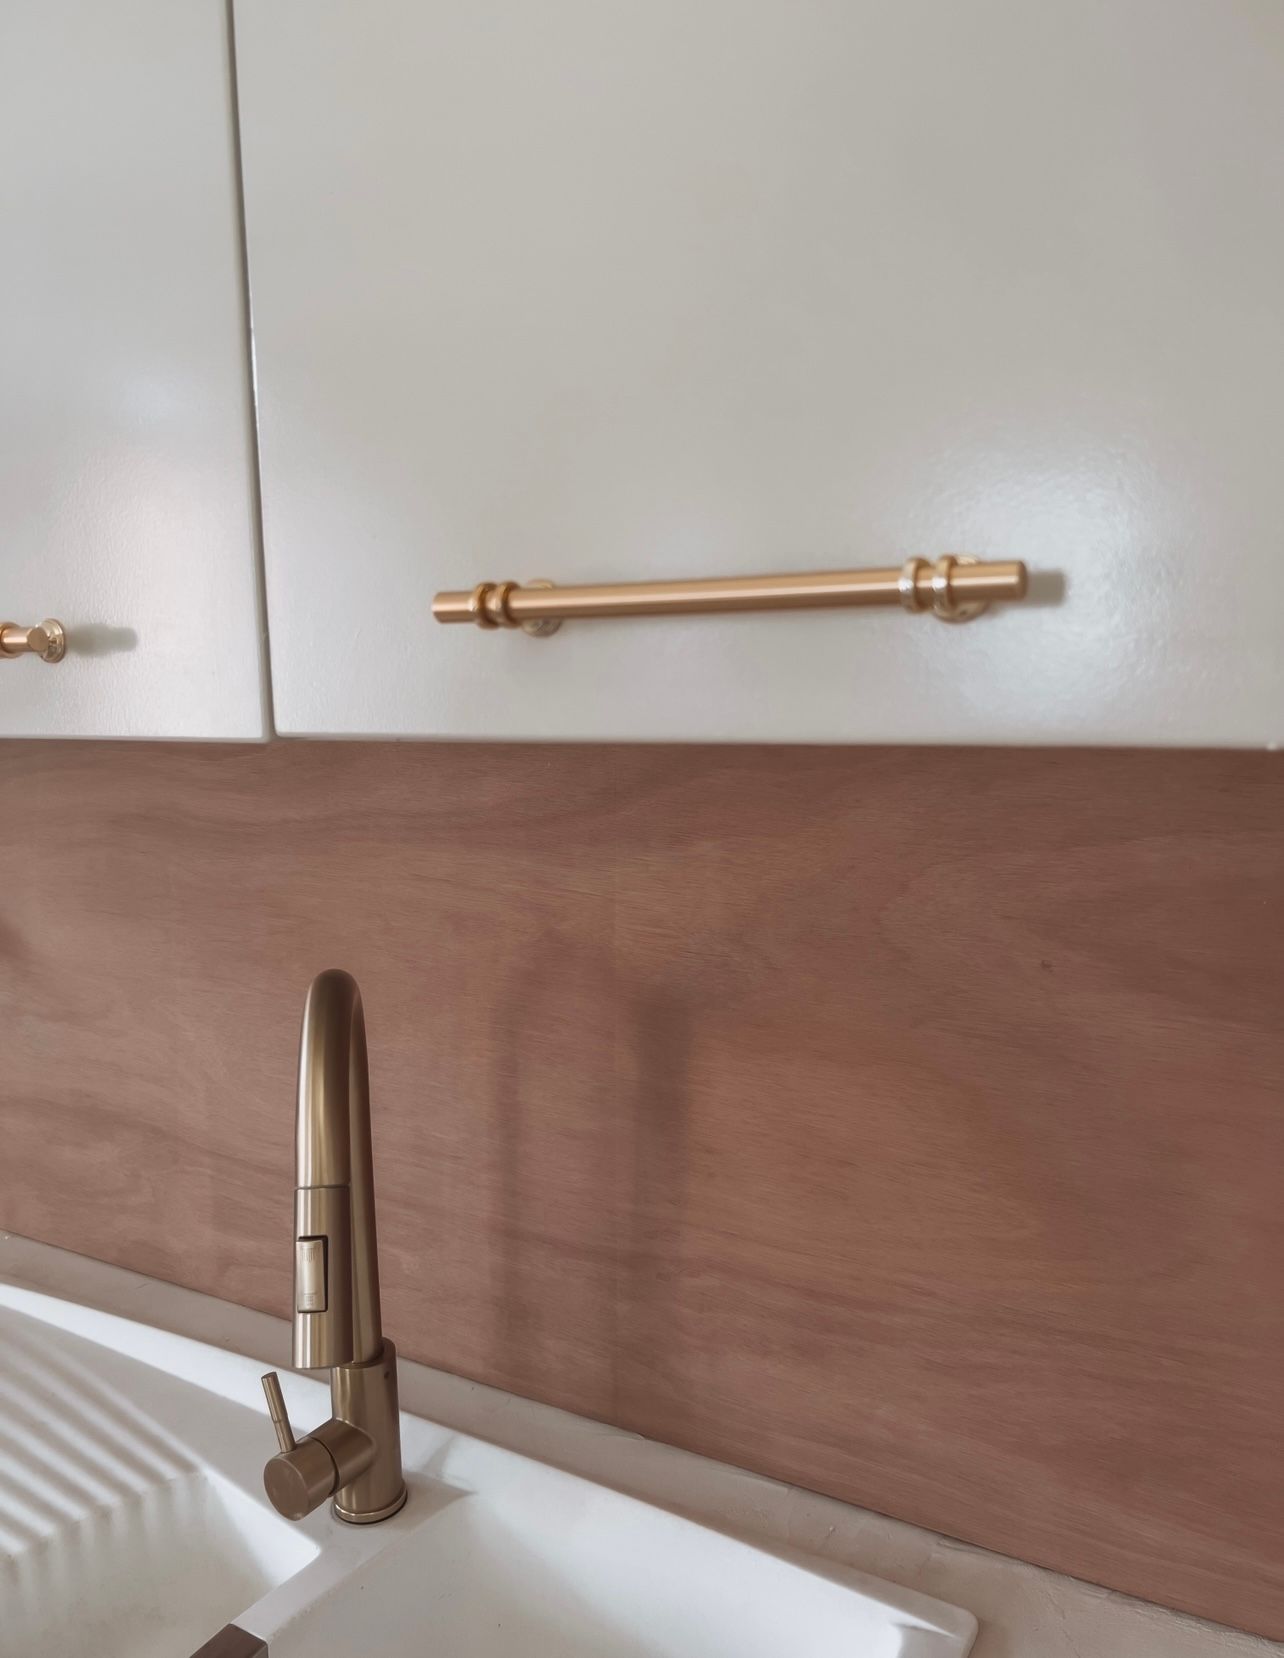
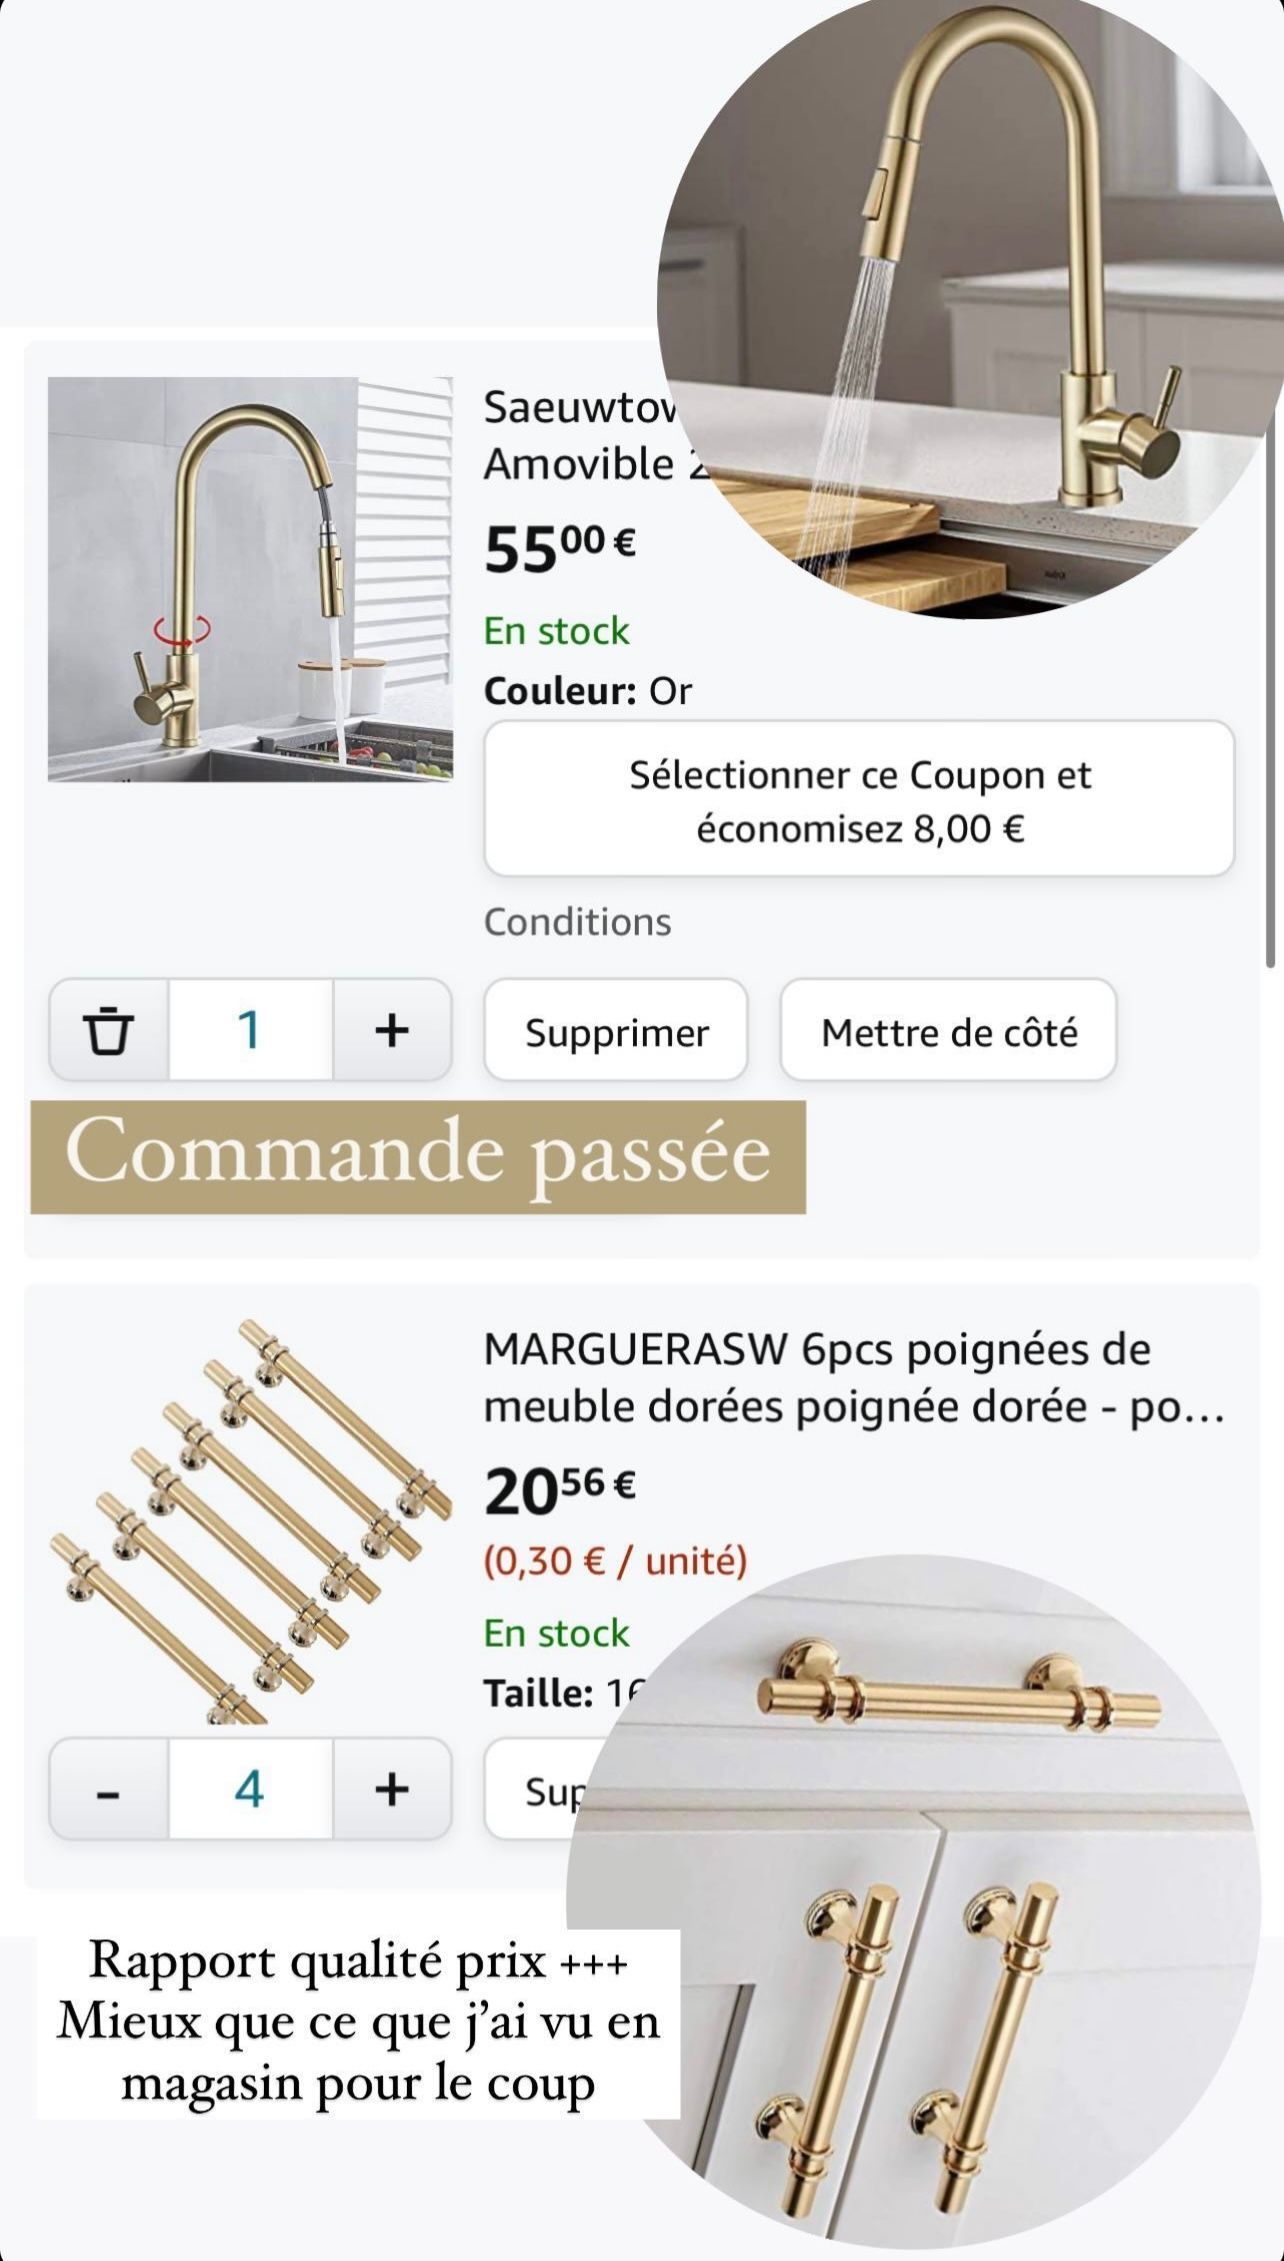
Finally, I replaced the faucet, pendant light, and cabinet handles with more modern elements. I chose gold accents to create an elegant contrast with the paint.

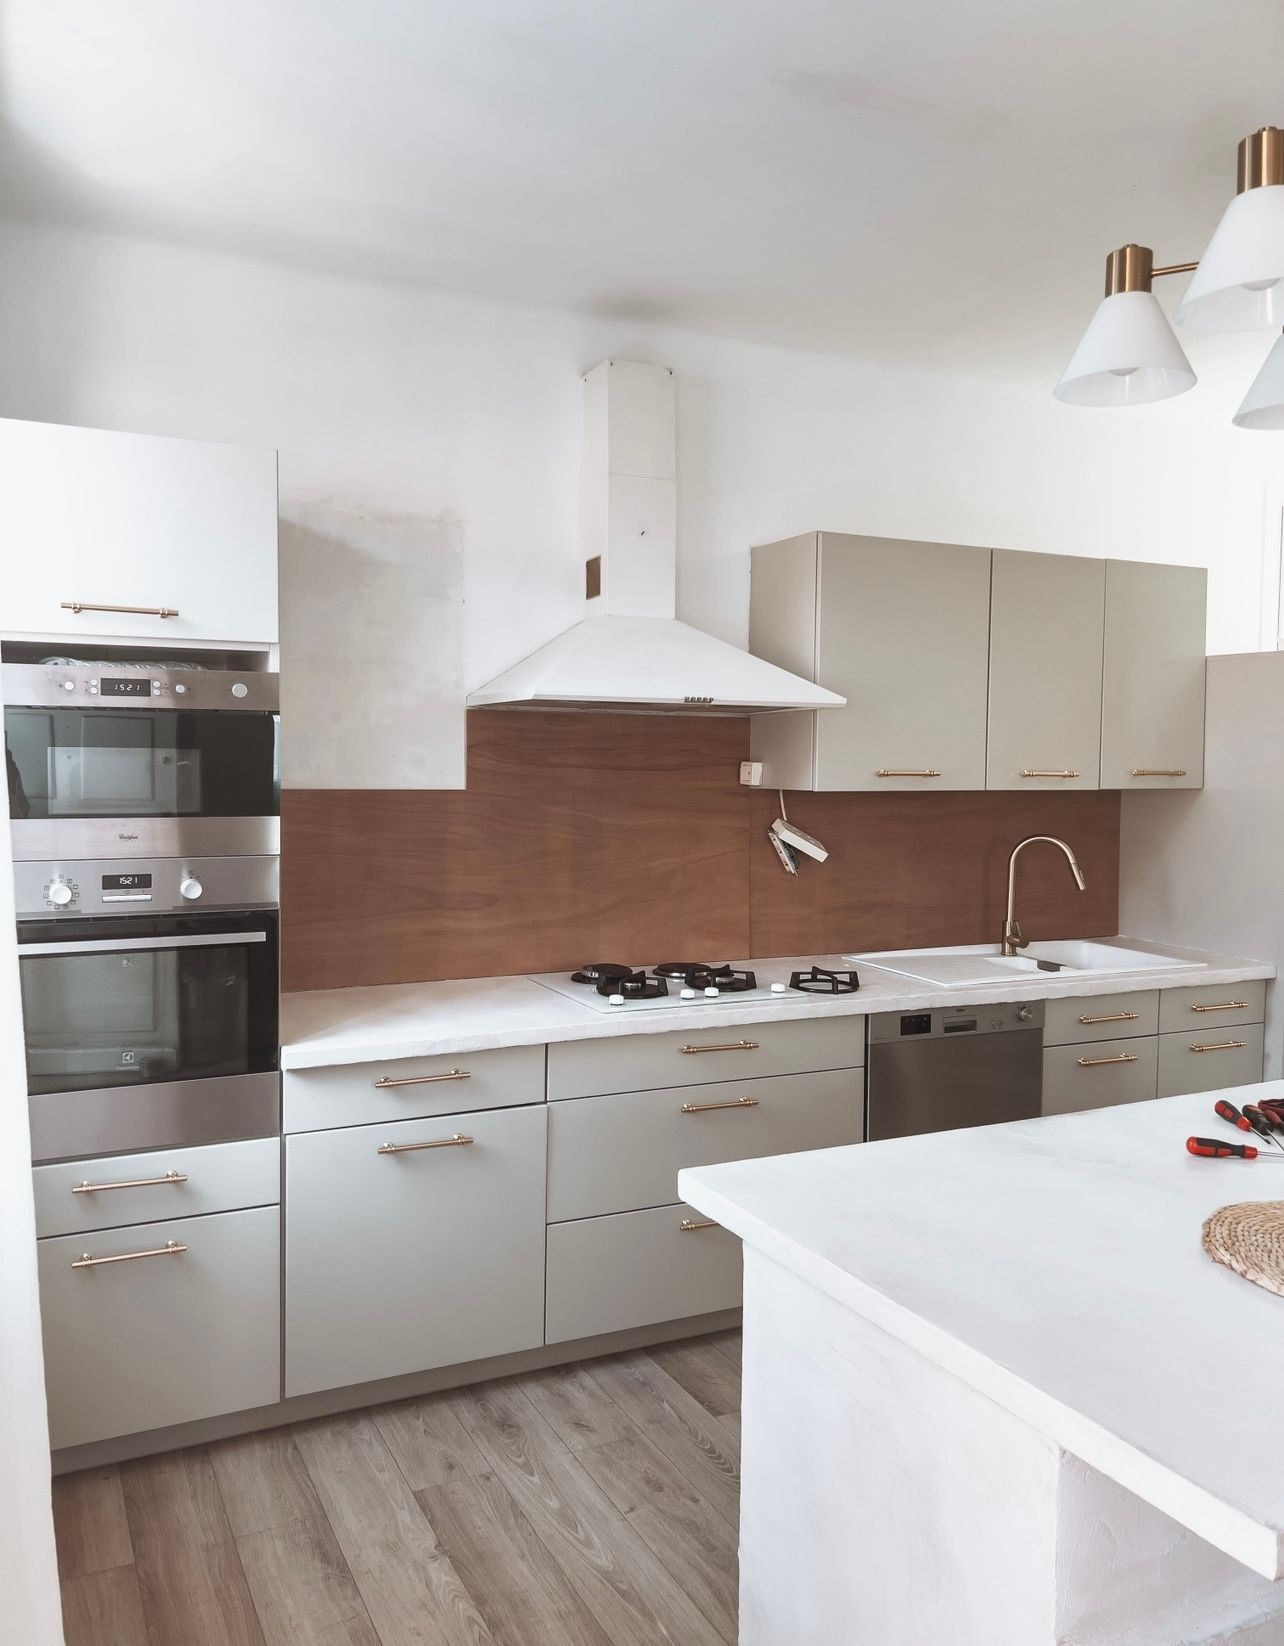
The final result is incredibly satisfying. My kitchen now boasts a brand new, modern, and well-lit look. The small changes I made had a significant impact on the kitchen's appearance.
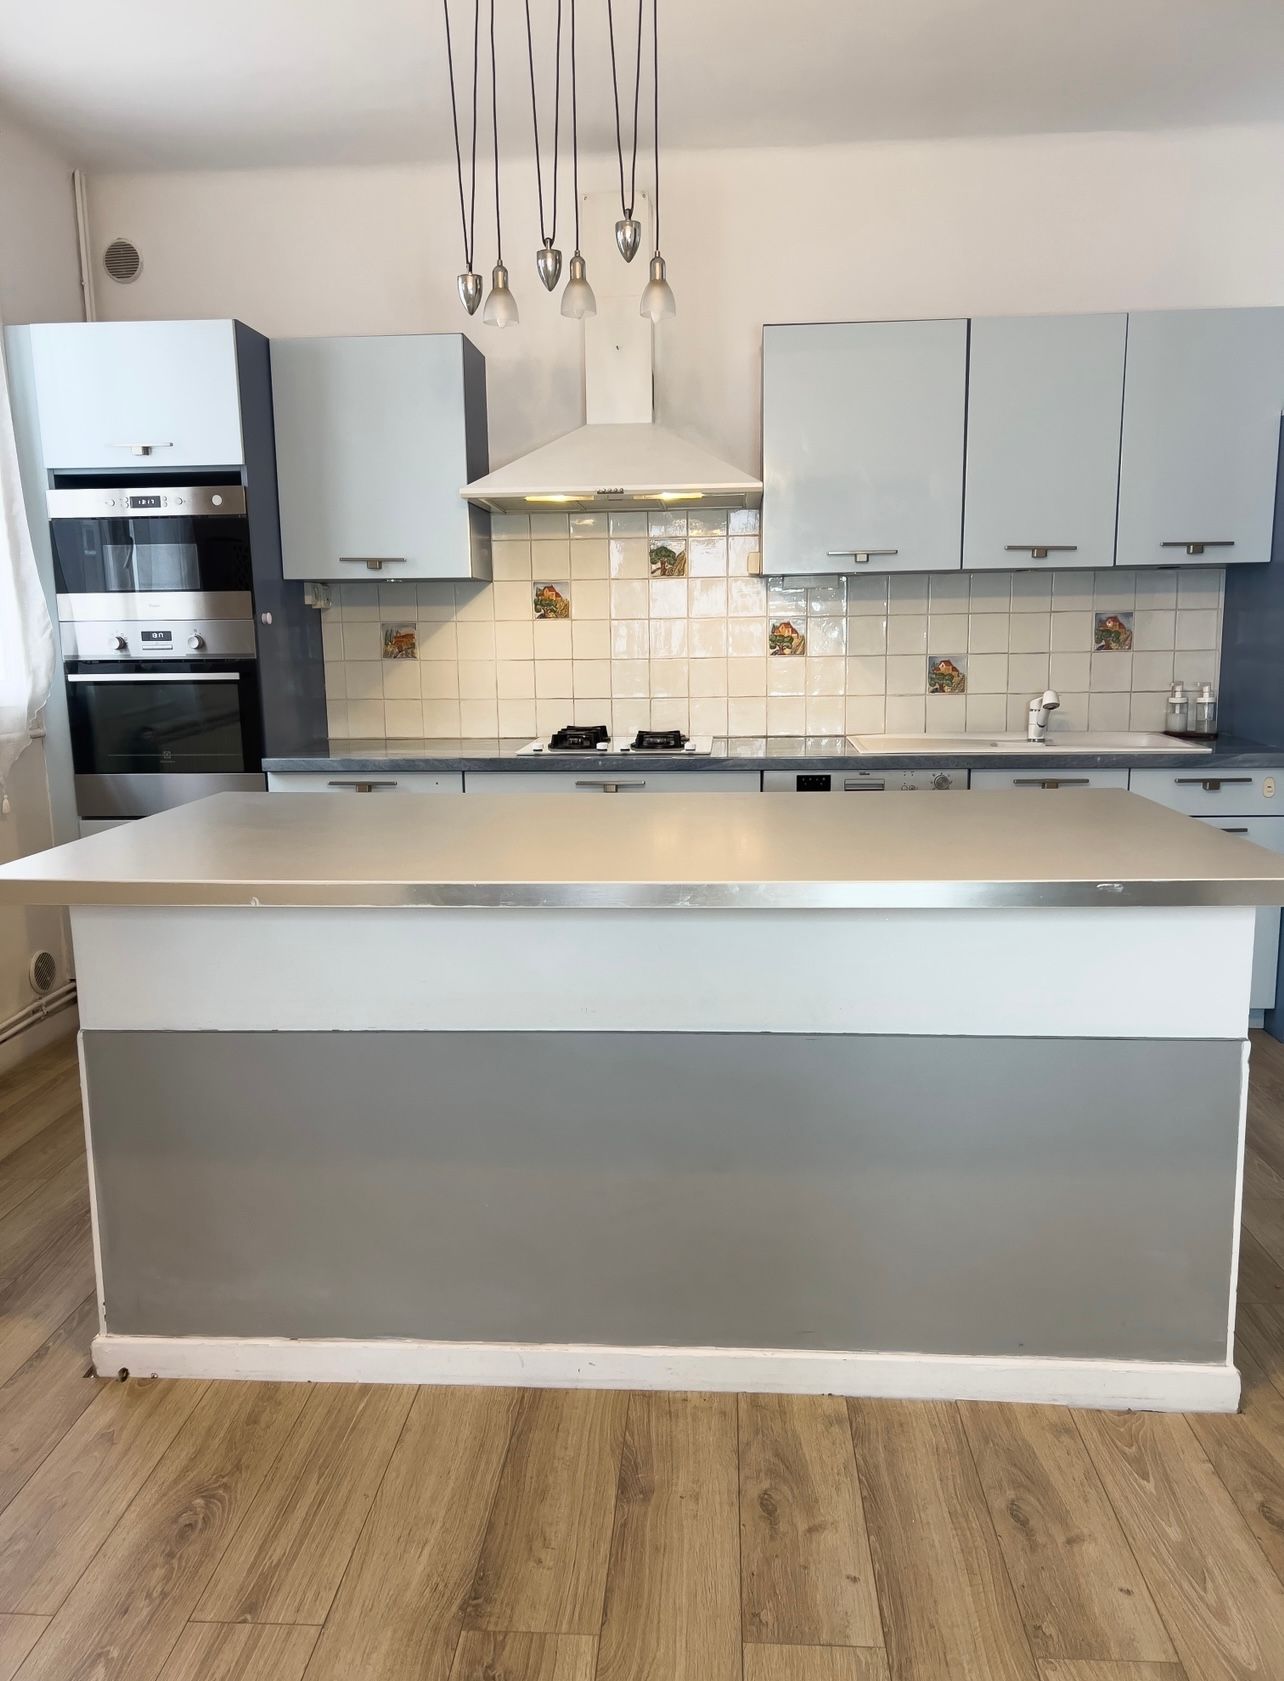
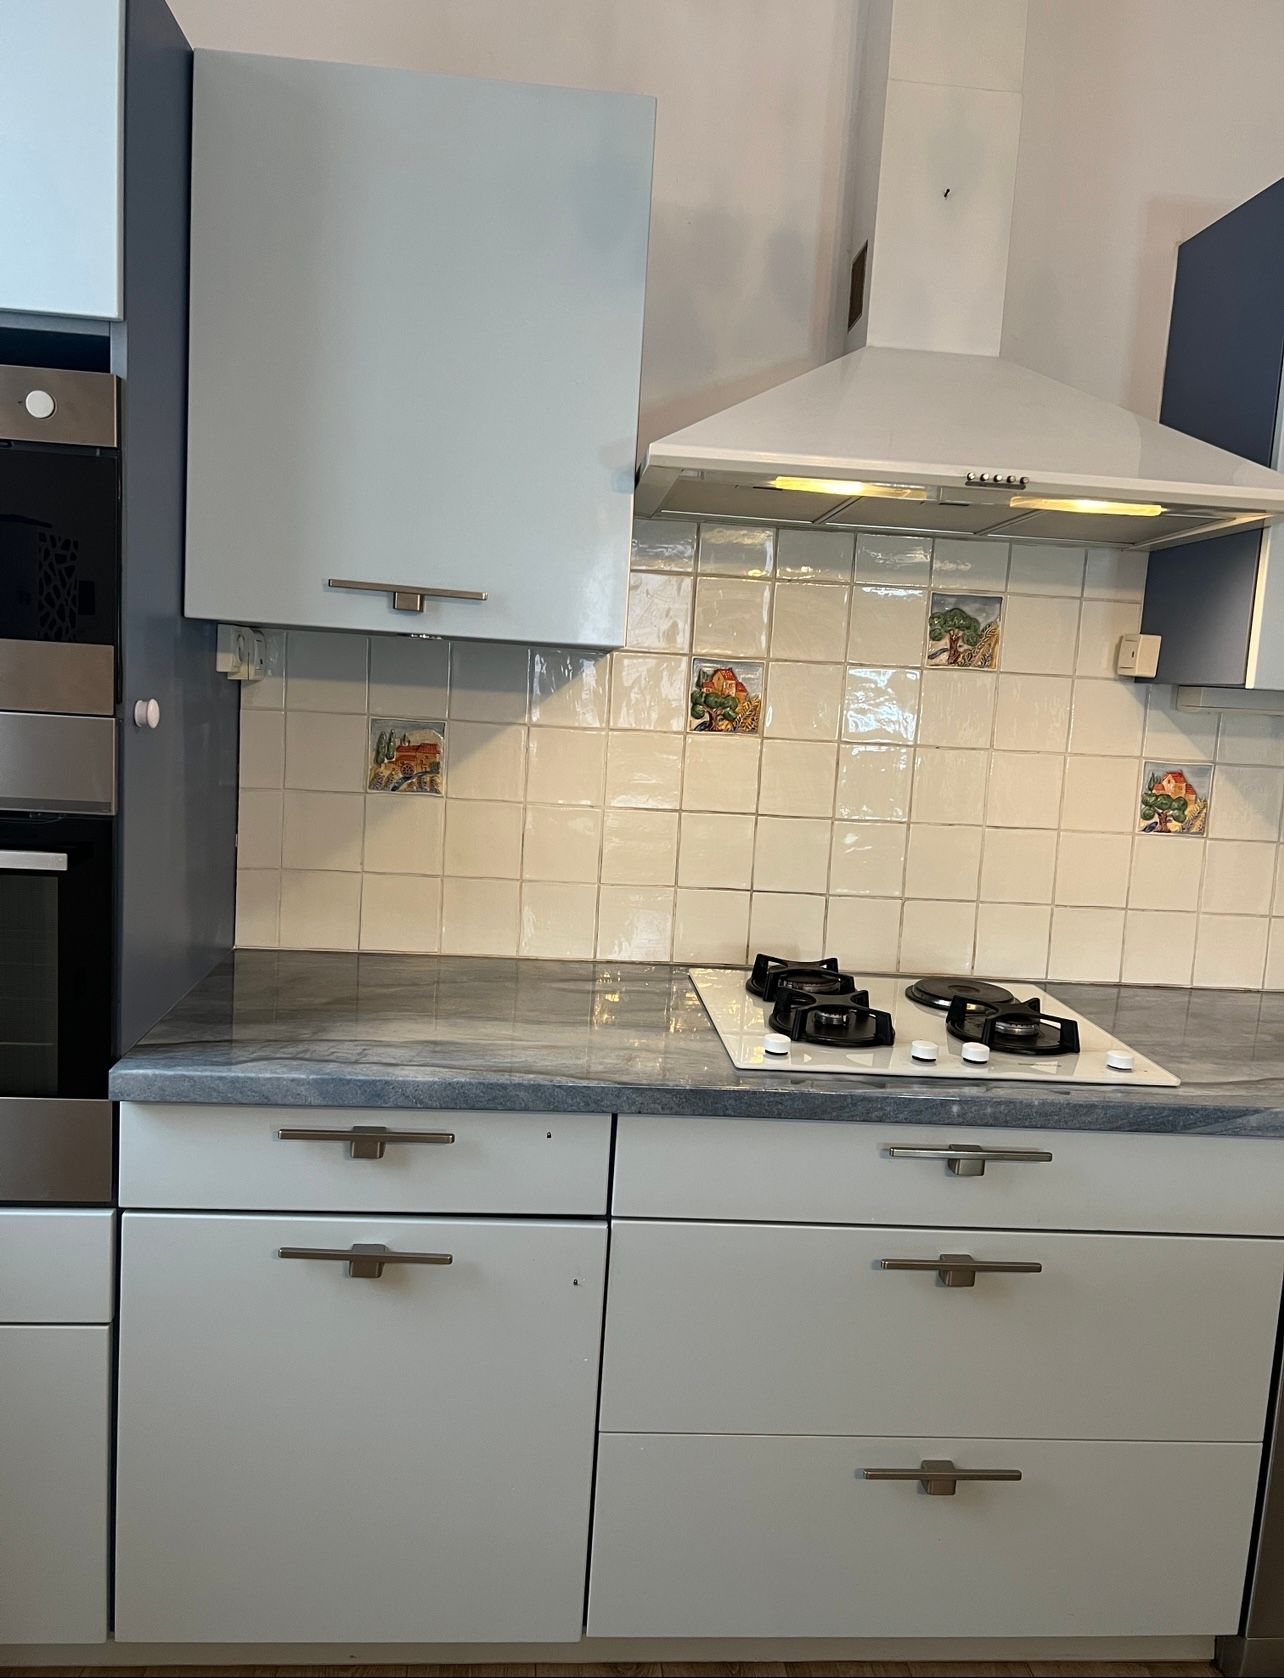
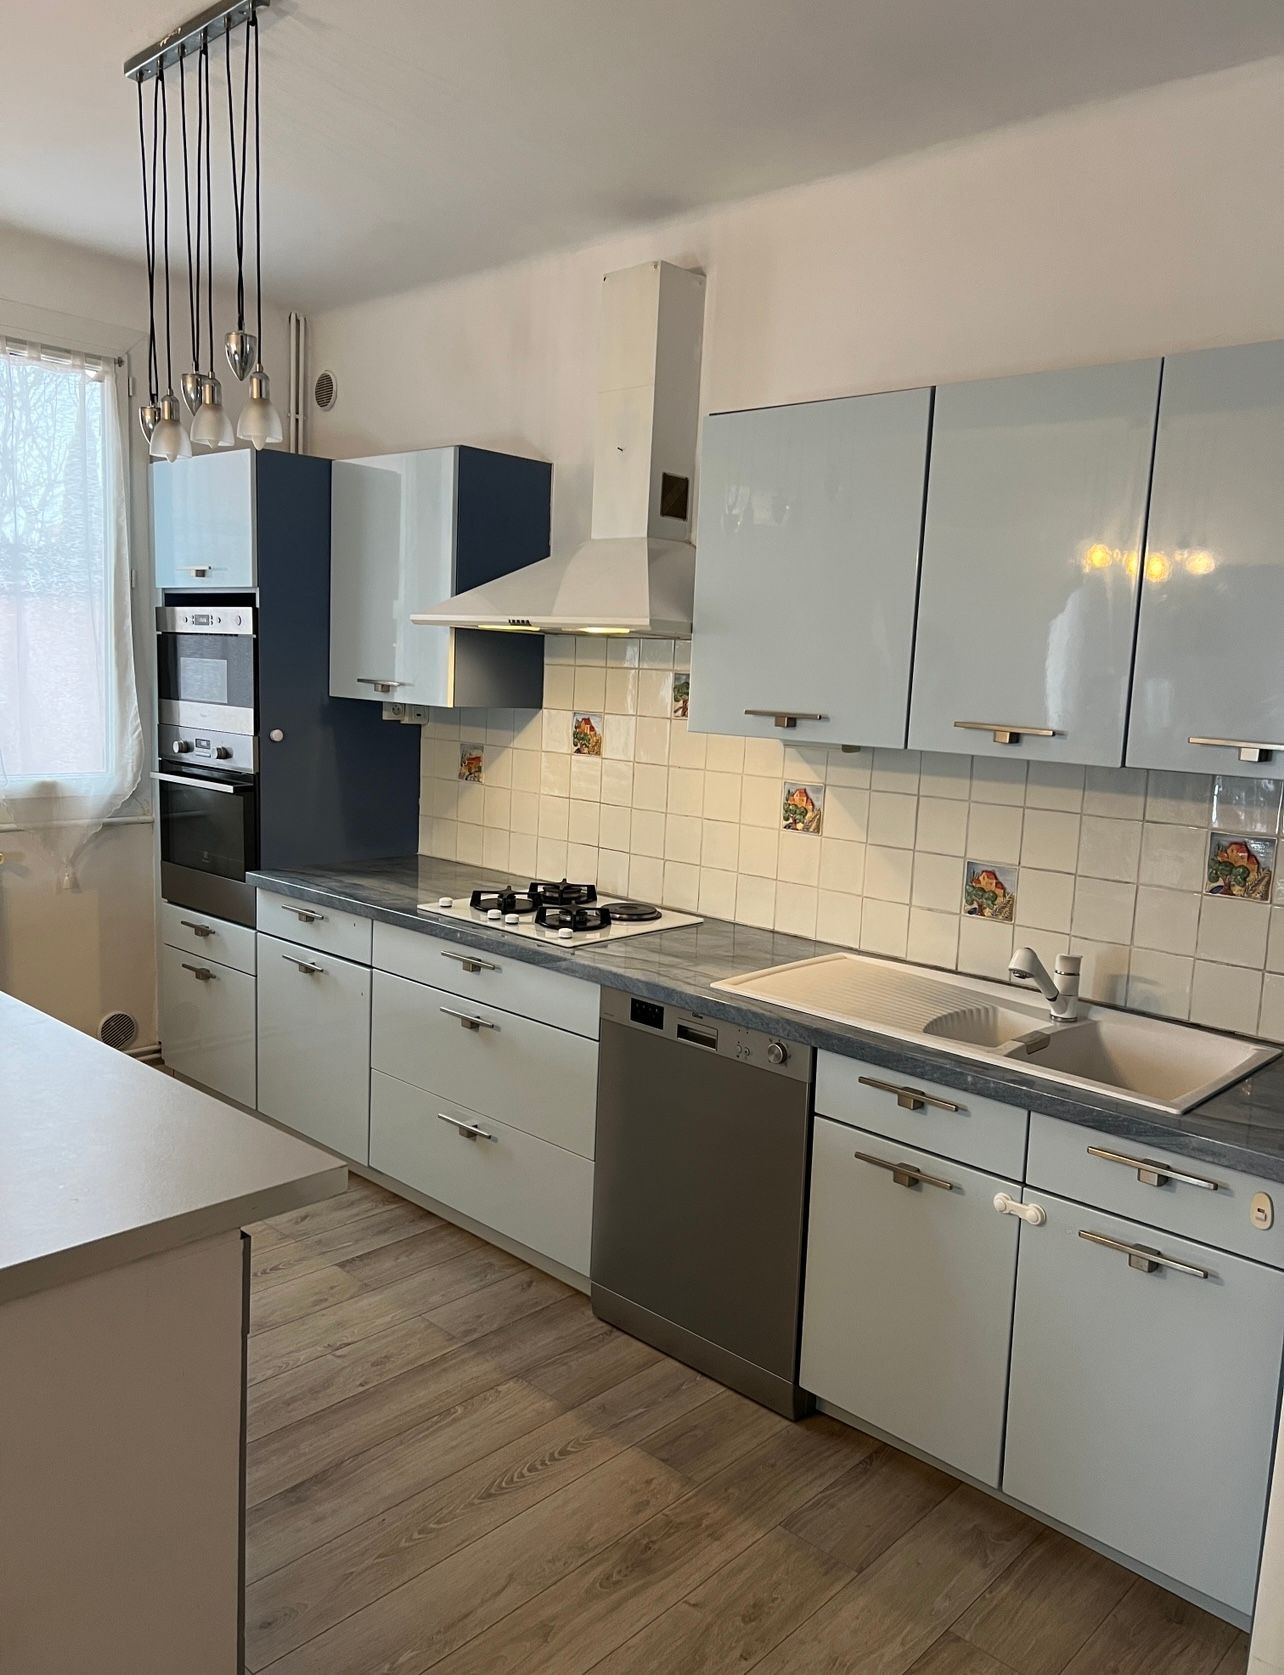
Kitchen Before

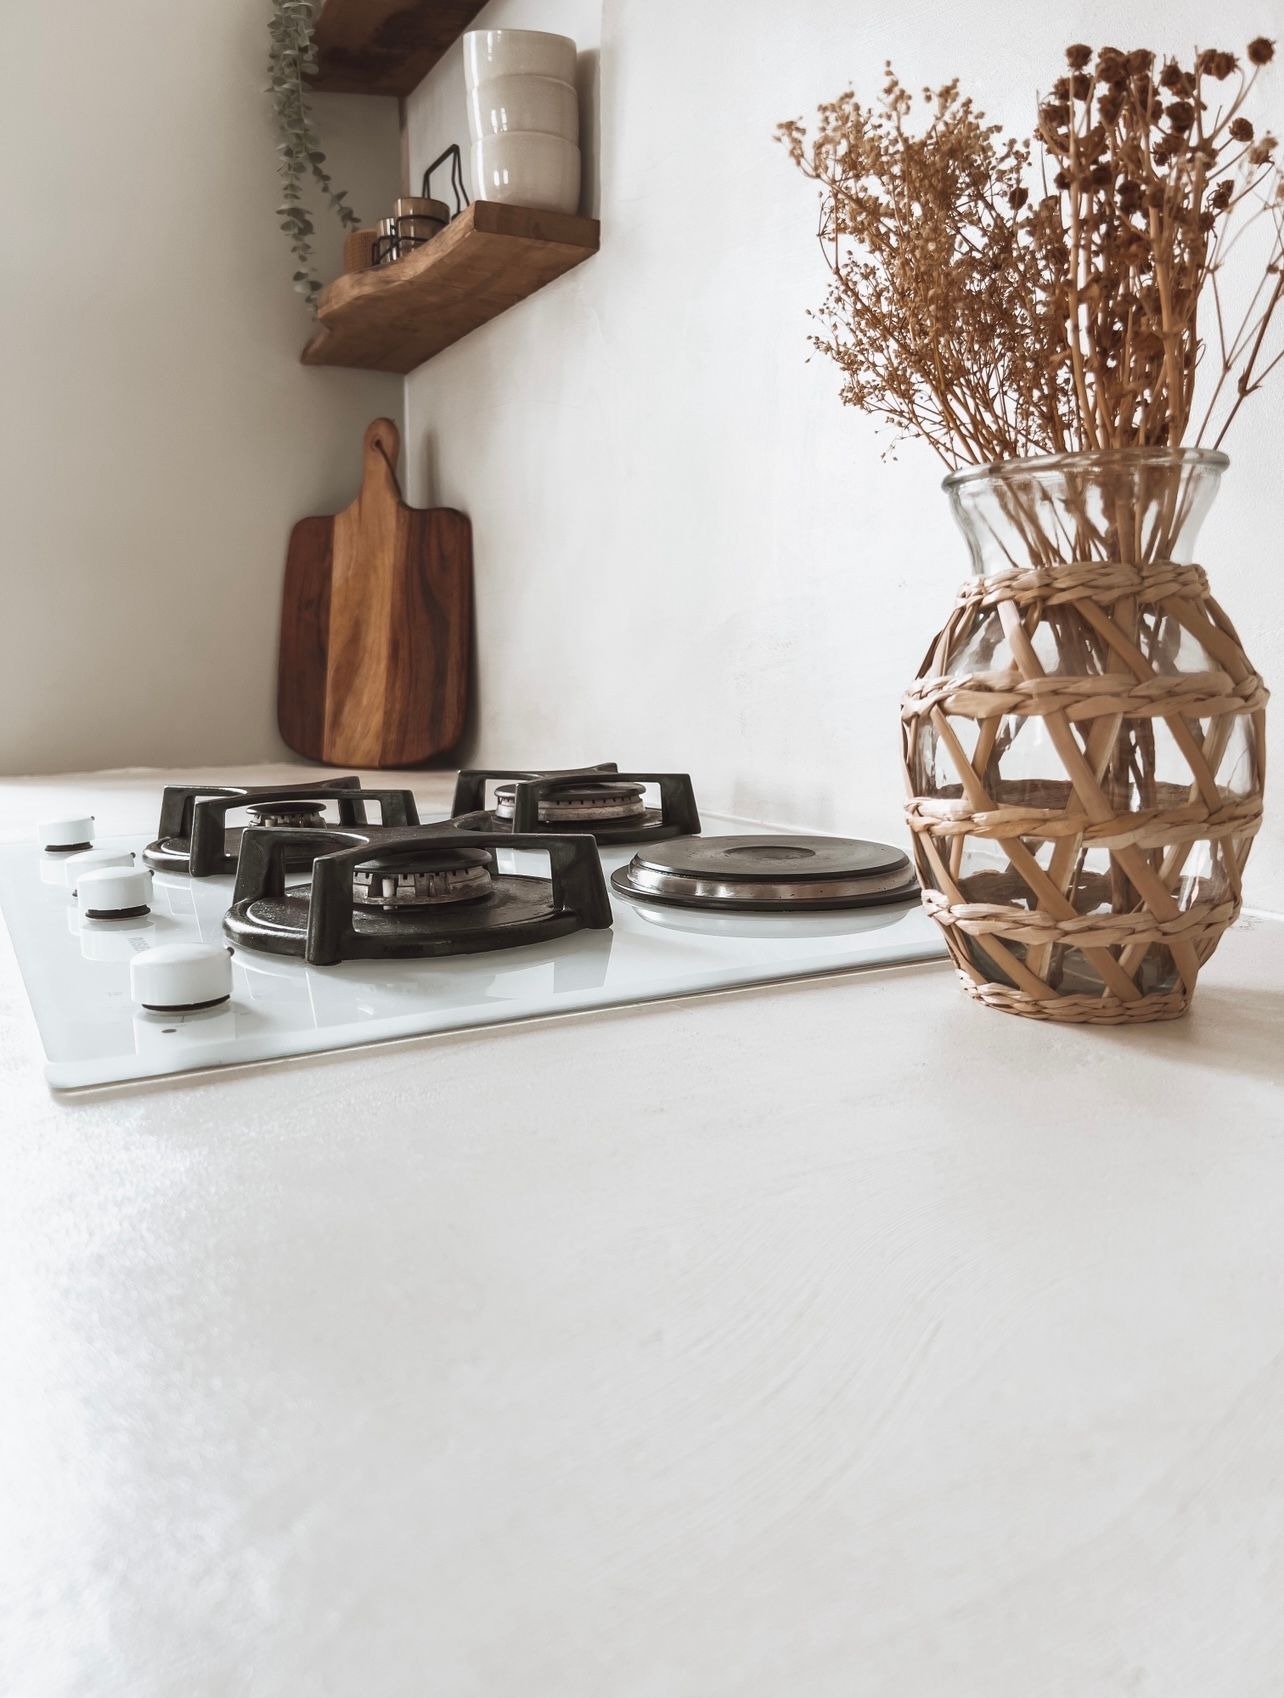
Kitchen After
In conclusion, kitchen renovation doesn't have to be expensive to yield impressive results. By using special paint, polished concrete, and wooden battens, I managed to modernize my kitchen without going over budget. Don't hesitate to be creative and add your personal touch to create a kitchen that is unique and tailored to your taste.