A DIY you can go wild with, and customise to fit your space and your 'hanging' needs!
Why this DIY
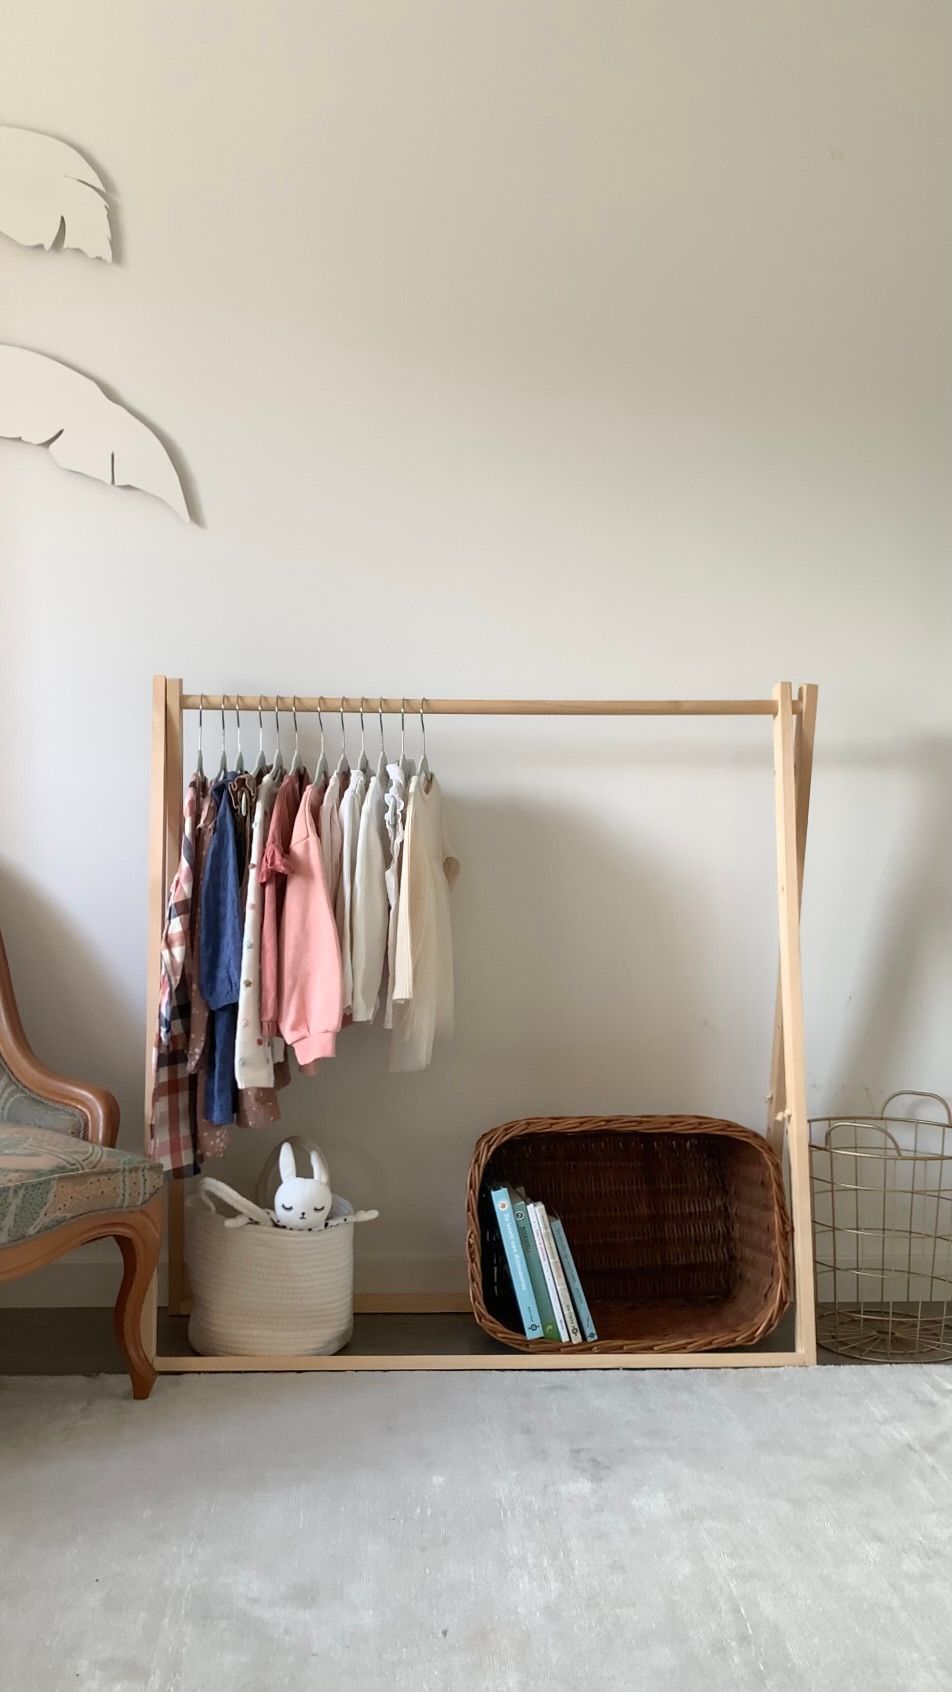
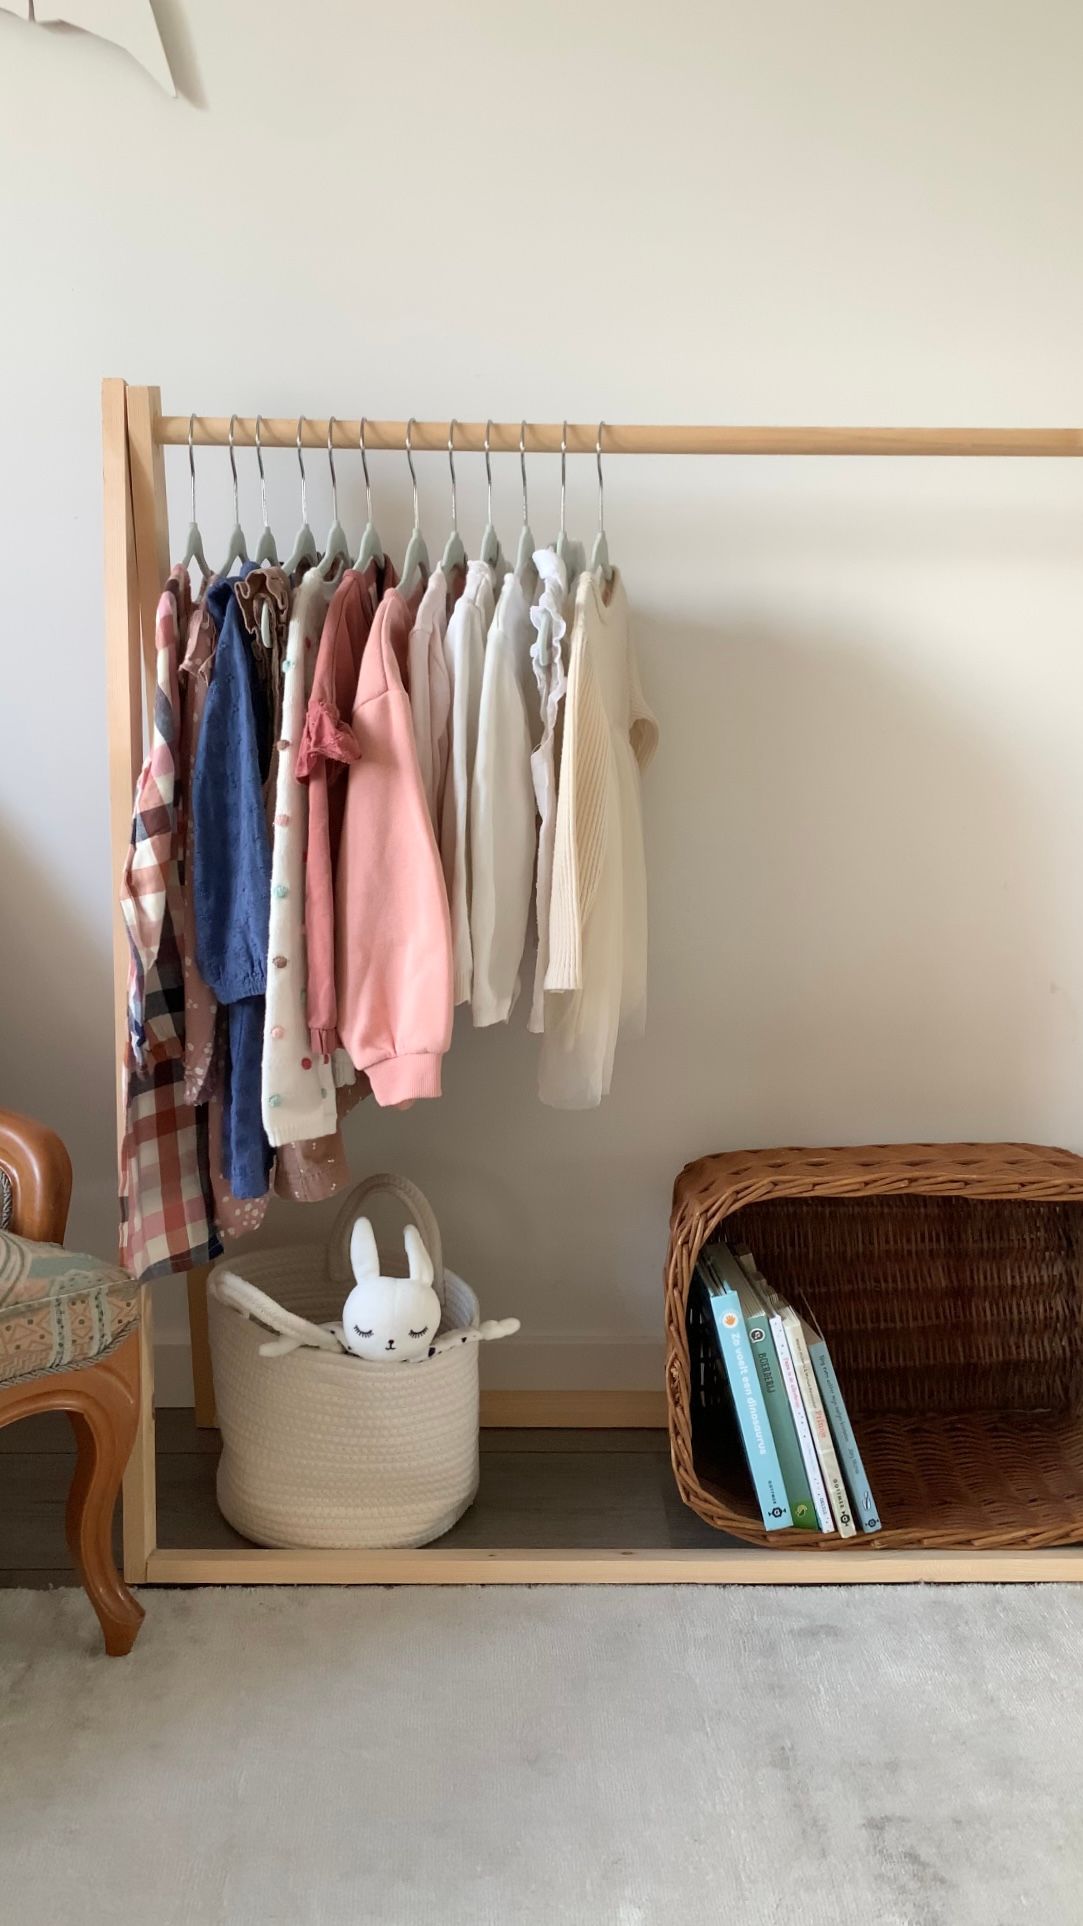
I needed something to be able to hang my daughter's clothes on but I didn't want it to take up too much space, look 'heavy' or have doors on it. The options I saw online were either not the right dimensions or expensive. So I decided to make it myself! And I'm sooo happy with how it turned out! Because of the easy access my daughter can hang her own clothes and play dress-up. She loves it!
Did I already mention it's a budget friendly DIY? I made this clothing rack from scraps I had from other DIY projects. So technically it didn't cost me a thing :D
With this DIY you can go wild with the dimensions as long as you take into account that the taller you make it, the wider and heavier the base has be to ensure stability and preventing the rack to tilt over. You can also choose to leave the rod wider so it sticks out on both sides for extra hanging options.
I based the dimensions of the clothing rack on the space and the scraps I had to work with. I had a 104 cm rod left so that was going to be the width. I wanted my daughter to be able to acces her clothes and I wanted to have enough space underneath her clothes to put some baskets for her books and toys, so I figured it should be 100 cm high.
What you need
- 6 pieces of 40 mm wide x 18 mm thick x 100 cm long standard pine
- 1 rod of 18 mm diameter x 104 cm
- saw: this can be a handsaw or a mitre saw to cut the pieces
- drill
- 18 mm spade drill bit
- 2 pieces of rope (you can use leather or any kind of woven fabric)
- optional: paint
How to
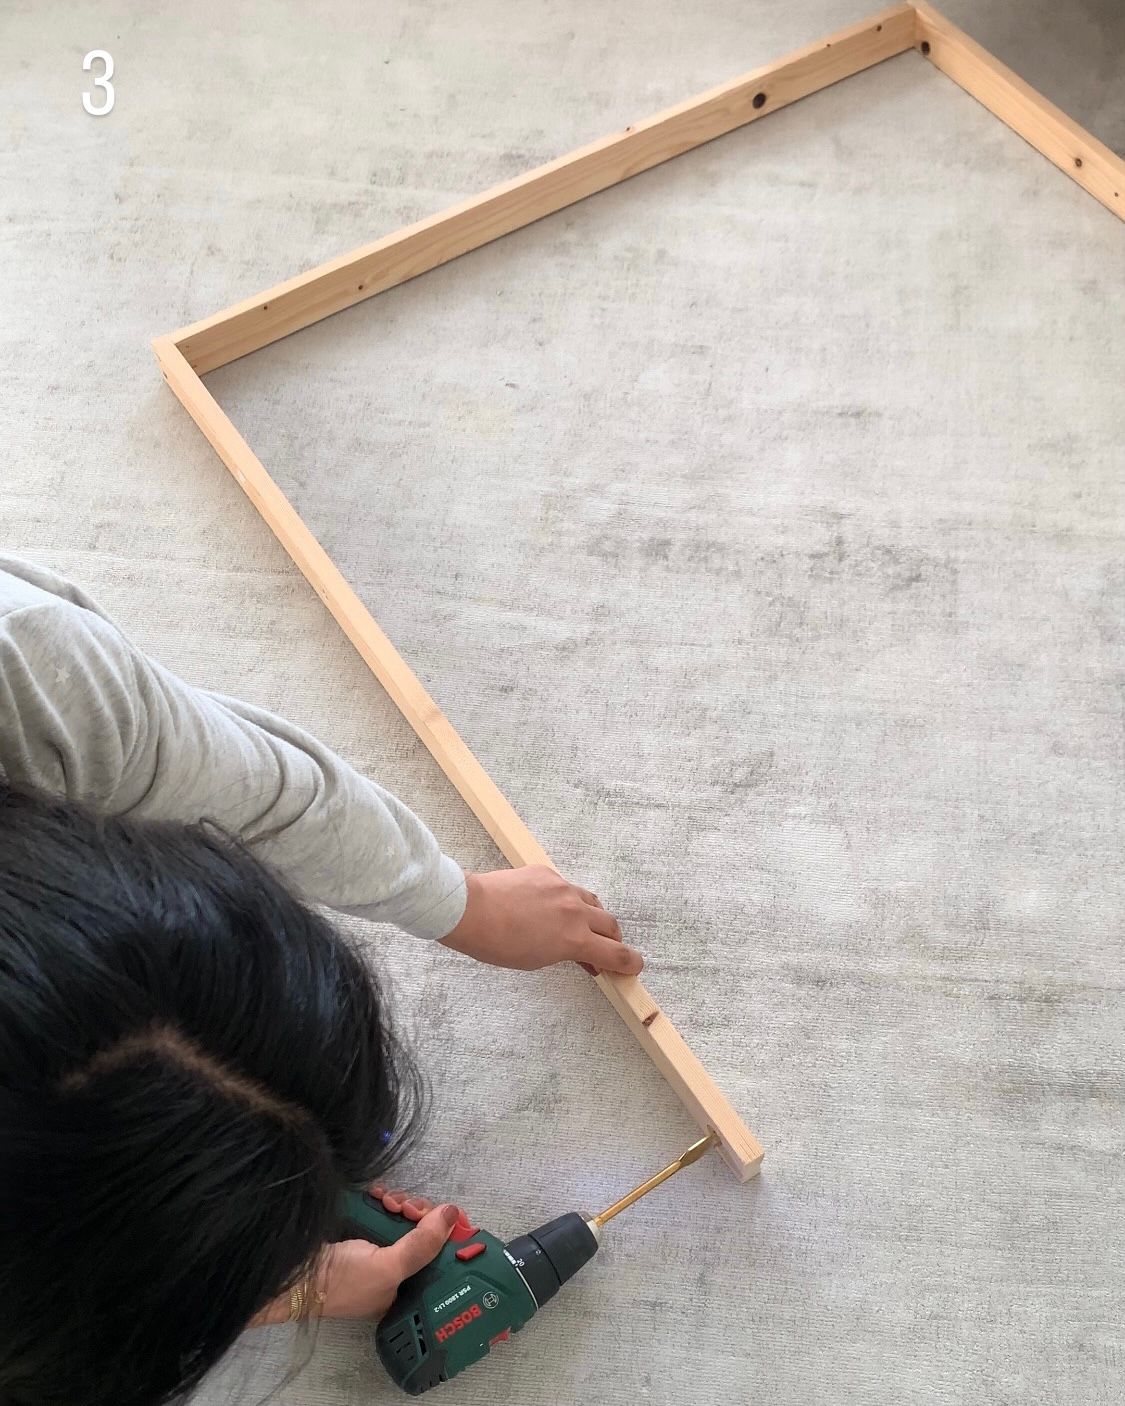
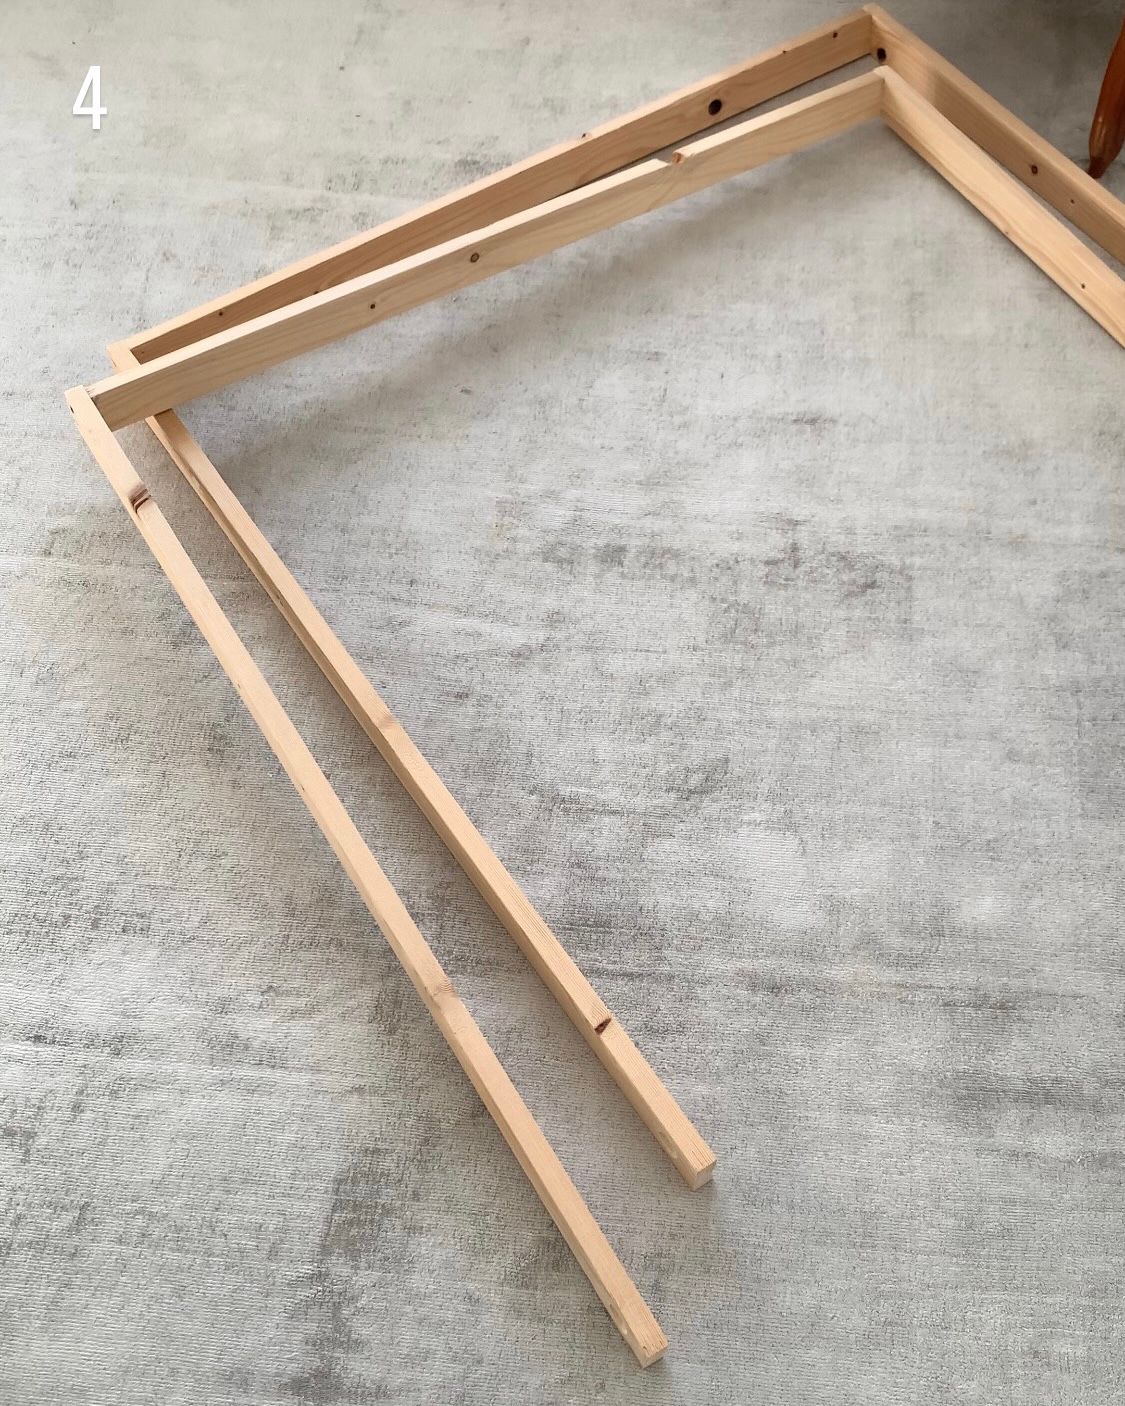
- cut the ends of 4 timber pieces on a 15 degree angle. I only cut the base at this angle but you can also cut the tops at this angle for a teepee look
- stand two pieces of timber and cross them at the top. mark where the timbers overlap
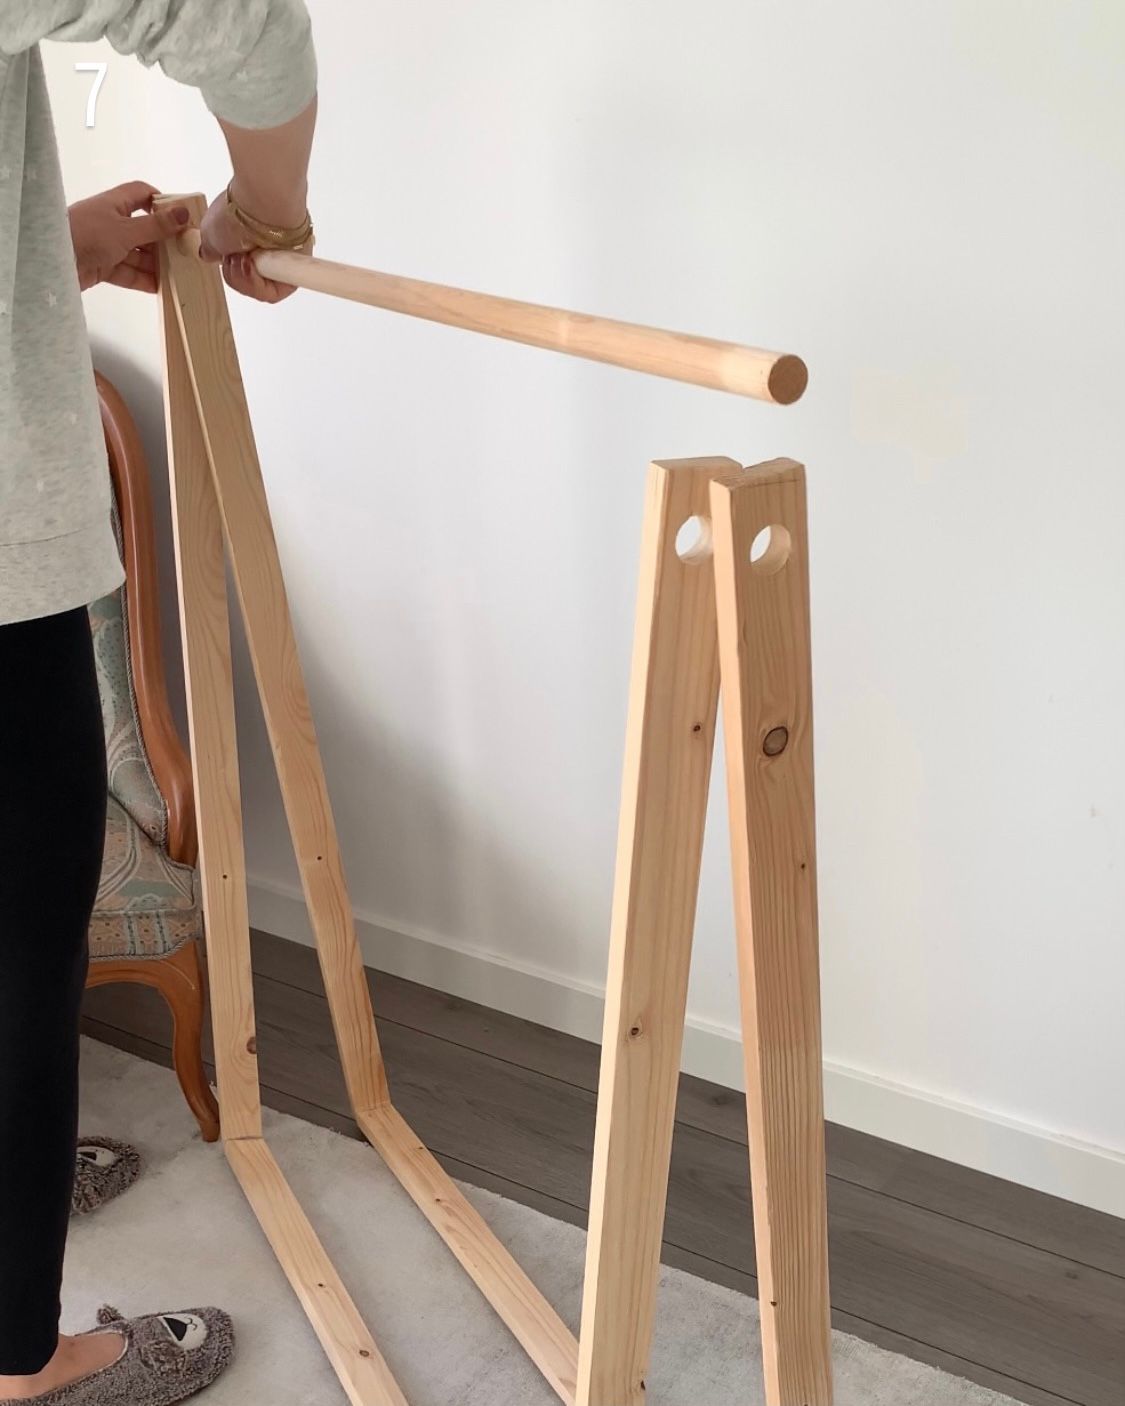
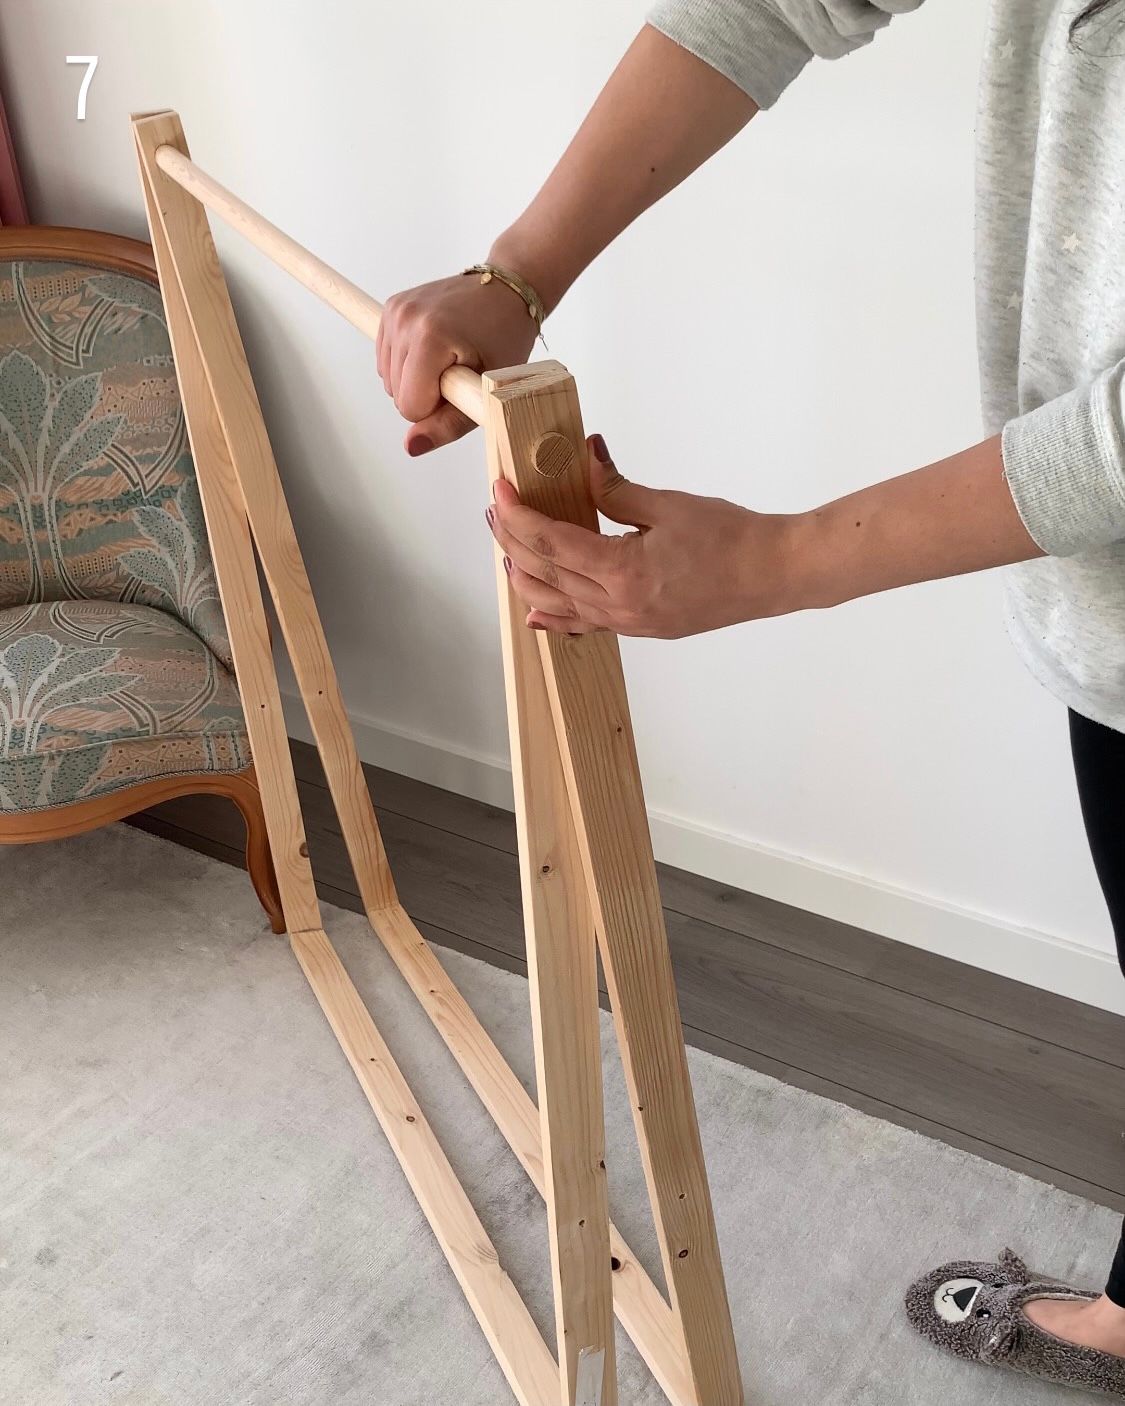
- find the centre of the overlapped space and use the spade drill bit to drill out a 18 mm holes on all 4 pieces. this is where the rod goes
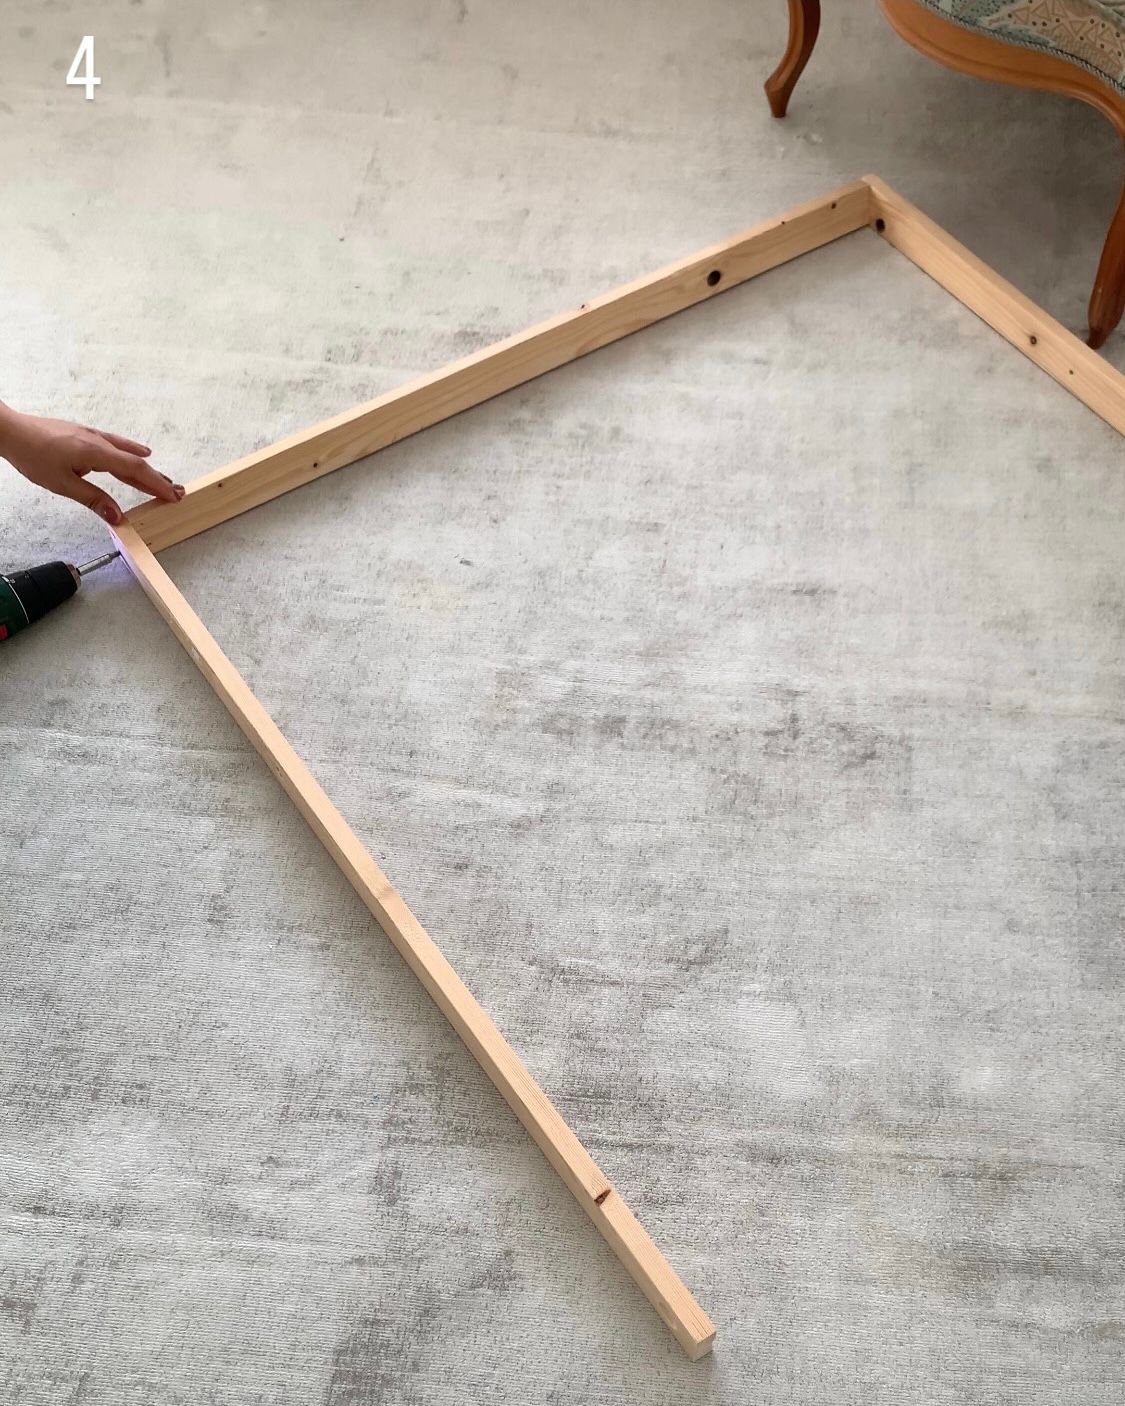
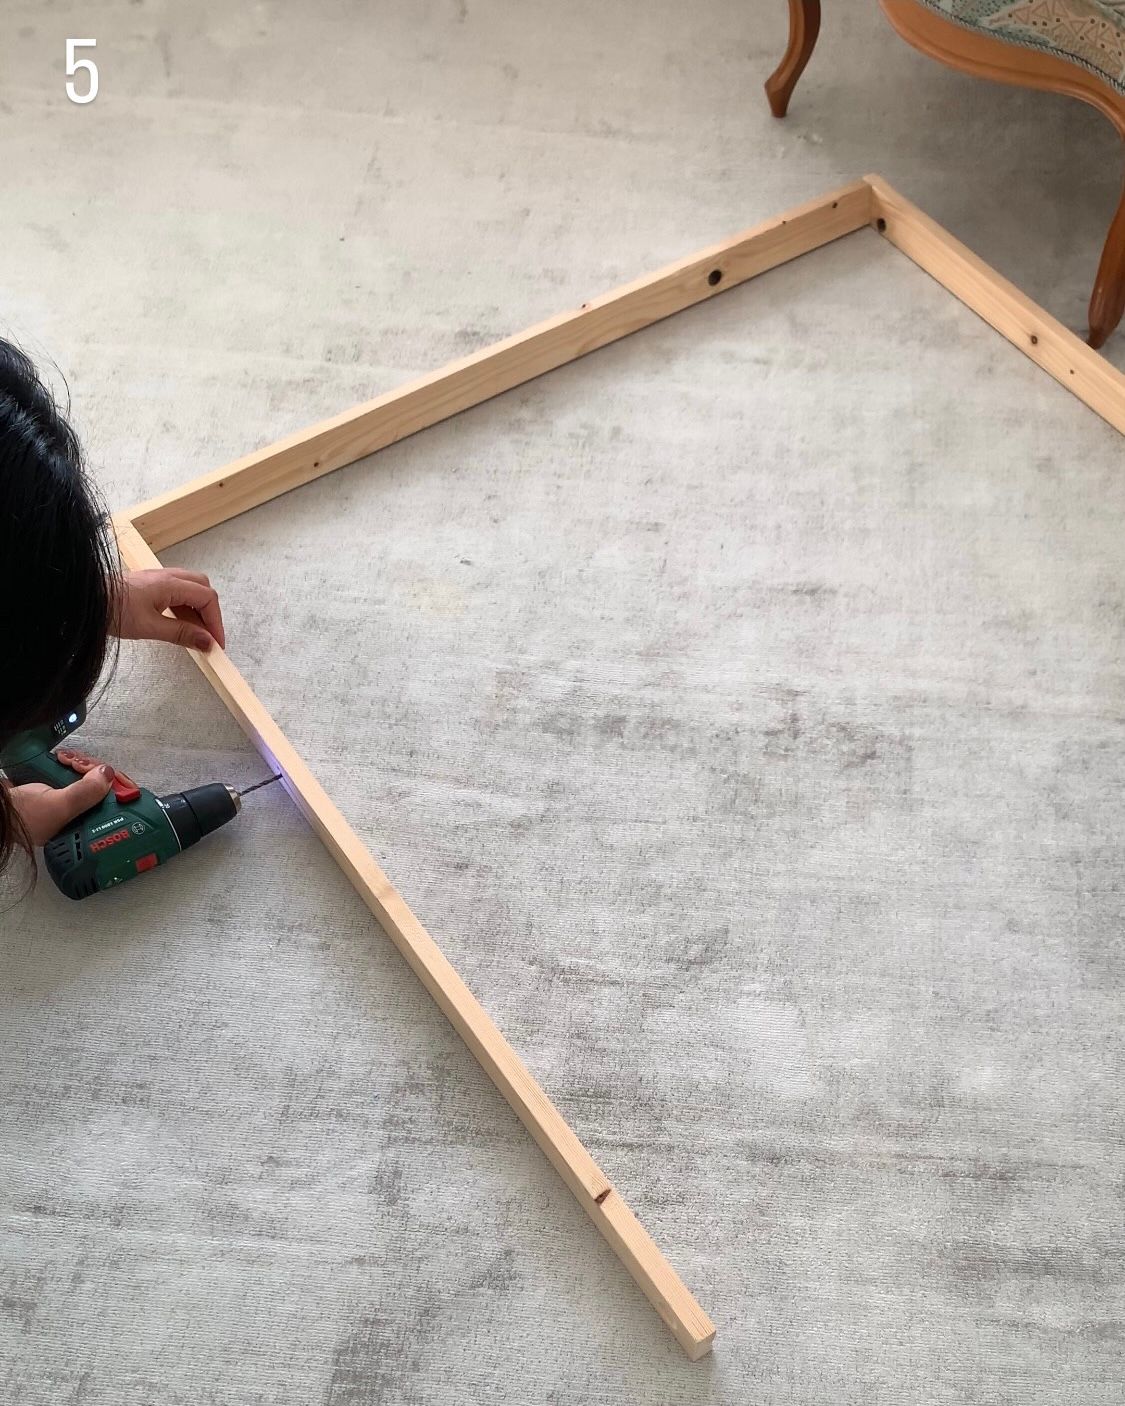
- attach the other 2 timber pieces to the standing pieces where you cut them at an angle, creating 2 u-forms
- drill a small hole about 1/3 from the bottom on each of the standing pieces, making it 4 holes in total. the diameter depends on the material you'll use that goes through these holes
- optional: paint it and let it dry
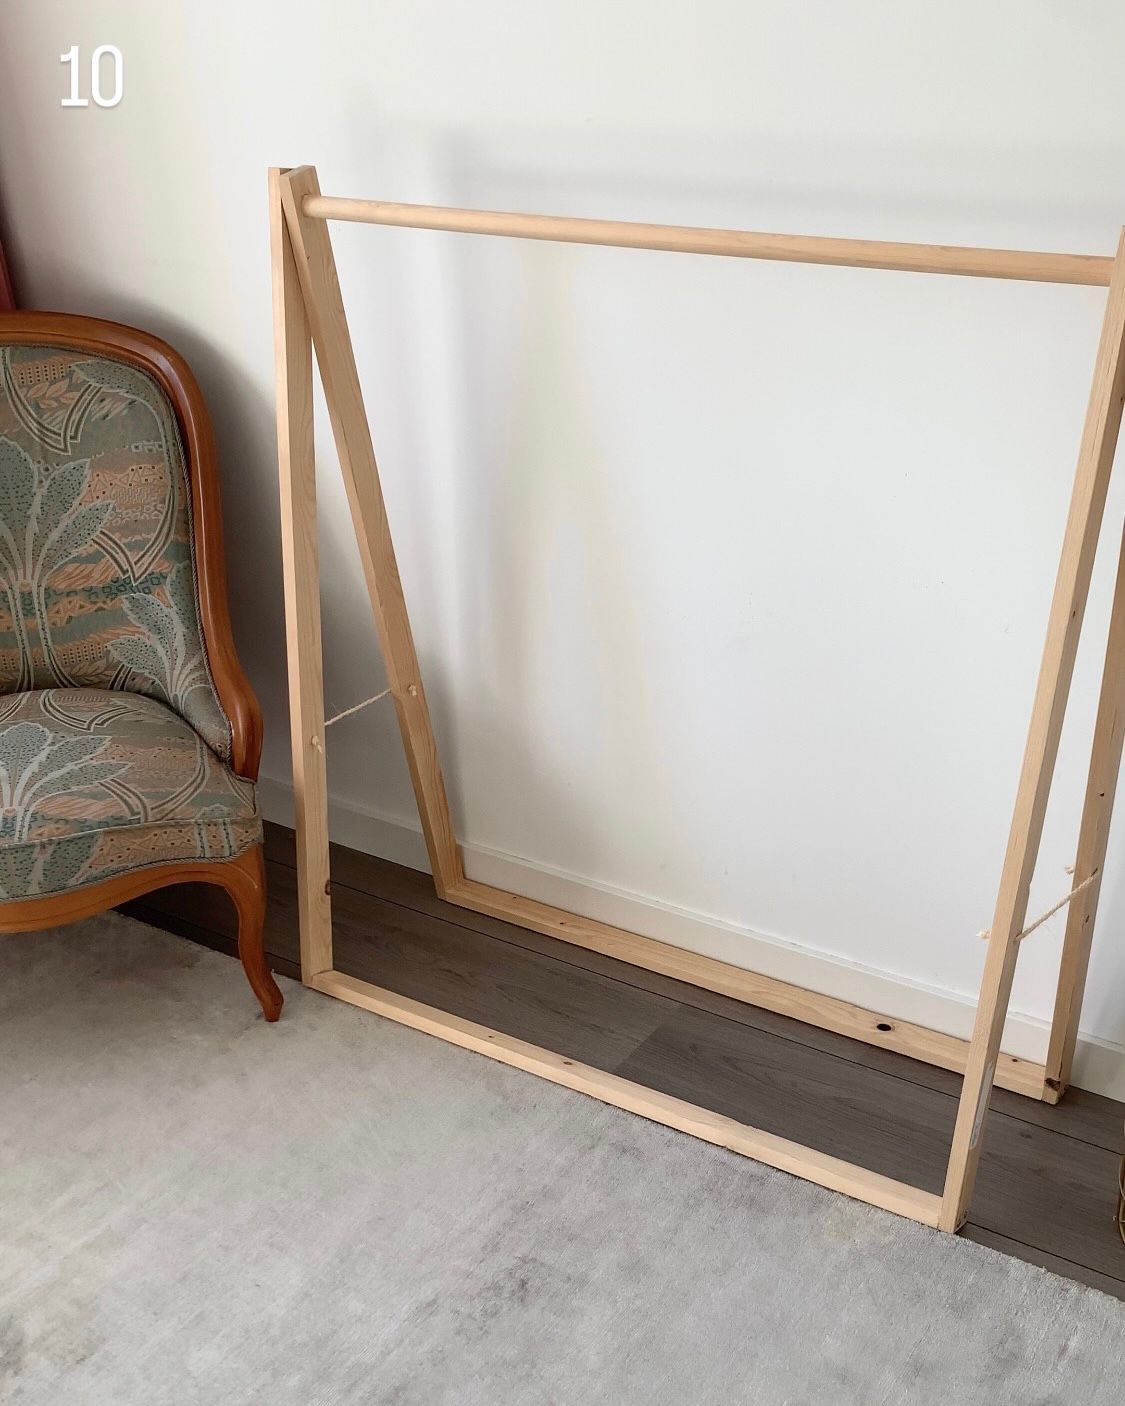
- put your clothing rack together by standing 2 pieces of you timber at each end and feeding your rod through
- optional: I felt the clothing rack was secure but if you would like to you can secure it further by glueing the overlapping parts at the top and the rod into place.
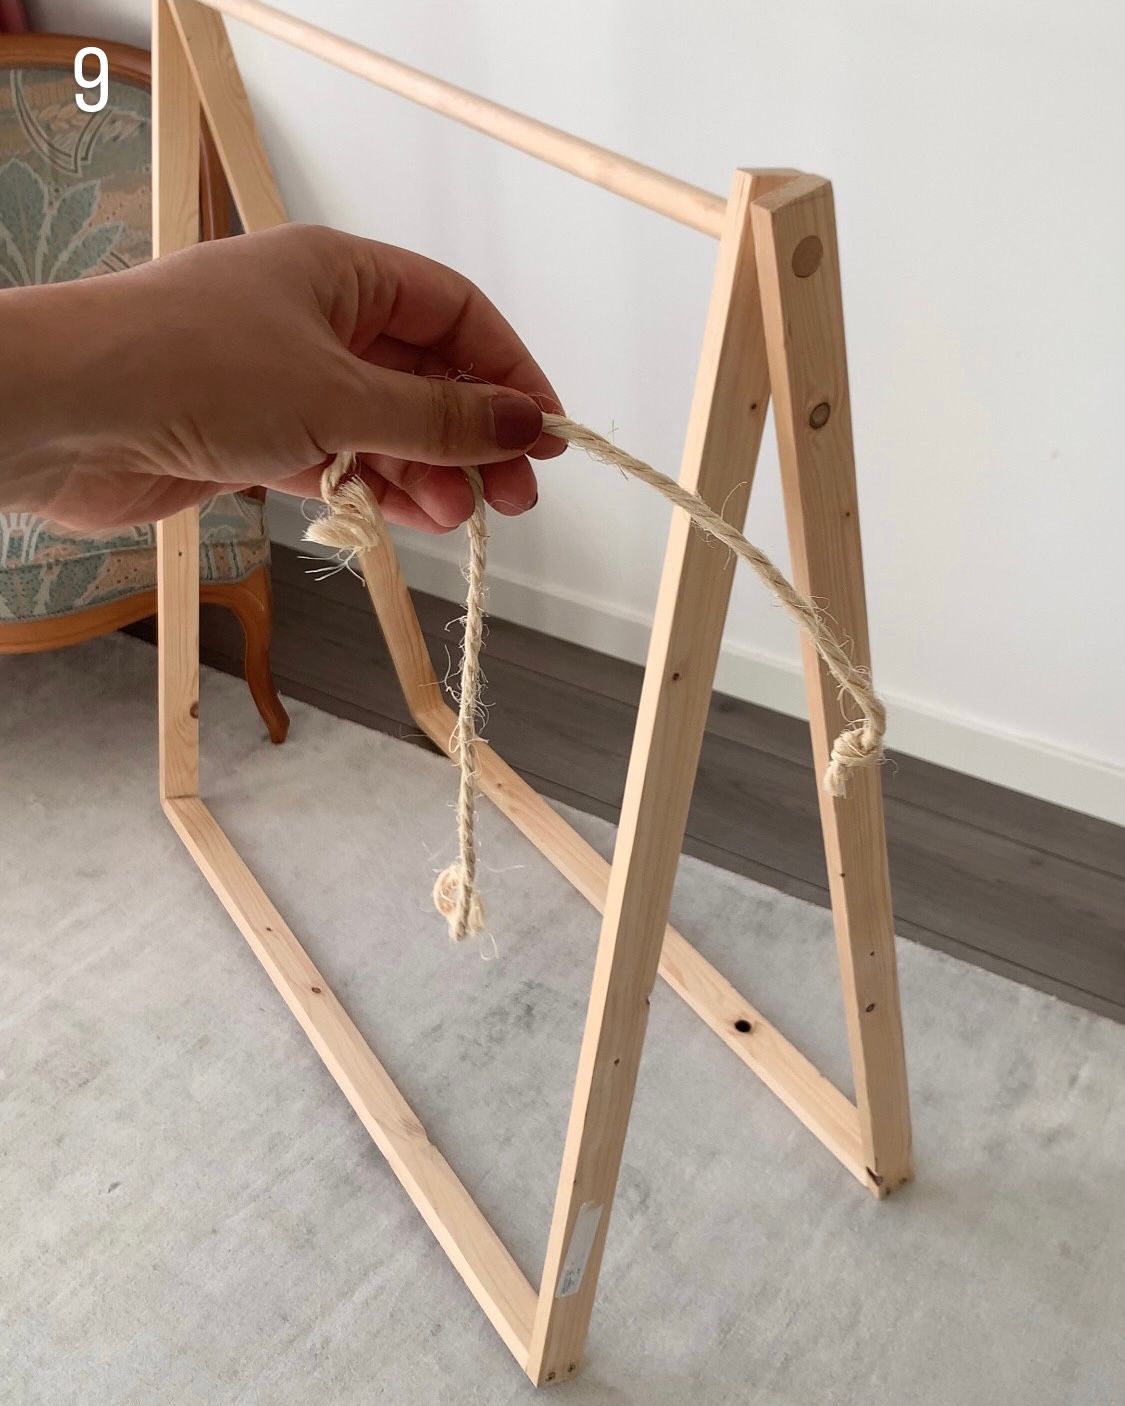
- pull the ropes on both sides through the holes you made and cut to size after tying knots
images numbered with corresponding steps:

Visit my instagram page for the tutorial video and more details
Visit my instagram page for the tutorial video and more details.
I hope I have inspired you to build one and if you do please do tag me... I would love to see it!
Love,
Mina (@home.by.mi)
Pssst... I've revealed a sneak peak of my next DIY I'll be sharing ;) Did you spot it?