Are you tired of the messy wires and cables around your TV area? Dreaming of a sleek, stylish TV bench but don’t want to break the bank? Well, we’ve got the perfect DIY project for you! With some leftover wood and a bit of elbow grease, you can create a custom-made TV bench that not only hides all those pesky cords but also looks fabulous. Let’s dive into this fun and exciting project!
Materials Needed:
- Wood boards (we used 1.8 cm thick boards)
- Two legs (50cm x 30cm)
- One top board (30cm x 139.6cm)
- One back panel (50cm x 45.6cm)
- One shelf (15cm x 139.6cm)
- Sandpaper (P180 grit)
- Primer
- Paint (we used Lady Journ - Hvit Te, same as our walls)
- Metal angles (for attaching legs to the top board)
- Screws
- Screwdriver
- Paintbrush
Step-by-Step Guide:
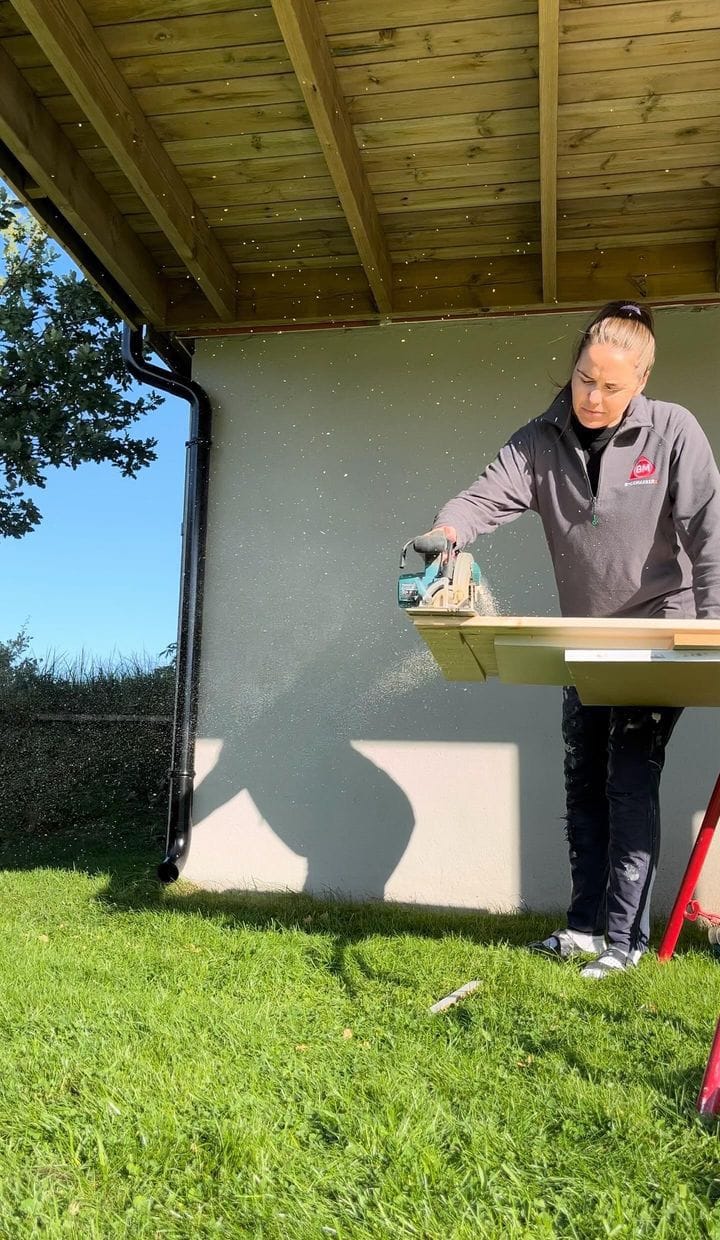
Step 1: Measure and Cut
First things first, measure the space where your TV bench will sit. This will help you determine the dimensions of your wood pieces. Once you have your measurements, cut the boards to the sizes listed above.
Step 2: Sanding
Time to smooth things out! Sand down all the wood pieces using P180 grit sandpaper. This will ensure a smooth surface for painting and assembling.

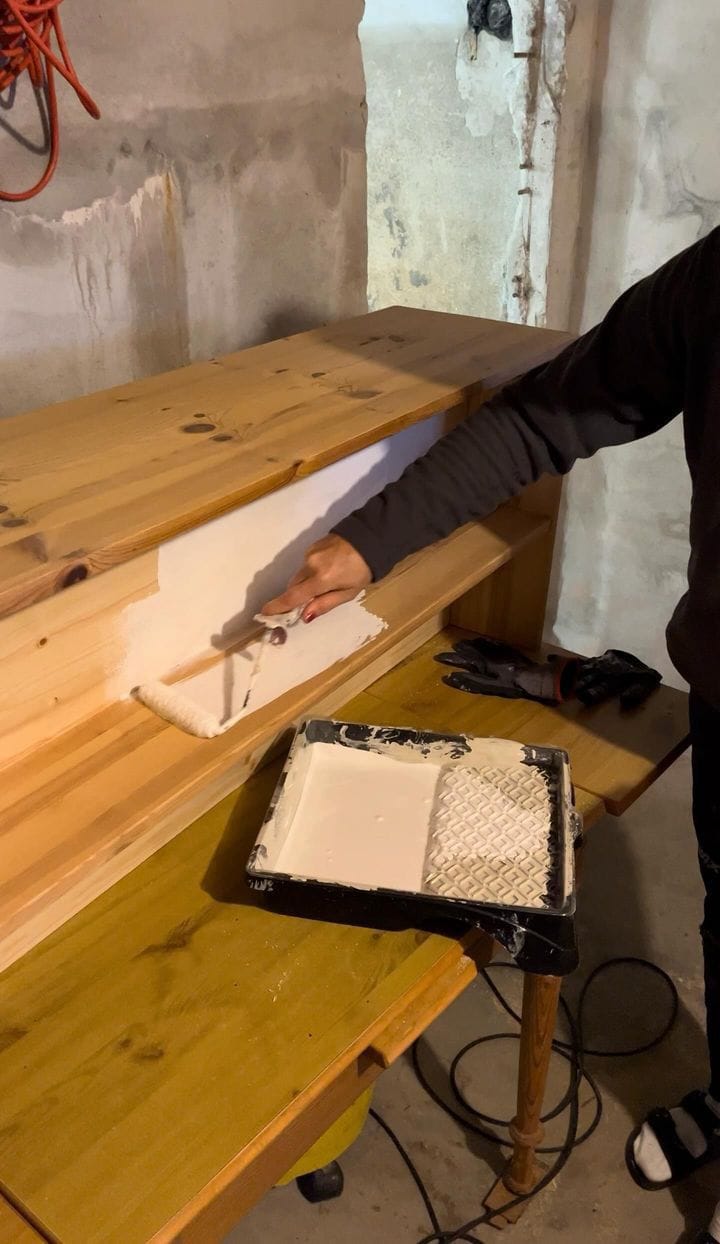
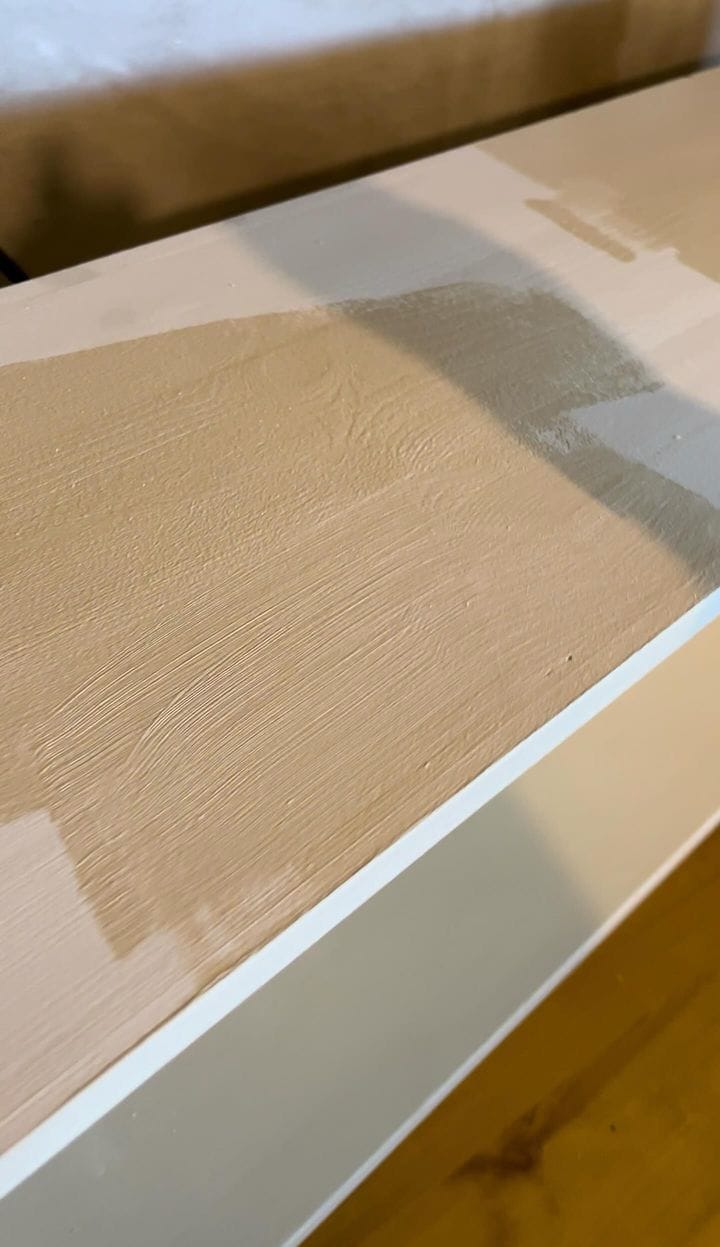
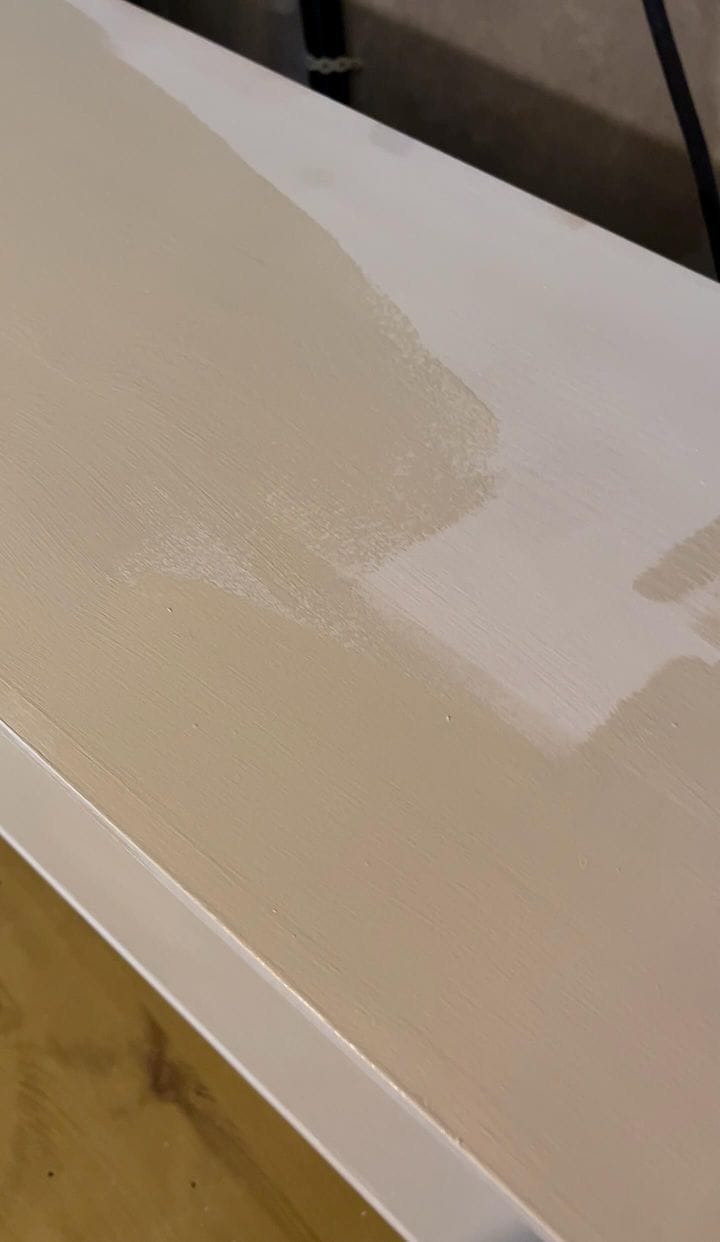
Step 3: Prime and Paint
Now for the fun part—painting! Apply one coat of primer to all the wood pieces. Once the primer is dry, follow up with two coats of your chosen paint color. We went with Lady Journ - Hvit Te to match our walls. Make sure to let the paint dry completely between coats.
Step 4: Assemble the Legs and Top Board
Grab your metal angles and screws. Attach the legs to the top board using two metal angles on each side. Make sure they’re securely fastened for a sturdy base.
Step 5: Attach the Back Panel
Next, position the back panel in the center of the bench. Attach it to the legs from the back side using screws and your trusty screwdriver.
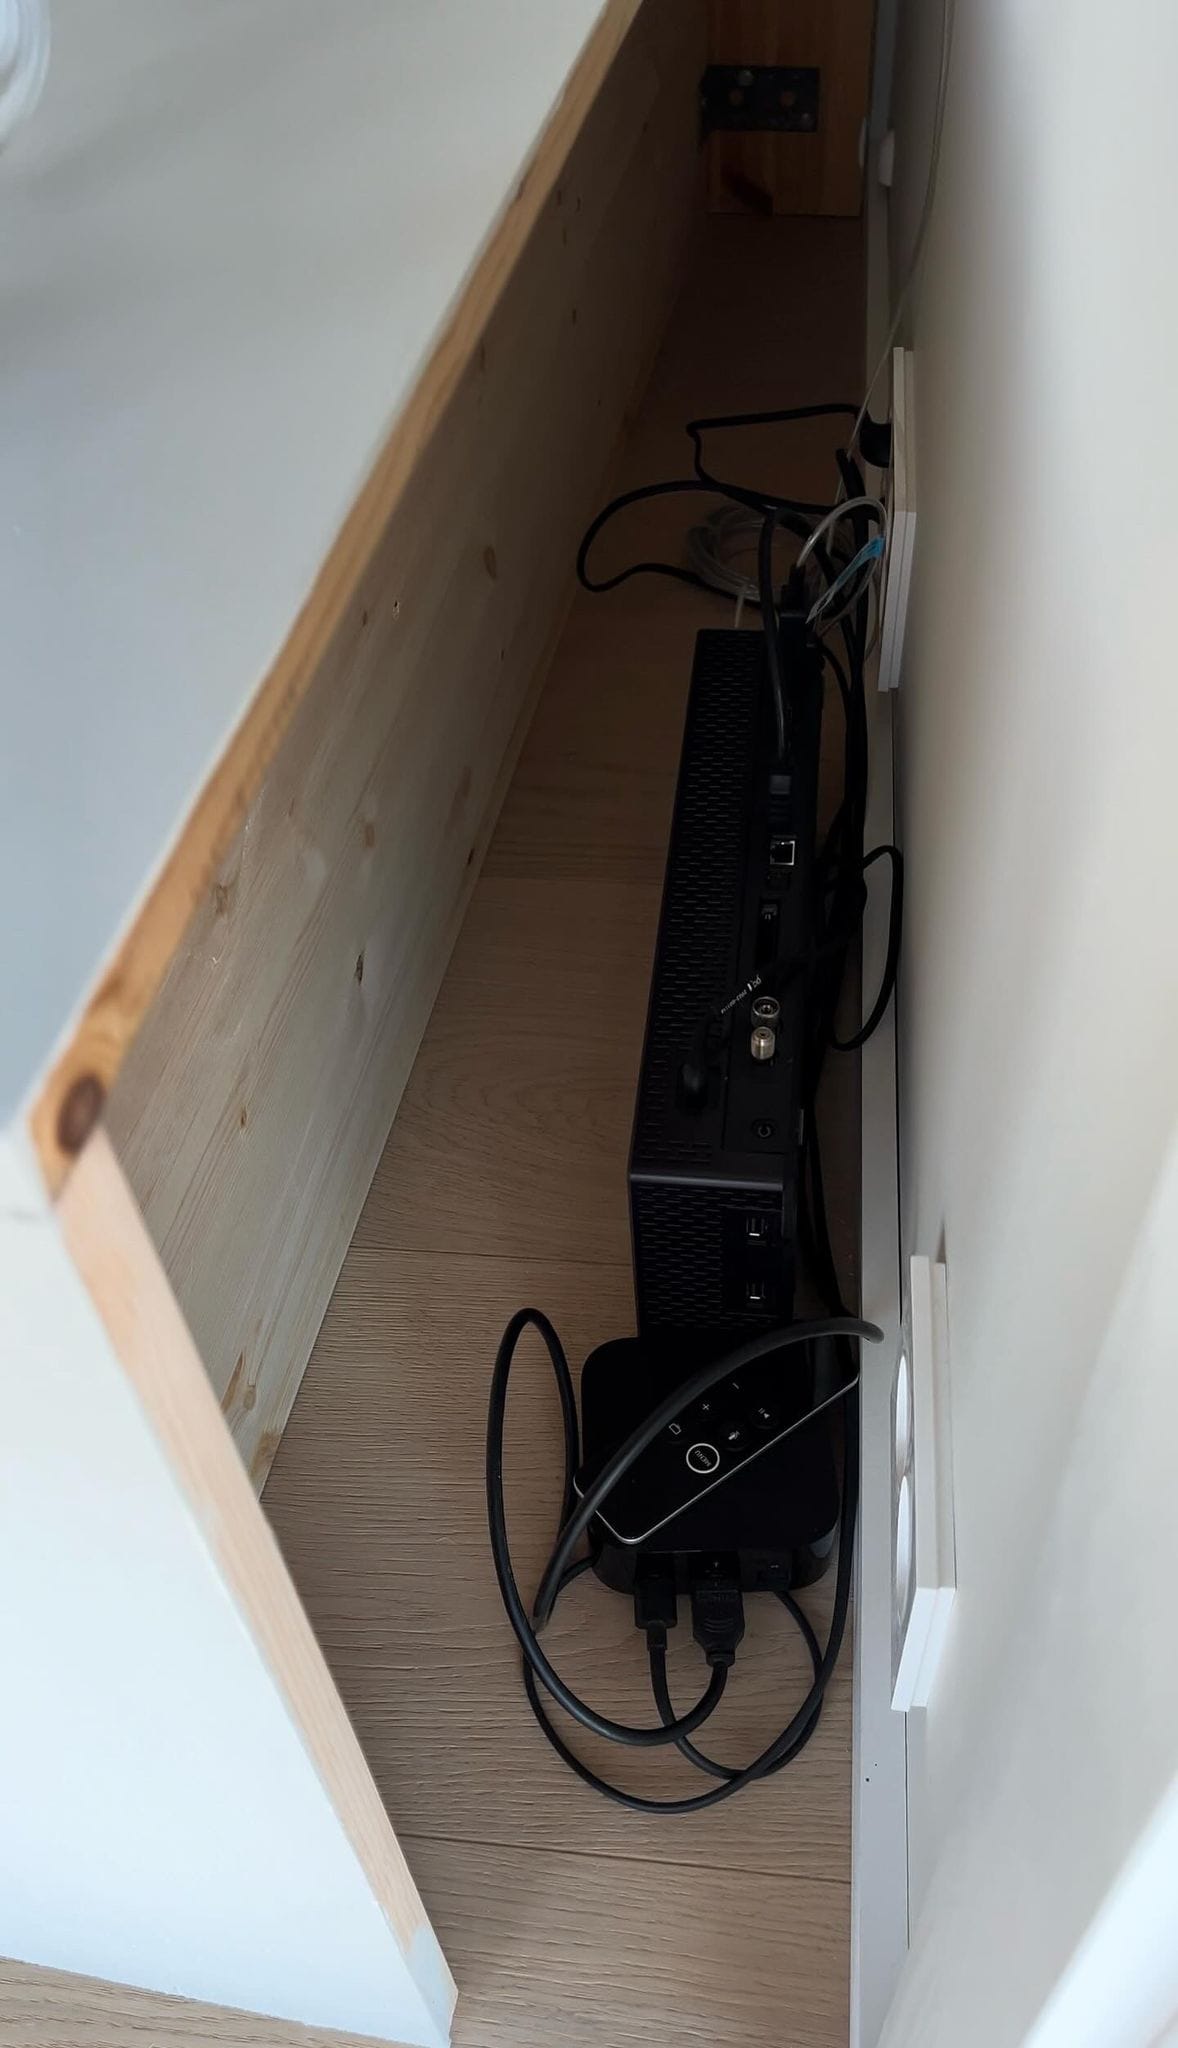
Step 6: Add the Shelf
Almost there! Place the shelf in the desired position on both sides of the bench. Secure it with screws. This shelf is perfect for holding your TV accessories or gaming consoles.
Step 7: Touch Up Paint
Check for any spots that might need a touch-up. Paint over any missed areas to ensure a flawless finish.
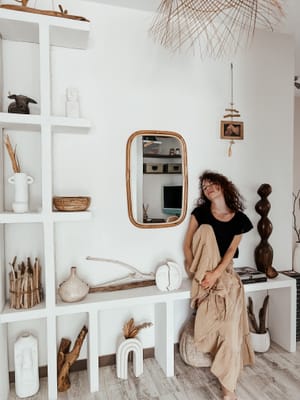
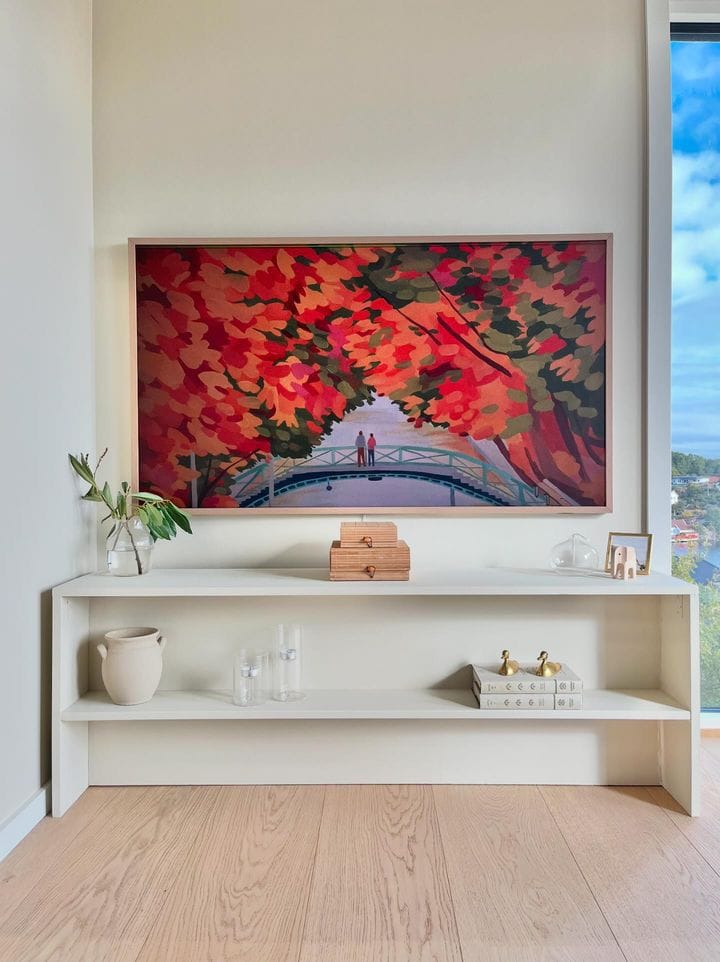
And there you have it—a beautiful, custom-made TV bench that hides all those ugly cables and keeps your living space looking neat and stylish. We absolutely love our new TV bench, and we’re sure you’ll love yours too! It’s amazing what a bit of creativity and some leftover wood can do. Happy DIY-ing, and enjoy your new clutter-free TV area!
Got any DIY tips or tricks of your own?
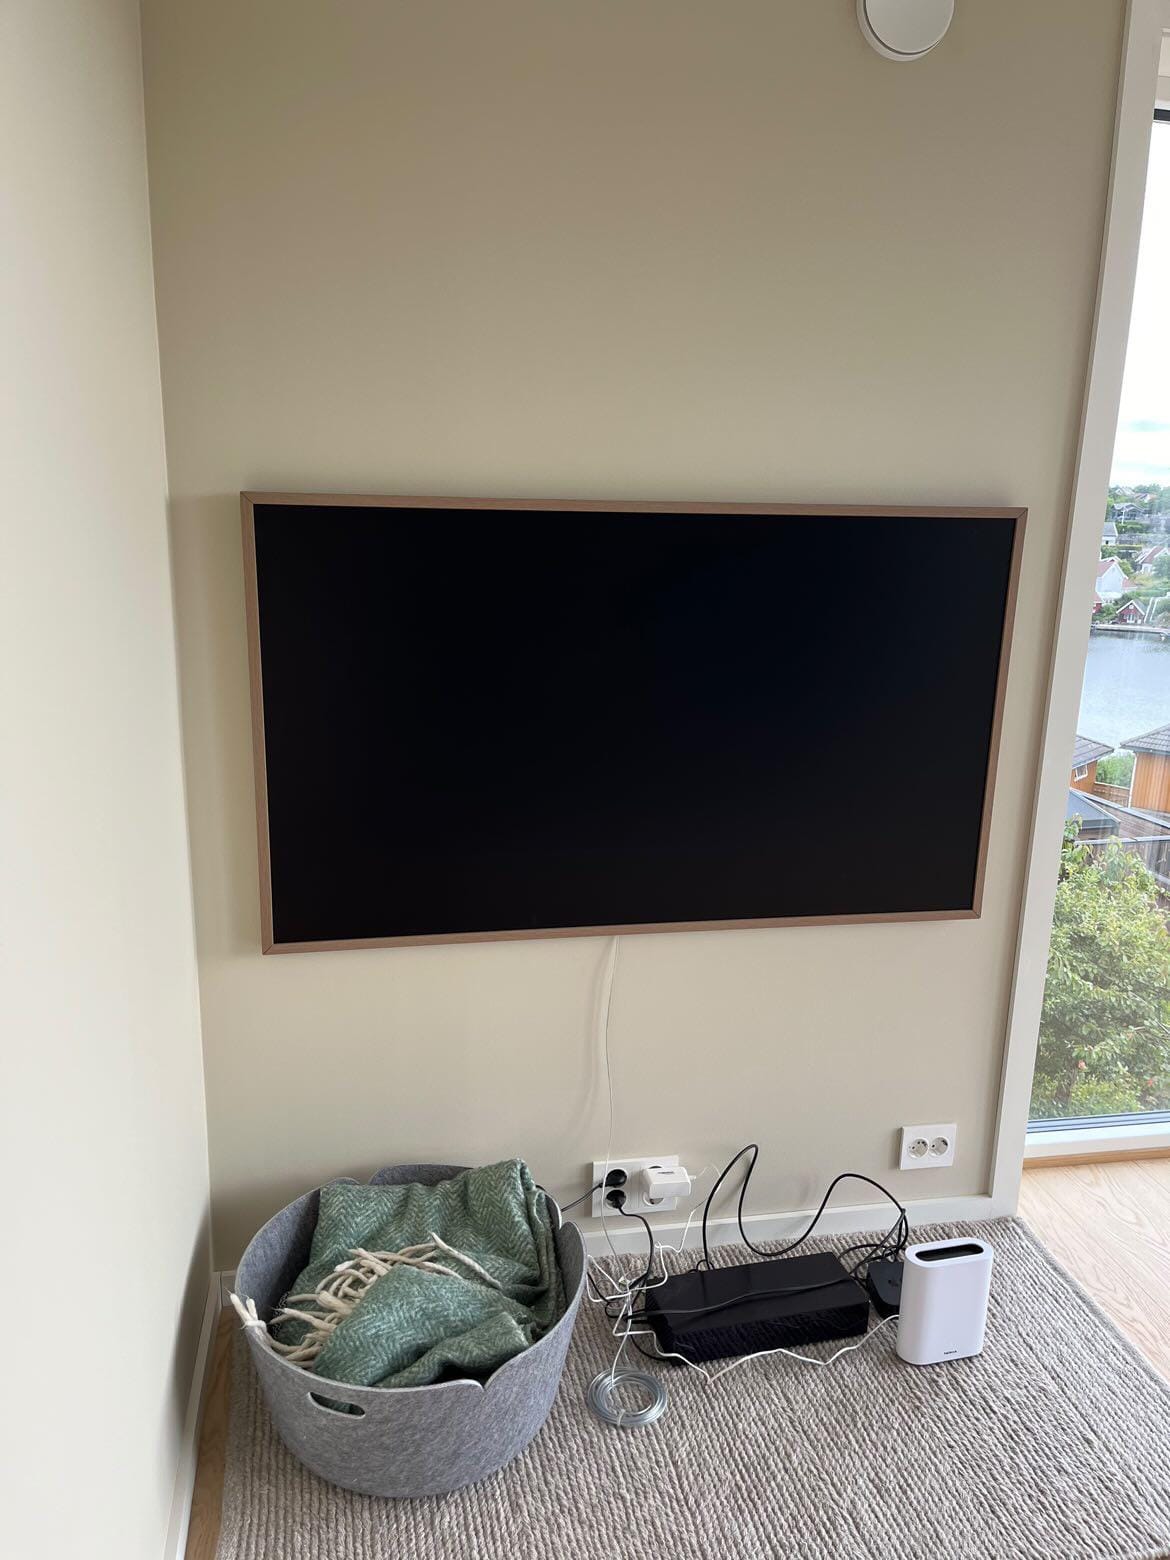
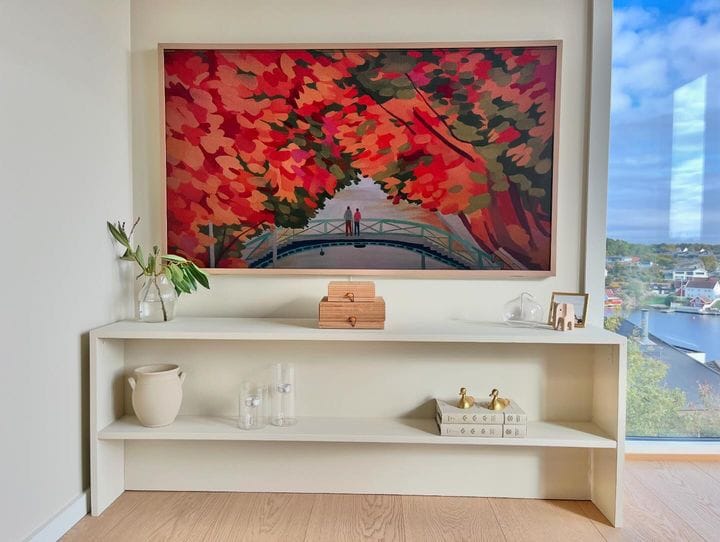
Before & After
What’s better than having a custom-made TV console that hides all the cords? Not only did we save money, but we also created a piece that perfectly fits our space and style. We love it!
For more DIY projects and home decor inspiration, stay tuned! Happy building!

Creator: Mia
Instagram: @miasoorensen, @sivertsorensen, @kaarholmenkollen