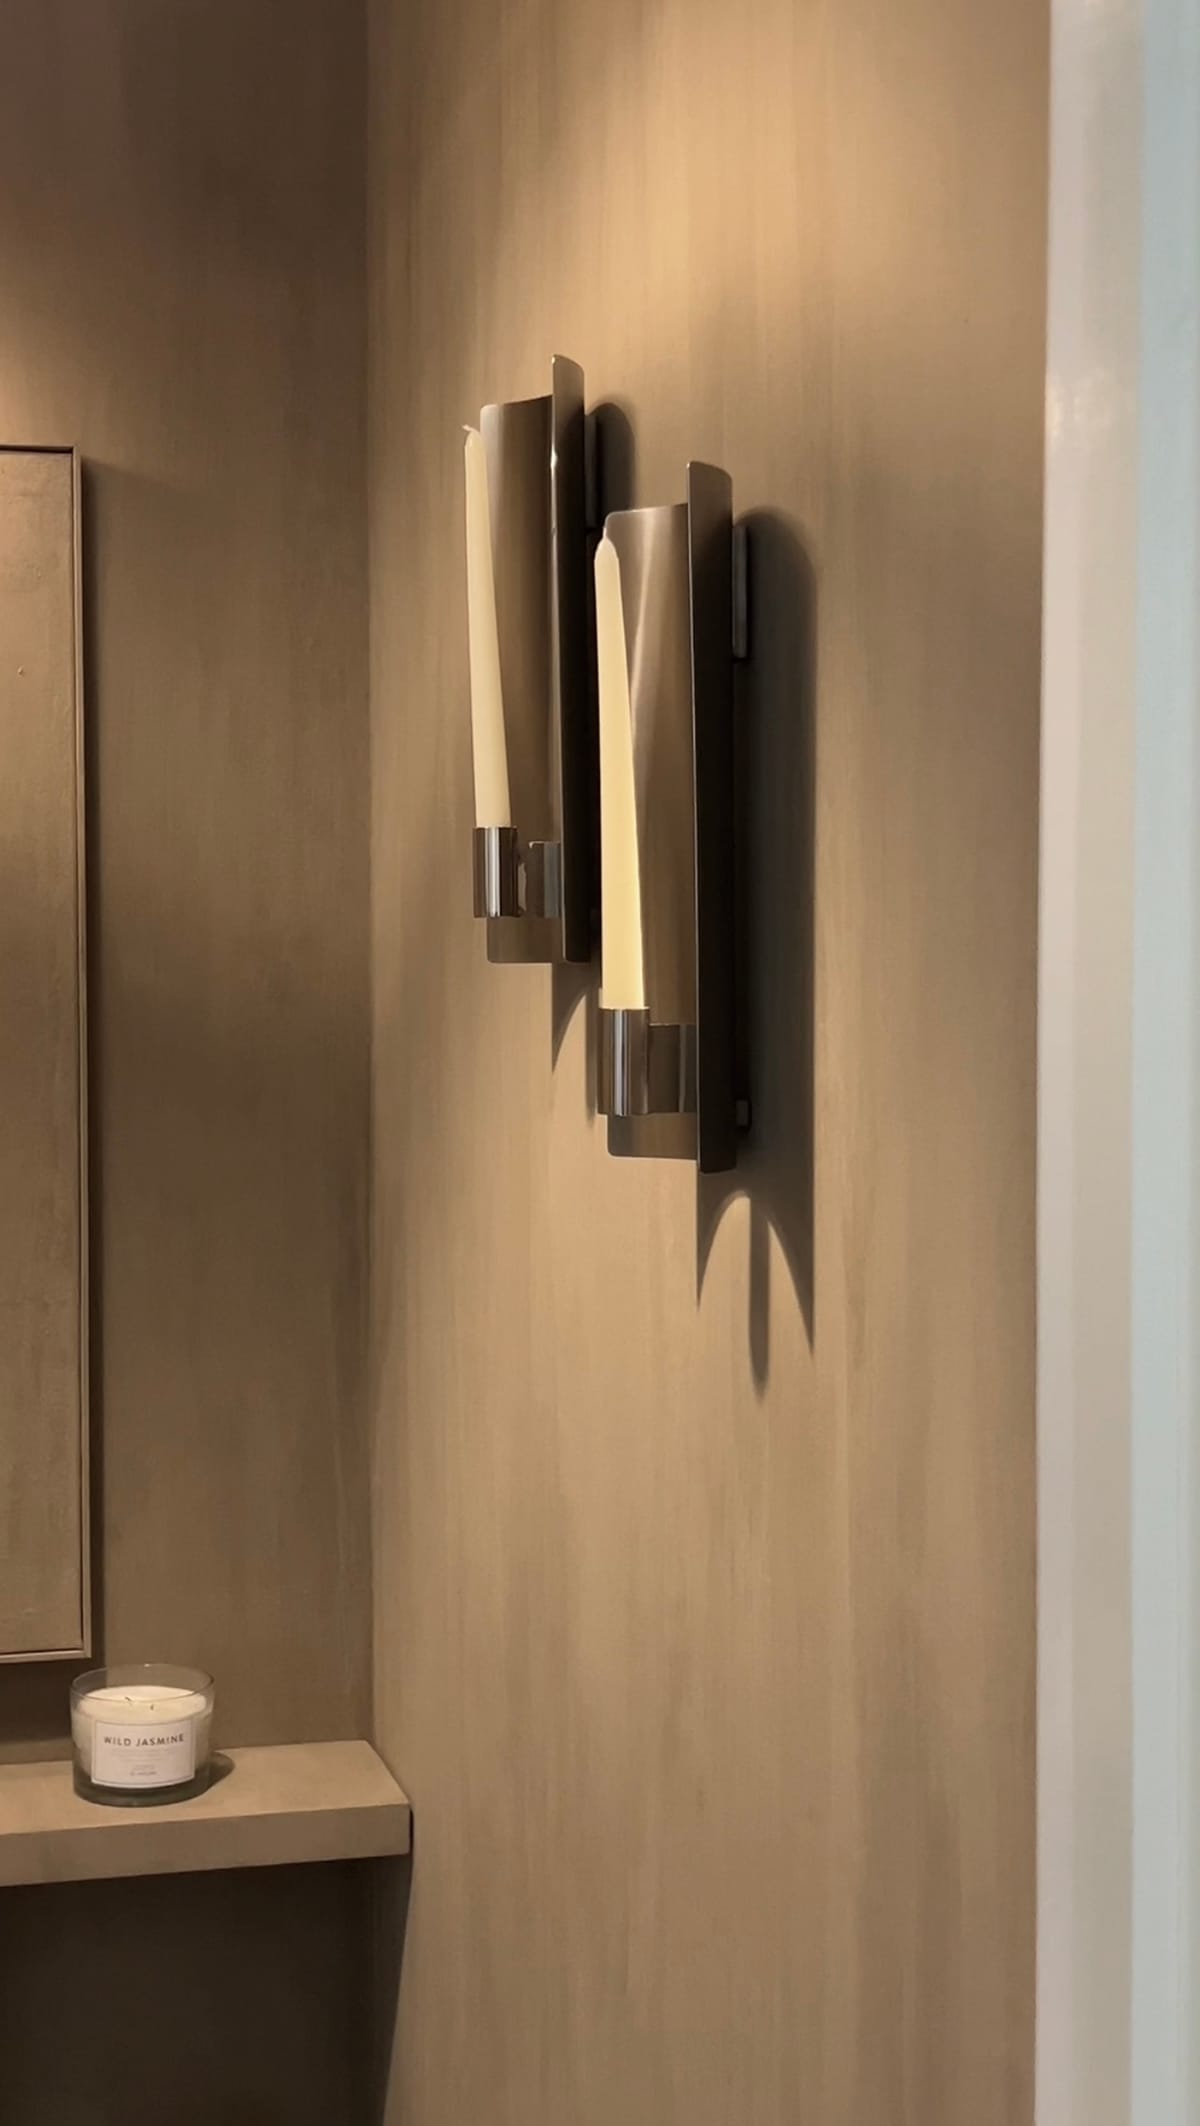
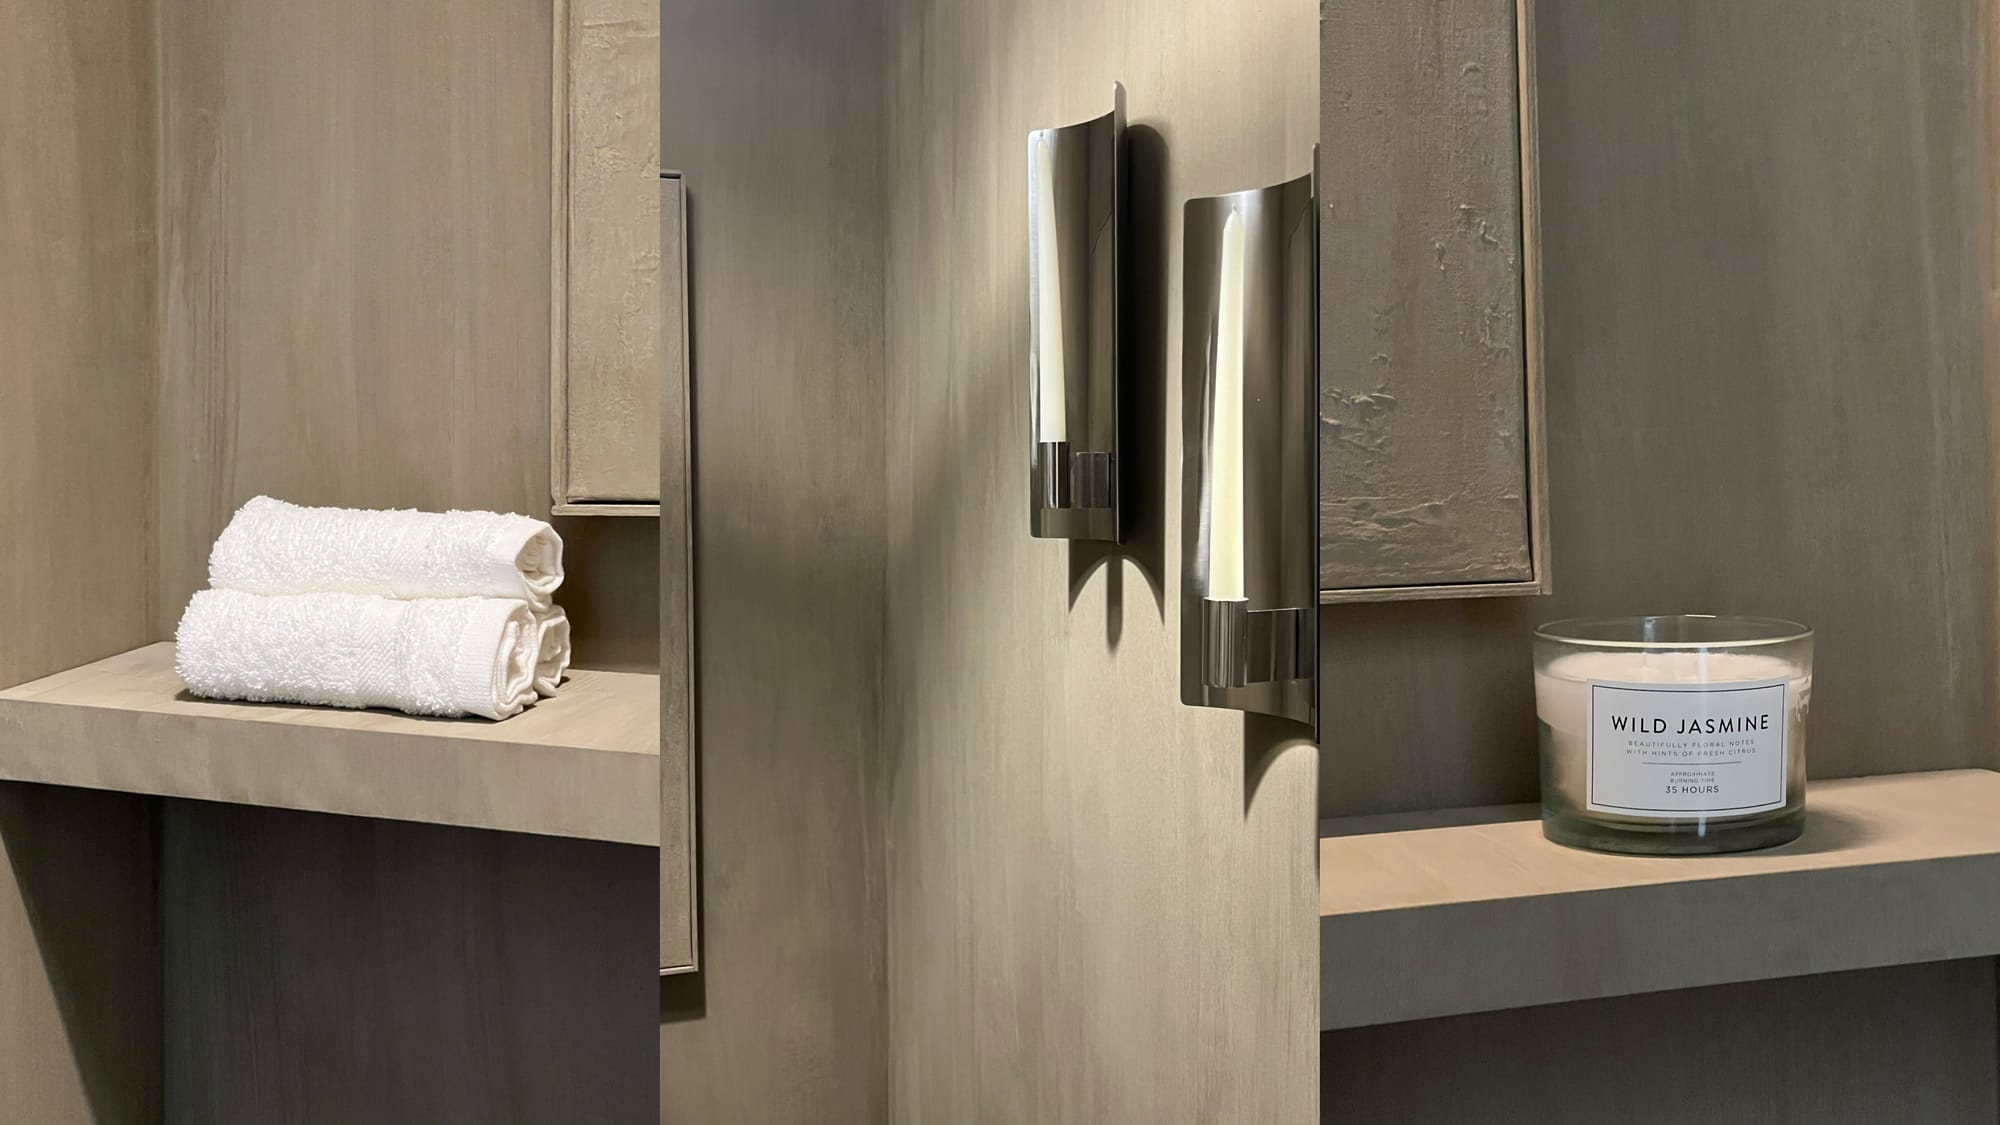
Here's how I created a colour drenched powder room using limewash paint.
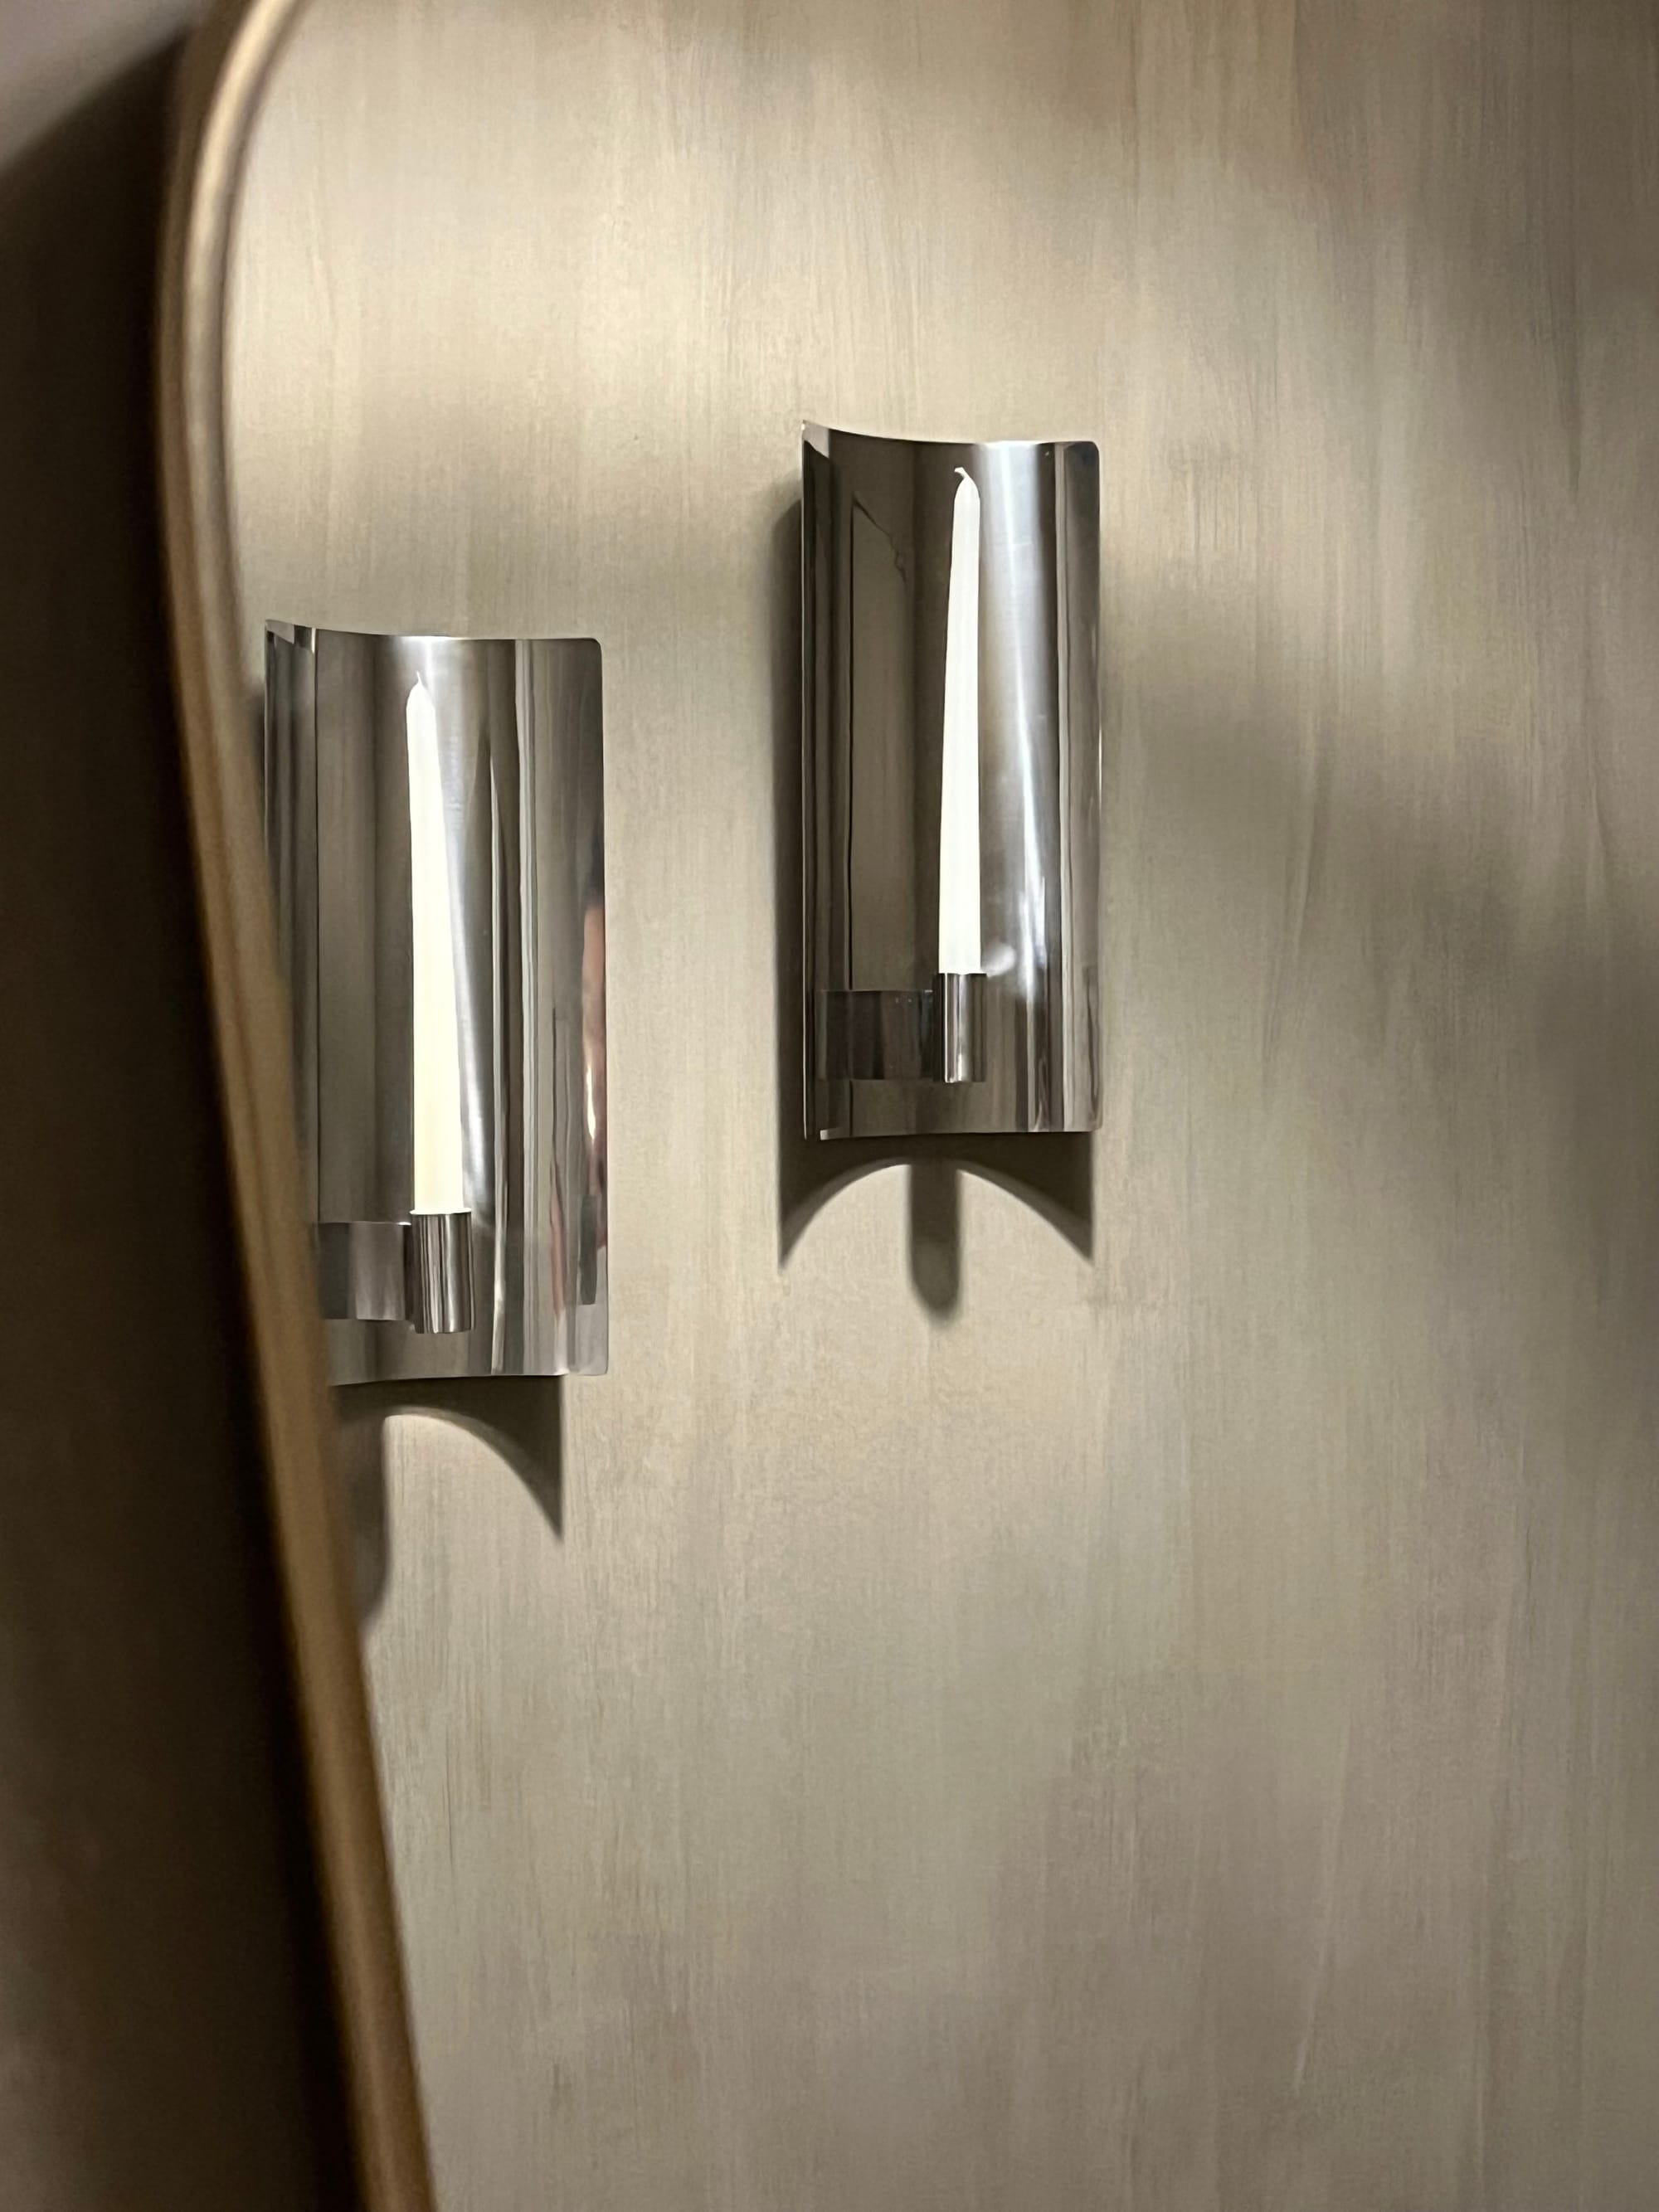
BEFORE VS AFTER
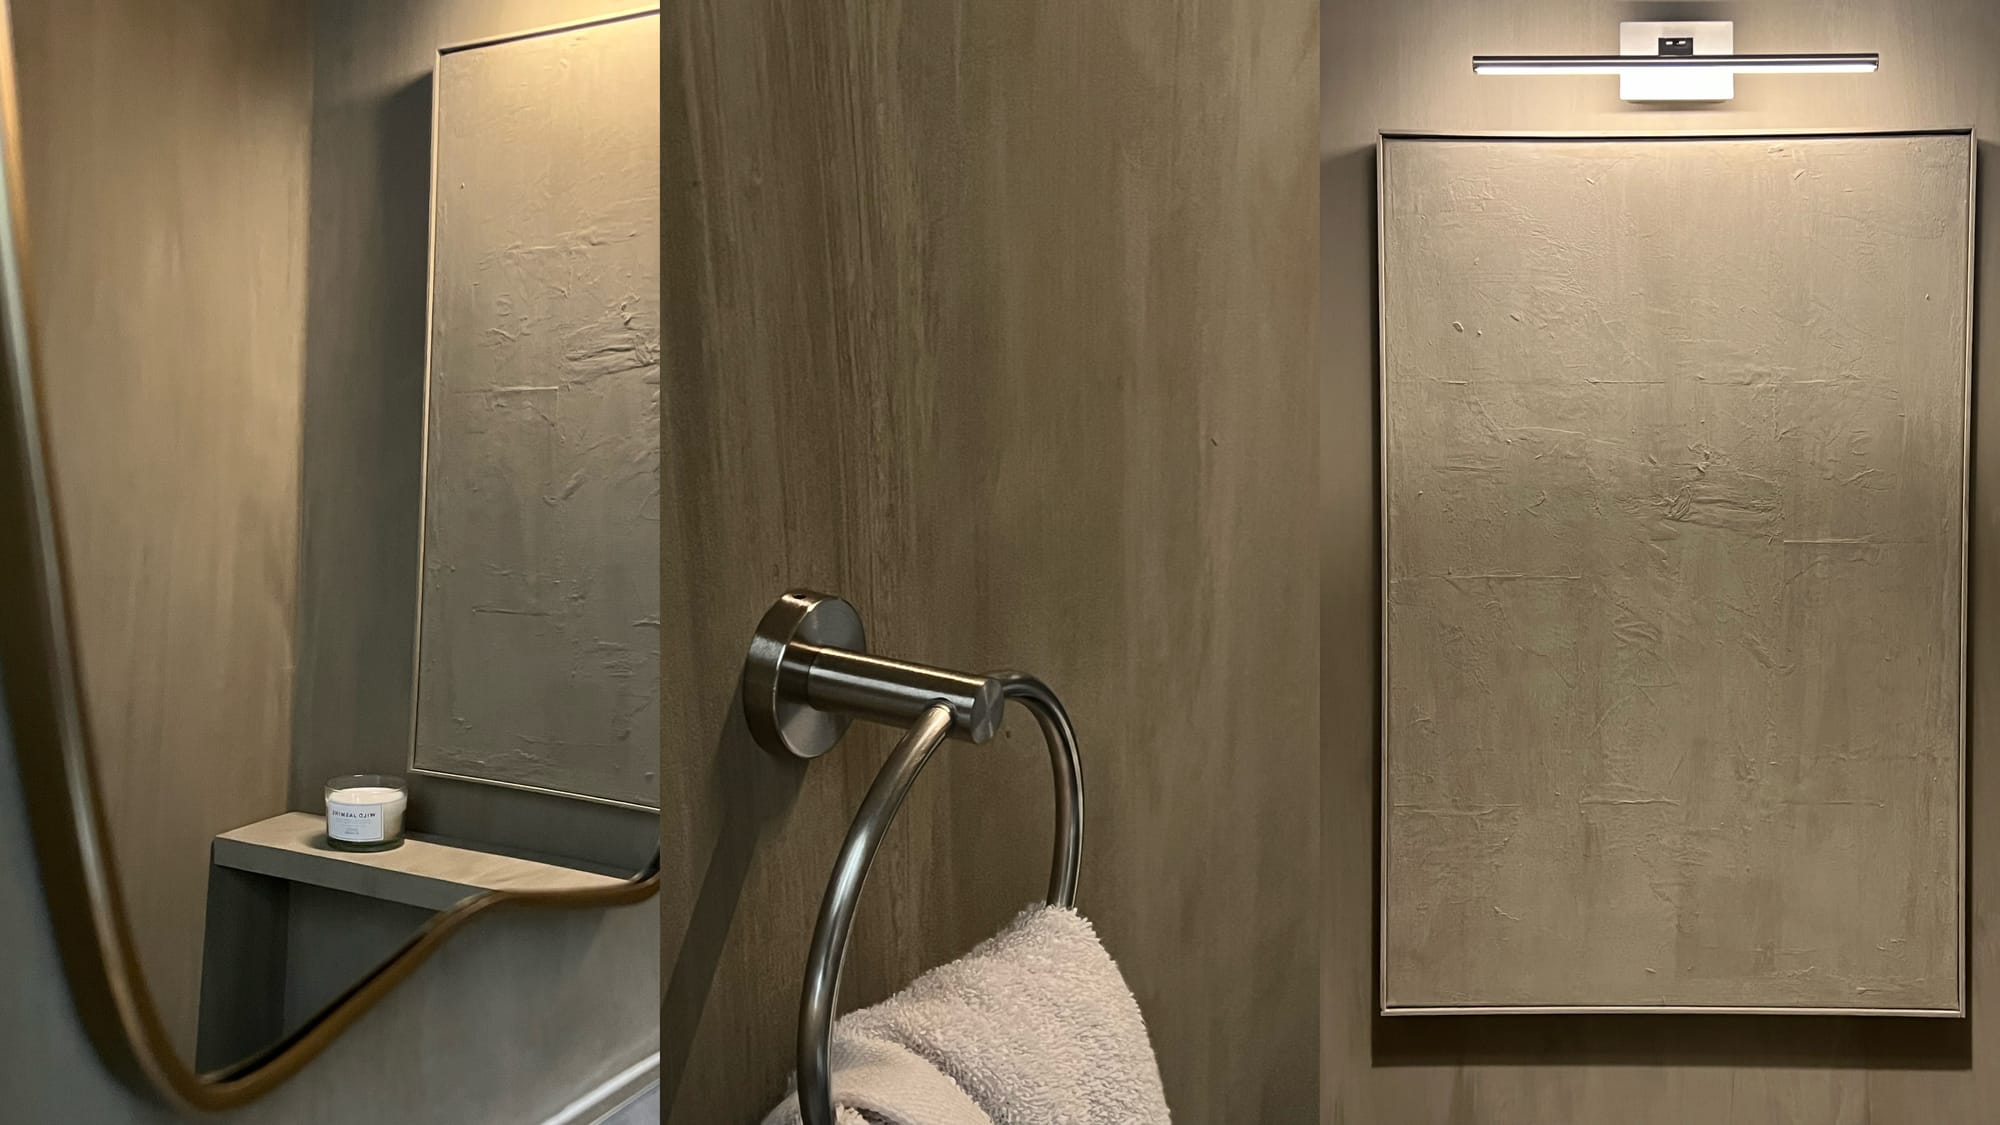
I had previously used a diy limewash technique in this space but was ready for a more moody, coloured drenched space. Here's how the space transformed.
THE PROCESS
The steps to colour drenching and creating the space.
- PREP: I used sugar soap to clean around skirting boards, sanded old paint lines and taped off areas I didn’t want painted.
- UNDERCOAT: It is recommended to use an undercoat to improve coverage and depth of colour on bare surfaces or previously painted walls.
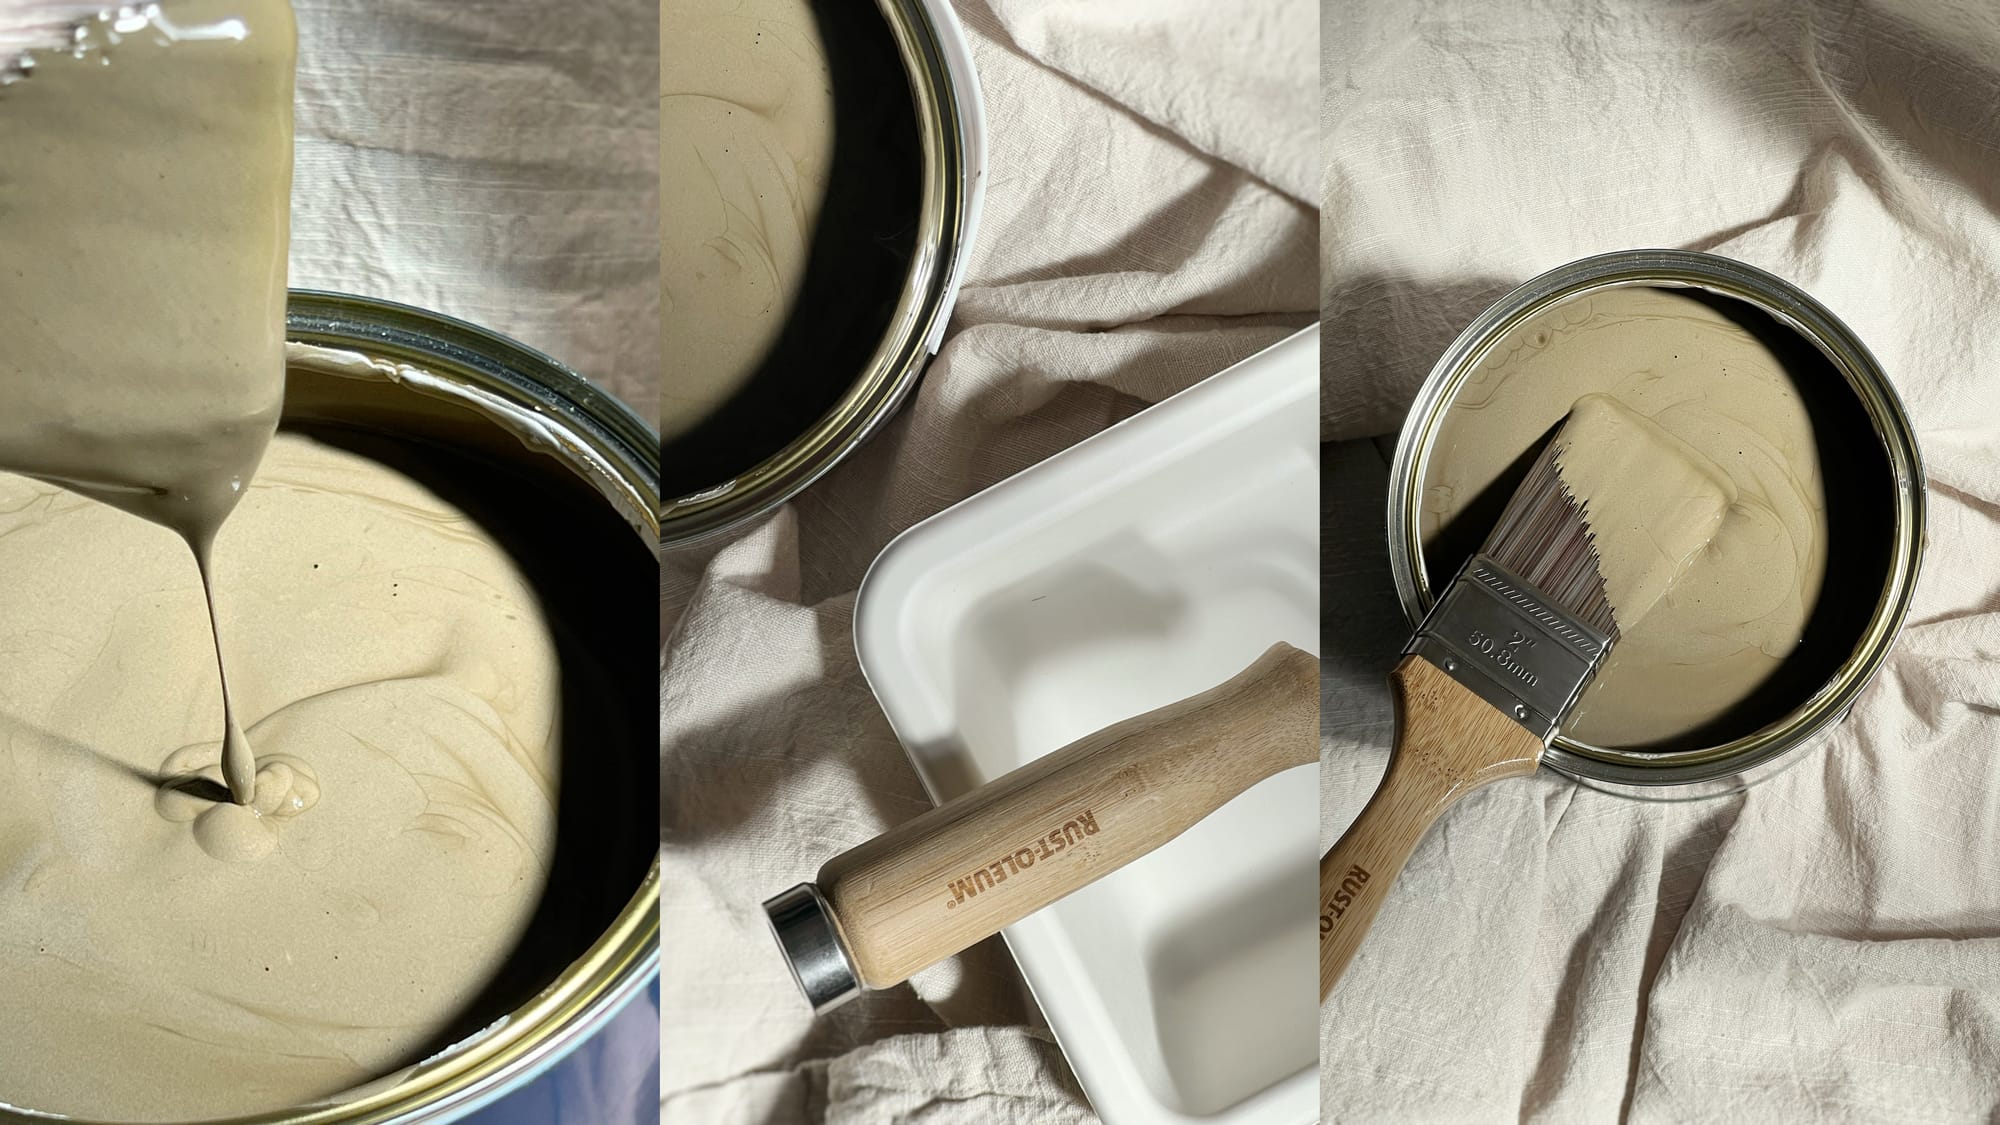
It was touch dry in 1-2 hours, recoatable in 4 hours. I gave my wall a second coat. A light undercoat is specifically designed to be used with light colours. I used the dark undercoat for my chosen paint. - LIMEWASH BASE LAYERS: I applied two layers using a roller & cut in where required with a brush. The paint was touch dry within 1hr and I was able to recoat within a few hours. The paint has the texture of standard wall paint when wet so it’s very easy to apply. It is water based and low odour.
- LIMEWASH EFFECT LAYERS: I used a wide brush to apply two top layers. Same drying time applied for these layers. The paint has a chalky matt finish and dries with a mixture of tones that enhances the effect.
RUST OLEUM PAINT LIMEWASH PAINT No. 079
*This limewash paint can only be used in bathrooms where this is no humidity/condensation/moisture. As this is a downstairs toilet, it has no humidity and the paint was suitable for the space.
THE TECHNIQUE
I chose the falling water technique using linear brushstrokes to complete the look for the room. I worked my way from ceiling to floor in long linear strokes, making sure I stopped in different places to prevent join lines. Lifting the brush at the end of the stroke was important so the paint didn’t clog.
Follow @cosfordedit on Instagram for more interior content.
Images copyright ©


