My name is Alena Pruim, 26 years old. I’m married to Jonno and mother to Fedde. We’ve been living in our sustainable home for 2.5 years, transforming it with the help of family. Coming from a carpentry background, I learned from my father at a young age how to create things myself—allowing me to enjoy DIY projects and save money in the process.
With a little creativity and some basic tools, you can transform Mosslanda shelves into a stylish and practical addition to your home. This IKEA hack is an easy and budget-friendly way to add functional shelving without drilling into your walls.
Materials Needed
- Mosslanda shelves 55cm (€4.99 each)
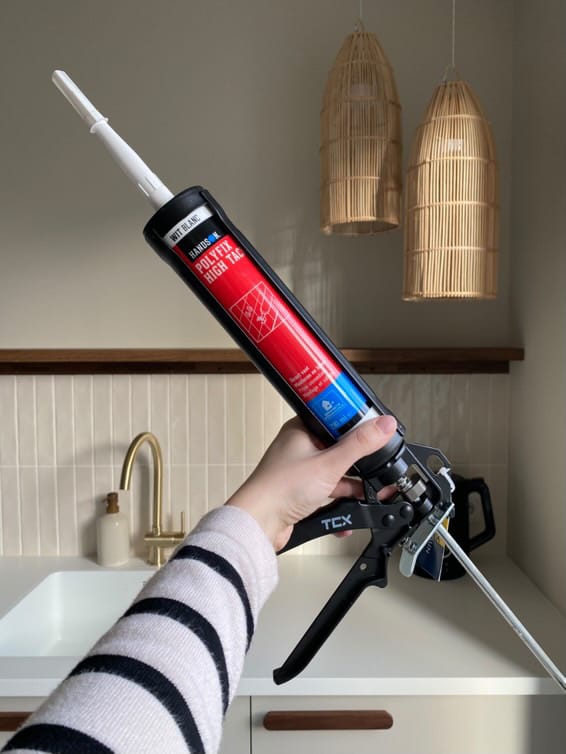
- High tack sealant (€9.49)
- Cover caps for screws (€3.75)
- Kit sprayer
- Saw
- Sandpaper
Step-by-Step Guide
Step 1: Measure and Calculate
Start by measuring the length of your wall and calculating how many Mosslanda shelves you need. My wall is 305 cm, so I used five full boards and had to shorten one to fit.
Step 2: Cut the Boards to Size
Place the board upside down so the bottom faces up, then mark the required length carefully. When cutting, ensure that you saw on the side that will be placed against the wall. Cut the board 2mm too large, then sand away the excess 2mm with sandpaper to prevent splintering and achieve a clean edge. The cut edge will lack veneer, so be sure to position it against the wall for a seamless finish.
Step 3: Position the Boards
Flip all the boards face up and prepare to attach them to the wall. The shelves will be mounted upside down for a clean, floating look.
Step 4: Attach the Shelves
Instead of drilling, I used high tack sealant to attach the shelves, as there are pipes in my walls, making drilling risky. If you're sure there are no pipes in your wall, you can also drill holes and screw the shelves in place. Apply high tack sealant to the back of the boards (the side with two holes), then press the board firmly against the wall above the tiles. Hold it in place and allow the sealant to bond. Patience is key—let the sealant dry for 24 hours before using the shelves.
Step 5: Cover the Holes
Once the shelves are secured, the screw holes remain visible. While IKEA includes stickers to cover them, I found that they don’t adhere well over time. Instead, I purchased screw covers and glued them into place with a bit of sealant for a more durable solution.

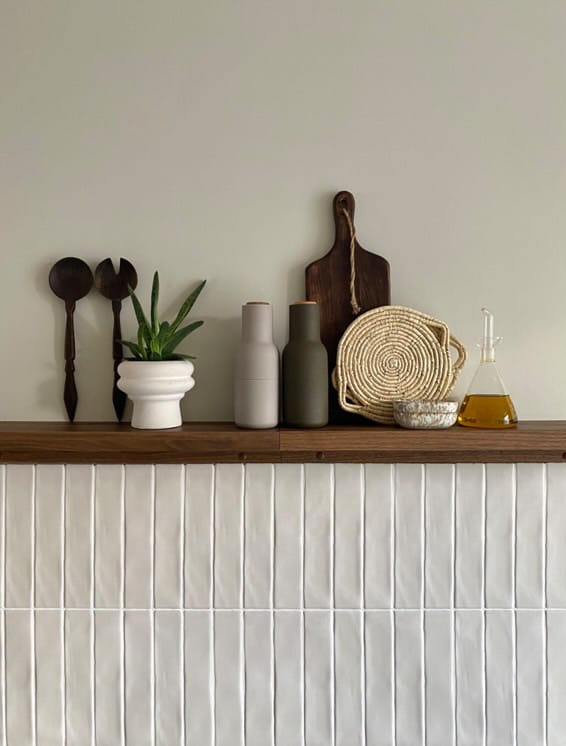
Step 6: Enjoy Your New Shelves
Your Mosslanda shelves are now installed and ready for use! Keep in mind that each shelf supports up to 5kg, making them perfect for decorative items. Avoid placing heavy objects to maintain stability.

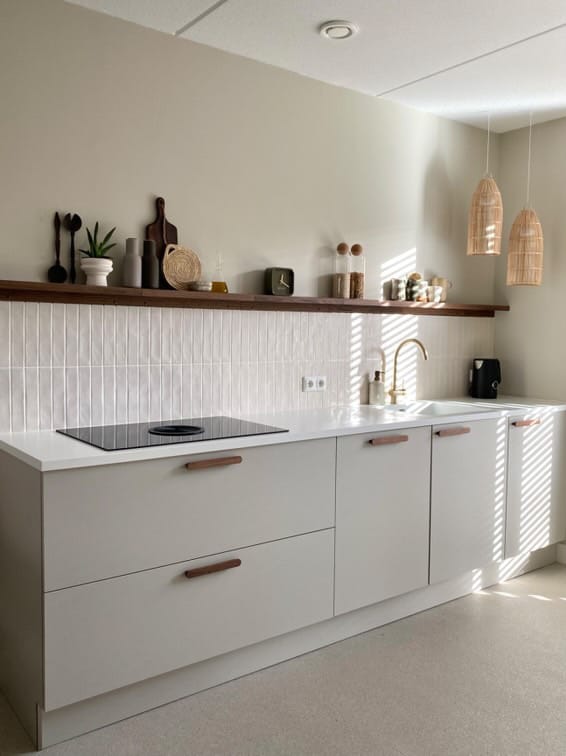
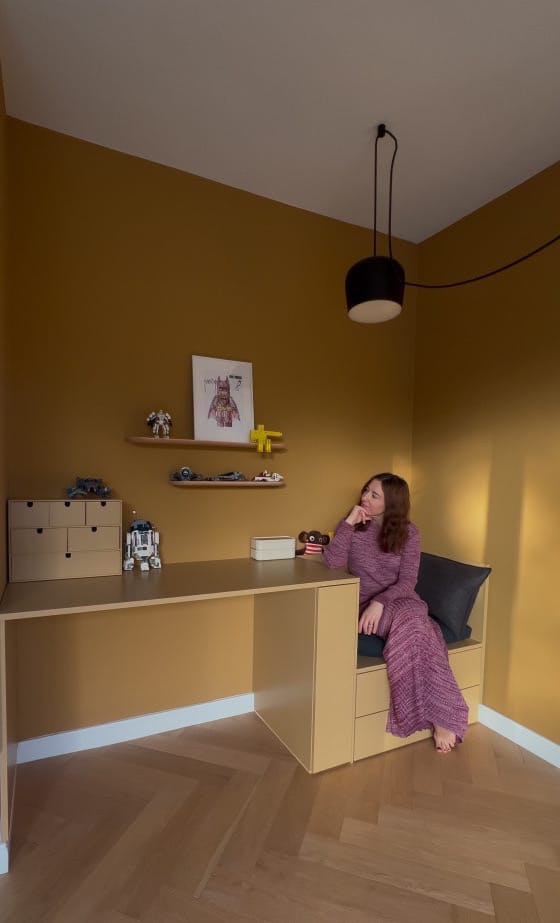
The Results
This IKEA hack is a fantastic way to create stylish and functional shelves without expensive tools or major modifications. Whether you're looking to save costs or simply love a good DIY project, this method provides a clean, minimalist look with minimal effort. Happy decorating!

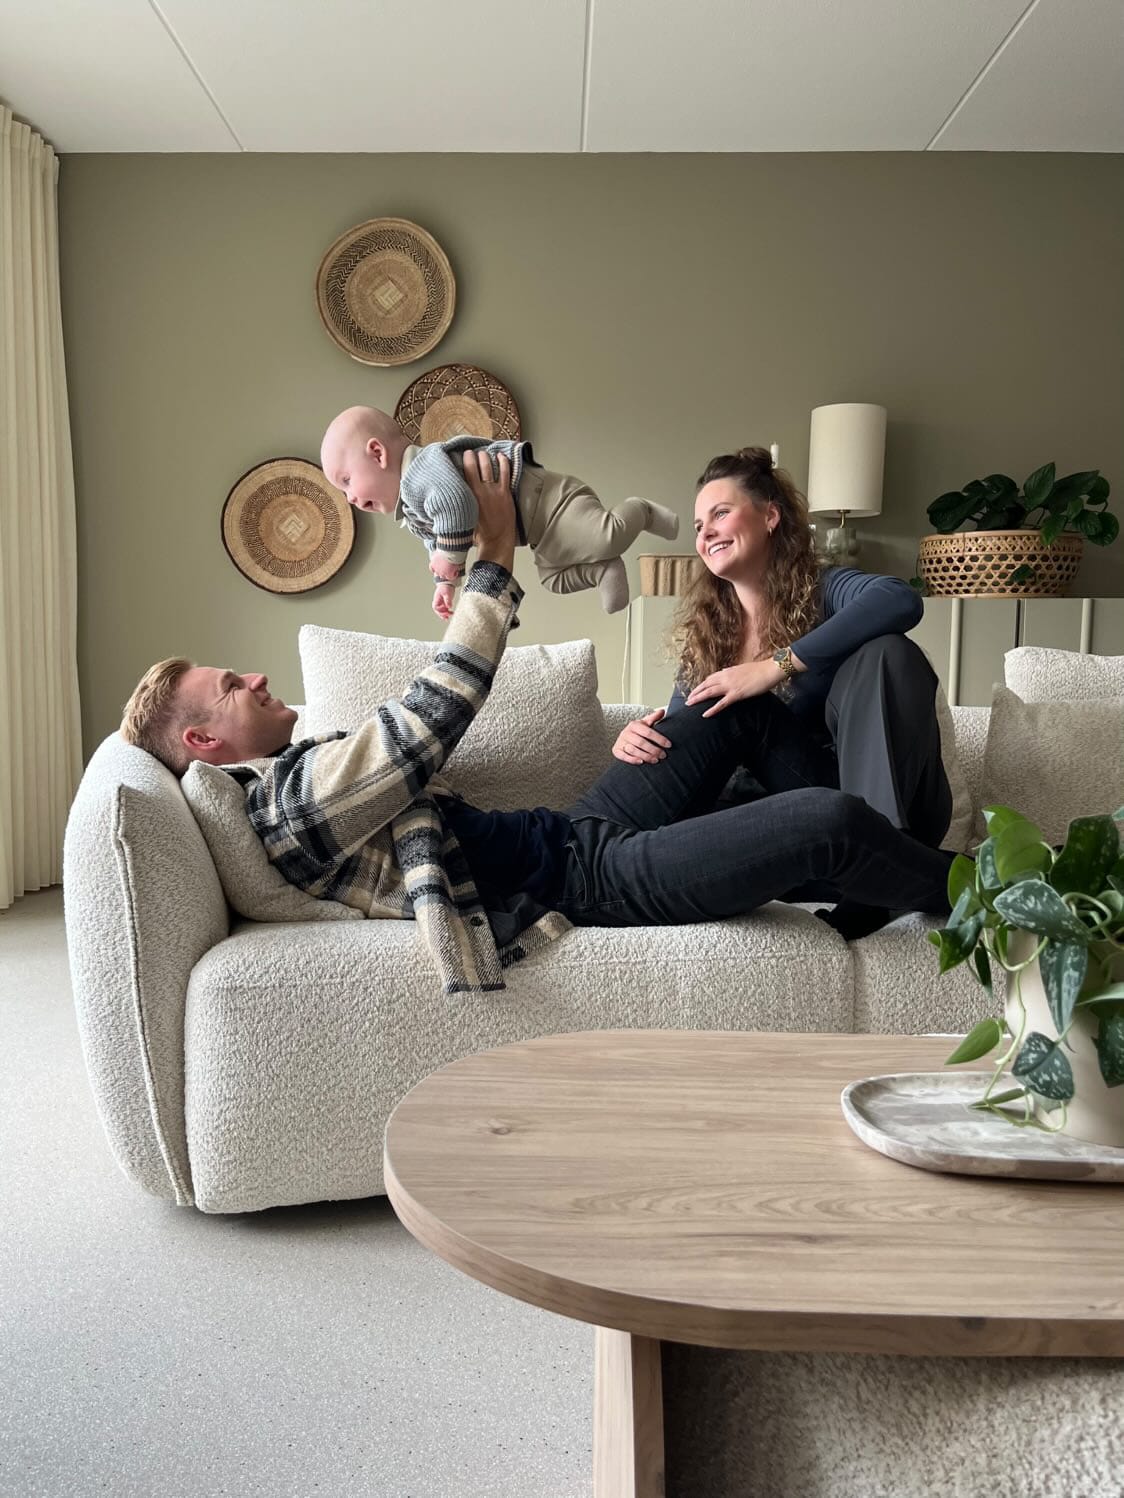
Lovely Creator and Her Lovely Family
Creator: Alena
Instagram: @depruimpjes