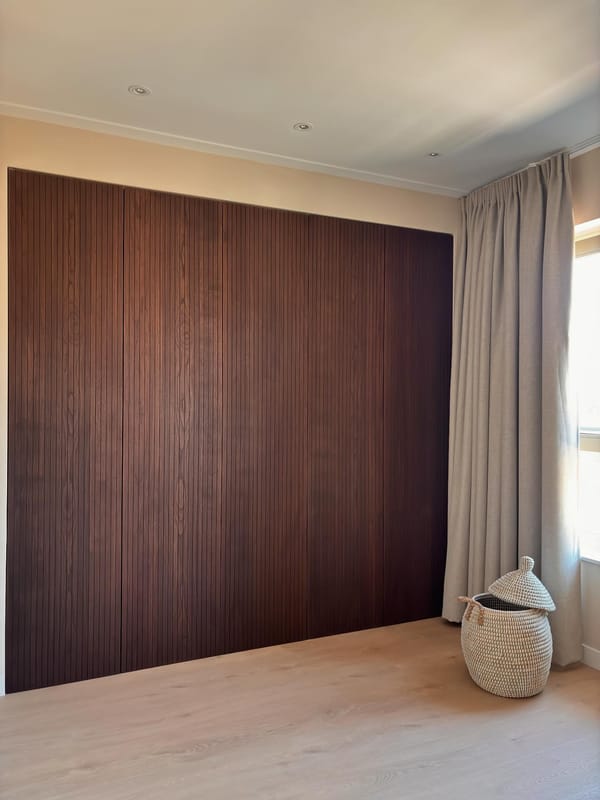
If your little one loves their IKEA DUKTIG play kitchen, why not take it to the next level by adding a matching play fridge? A DIY kids fridge is a fantastic way to enhance their play experience, giving them extra storage space for toy food while maintaining a stylish, cohesive look in your home.
We used an IKEA METOD wall cabinet as the base and added VEDDINGE doors, furniture legs, and a battery-powered light to mimic a real fridge. The result? A sleek and modern mini fridge that fits right alongside the DUKTIG kitchen! Ready to create one for your child? Let’s get started!
What You Need:
- Cabinet & Doors:
- IKEA METOD Wall cabinet frame (40x37x100 cm) – (502.055.32)
- IKEA VEDDINGE Door (40x40 cm) – (202.054.25)
- IKEA VEDDINGE Door (40x60 cm) – (602.054.33)
- Hardware & Accessories:
- 2x IKEA UTRUSTA Hinges with built-in damper (805.248.82)
- 4x Furniture legs (25x25 mm, 10 cm)
- Doorknob of choice (Zara Home Oval Marble used here)
- IKEA KÖLVATTEN LED lighting with sensor (605.224.88)
- IKEA UTRUSTA Shelves:
- 2x White (402.056.22)
- 2x Glass (202.133.31)
- Plastic fridge organizers
- Painting & Finishing:
- Sanding paper & degreaser
- Paint in a color of your choice
- Gold spray paint & varnish (for legs, optional)
- Clear double-sided tape
Step-by-Step Guide
1. Assemble the Cabinet
Start by assembling the IKEA METOD wall cabinet according to IKEA’s instructions.
2. Paint the Cabinet & Doors (Optional)
For a seamless look, paint the outside of the cabinet and doors in a color of your choice. Leave the inside white for a realistic fridge feel. If painting, sand and degrease the surfaces first. Apply multiple thin layers for durability.
3. Attach the Doors
Decide which side you want the fridge to open, then attach the VEDDINGE doors using the UTRUSTA hinges. The 40x60 cm door goes on the bottom (fridge), and the 40x40 cm door goes on top (freezer).
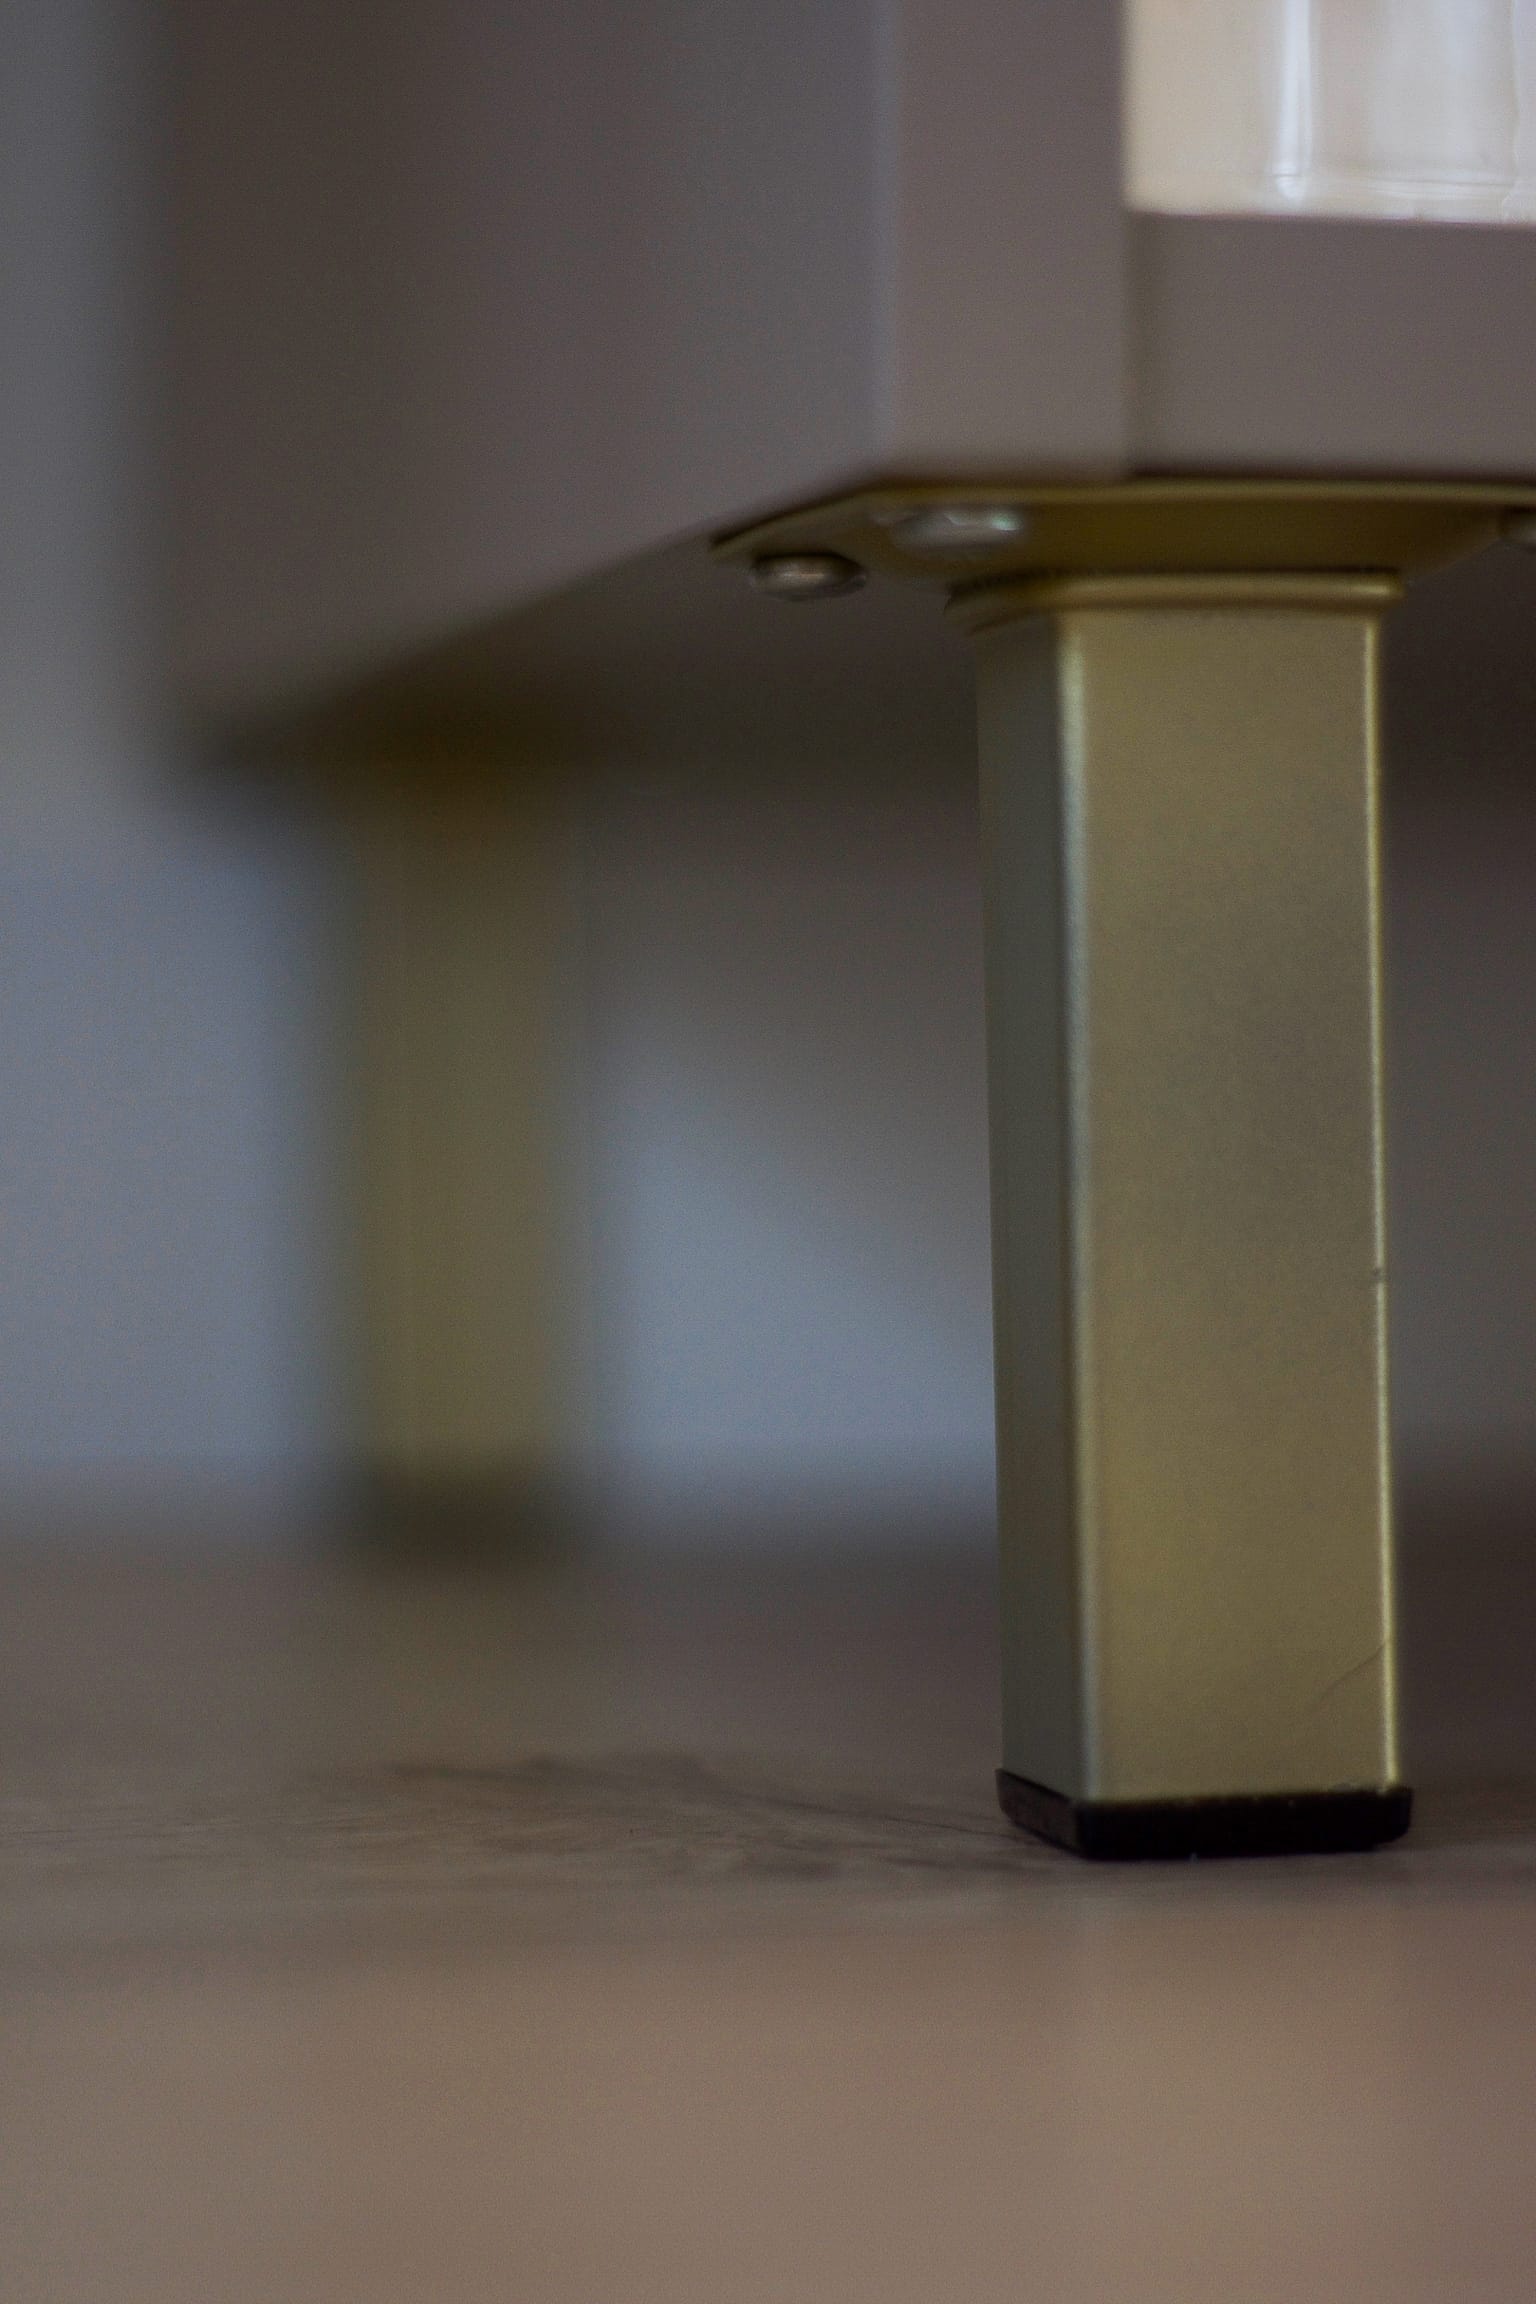
4. Install the Furniture Legs
Attach four furniture legs to the bottom of the fridge. If you want a glam touch, spray paint them gold and seal them with varnish before installation.
5. Add the Fridge & Freezer Handles
Install furniture knobs on the doors, placing them approximately 6 cm from the edges. You can also get the original DUKTIG handles from an IKEA service desk for a perfect match!

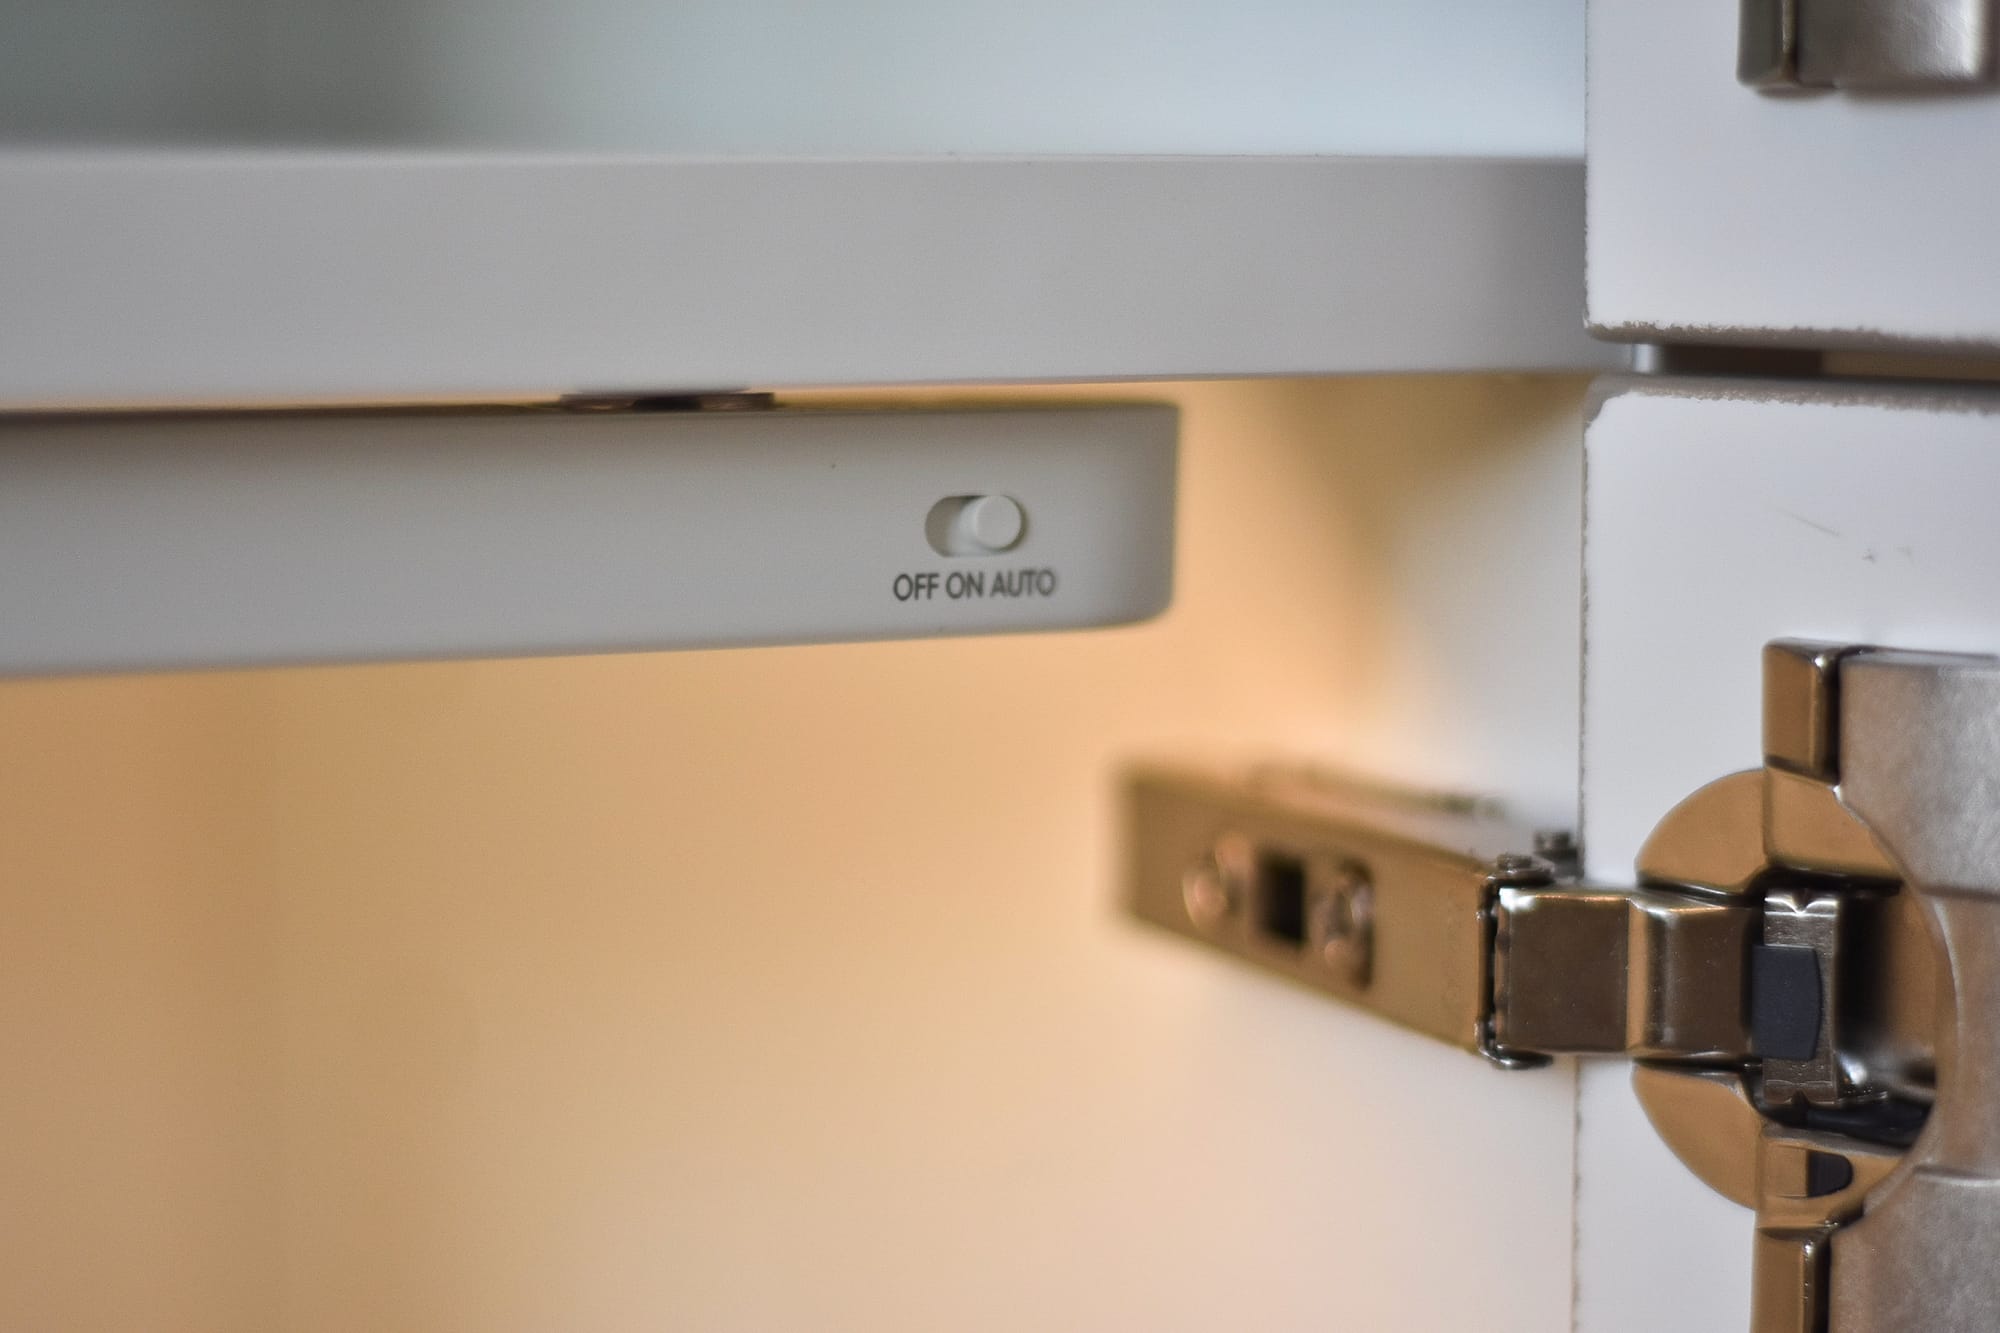
6. Install the LED Light
Take one UTRUSTA white shelf and attach the KÖLVATTEN LED light to its front edge, facing inward. This battery-powered light turns on automatically when the door is opened, just like a real fridge!

7. Place the Shelves
Install the UTRUSTA white shelf with the LED light in the middle, between the fridge and freezer compartments. Place the second white shelf in the freezer compartment, and distribute the two UTRUSTA glass shelves evenly inside the fridge.

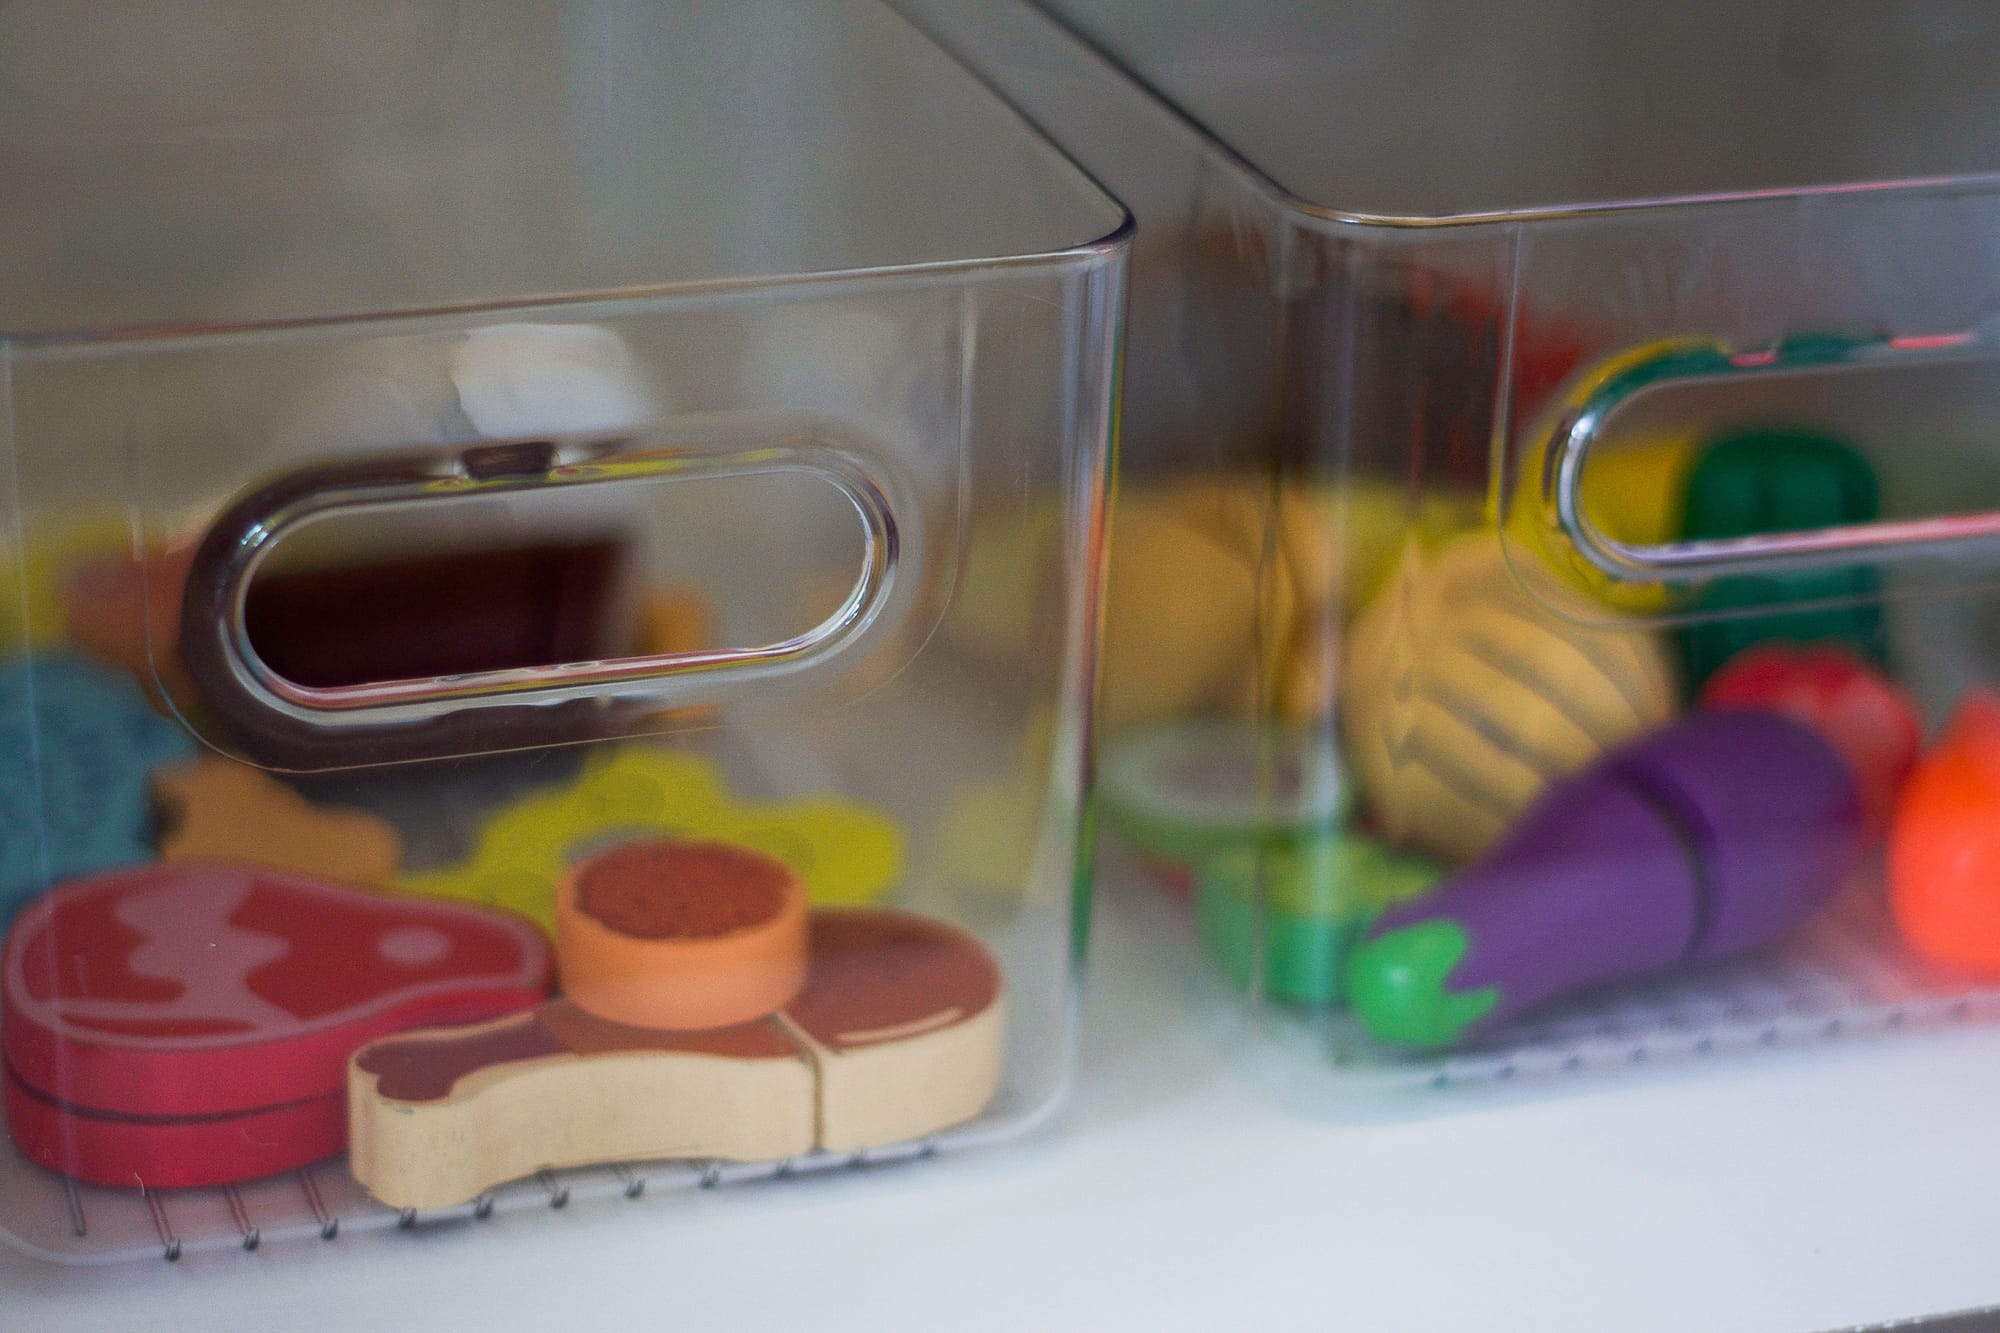
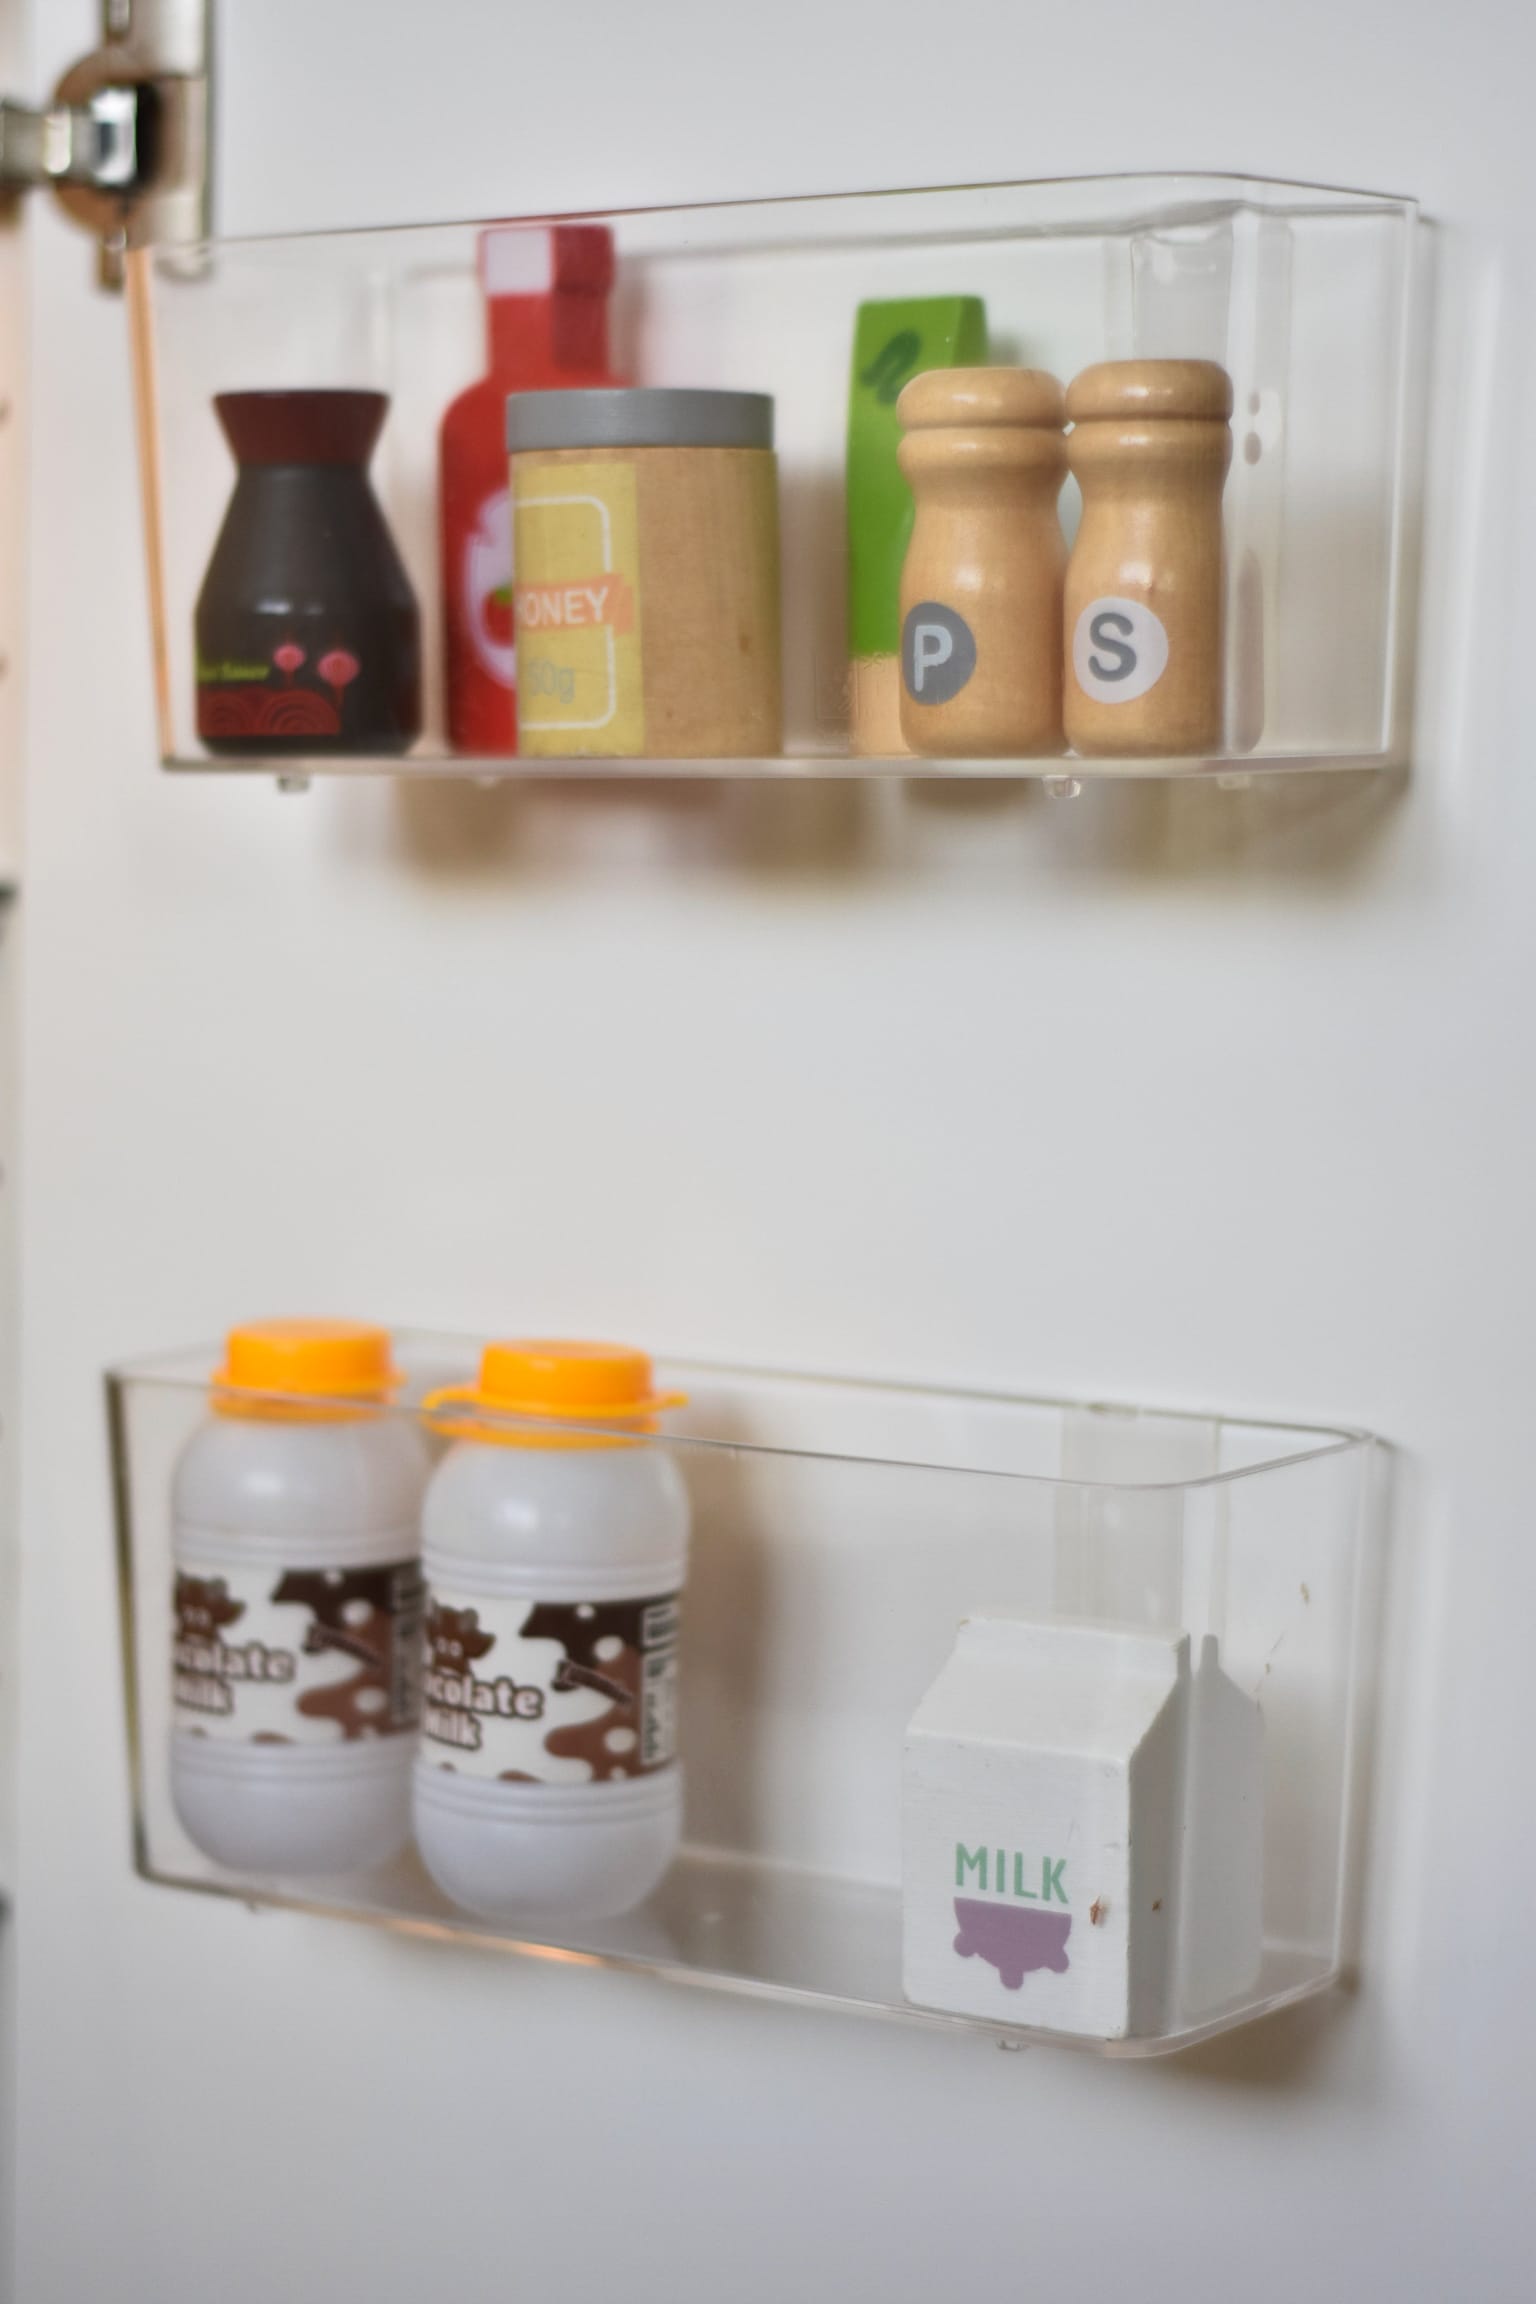
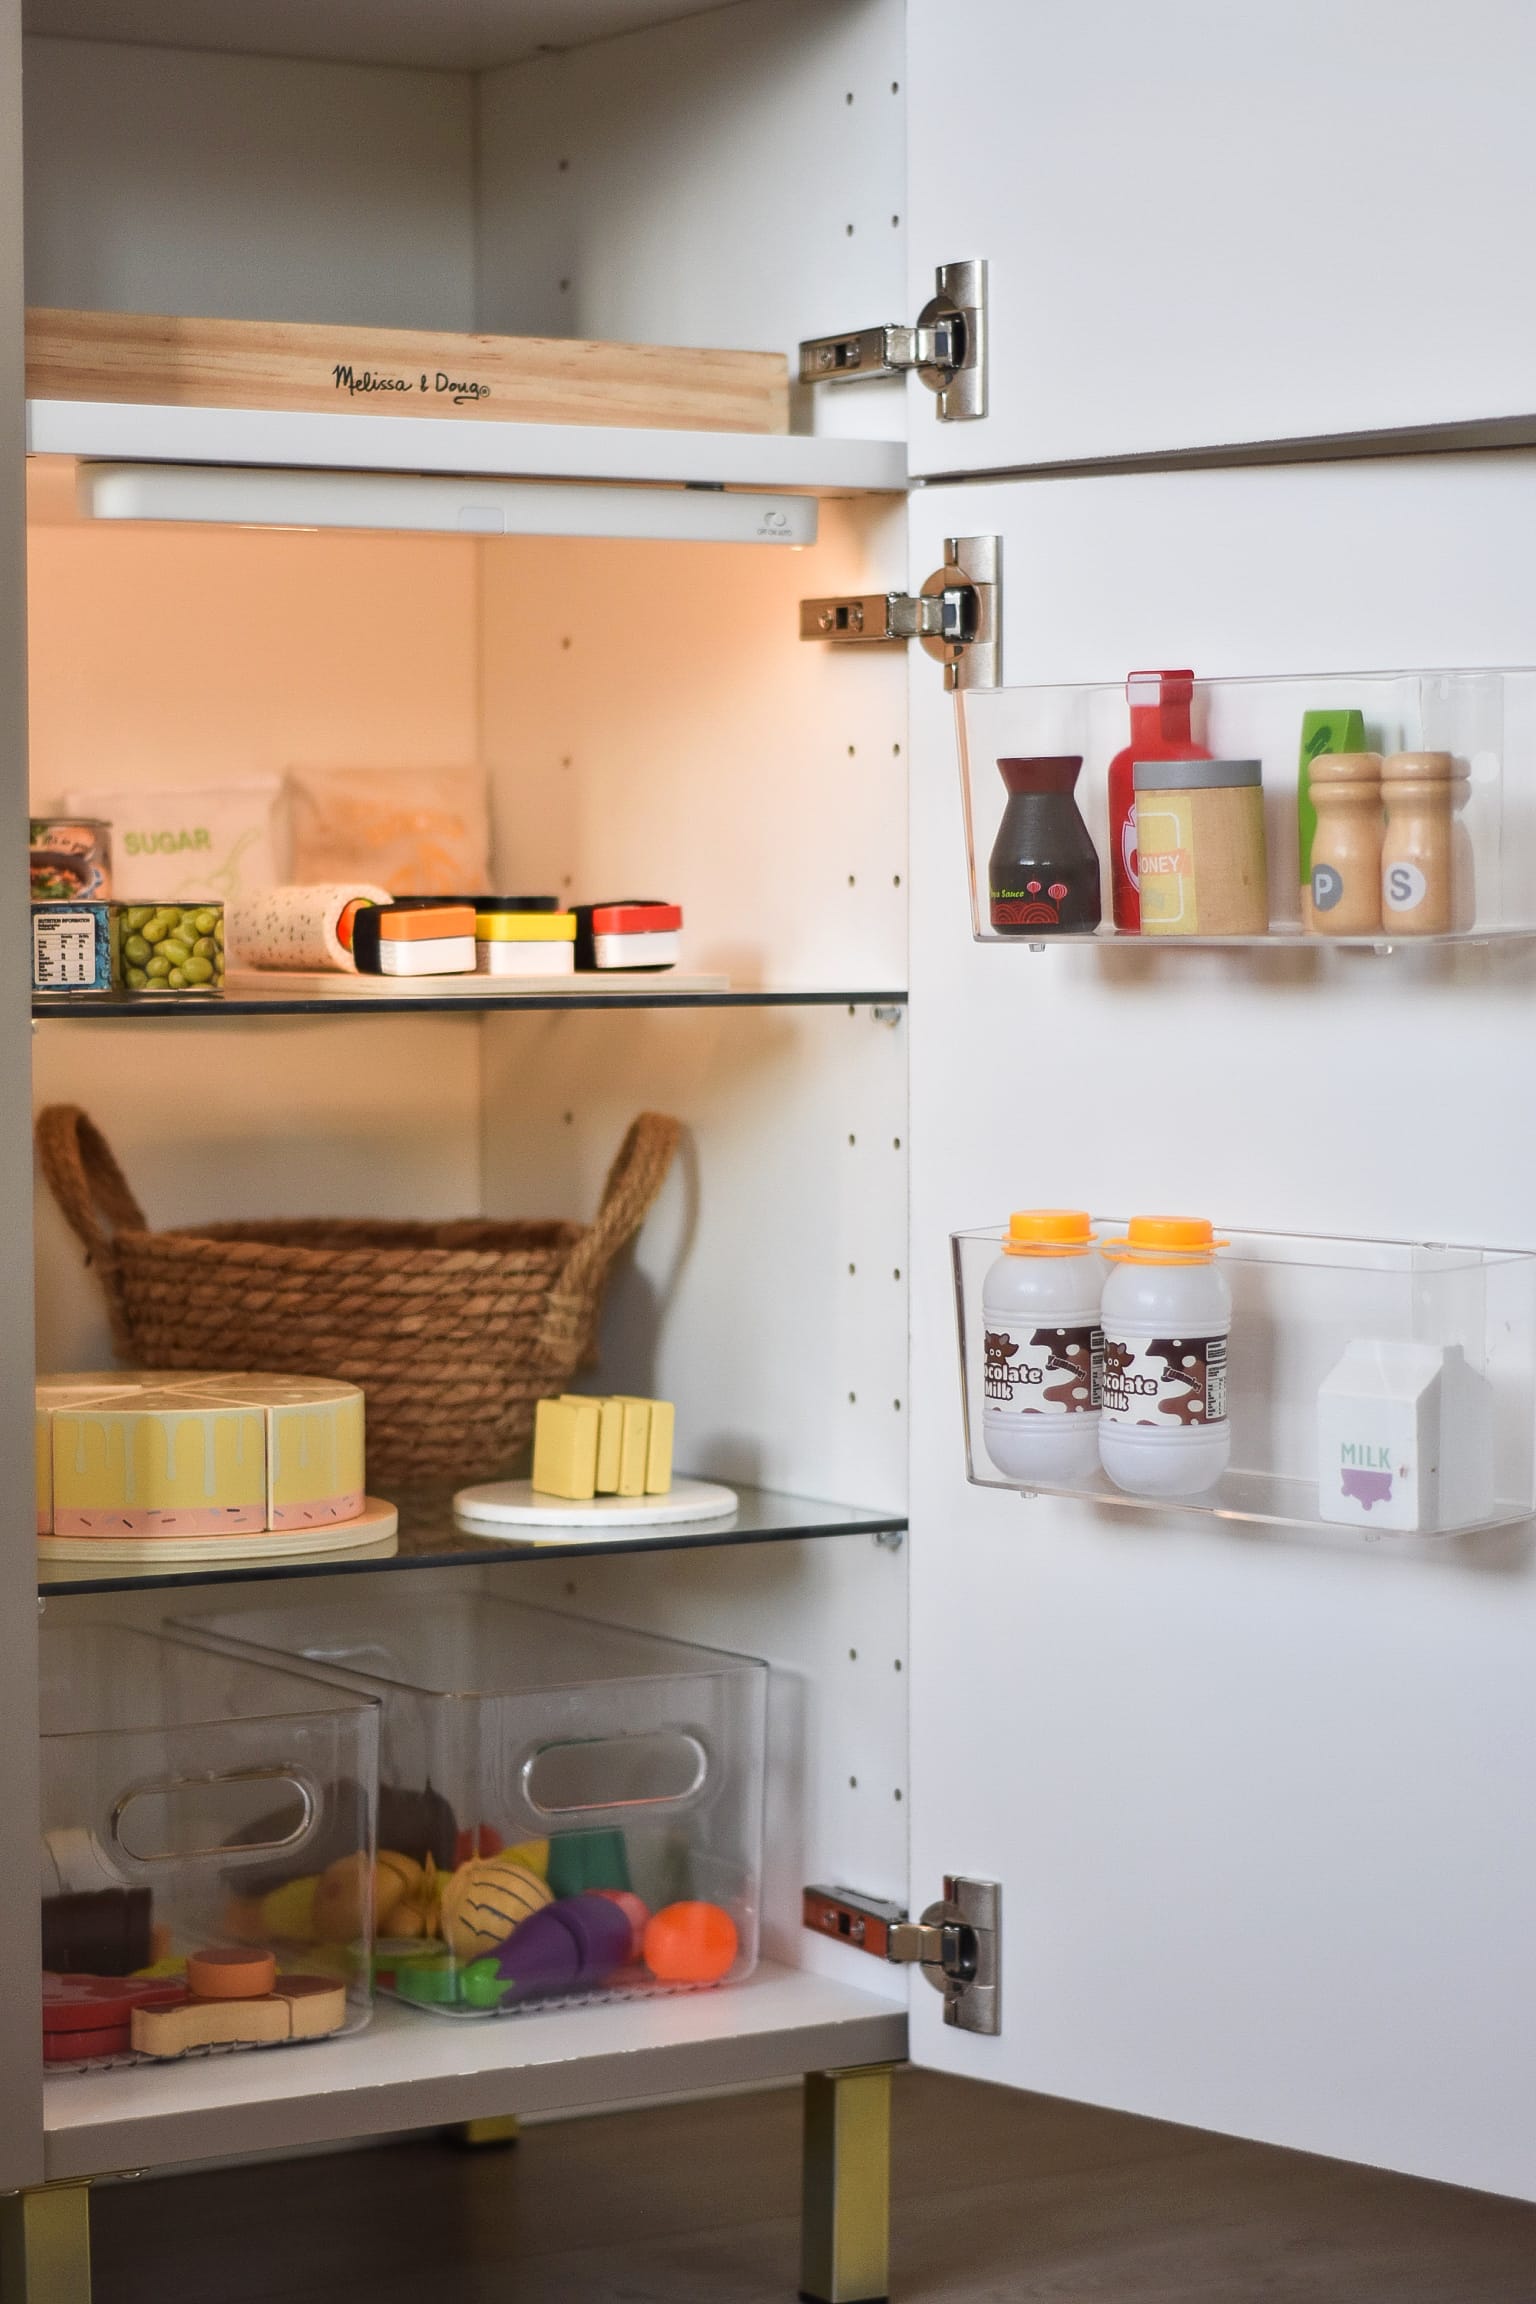
8. Organize the Interior
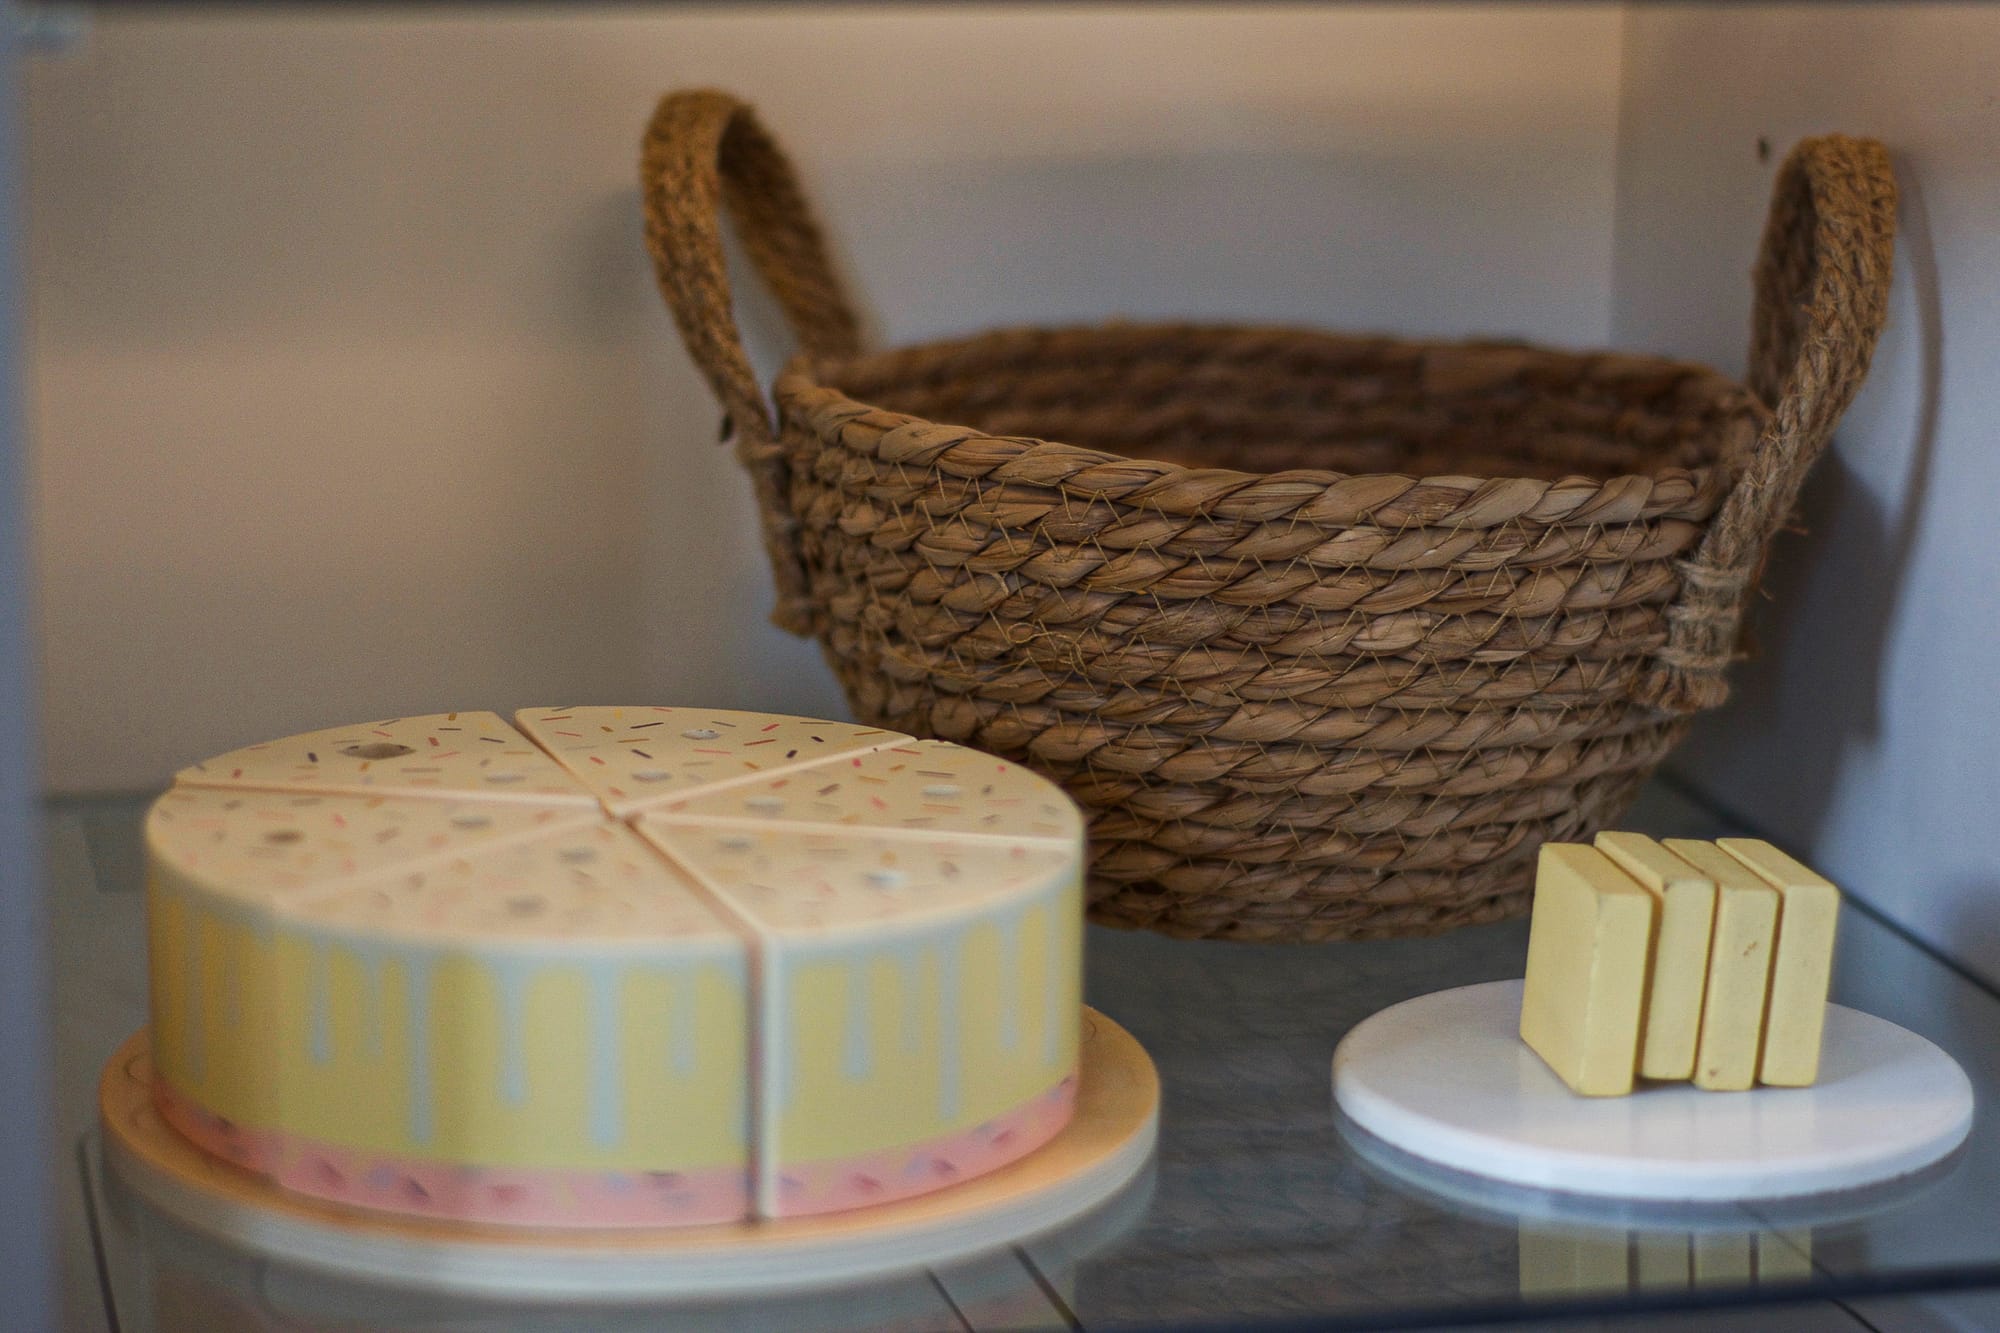
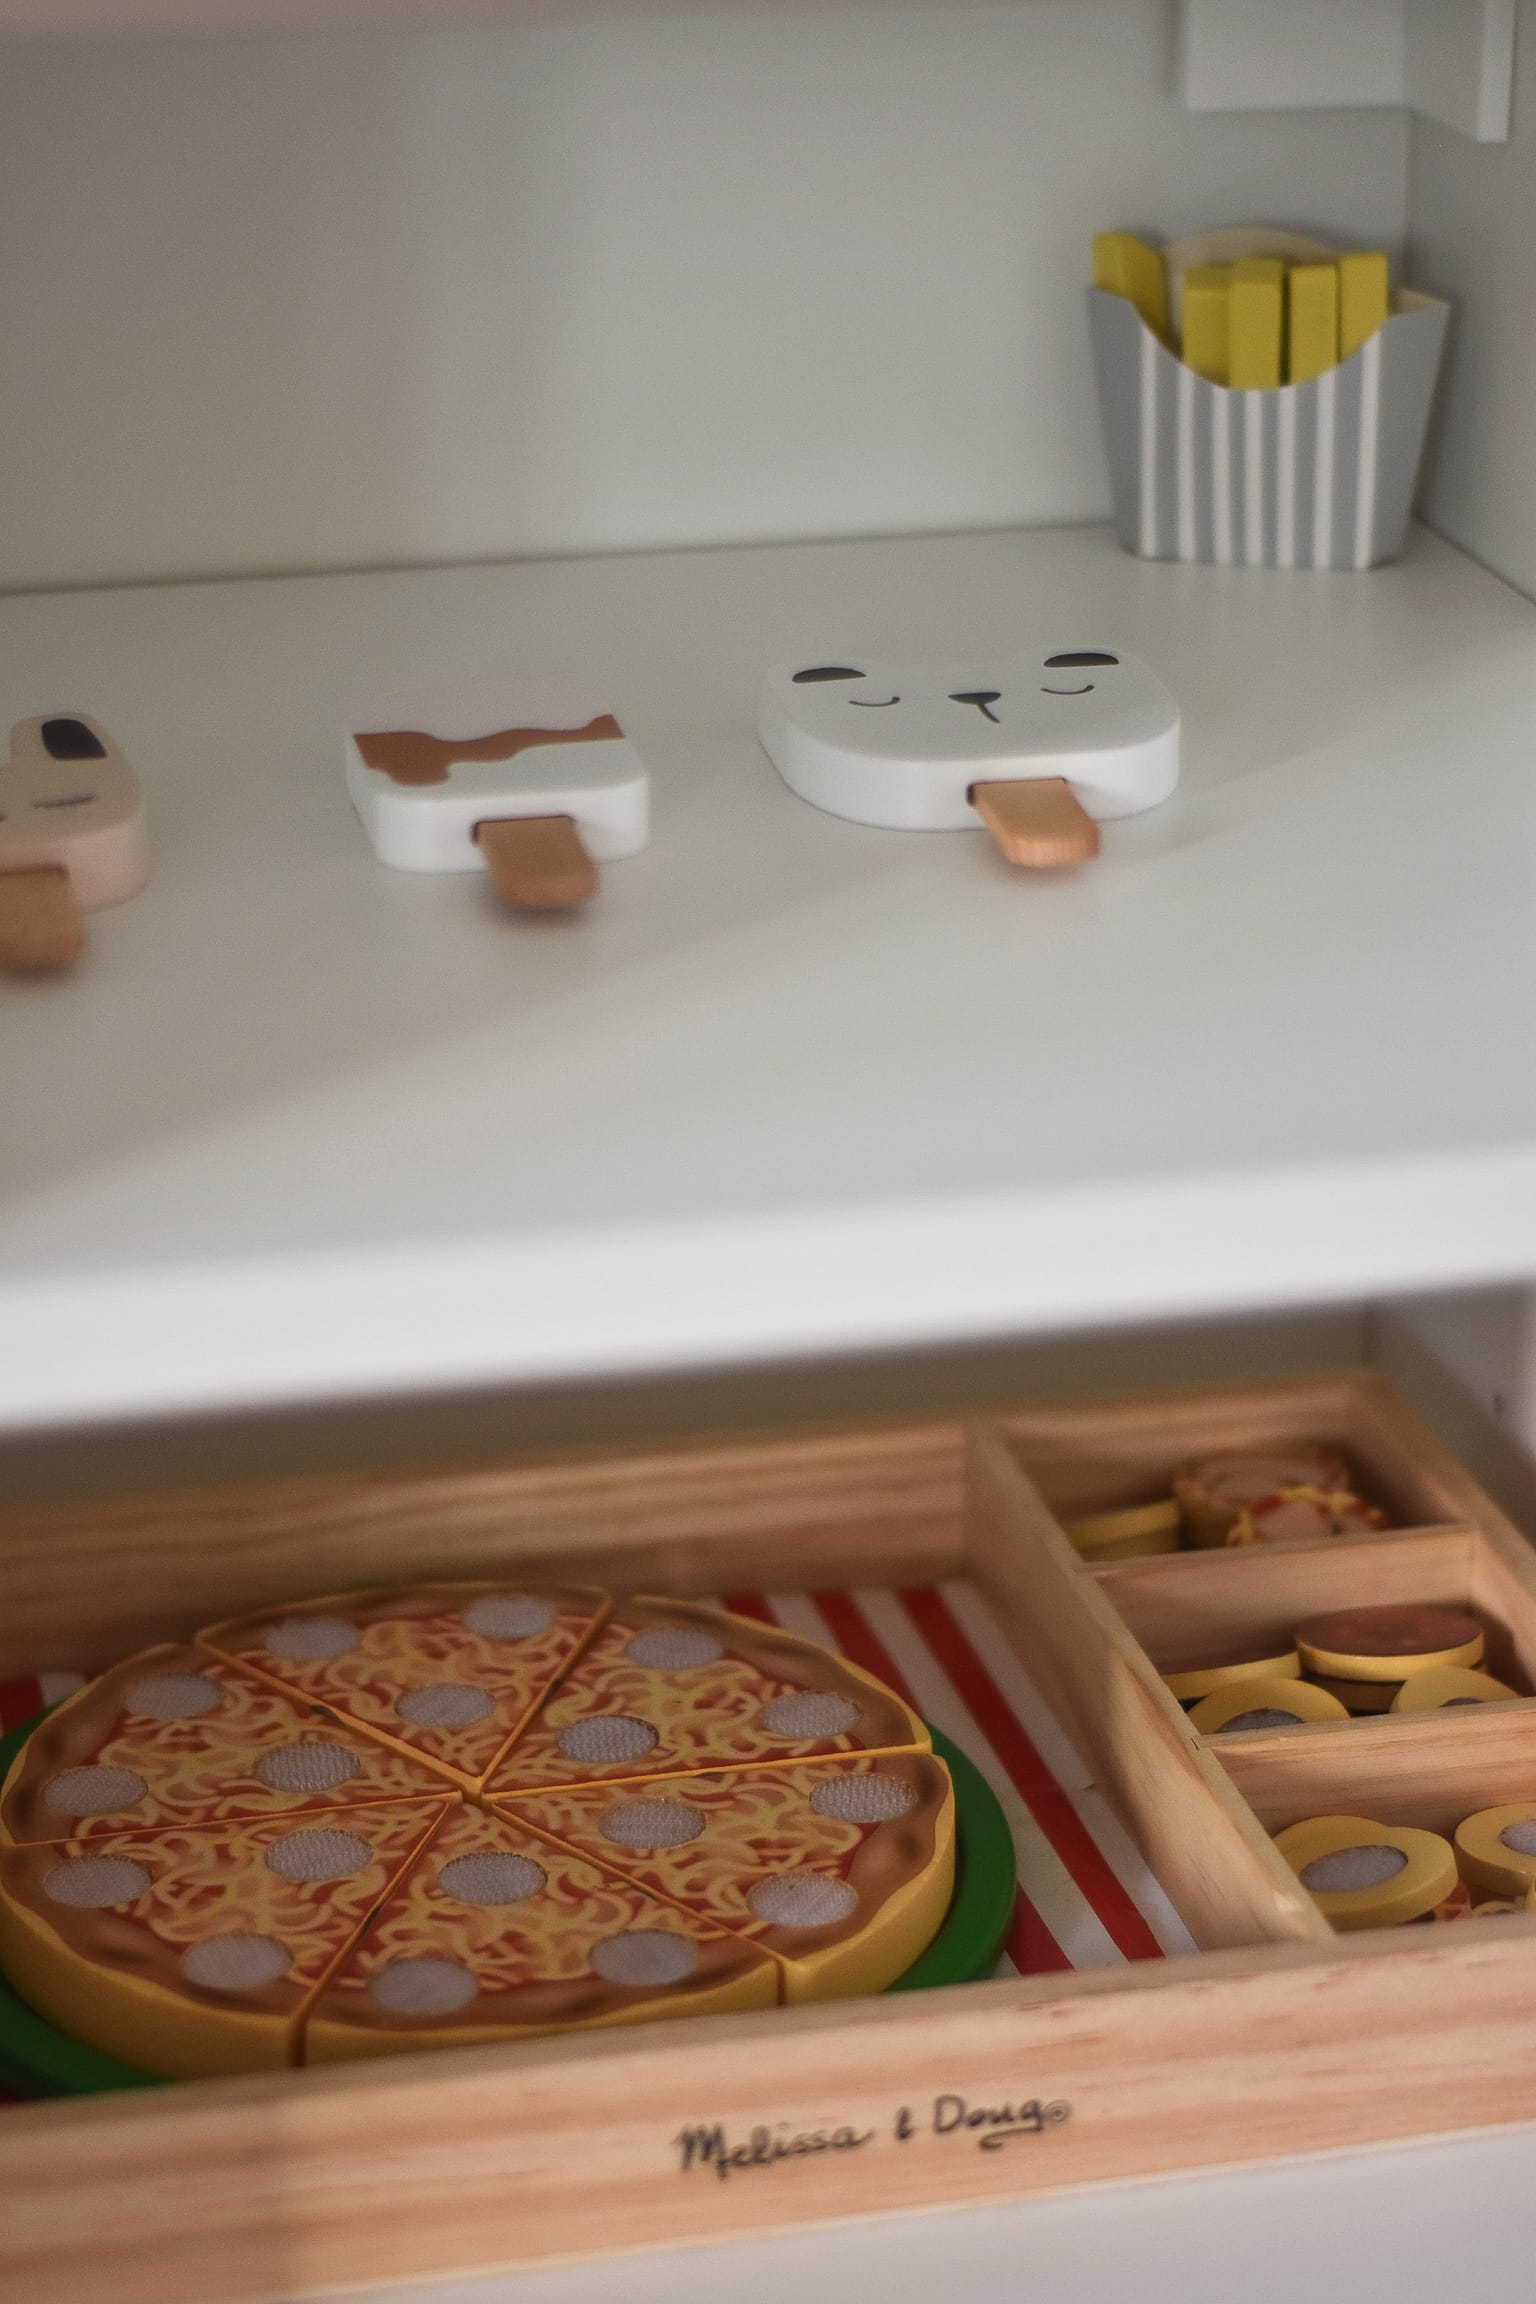
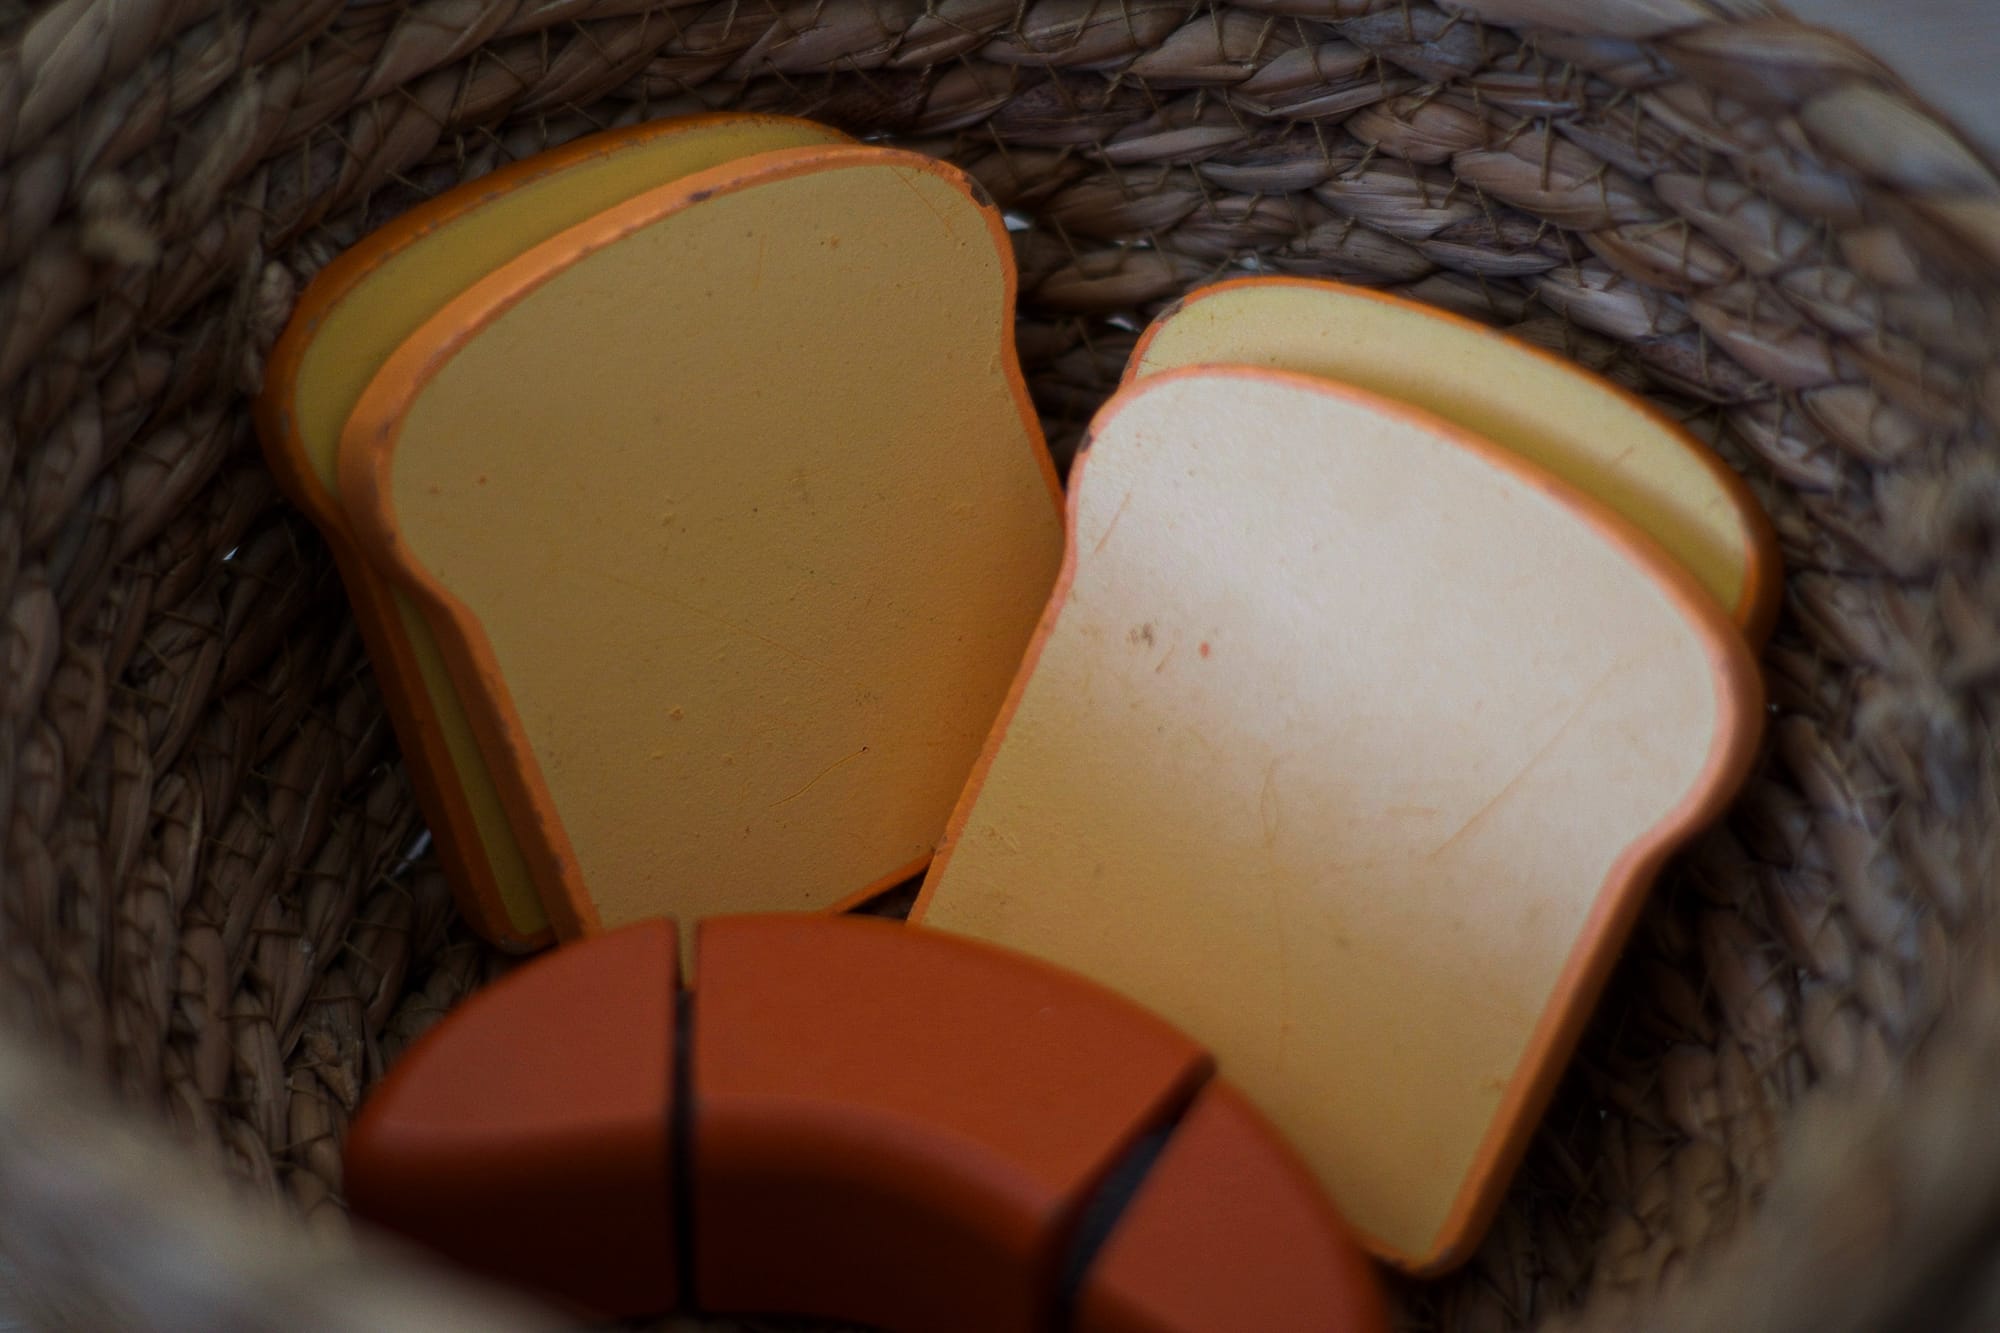
Stick two plastic storage bins to the inside of the fridge door using clear double-sided tape for drinks and condiments. Place two larger plastic organizers inside the fridge to store toy fruits, vegetables, dairy, and other play food items.

9. Secure the Fridge to the Wall (If Needed)
If there is any risk of tipping over, secure the fridge to the wall using brackets for extra safety.
This DIY IKEA kids fridge is the perfect addition to any play kitchen, giving your child an extended space to store their toy food while keeping your home’s aesthetic in mind. With simple IKEA components, a bit of creativity, and some paint, you can create a play fridge that looks beautiful and functions just like the real thing!
Whether you keep it classic white or match it to your DUKTIG kitchen, this DIY project is sure to be a hit with your little one. Plus, it’s a budget-friendly and stylish alternative to expensive play fridges on the market.
So, what are you waiting for? Get your supplies and start building your dream play fridge today!

Creator: Cynthia
Instagram: @cynterior_designs