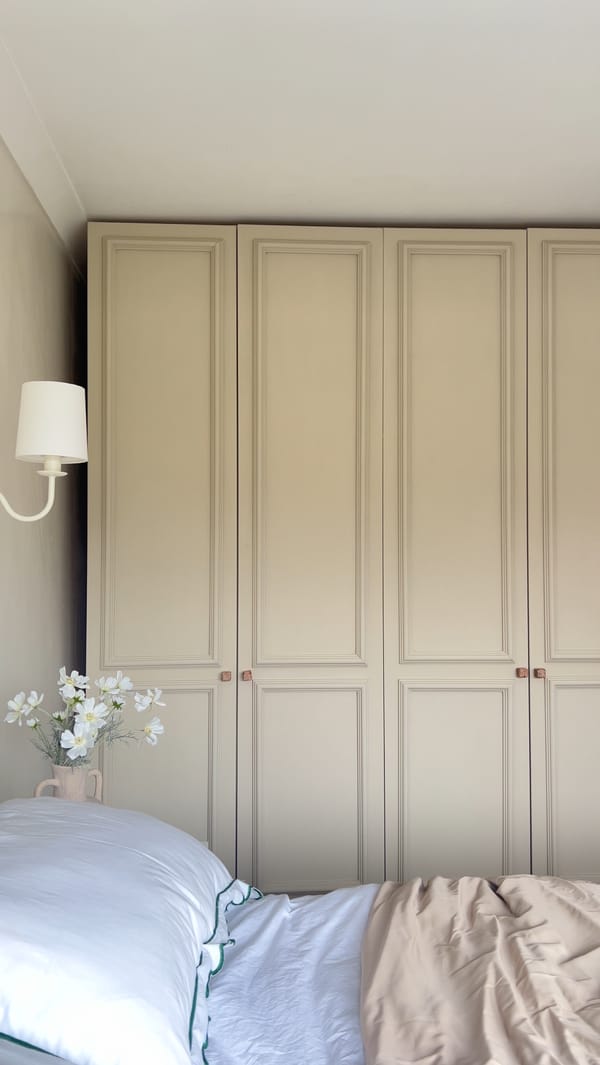
Transforming your home with a custom-built wardrobe can elevate your space's aesthetic and functionality. This Ikea Pax built-in hack is a fantastic way to achieve a seamless, integrated look without breaking the bank. By following this step-by-step guide, you can create a stunning built-in wardrobe that looks like it was always part of your home's design.
What You Need
- Wooden beams (44mm by 69mm)
- Drywall
- Screws
- Sealant
- Drill
- Plaster
- Paint
- Ikea Pax wardrobe
- Optional: Walnut wood wardrobe doors from Studio Fedde
Step-by-Step Guide
Step 1: Constructing the Wooden Frame
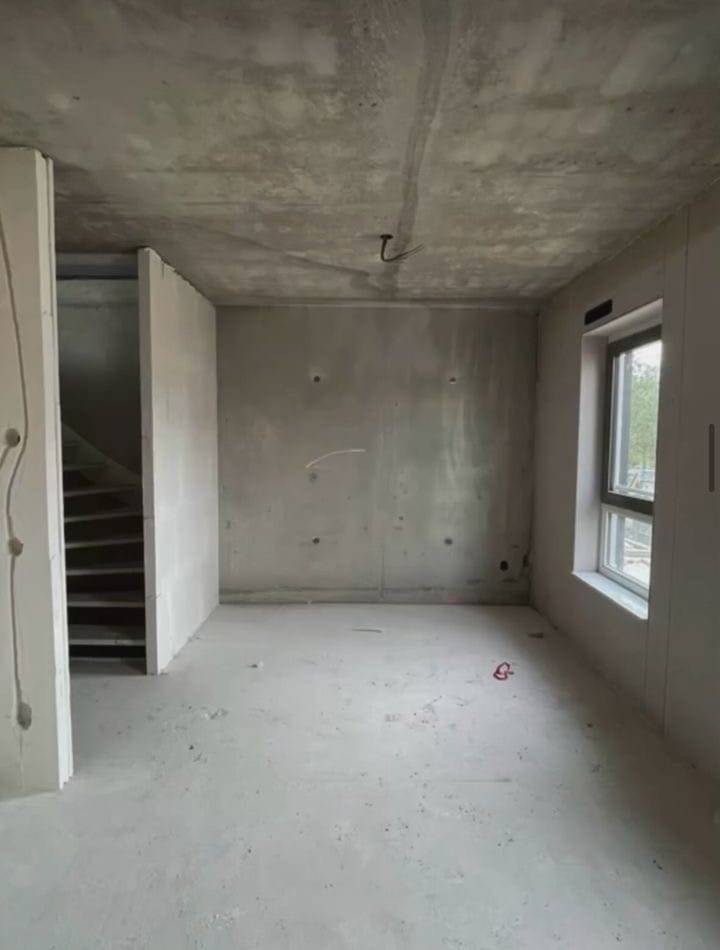
Begin by constructing the wooden frame for your built-in wardrobe using 44mm by 69mm beams, also known as 2 by 3 beams. This frame will serve as the skeleton for your project, providing the necessary support and structure.
Step 2: Building the Frame
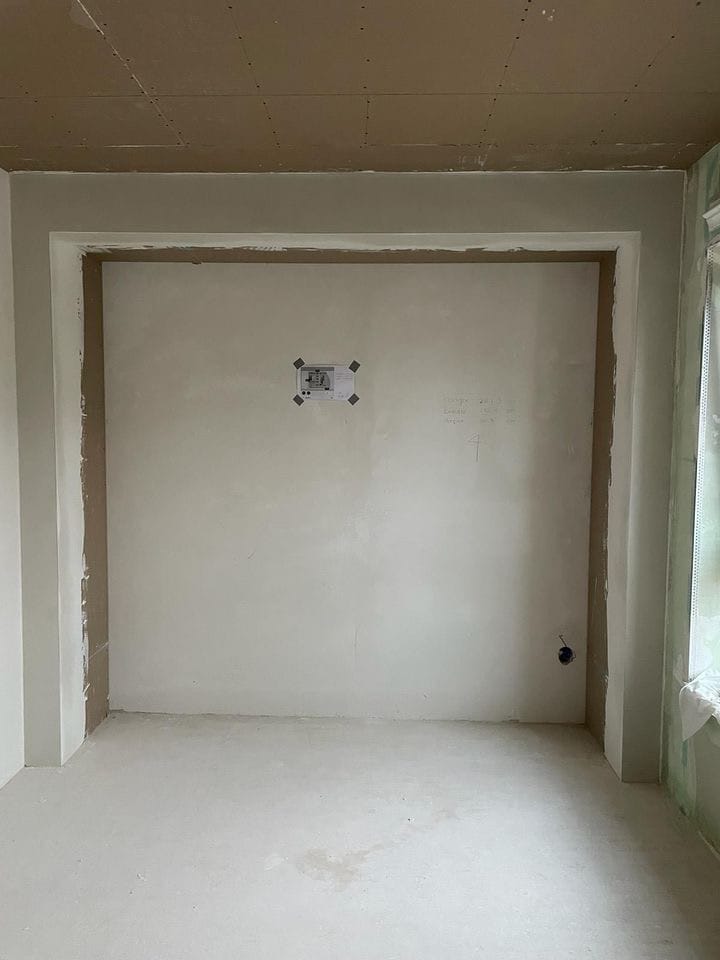
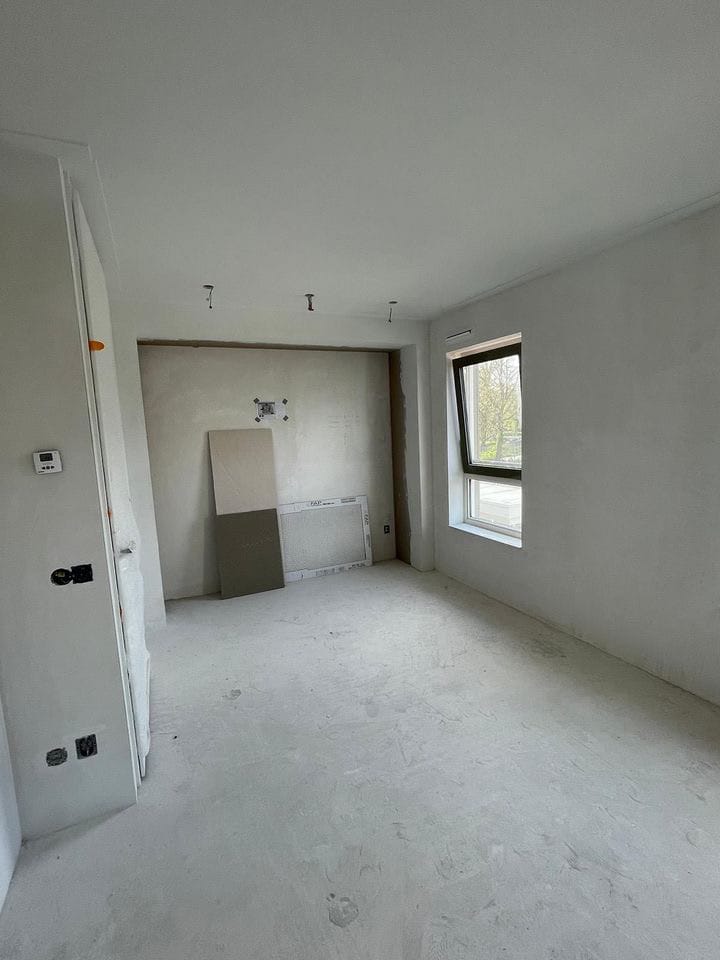
On both sides of the wardrobe, build a frame against the back wall and the front view. This frame consists of 8 vertical beams and 4 horizontal beams, with small connecting pieces of wood in between. Secure the frame by screwing it together and gluing it to the floor, ceiling, and wall at the bottom, top, and back due to various pipes. Ensure the frame is sturdy and level, as this will affect the overall finish of your built-in wardrobe.
Step 3: Finishing with Drywall
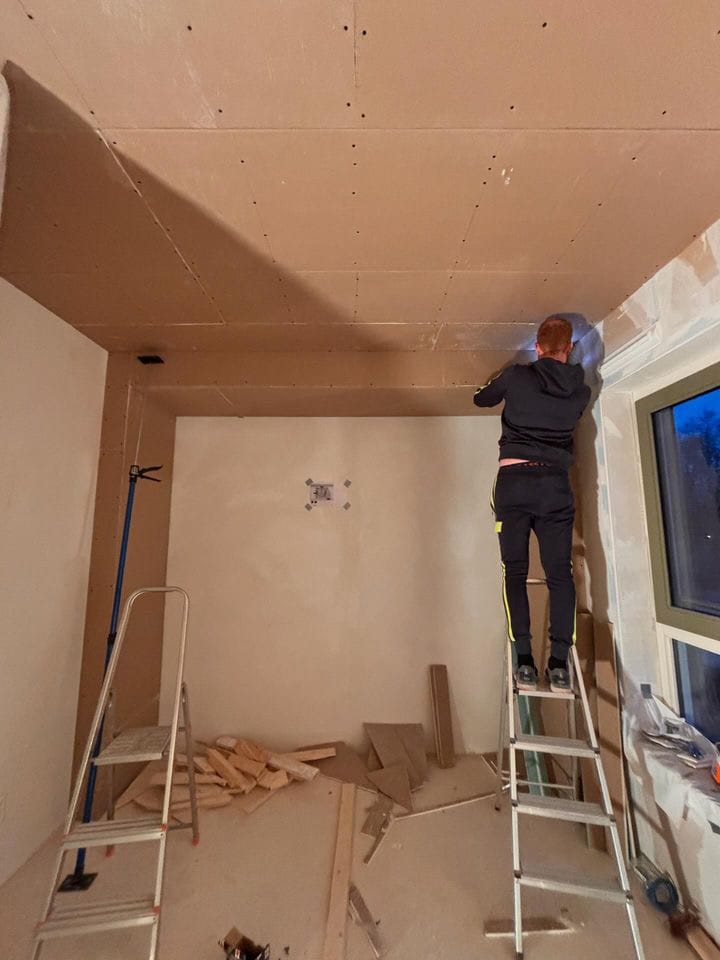
Finish the frame with drywall, carefully cutting and fitting the pieces to cover the entire frame. Leave an additional 1 cm space around the Pax wardrobe dimensions to allow for easy installation. Once the drywall is in place, plaster the seams and any imperfections to create a smooth surface. After the plaster has dried, sand it down for an even finish and paint it to match your room's decor.
Step 4: Installing the Wardrobe Doors
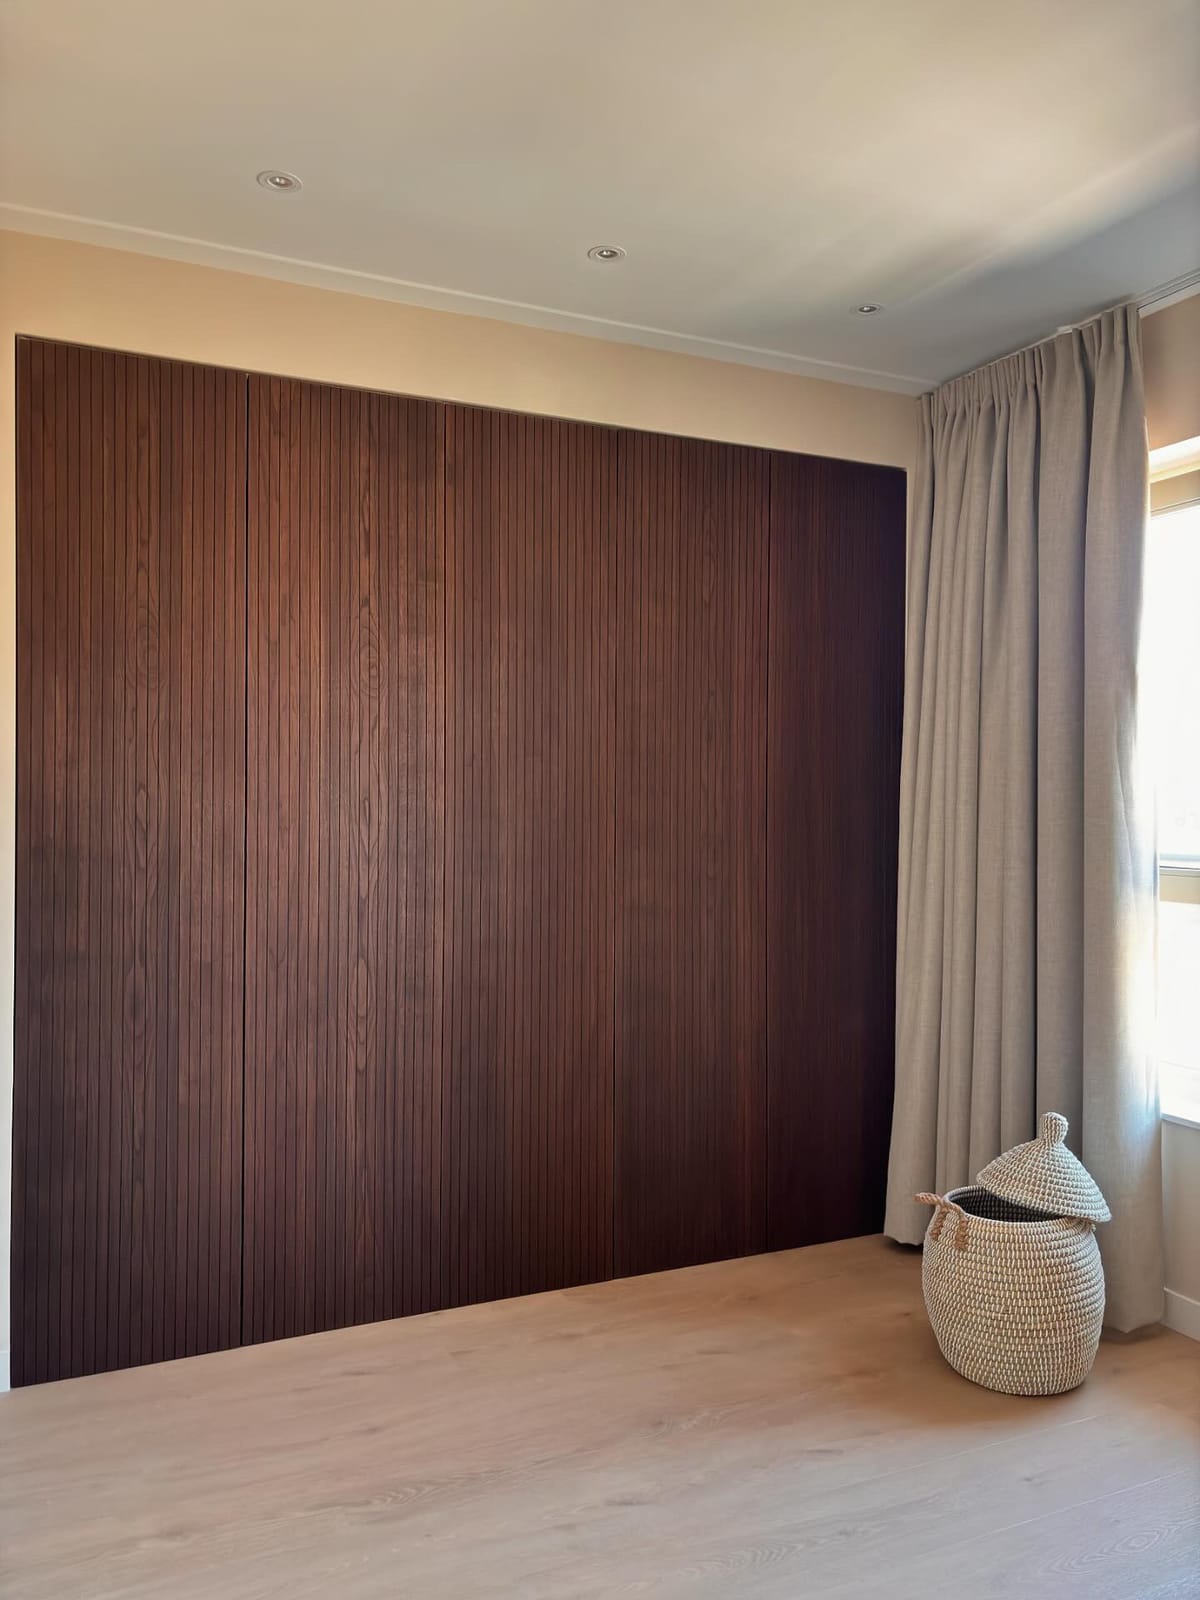
To give your built-in wardrobe a unique and elegant look, consider installing Dark Walnut wooden doors from Studio Fedde. These doors add a sustainable and warm appearance to the wardrobe. If you prefer, you can also choose from the beautiful selection of doors available from Ikea. Carefully measure and align the doors before attaching them to ensure a perfect fit.
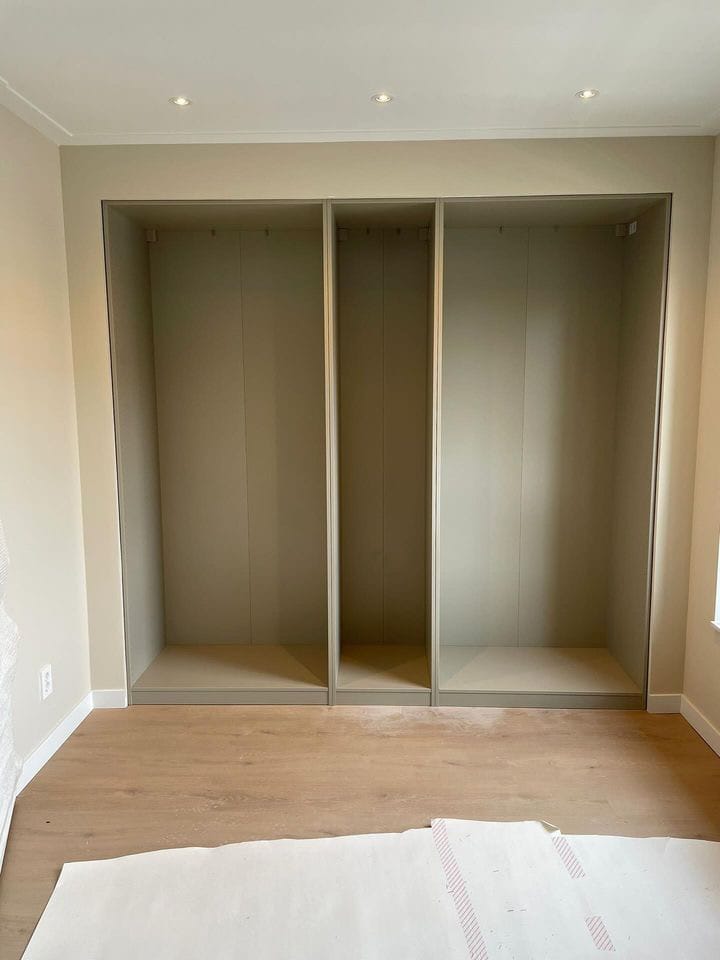
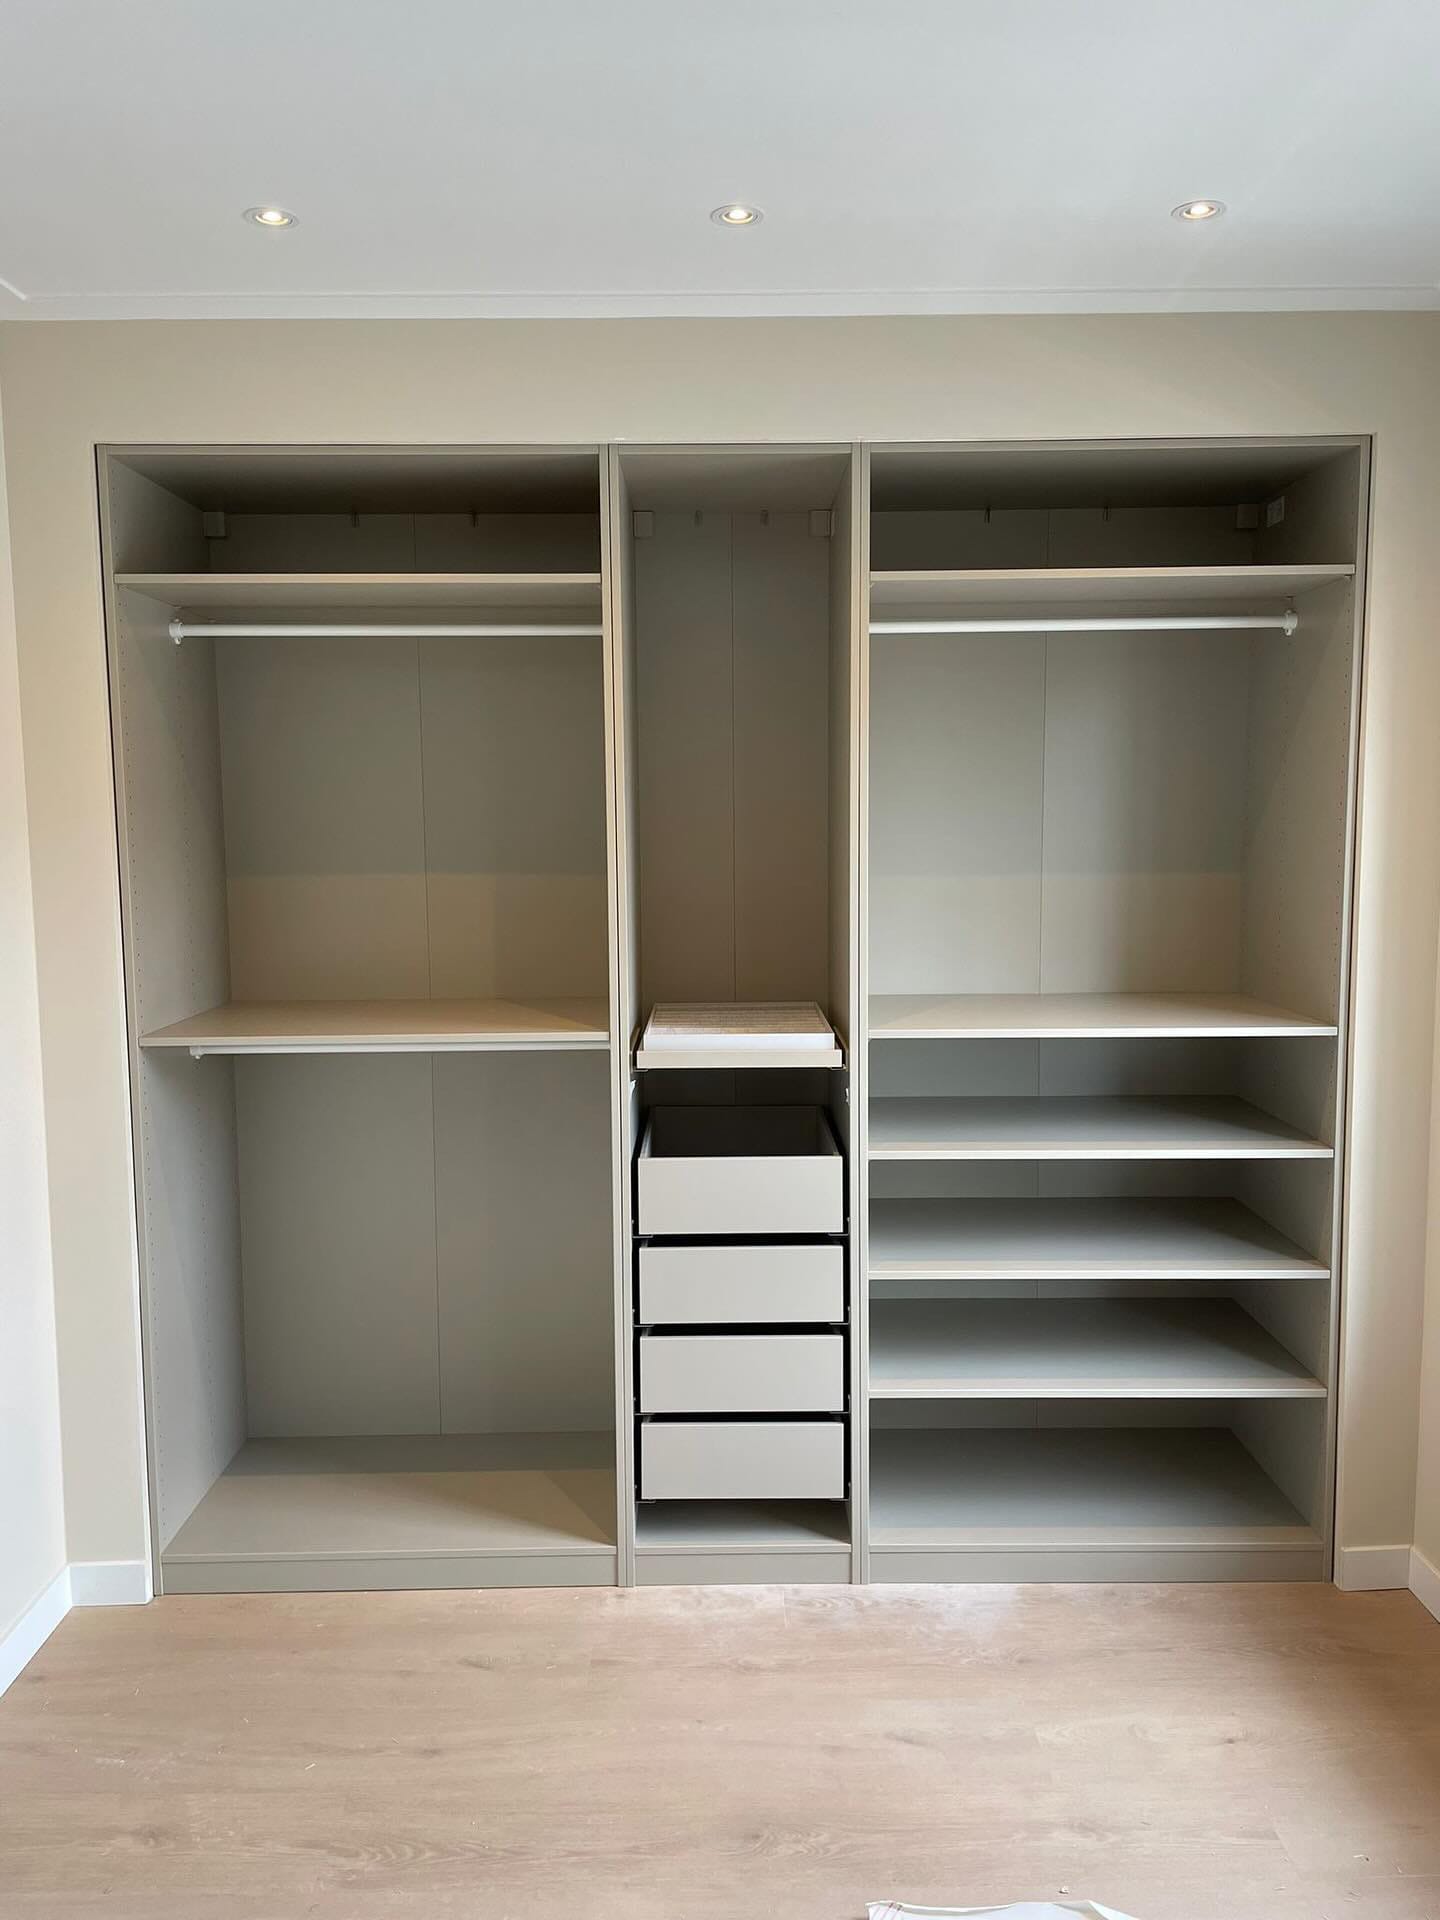
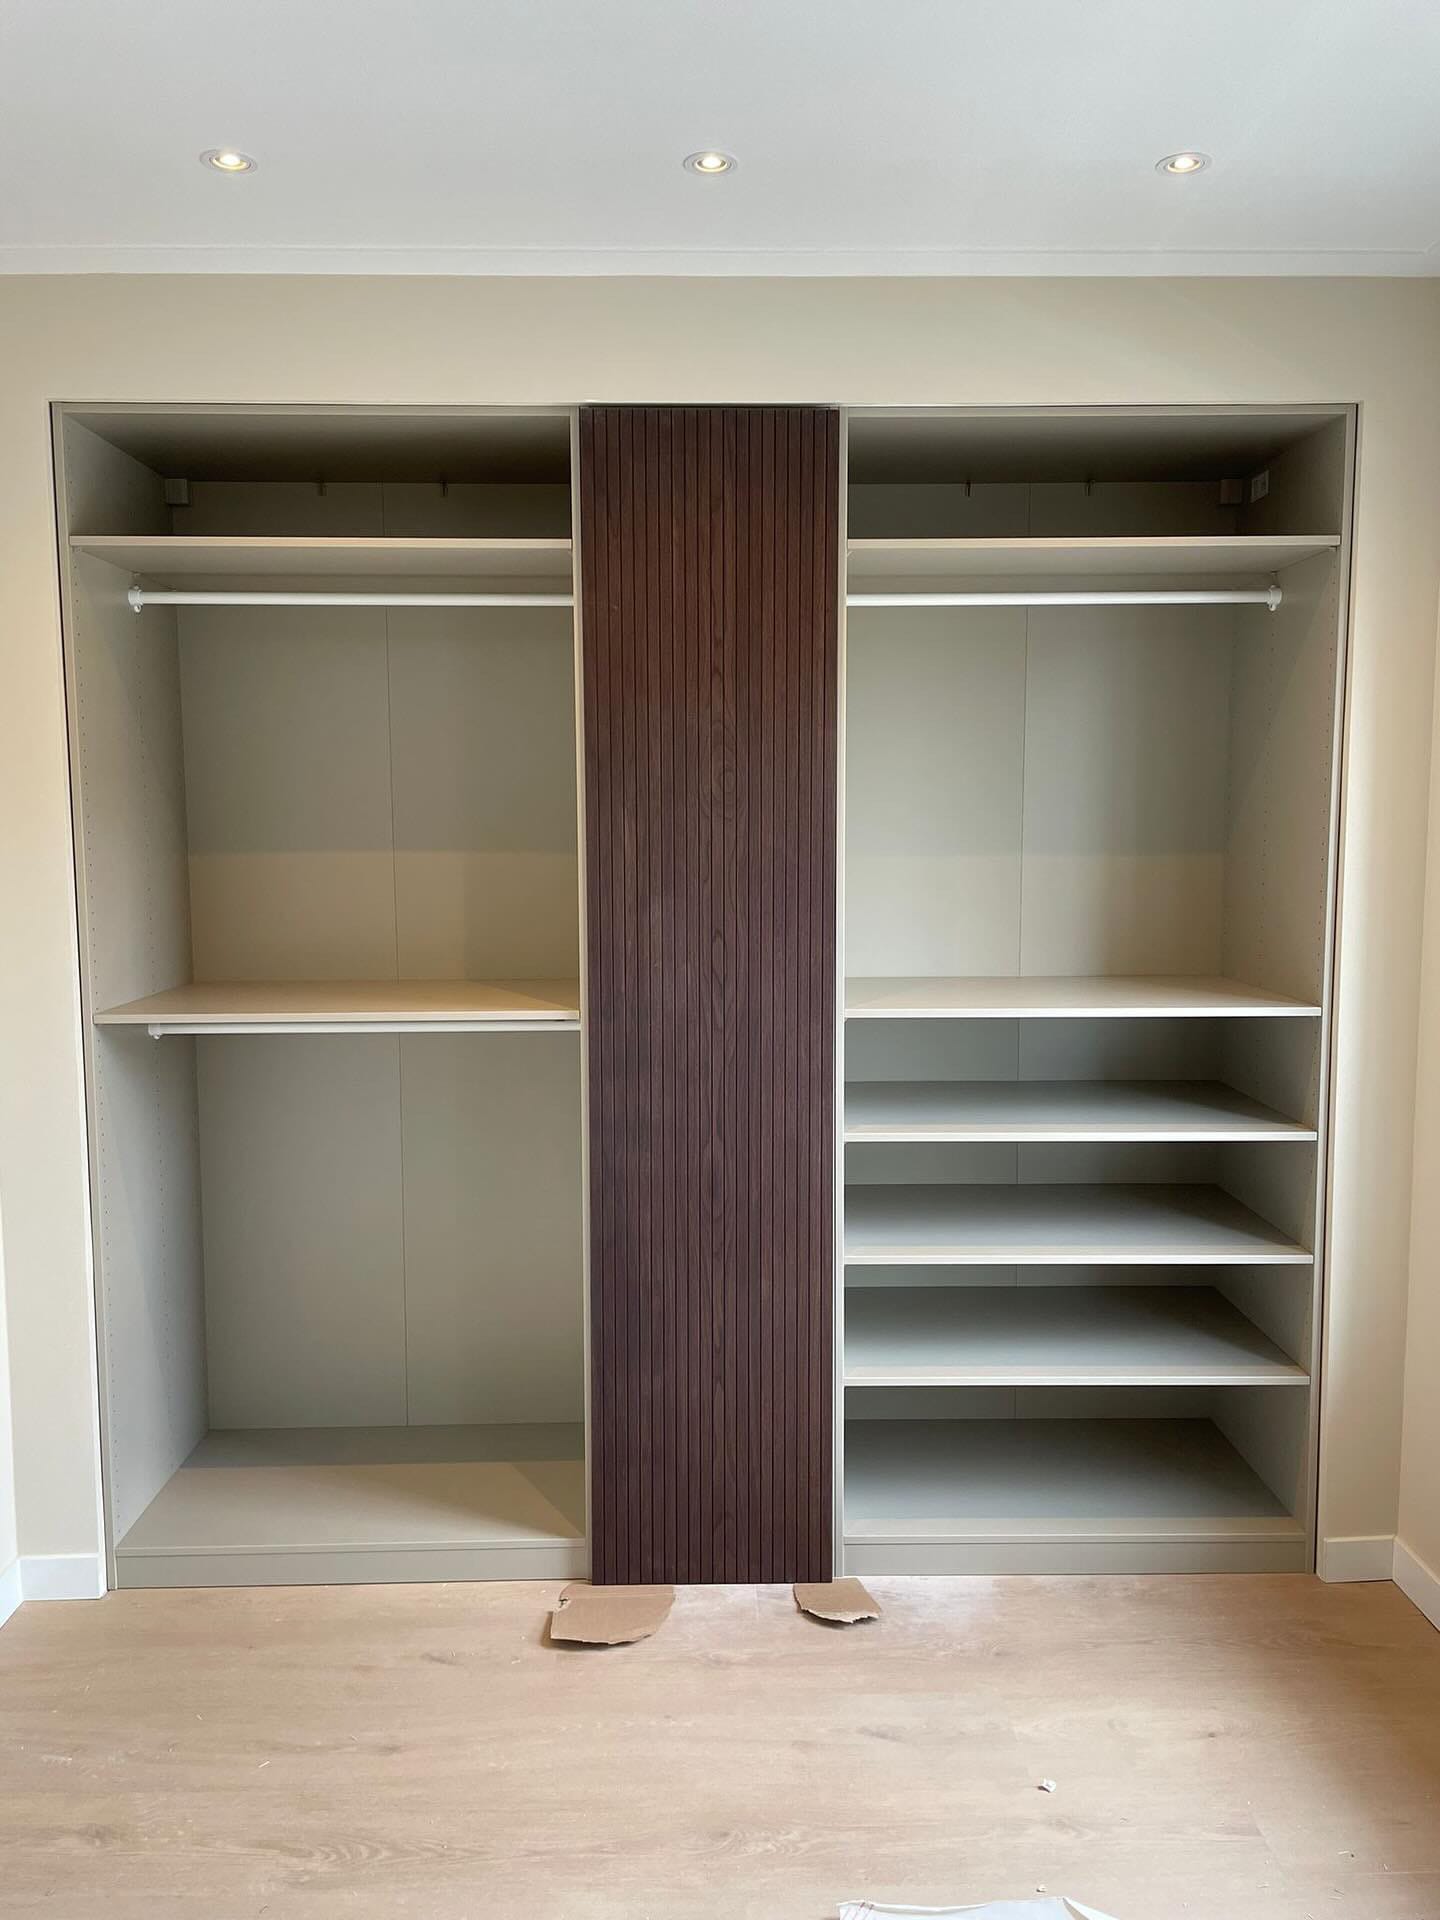
After completing the main construction and finishing steps, step back and admire your work. This Ikea Pax built-in hack not only enhances the functionality of your space but also adds a custom, high-end look to your home. With a bit of effort and creativity, you can achieve a stunning result that combines style and practicality.
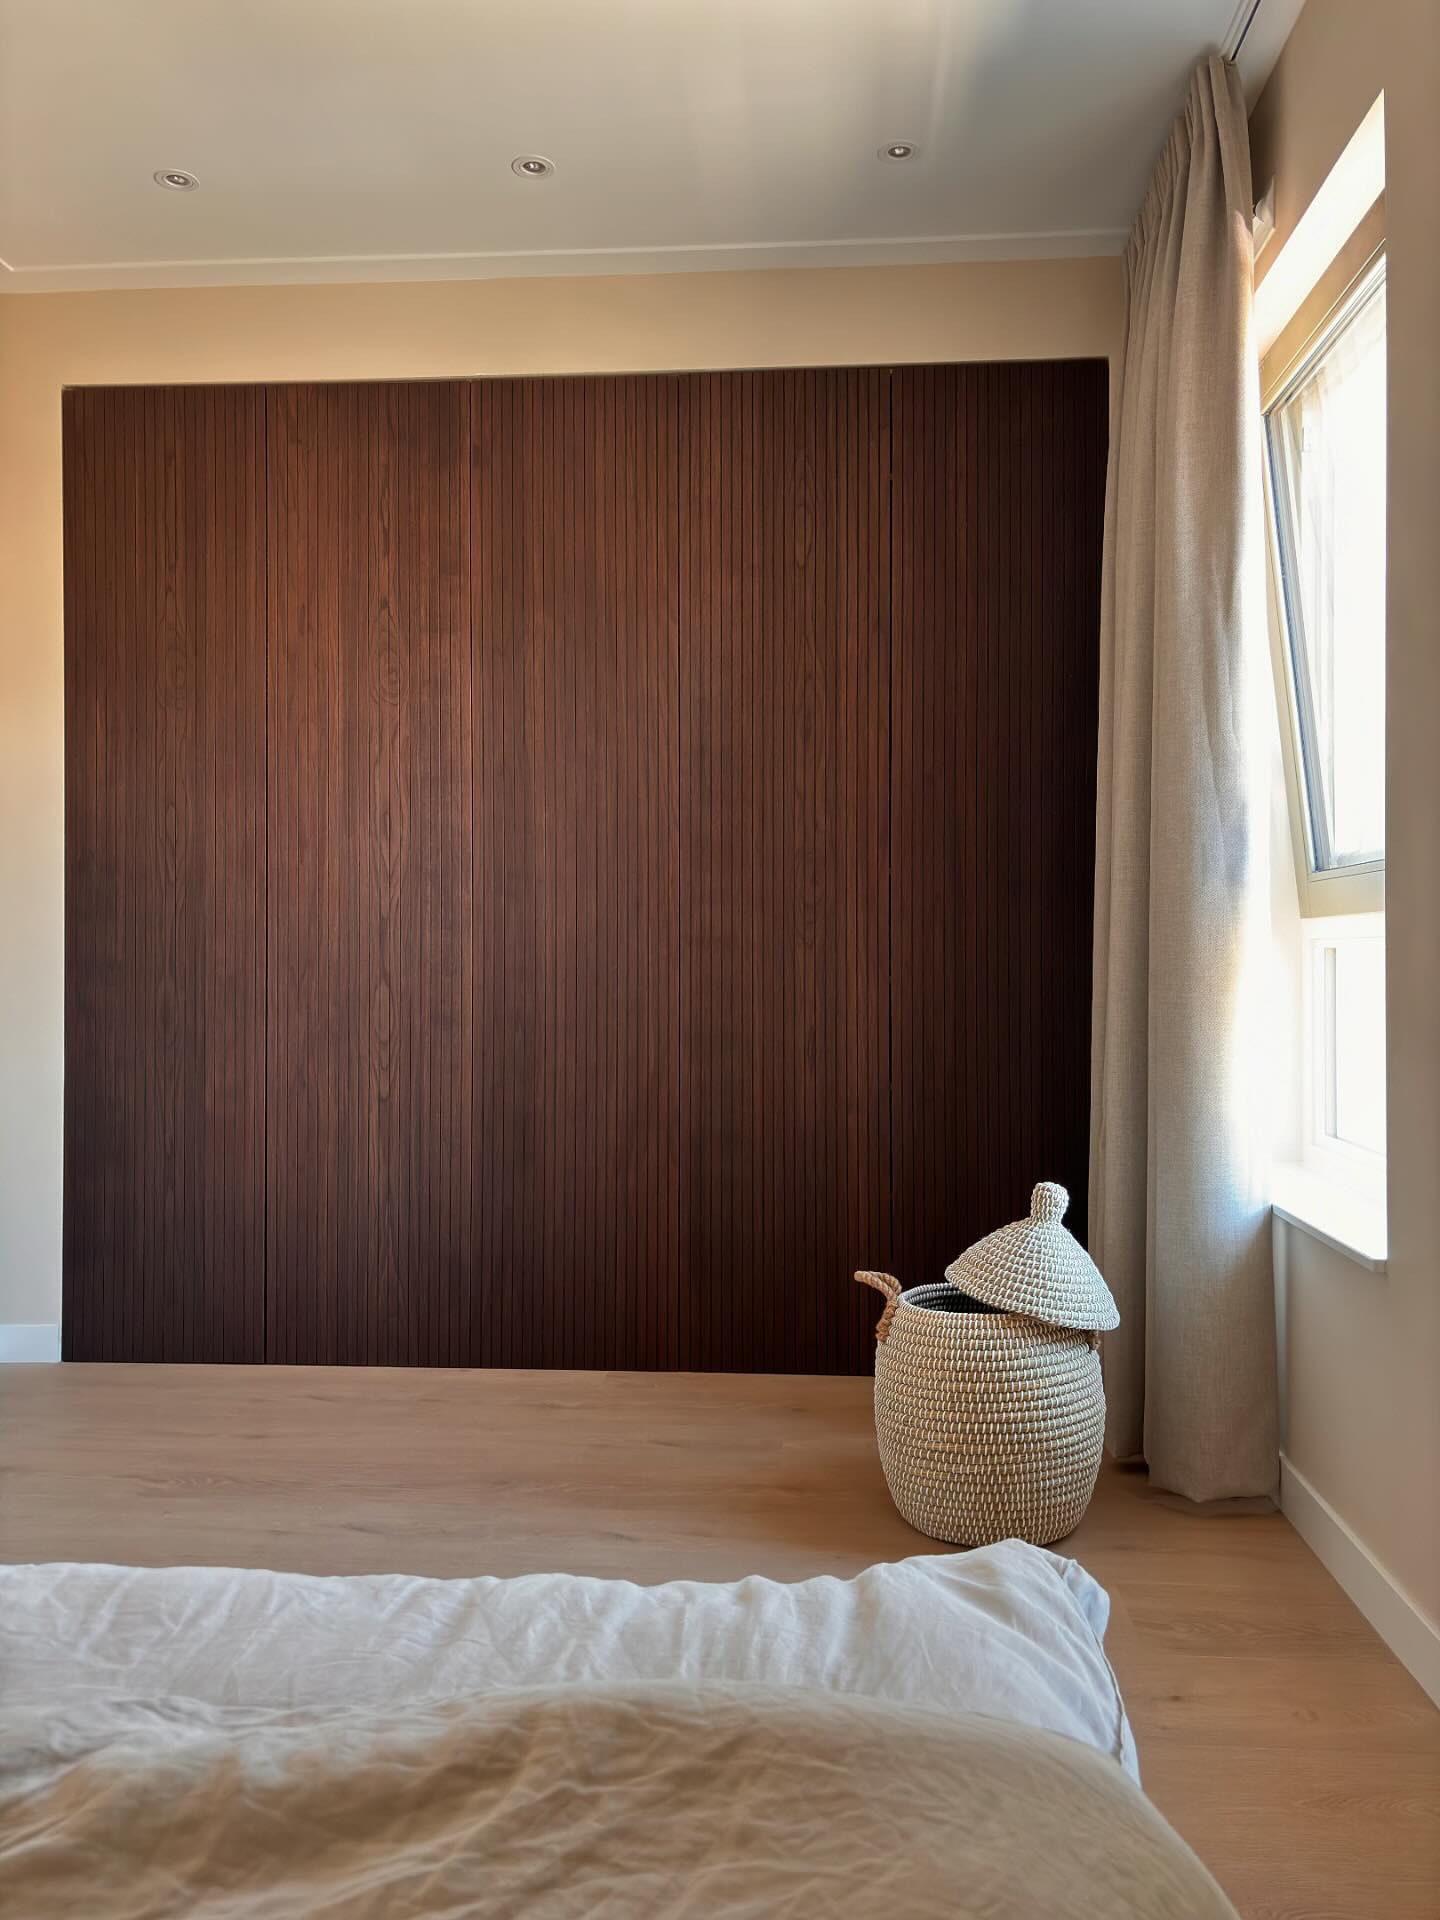
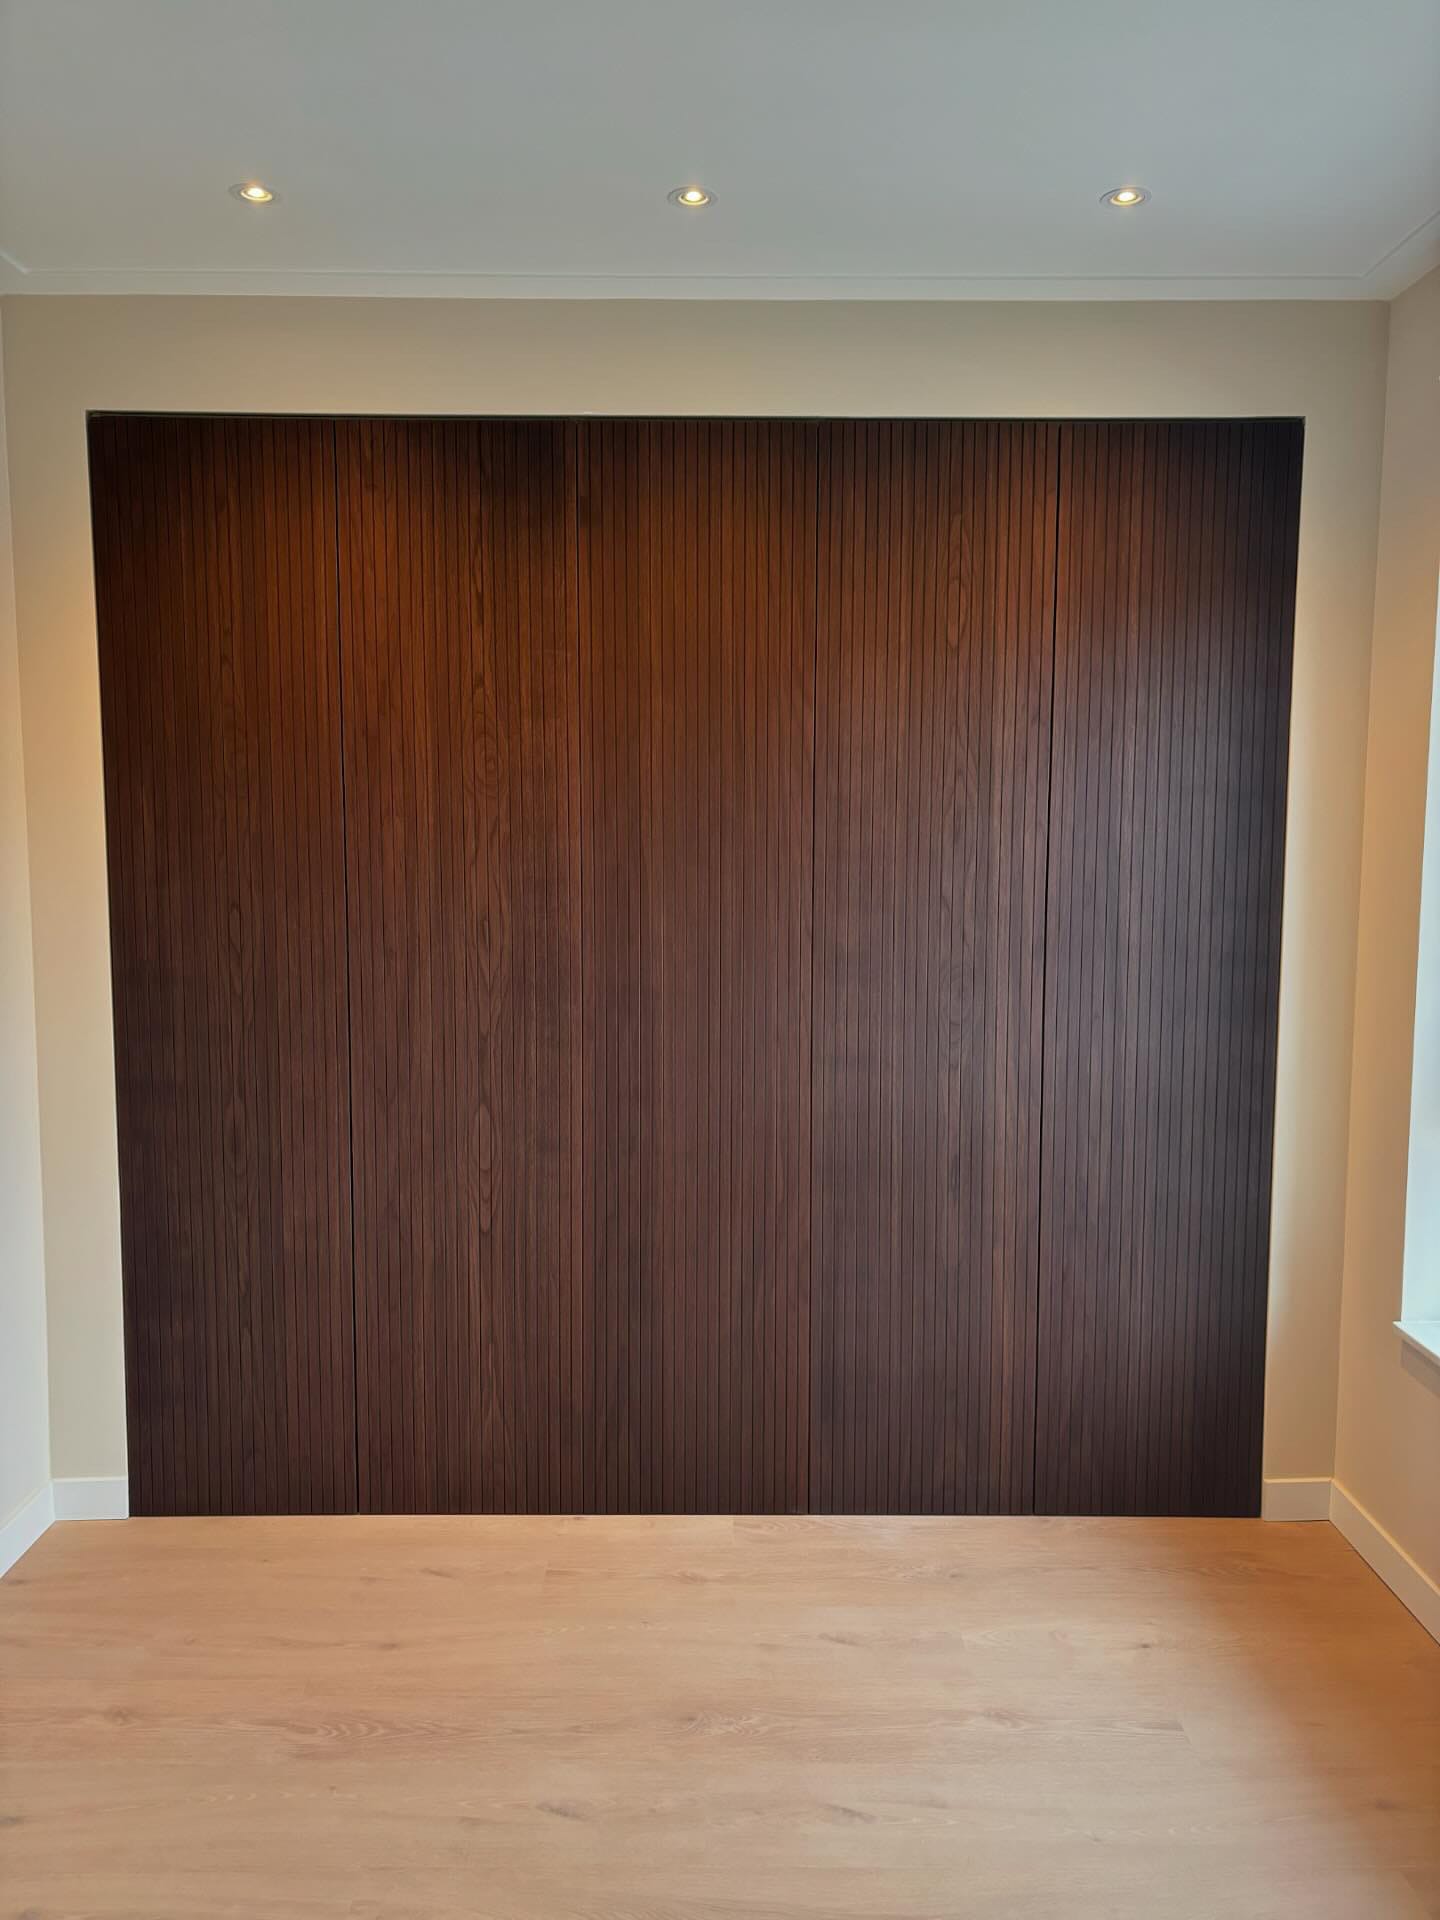
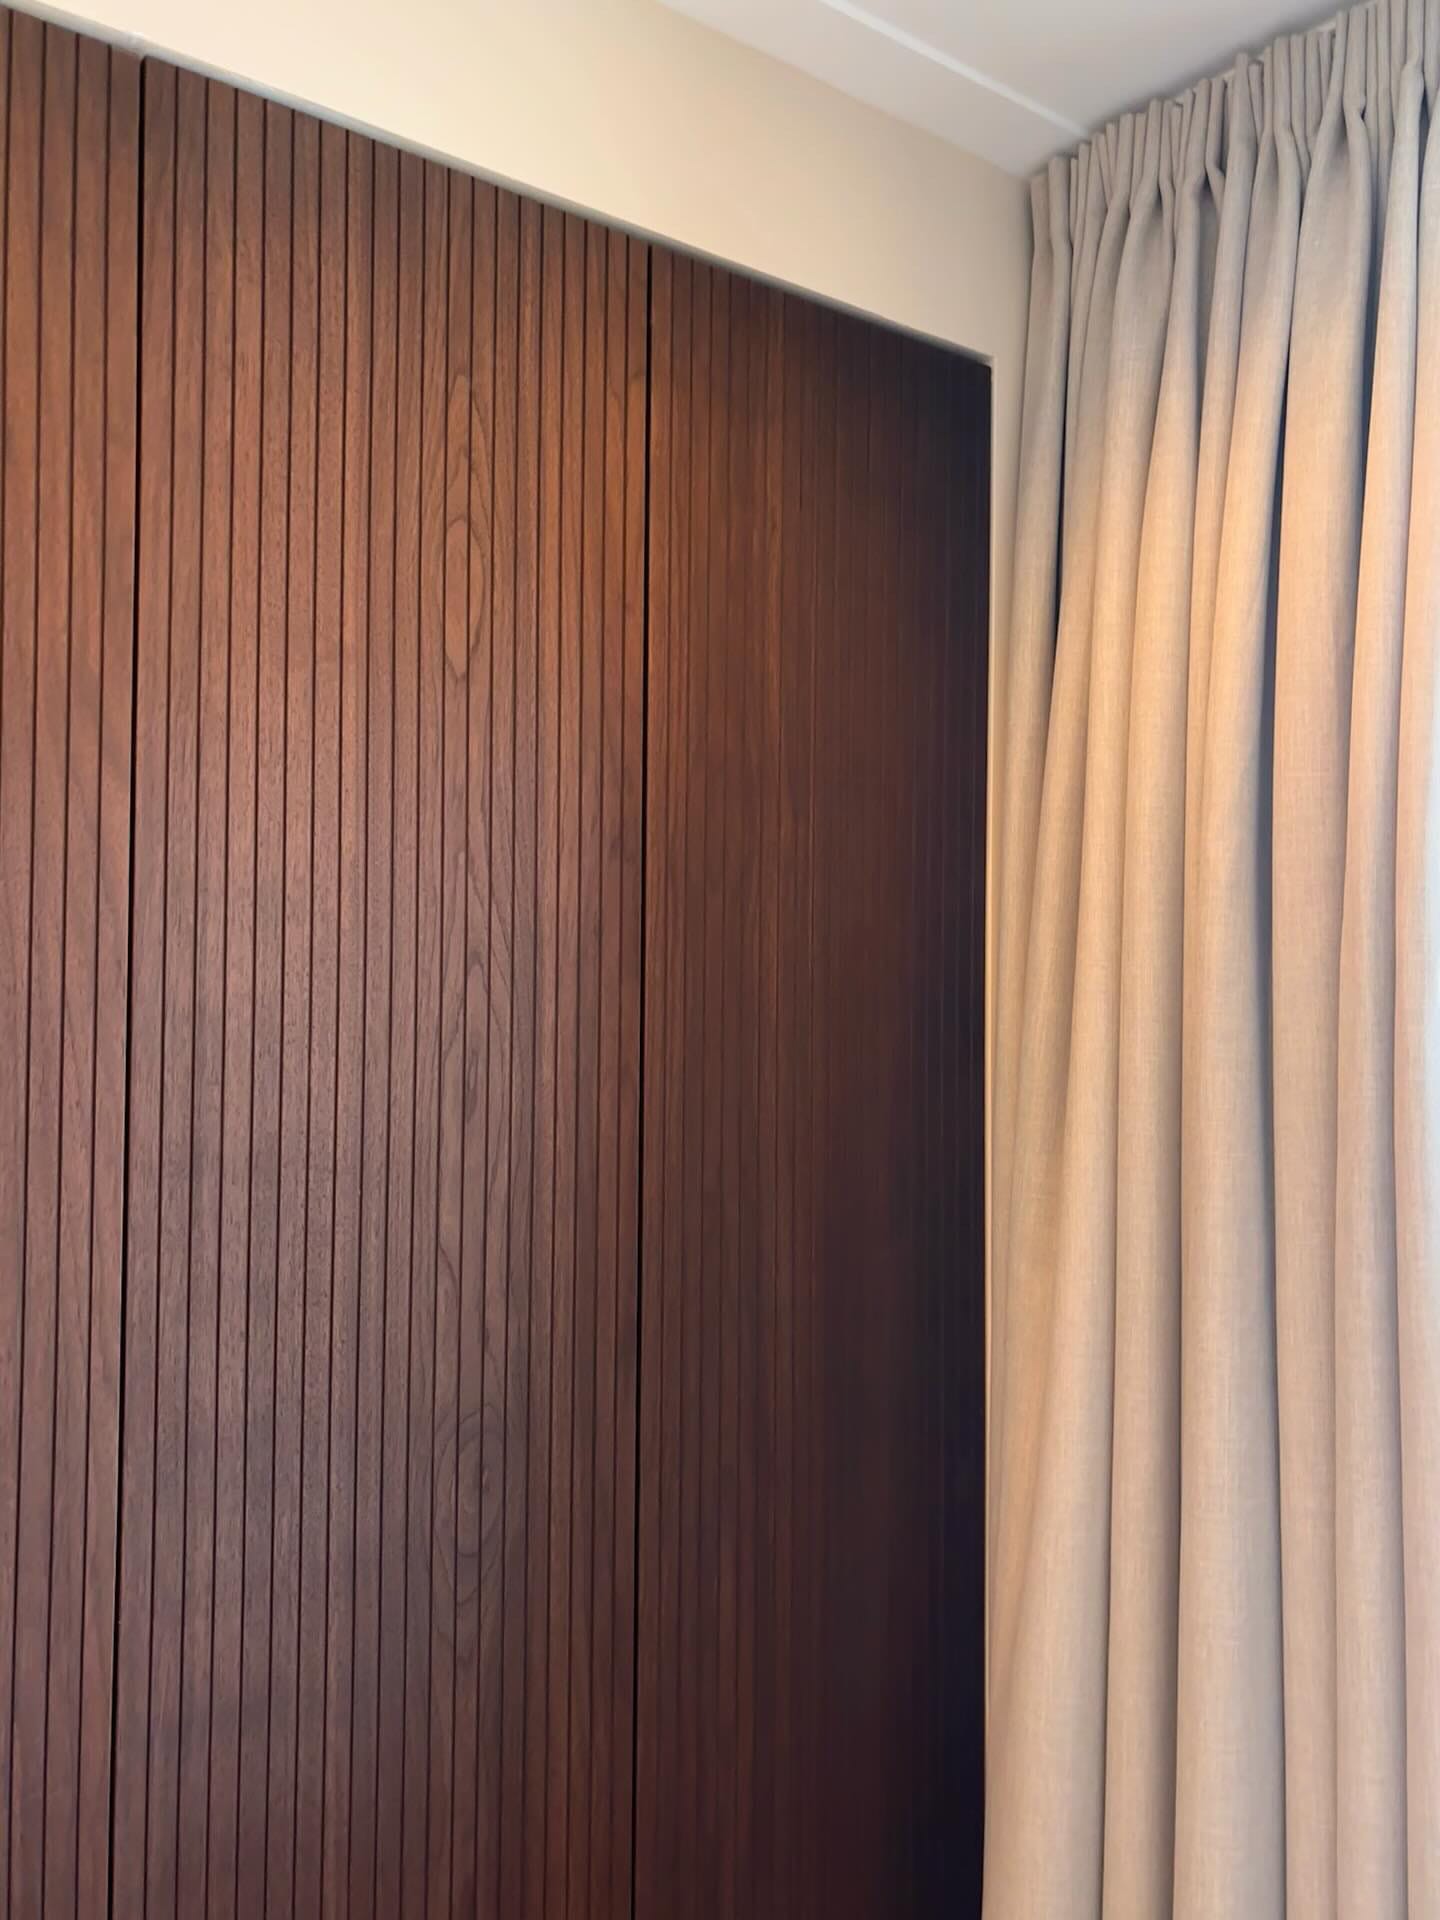
This project highlights the beauty of DIY home improvements, showing that with the right materials and a clear plan, you can transform ordinary spaces into extraordinary ones.
Happy building!
Creator: Stacey
Instagram: @huisjeinhetpark @studiofedde


