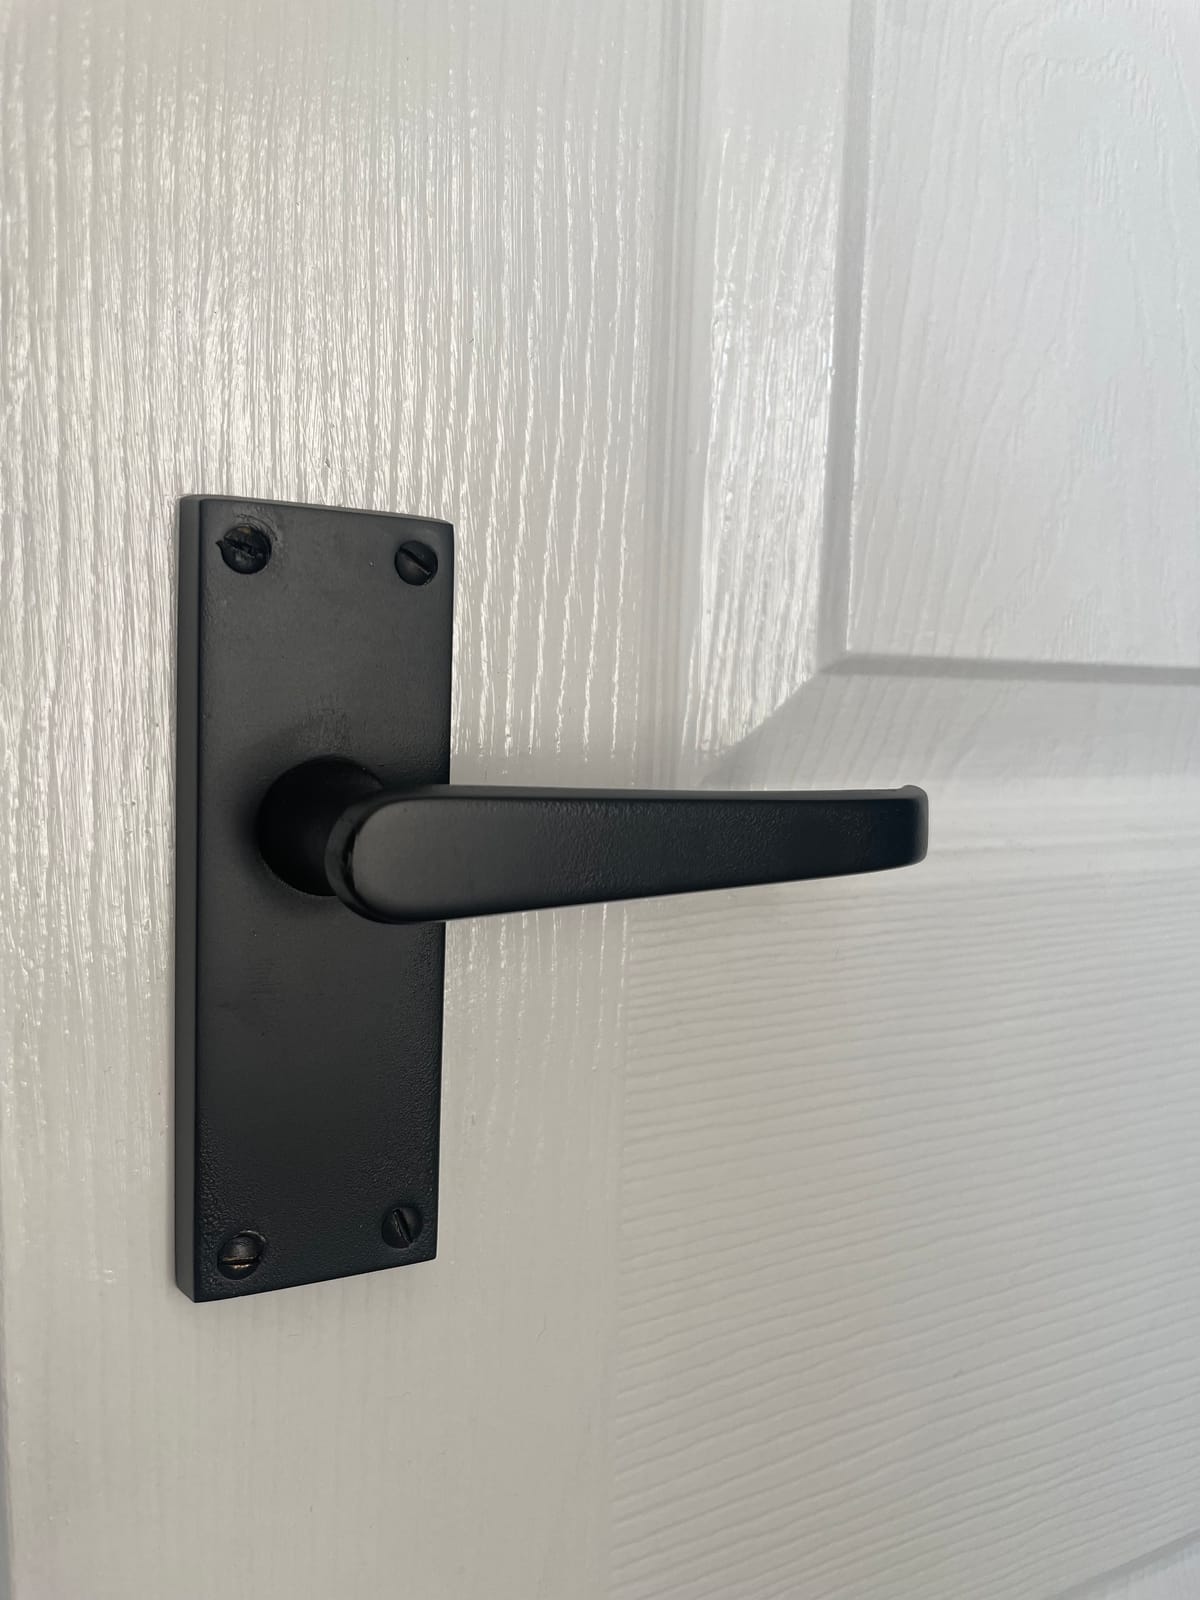
I was nearing the end of my renovation project with just the doors left to update. After receiving multiple quotes from carpenters to replace my doors and handles, I decided to explore a DIY approach to refresh the existing doors, which were structurally sound but needed some aesthetic improvement.
To see more DIYs like this check out my Instagram: @home.by.jack
Materials & Tools Needed:
- Sandpaper
- Soap spray
- Suitable matte paint primer
- Matte black spray paint
- Optional: Matte clear sealant
- White gloss paint
Step-by-Step Instructions:
Step 1: Prepare the Handles
Use sandpaper to smooth out any uneven surfaces on the handles. This ensures better paint adhesion. Later, spray the handles with soap spray and wipe them clean to remove any dust and grease.
Step 2: Apply Primer
Apply a suitable matte paint primer to the handles. This creates a good base for the paint. Don't forget to allow the primer to dry for at least 4 hours.
Step 3: Apply Matte Black Paint
Spray the handles with matte black paint. Ensure even coverage by spraying from different angles. Let the paint dry overnight, and then apply a second coat of matte black paint for a more durable finish.
Step 4: Optional Sealant
For extra protection, apply a matte clear sealant over the black paint. This helps to ensure the handles last longer.
Step 5: Refresh the Door
To complete the look, apply a coat of white gloss paint to the doors. This gives them a fresh, new appearance.
I am thrilled with the outcome. The handles now have a traditional yet modern look that perfectly complements the neutral tones of my home. The entire project cost me only £15 for the primer and spray paint, making it a budget-friendly alternative to replacing the doors and handles. For those thinking it won't last here is how they look a month after:
Updating your door handles can be a simple and cost-effective way to enhance the look of your home. Happy DIY-ing!
Creator: Jack
Instagram: @home.by.jack


