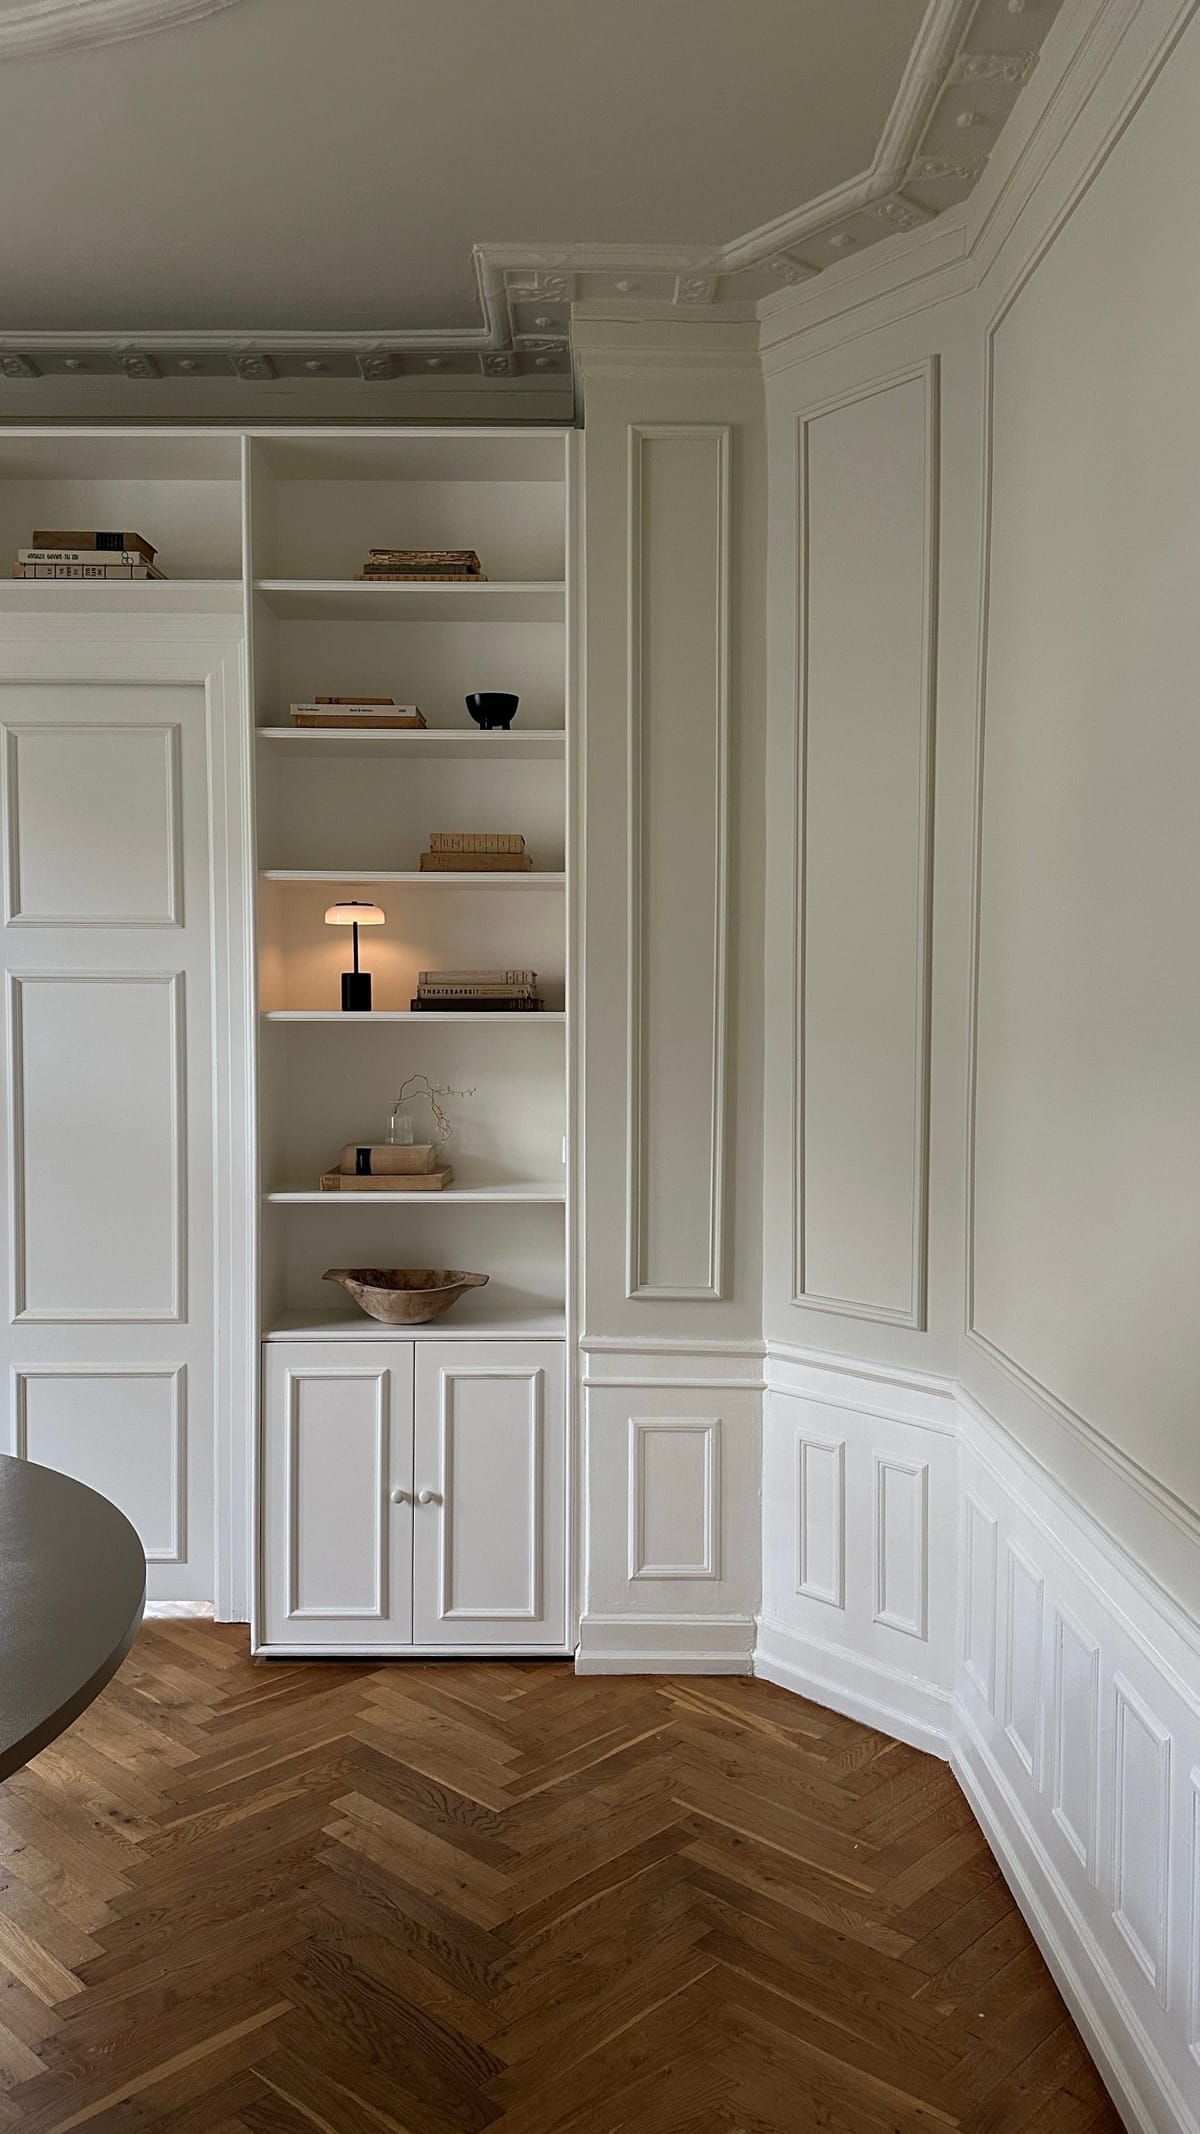
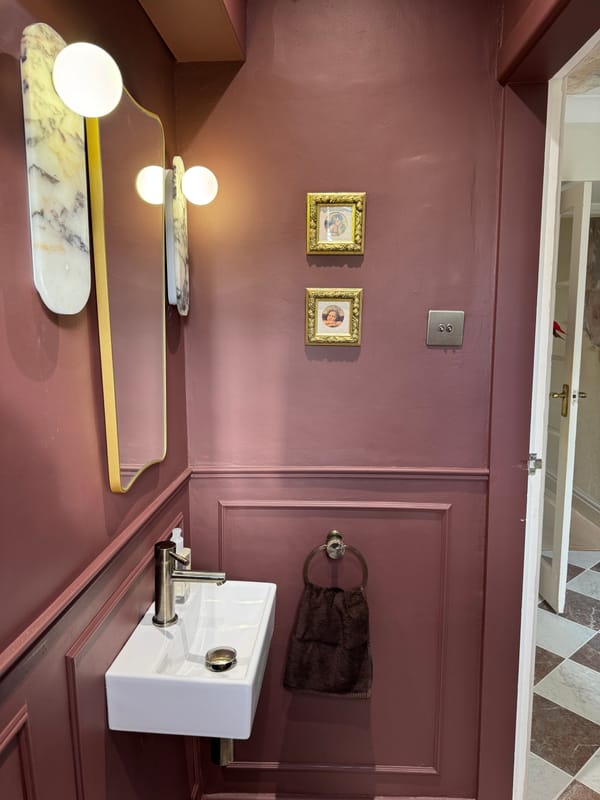
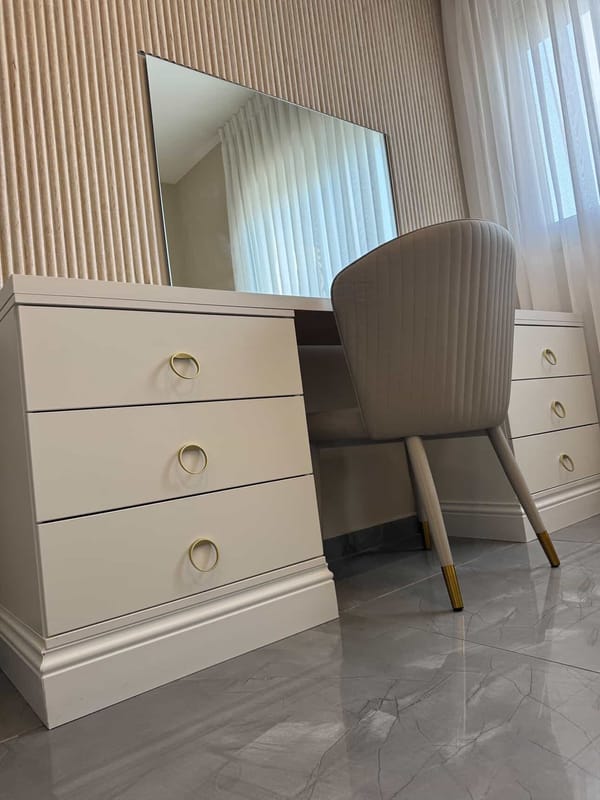
Transforming your space with stylish wall panels can bring a touch of elegance and sophistication to any room. Whether you're looking to add a focal point in your living area, create a cozy bedroom ambience, or update the look of your hallway, wall panels offer a versatile and cost-effective solution. In this comprehensive guide, we'll take you through the entire process, from selecting the right materials to the final touches that will make your panels look professionally installed. Let's dive in and make your home makeover dreams come true! Feel free to reach out if you need additional photos or information
Materials Used
- Folding ruler
- Pencil
- Panels (polyurethane recommended for cost and ease of use)
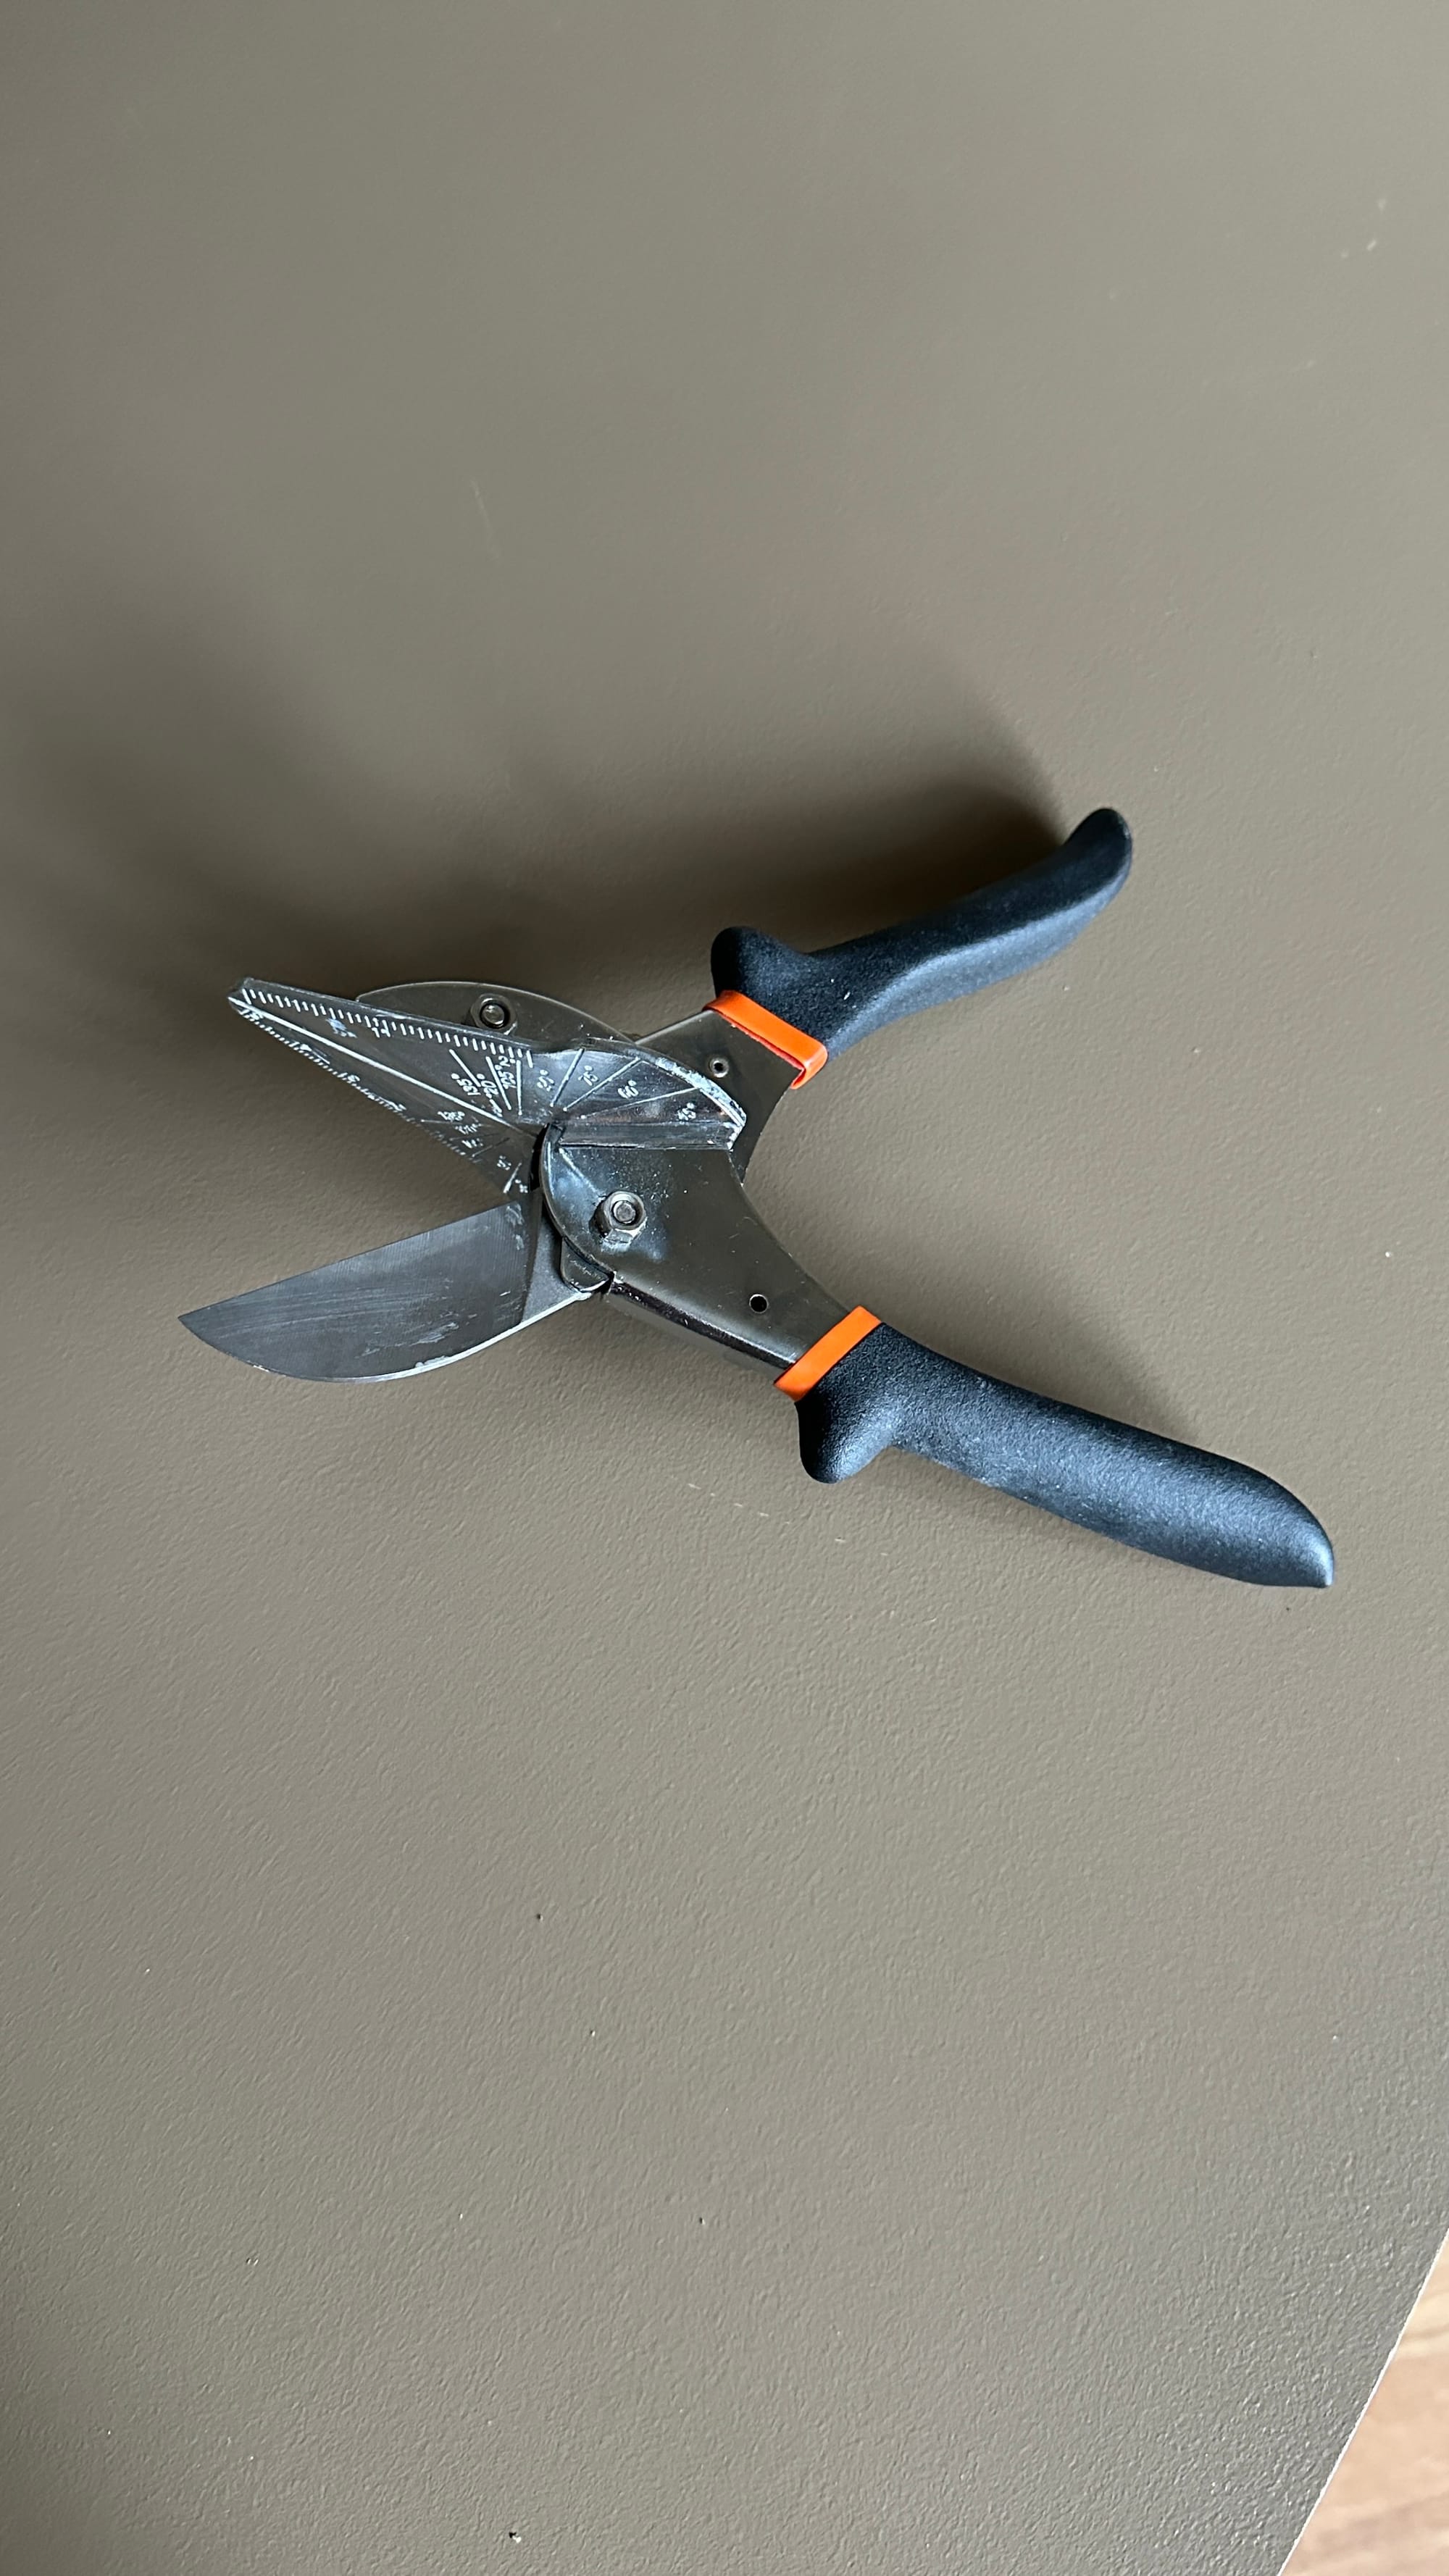
- Angle cutter
- High strength glue
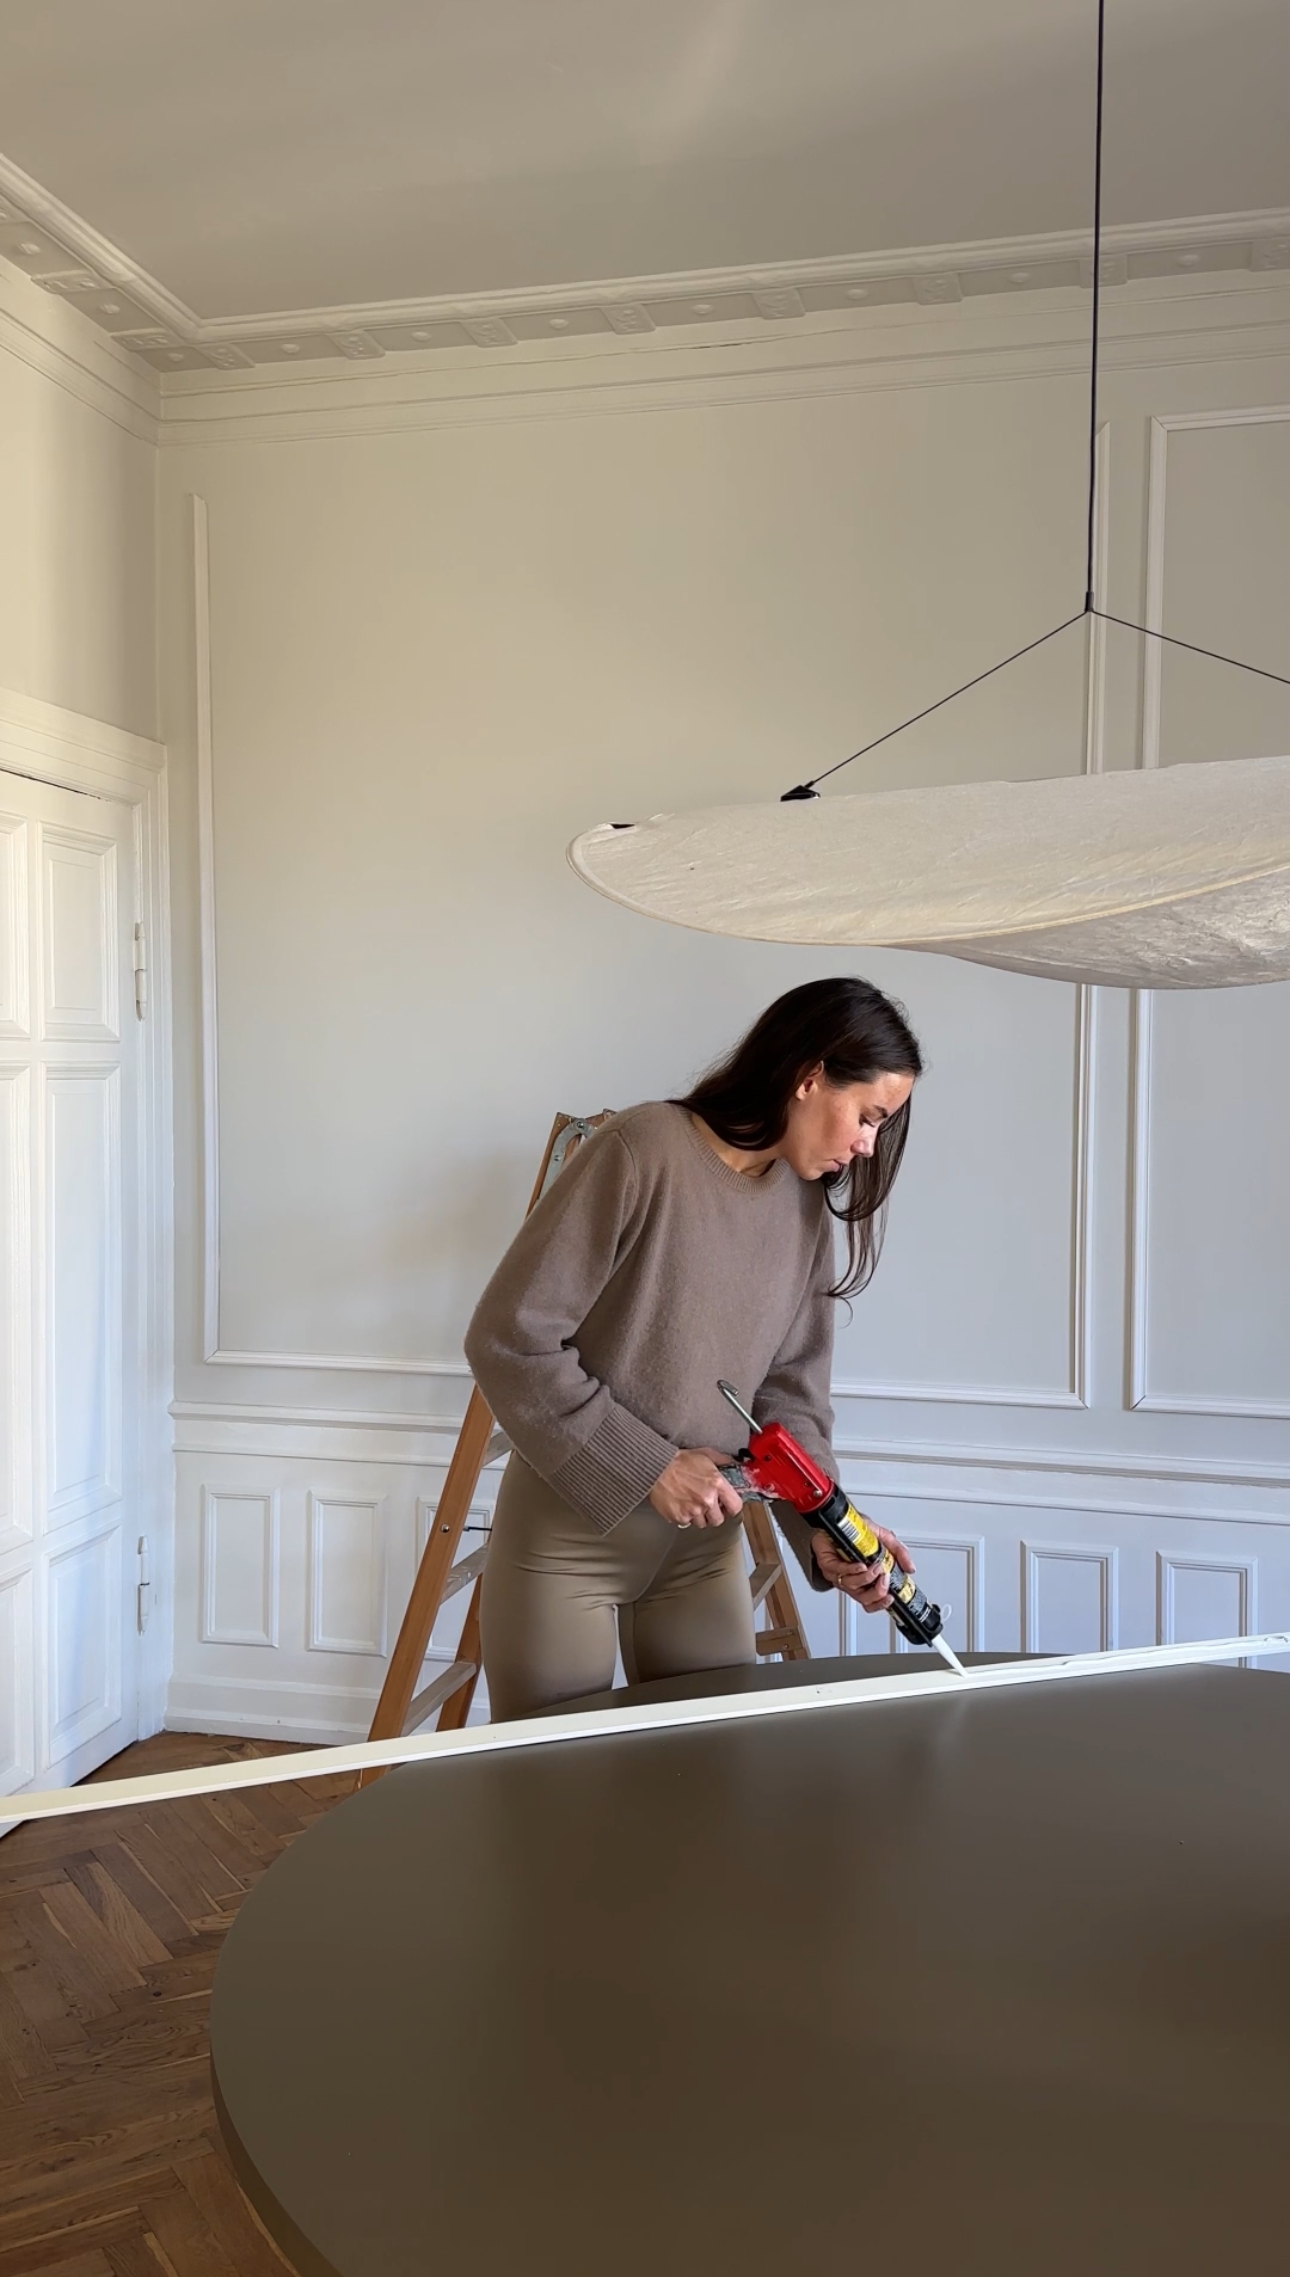
- Caulking gun
- Grout
- Paint (and primer if using wood panels)
Step 1: Identify Key Lines
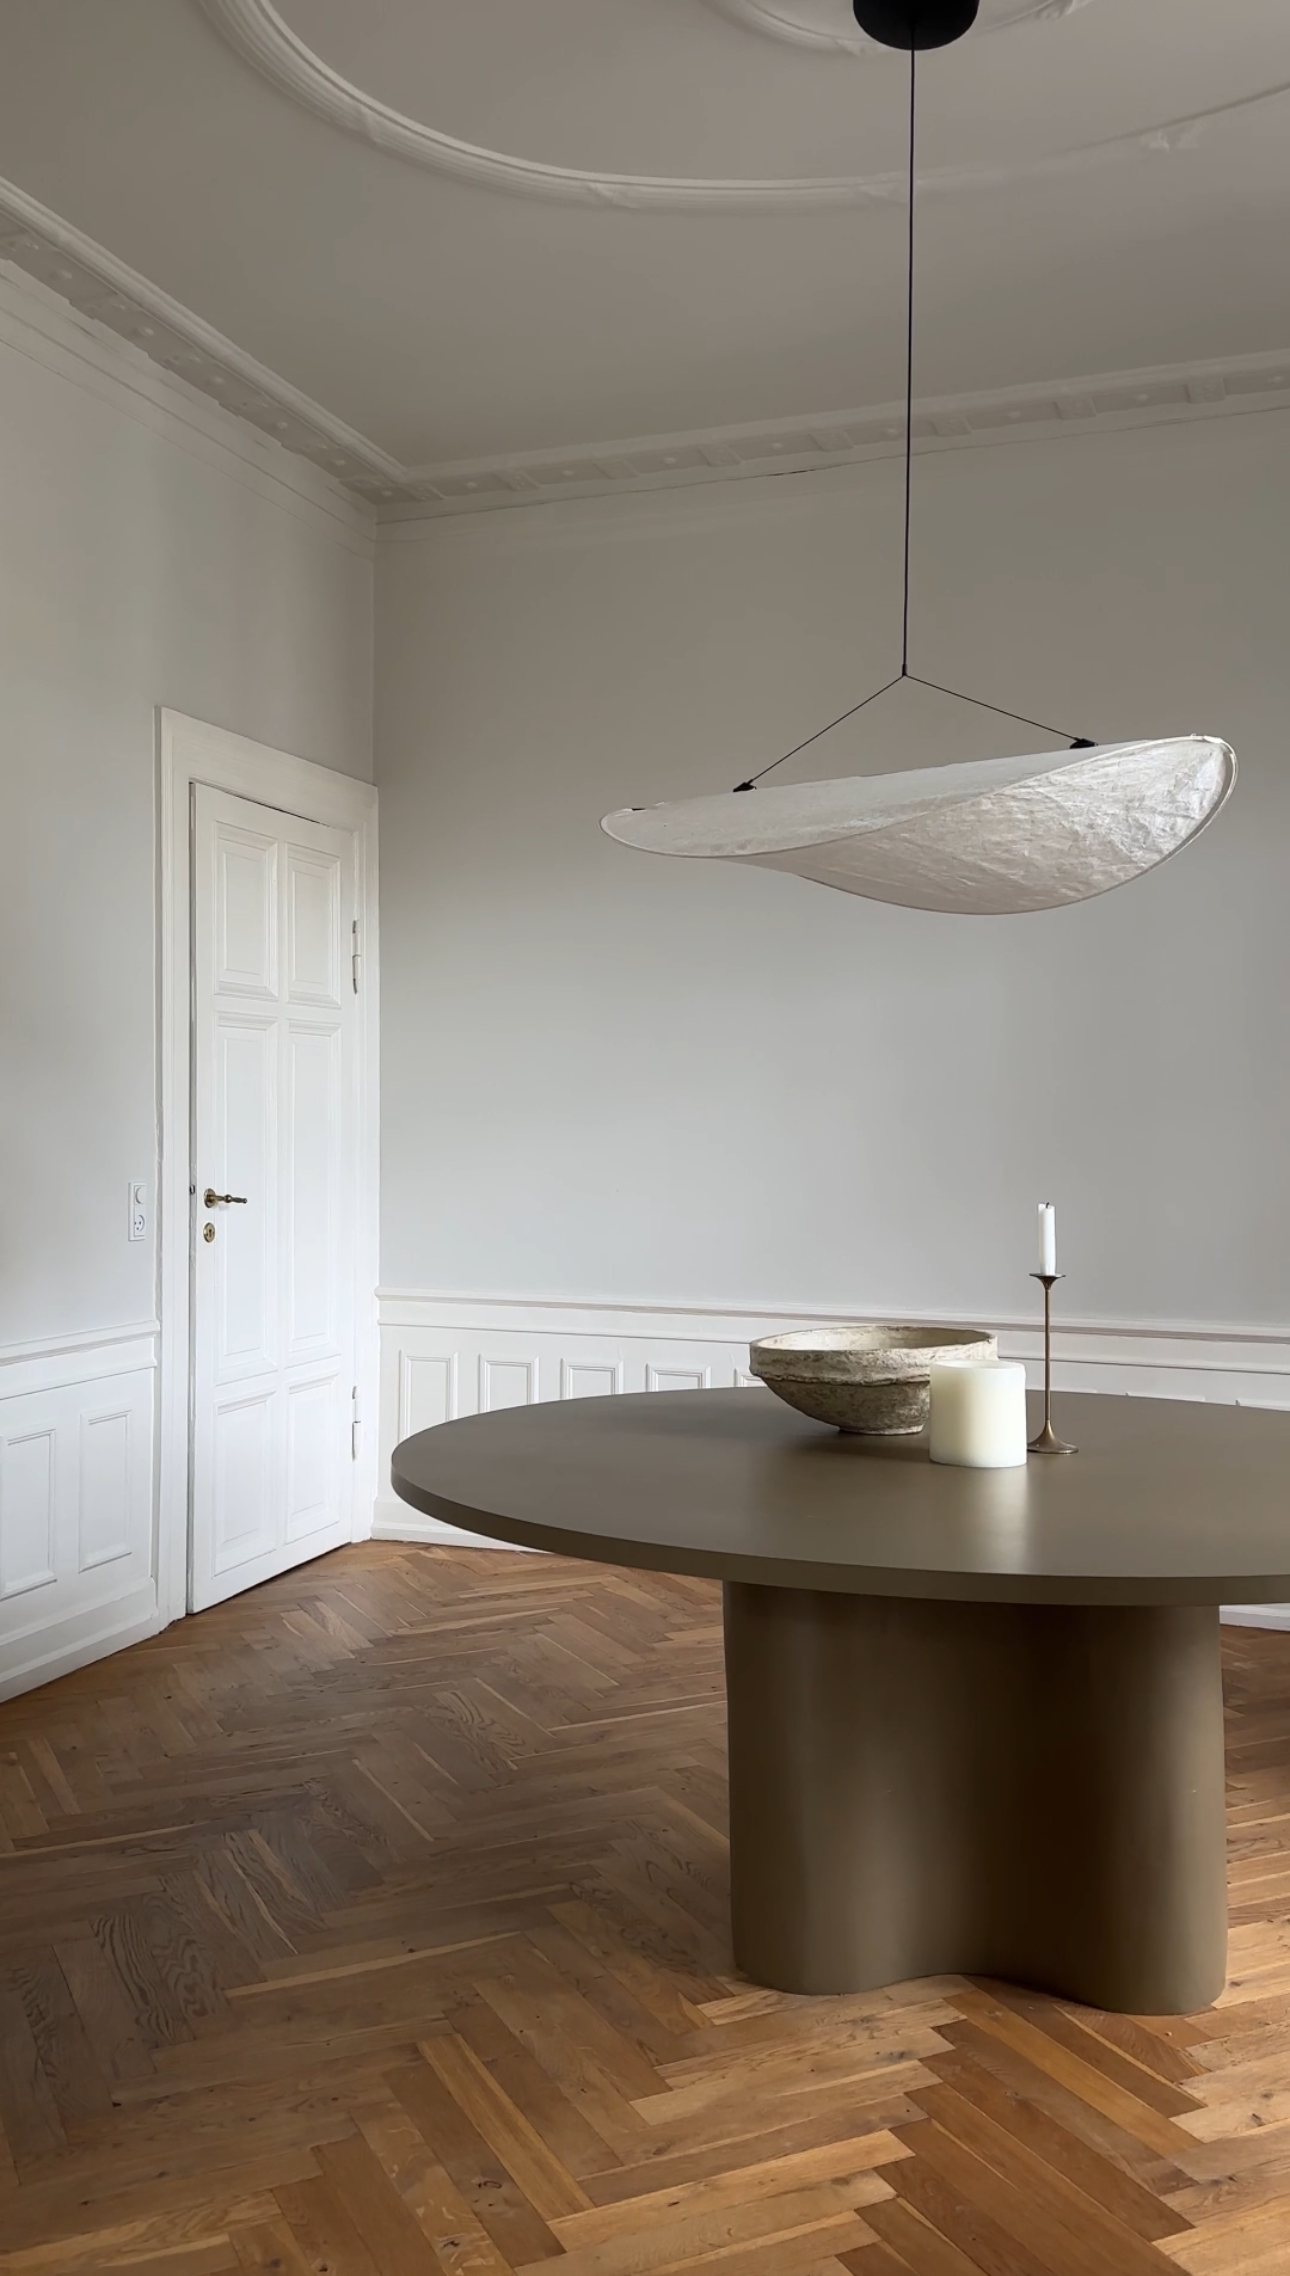
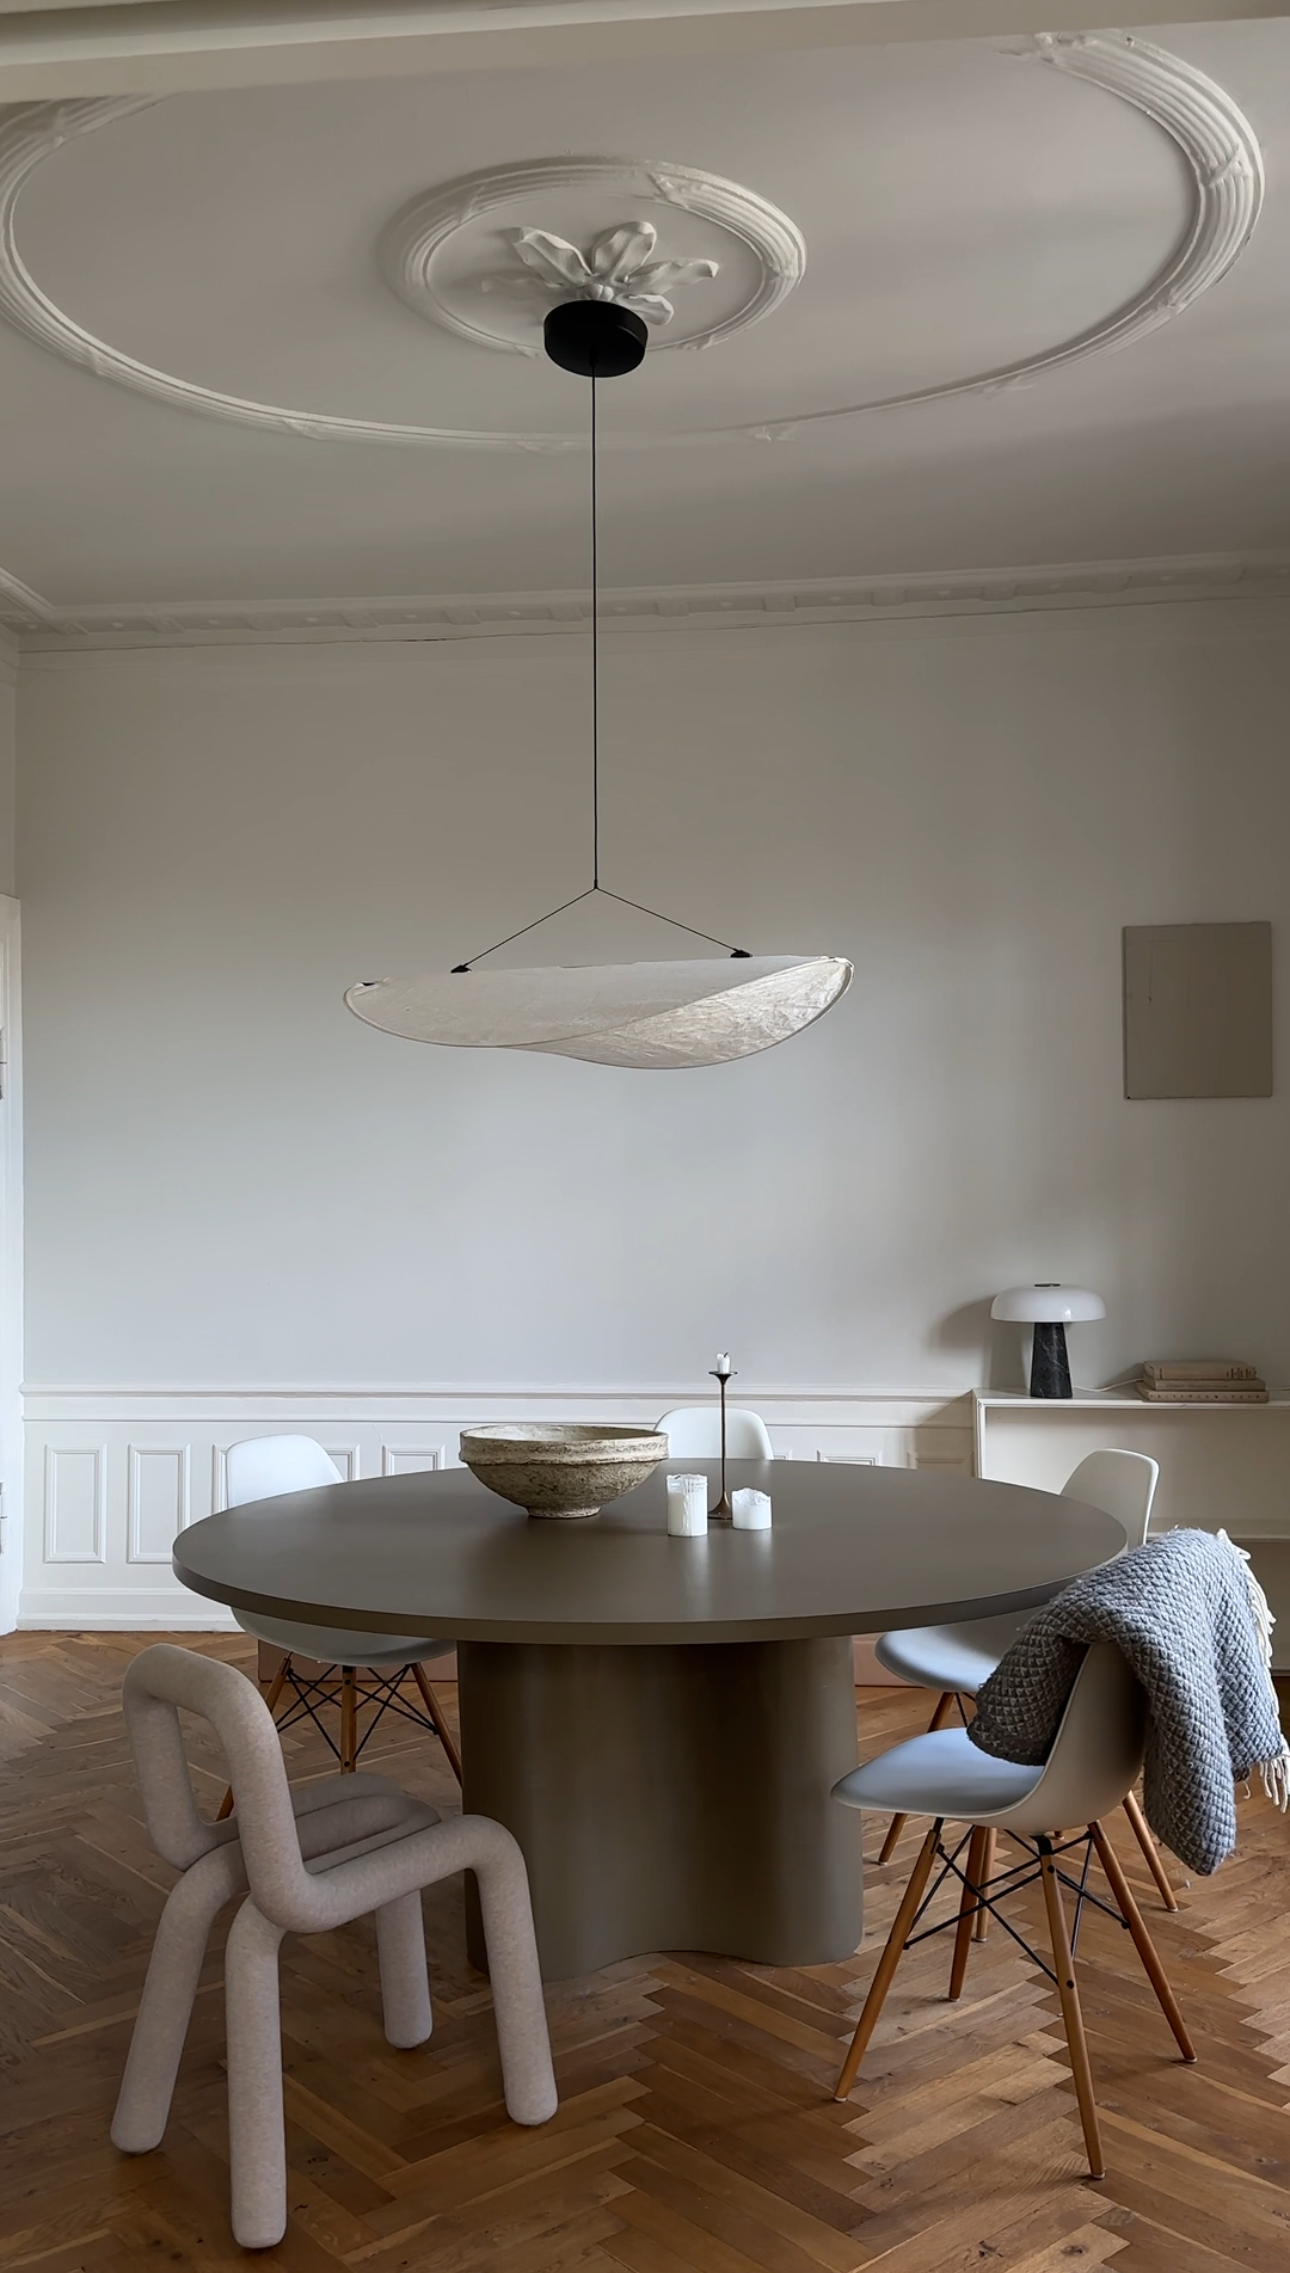
Begin by identifying key lines in your room where the panels will align, such as windows, doors, bookcases, or other fixed elements. This helps in planning the layout and ensuring a cohesive look.
Step 2: Decide on Spacing
Decide on the spacing between the wall edges and the panels, ensuring that the measurements remain consistent around the room. While panel sizes can vary, maintaining the same spacing ensures a uniform appearance.
Step 3: Measure and Mark
Measure the wall and mark the top and bottom points where the panels will be placed using a pencil. This will serve as your guide for alignment.
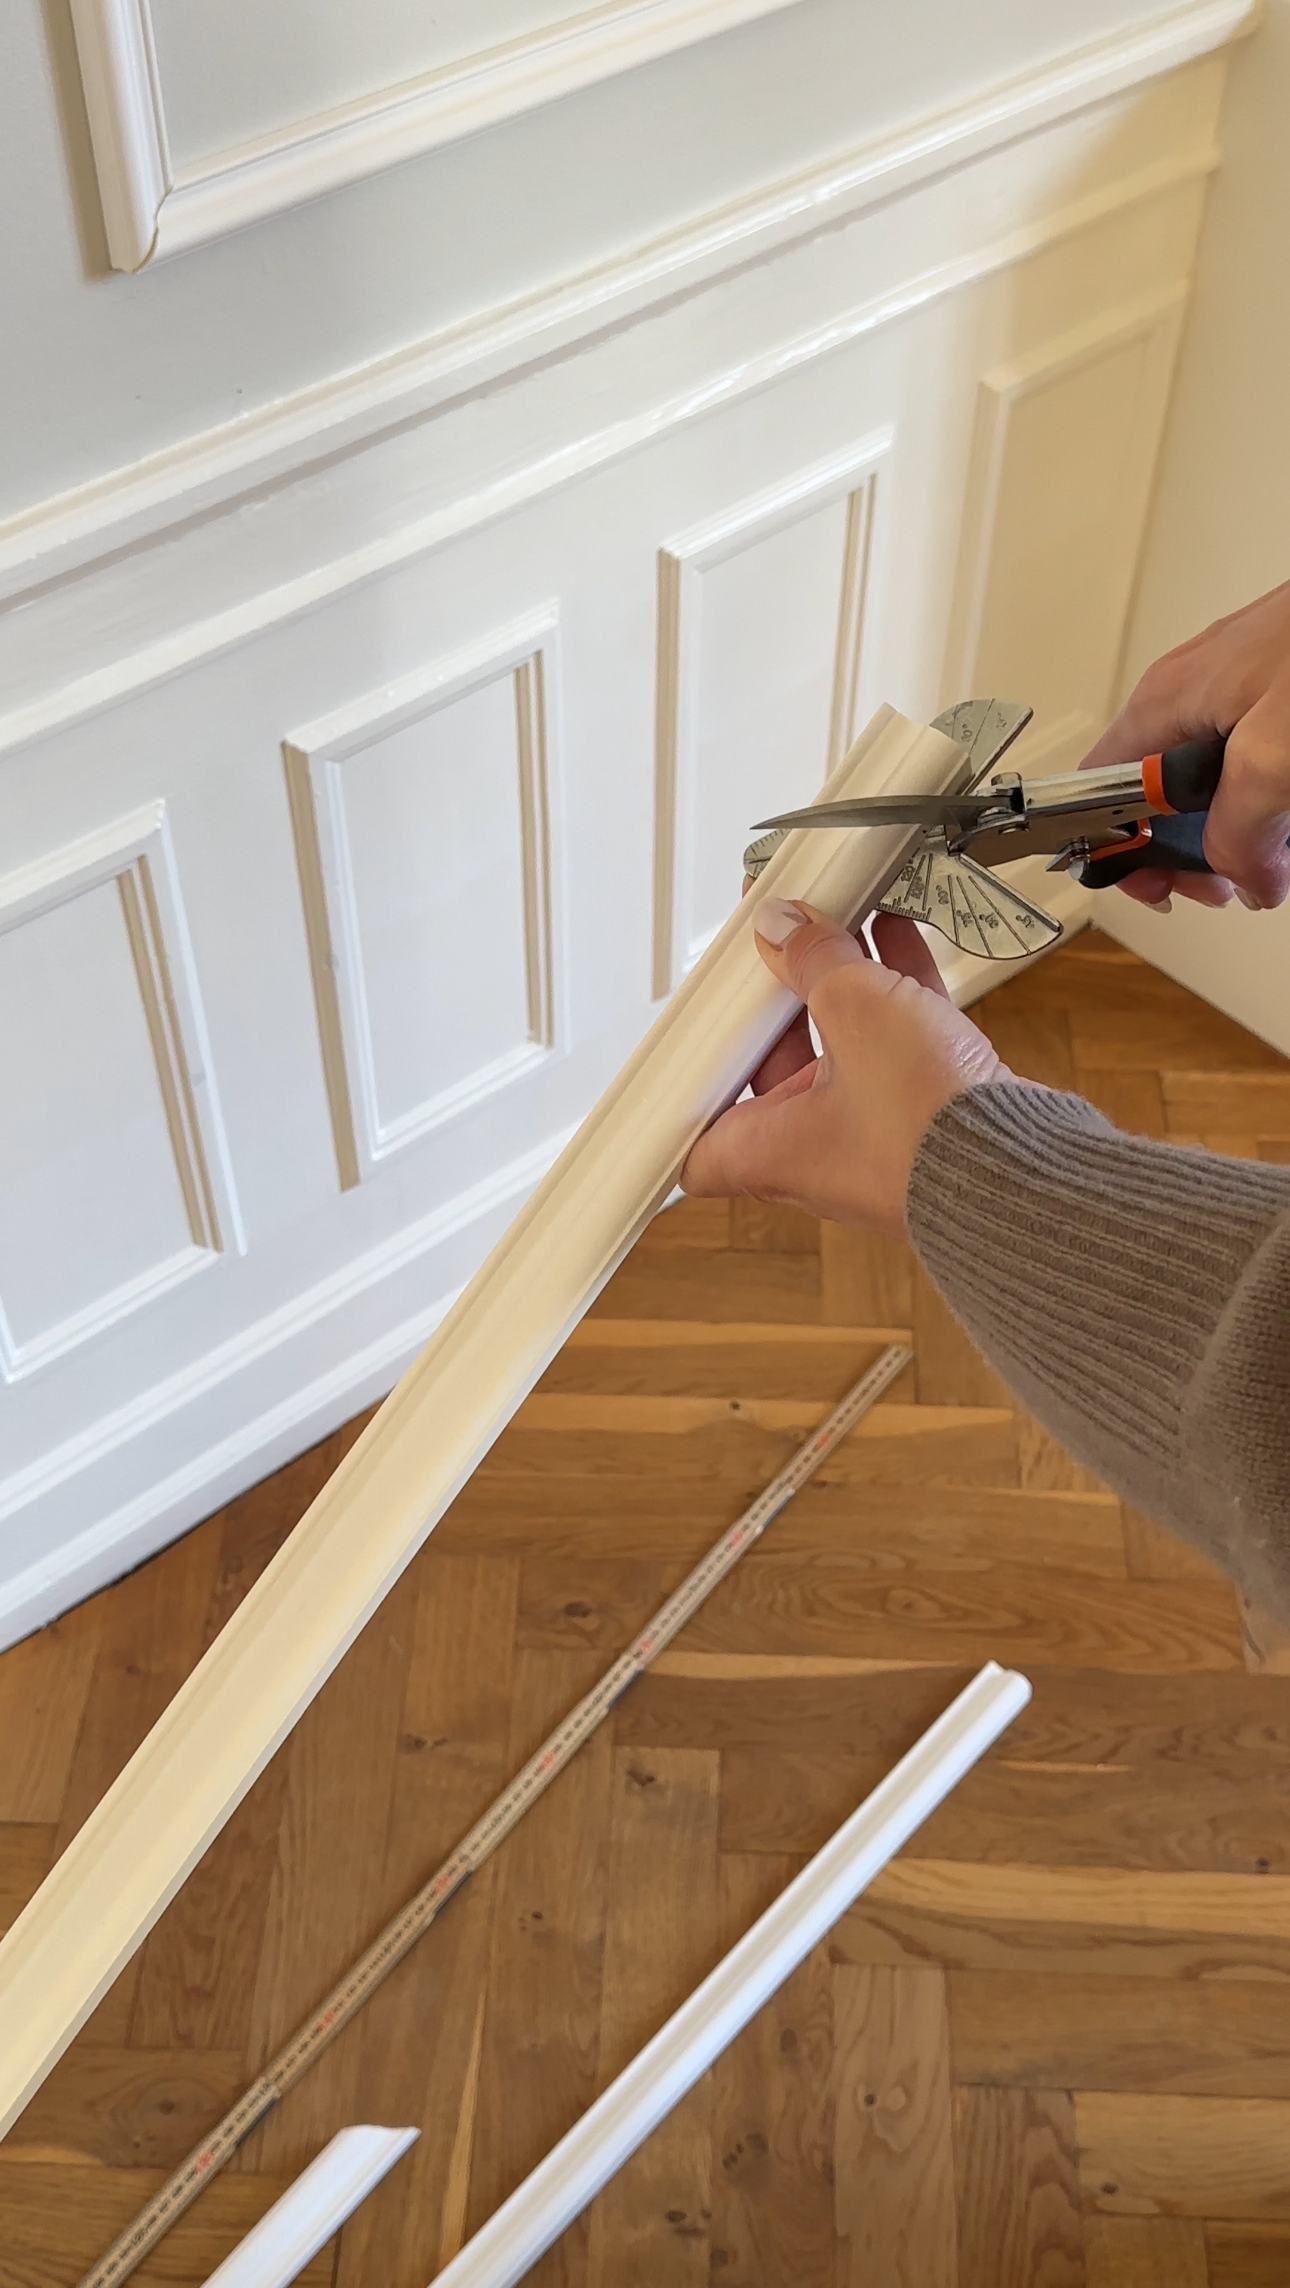
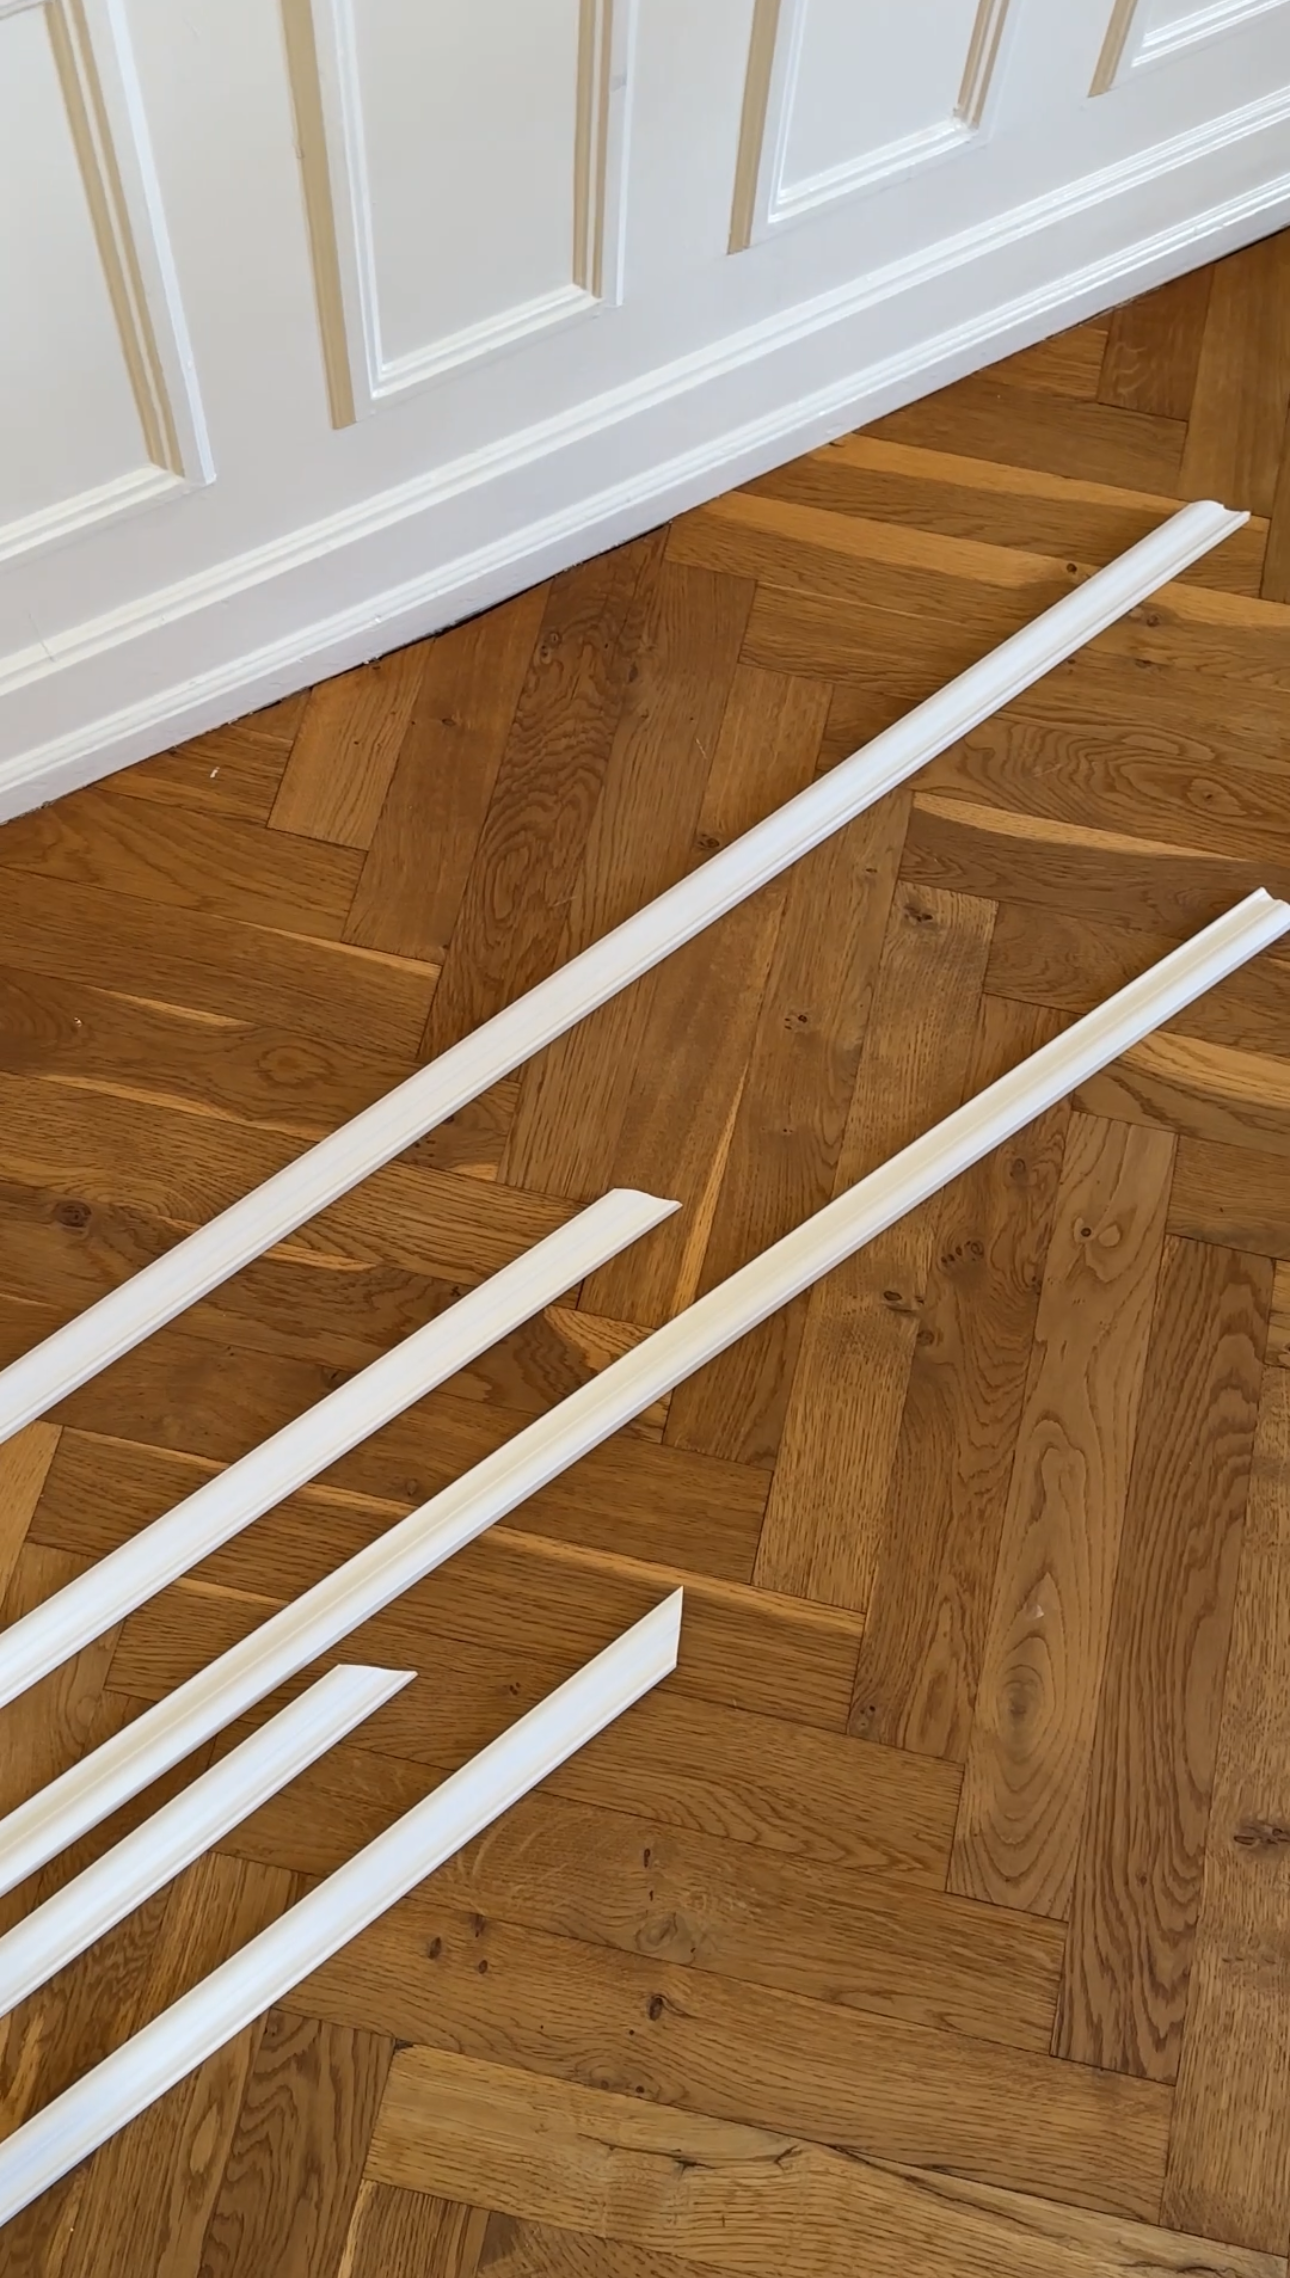
Step 4: Cut the Panels
Use an angle cutter to cut the panels at a 45-degree angle for clean, professional edges. This step is crucial for achieving neat corners and joints.
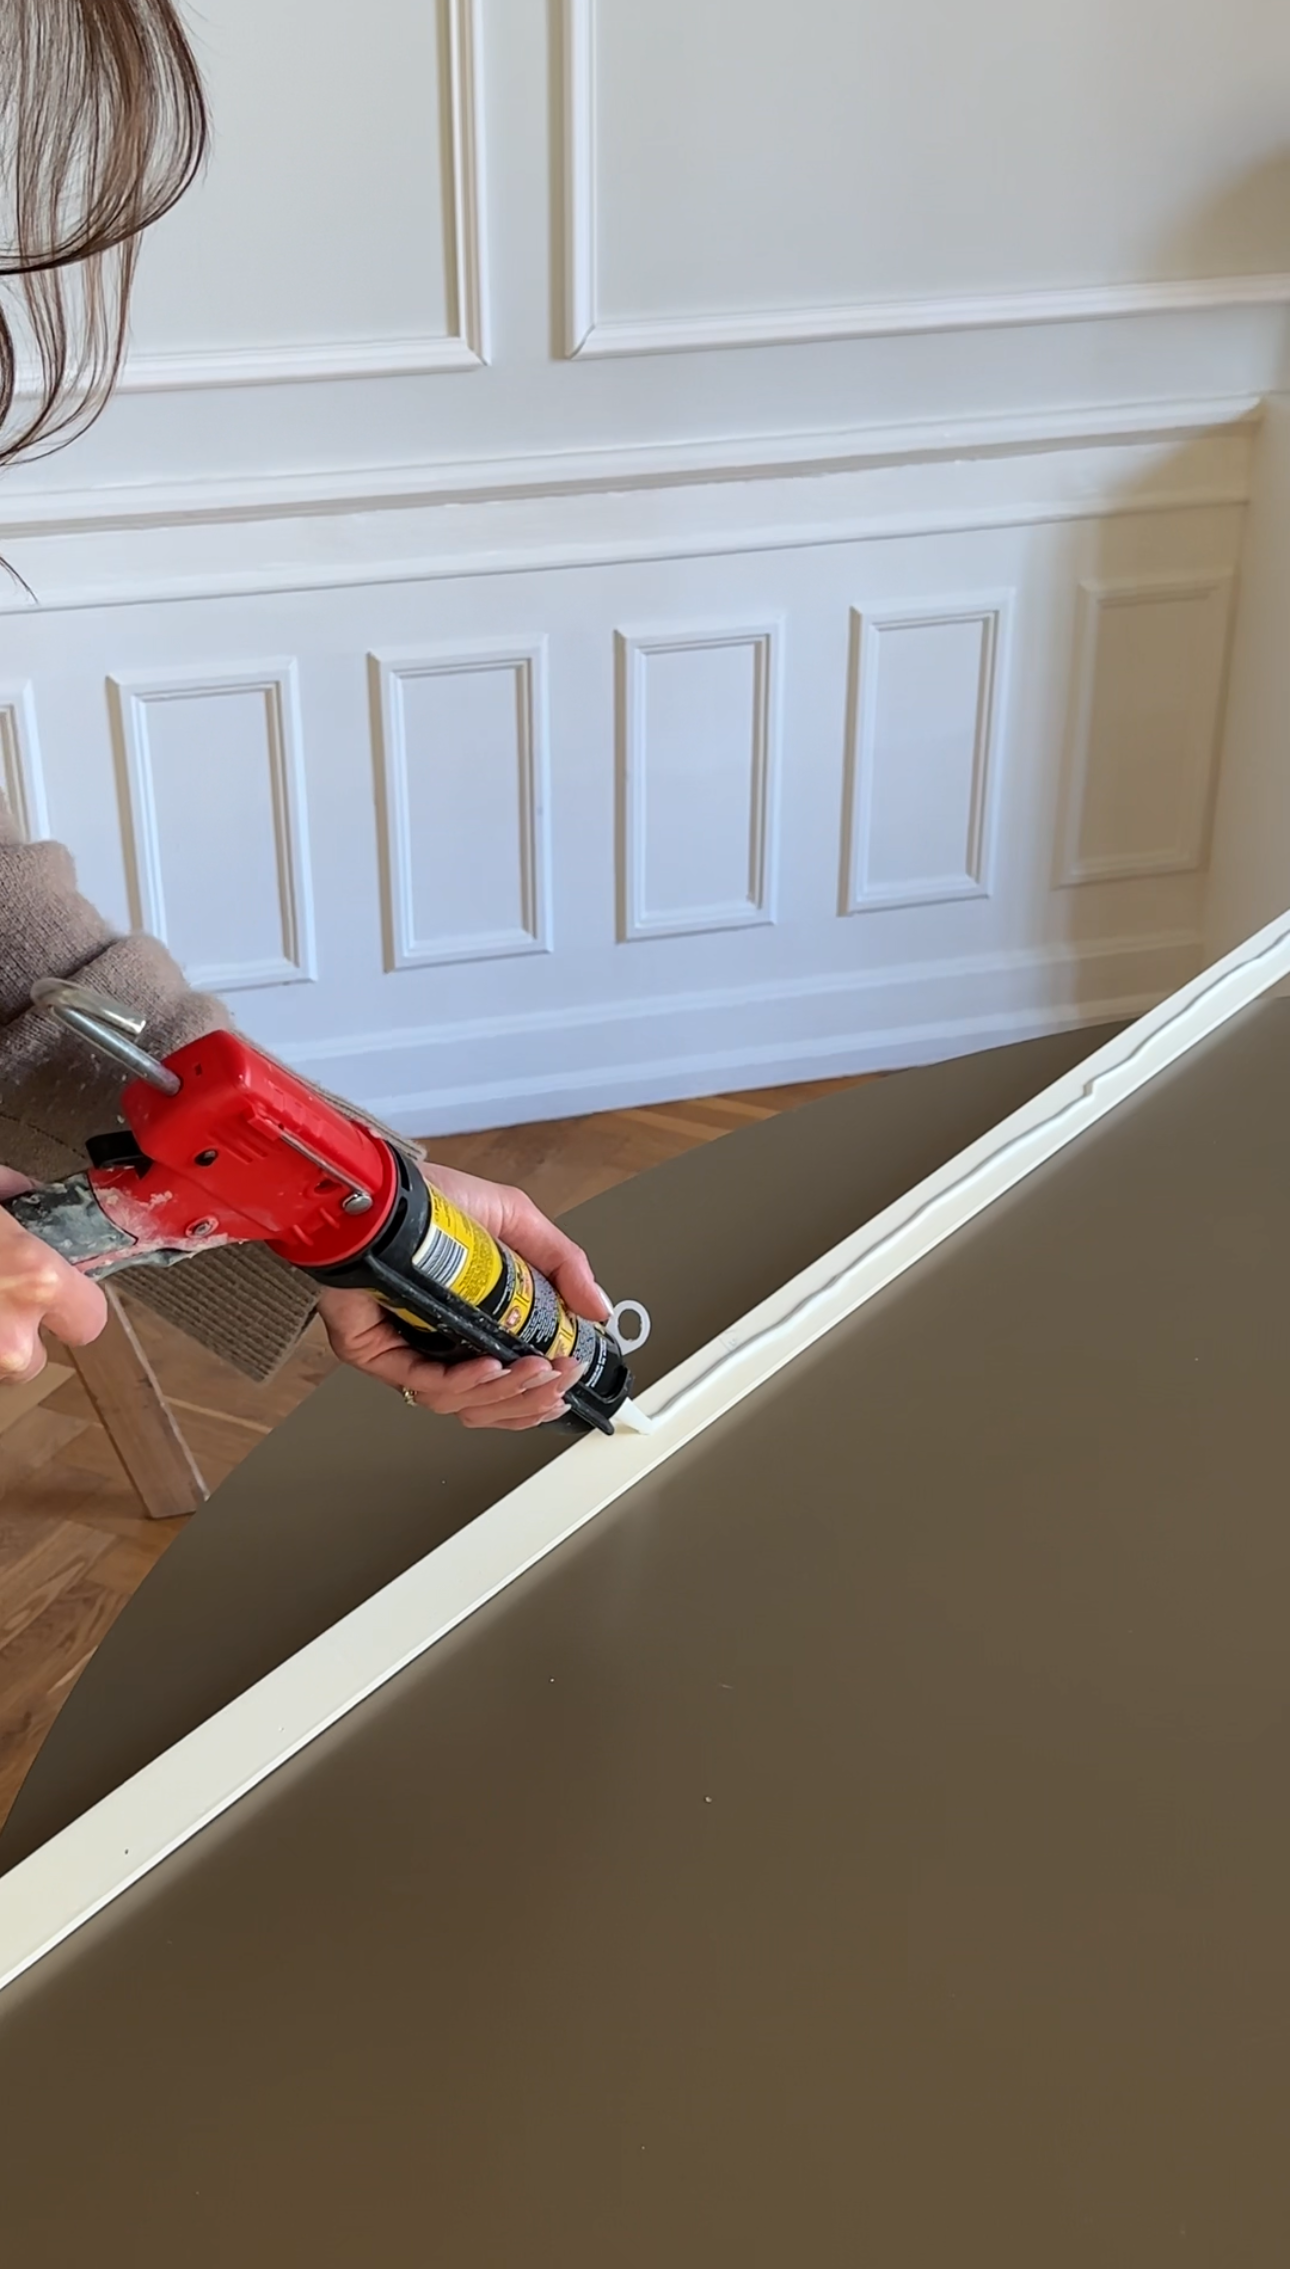
Step 5: Apply Glue
Apply high strength glue to the back of the panel using a caulking gun. Ensure even distribution for a secure hold.
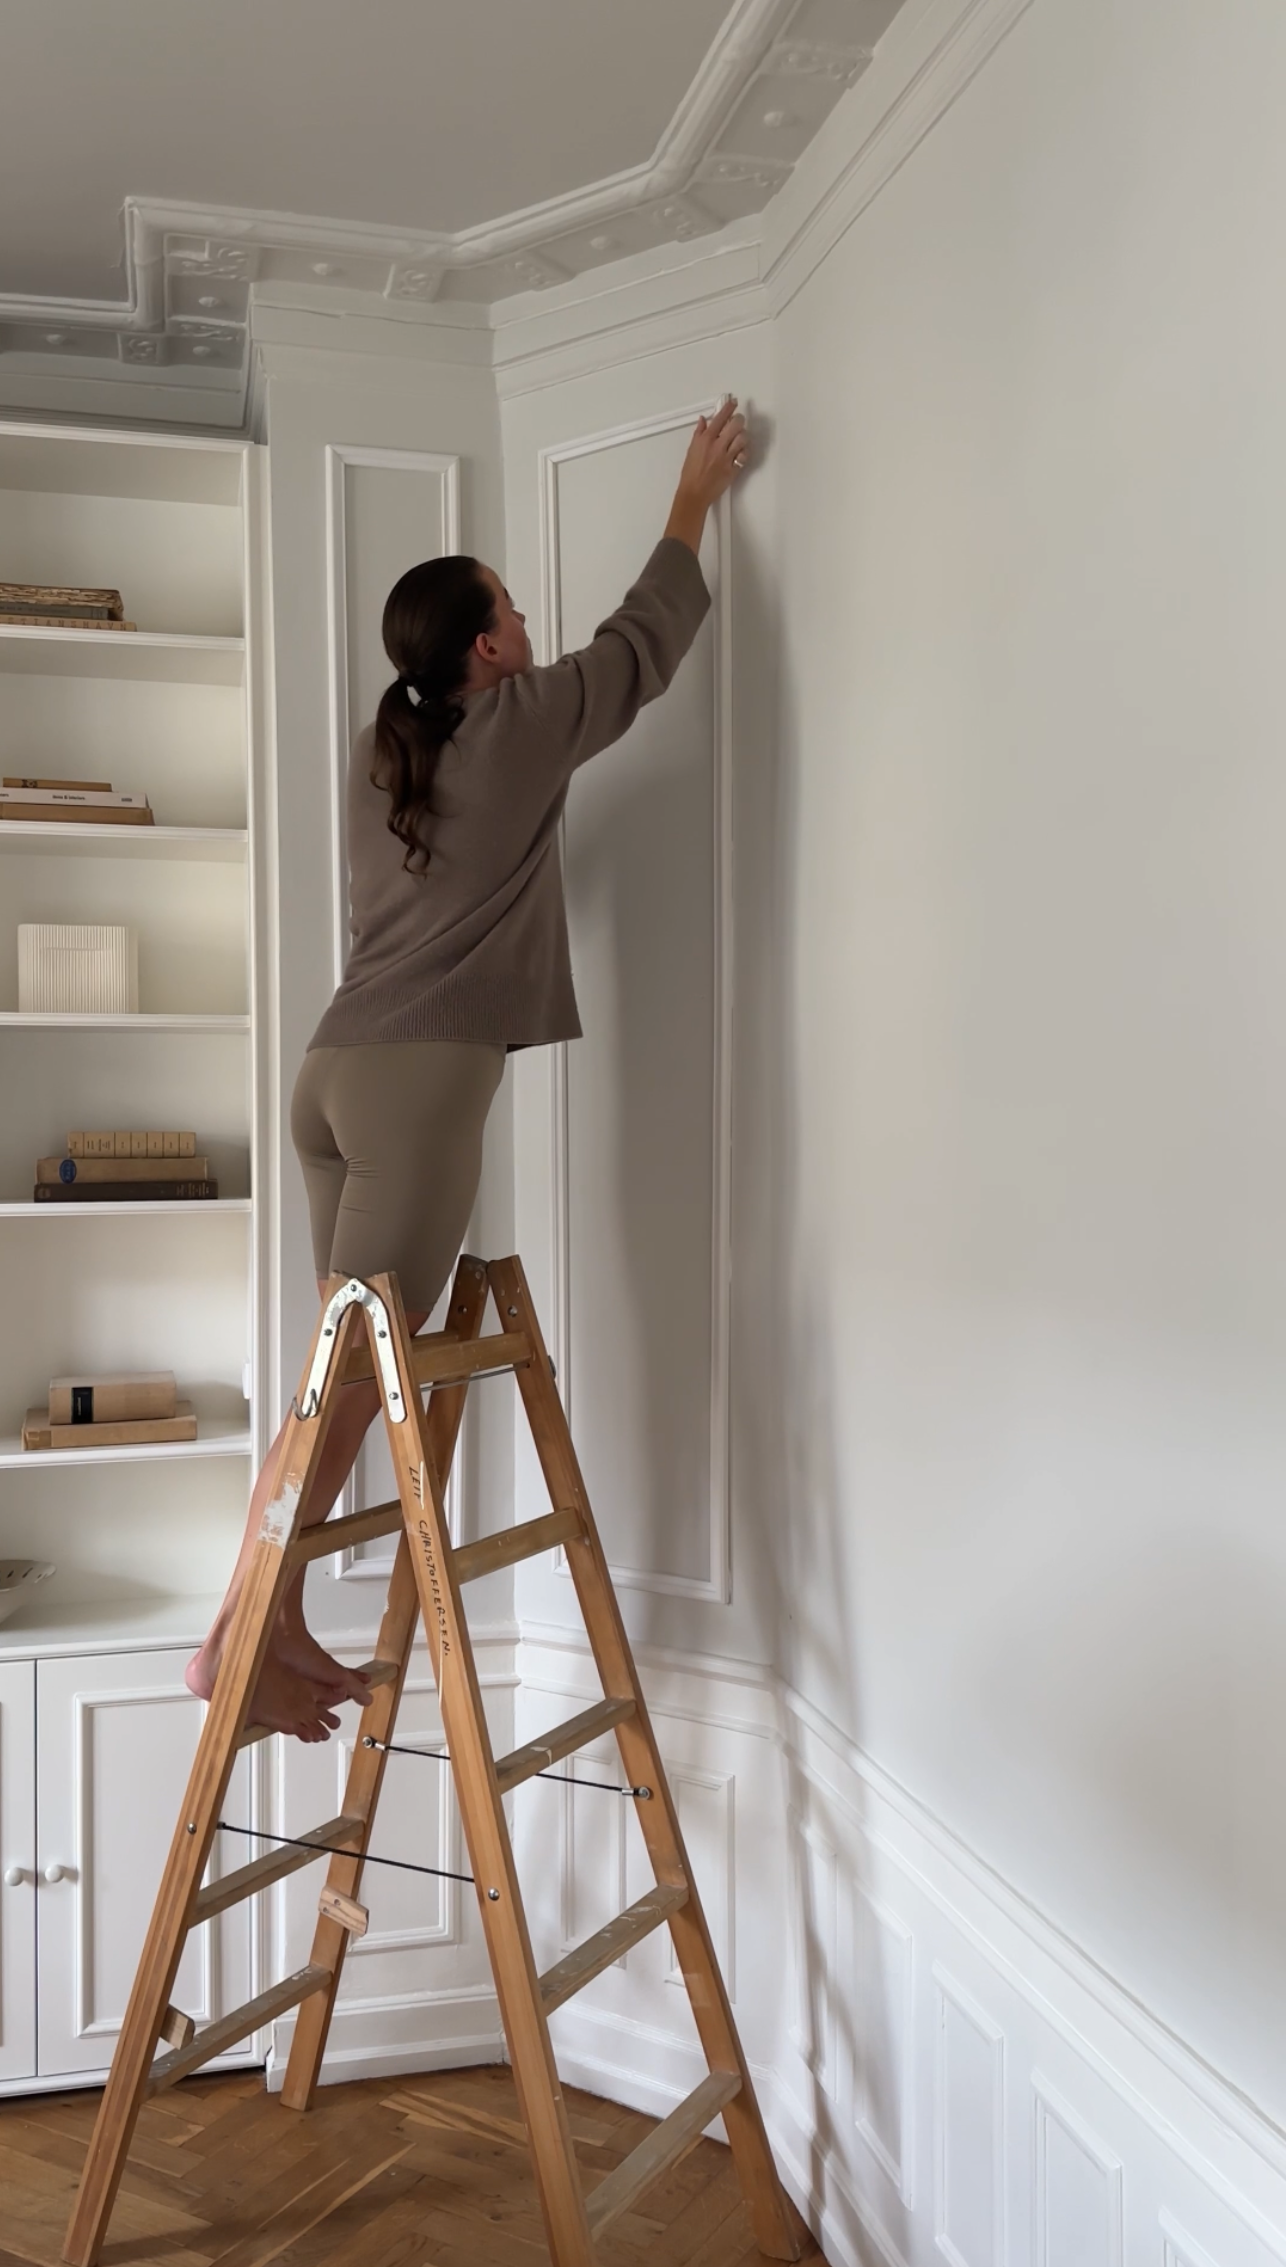
Step 6: Place the Panel
Place the panel on the wall, aligning it with the top and bottom marks you made earlier. Press firmly to secure it in place.
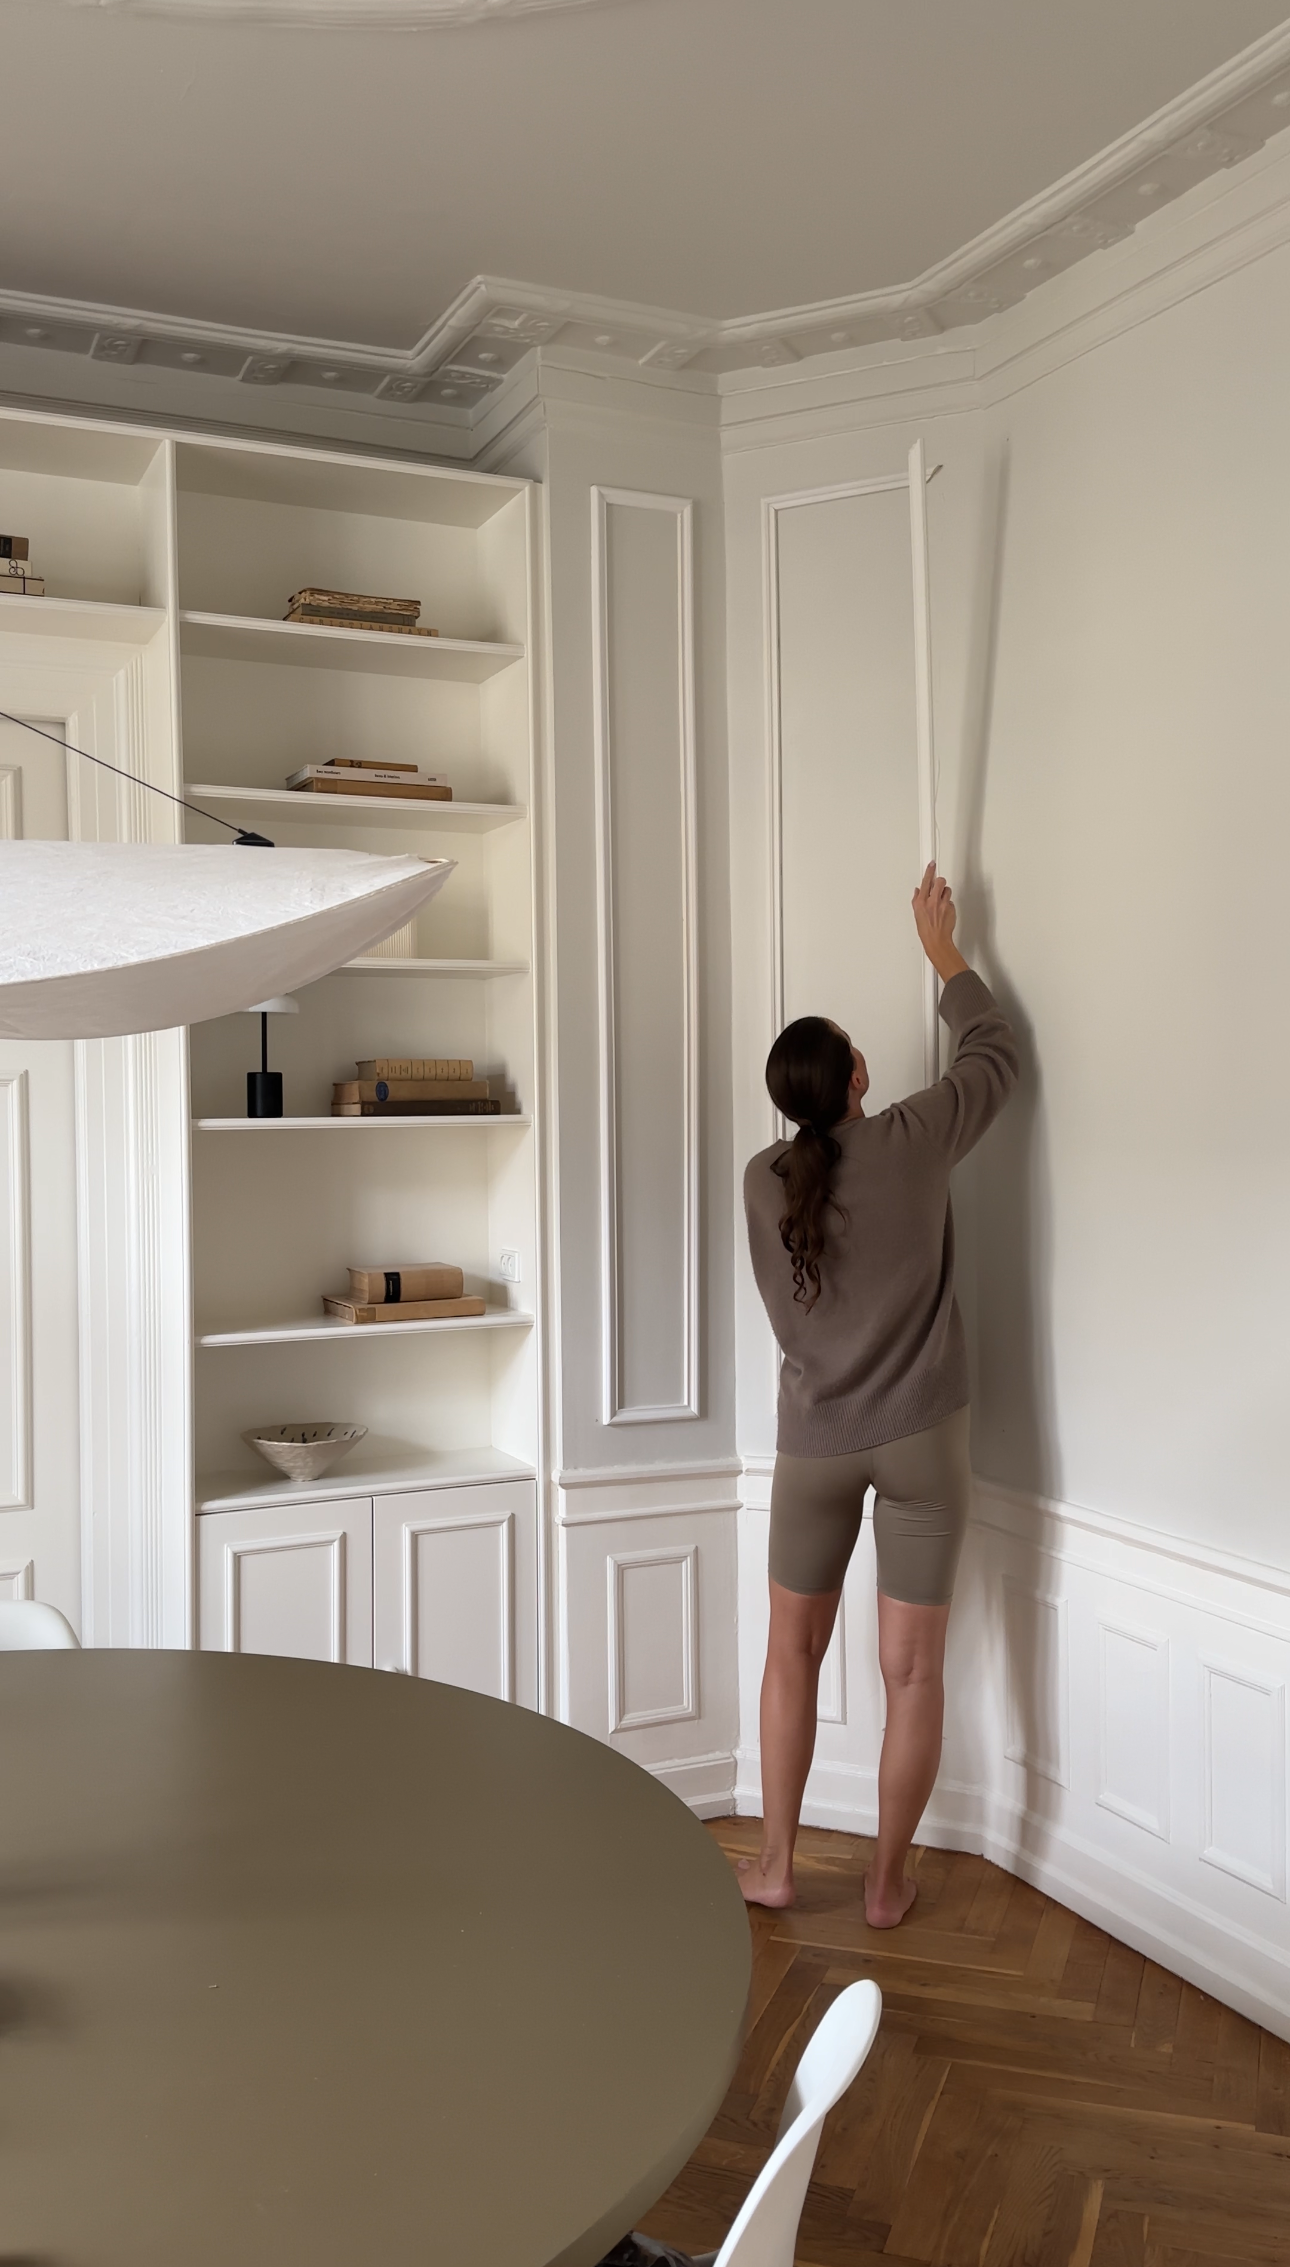
Step 7: Check Alignment
While a laser level can be helpful, uneven walls (common in older apartments) may require you to step back and visually check for straightness. Adjust as needed to ensure the panels appear straight.
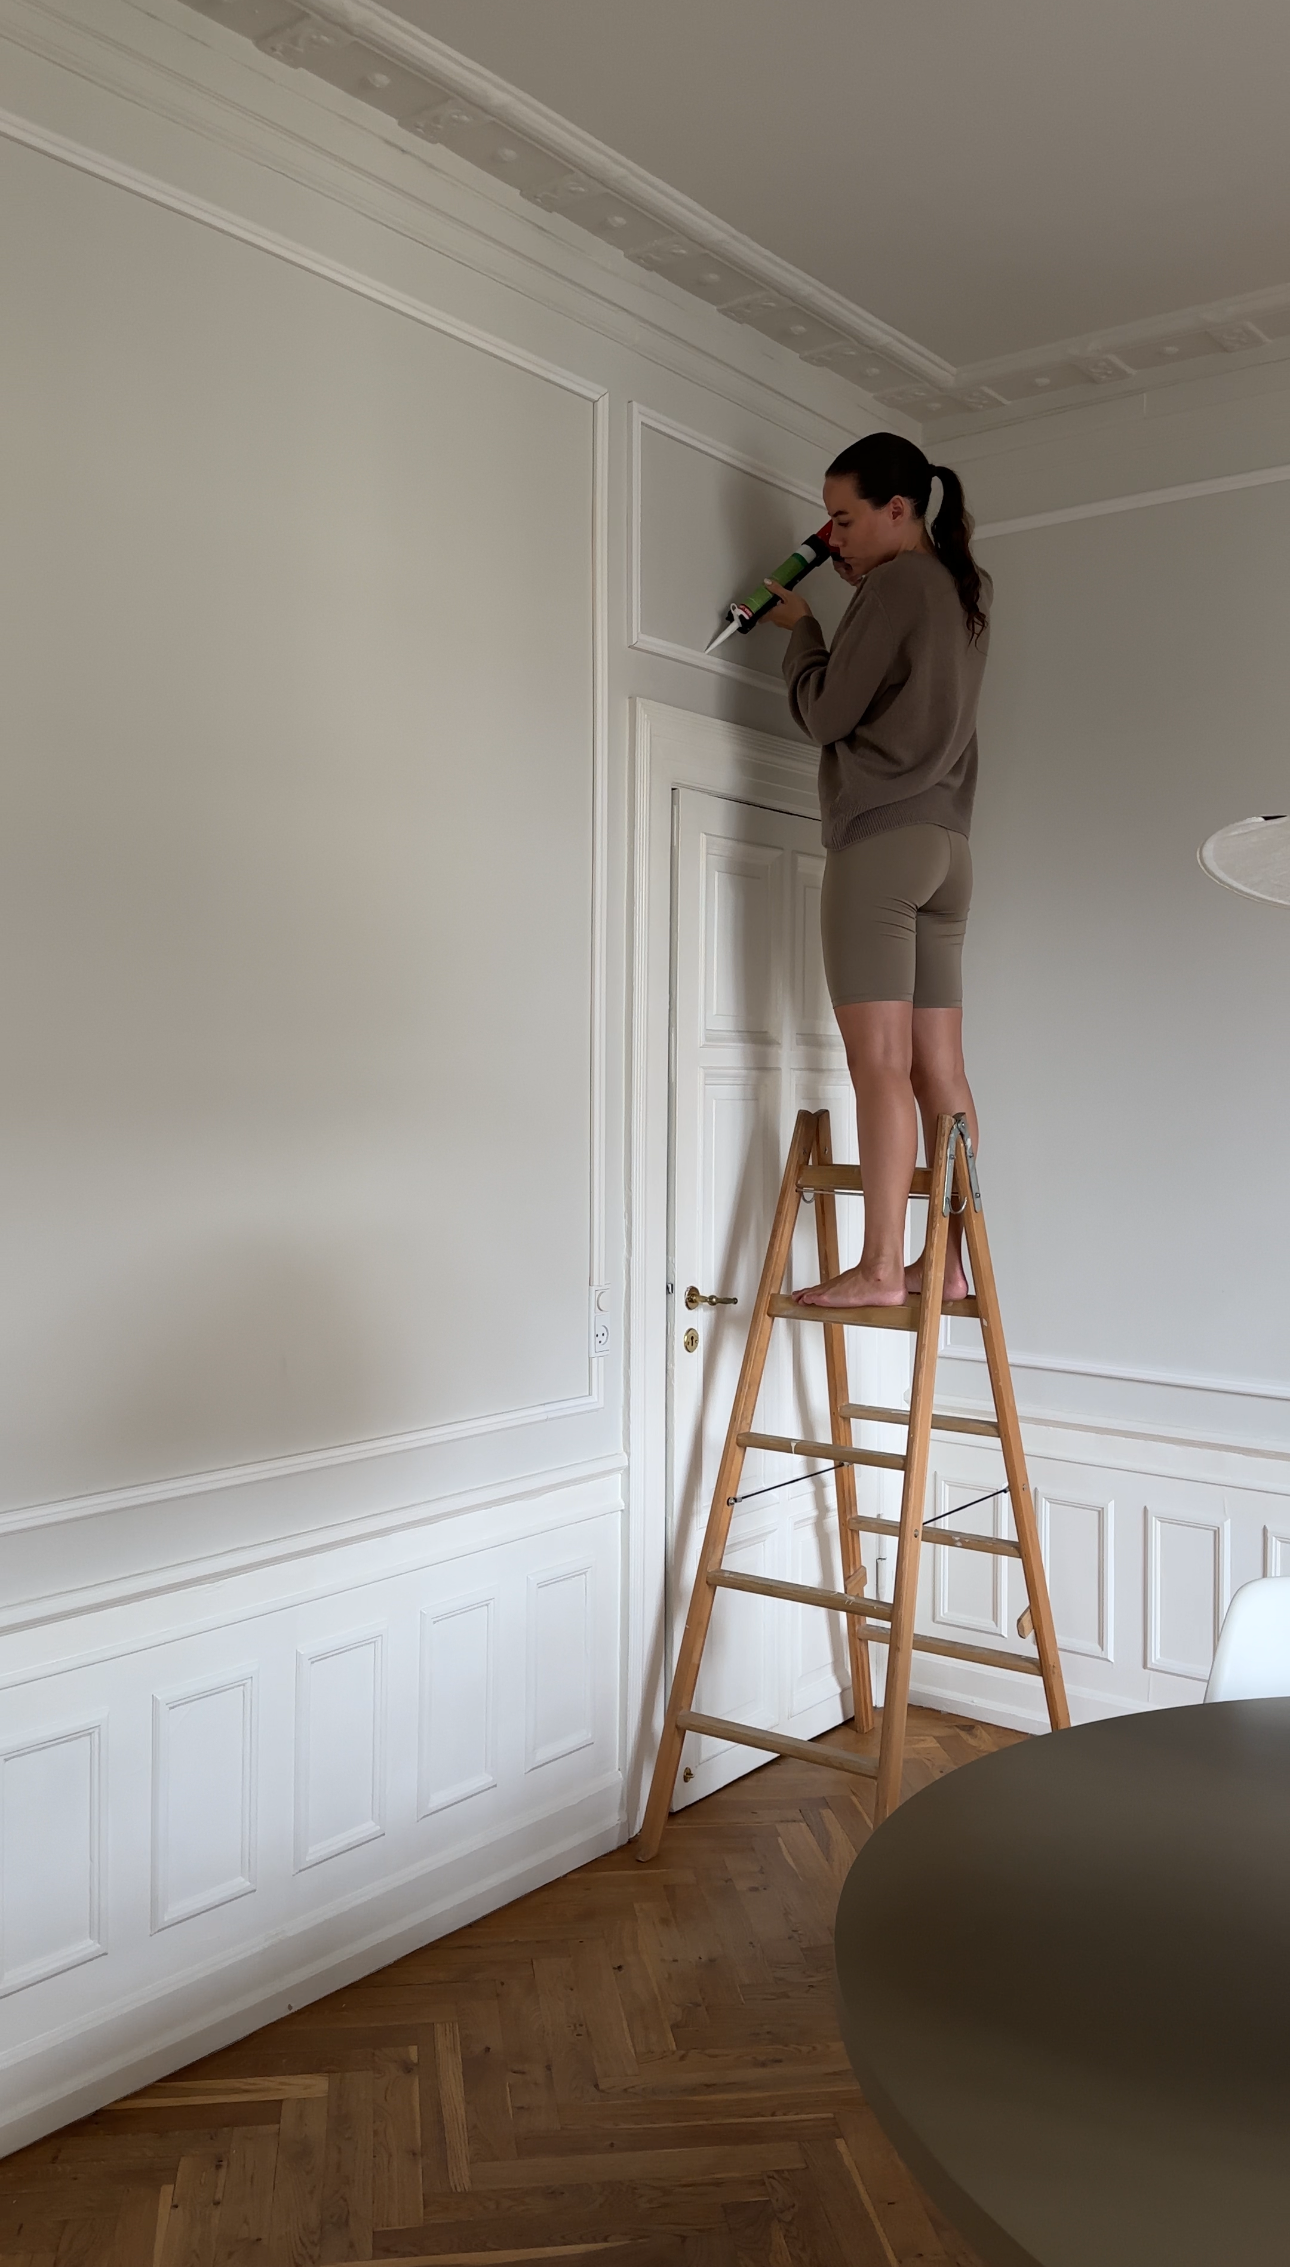
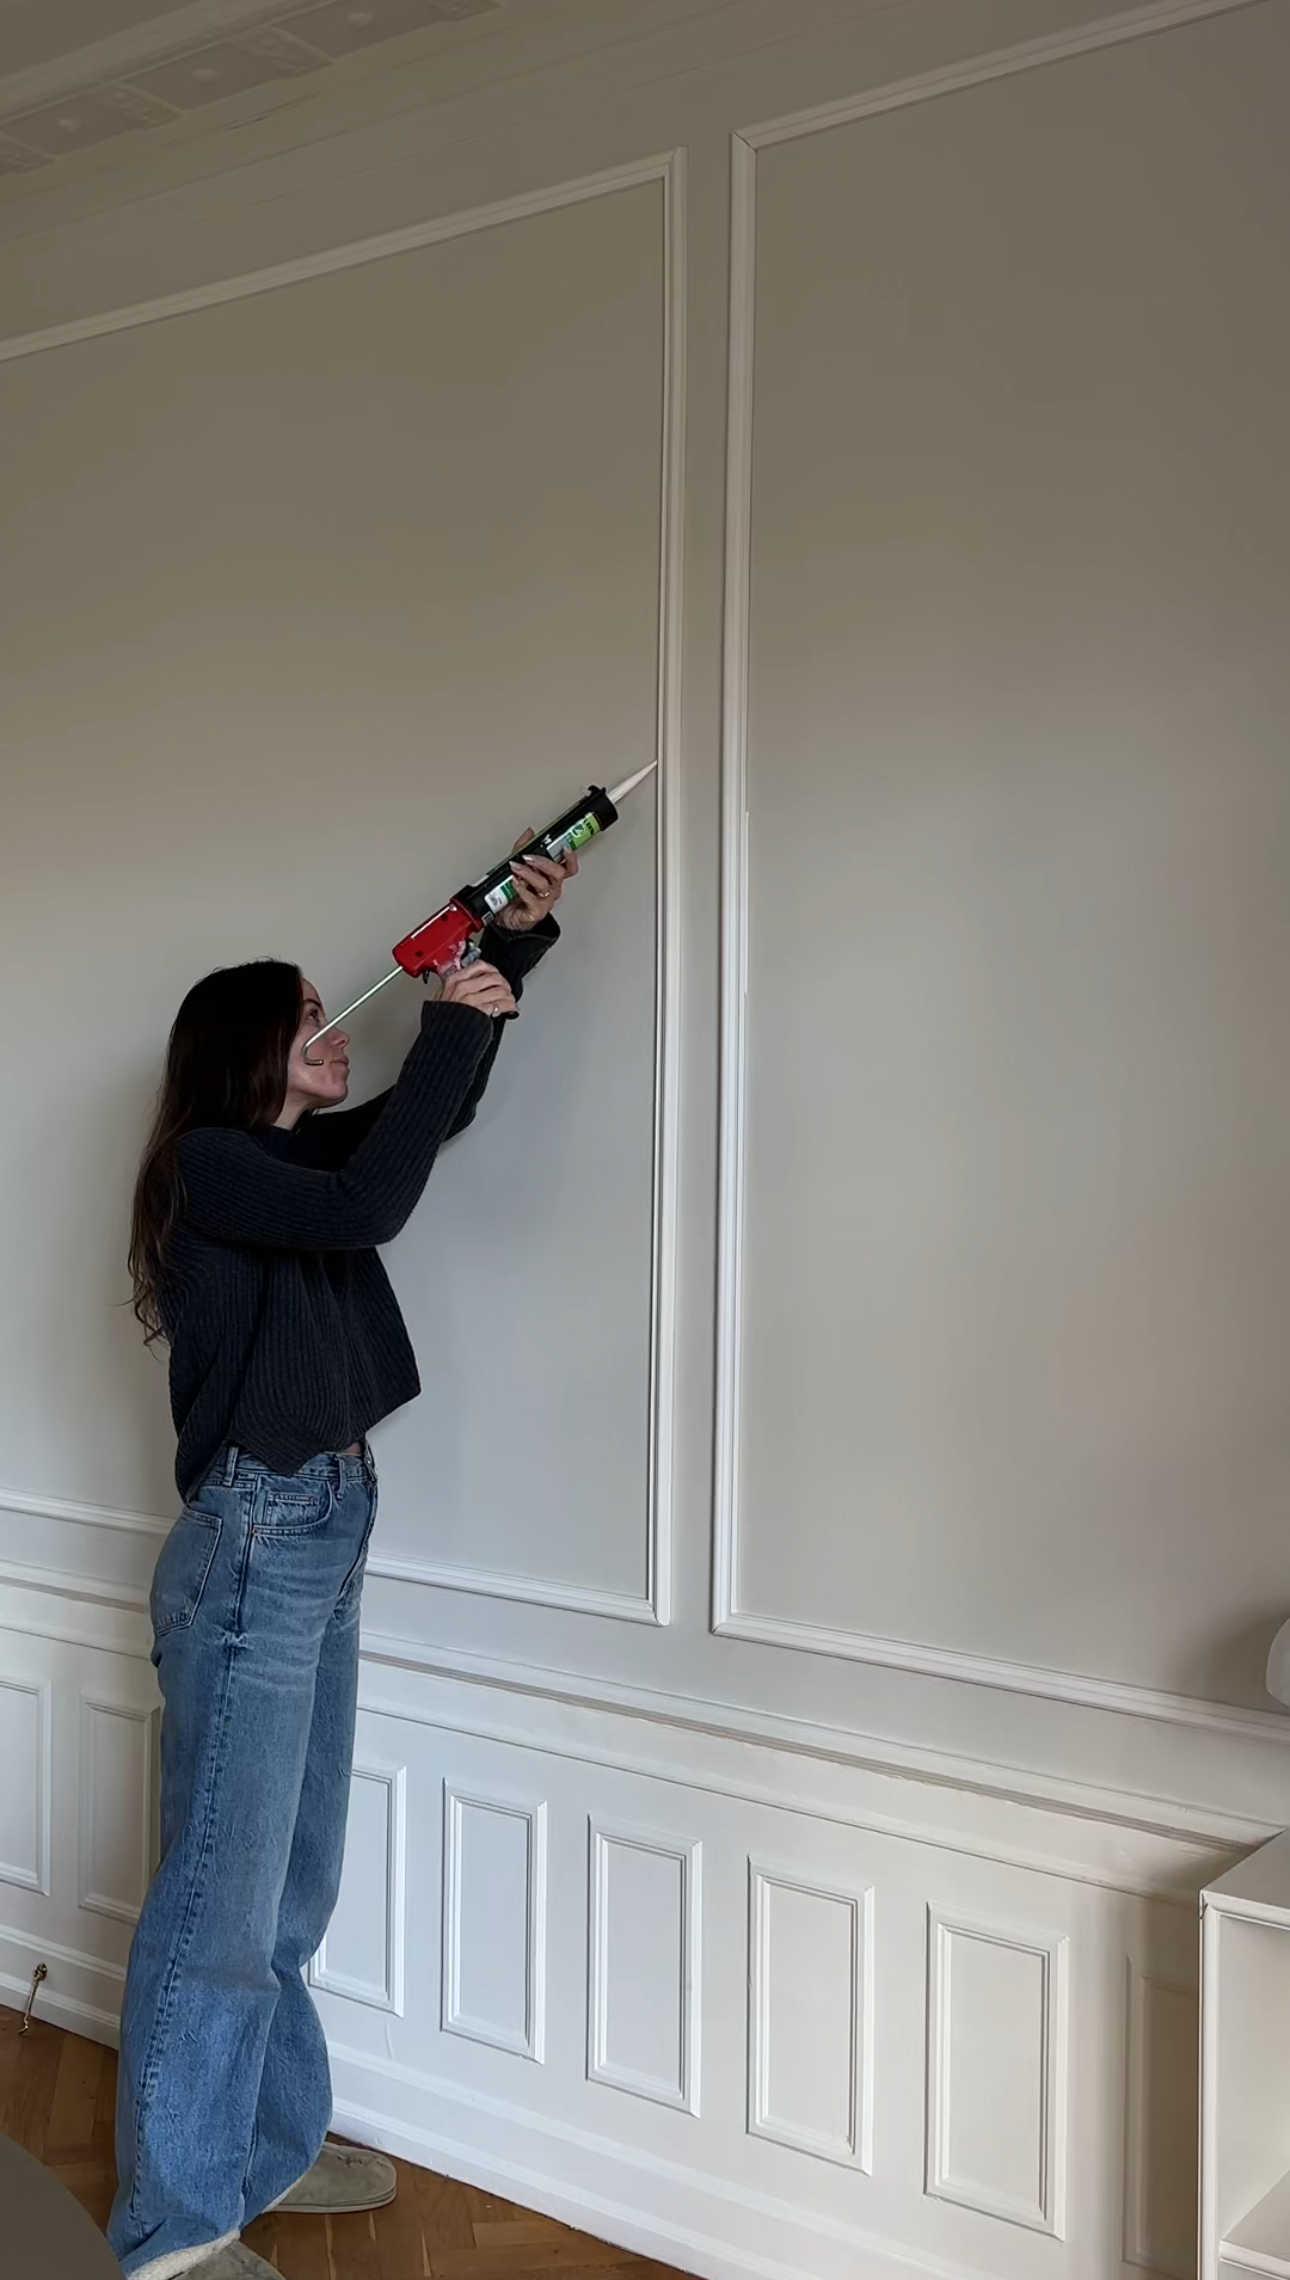
Step 8: Apply Grout
Use a caulking gun to apply grout between the panels and the wall for a smooth finish. This fills any gaps and creates a seamless look.
Step 9: Painting
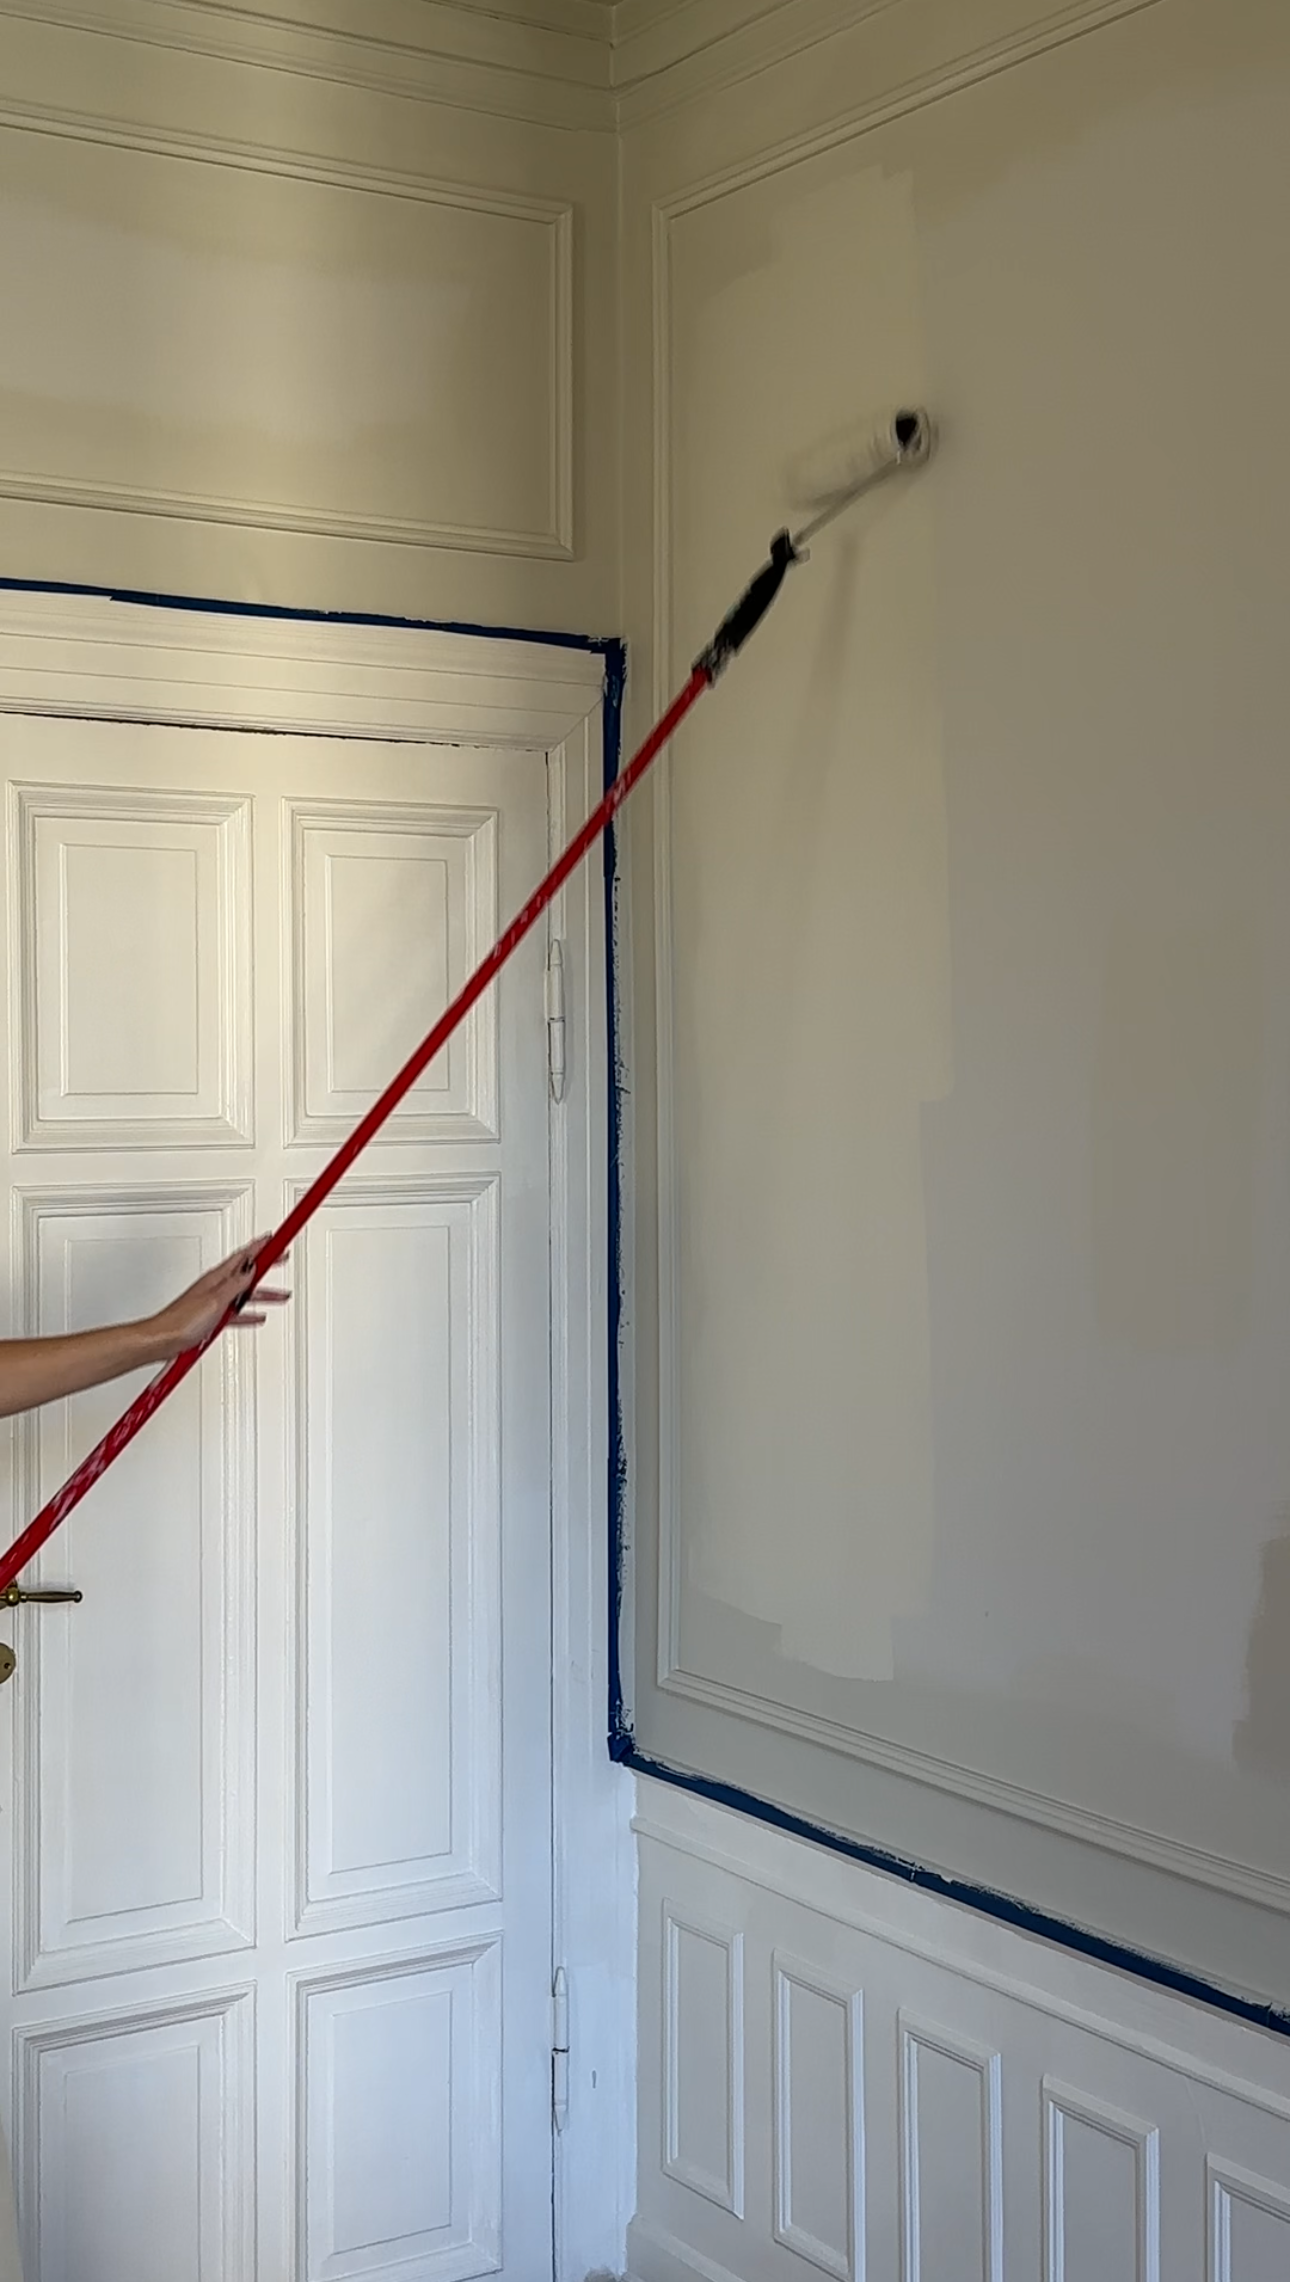
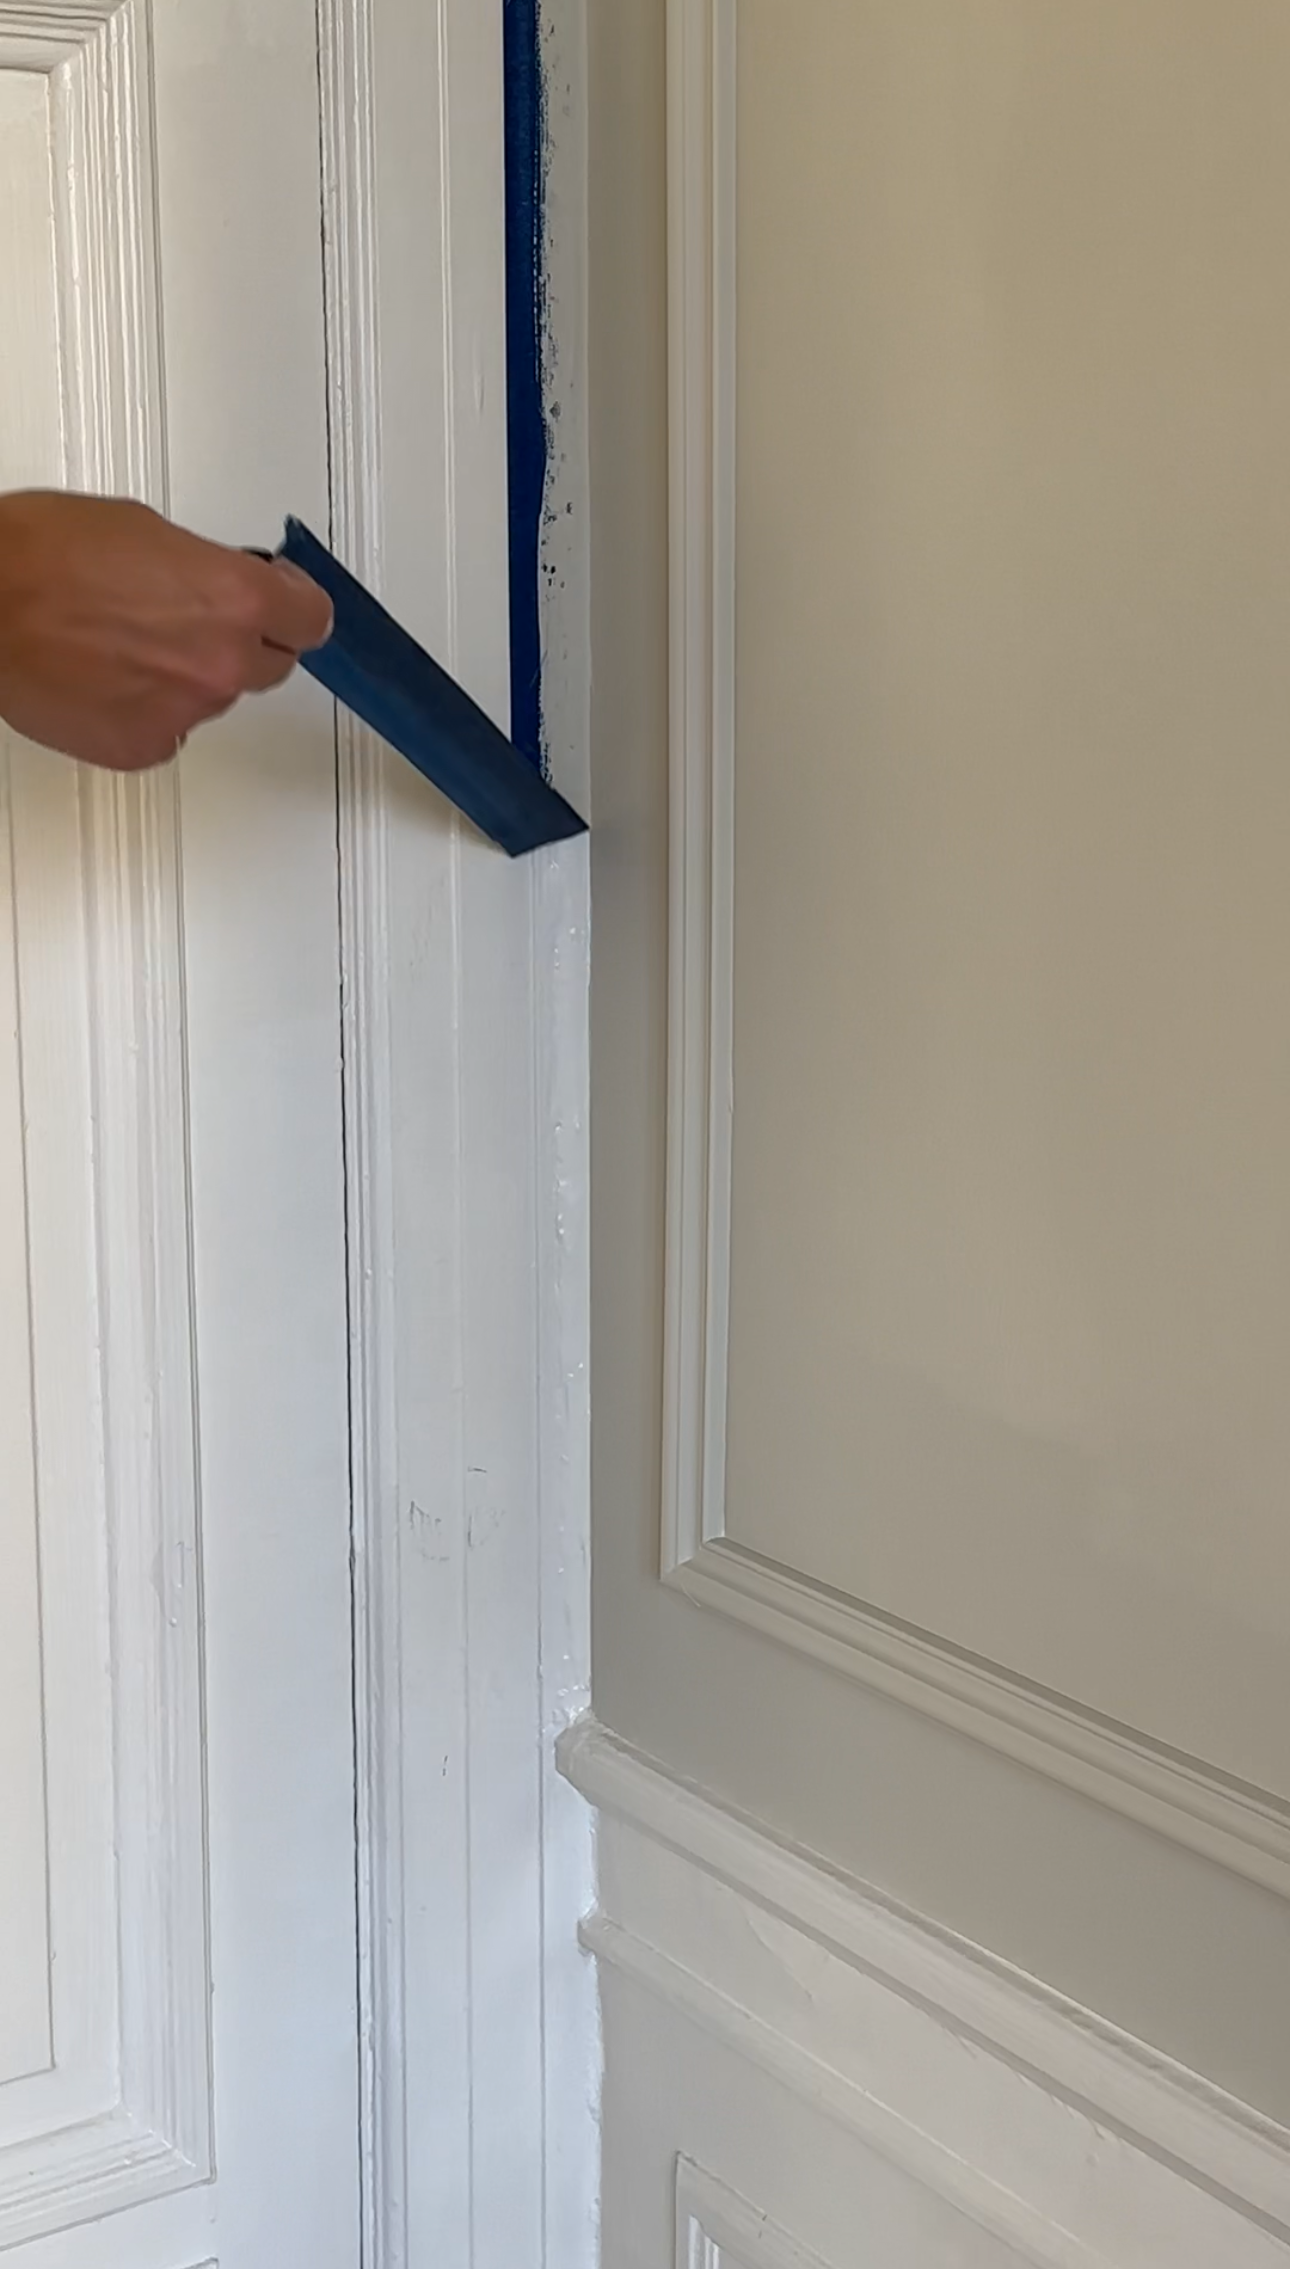
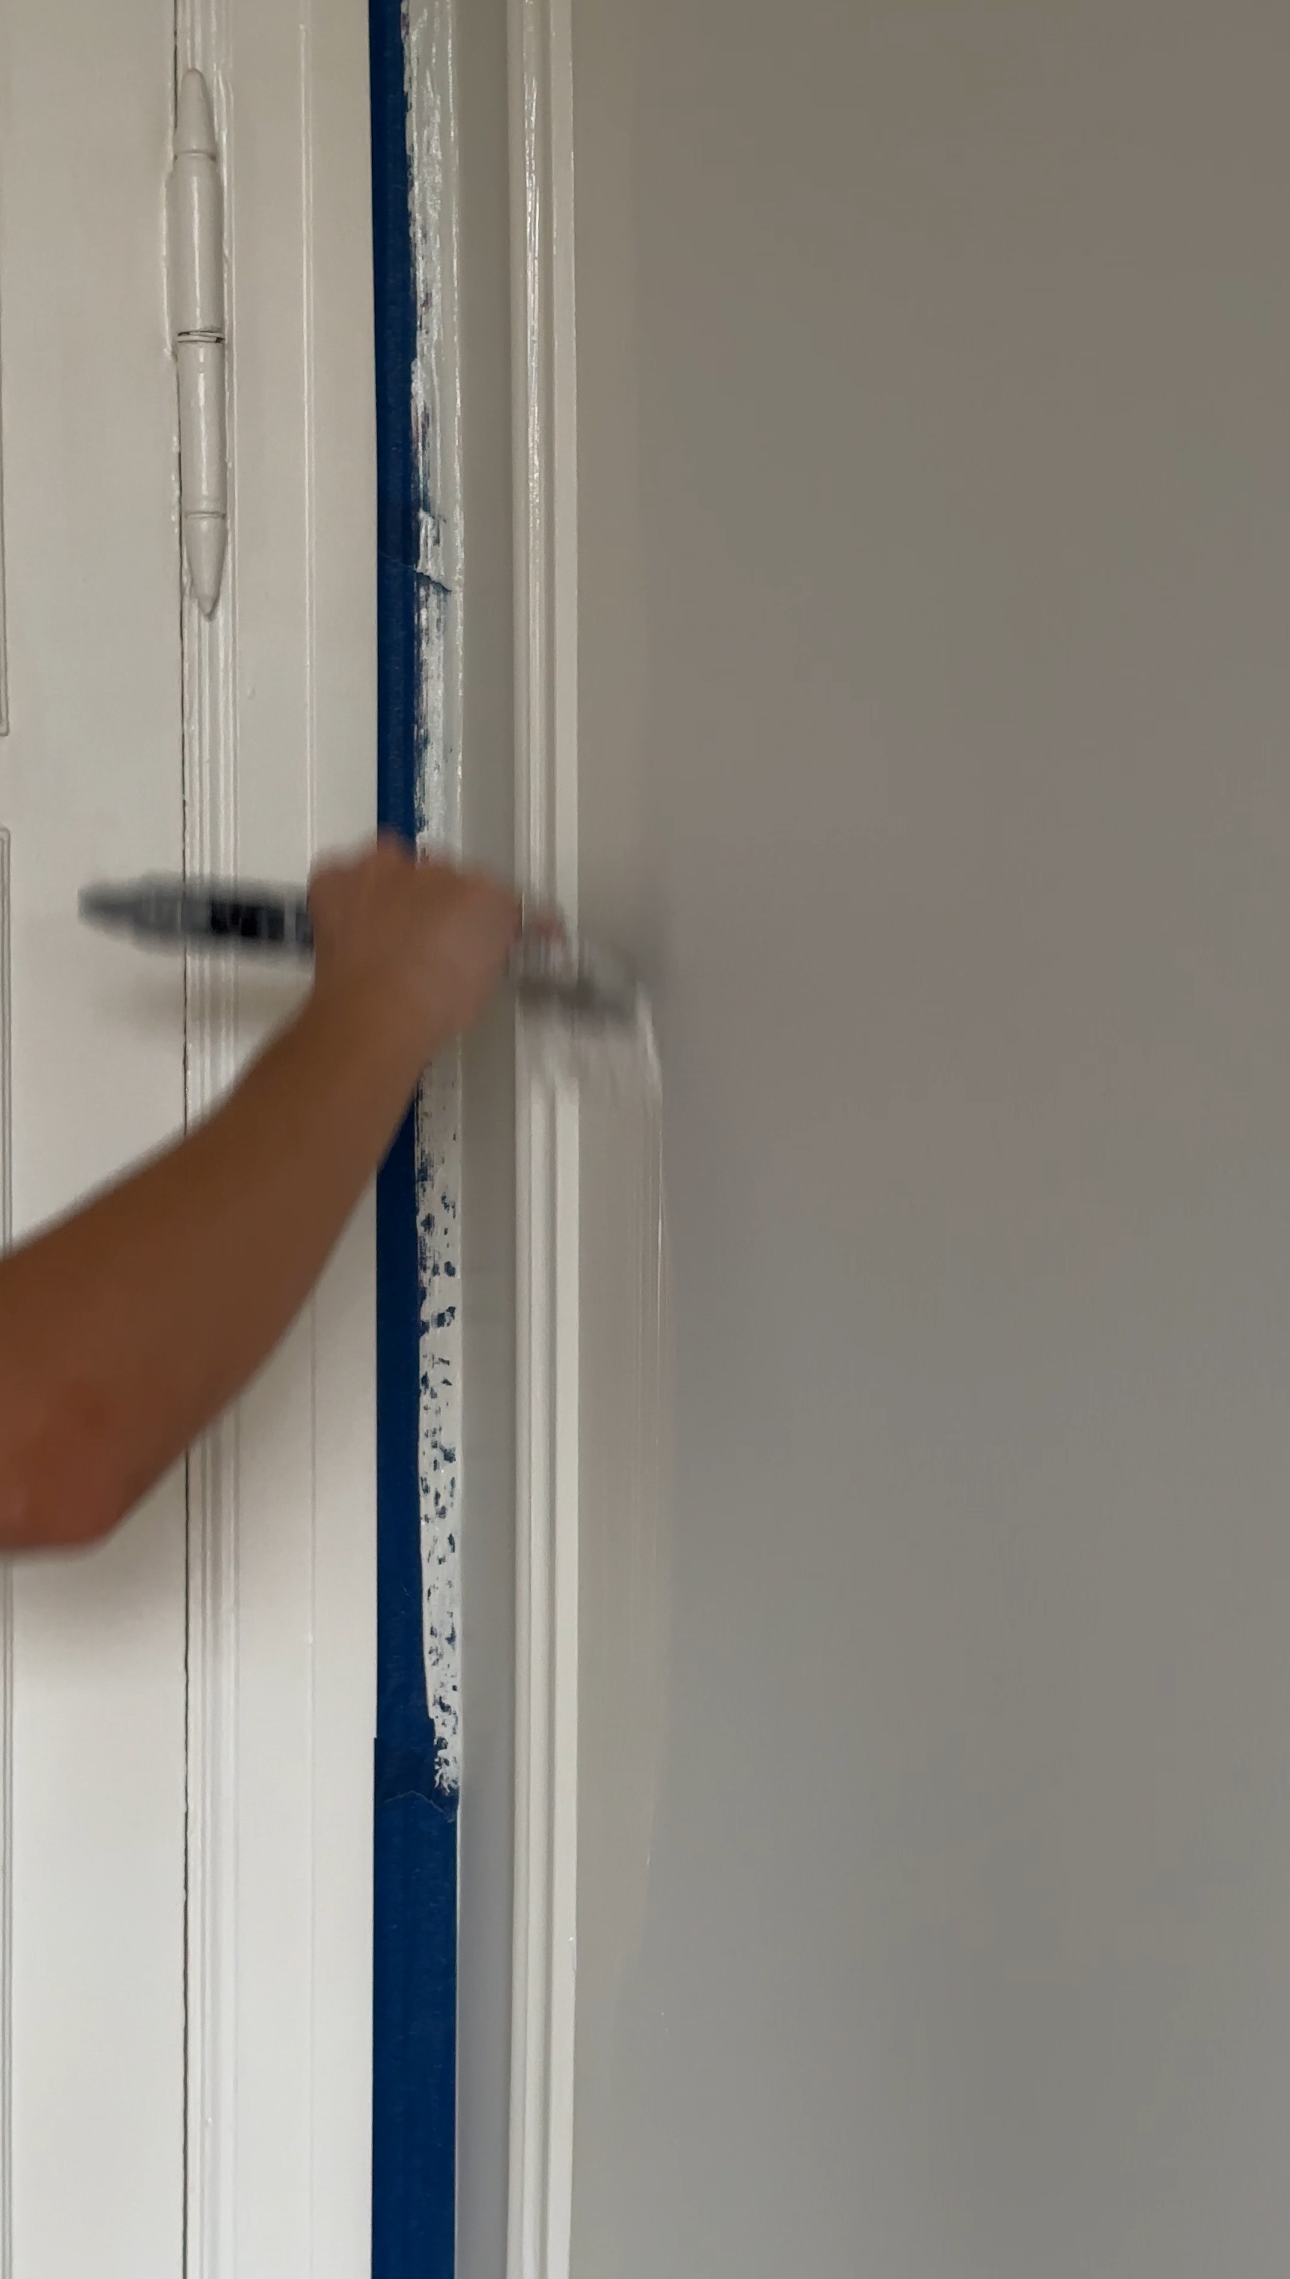
If using wooden panels, apply a wood primer before painting to ensure good adhesion and coverage. For polyurethane panels, you can proceed directly to painting. Choose a paint color that complements your room’s decor.
Enjoy Your New Look!
By following these detailed steps, you'll achieve a polished and stylish look for your space. Installing wall panels is a rewarding DIY project that can significantly enhance the aesthetics of your home.
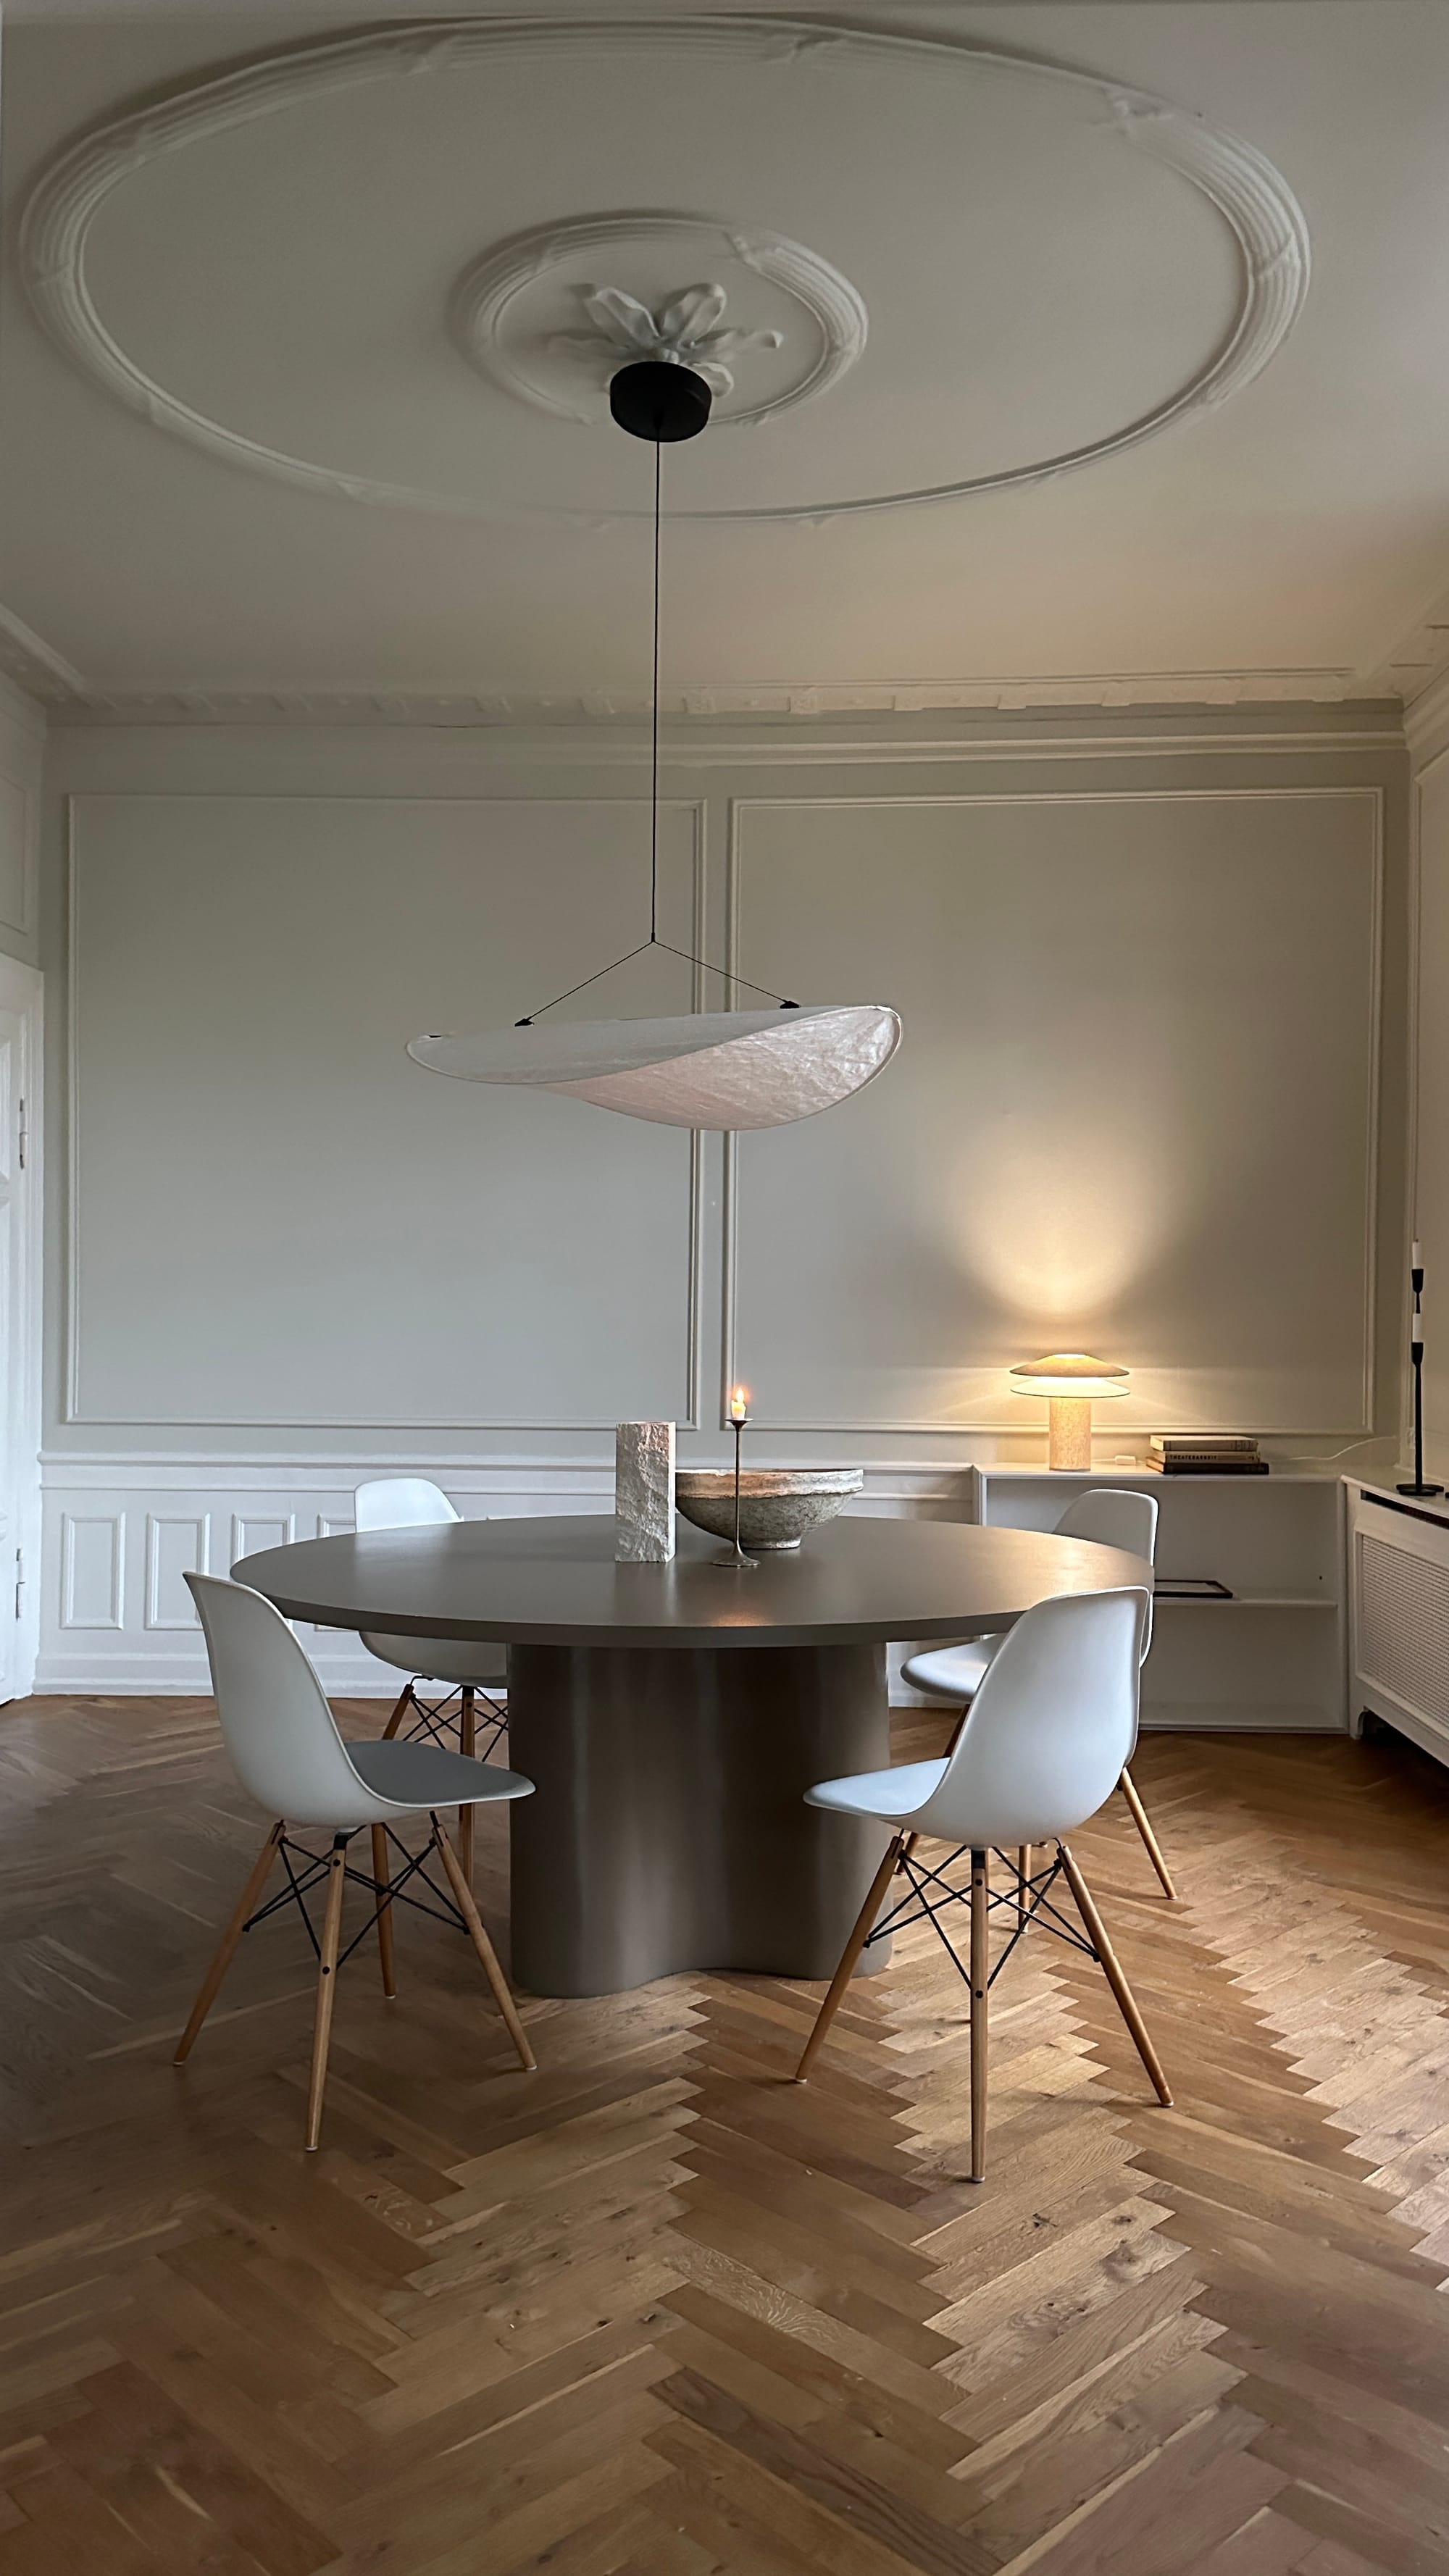
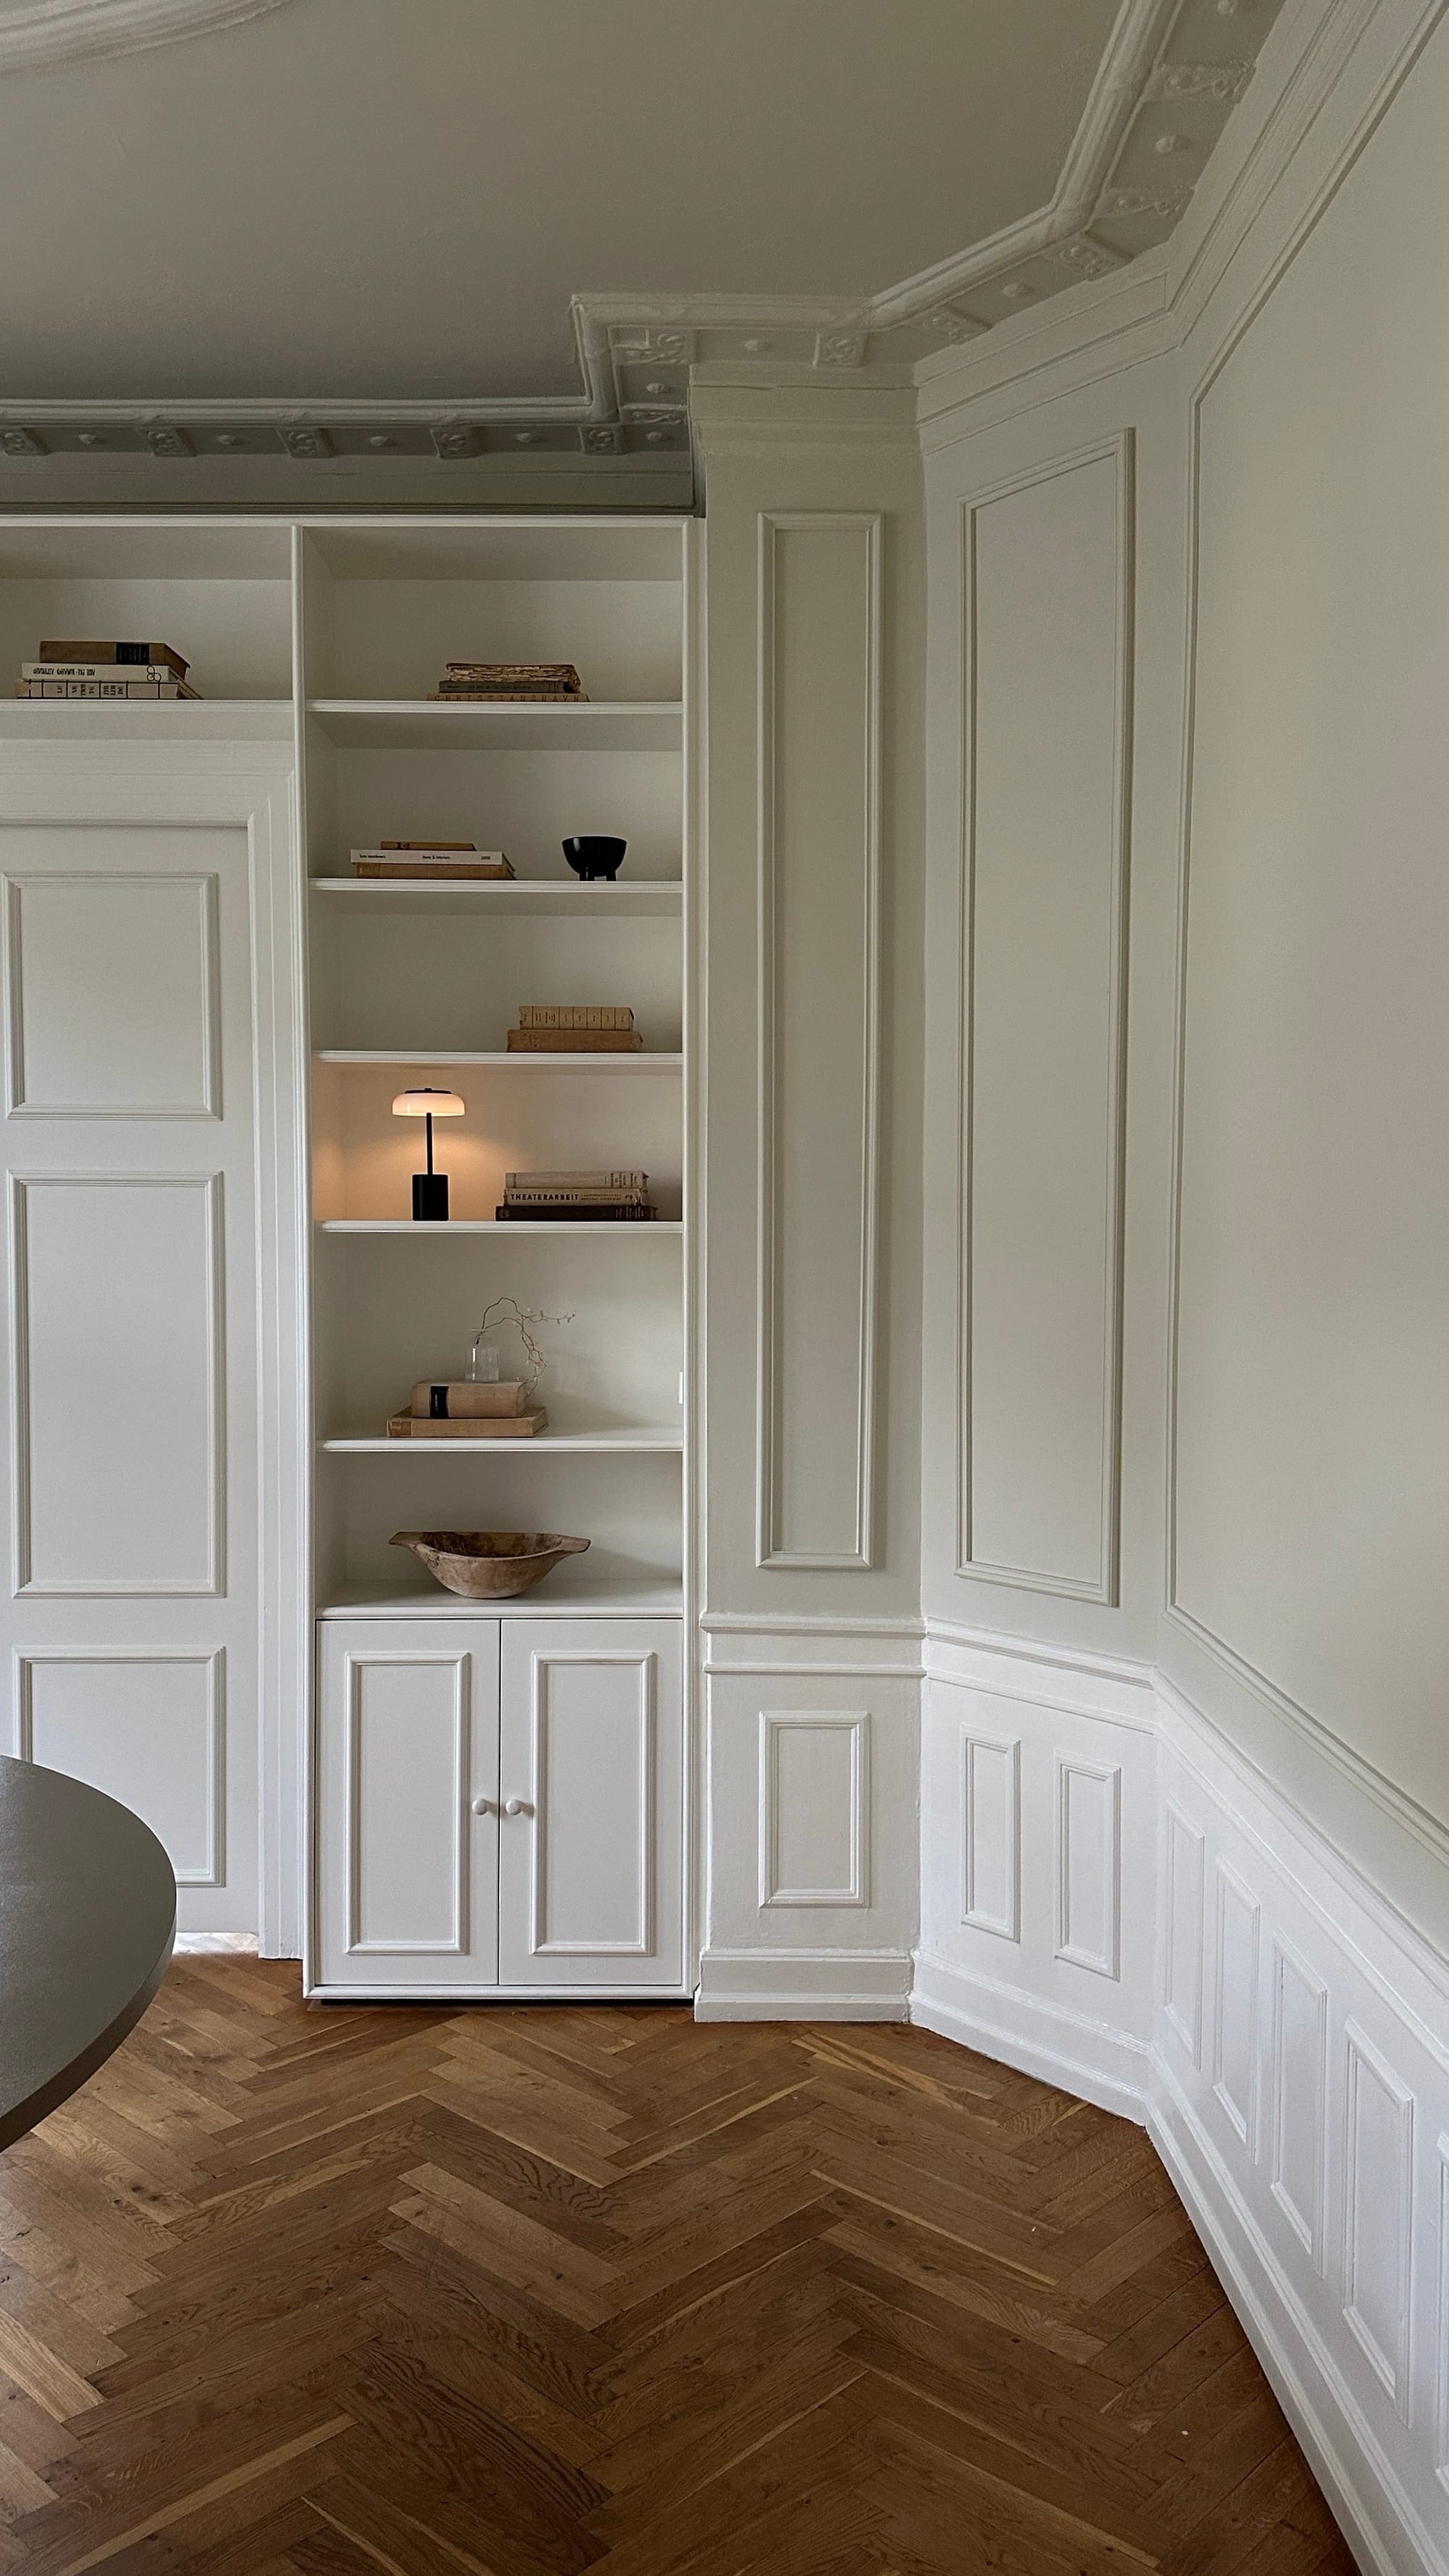
Imagine the pride and satisfaction of knowing that you transformed your room with your own hands. So, gather your materials, roll up your sleeves, and get ready to create a stunning feature wall that will impress your family and friends.
Happy decorating!

Creator: Emma
Instagram:@emmaboye
Tiktok: @emmaaboye


