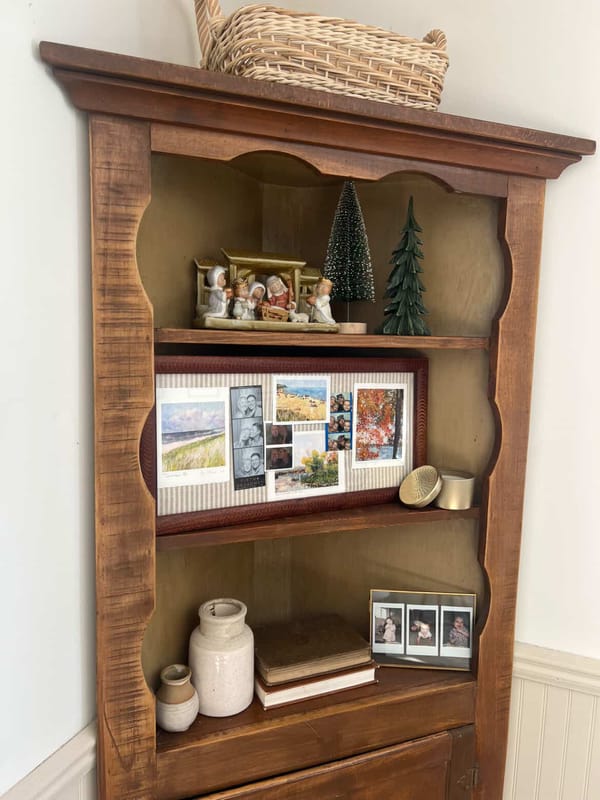
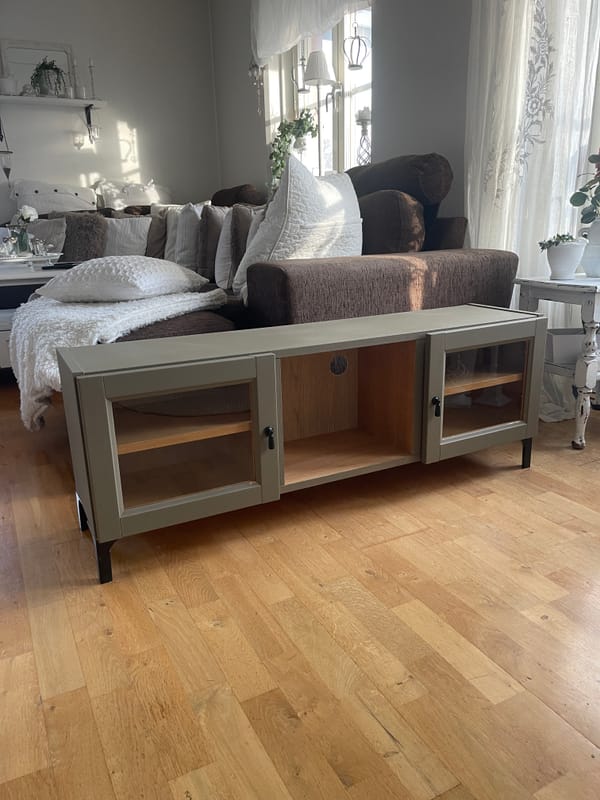
Ready to give your room a fresh new look with perfect, sharp lines? Painting can be a fun and rewarding DIY project, especially when you have the right tools and techniques. This guide will walk you through the steps to achieve those crisp, professional-looking edges. Let’s dive in!
Products You'll Need:
- 38mm Angled Paint Brush by Axus Decor
- Small Paint Roller to blend in the brush strokes
- Small Paint Tray
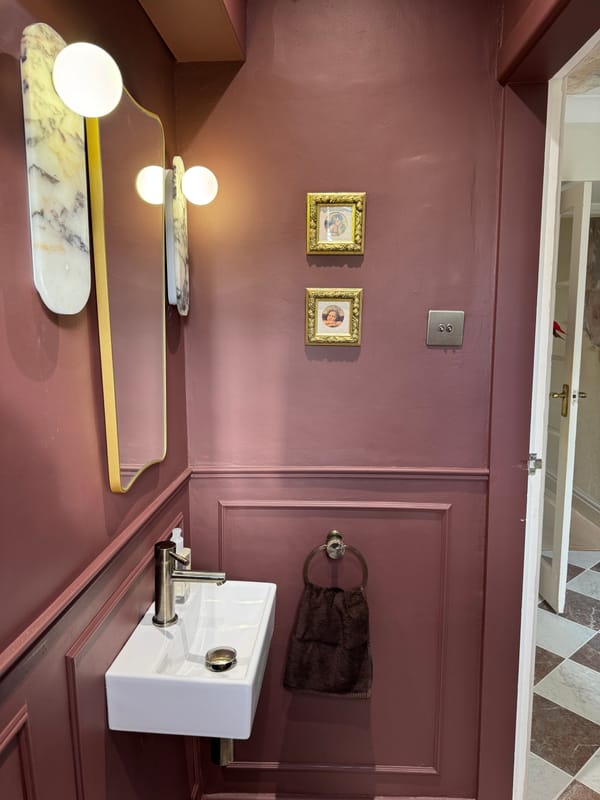
- Paint (Wild Eden by Dulux)
Step-by-Step Guide:
Step 1: Choose the Right Tools
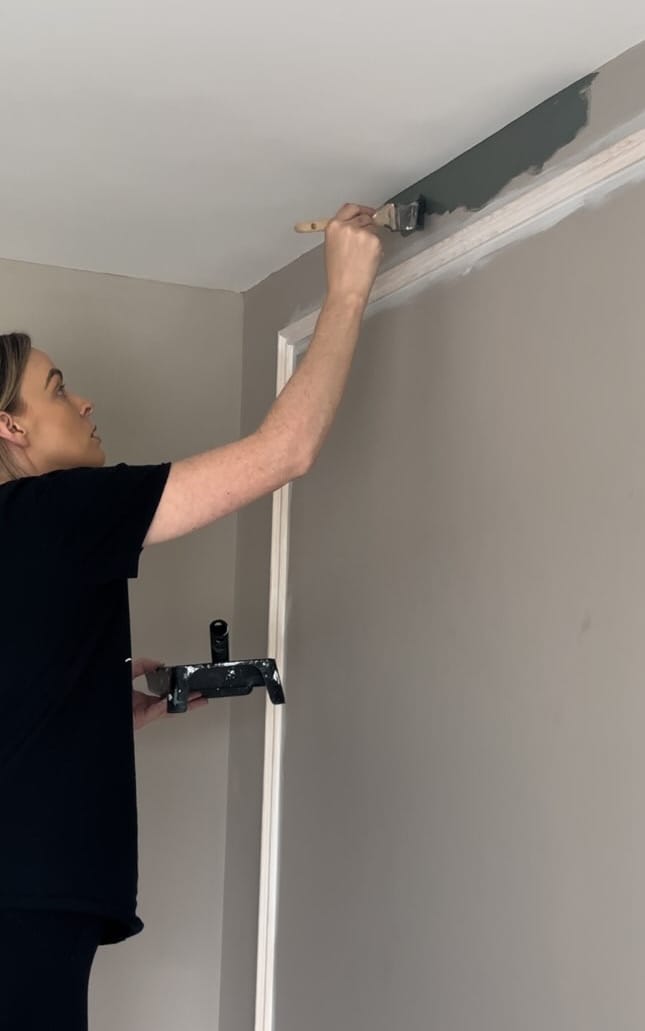
Investing in a high-quality angled paint brush is crucial. The 38mm angled brush by Axus Decor is perfect for this job. The angled bristles help create a straight, precise line along edges and corners.
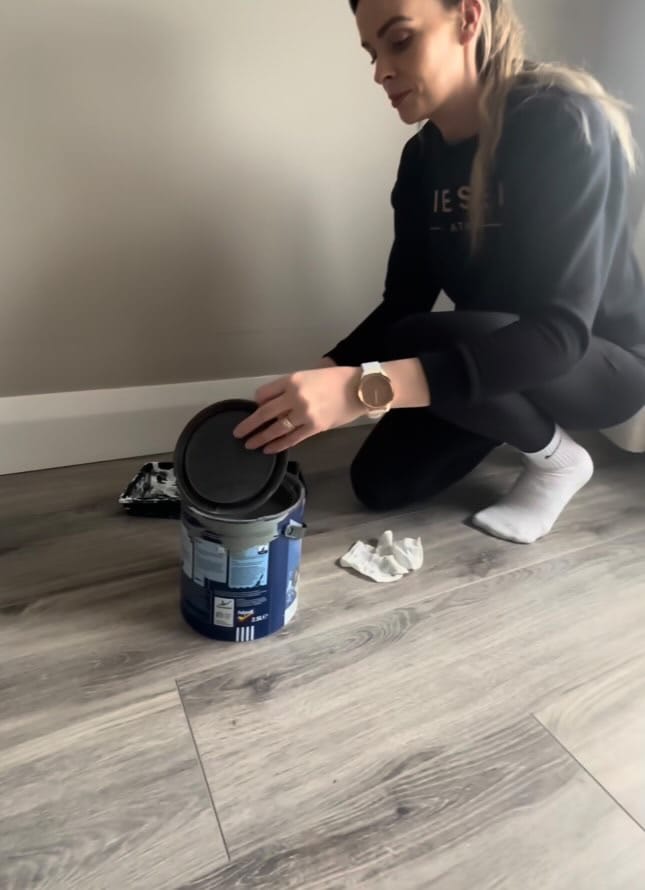
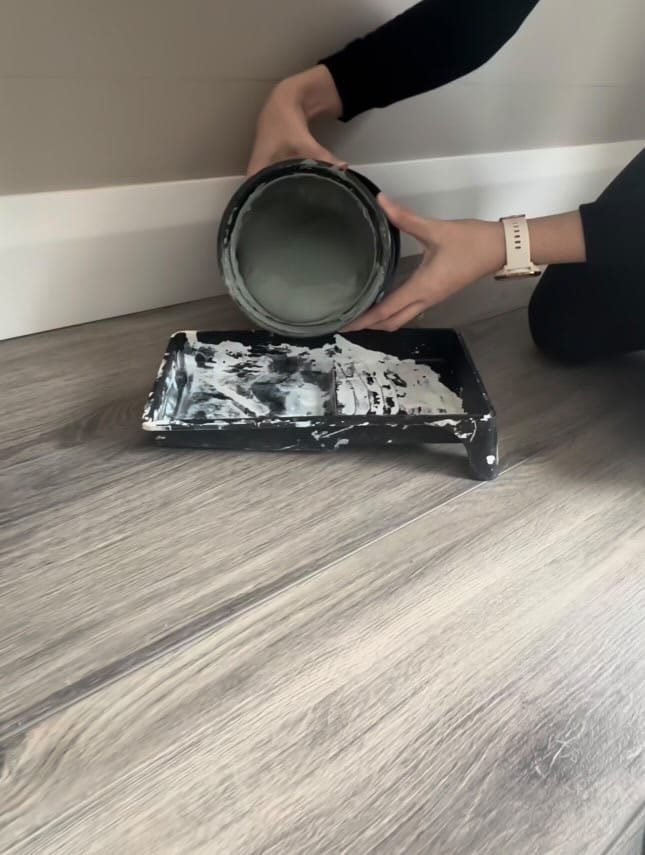
Step 2: Prepare Your Paint
Pour your paint (Wild Eden by Dulux) into a small paint tray. This makes it easier to manage and reduces the risk of spills and drips.
Step 3: Start Painting
Dip your angled brush into the paint, but don’t overload it. Tap off any excess paint to avoid drips and smudges.
Step 4: Cut In
Using steady, controlled strokes, start painting along the edges where the wall meets the ceiling, corners, and around trim. Work slowly and in small sections. This will help you keep the line crisp and prevent mistakes.
Step 5: Blend with a Roller
After cutting in with the brush, use a small paint roller to blend in the brush strokes with the rest of the wall. This ensures a smooth, even finish.
Step 6: Patience is Key
Remember, patience and the right brush are essential to achieving sharp, clean lines. Take your time, don’t rush the job, and allow yourself enough time to complete the task properly.
Creating sharp, clean lines when painting can transform the look of your room, giving it a polished and professional finish. By using the right tools, like a high-quality angled brush and a small roller, and taking your time, you can achieve stunning results. So grab your brush, take it slow, and enjoy the process of beautifying your space! Happy painting!

Creator: Marie
Instagram: @our_forever_home_northkerry


