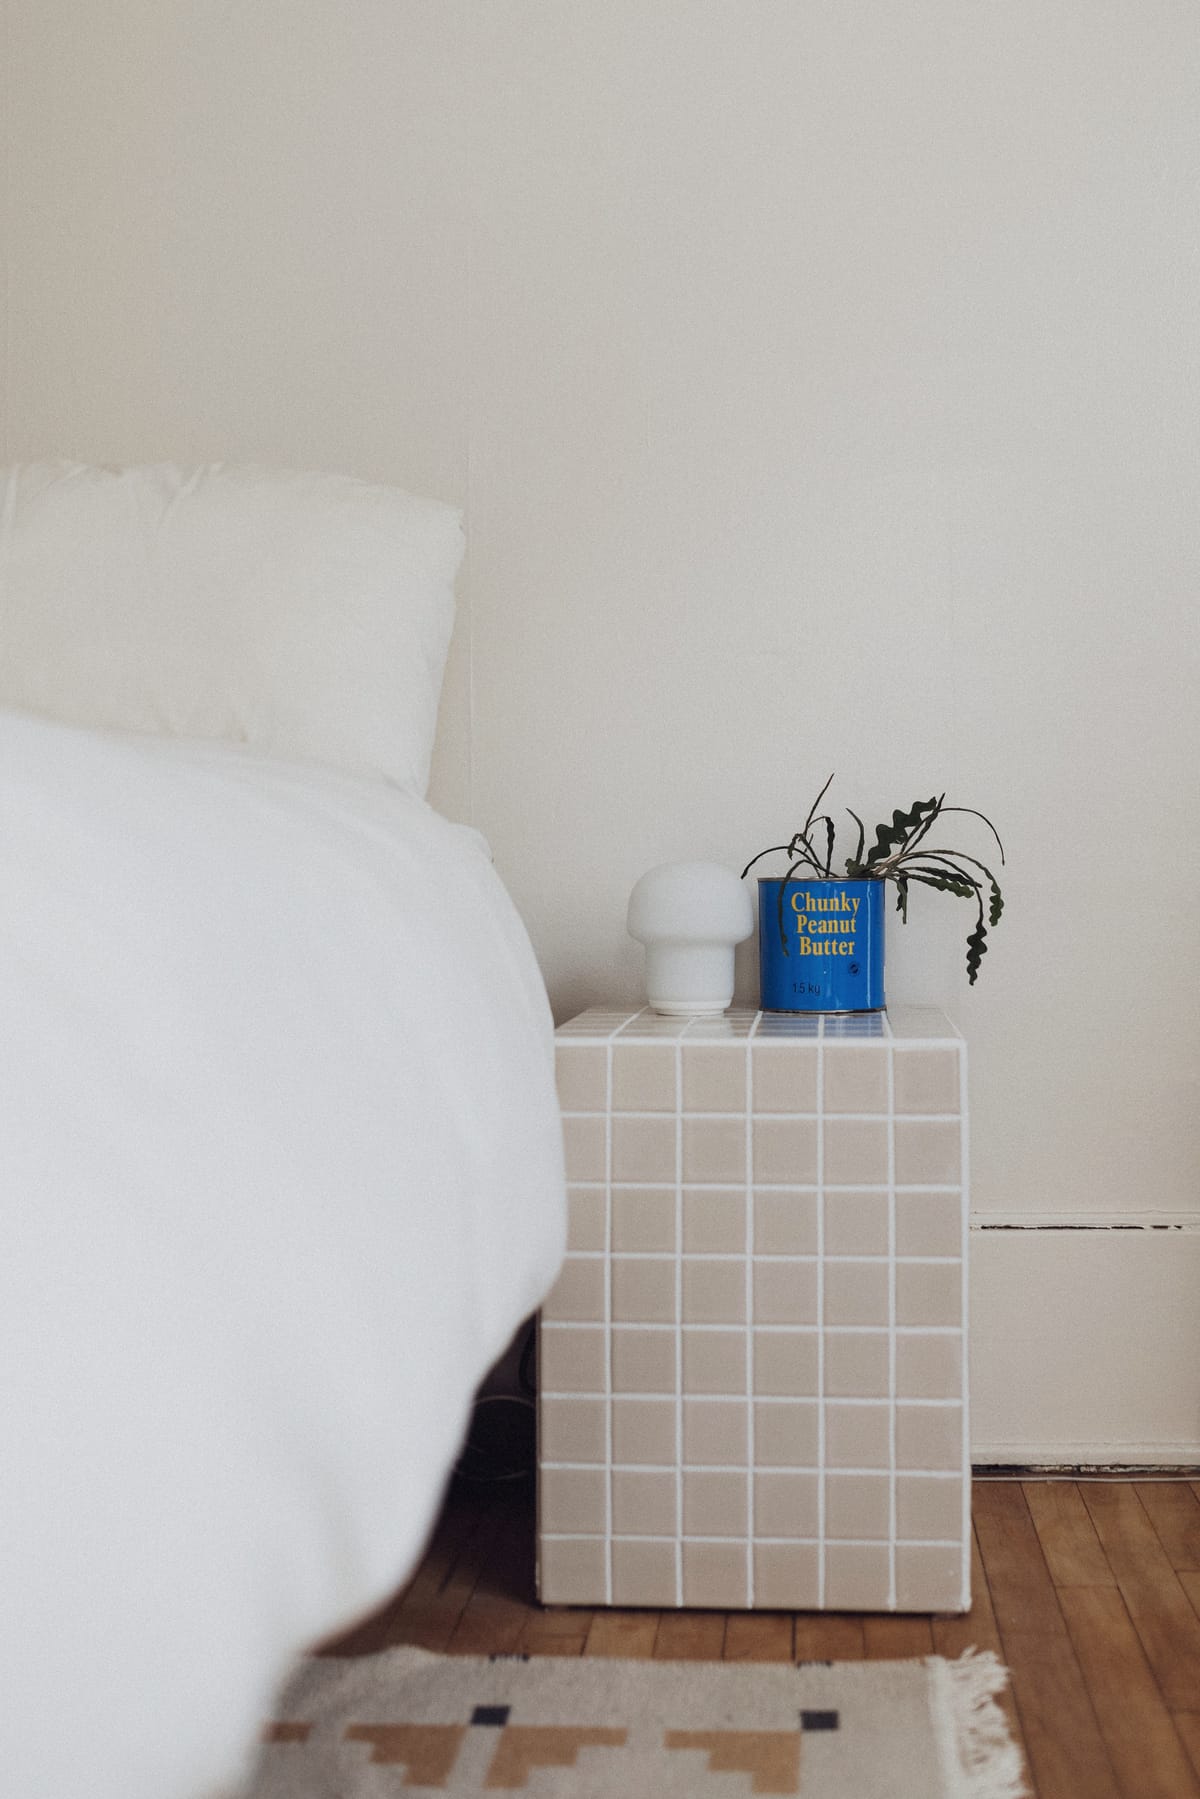
I always wanted to try tiling, and while I had watched it be done quite a few times, I had never tried it for myself. Furnishing our new apartment was just the motivation I needed to try my hand at making some tiled stools for extra seating around our large dining table, but most of the time they double as end tables. It was intimidating to get started, however I had found some square tile mosaics on Facebook marketplace for a steal of a deal so I figured there wasn’t a whole lot of risk!
Materials I Used
- 3/4" Plywood
- Wood glue
- Small nails
- Poly or drop cloth
- Mortar powder
- Grout powder
- Trowel with 1/4" teeth
- Rubber grout float
- Sponge
- Spacers
Step-by-Step Guide
Step 1: Building the Boxes
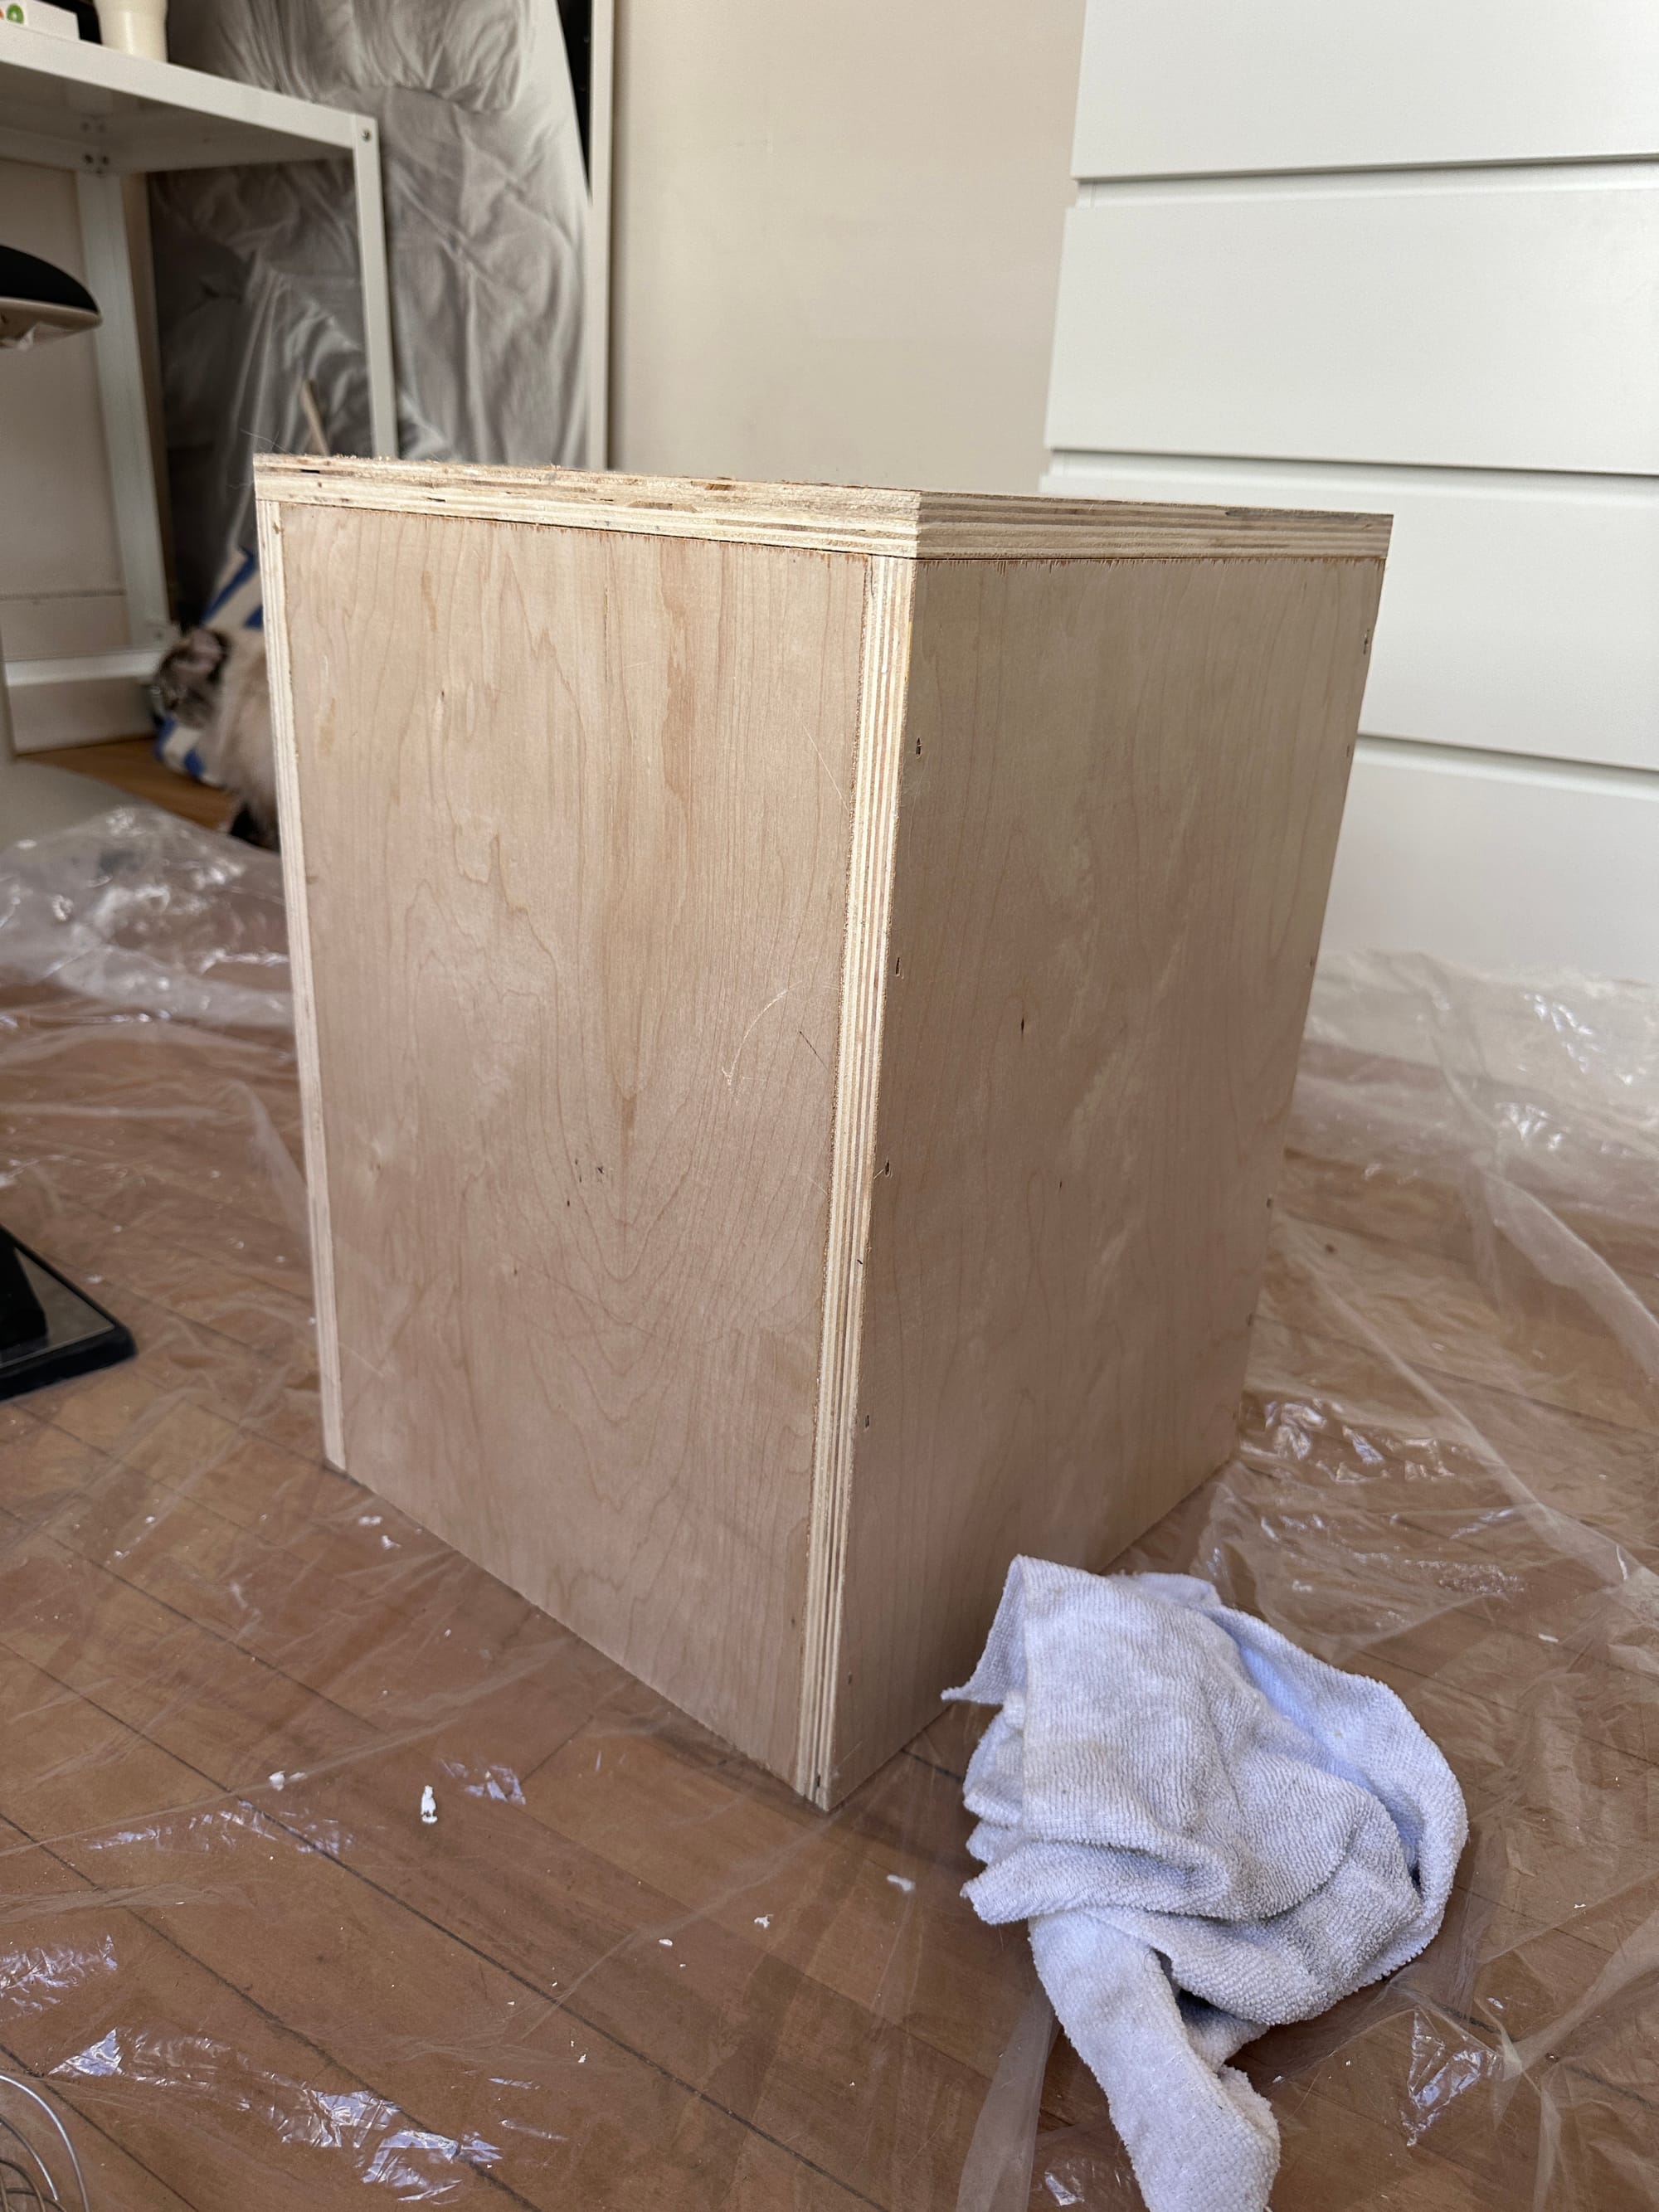
First things first, I needed to build the boxes to tile. Admittedly, the math and strategy I had at first was a complete failure, so the boxes I built were not the right size. Thankfully, there was some more old 3/4 inch plywood at my work I could use, so I took nails out of it and, now knowing my mathematical error, began again.
For the boxes, once the pieces were cut to the correct size, I used wood glue and a brad nailer to tack them together and make them super sturdy. I'm sure wood glue would also be enough if you do not have access to a nail gun or you could hammer some small nails in.
Step 2: Preparing for Tiling
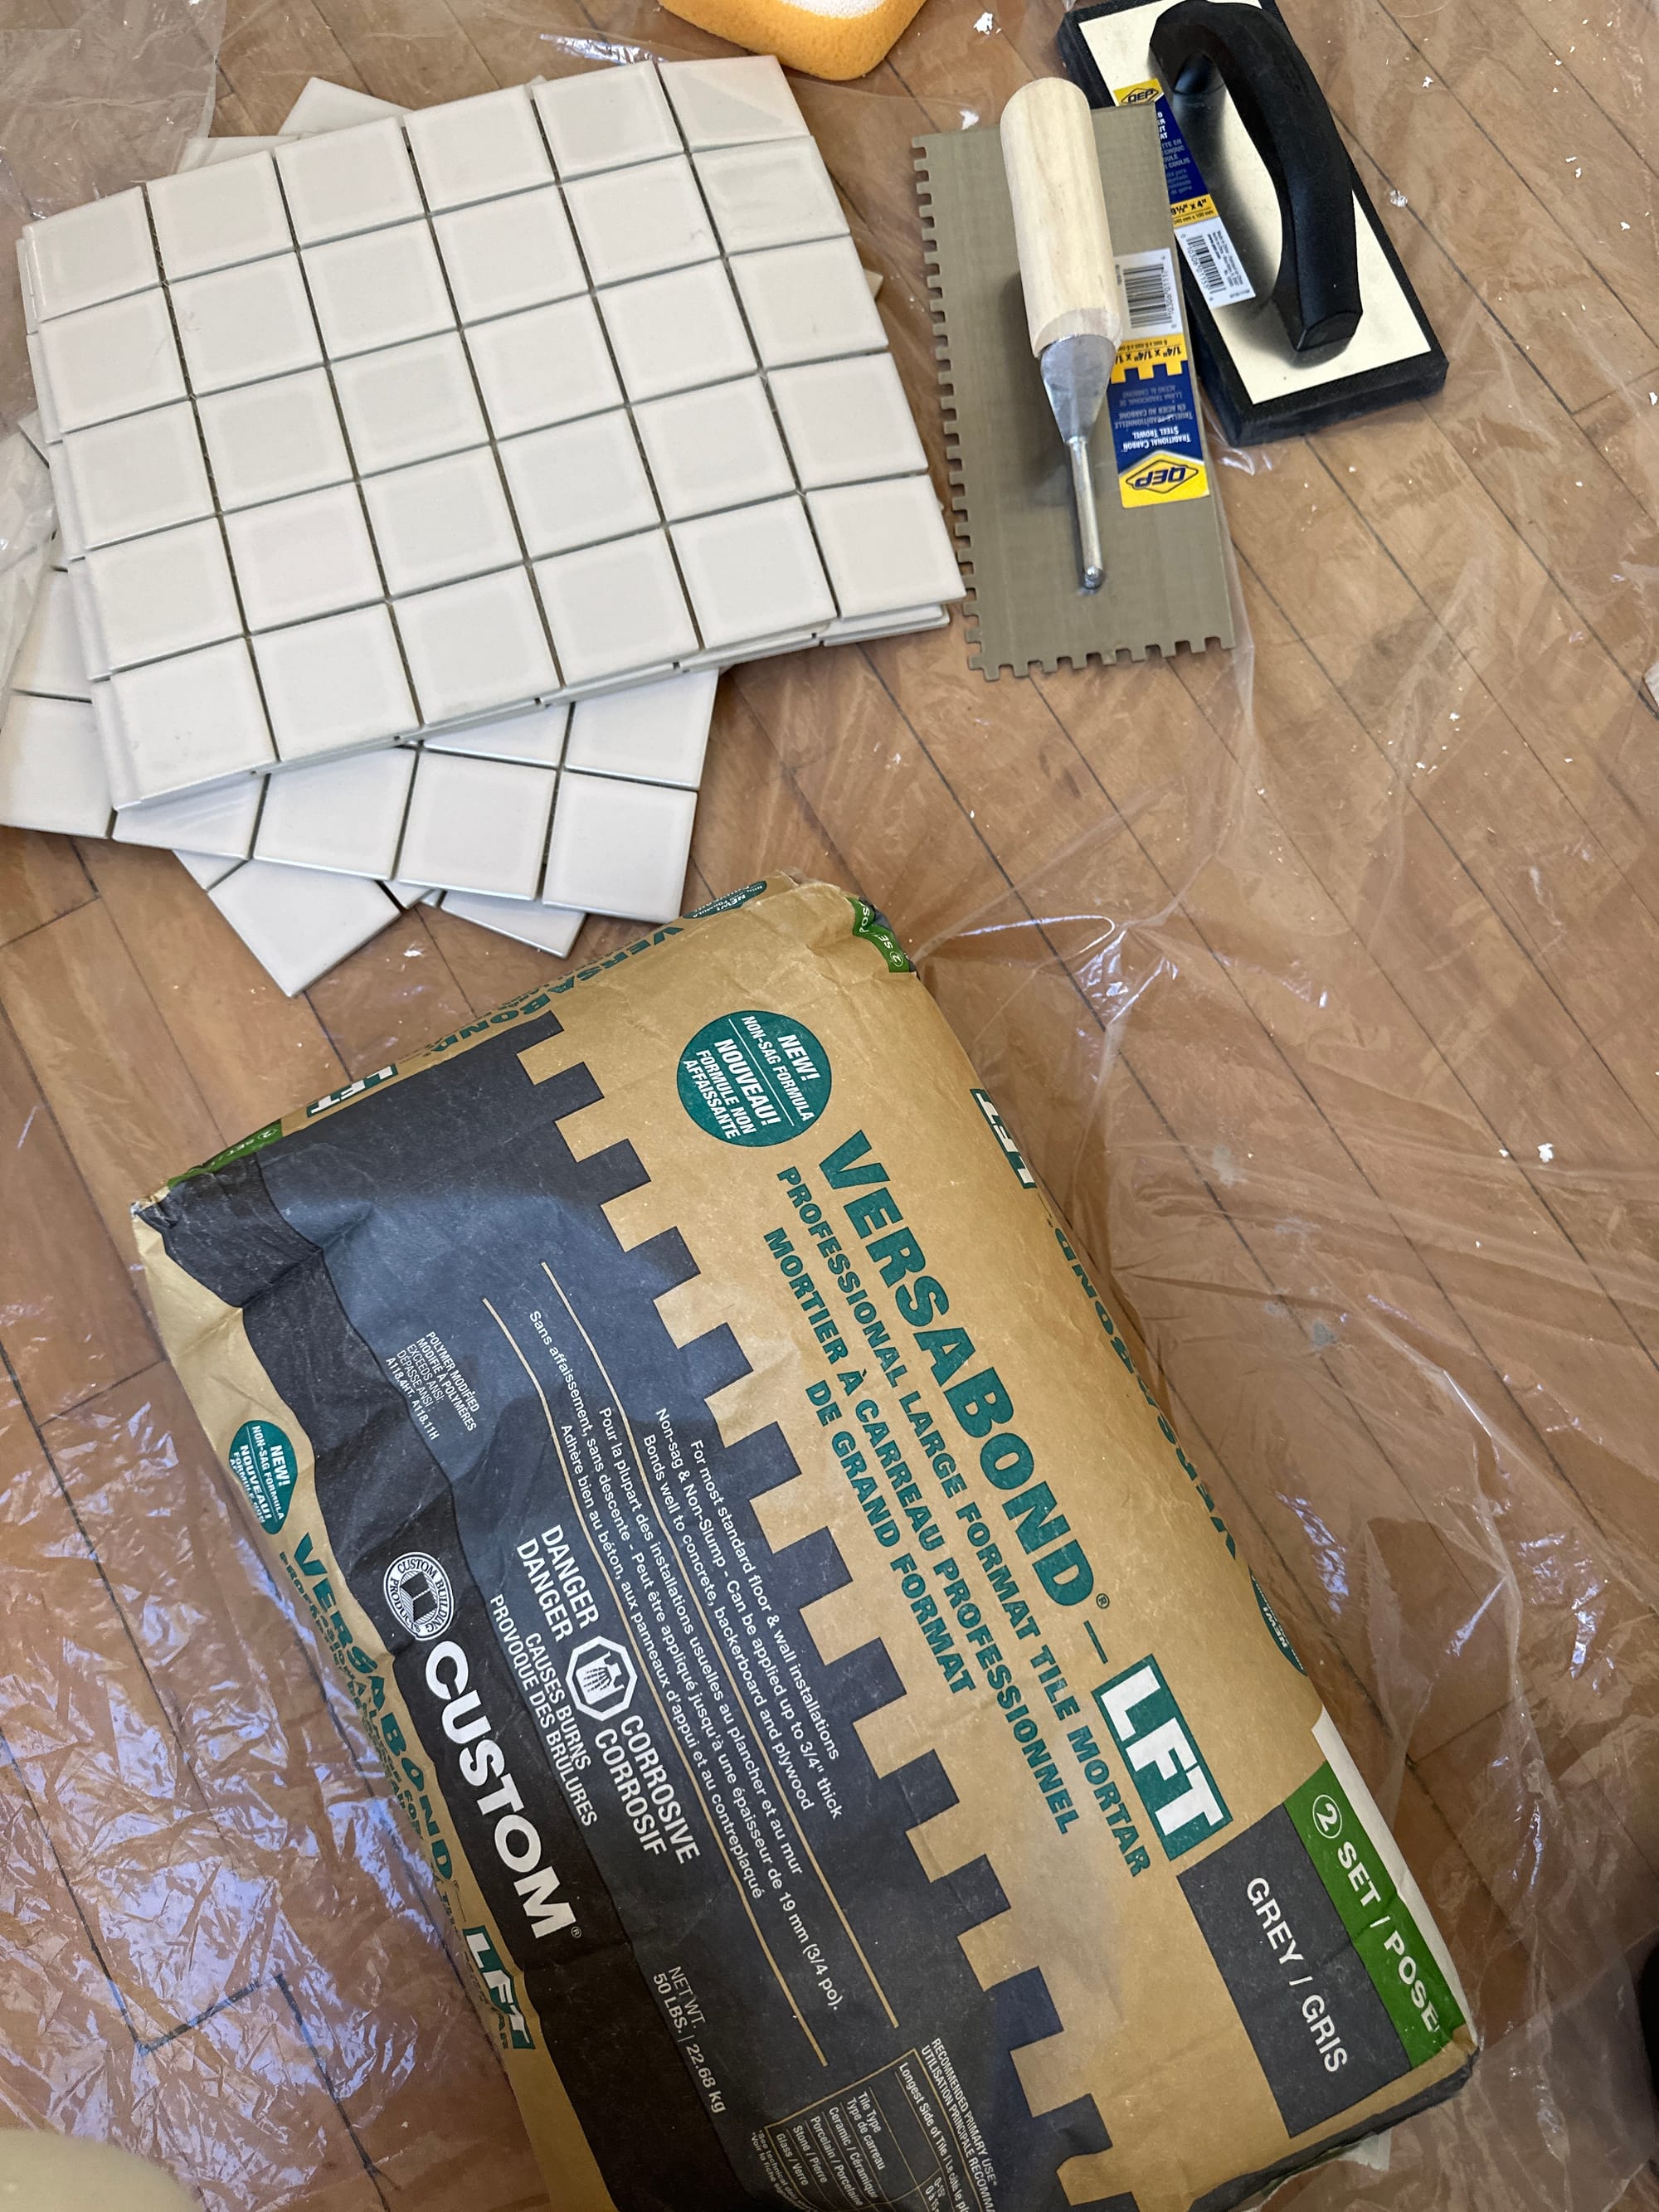
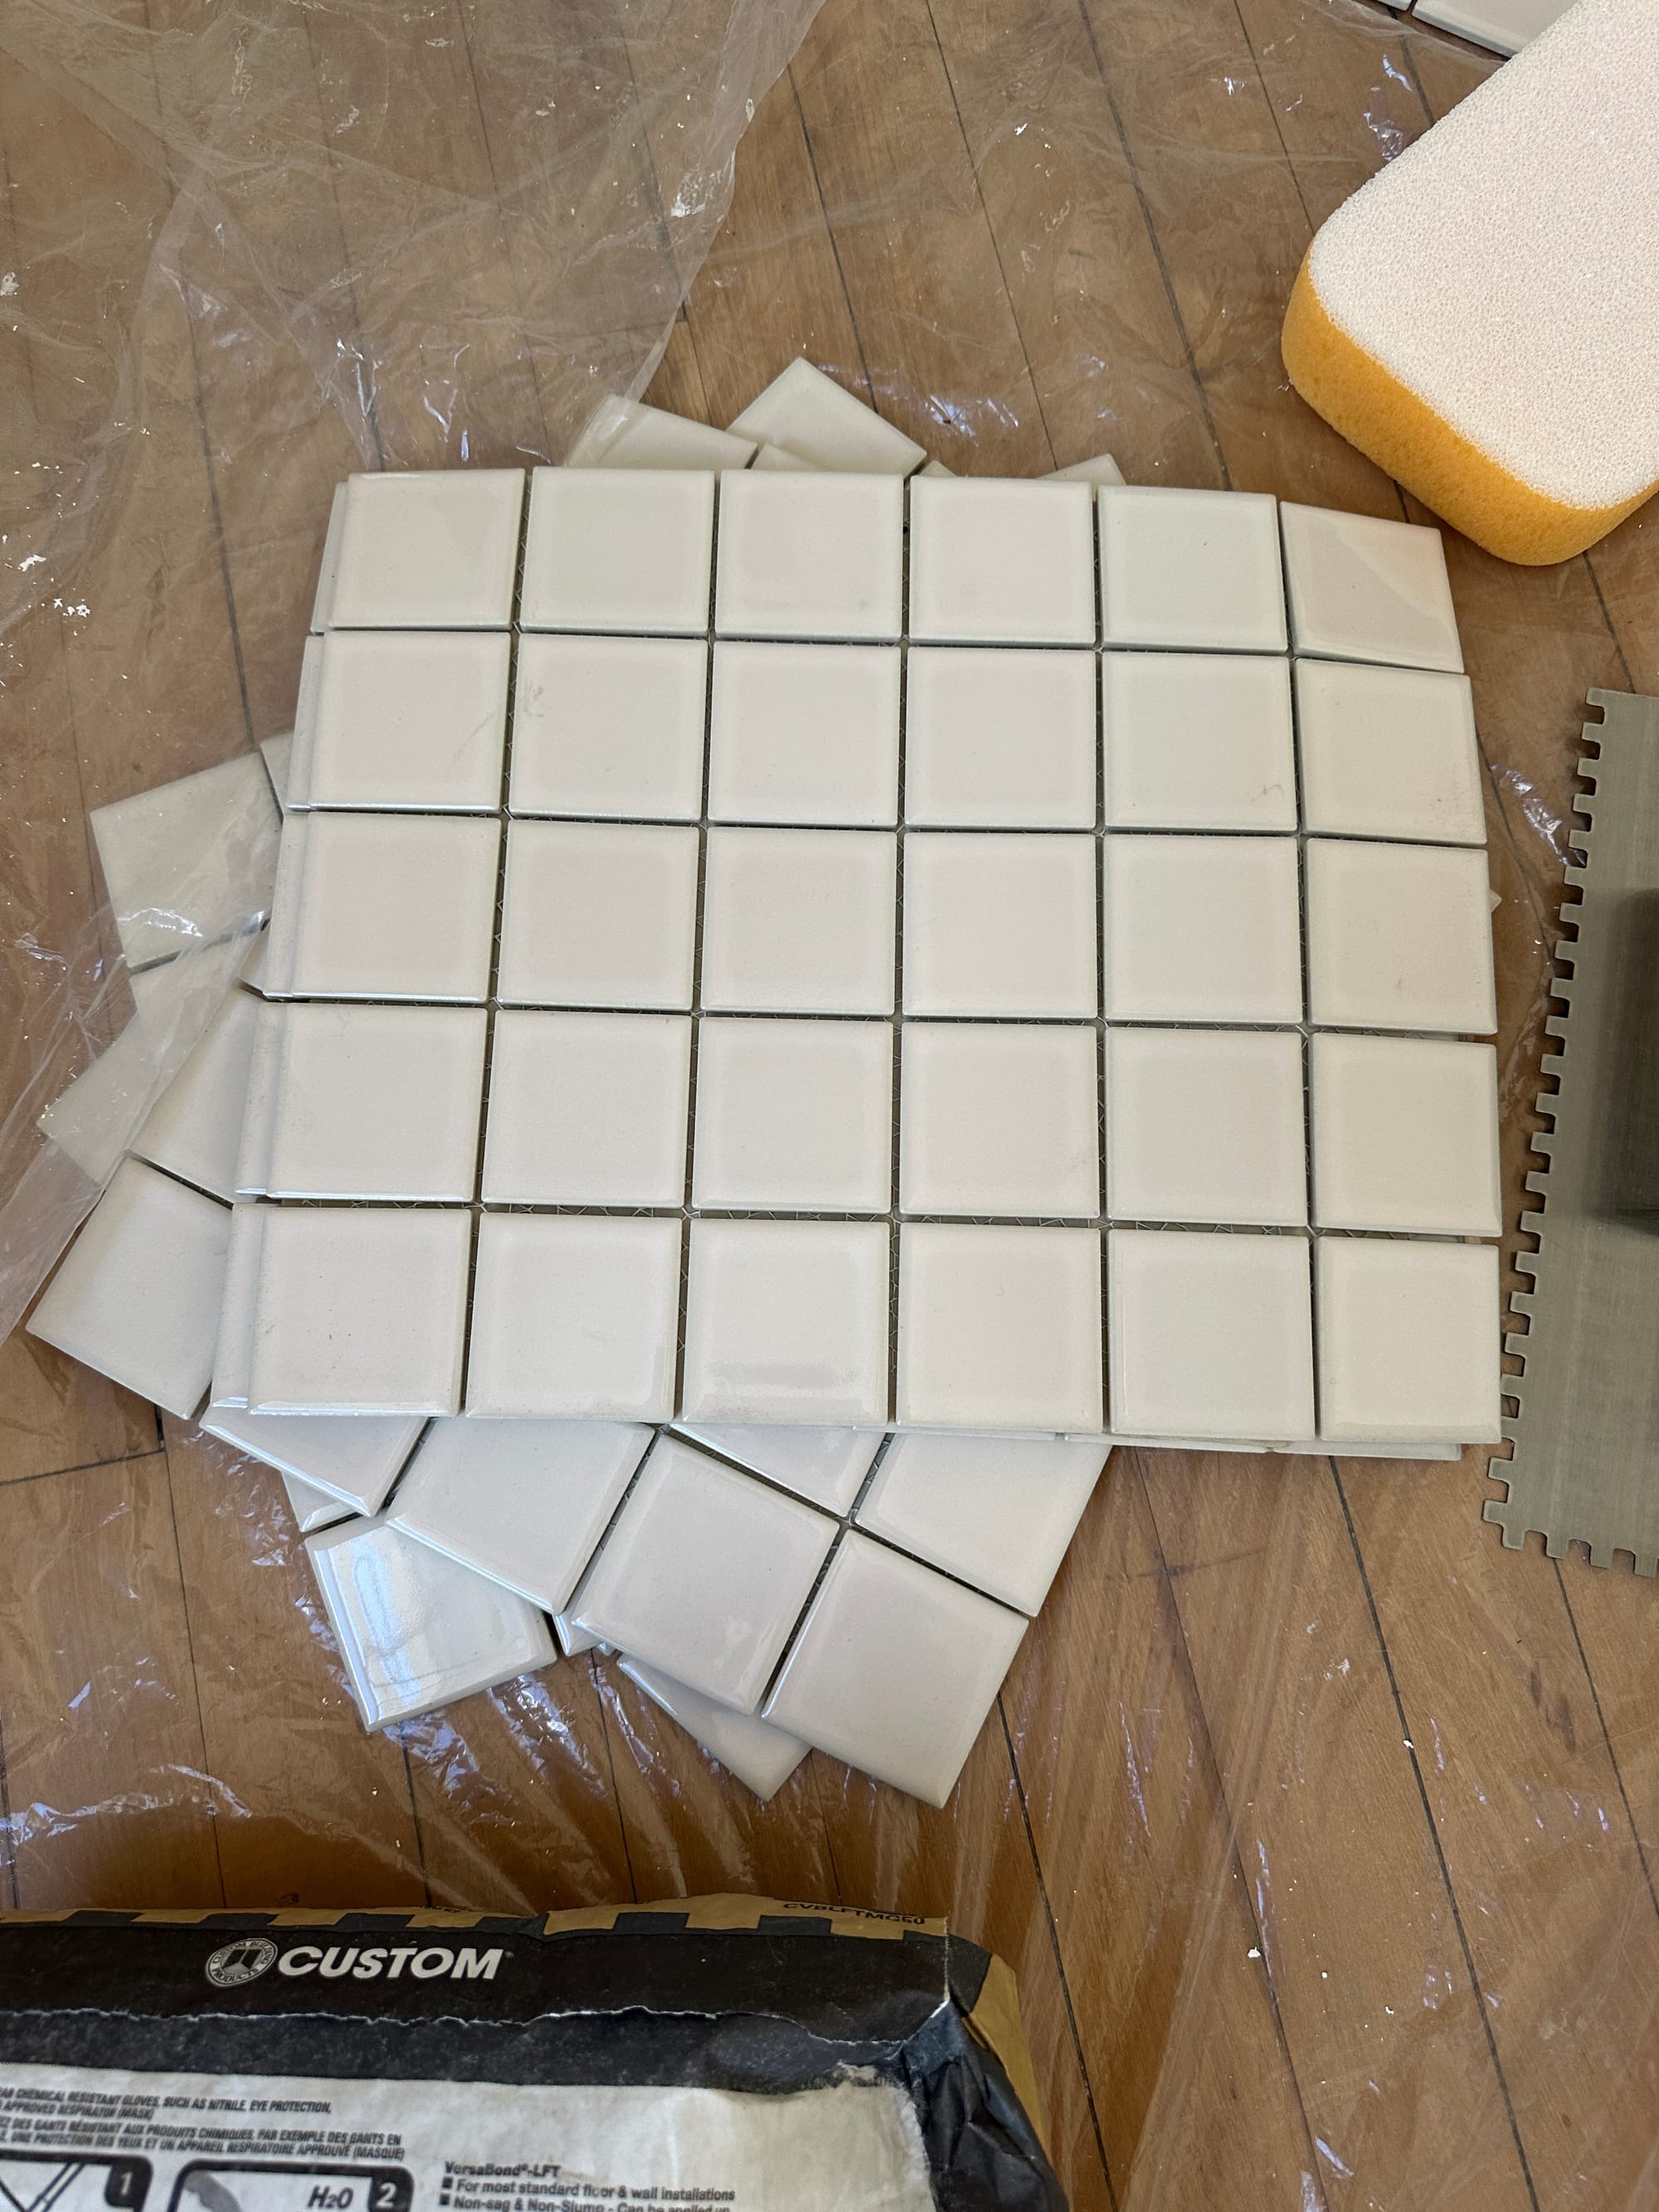
Once the boxes were built, I then began the process of tiling! I bought mortar, grout, a trowel with 1/4” teeth, a rubber grout float (for pressing the tiles down evenly into the mortar), spacers (bring a sheet of tile to confirm what size you need for your specific tile), a sponge, and even a mixer attachment for my drill.
Step 3: Mixing the Mortar
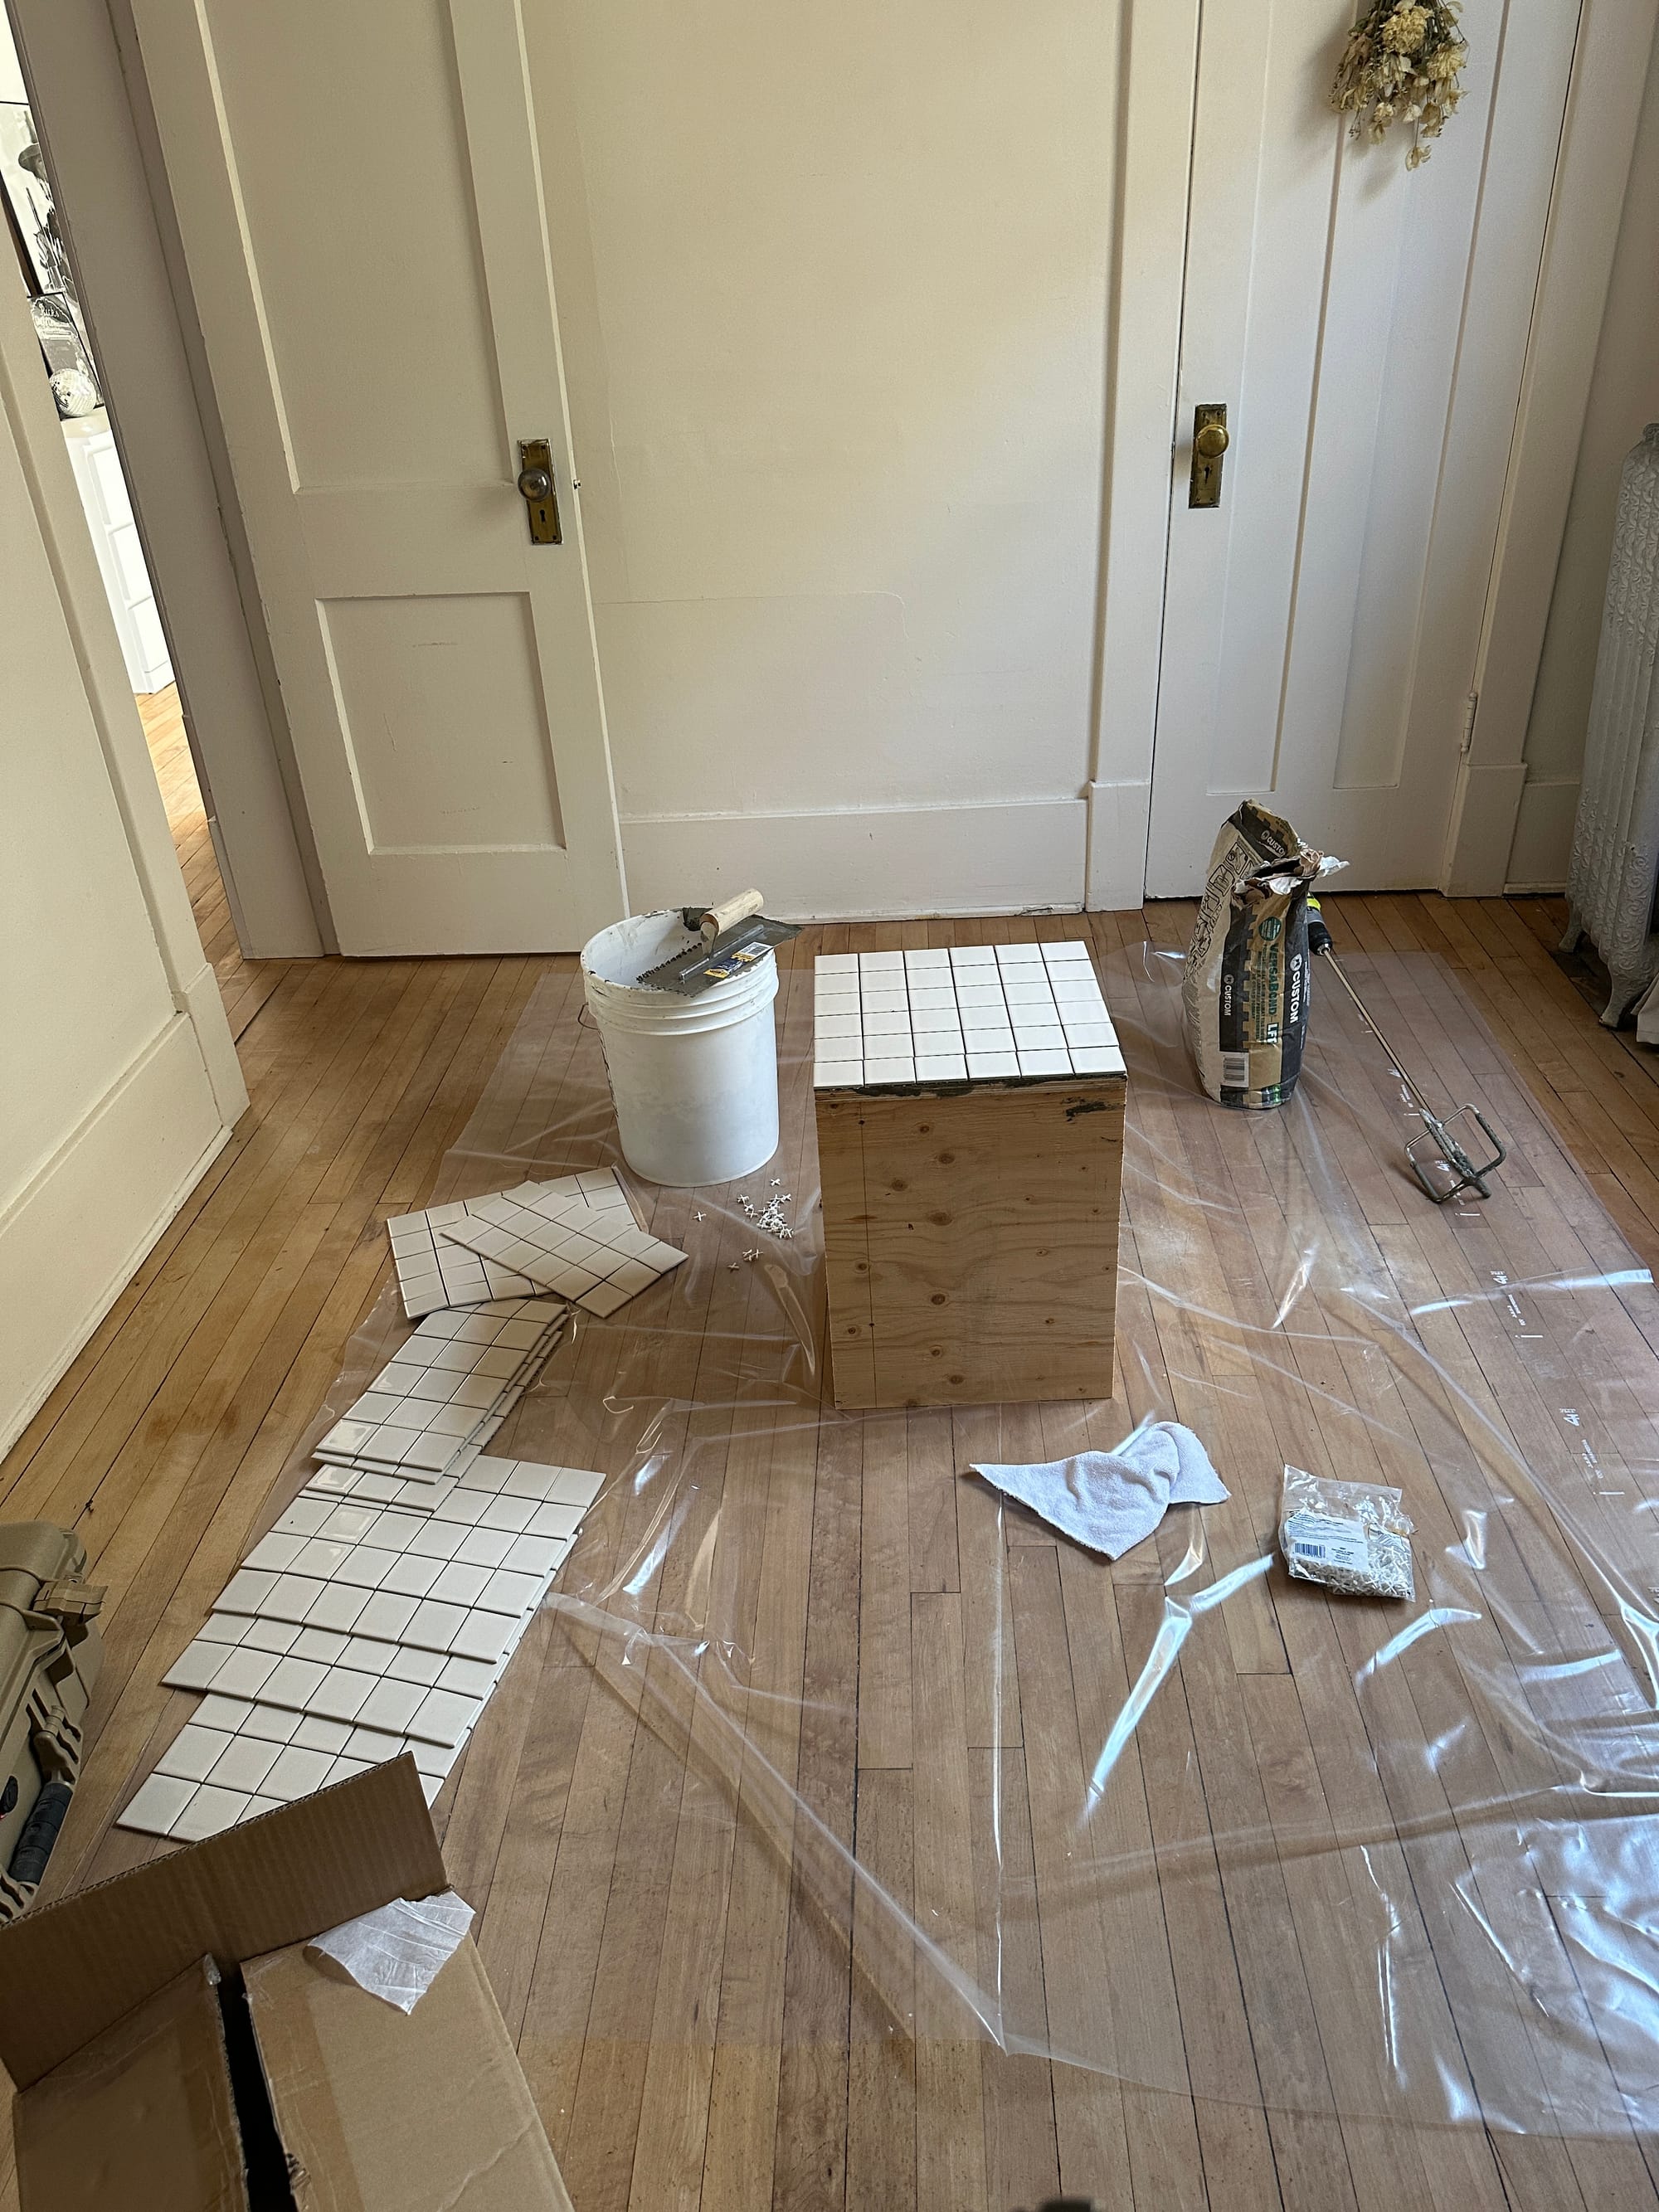
Mixing the mortar felt like the most intimidating part. I worked hard to achieve a consistency thick enough to hold the mosaic sheets in place as I tiled the sides. If it’s too thin, it’ll be a nightmare, sliding down and moving around a lot as you work. The thicker the better, while still being smooth.
Step 4: Applying the Tiles
Starting on the top square, I put mortar on the box and then dragged the trowel teeth through the mortar until there was an even spread along the plywood. Once the whole side was covered, I lined up the mosaic sheet and gently pressed it in place with the rubber grout float. If the tiles began to slide down at all, I wedged the spacers between the tiles to make sure there would be even gaps for the grout.
Step 5: Grouting
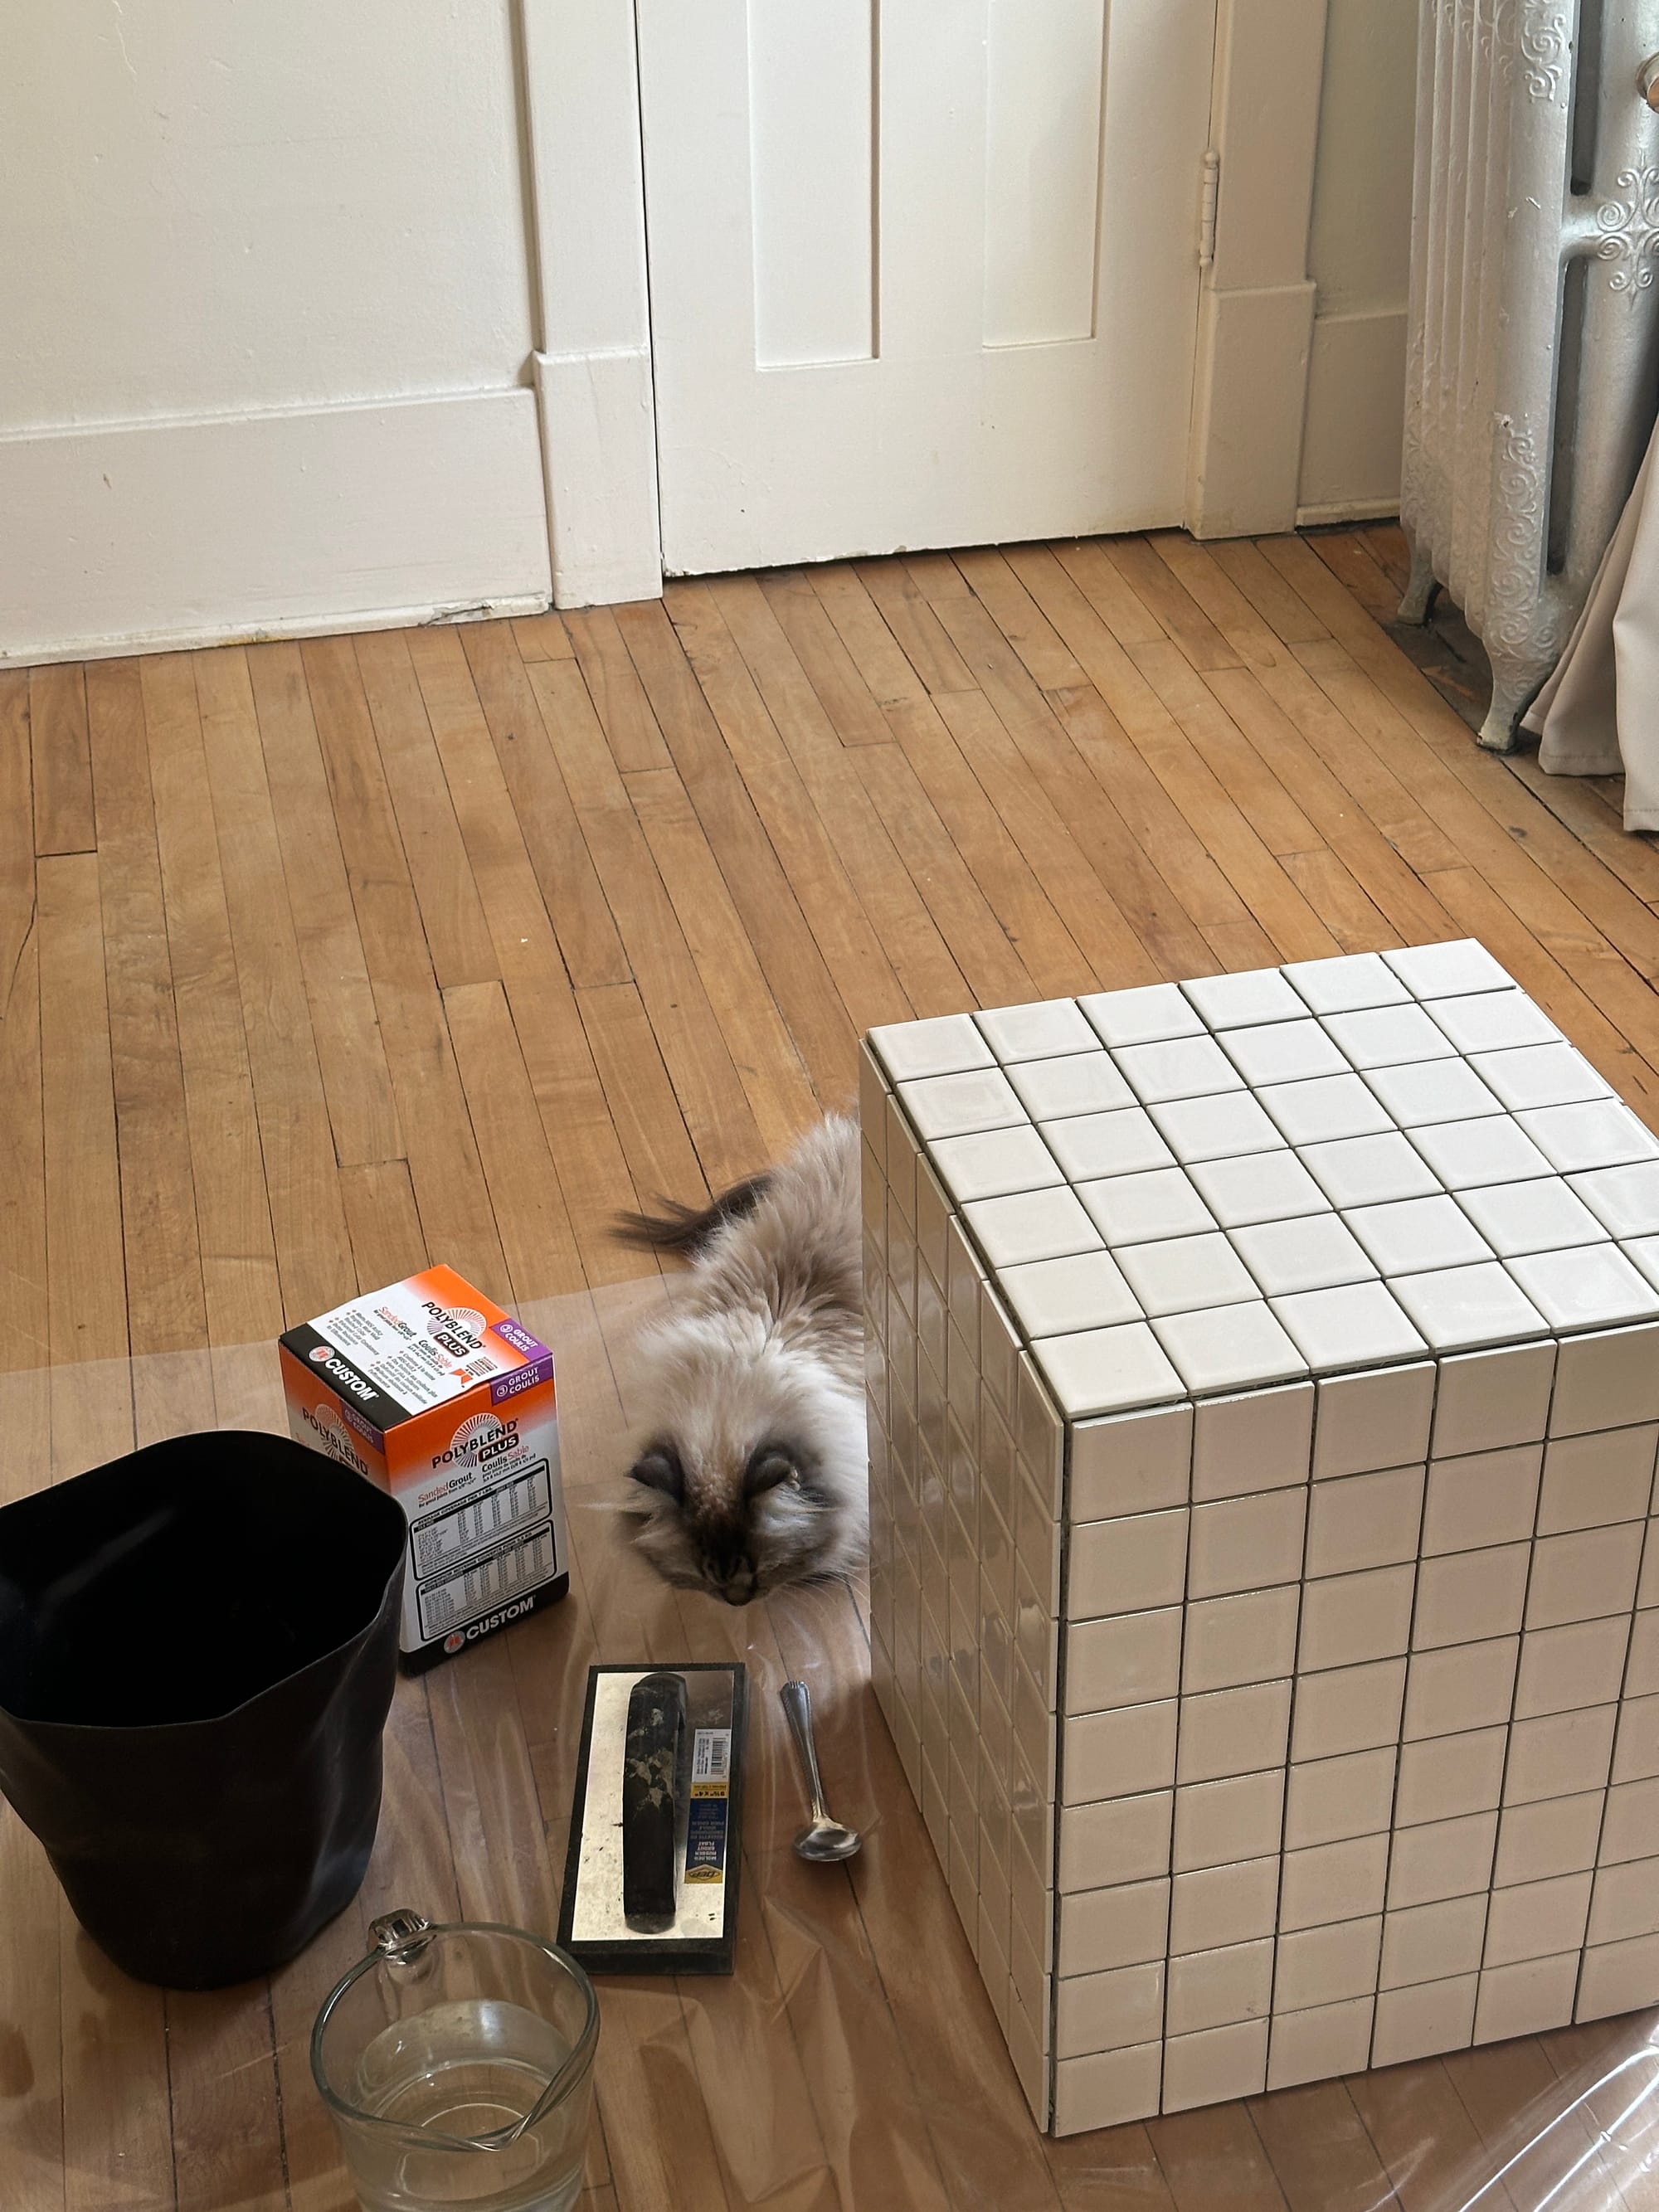
After 24 hours, I took the spacers off and mixed the powdered grout with water until it was the consistency of pudding. Then used the rubber grout float to pull it across in all directions to get it into all the spaces between. Once it was all evenly grouted, I waited 20 minutes took the sponge slightly damp and wiped as much excess grout off. Two hours later I wiped it more and worked on getting the haze off the tile - which takes a few tries with a clean microfibre cloth
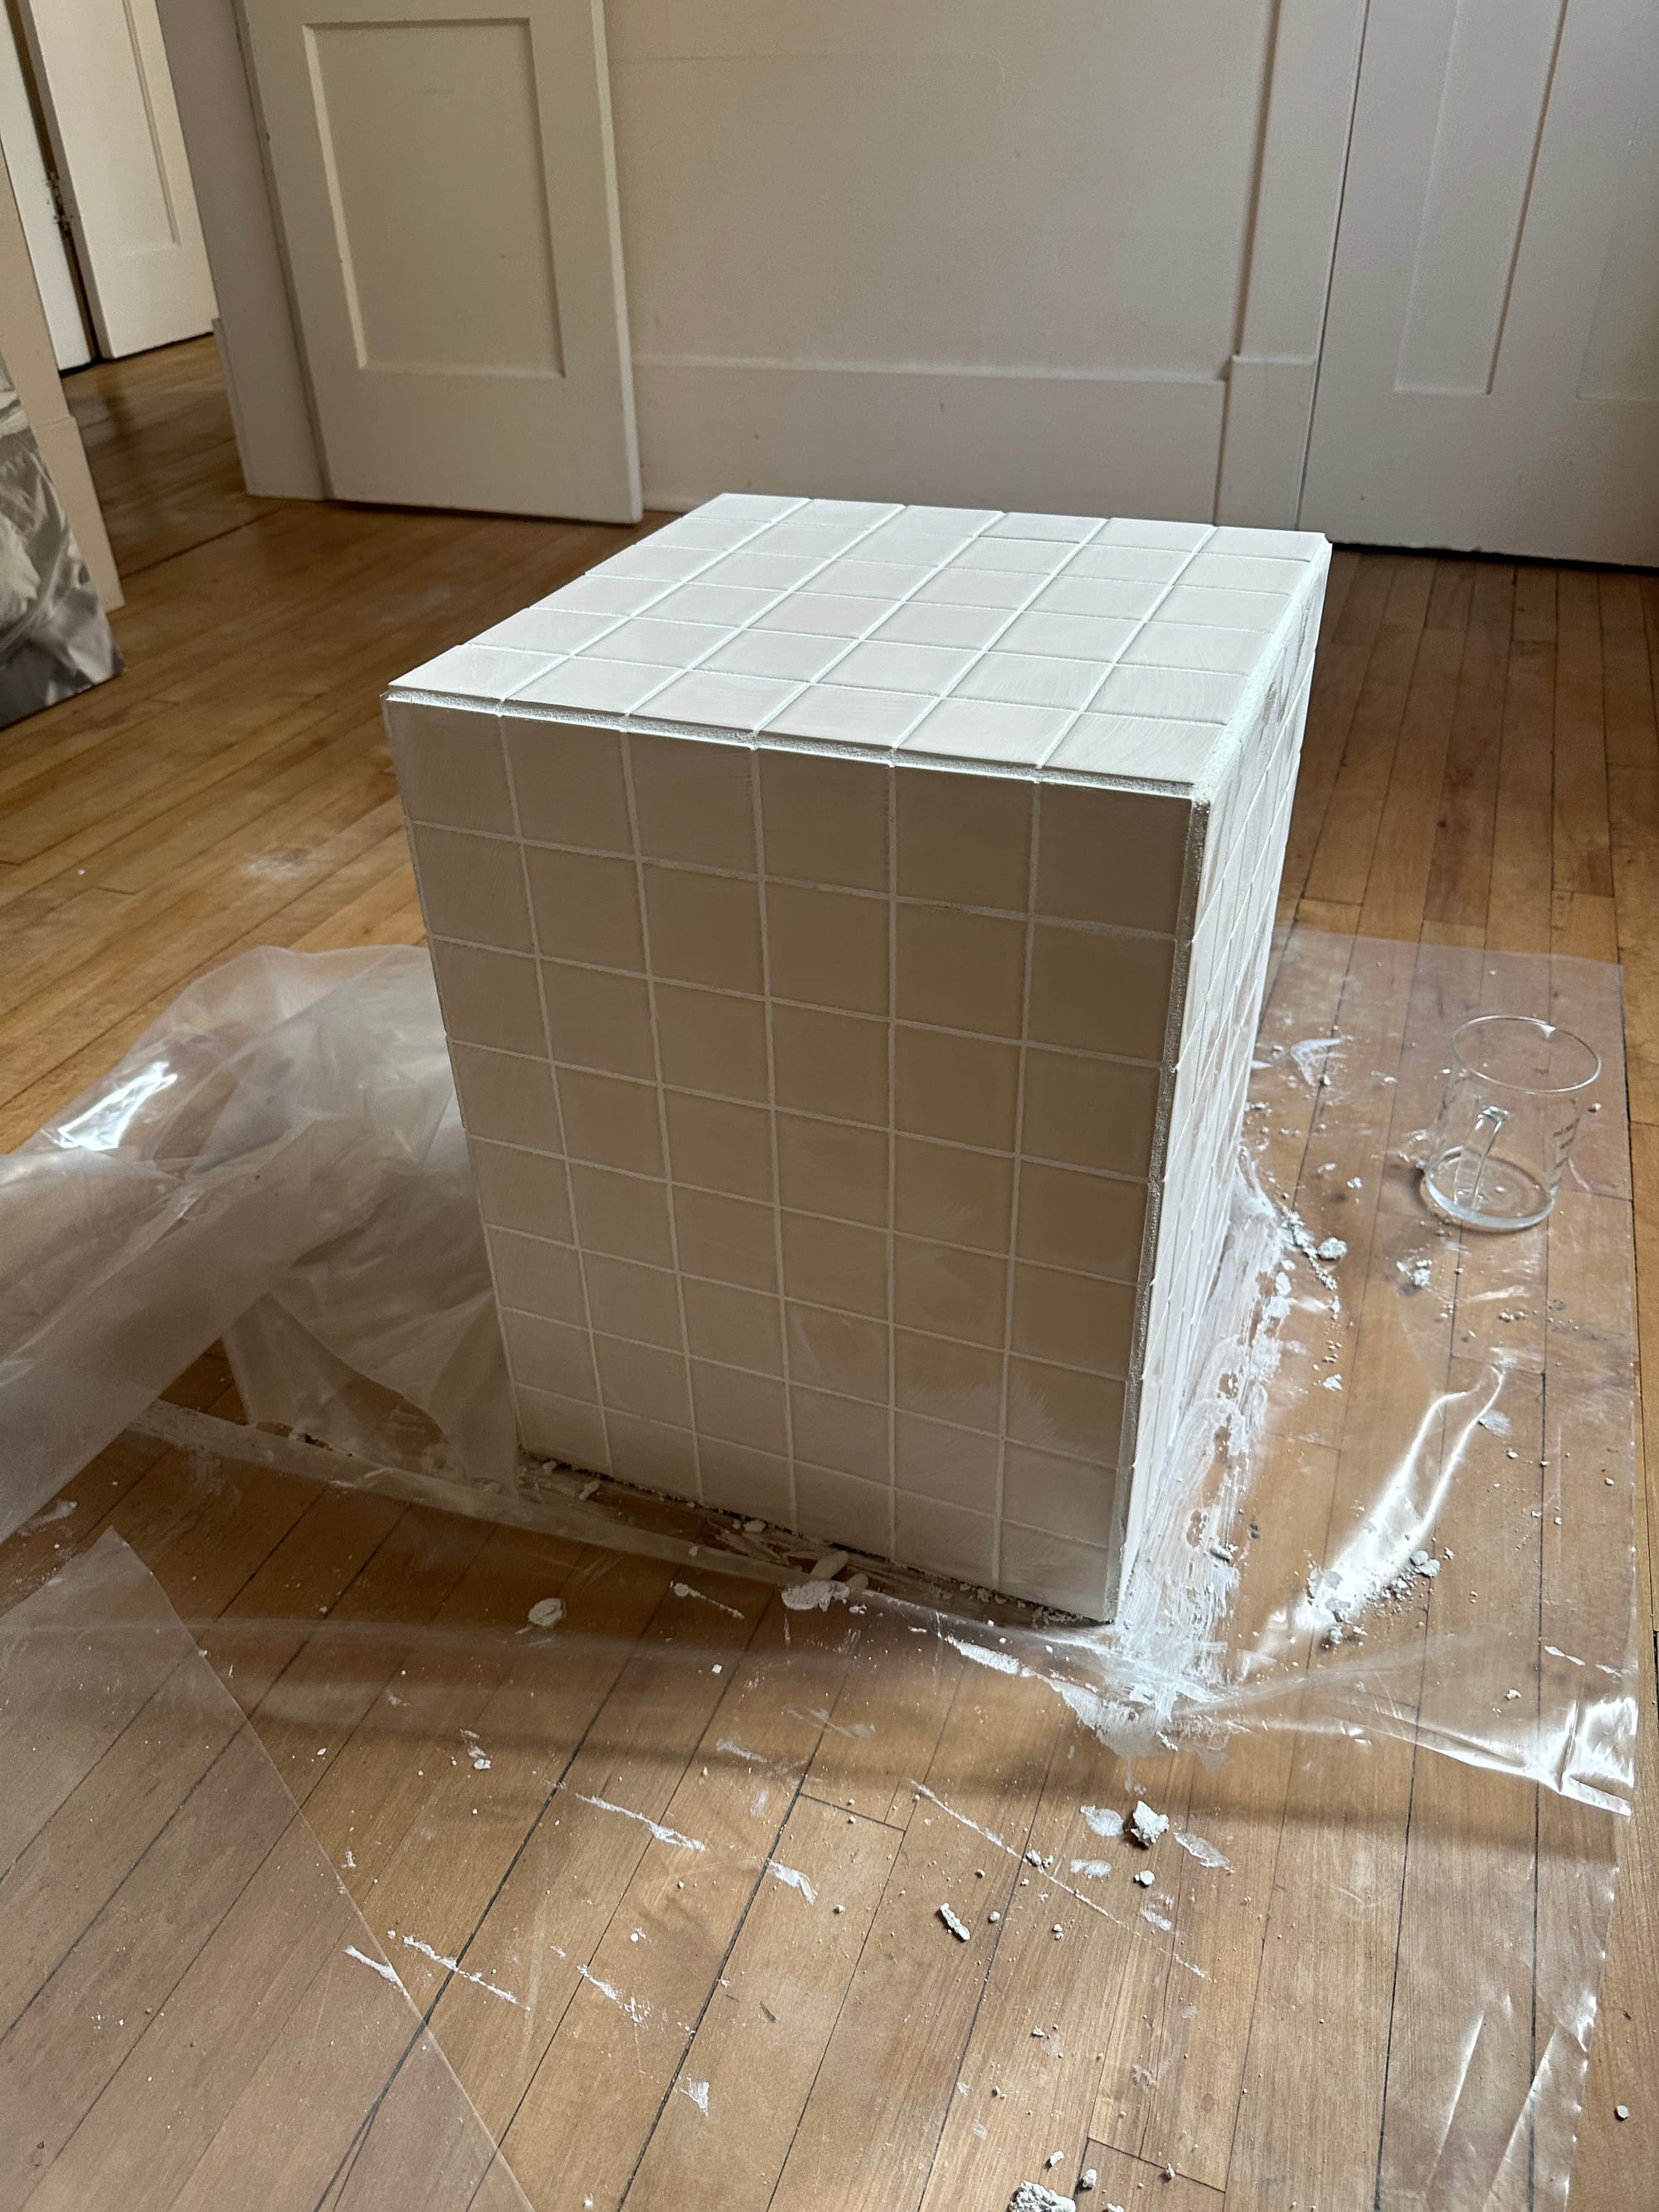
Tiling may seem intimidating, but if I can do it, so can youuuu! This project taught me that diving into something new, even when it seems daunting, can lead to incredibly rewarding results.
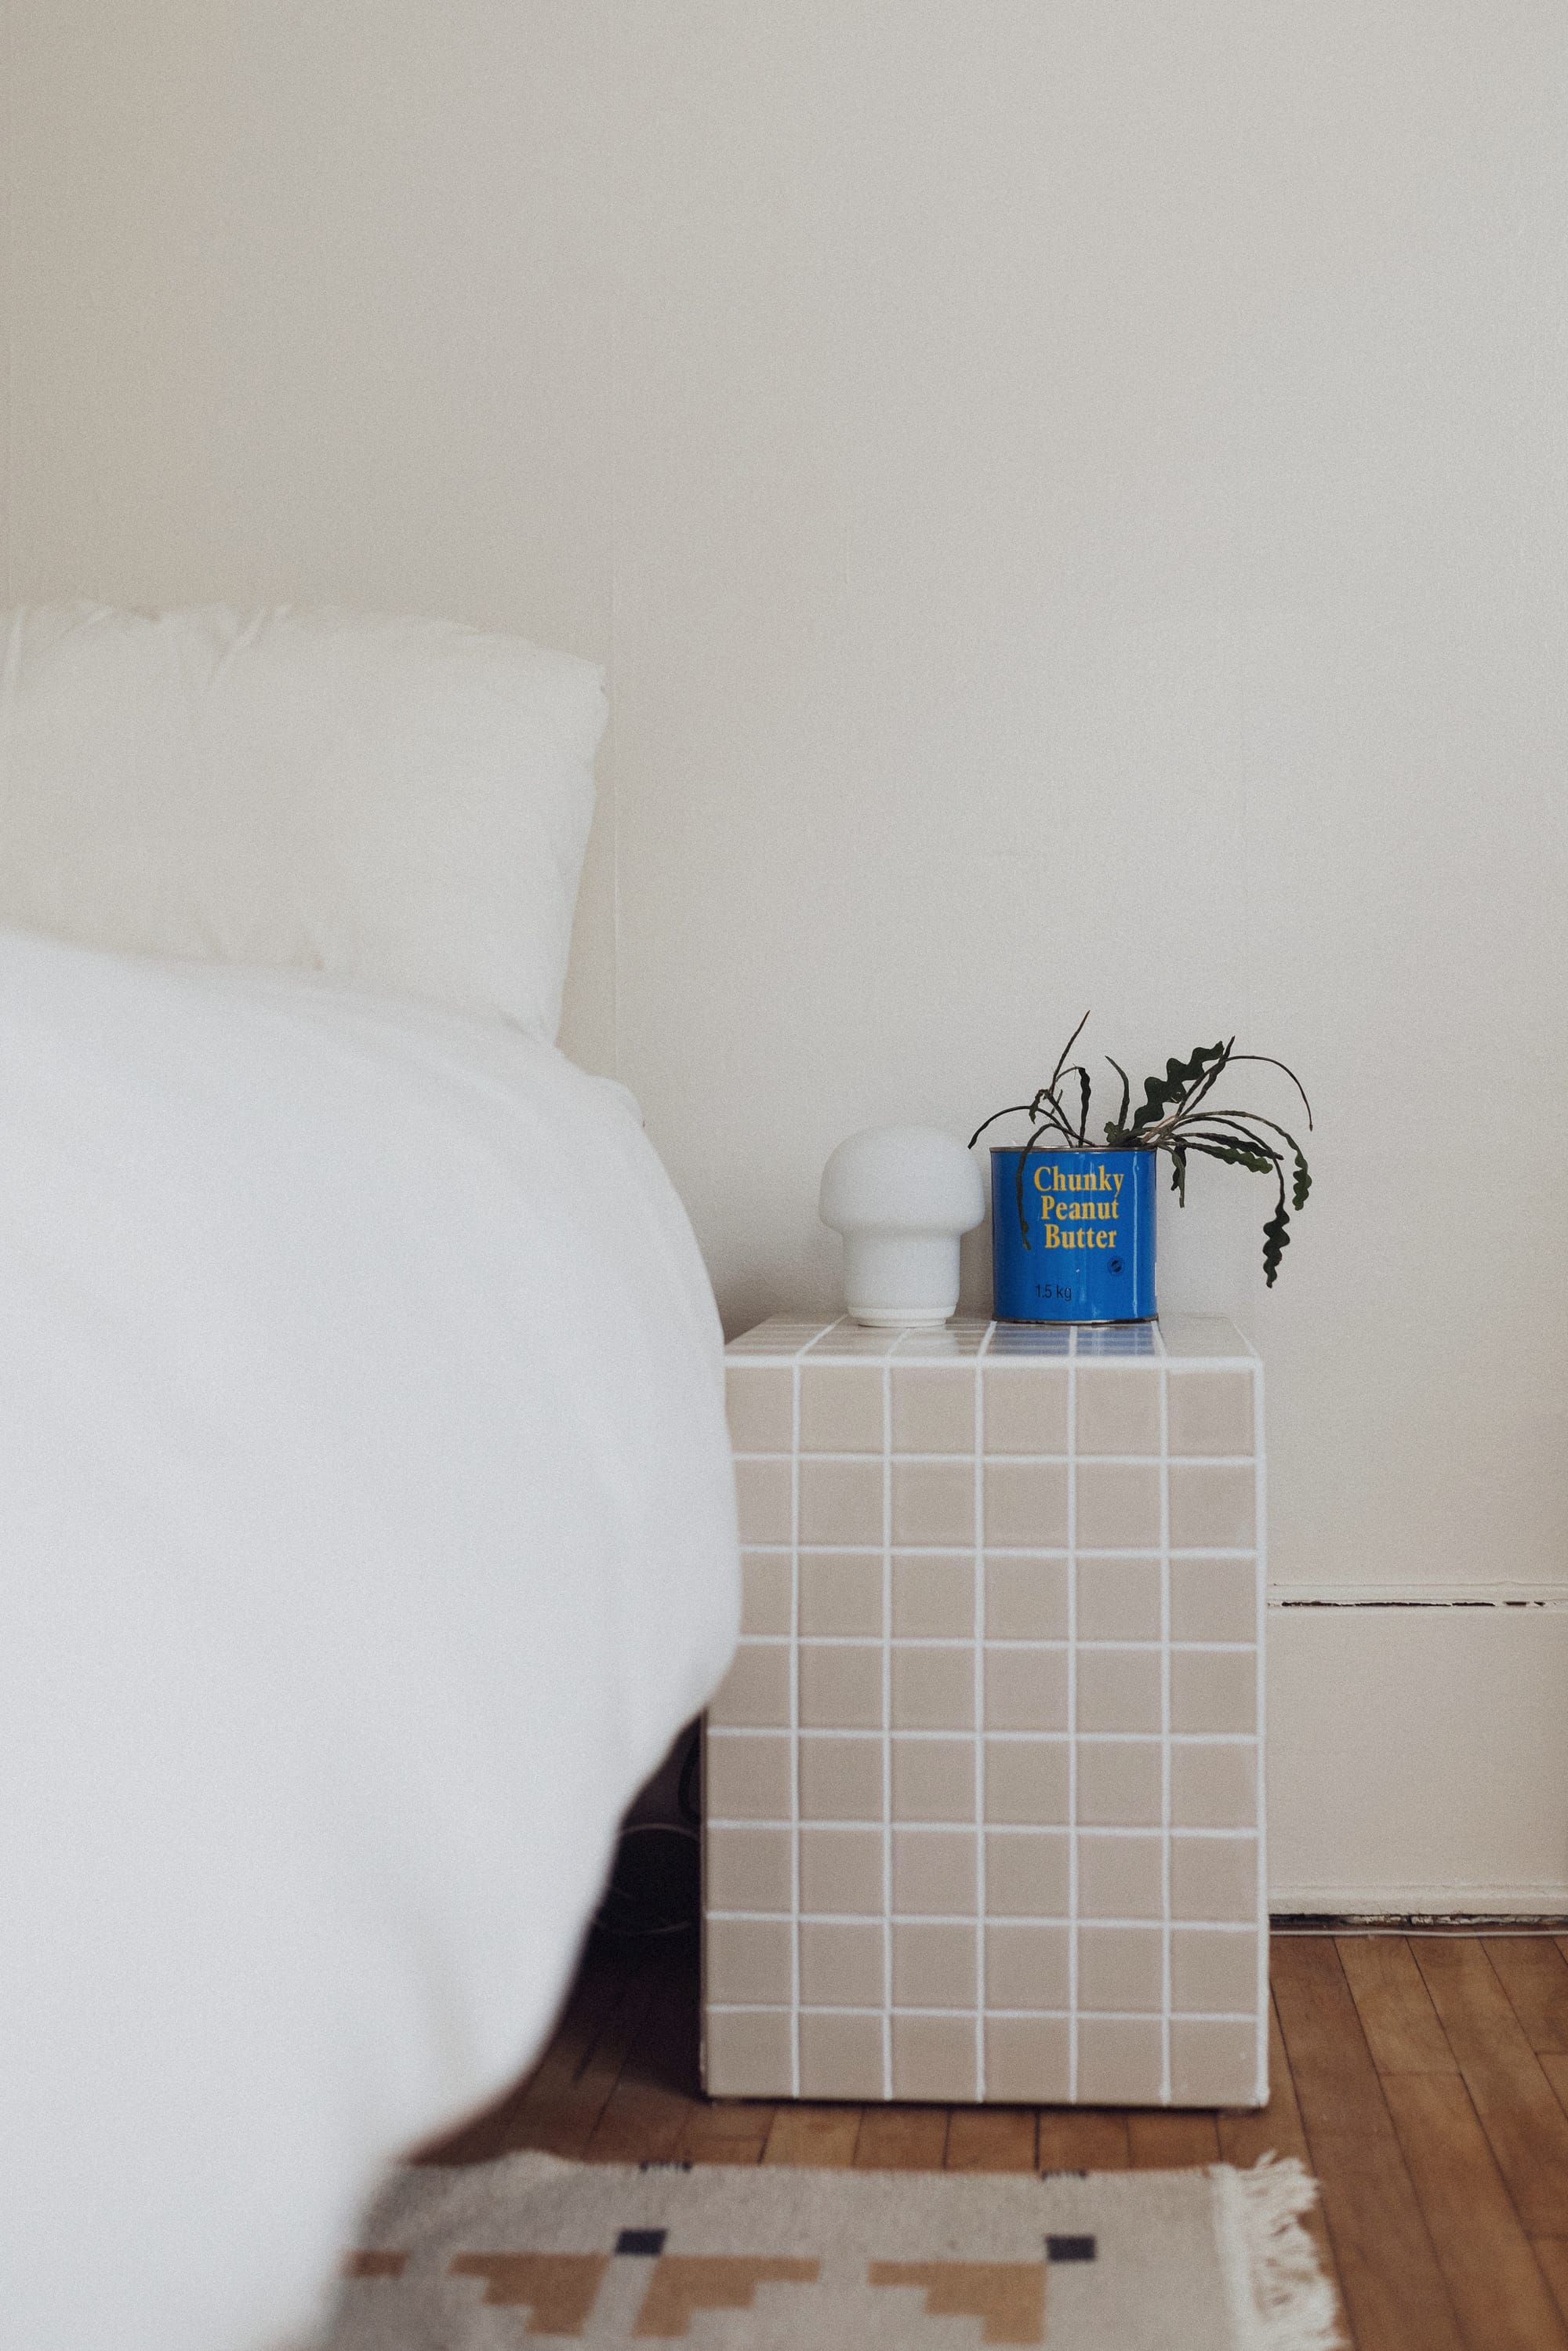
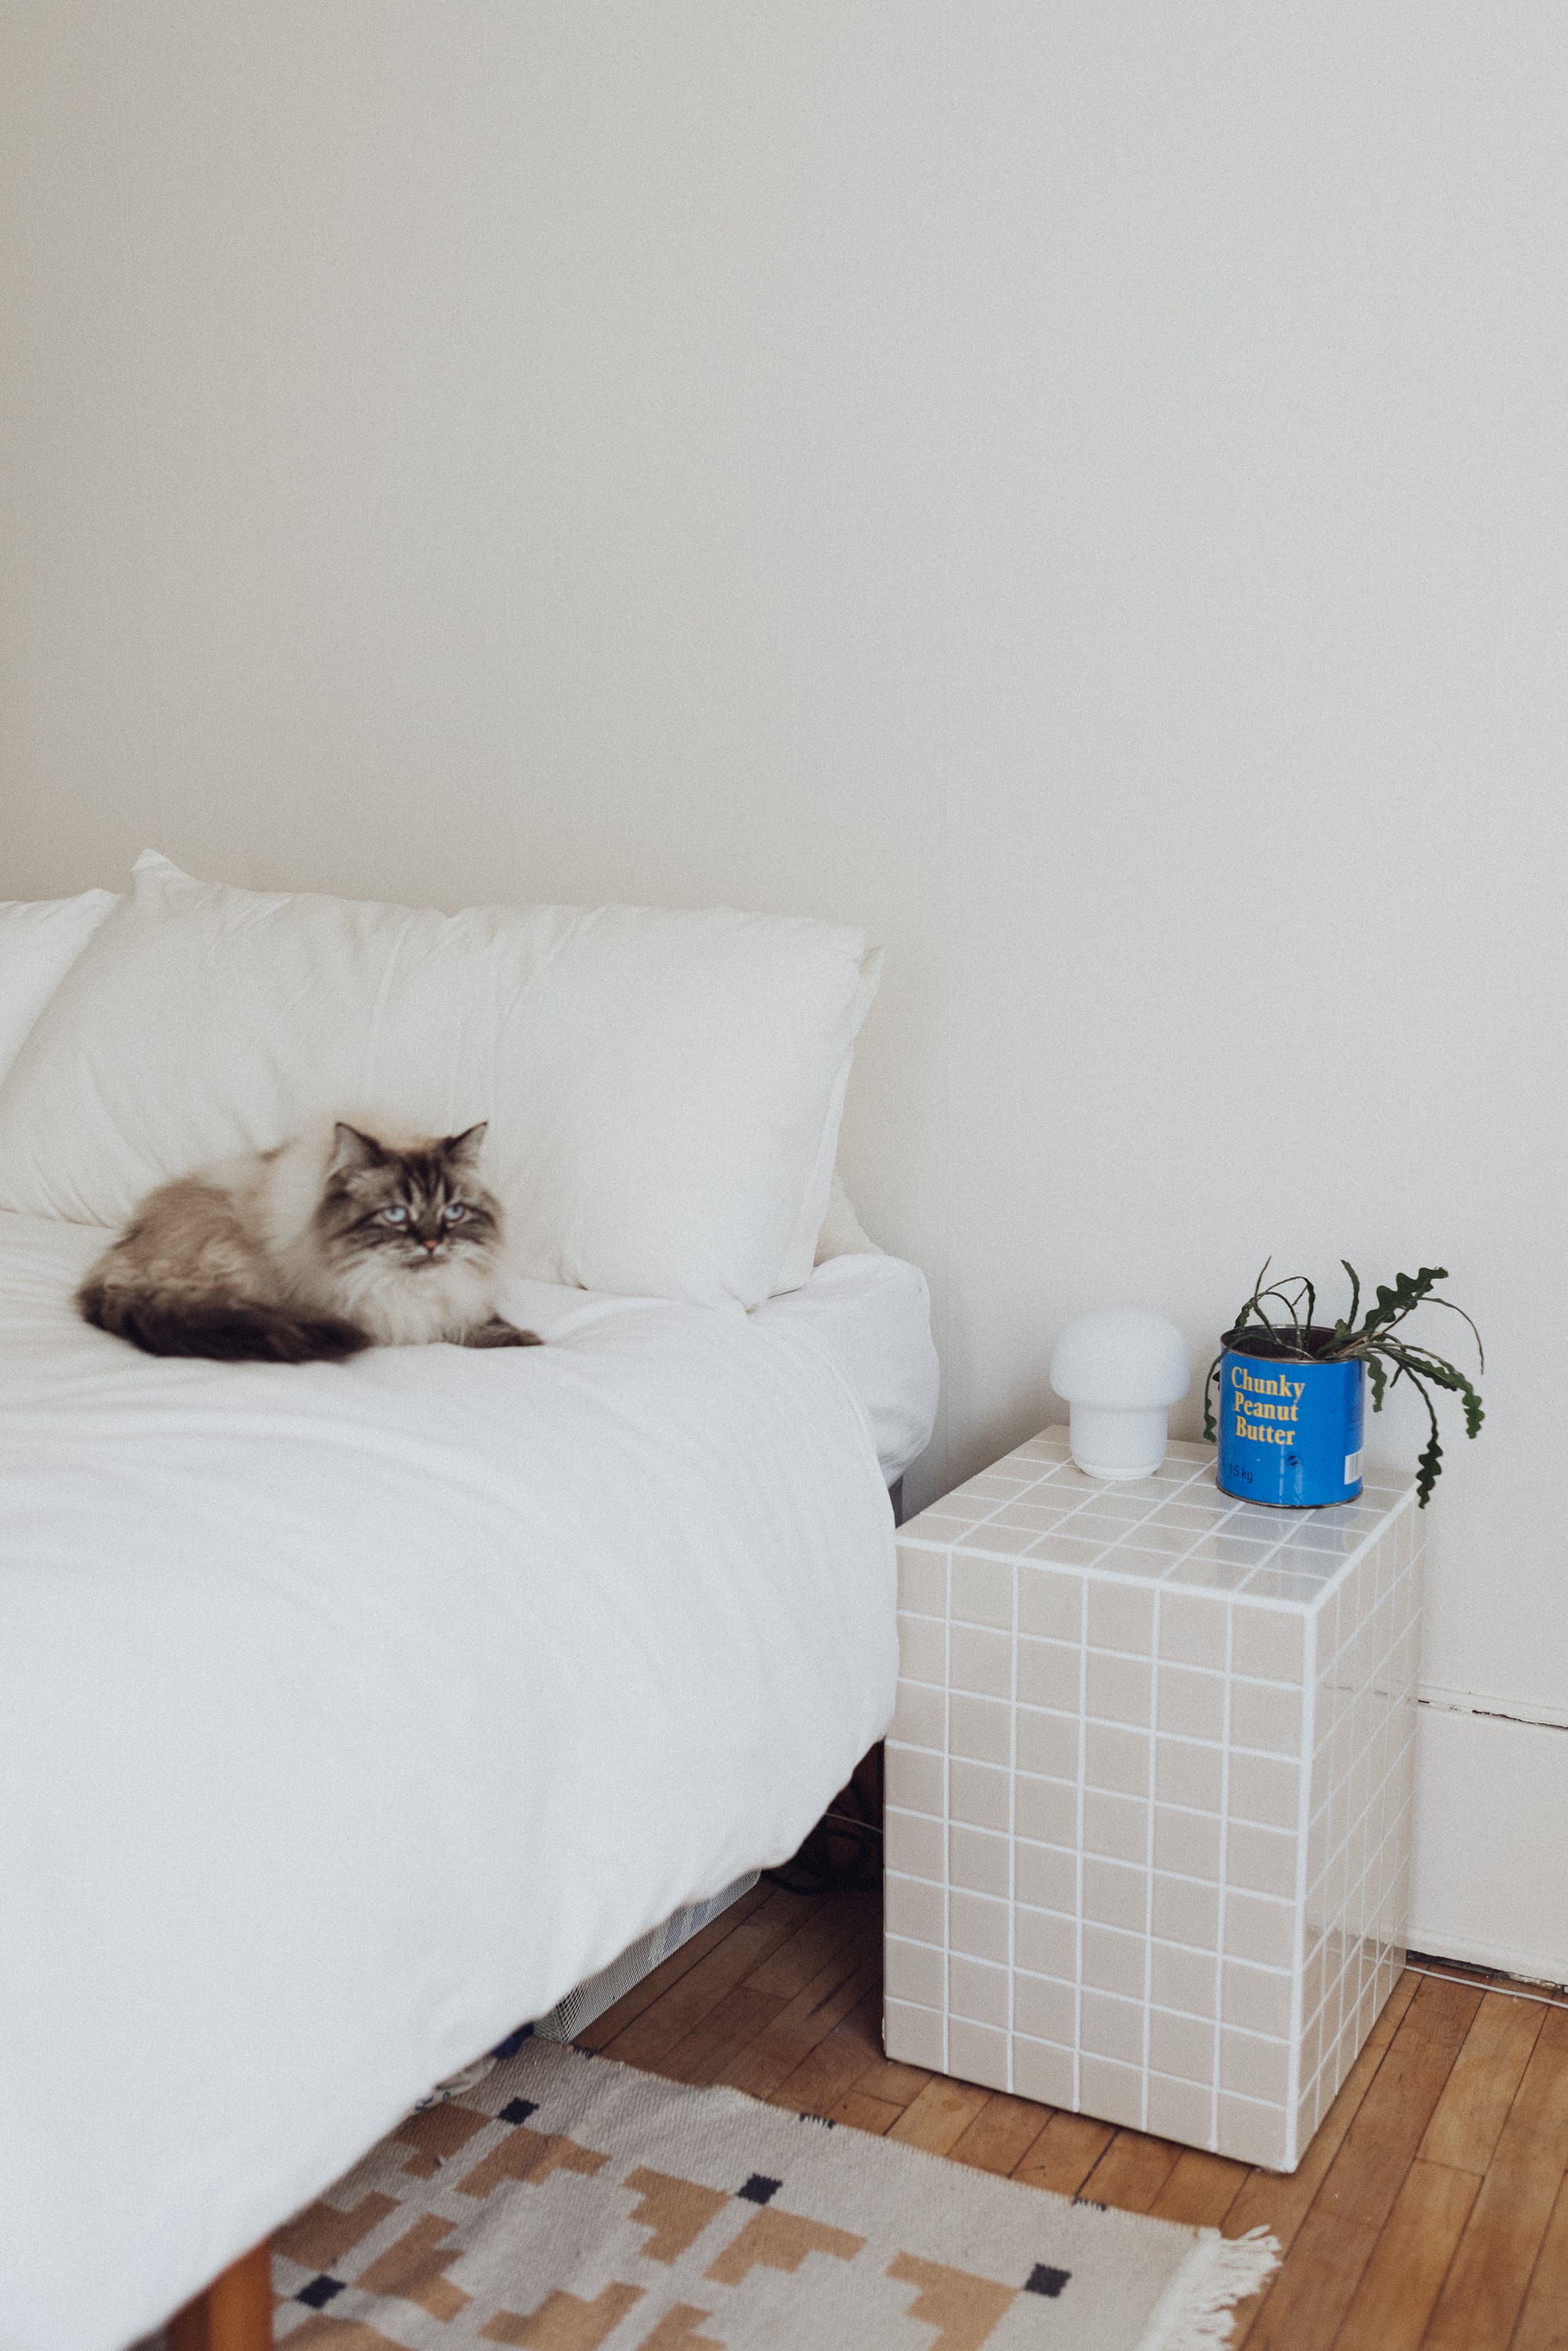
Creating these tiled stools not only added unique, functional pieces to our home, but also gave me a huge sense of accomplishment and boosted my DIY confidence. And now I have seating for friends as well as side tables and nightstands!

Creator: Bernine
Instagram: @berninemarie


