
When your husband asks you to transform his office into a place he actually enjoys working, you deliver! I recently embarked on a mission to DIY my husband's utterly bland, uninspired office into a haven of intellectual pursuits, a space that felt like a classic Harvard library crossed with a Ralph Lauren showroom, with a subtle nod to a clandestine speakeasy. Think rich textures, warm tones, and an atmosphere that encourages both deep thought and a well-deserved glass of bourbon. If this is your style, let me show you how I pulled it off.
ALWAYS Start With a Mood Board
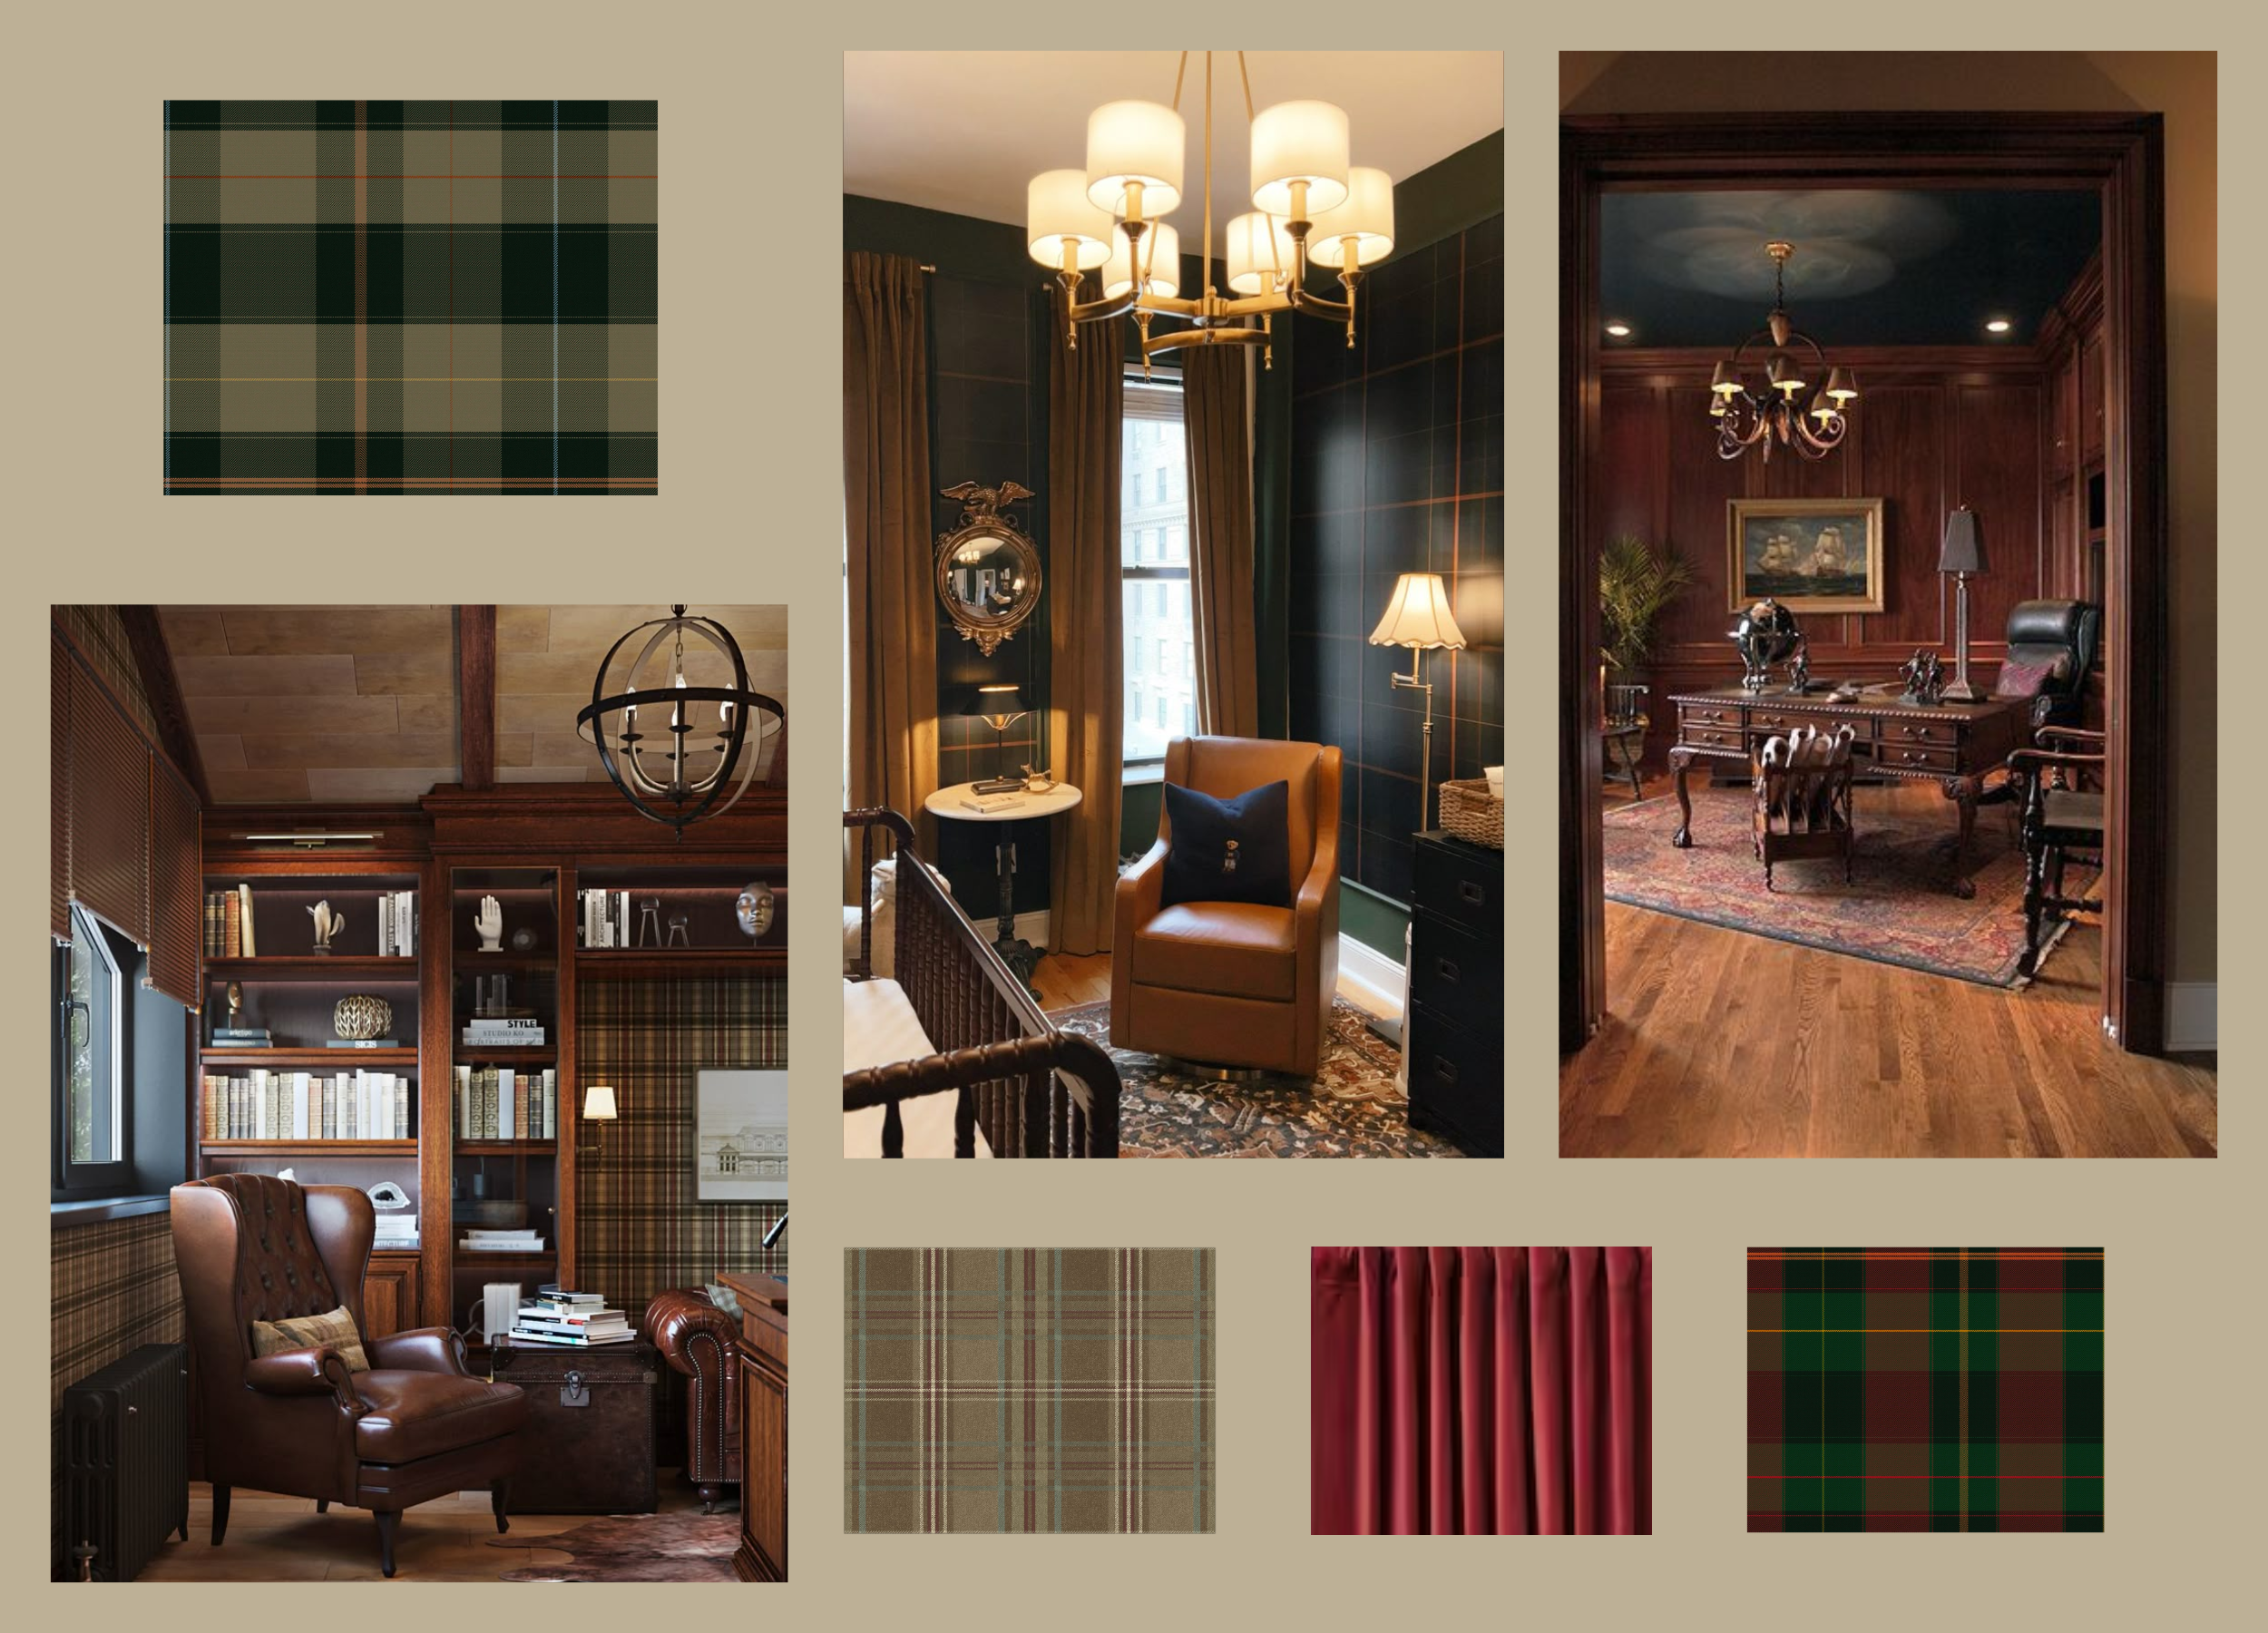
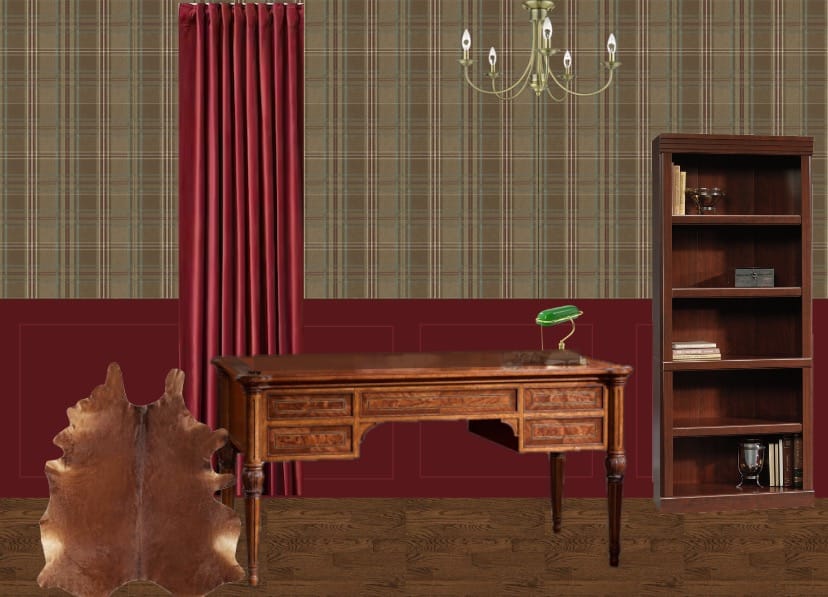
Forget trends – this office was all about timelessness. I always head straight to Pinterest for inspiration before starting any project. The goal? To create a space that exuded sophistication, gravitas, and a hint of rebellious charm. Think leather furniture, tartan wallpaper, and the warm glow of an antique banker’s lamp. My original vision was Ralph Lauren meets Harvard!
To achieve this level of refined elegance, I needed the right tools and materials.
Here's the breakdown:
Tools & Materials
- Tartan Wallpaper: (Plaid Roll by Gracie Oaks in the color Hickory/Maroon) - The cornerstone of the entire aesthetic! Think warm beige, maroon, cream, and a hint of baby blue. The scale is perfect!
- Wood: Mullion Molding, Finger Joint Chair Rail, and Finger Join Crown Molding
- Miter Saw
- Nail Gun: DON’T attempt panelling without this! It will make your life easier!
- Nails
- Wallpaper Paste: It’s very easy to use this!
- Caulk: Paintable, to blend seamlessly with the panelling.
- Wood-Toned Paint: (Bear Rug by Behr in Semi-Gloss) - The perfect hue to evoke rich wood panelling.
- Paint Brushes: High-quality, for a flawless finish.
- Paint Rollers
- Drop Cloths: Protect those floors!
- Measuring Tape, Level, Pencil: Accuracy is key, my friend.
- Sanding Block: To smooth any imperfections.
- Brass or Antique Bronze Light Fixtures
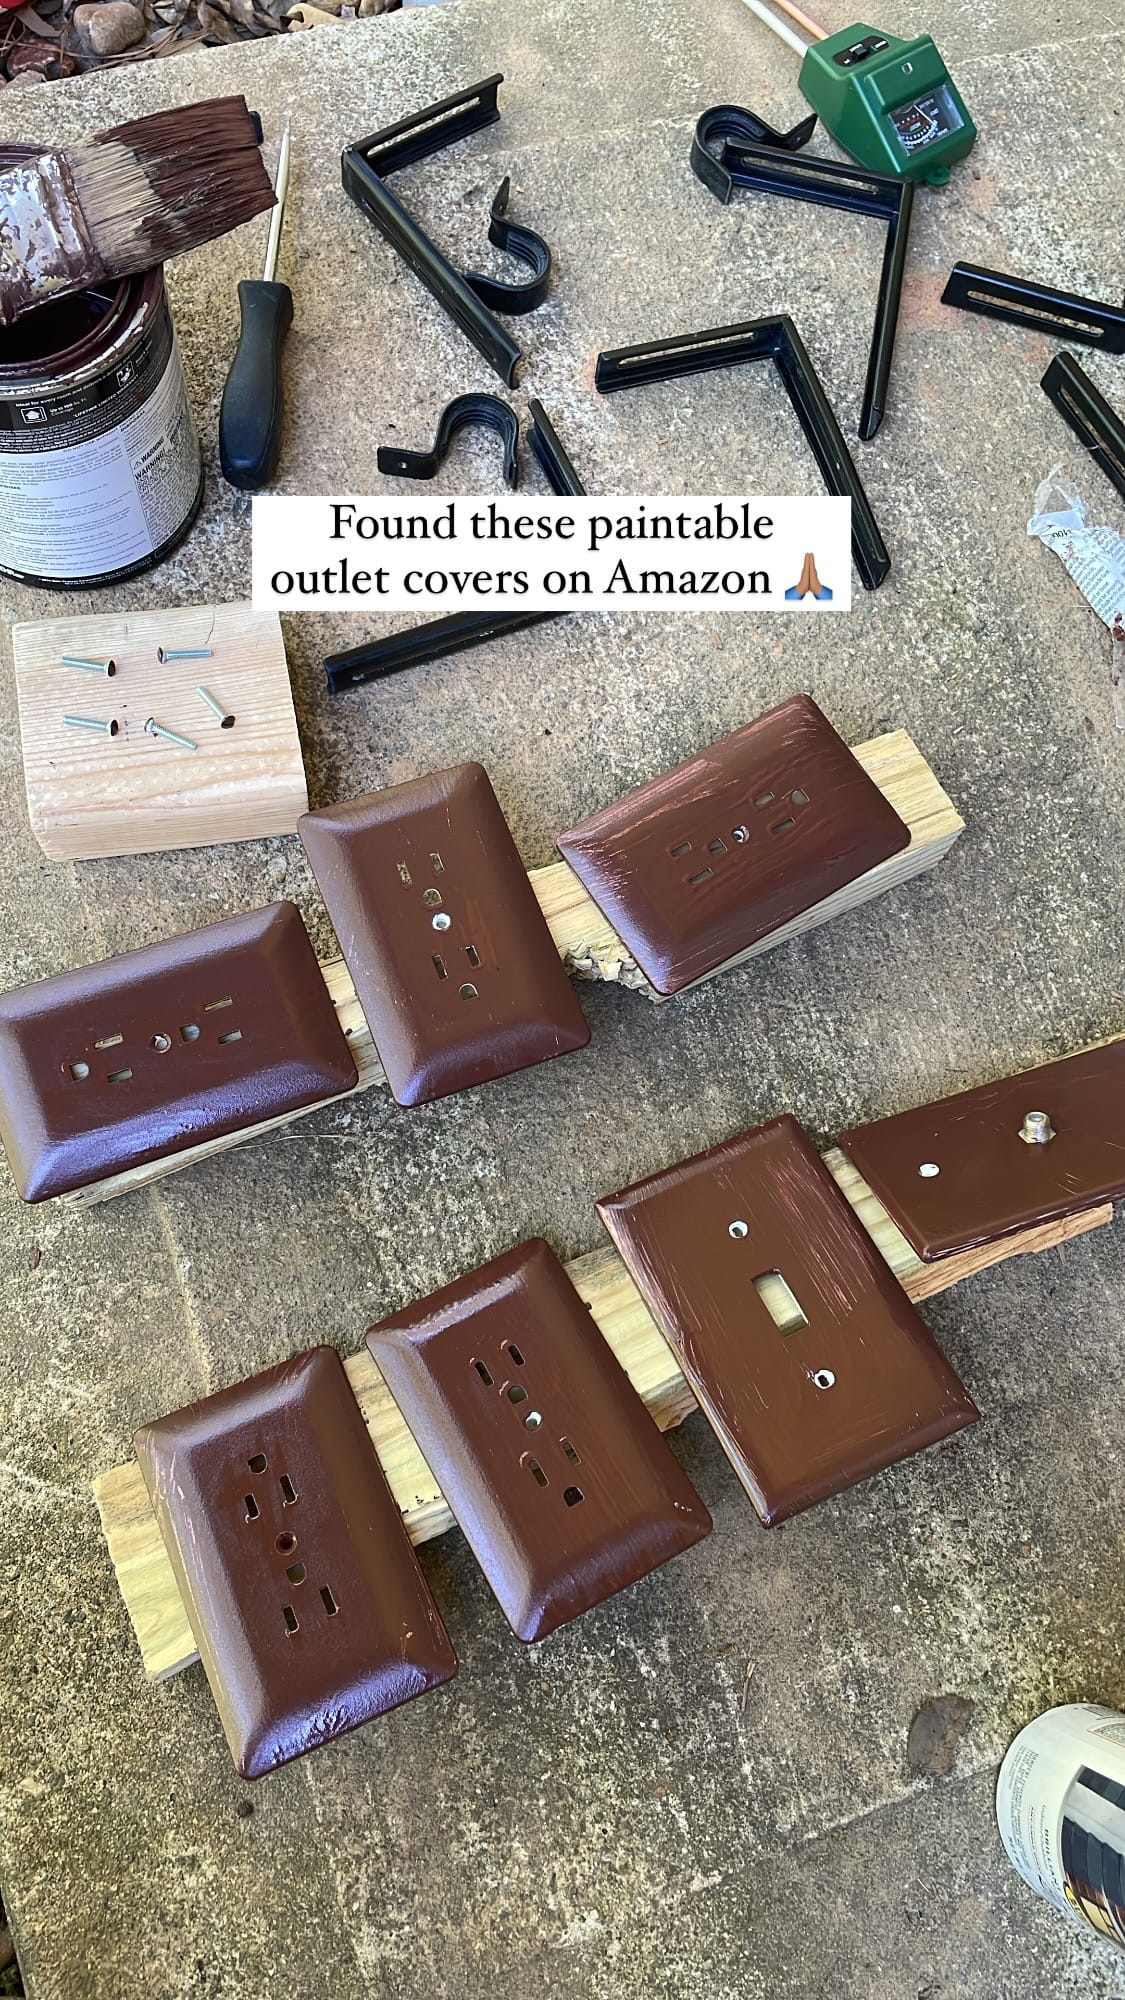
- Paintable Outlet and Light Covers: The devil is in the details.
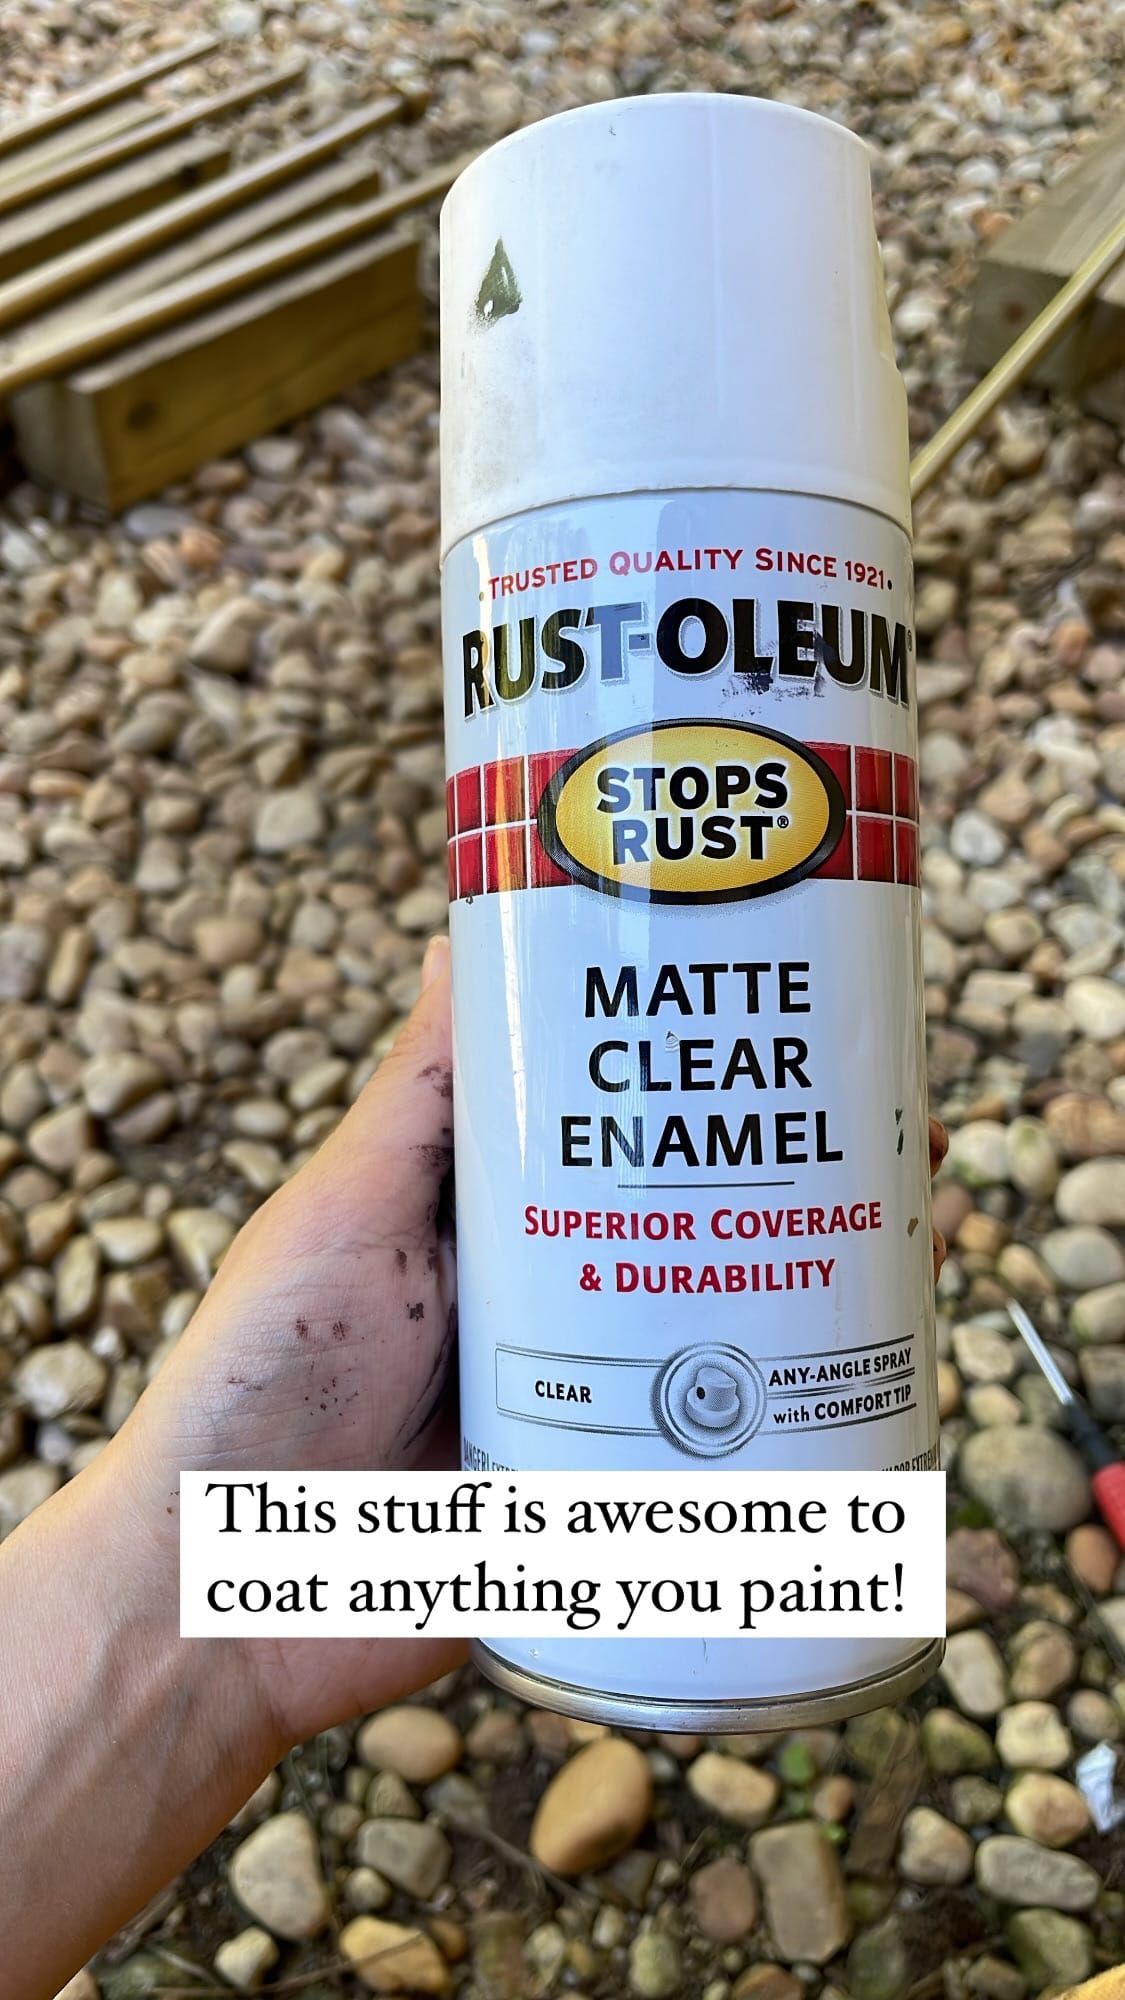
- Protective Enamel Spray To Make the outlets scratch proof.
- Gold Spray Paint To upcycle the Curtain Rods
- Dimmable LED Light Strips: To mimic the soft glow of candlelight.
- Bonus: Here’s a link to some of the exact or similar furniture pieces!
Total Project Cost: $1400
This does not include furniture! If you already have the power tools like a miter saw and nail gun, you’re in the best position!
The Transformation: Step-by-Step
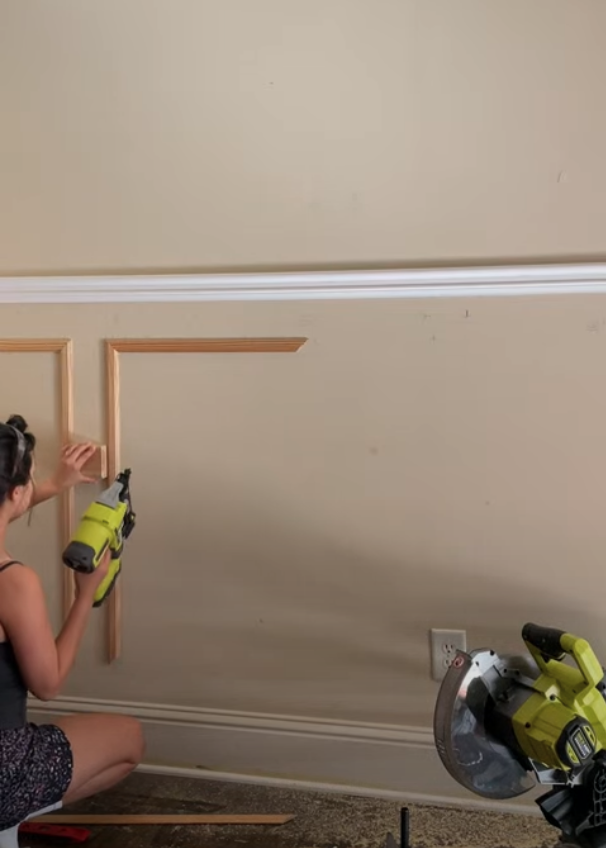
Step 1: Wainscoting – Building the Foundation of a Gentleman's Study (Lessons Learned!)
I initially installed the wainscoting first, but in retrospect, I'd advise installing the wallpaper before tackling the wainscoting. It simplifies the process and ensures a cleaner finish. Live and learn!
- I installed the chair rail before the panels. I measured from the floor to the bottom of the chair rail, which was about 50 inches.
- Precision Planning: Meticulously plan your wainscoting layout. I used an online calculator to ensure perfect spacing between each panel.
- Mitered: Use your miter saw to precisely cut the wood for the wainscoting panels and chair rail. Attention to detail is crucial here. When measuring each piece, measure from the longest part to the other end. This makes it a more accurate cut.
- Installation: Use a 4-inch block as your spacer between each panel. Secure it with a nail gun. Repeat for all panels and the chair rail.
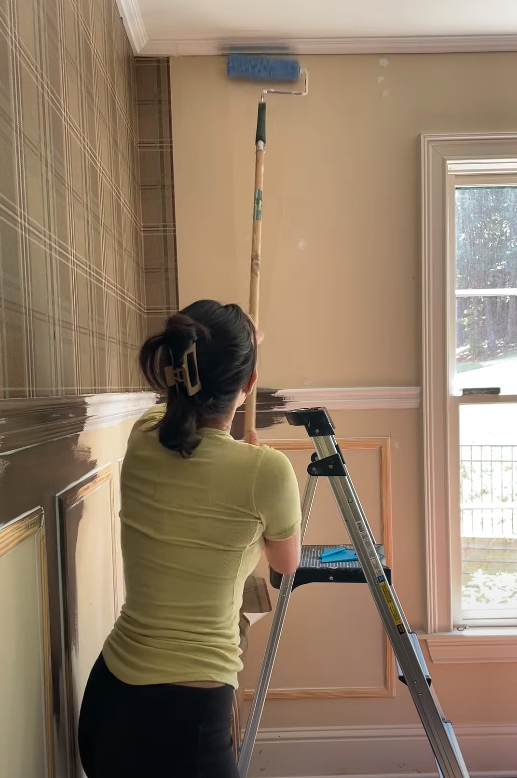
Step 2: Wallpaper – Tartan Tales
Hanging tartan wallpaper can be a bit of a challenge due to the intricate pattern, but the result is well worth the effort.
- Use a plumb line or laser leveller for the first panel. You need to make sure the wallpaper is exactly 90 degrees. I used a plumb line when installing the first panel. After that, you can connect the wallpaper seamlessly as you go.
- Paste & Smooth: Apply the wallpaper paste to the wall, following the manufacturer's instructions. Align the top edge with the ceiling and smooth it down, working from the centre outwards with a wallpaper smoothing tool.
- Tartan Alignment: Pay close attention to aligning the pattern with each subsequent strip of wallpaper. This is essential for a cohesive and professional look.
- Trim the Excess: Use a utility knife to trim the excess wallpaper at the top and bottom.
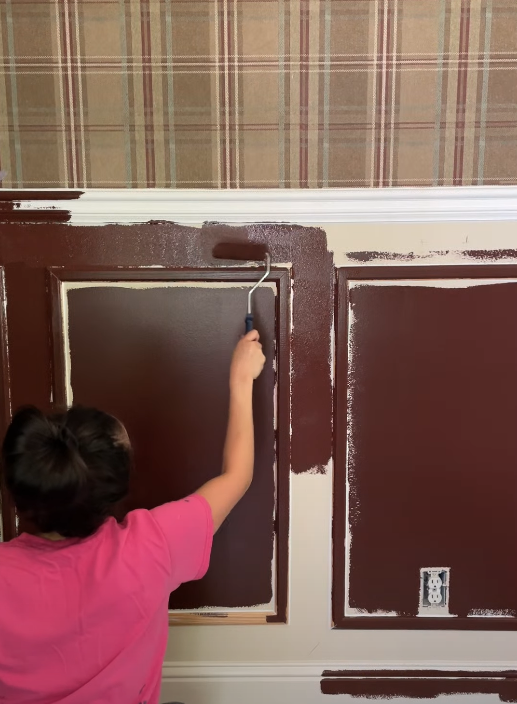
Step 3: Caulk, Paint, and the Illusion of Wood Paneling
This step is where the room truly transforms.
- Caulking: Run a bead of paintable caulk along all the seams of the wainscoting and crown moulding. This will create a seamless, polished finish.
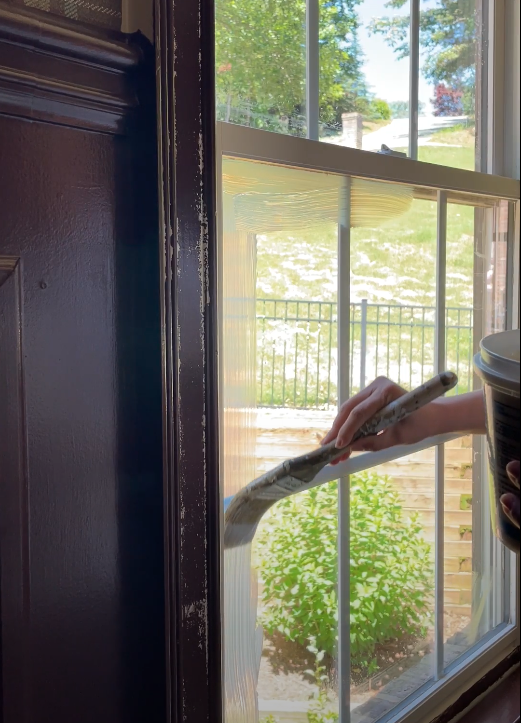
- The Faux-Wood Finish: Paint the panelling and crown moulding with your chosen wood-toned paint. The goal is to mimic the look and feel of rich, dark wood panelling, even if it’s just painted wood! I used semi-gloss for an extra lucious look. However, It would be easier if you had a sprayer to camouflage the brush strokes.

Step 4: Lighting – Illuminating the Intellect
I swapped out the standard lighting for antique bronze or brass fixtures (or those spray-painted gold, in your case). It instantly adds to the old-world charm. But first, I inserted the light fixture into my Canva mood board to make sure it was all coming together cohesively!
Step 5: Ceiling Paint
The stark white ceiling wasn’t jiving with the rest of the room. So I grabbed 3 paint samples and 5 paint cards, but I hated all of them! After many days of deliberation, I finally took a risk and bought a gallon of paint from the pain CARD and decided to commit! Do not make the mistake of buying regular flat paint. They sell flat ceiling paint that hides most imperfections. Unfortunately, I didn’t know and I repainted this ceiling 3 times trying to get the paint strokes out.
Step 6: Gold Curtain Rods
Take those black curtain rods and spray-paint them gold! It brings out the luxury academia aesthetic.
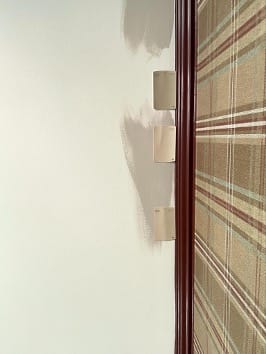
Step 7: A Seamless Transition: Outlet and Light Covers
The old outlet covers were an eyesore, so I ordered paintable ones and spray-painted them with an enamel coating so they were scratch-resistant!
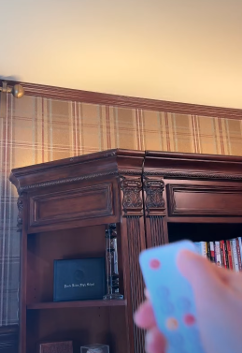
Step 8: Concealed Illumination
Adding dimmable LED light strips to the top of the bookcase creates the soft, inviting glow you'd expect to find in a speakeasy. It's subtle, yet incredibly effective.
Step 9: Personal Touches – The Curator's Collection
This is where your husband’s personality really shines through. Think of it as curating a personal museum:
- Travel Artifacts: Souvenirs from his journeys around the world.
- The Silverback: A playful nod to his past, adding a touch of levity.
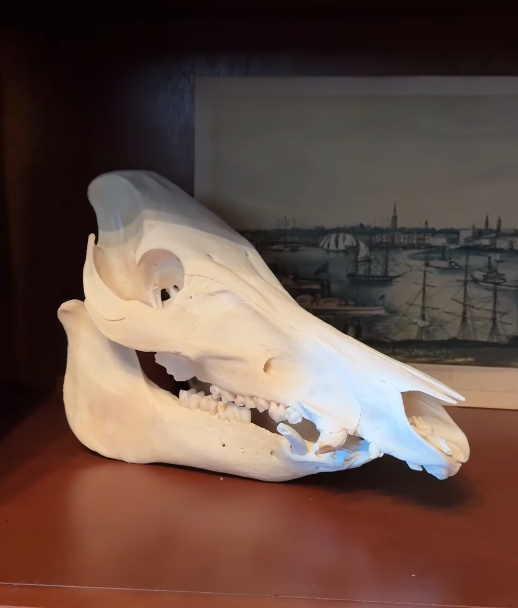
- The Boar Skull: An undeniably unique conversation piece that speaks to his adventurous spirit.
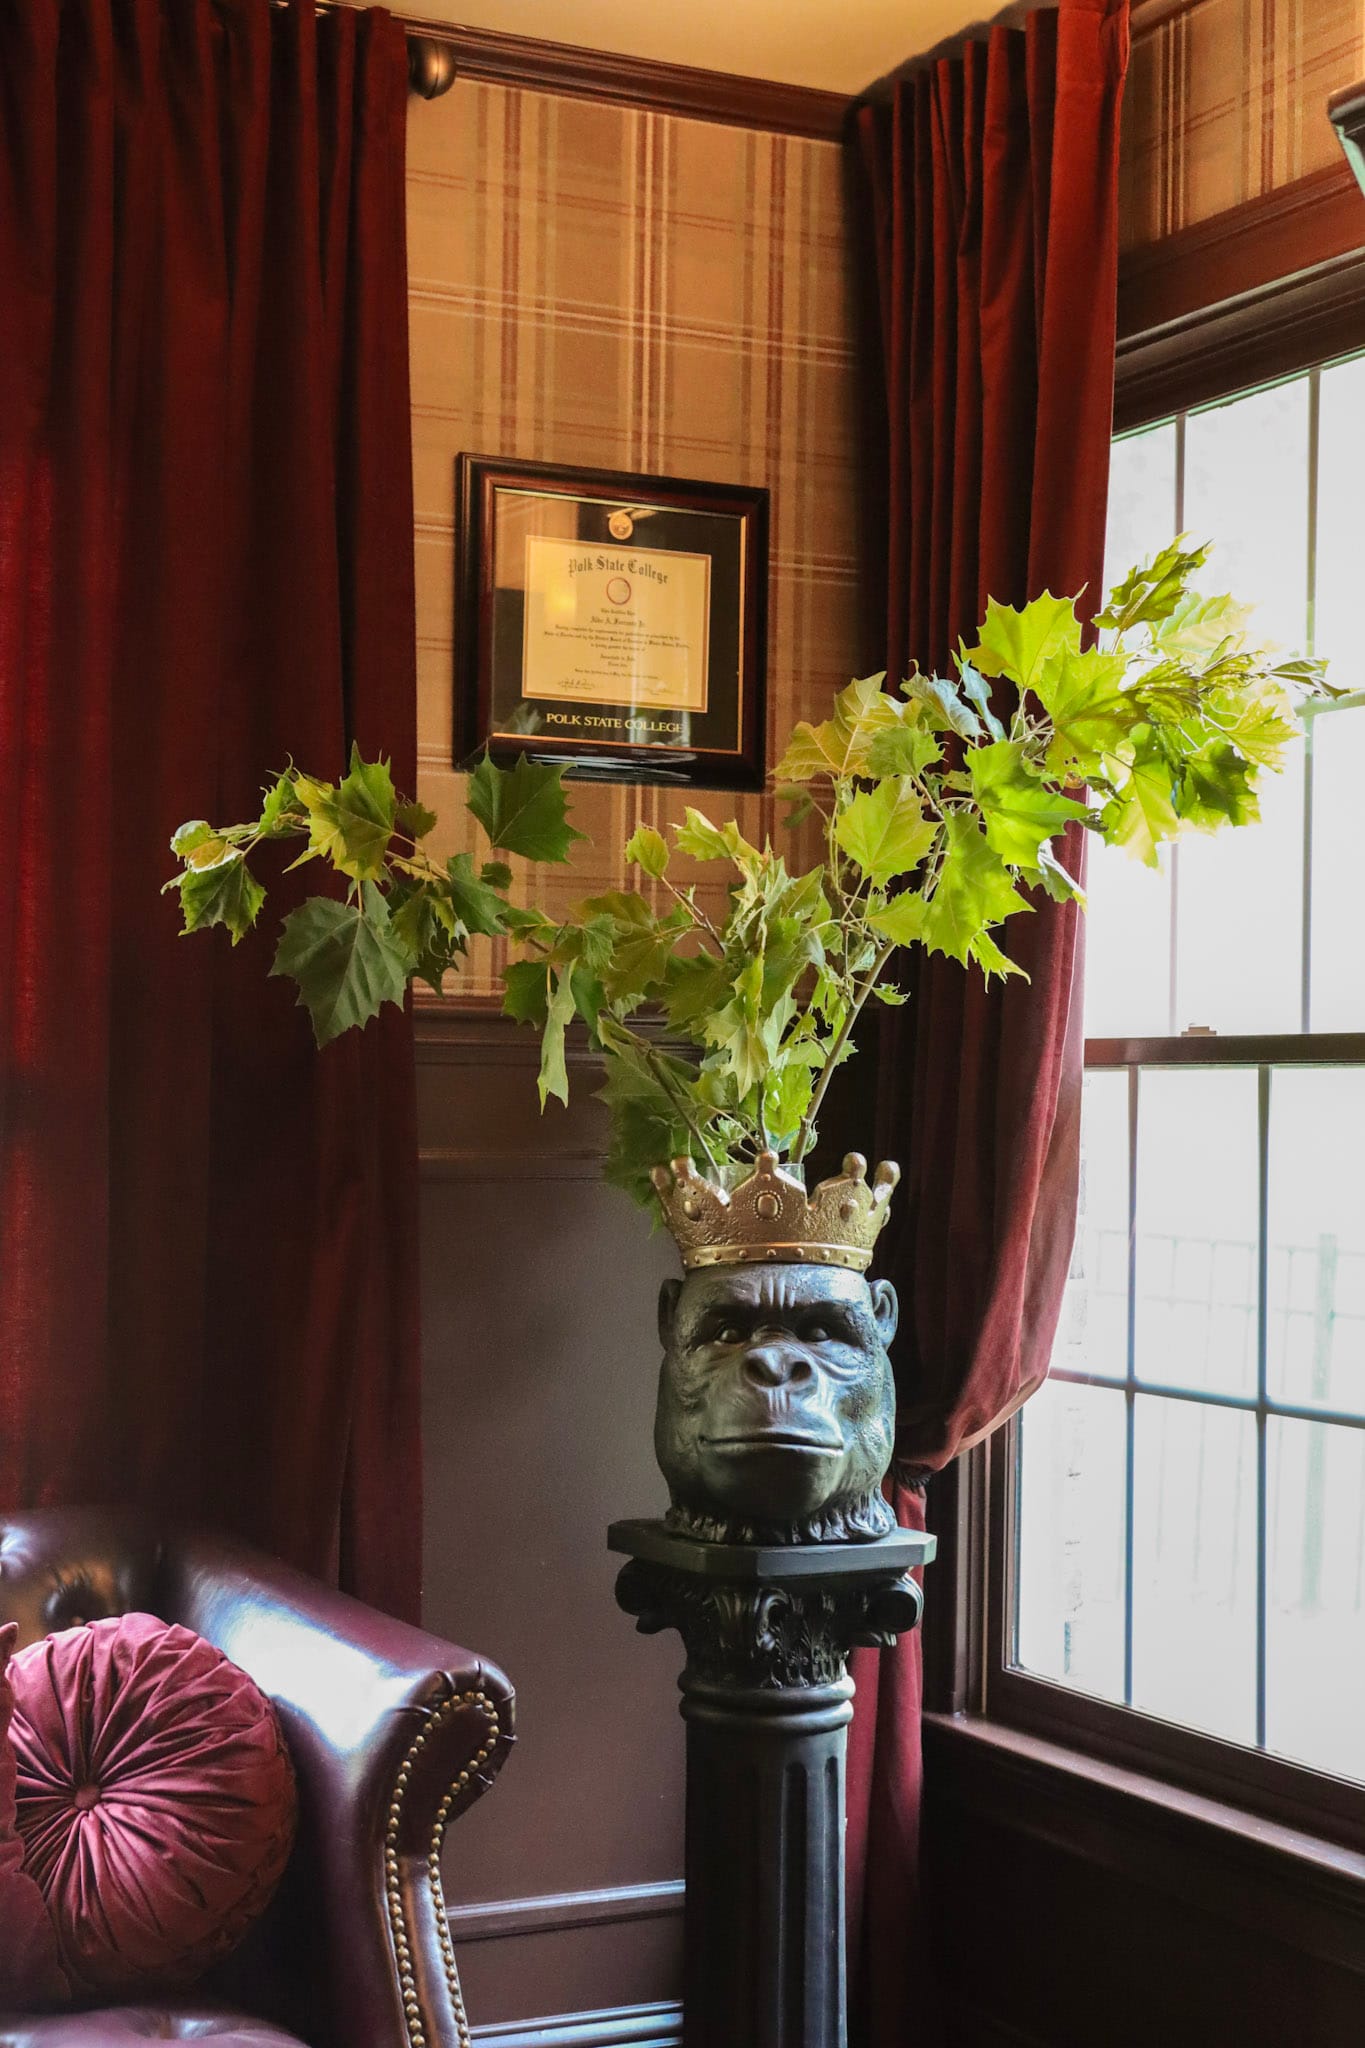

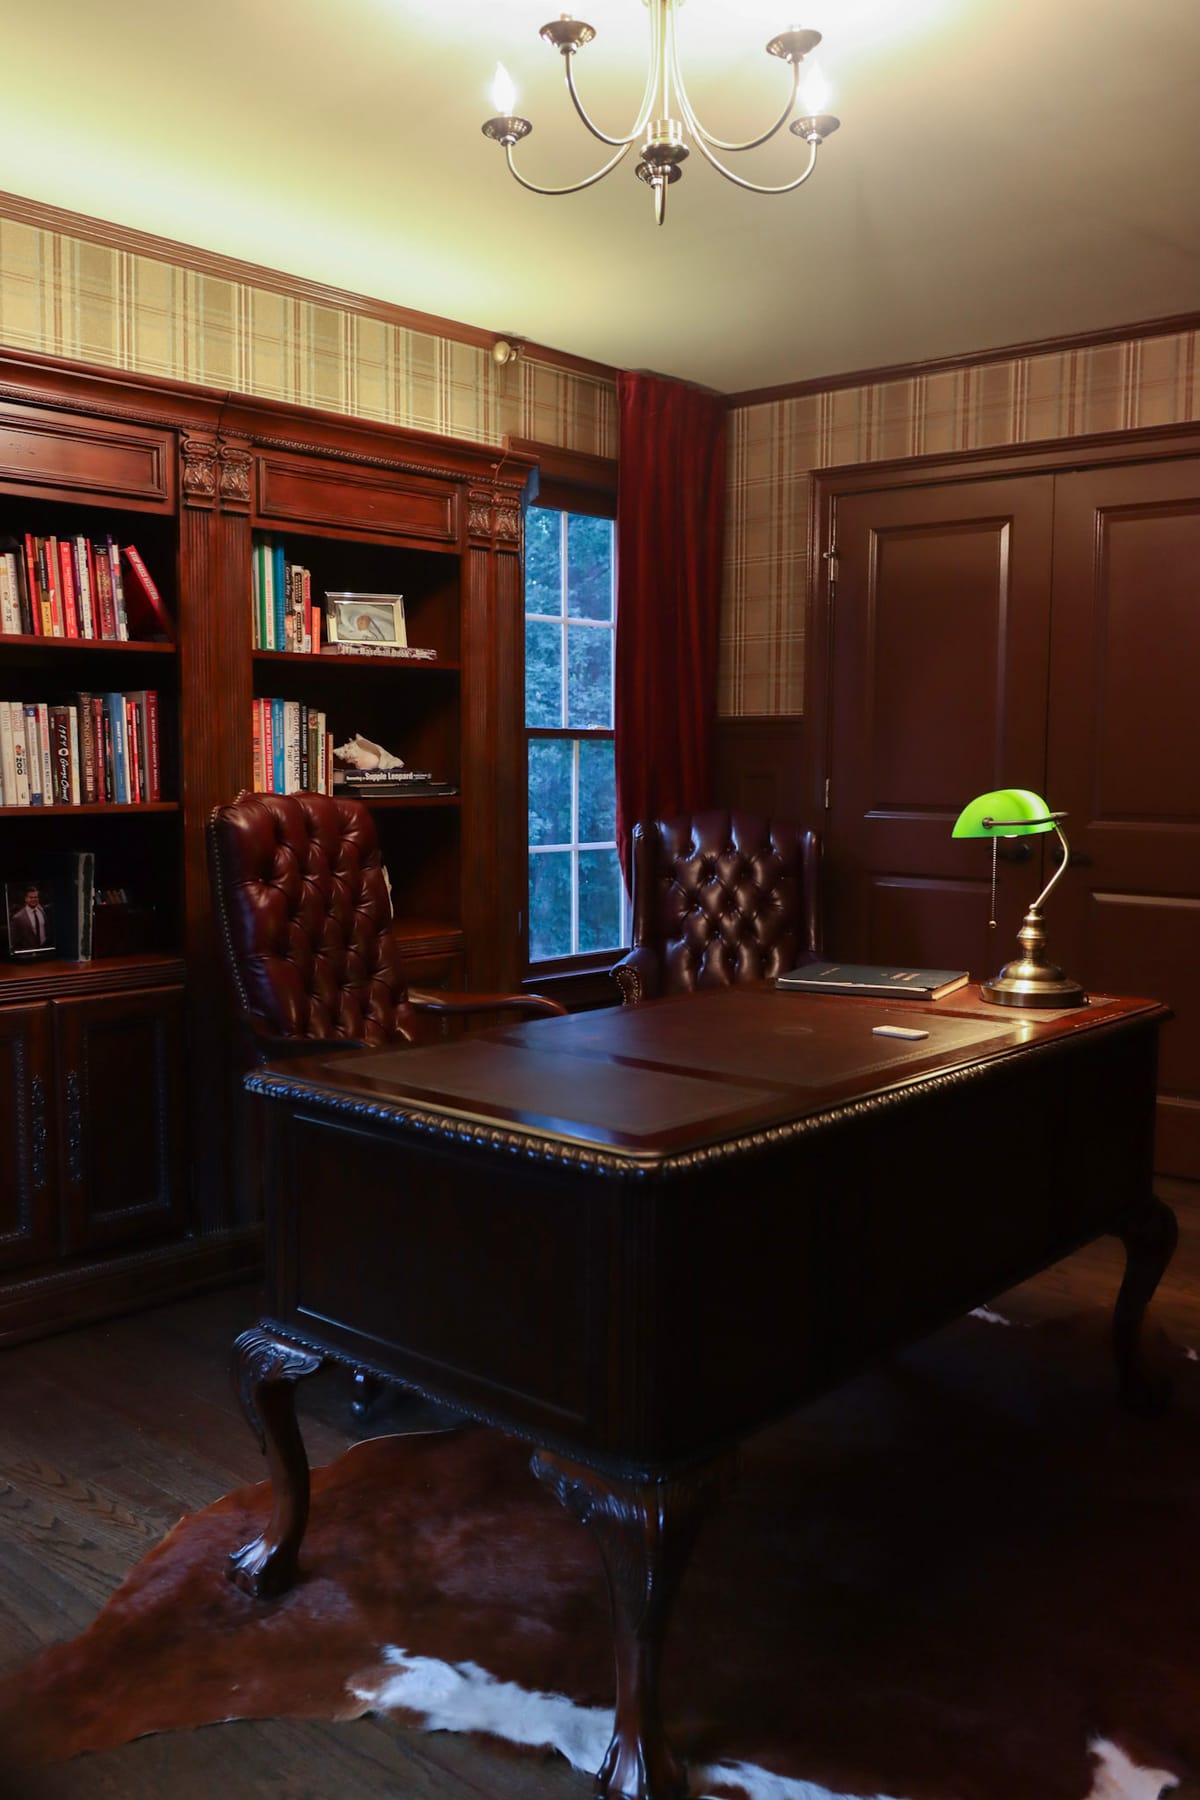
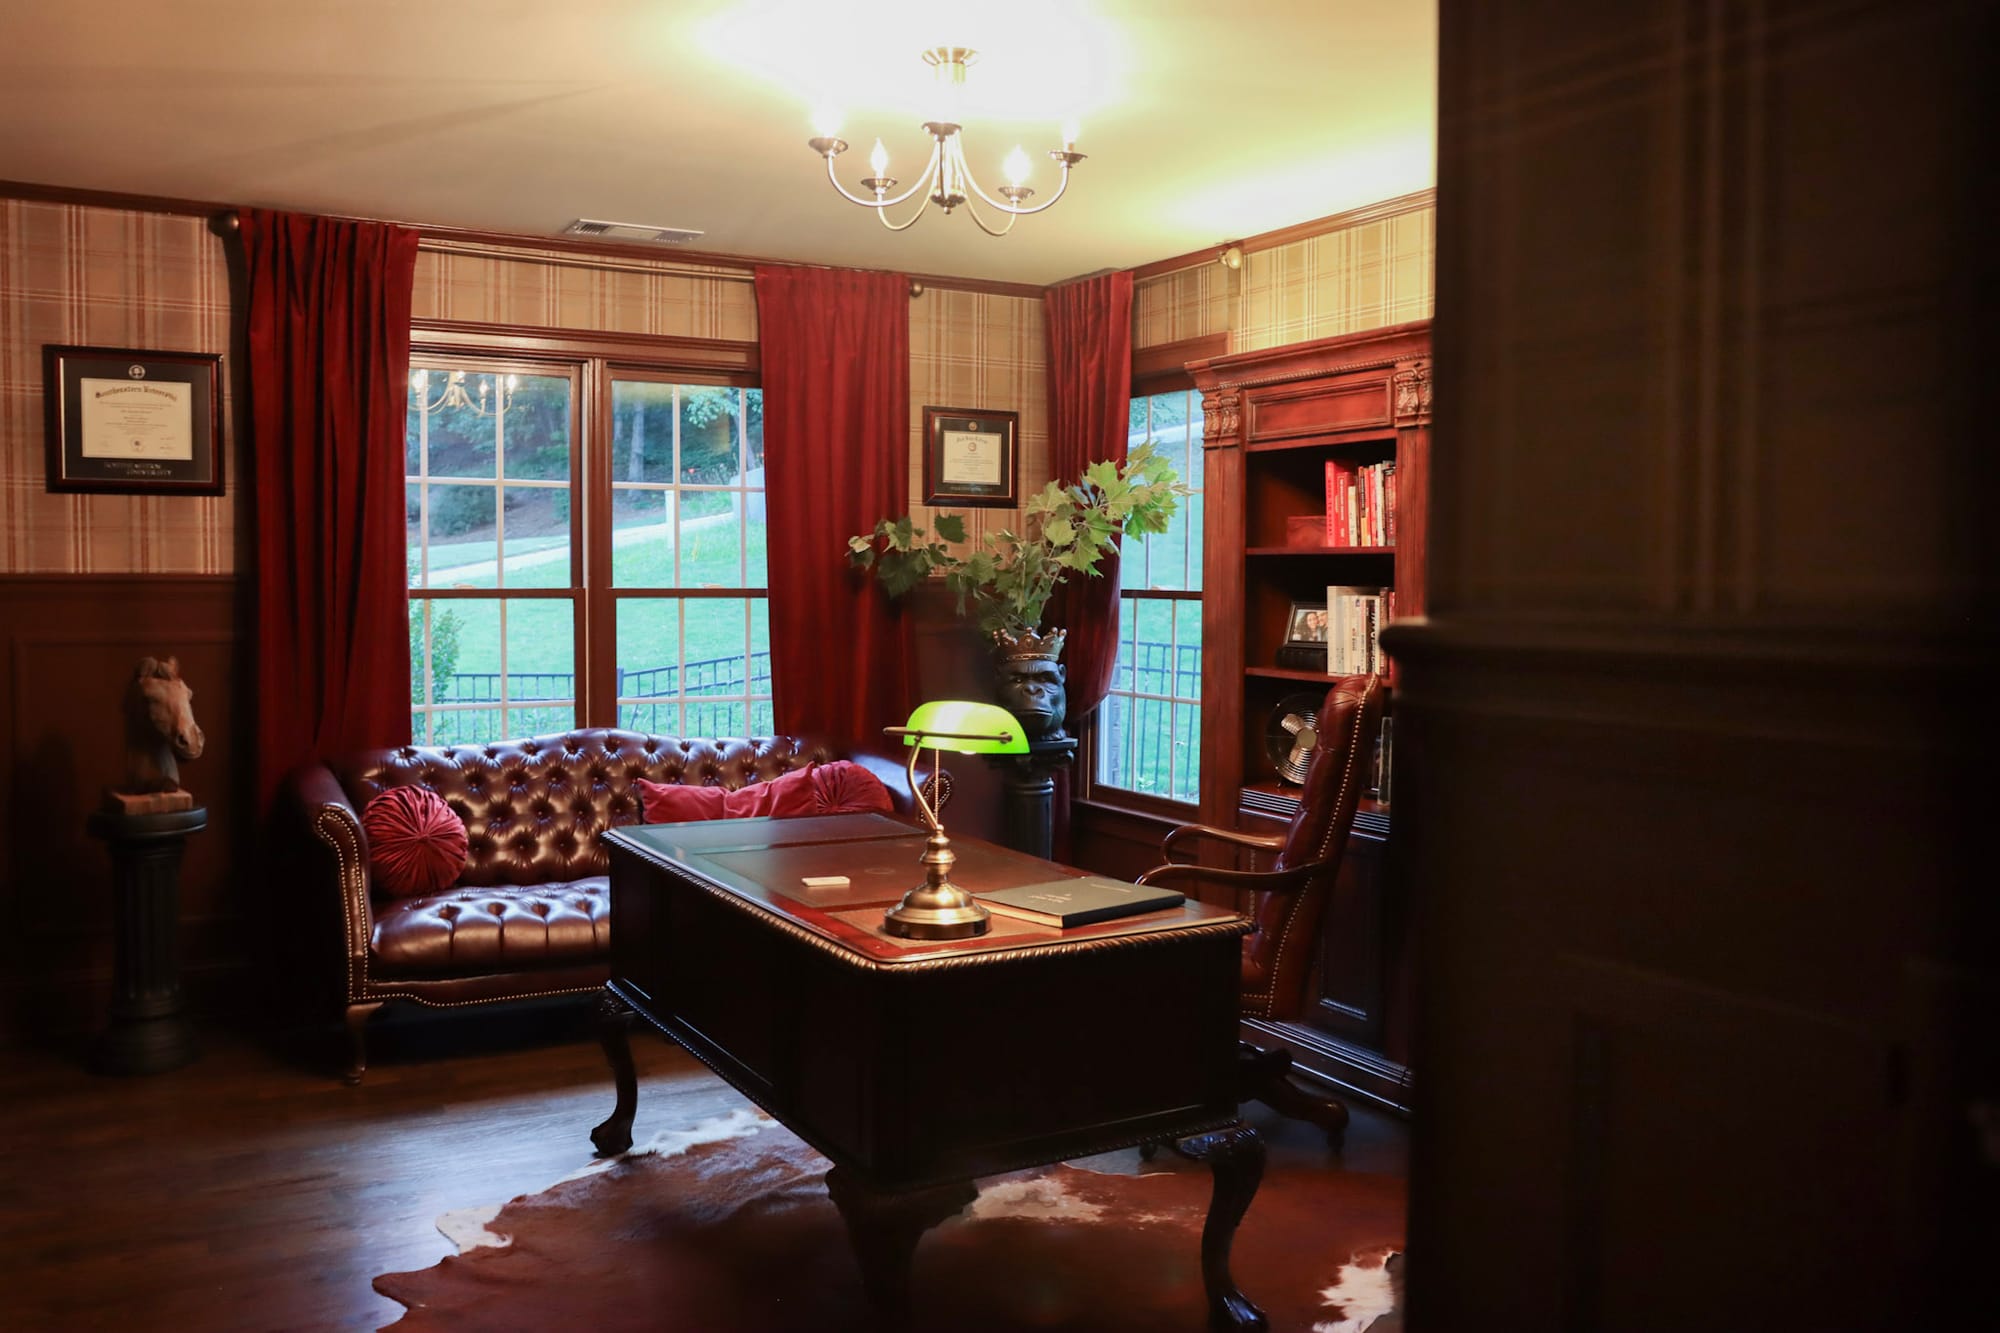
The Grand Reveal
And there you have it: a masculine academia-inspired office that transports you to another era. It's a space that inspires deep thought, fosters creativity, and hints at a hidden world of clandestine gatherings.

Tips for Aspiring Scholars
- Embrace the Theme: Don't be afraid to go all-in on the "Masculine Academia" aesthetic.
- Hunt for Vintage Treasures: Flea markets and antique stores are your best friends.
- Focus on Quality: Invest in high-quality materials that will stand the test of time.
- Don't Rush the Process: Take your time and enjoy the journey of creating a space that is truly unique
What do you think of the transformation? Have you ever attempted a themed room makeover? If you liked it and want to see more like this don't forget to follow me on Instagram!

Creator: Miranda
Instagram: @rebelssanctuary


