

We wanted to give our TV wall a fresh new look, opting for indirect ambient lighting to achieve a modern, cozy, and stylish atmosphere. Keeping the existing TV and cabinet, we made a few adjustments to enhance the overall aesthetic. Choosing a matte black finish gave the setup a timeless and elegant appeal. With the addition of Ambilight, we can now create different lighting moods and enjoy a more immersive movie experience. The acoustic panels not only provide a sleek touch but also enhance the effect of the indirect lighting, making the entire space feel more refined and sophisticated.
Materials Needed
Substructure Materials:
- 3 acoustic panels (60x240 cm)
- Wooden battens (framing wood 54x34x2000 mm, 9 pieces)
- Screws and wall plugs
- Tools: cordless screwdriver, drill, laser level, spirit level, measuring tape, jigsaw or circular saw, pencil, vacuum cleaner
Limewash Materials:
- Paint tray
- Wall paint (light and dark)
- Flat brush
- Masking tape
TV Cabinet Materials:
- Furniture lacquer (if needed)
- Brush or foam roller
Ambilight Materials:
- Philips Hue White & Color Gradient Ambiance Lightstrip (2-meter base + 3 x 1-meter extensions)
- Philips Hue Play HDMI Sync Box
- Philips Hue Bridge
- Optional: Apple TV or PlayStation
Step-by-Step Guide
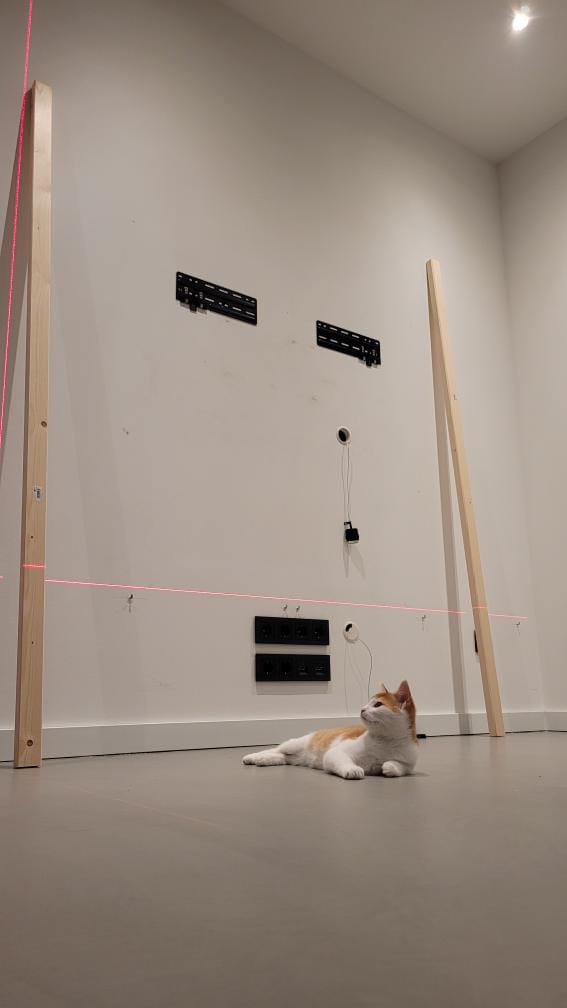
Step 1: Mark the Position
Decide where the acoustic panels will be installed. Using a pencil, mark the area on the wall, ensuring the placement aligns with the intended design. This helps visualize the final result and allows for adjustments before starting the construction.
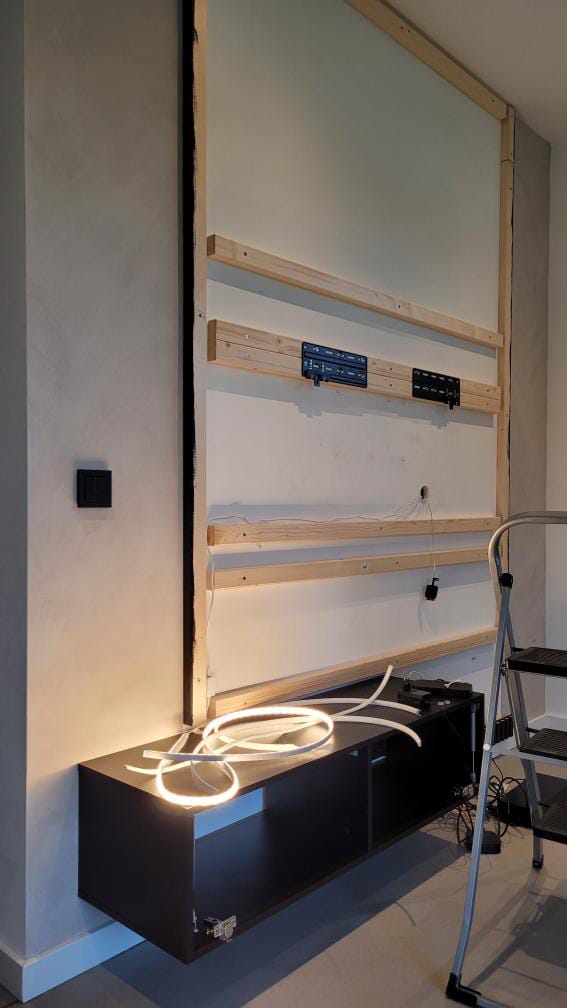
Step 2: Cut and Assemble the Wooden Battens
Cut the wooden battens to the required length. Assemble a frame using the battens, including crossbeams to provide a secure structure for the three acoustic panels. To ensure a proper fit, make the frame 2 cm shorter on each side than the total width and height of the panels. Additional crossbeams should be added to support the TV bracket. If desired, paint the outer battens in a preferred color to match the wall or TV cabinet.
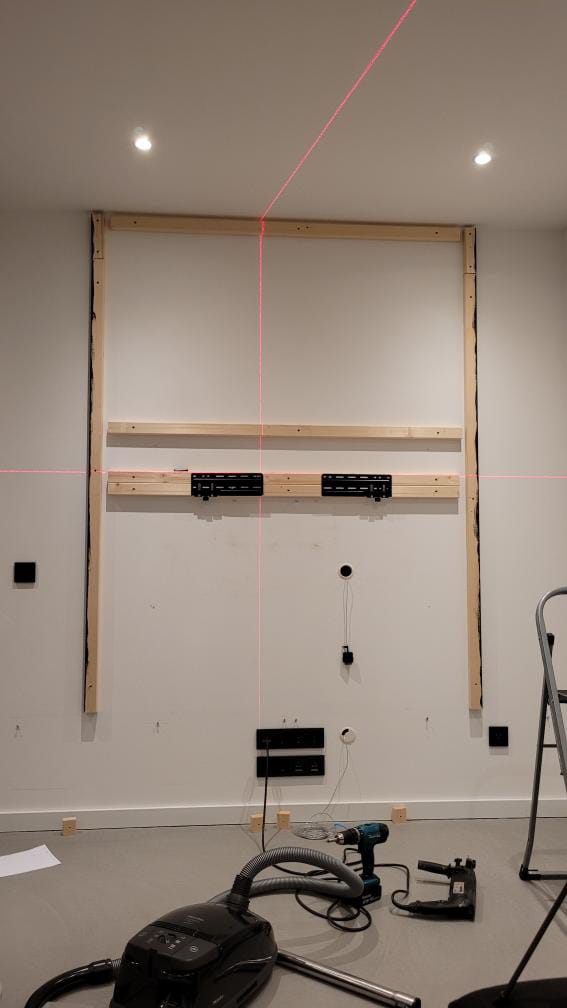
Step 3: Install the Frame on the Wall
Align the frame on the wall with the help of a laser level or spirit level. Drill holes into the wall and secure the battens using screws and wall plugs. This step should be repeated for all remaining battens to ensure a sturdy installation.
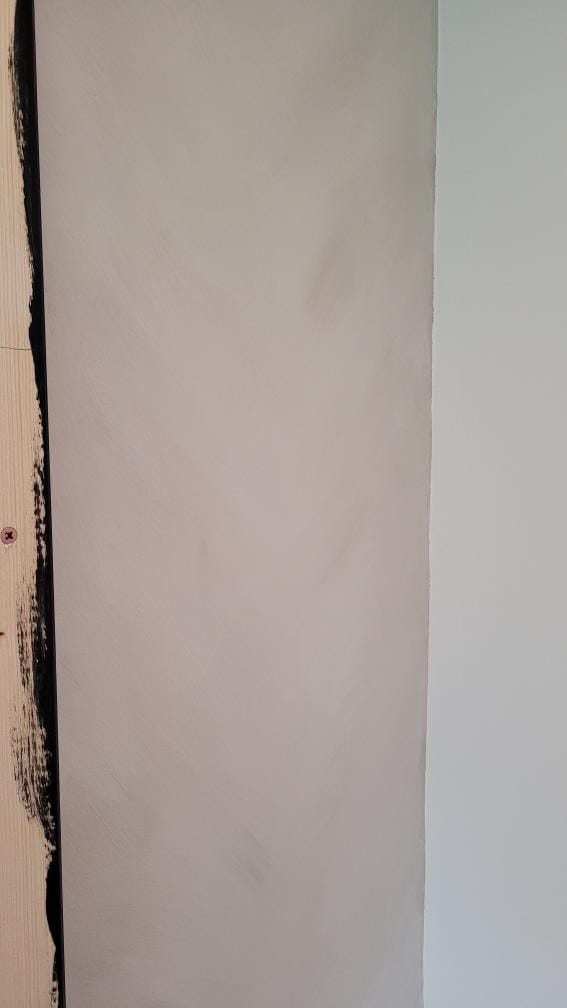
Step 4: Paint the Wall
If a limewash effect is desired, apply a mix of light and dark paint using a flat brush. Blending the colors with a bit of water creates a soft, textured finish that complements the modern aesthetic.
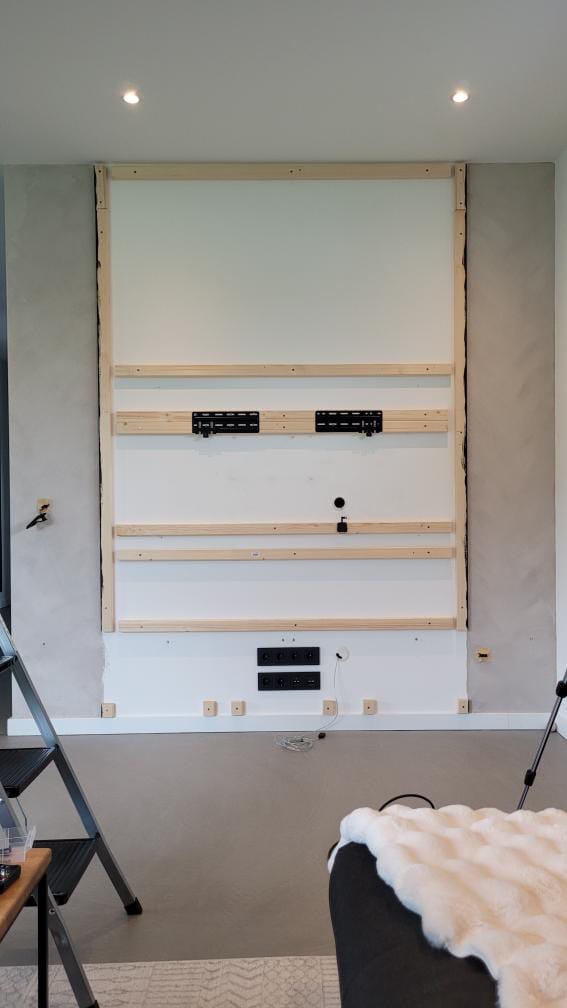
Step 5: Attach the TV Bracket and Mount the TV
Once the paint has dried, attach the TV bracket and mount the TV. Ensuring the TV is securely installed is crucial for both safety and functionality.
Step 6: Install the Light Strips
Attach the Philips Hue Lightstrips to the frame, carefully routing the cables to maintain a clean look. Connect the cables to the Philips Hue Bridge and HDMI Sync Box, allowing the lights to sync with the TV for a dynamic visual experience.
Step 7: Install the Acoustic Panels
Measure and cut the acoustic panels to fit perfectly over the wooden battens. Secure them with screws, ensuring they are firmly attached. These panels not only add to the overall design but also improve sound quality and enhance the lighting effect.
Step 8: Apply Furniture Lacquer (Optional)
If the TV cabinet requires a refresh, apply furniture lacquer using a brush or foam roller. This step is optional but can help achieve a cohesive look.
Step 9: Install the TV Cabinet
Finally, install the TV cabinet in its designated space. With all elements in place, sit back, relax, and enjoy the stylish new TV wall with immersive Ambilight and enhanced acoustics.

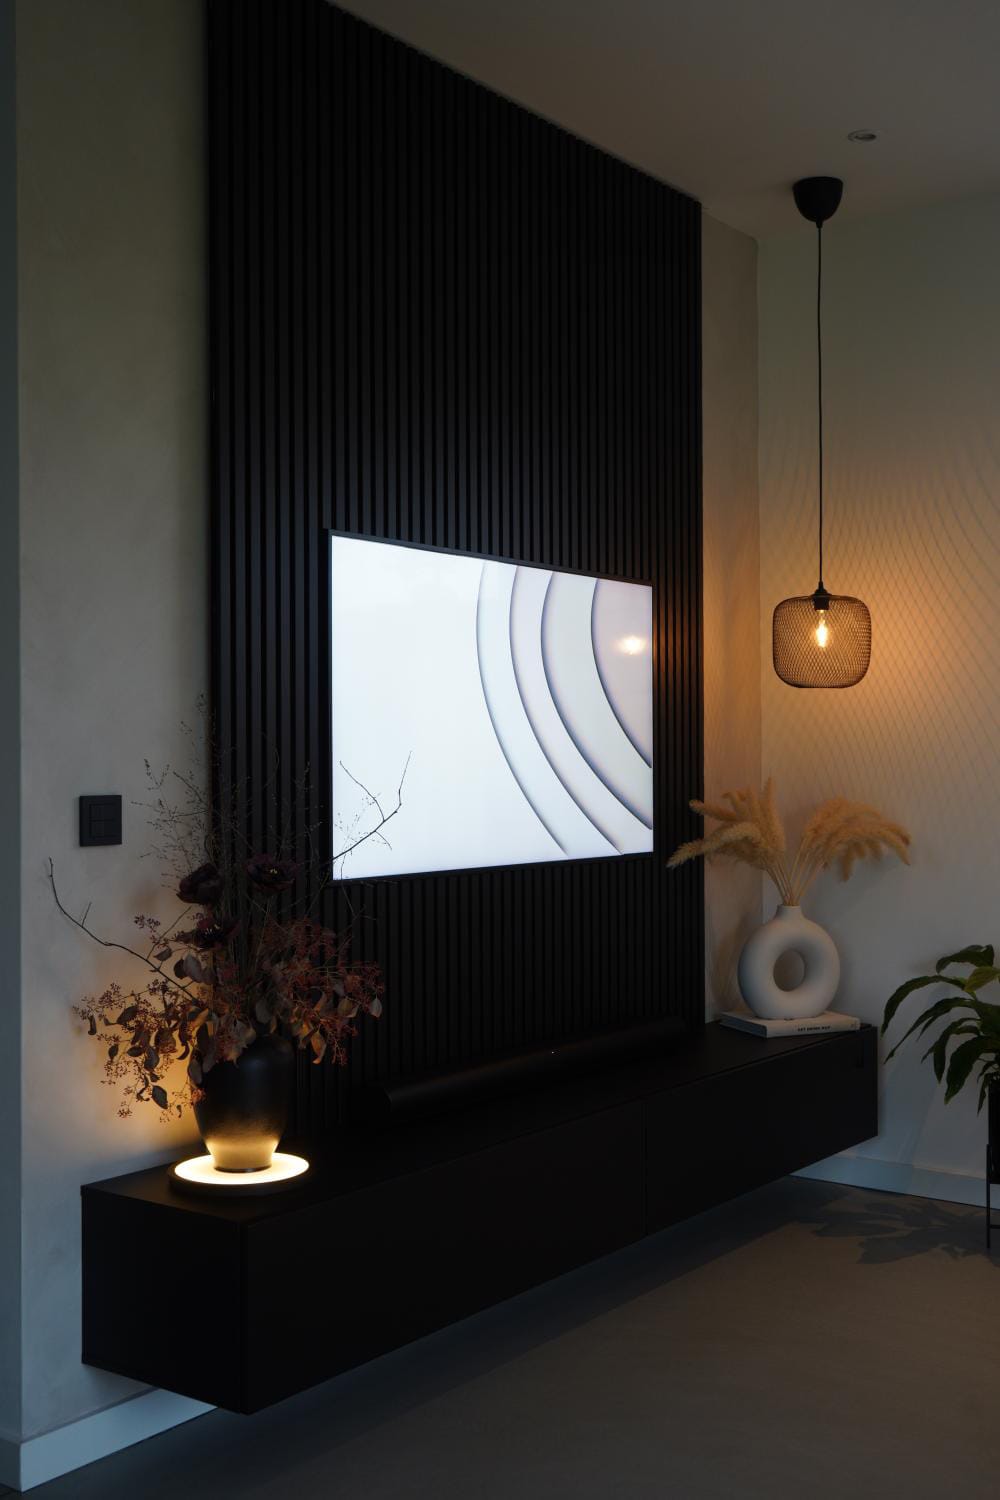
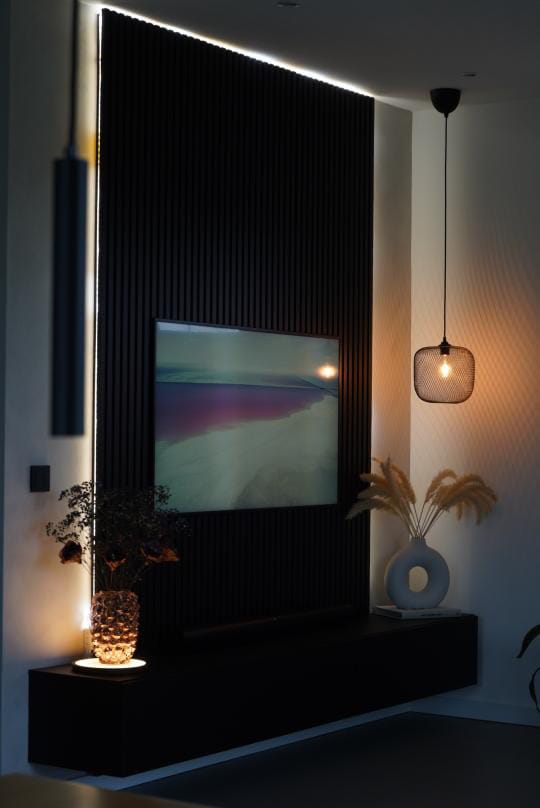
This TV wall makeover successfully transformed our space into a modern and inviting entertainment area. The combination of indirect lighting, matte black finishes, and acoustic panels created a sleek and sophisticated ambiance. With Ambilight, every viewing experience feels more immersive, while the acoustic panels enhance both aesthetics and sound quality. Whether watching movies or simply enjoying the ambient lighting, this setup brings both style and functionality into our living space.
Thank you for following along with this project! I hope you find inspiration for your own space—happy decorating and enjoy your new setup!
Creator: Olga
Instagram: @unique.black.home


