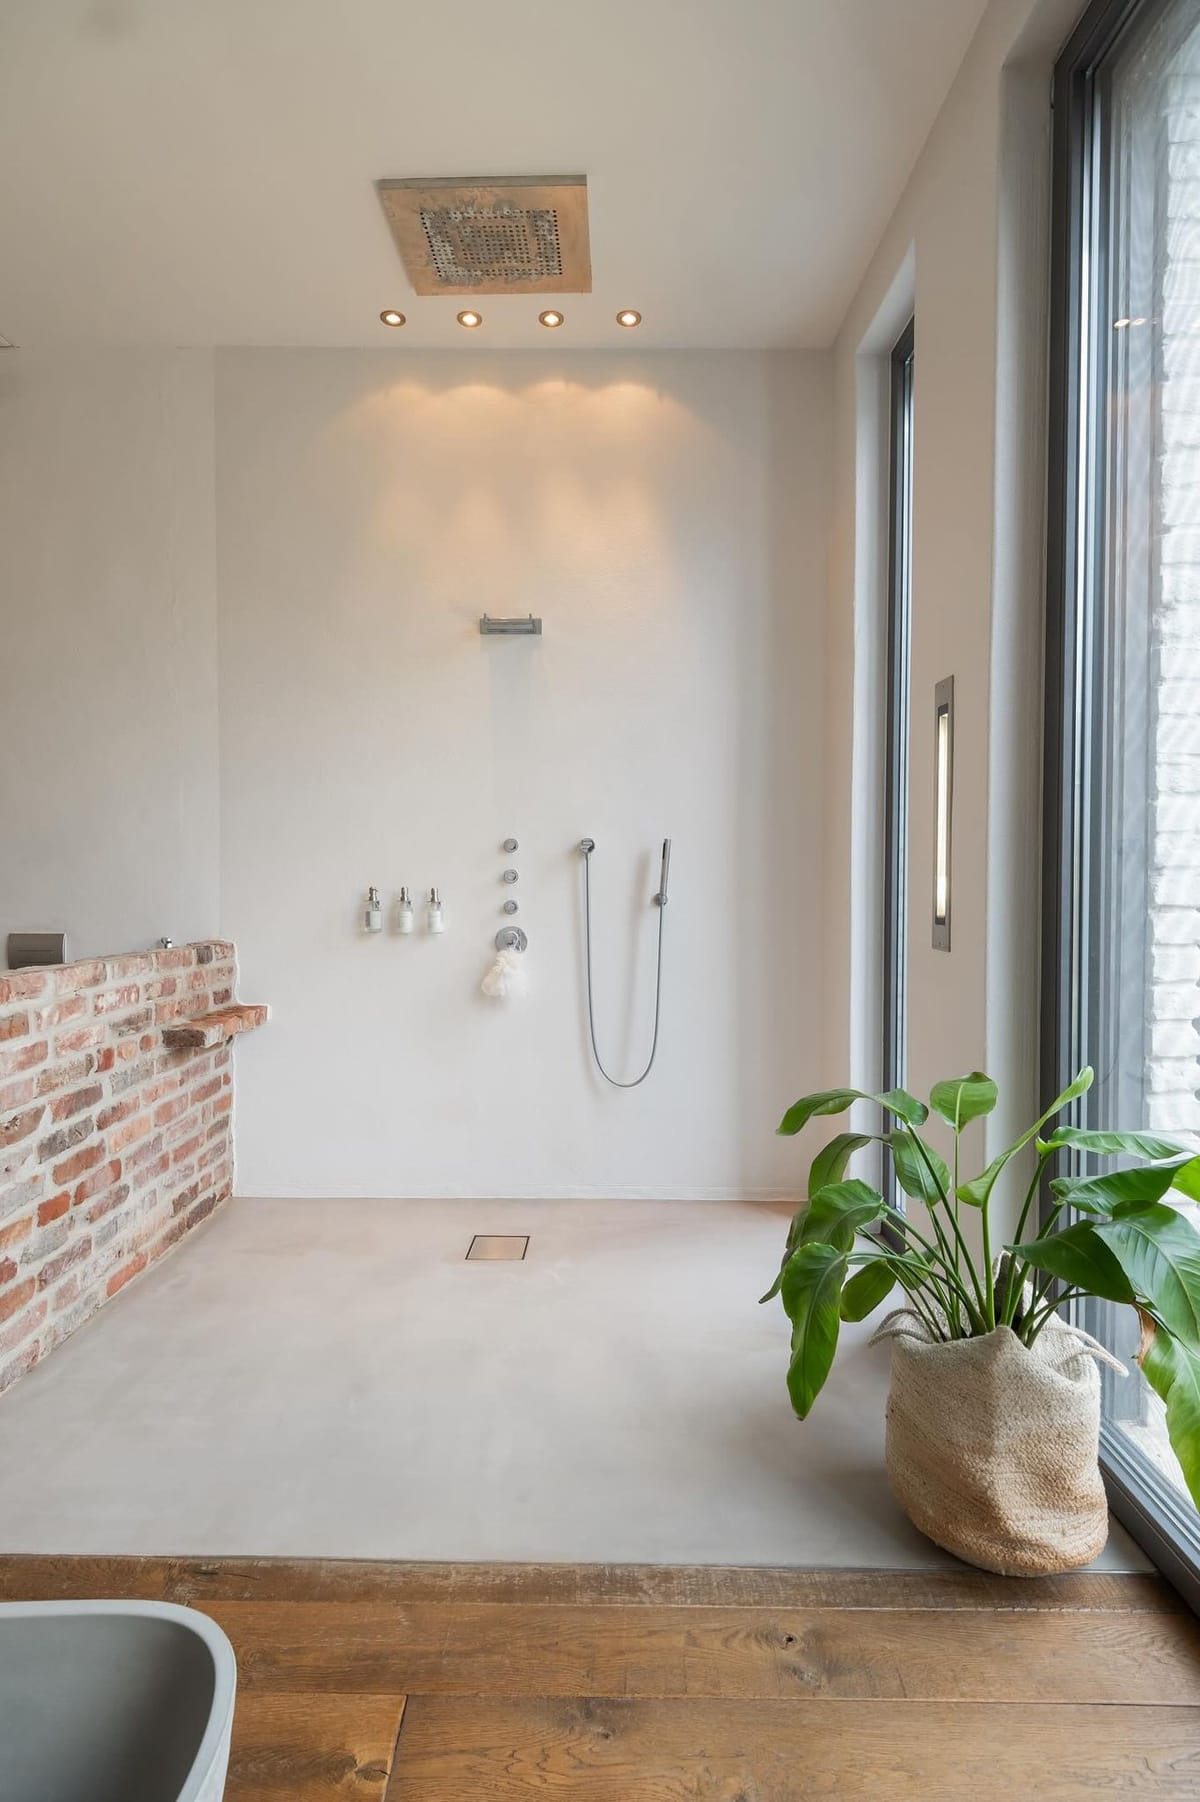
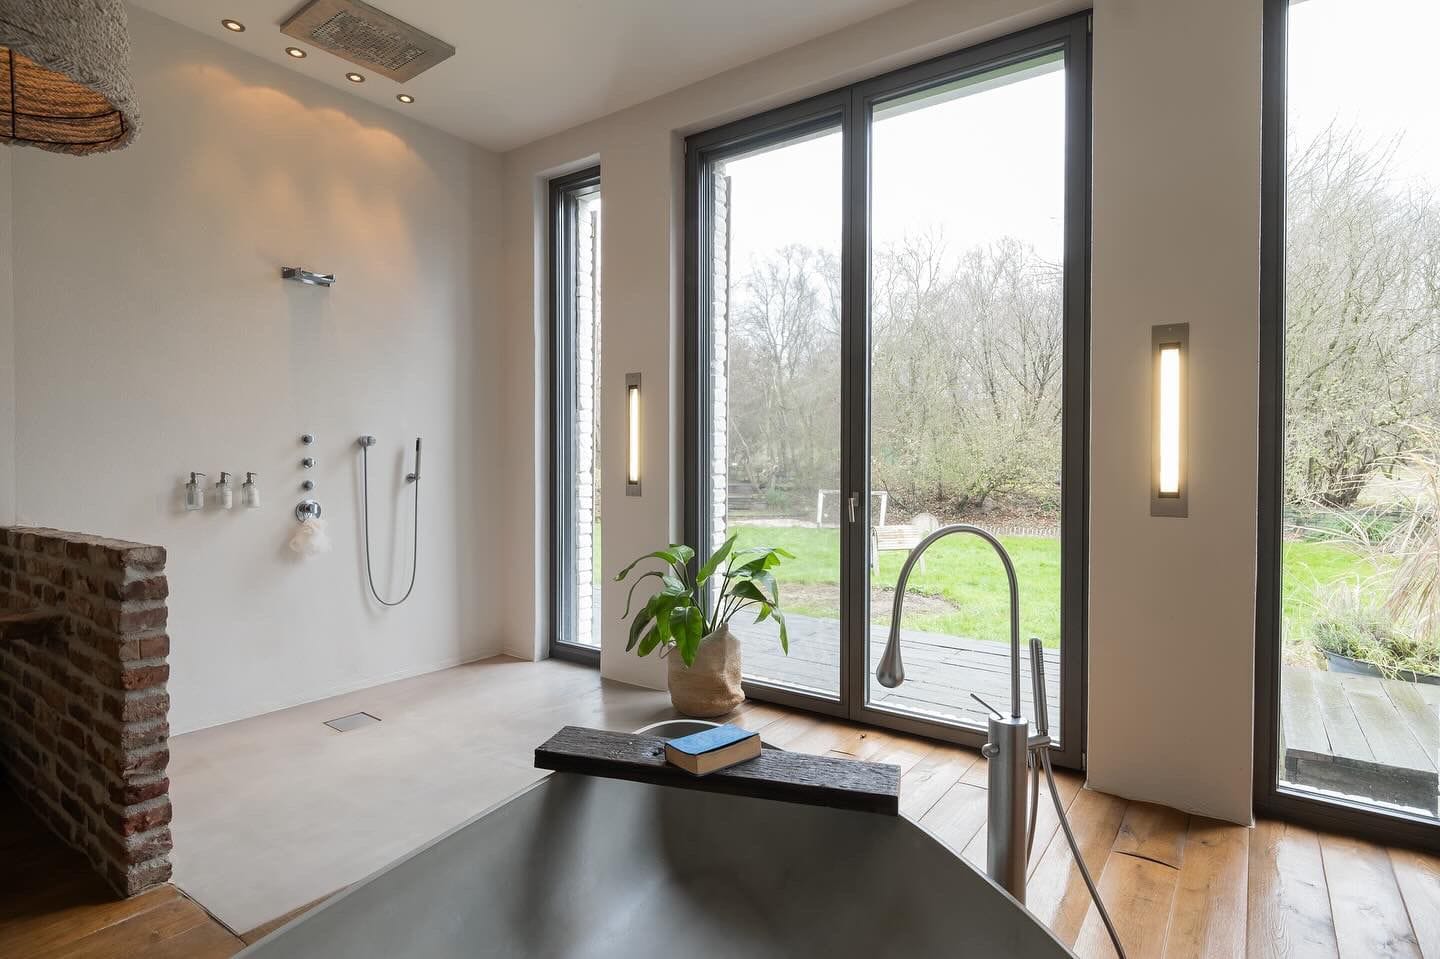
Upgrading your shower floor is a great way to enhance both the functionality and aesthetics of your bathroom. Using 2K synthetic resin for this task ensures durability, waterproofing, and a sleek finish. Follow this step-by-step guide to achieve a professional-quality shower floor that will stand the test of time.
Materials Needed
- Moisture Meter: To check the subsurface for moisture.
- Strength Tester: To assess the strength of the subsurface.
- Hammer or Mallet: For detecting hollow areas.
- Level: To check the slope of the subsurface.
- Milling Machine or Diamond Grinder: For preparing the subsurface.
- 2K Synthetic Resin: For creating the slope, leveling, priming, sealing, and wear layers.
- Roller: For applying the synthetic resin layers.
Step-by-Step Instructions
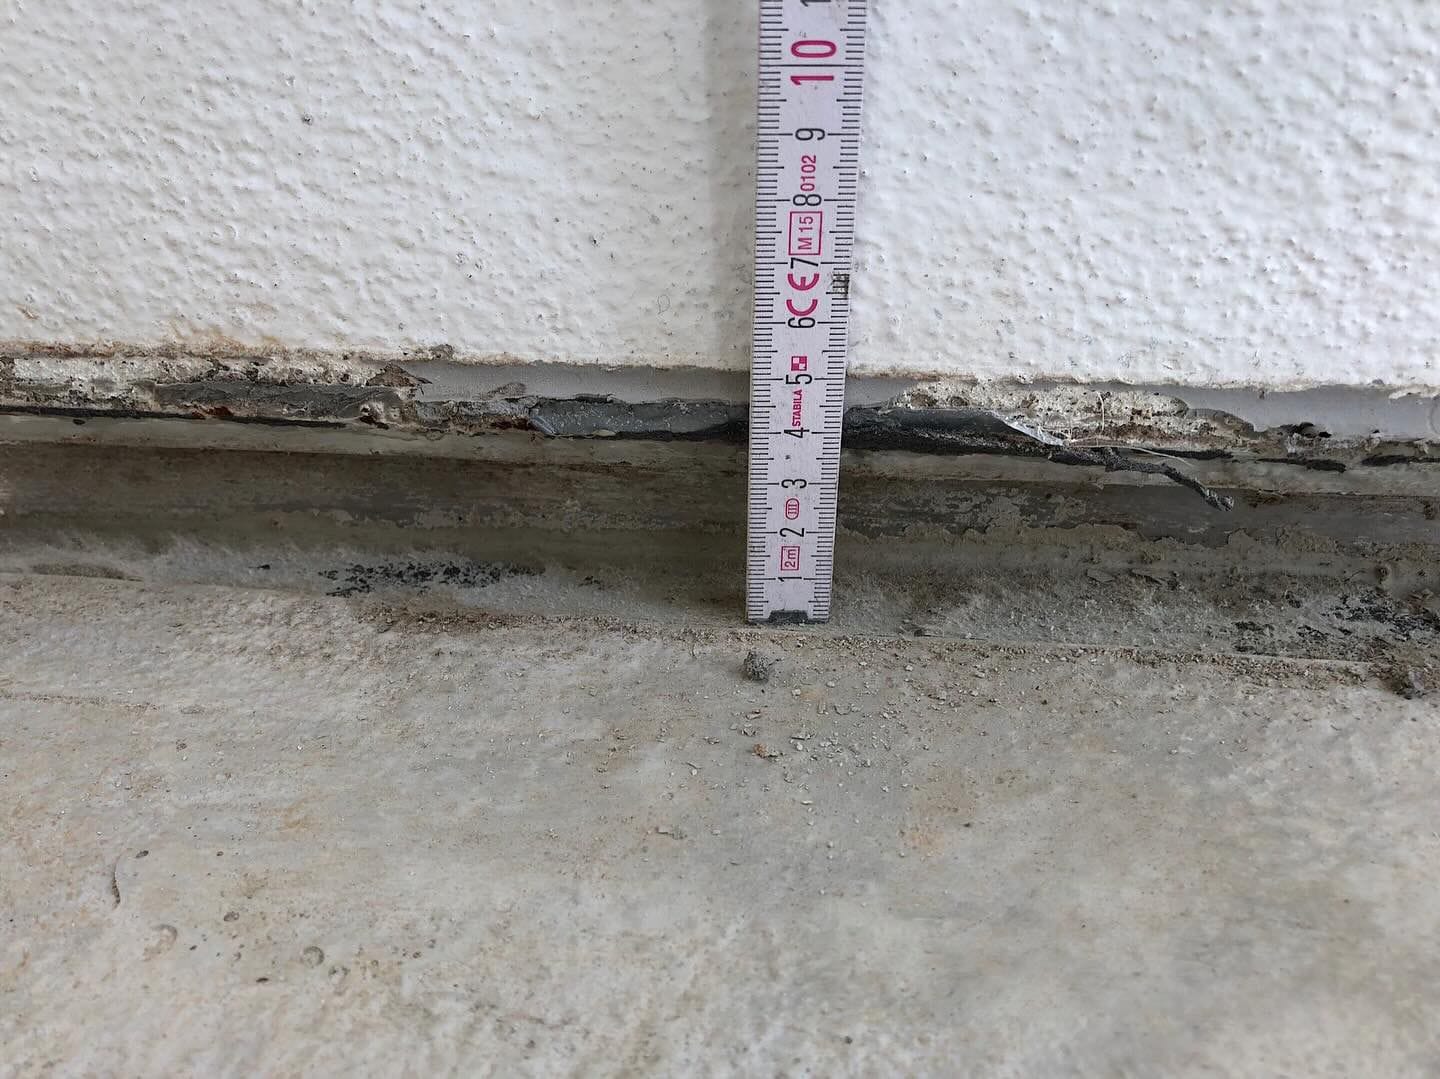
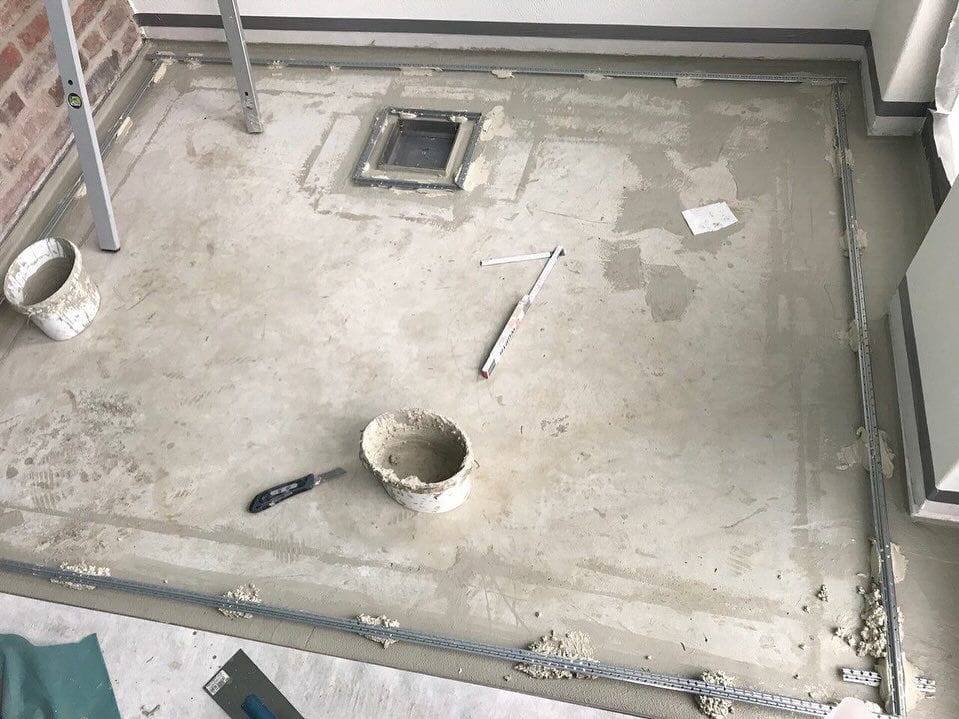
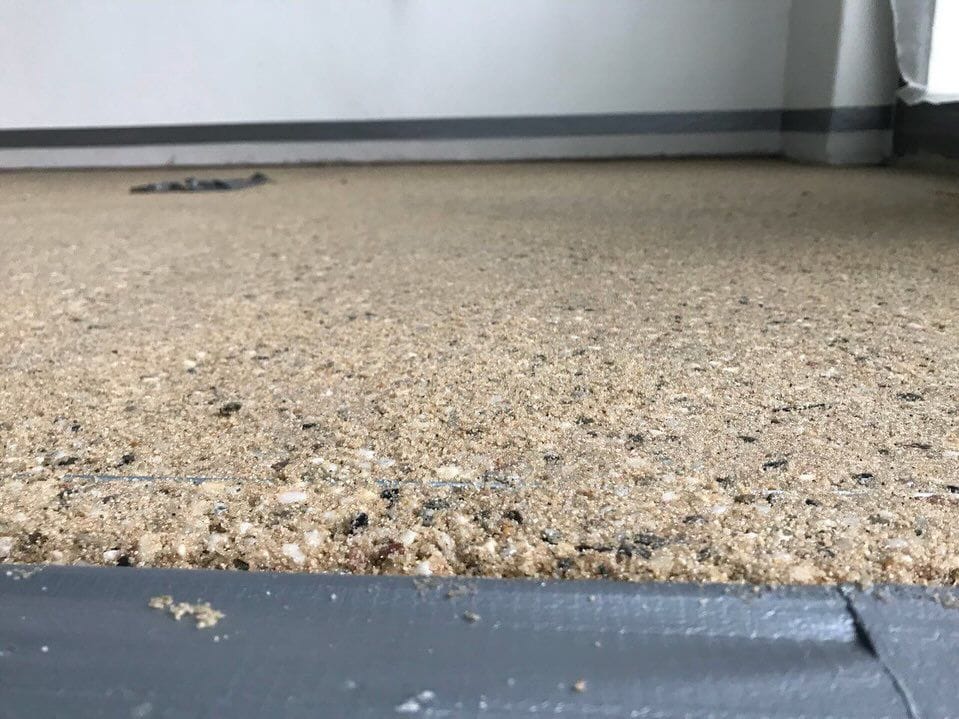
1. Checking the Subsurface
- Moisture Check: Use a moisture meter to ensure the subsurface is dry. Excess moisture can compromise the resin layers.
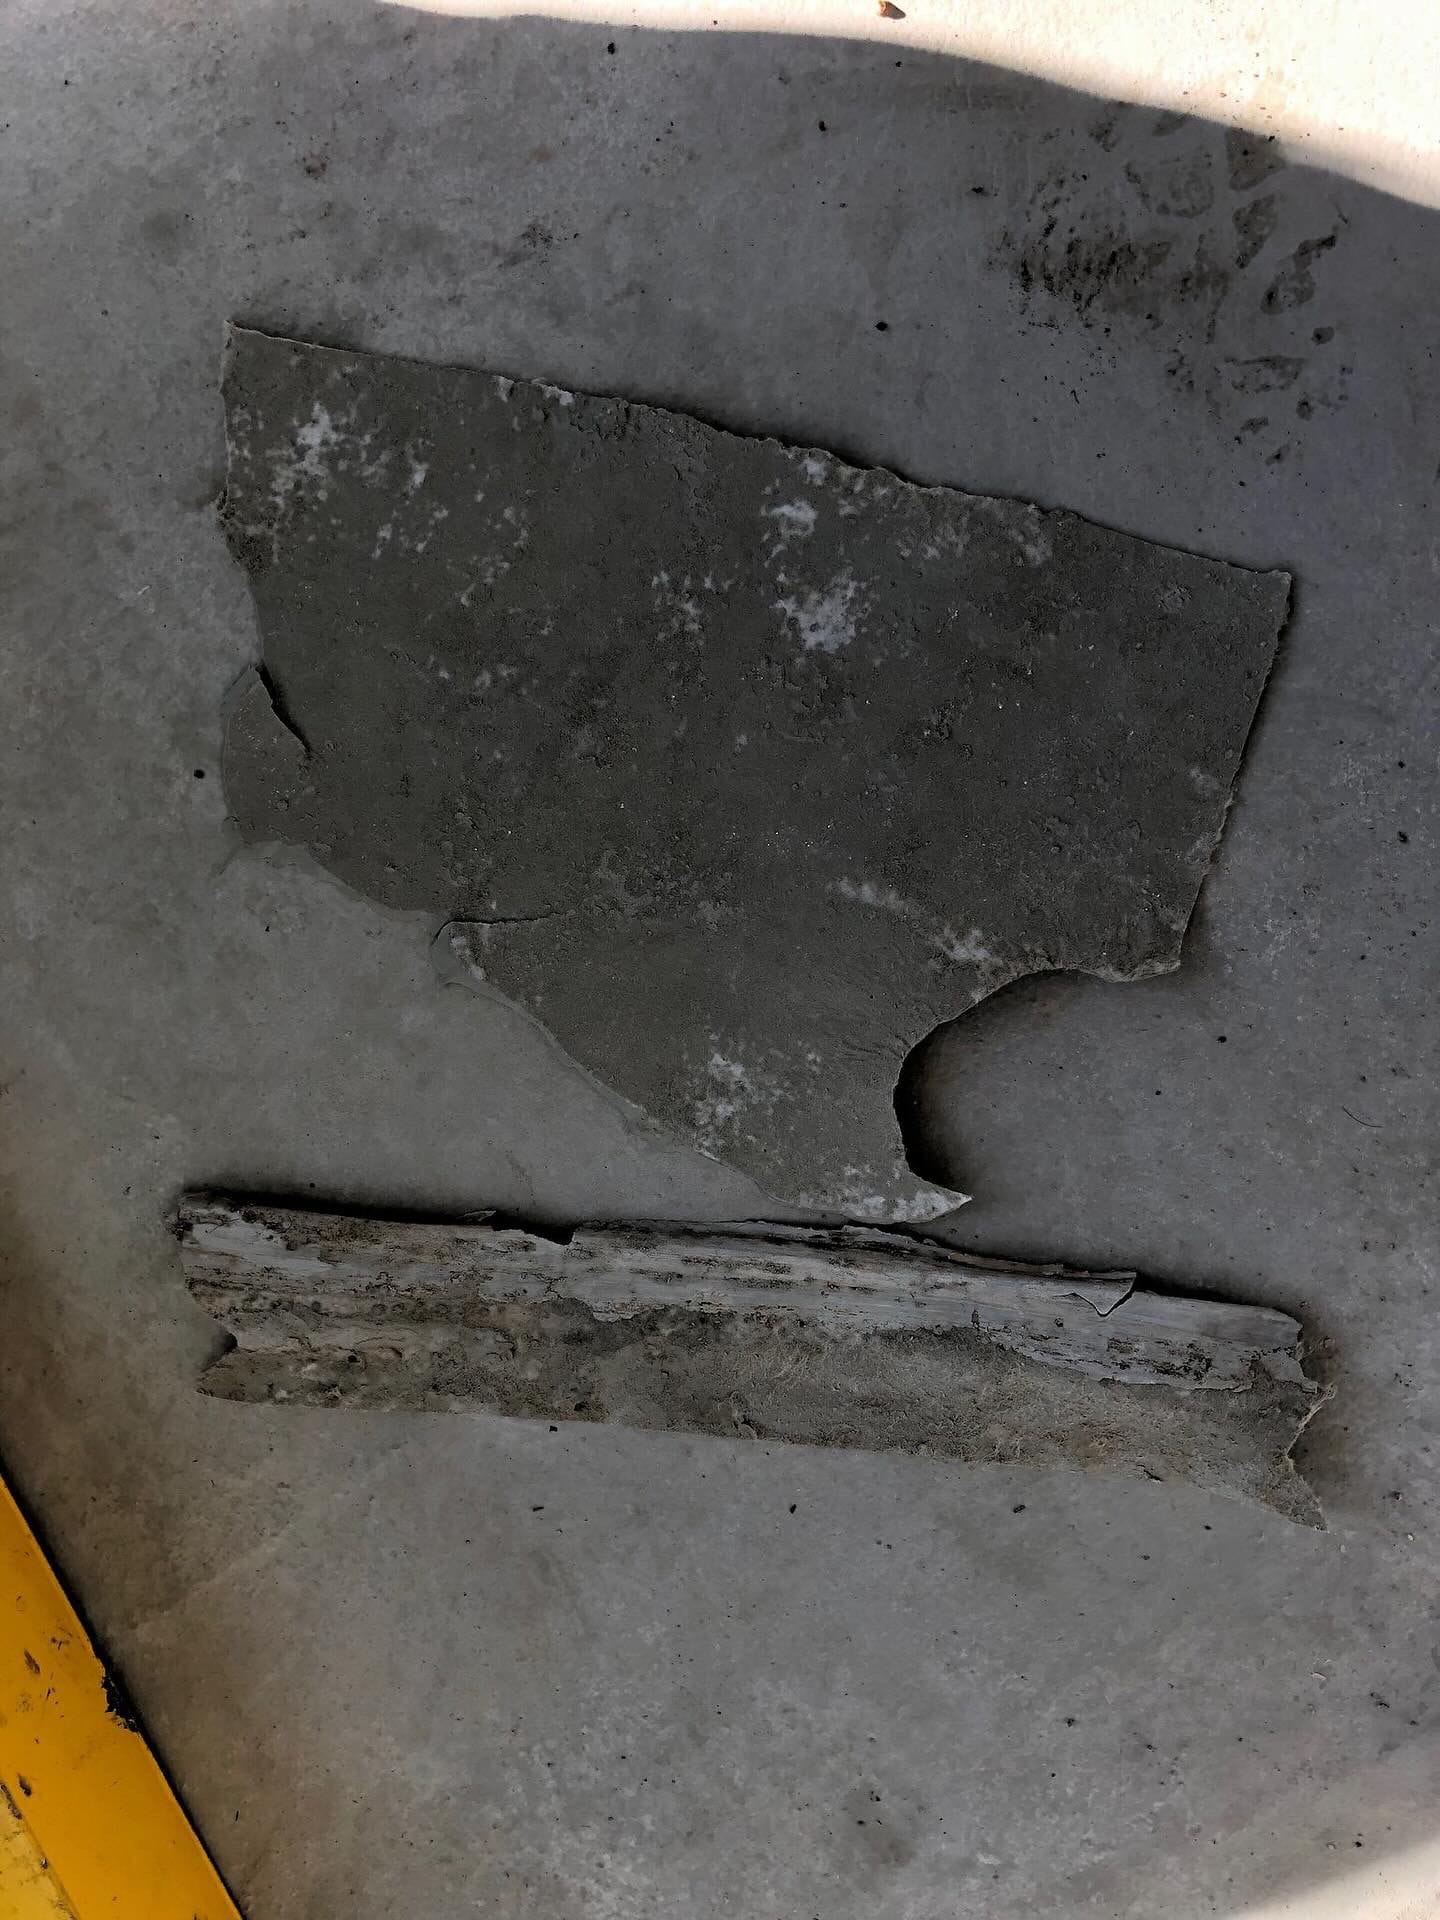
- Strength Test: Assess the strength of the subsurface. It should be solid and able to support the new flooring.
- Detect Hollow Areas: Tap the subsurface with a hammer or mallet. Hollow sounds indicate weak spots that need to be addressed.
- Check the Slope: Use a level to determine the existing slope. Proper drainage requires a slight slope toward the drain.
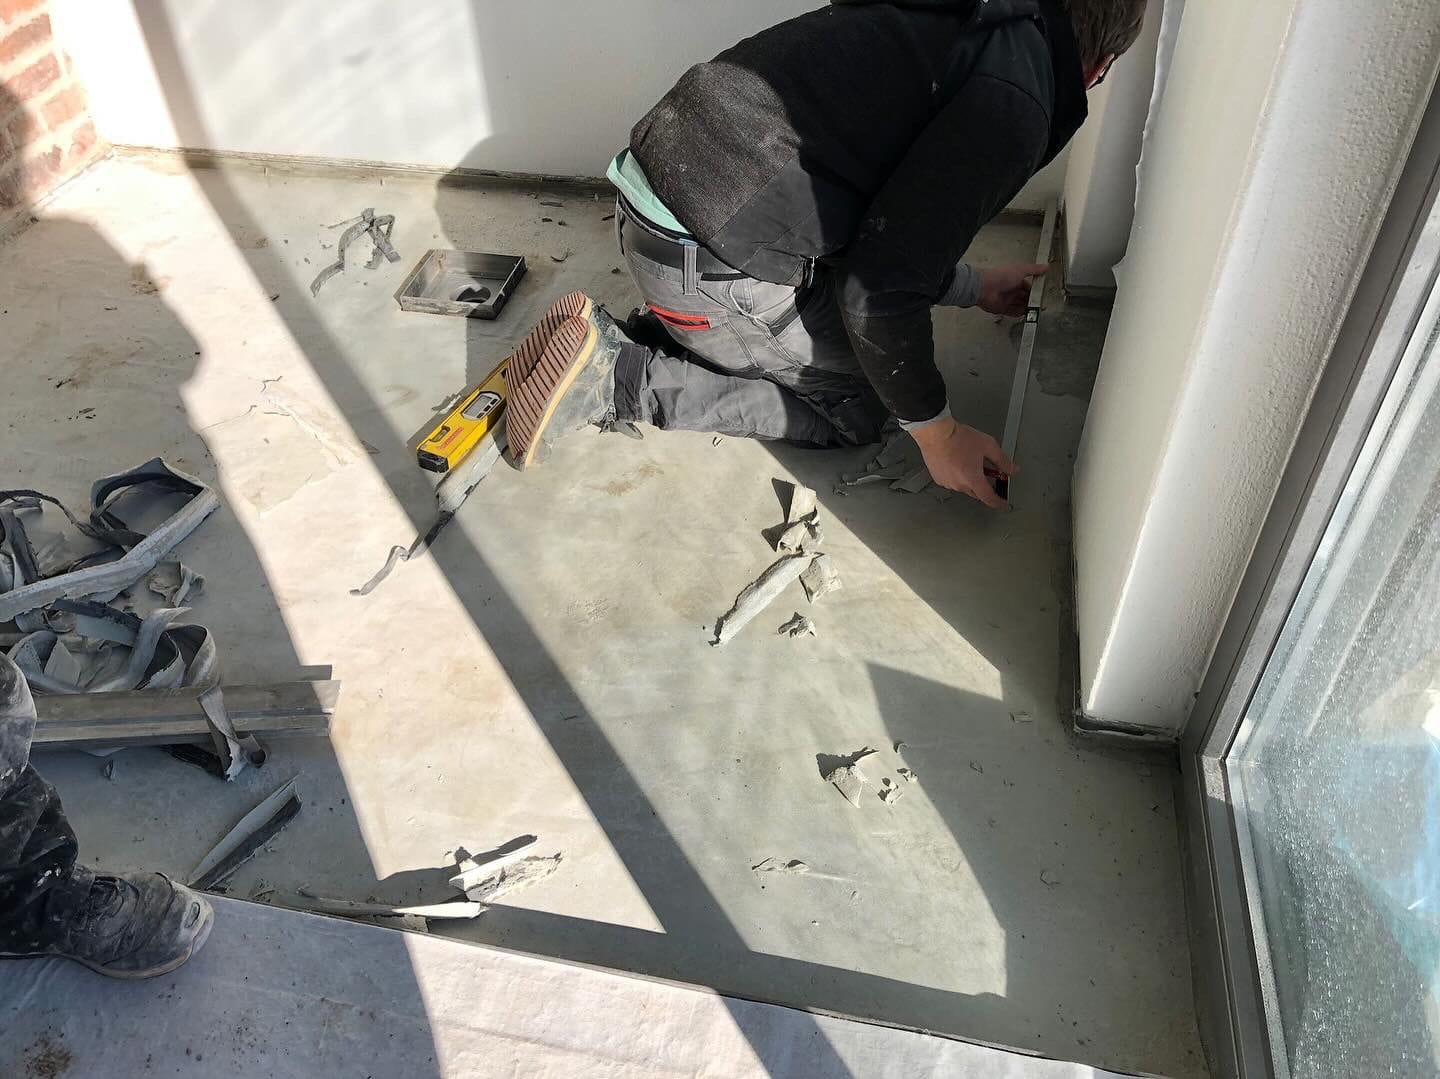
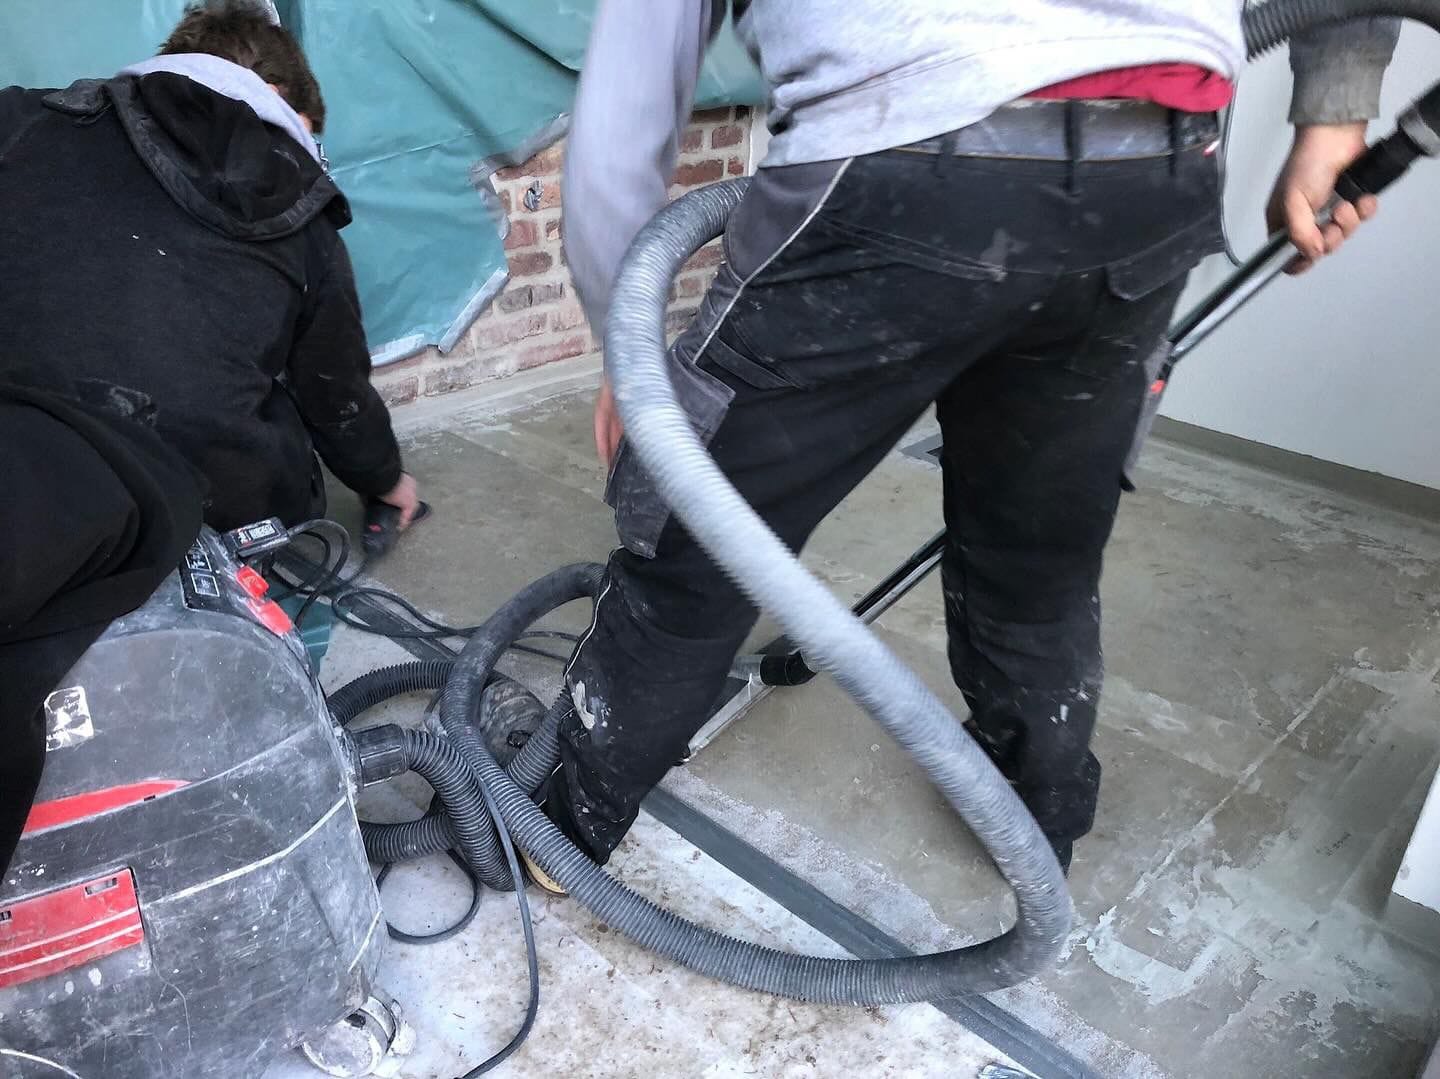
2. Preparing the Subsurface
- Milling or Diamond Grinding: Prepare the subsurface by milling or grinding to create a clean, rough surface that the resin can adhere to.
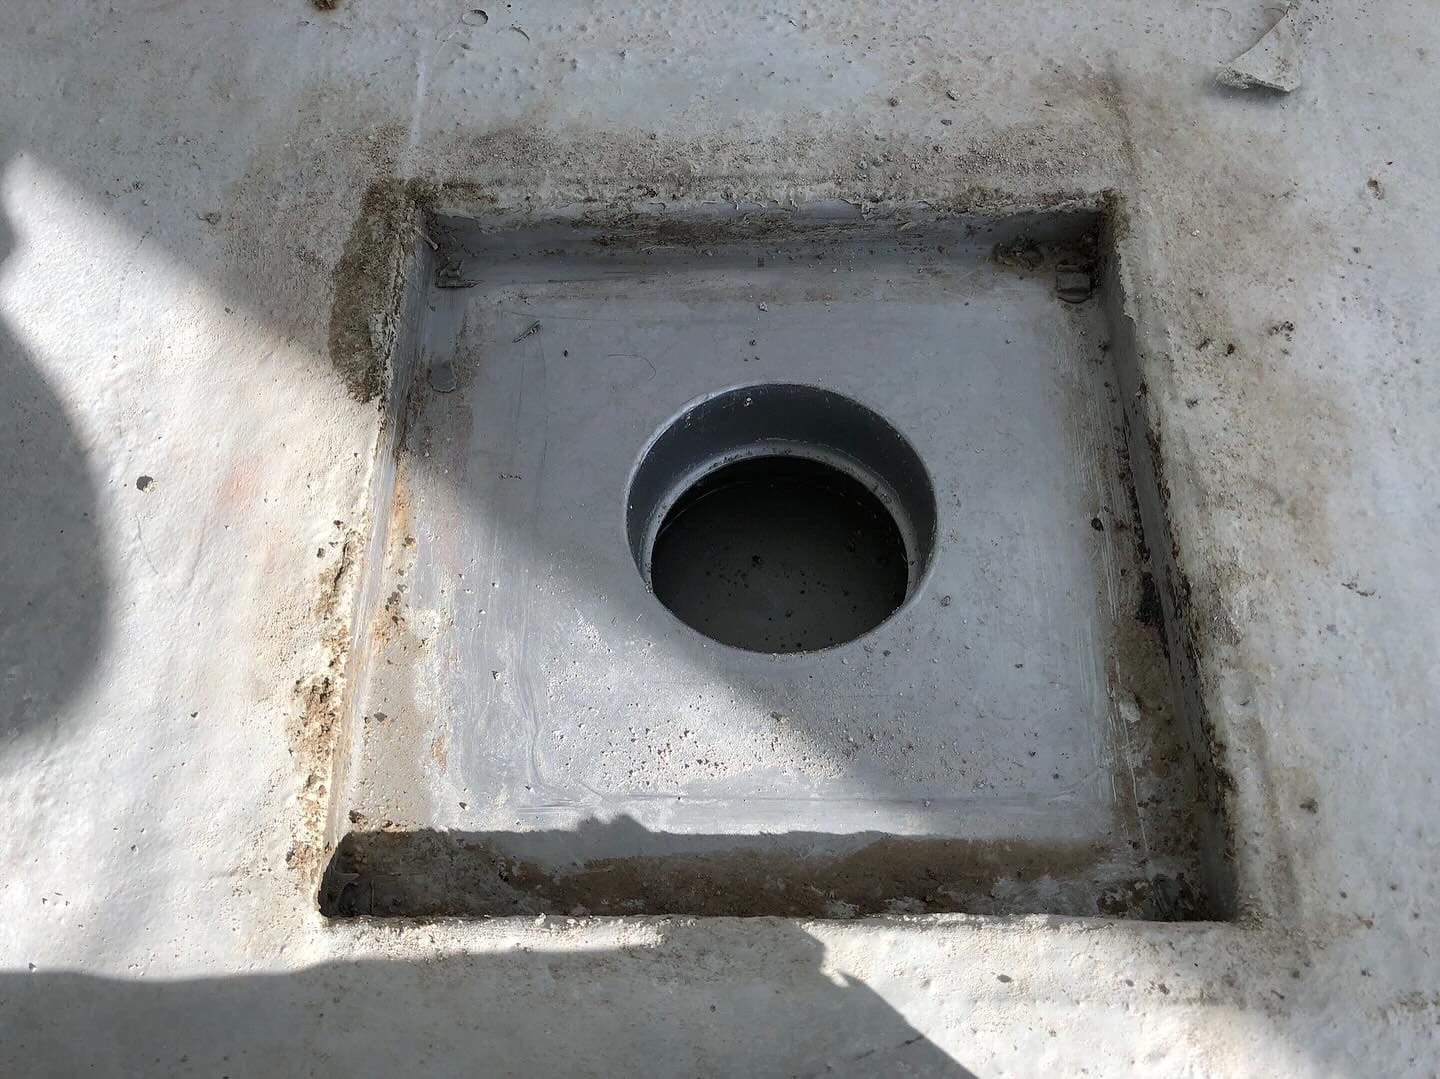
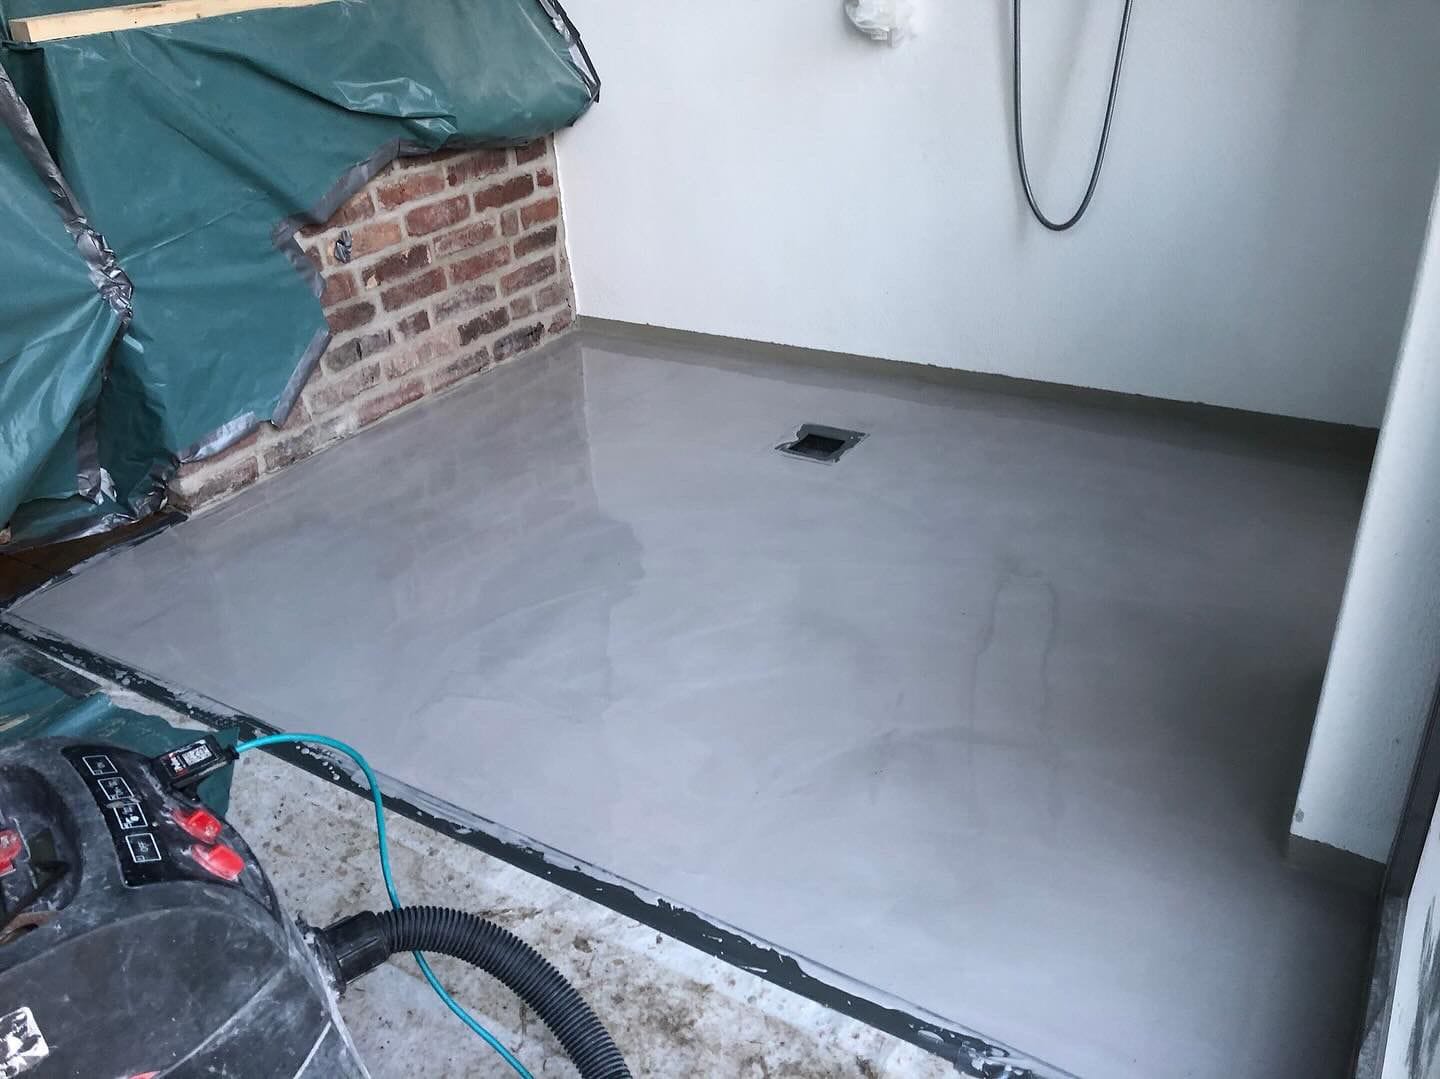
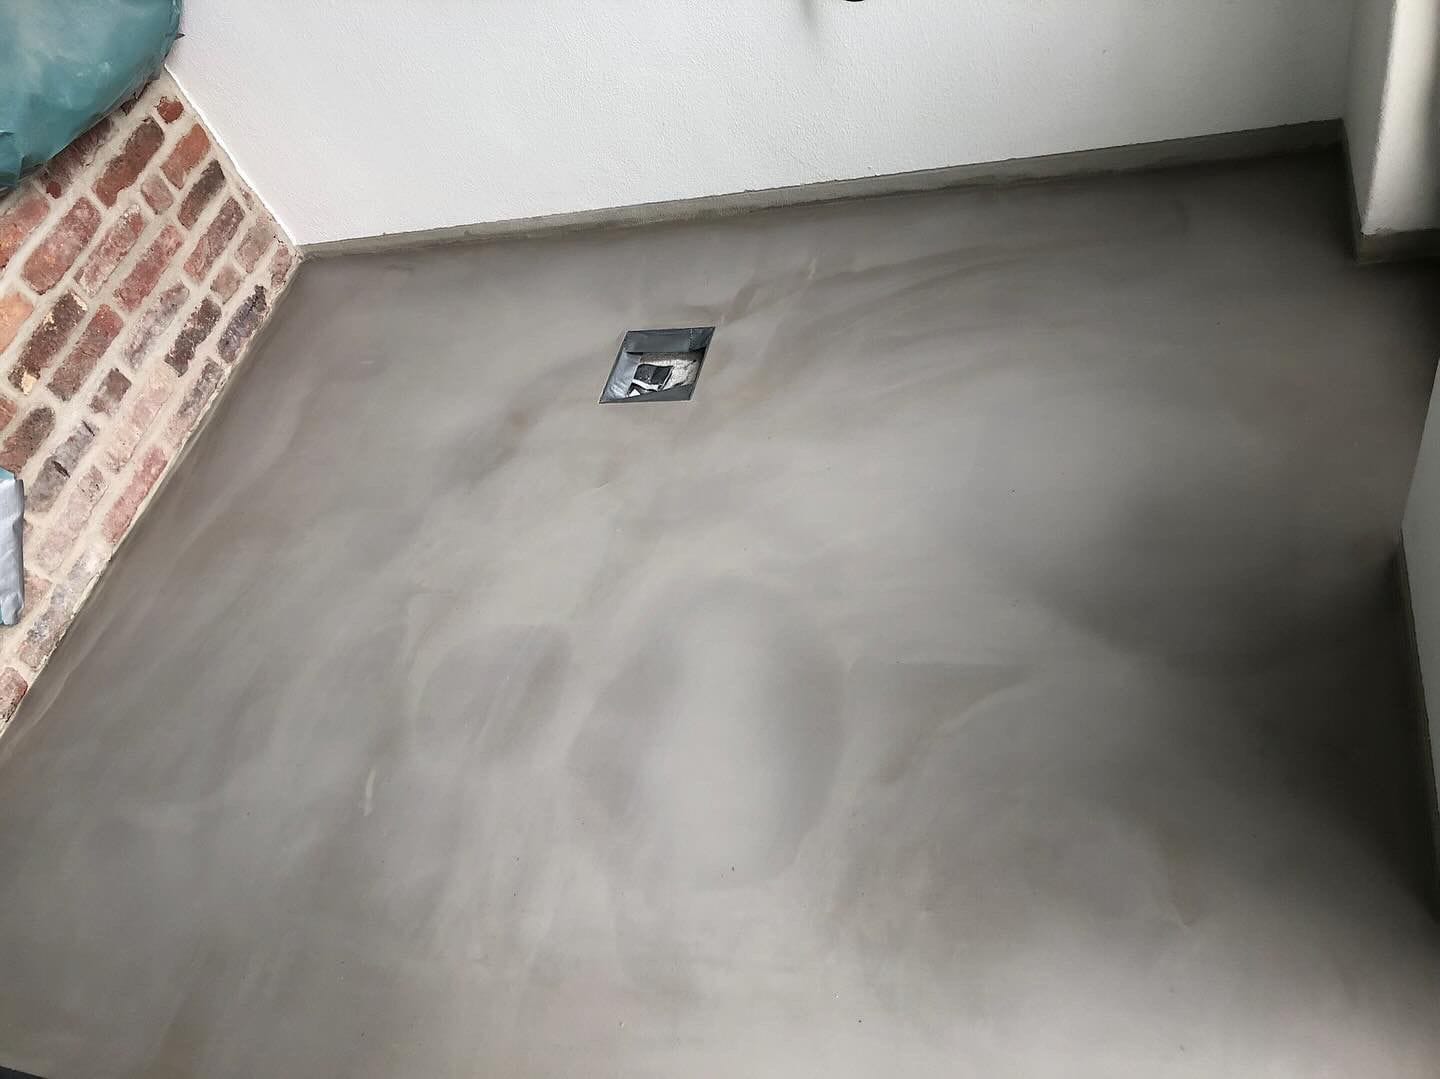
3. Creating the Slope or Leveling Unevenness
- 2K Synthetic Resin Application: If necessary, create a slope or level out uneven areas using 2K synthetic resin. This ensures proper water drainage and a smooth finish.
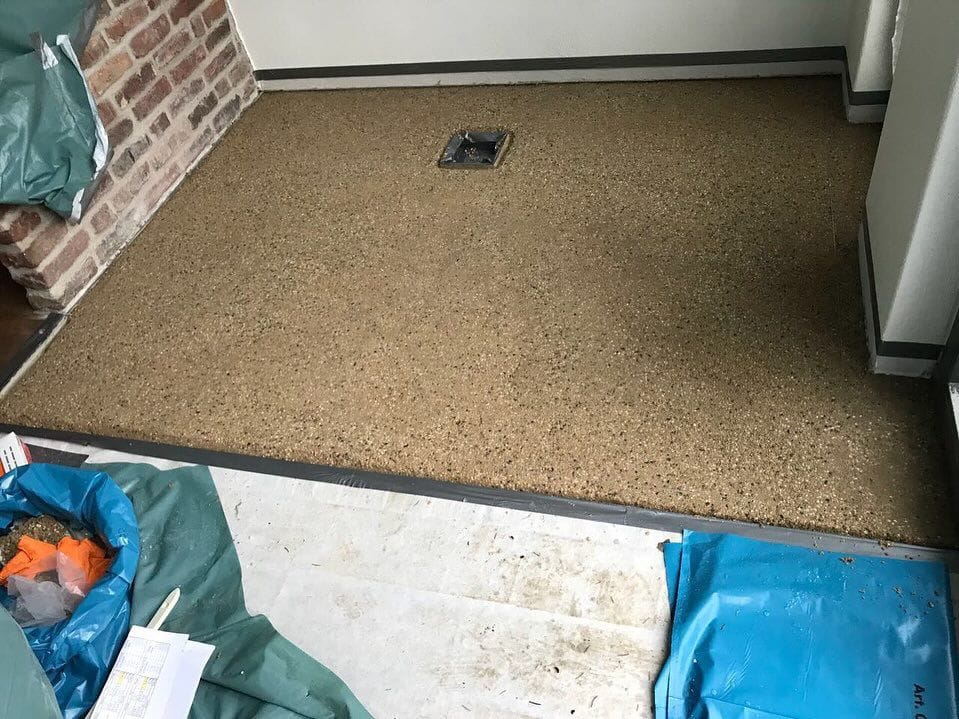
4. Applying the Primer
- Primer Layer: Roll on a primer layer made of 2K synthetic resin. This layer enhances adhesion for subsequent layers.
5. Sealing the Surface
- Seal Layer: Apply a seal made of 2K synthetic resin to waterproof the subsurface and provide an additional barrier against moisture.
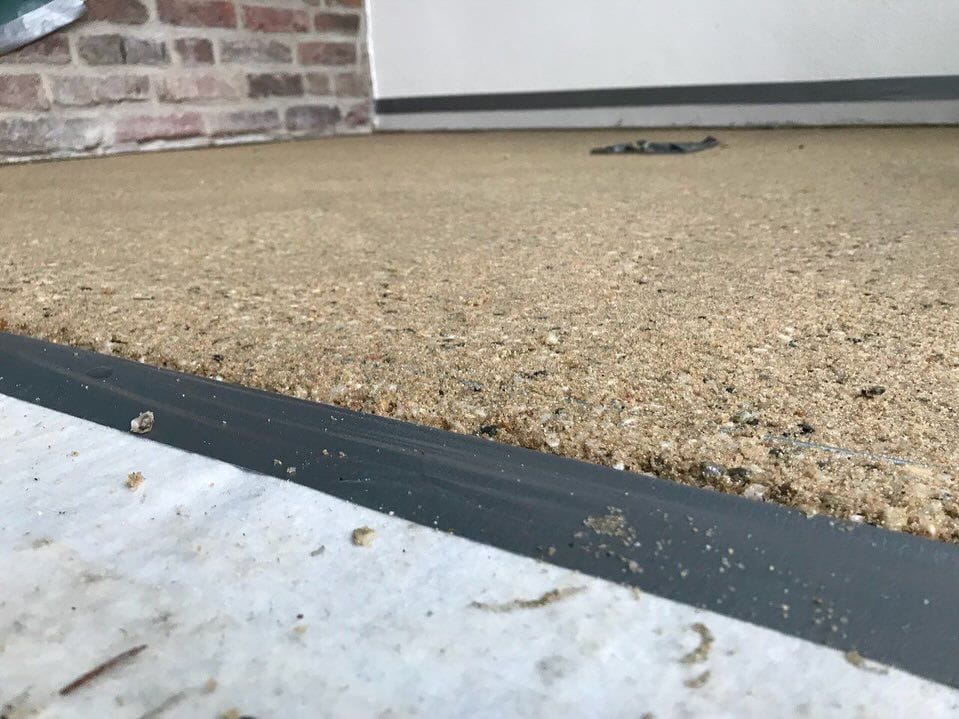
6. Applying the Wear Layer
- Wear Layer: Apply a wear layer of 2K synthetic resin. This layer will endure the daily wear and tear of shower use, ensuring longevity.
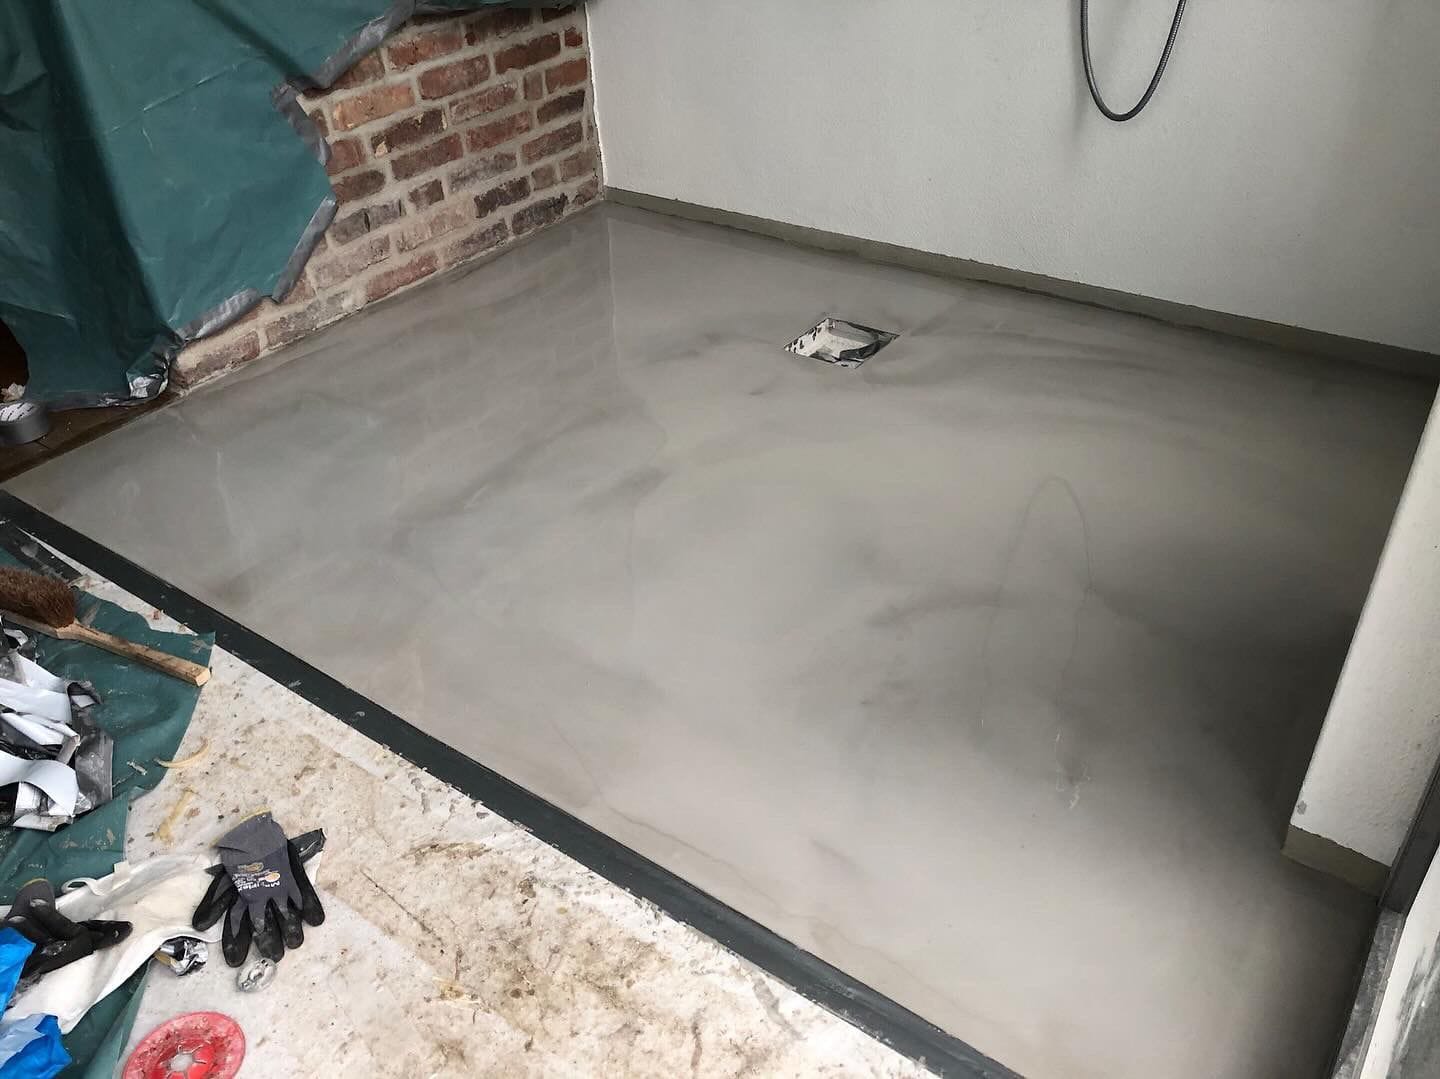
7. Final Sealing
- Final Seal: Roll on a final seal made of 2K synthetic resin. This top layer provides extra protection and a polished finish.
Creating a durable and stylish shower floor with 2K synthetic resin is a manageable DIY project that offers professional results. By carefully preparing the subsurface and applying multiple resin layers, you ensure a strong, waterproof, and attractive finish. Follow these steps, and you’ll enjoy a beautiful shower floor that enhances your bathroom for years to come.

CREATOR: Esther
INSTAGRAM: @colognecountrylife
COMPANY: Brabender GmbH
INSTAGRAM: @brabendergmbh