Transforming IKEA Billy Oxberg bookcases into a custom built-in unit is a simple and stylish way to upgrade your space. With a few extra materials and some DIY effort, you can create a seamless, high-end look without breaking the bank.
Materials Needed
- 2x Billy Oxberg Bookcase
- 2x Billy Oxberg Cabinet
- Screws
- Wooden strip (for covering gaps)
- Skirting board
- Primer
- Paint
- Filler (to close holes)
Step-by-Step Guide
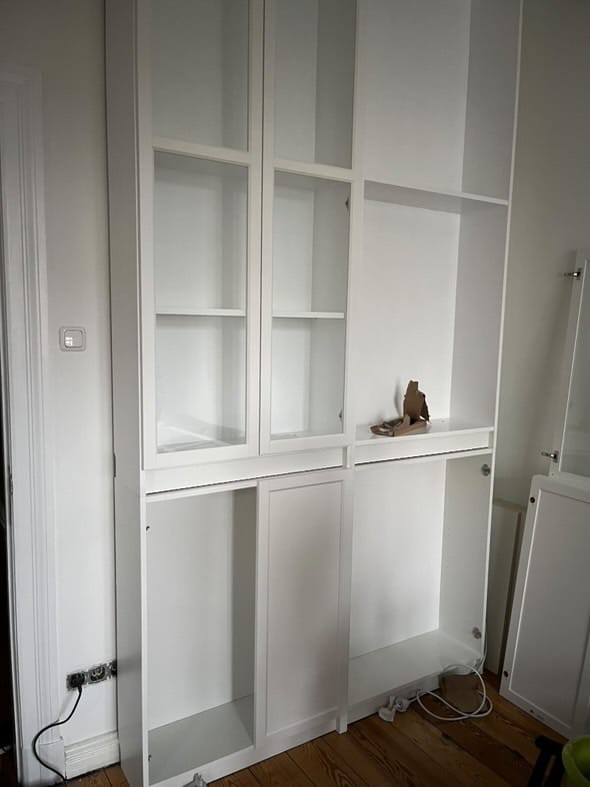
Step 1: Assemble and Secure the Cabinets
Start by assembling the two Billy Oxberg cabinets and the two Billy Oxberg bookcases. Once assembled, screw all four units together securely. For added stability and safety, fix the entire unit to the wall to prevent tipping.

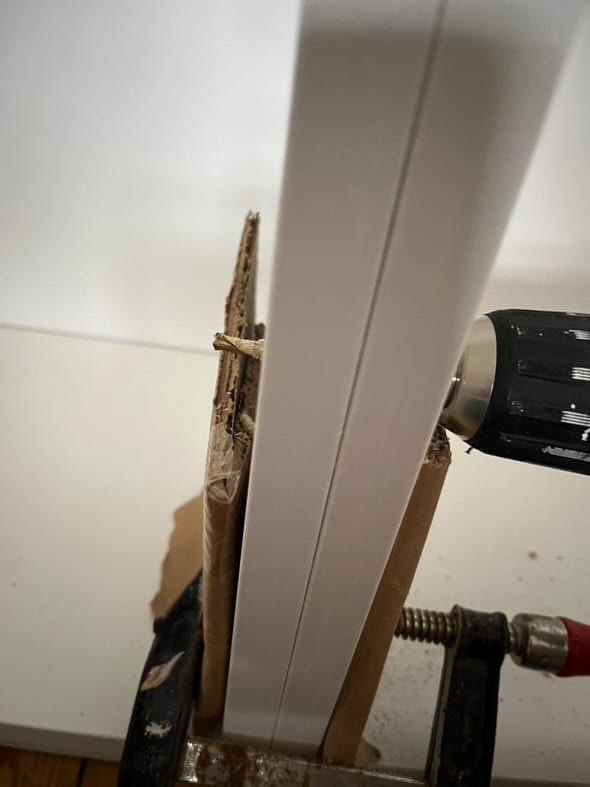
Step 2: Cover the Gaps
There may be small gaps between the bookcases and the wall. To create a seamless built-in effect, cover these gaps using a wooden strip. Measure and cut the strip to fit, then attach it securely.
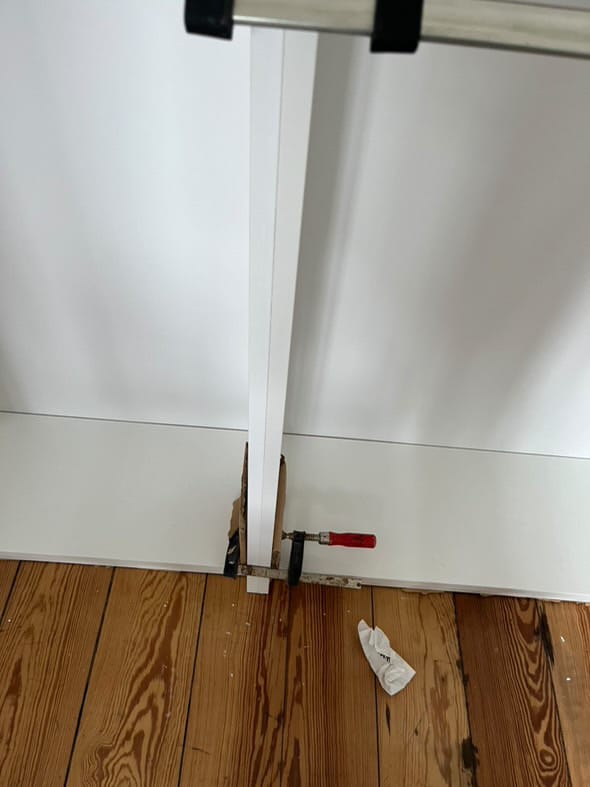
Step 3: Attach the Skirting Board
For a polished, finished look, attach a skirting board to the bottom of the unit. This helps integrate the bookcases with the existing room decor and enhances the built-in appearance.
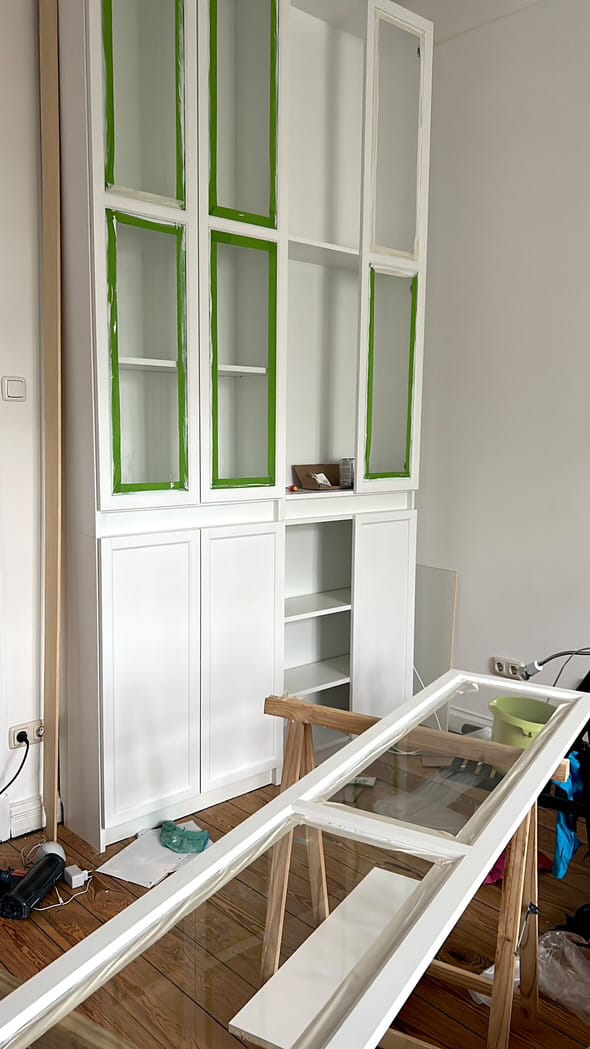
Step 4: Prep and Paint
Before painting, apply a primer to ensure the paint adheres properly. Once the primer is dry, paint the cabinets in your desired color for a cohesive and professional finish.
Step 5: Final Touches
To perfect the look, close any visible holes with filler, then sand them smooth before applying the final coat of paint. Once dry, your custom built-in bookshelf unit is complete and ready for styling!

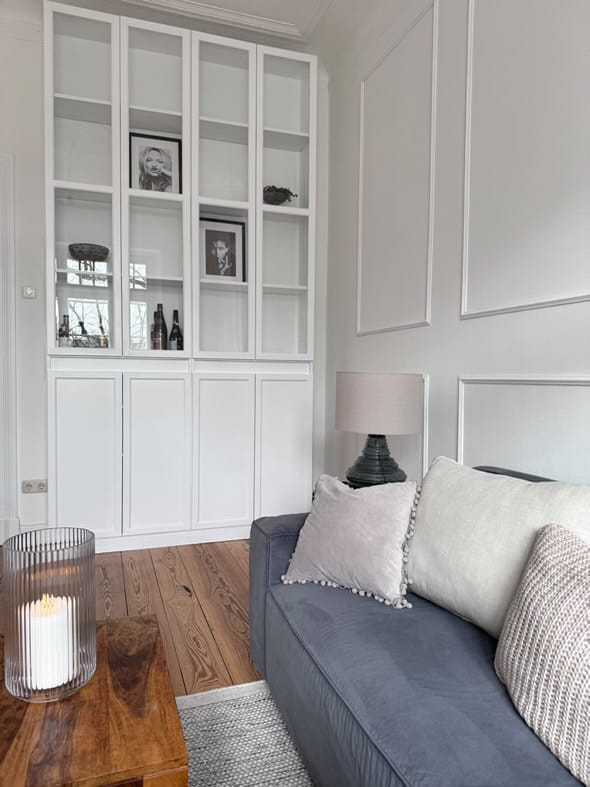
This IKEA Billy Oxberg hack is a cost-effective way to achieve a high-end, custom-built bookshelf without the expense of bespoke cabinetry. With a few additional steps, you can create a functional and beautiful storage solution tailored to your home.
Creator: Britta
Instagram: @brittas_homestory