

As my son started secondary school, I realized he needed his own dedicated space for homework instead of using the dining table. I wanted something stylish yet affordable, so I decided to build him a unique checkerboard desk using scrap wood and metal legs. With some patience and a bit of paint, I created a statement piece that fits perfectly in his bedroom. Here’s how you can make one too!
Materials Needed:
- MDF wood (off-cut from a timber shop – I got mine for just £3.50!)
- White paint
- Black paint
- Frog tape (or painter’s tape)
- Satin clear varnish (for protection)
- Metal desk legs (I used bright red ones from The Hairpin Leg Co.)
- Paintbrushes and rollers
- Screws & drill (for attaching the legs)
Step-by-Step Guide:
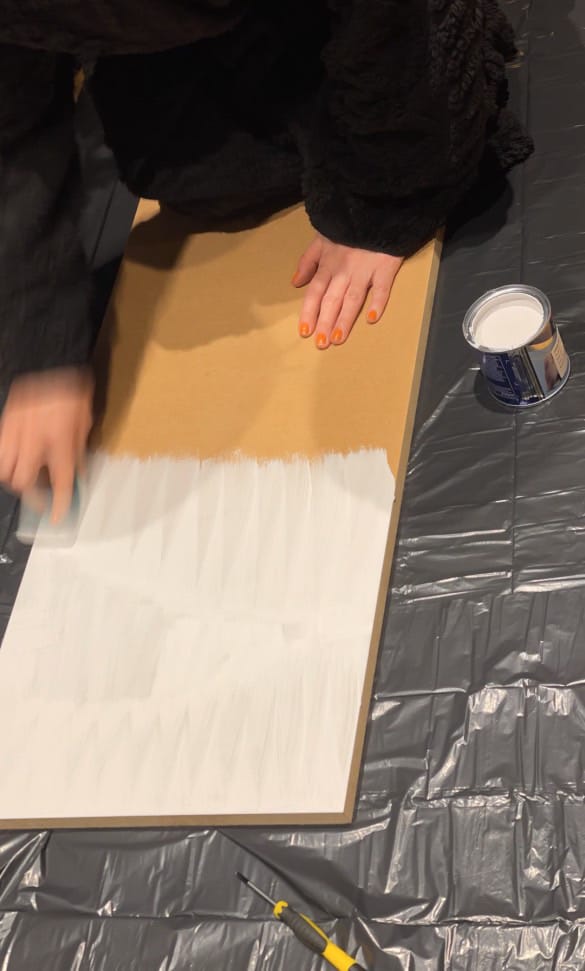
Step 1: Prepare the MDF Board
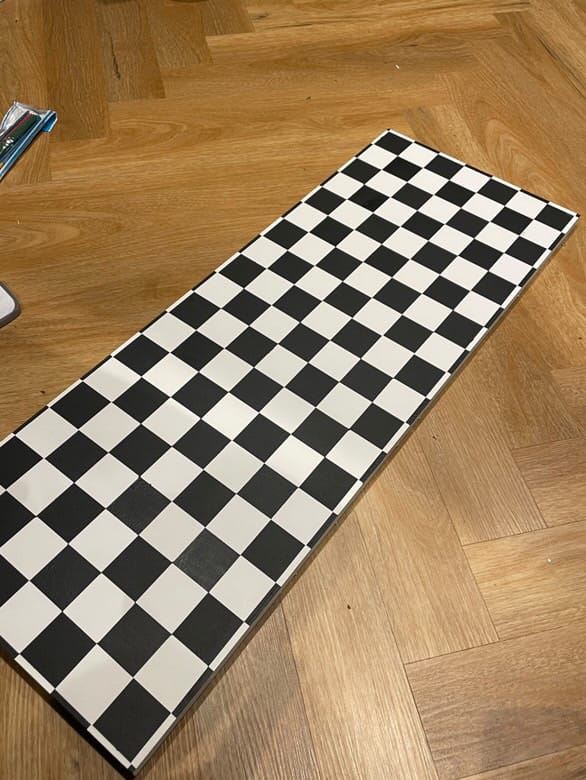
Start by selecting a piece of MDF wood. It’s an affordable and sturdy material, perfect for a DIY desk. If needed, sand it down to smooth out any rough edges. Then, apply two coats of white paint as a base and allow it to dry completely.
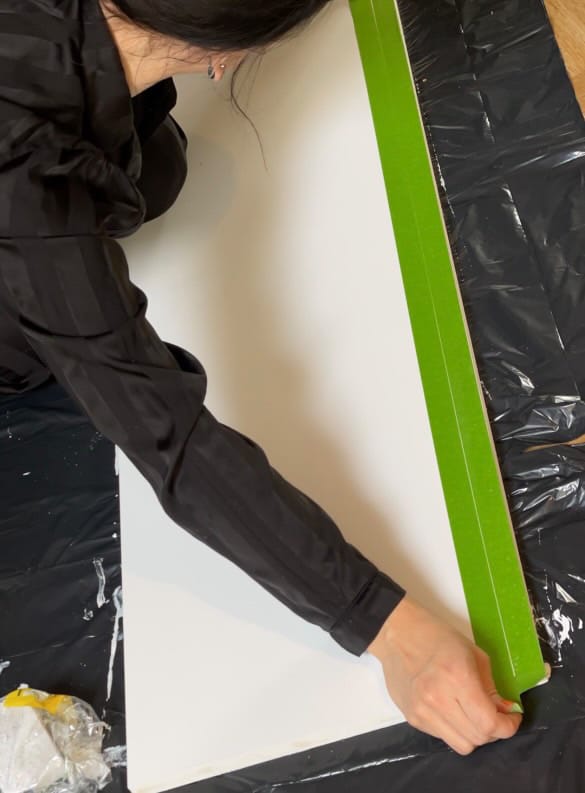
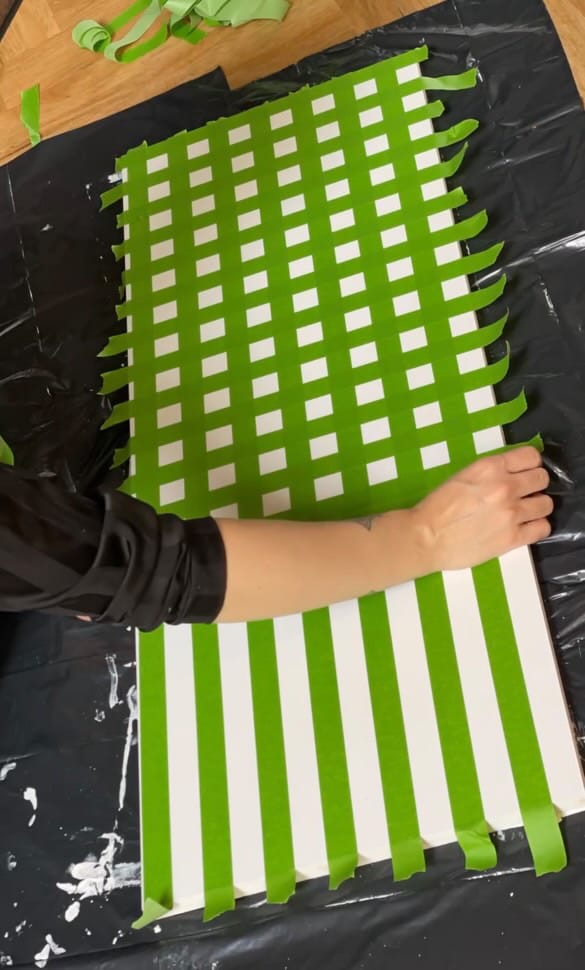
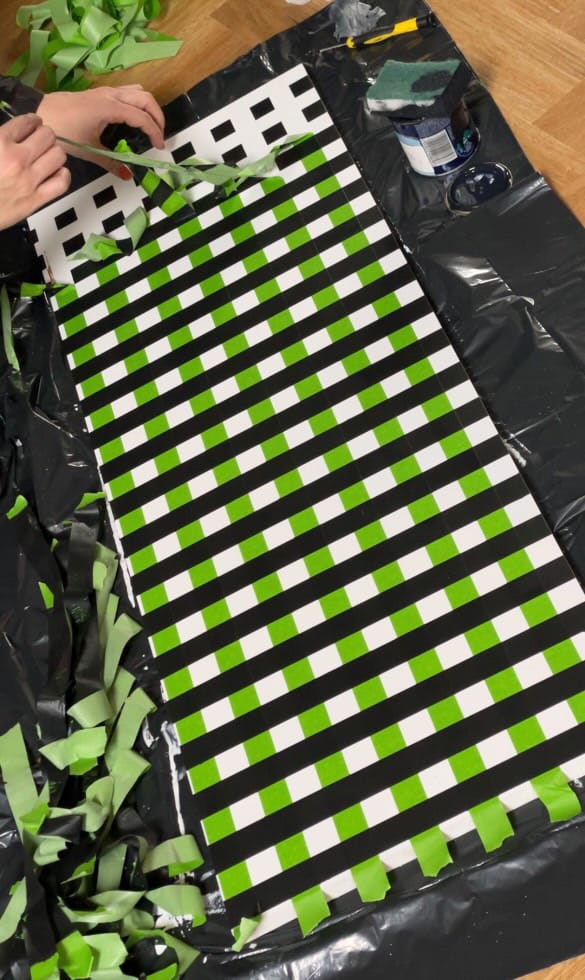
Step 2: Create the Checkerboard Pattern
Once dry, use frog tape to create horizontal lines across the board, covering the entire surface. After, remove every other strip of tape to reveal evenly spaced white stripes. Repeat the process vertically, layering the frog tape over the first set of stripes. Later remove every other strip, leaving behind a checkerboard pattern made of tape.

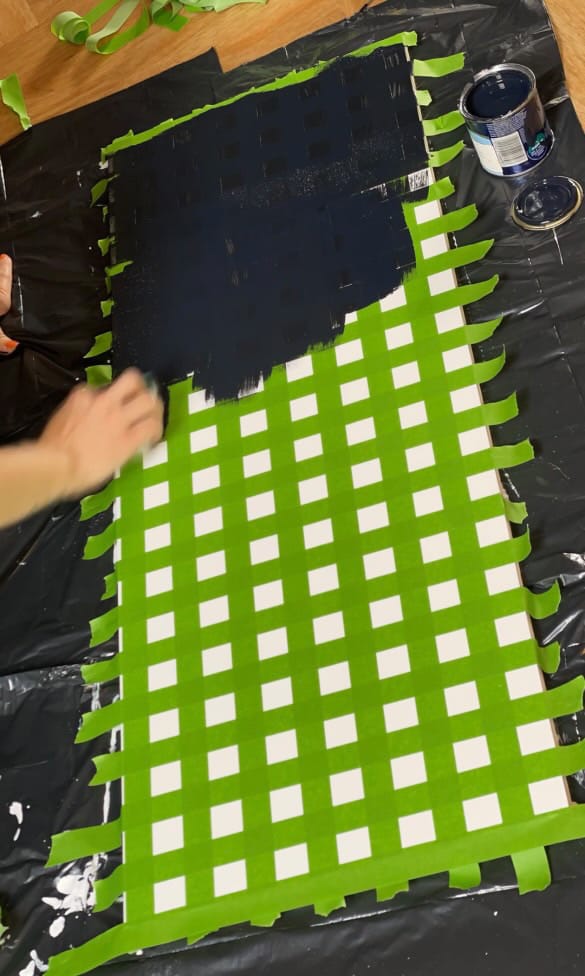
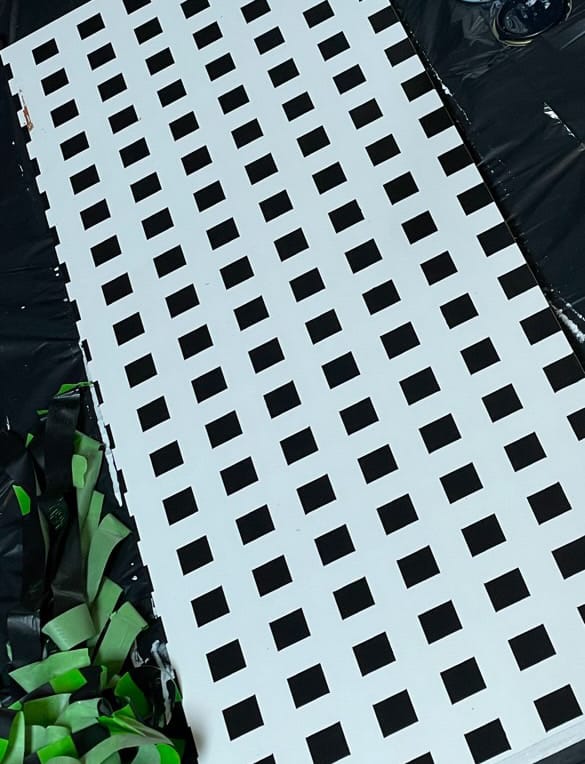
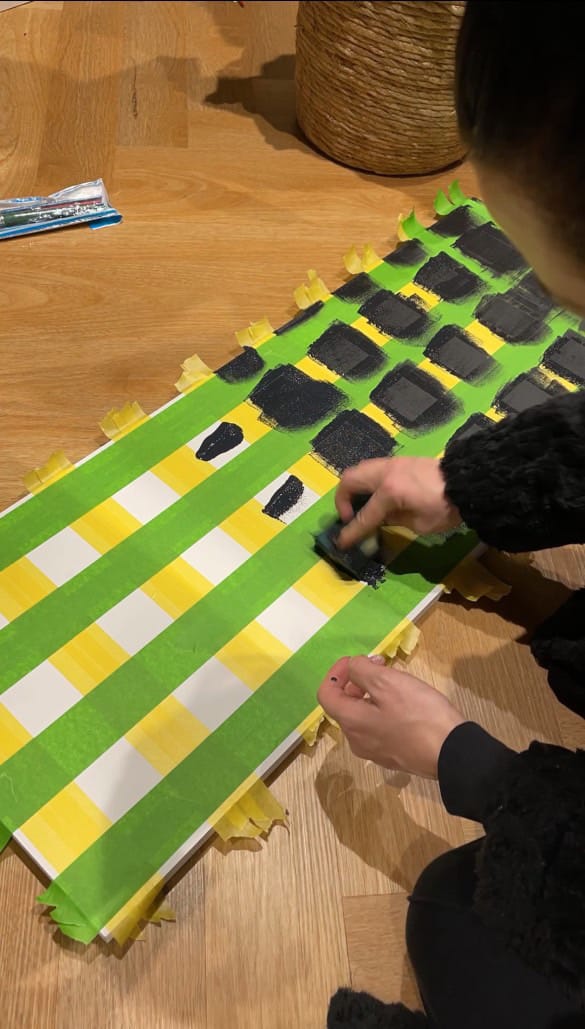
Step 3: Painting the Black Squares
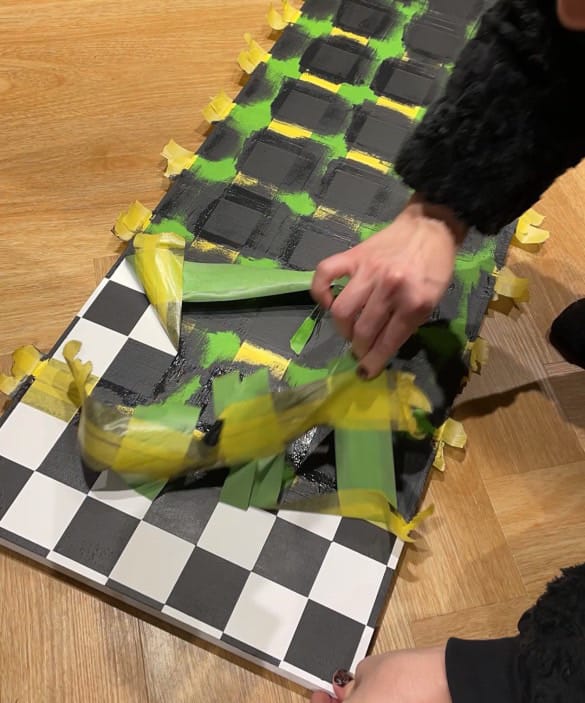
Paint over the entire surface with two coats of black paint, making sure to let the first coat dry before applying the second. After, remove the tape while the second coat is still wet to prevent peeling or jagged edges. Let the surface dry fully for 24 hours.
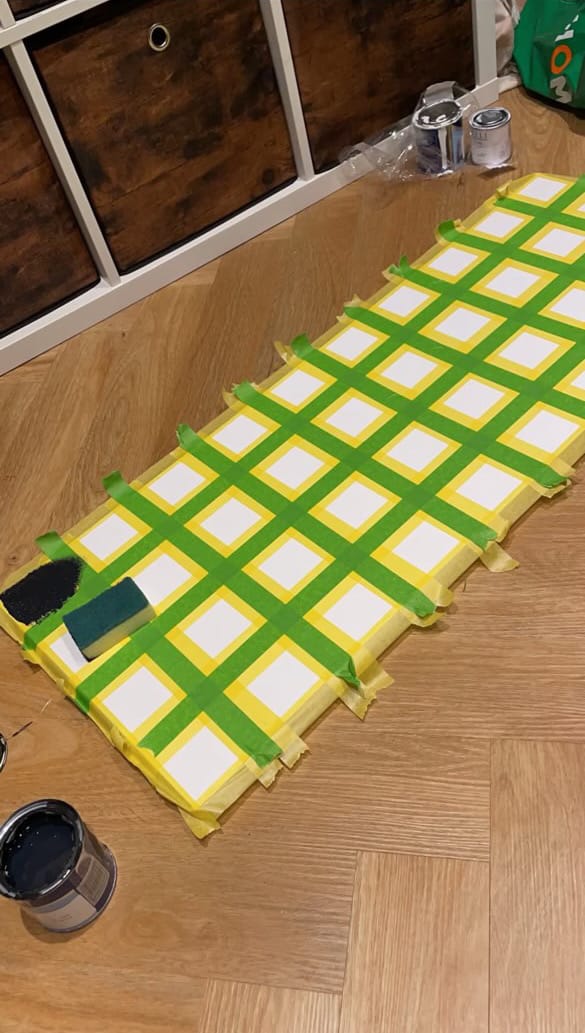
Step 4: Refining the Pattern
Once dry, apply frog tape again, but this time covering the black squares and exposing only the white squares. After that apply two fresh coats of white paint to ensure crisp, even coloring. Then, remove the tape while the second coat is still wet to reveal a sharp checkerboard pattern.
Step 5: Sealing the Surface
To ensure the desk withstands daily use, apply three coats of clear satin varnish. This will protect the paint, add durability, and make cleaning easy.
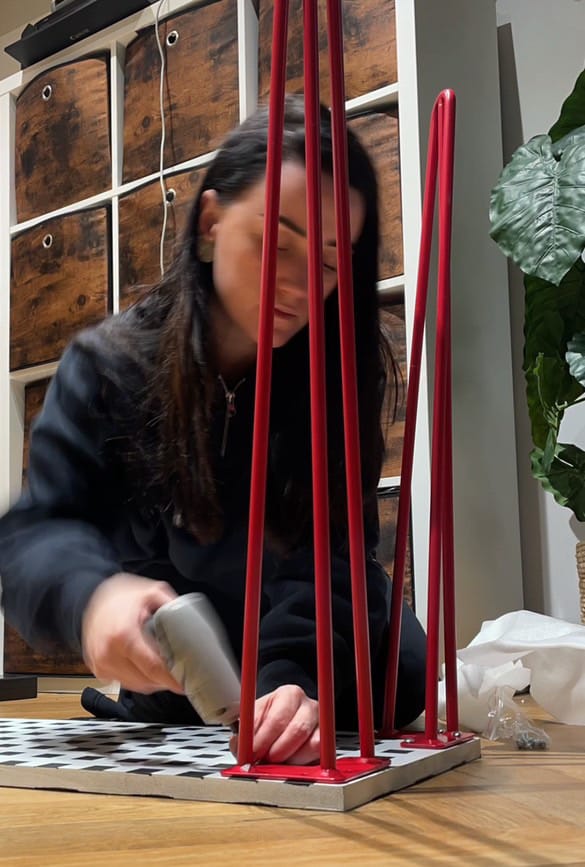
Step 6: Attaching the Legs
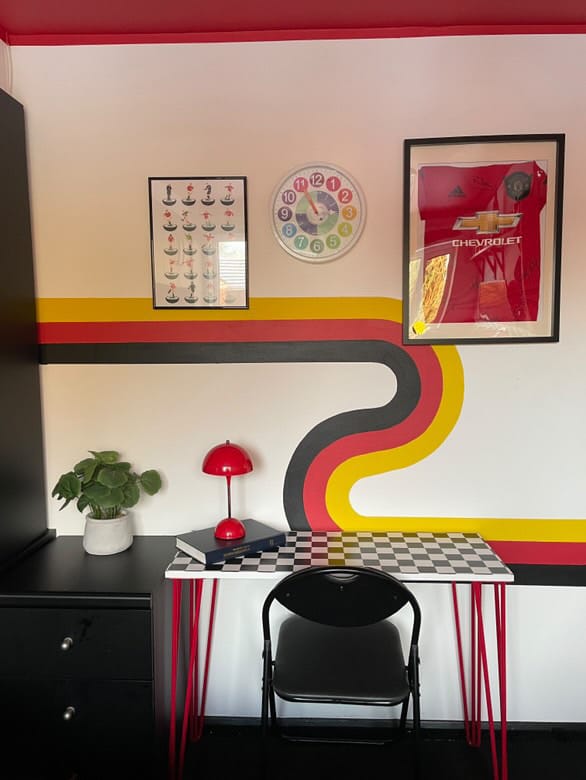
The final step is to attach the desk legs. I chose bold red metal hairpin legs for a modern touch. Simply screw them into the MDF board using a drill, ensuring they’re securely fastened.
This DIY checkerboard desk was a fun and budget-friendly project that gave my son a stylish and functional workspace.
The best part? It cost a fraction of what a store-bought desk would, and the satisfaction of making it myself made it even more special.
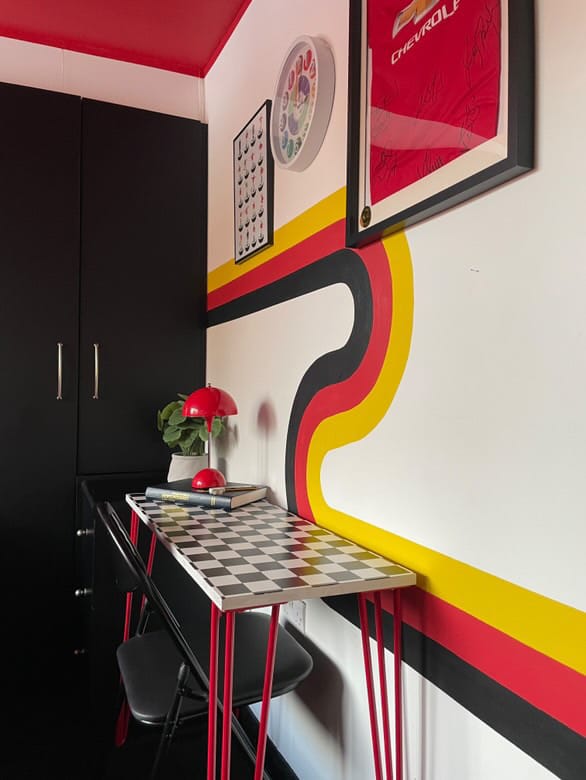
If you're looking to create a unique and personalized desk for your child (or yourself!), give this project a try.
Happy DIY-ing!

Creator: Carrie
Instagram: @theboydshahhome


