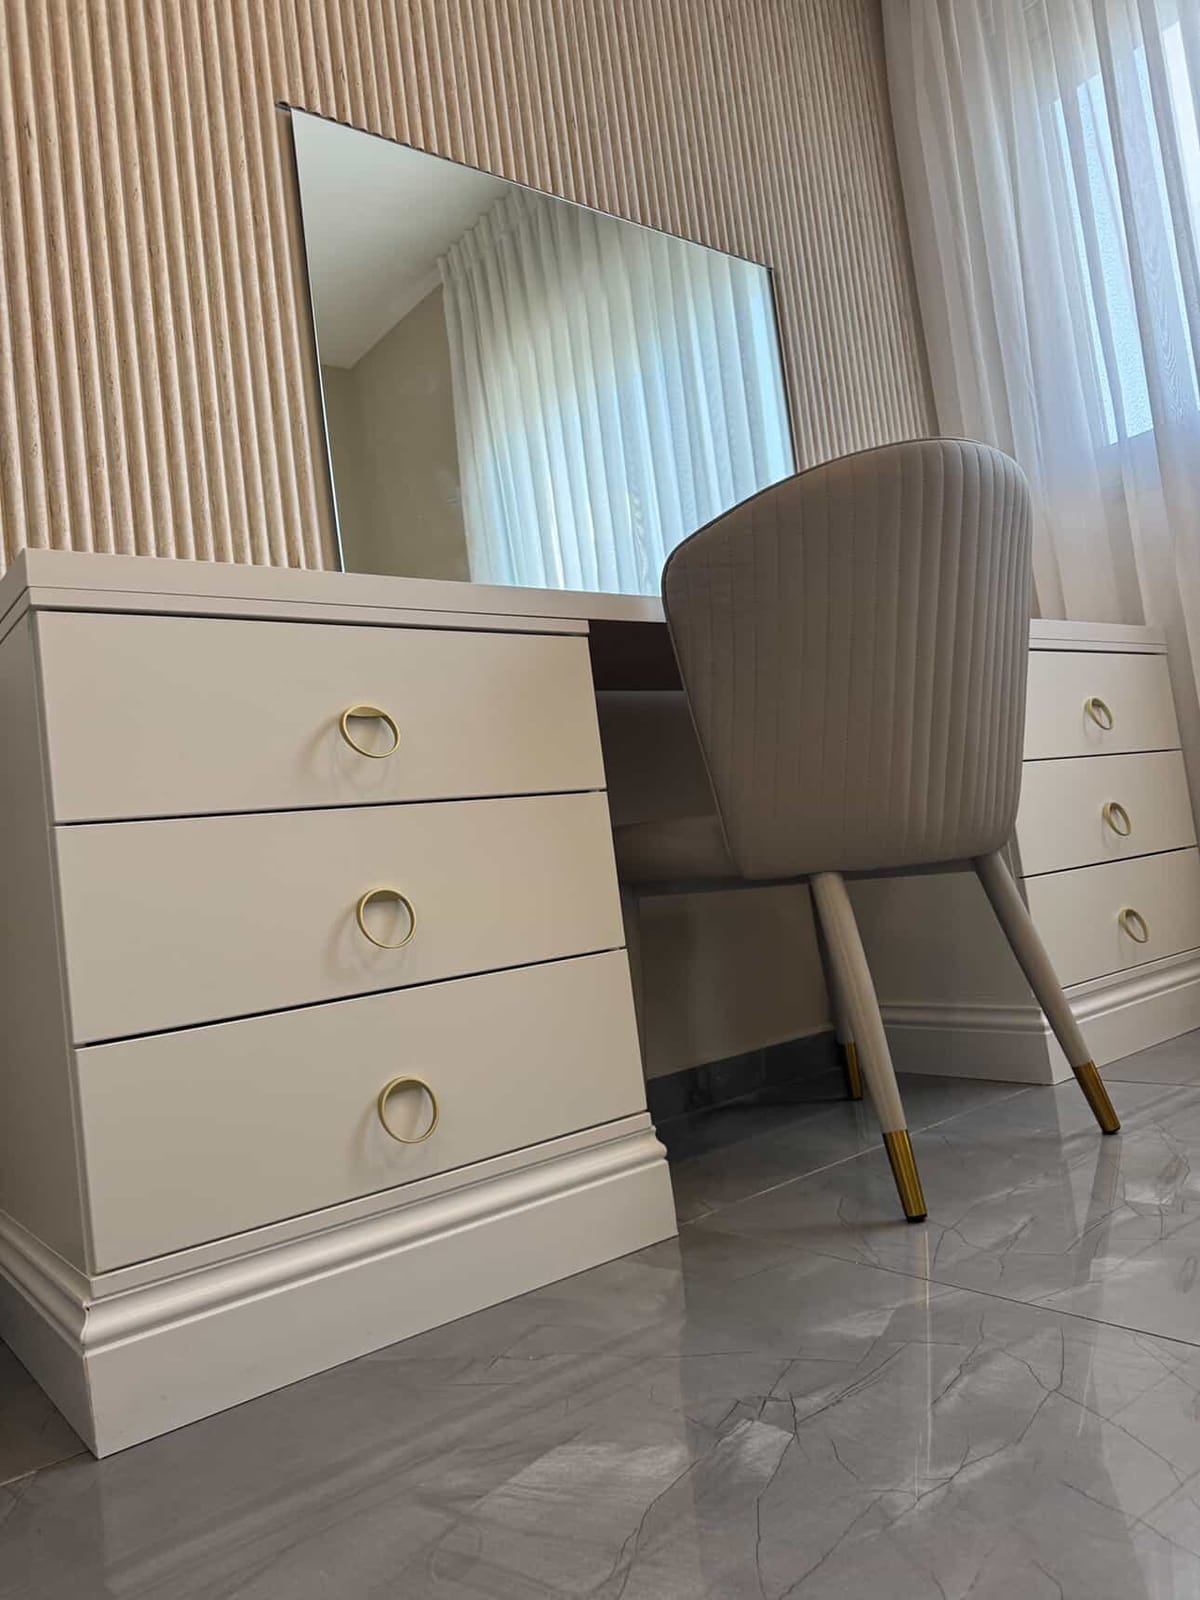
There’s something incredibly satisfying about taking affordable IKEA furniture and turning it into something that looks completely custom. When Thornior reached out after seeing my DIY projects on Instagram, asking how I created this makeup vanity, I knew it deserved a full step-by-step breakdown.
This project is proof that you don’t need a huge budget to achieve a luxurious result. With a bit of planning, smart proportions, and thoughtful details, two IKEA Godishus dressers become a sleek, elevated makeup vanity that looks like it was designed specifically for your space. If you love functional furniture with a high-end feel, this DIY is absolutely for you.
Materials Needed
- 2 IKEA Godishus dressers
- IKEA Lagkapten tabletop (200 cm)
- Wooden beams (12 cm height)
- White floor panel (12 cm height)
- Gold round handles
- Strong adhesive
- Acrylic sealant
- Screws
Step-by
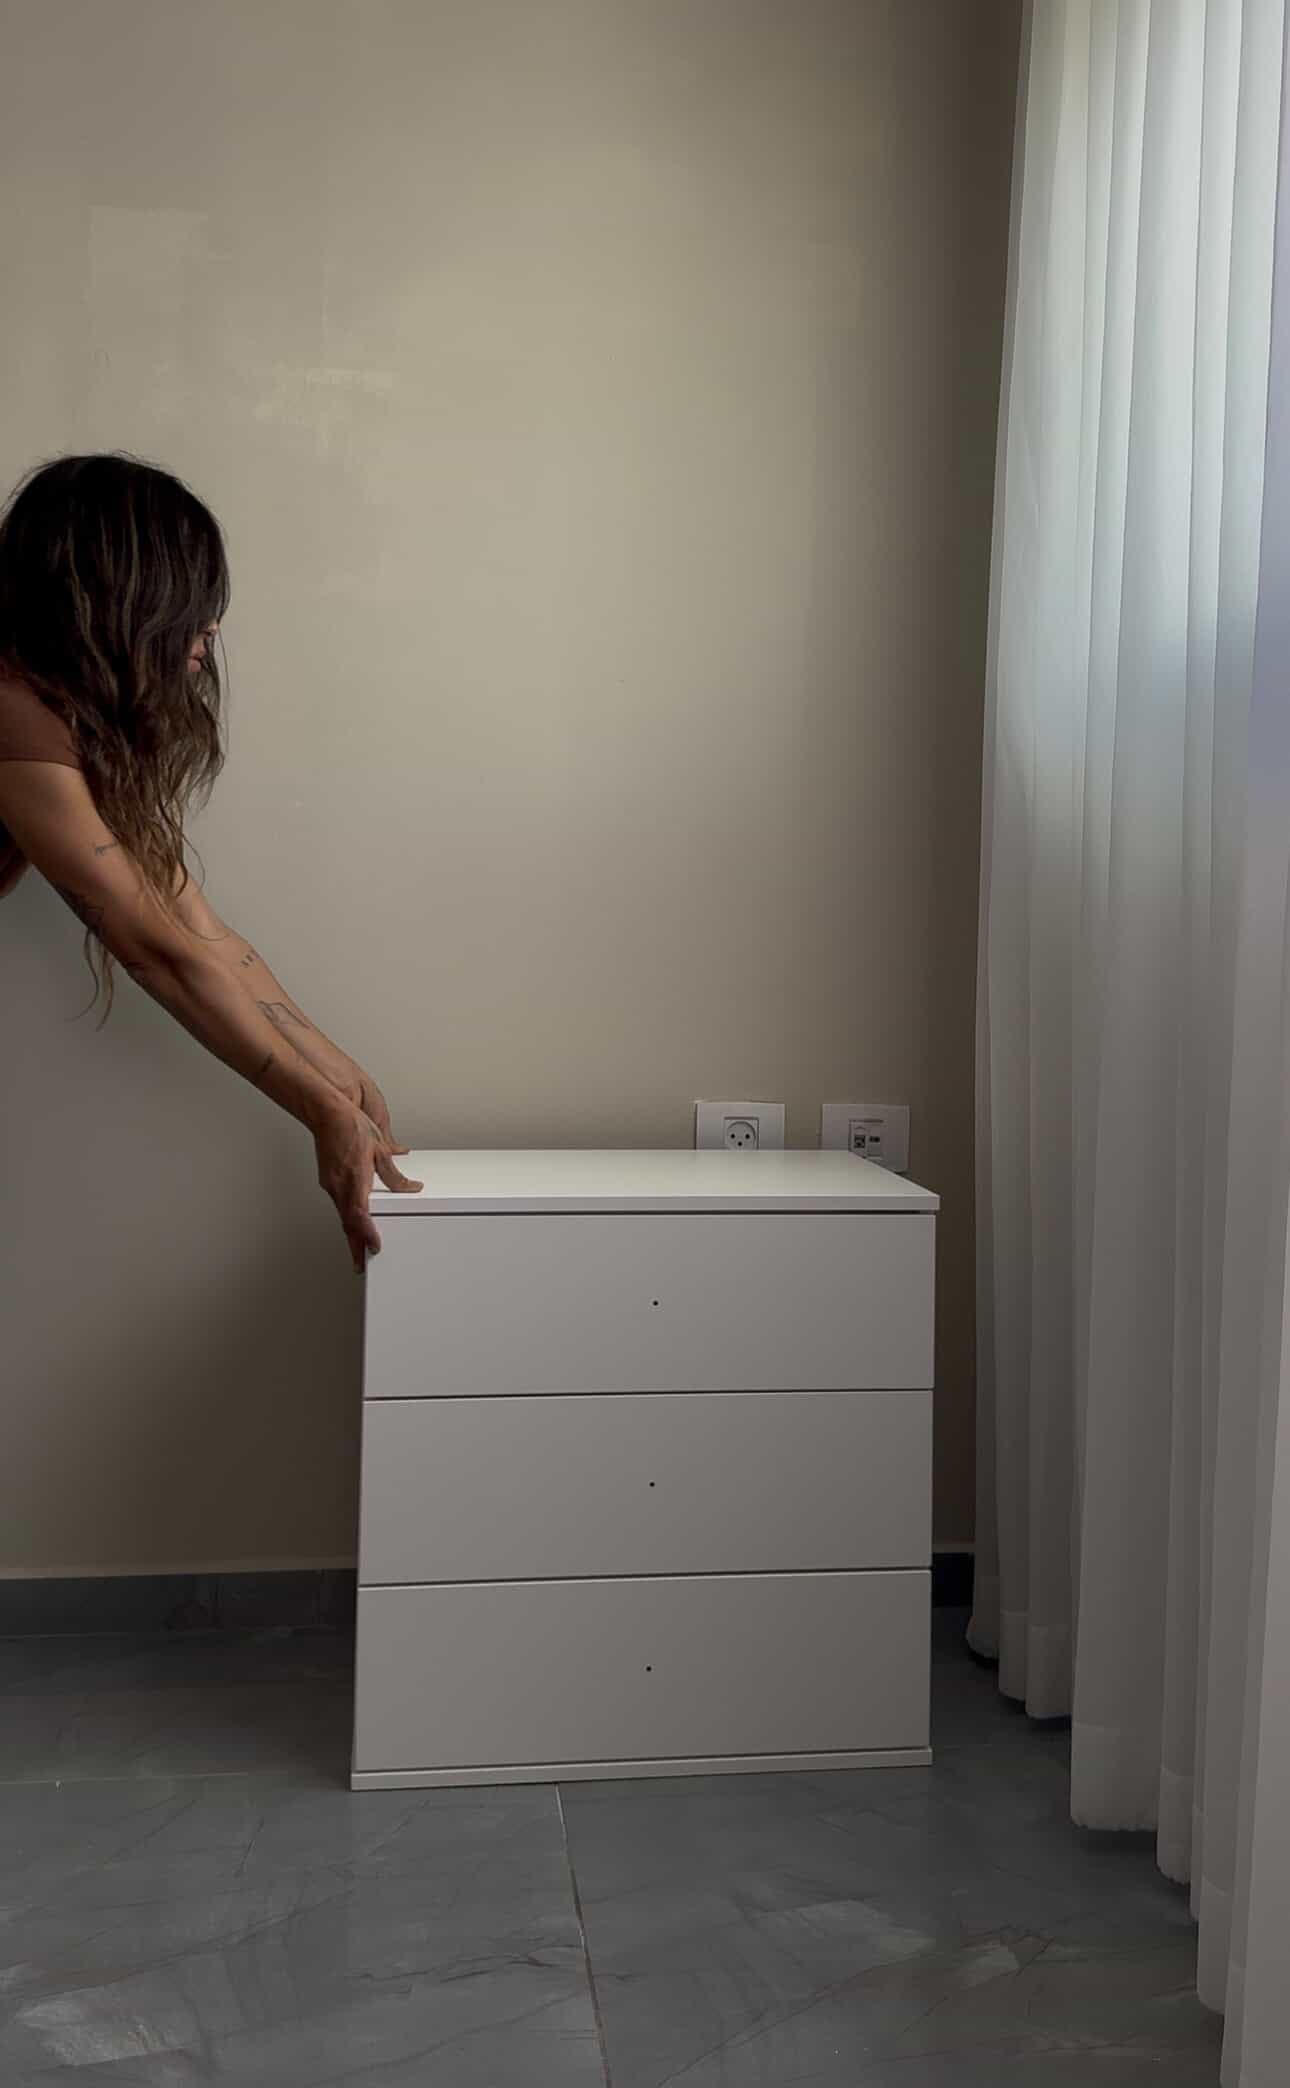
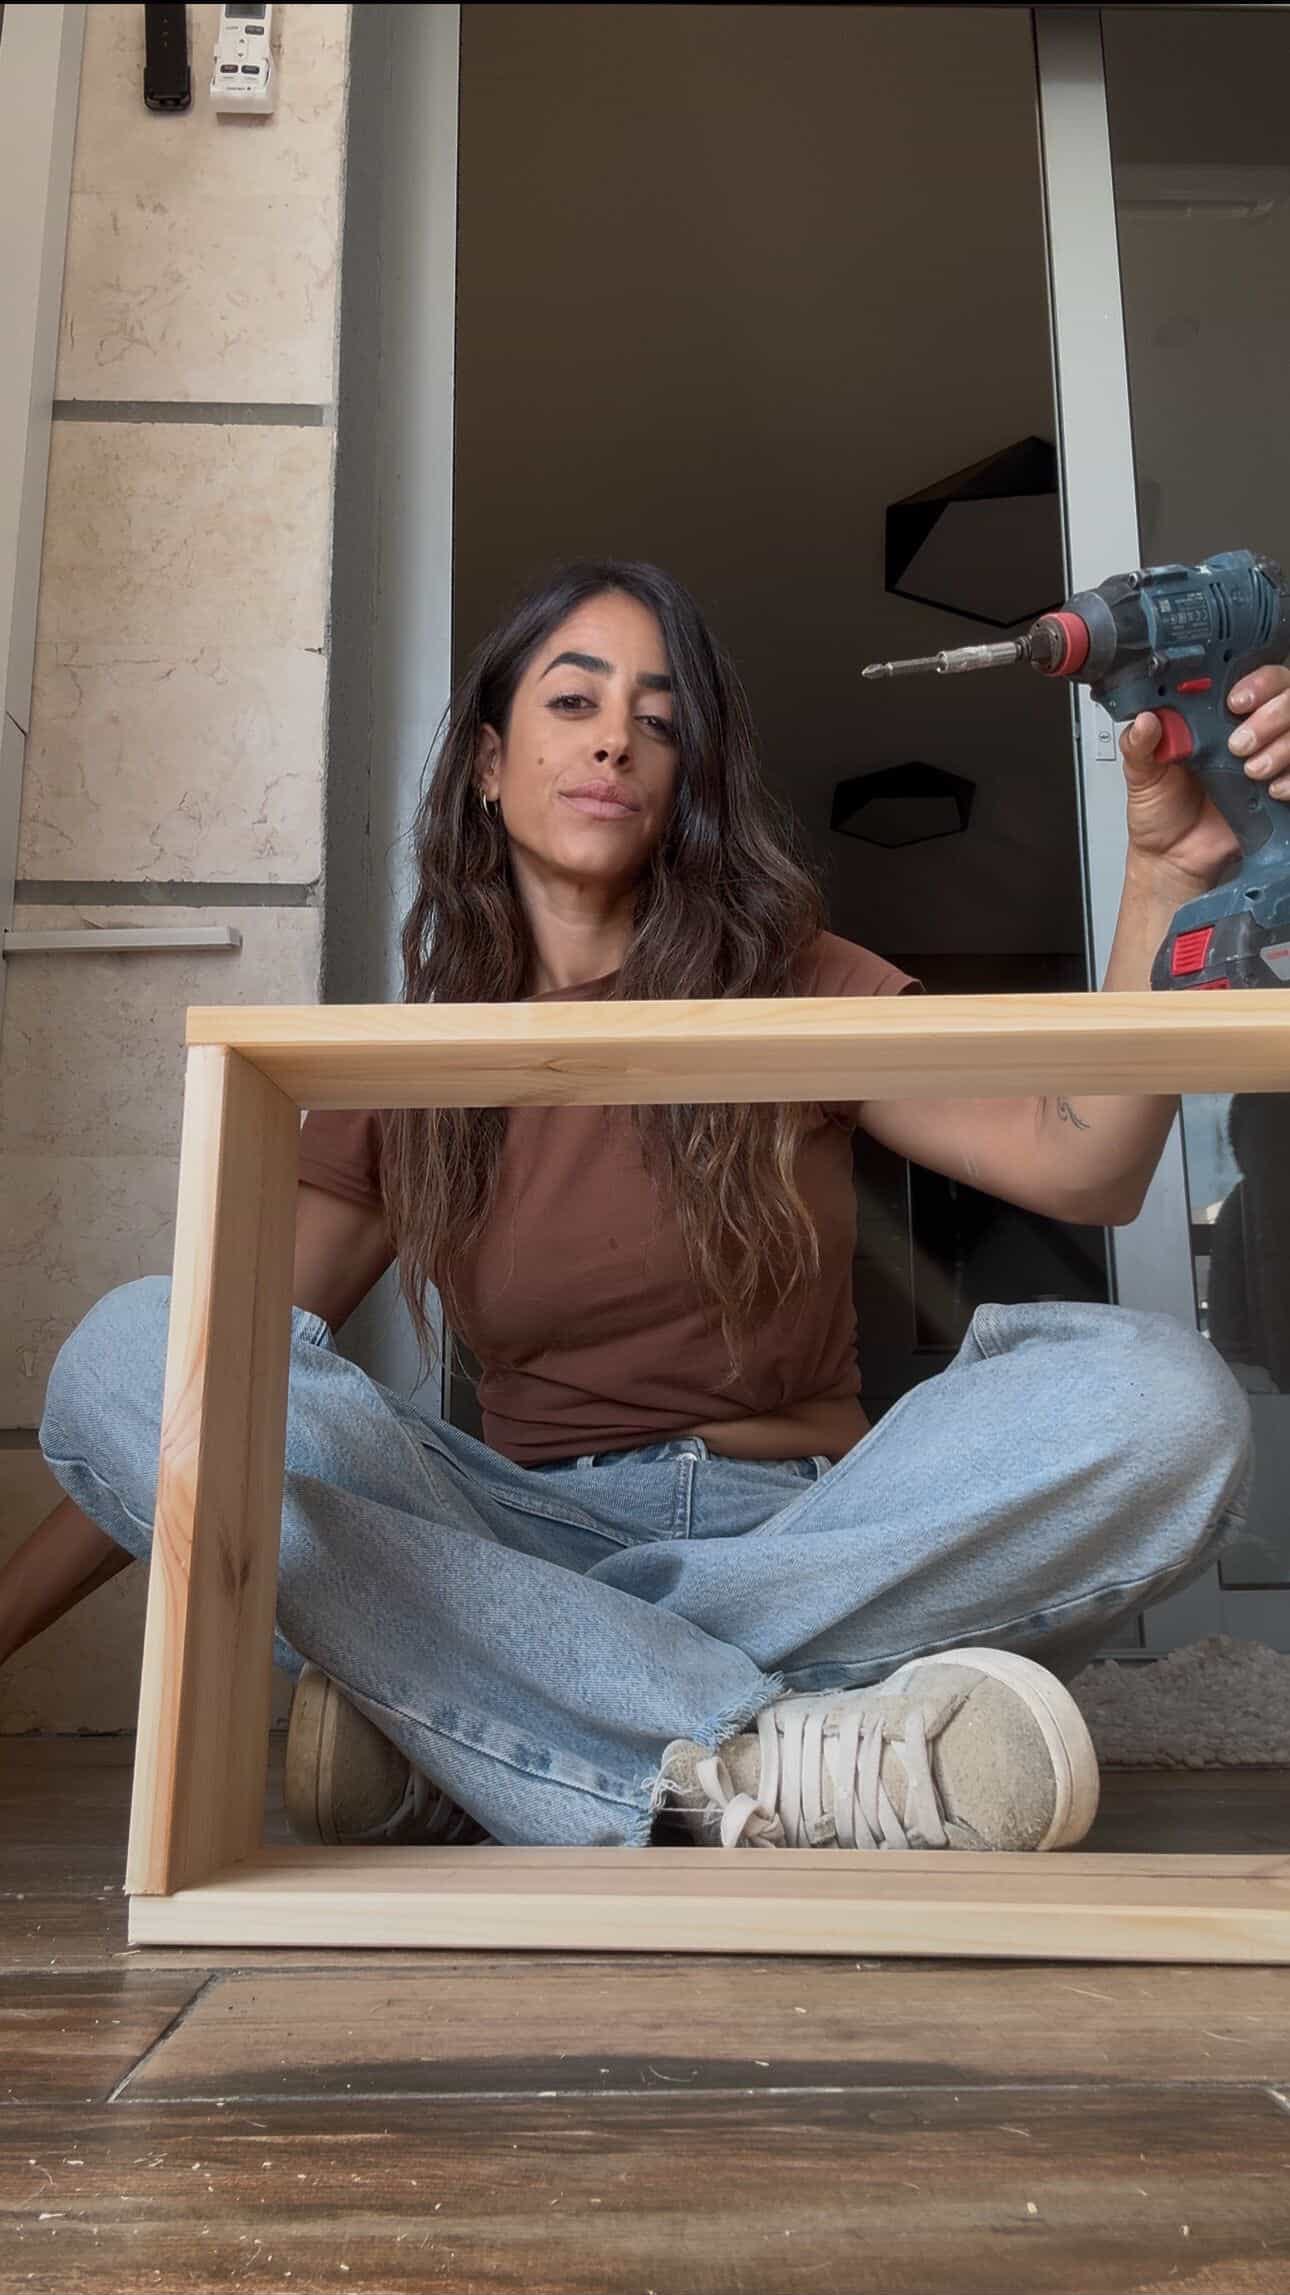
Step 1: Assemble the Dressers
Start by assembling both IKEA Godishus dressers according to the instructions, but stop before attaching the handles and floor supports. Leave the drawers unattached for now as well—this makes the later steps much easier and allows for a cleaner, more precise finish.
Step 2: Build the Platform Base
To elevate the dressers to a comfortable vanity height and give the piece a built-in look, create a platform using wooden beams cut to 12 cm in height. The beams should be cut to 60, 60, 35, and 35 cm. This base is what transforms the dressers from standard IKEA furniture into something that feels intentional and high-end.
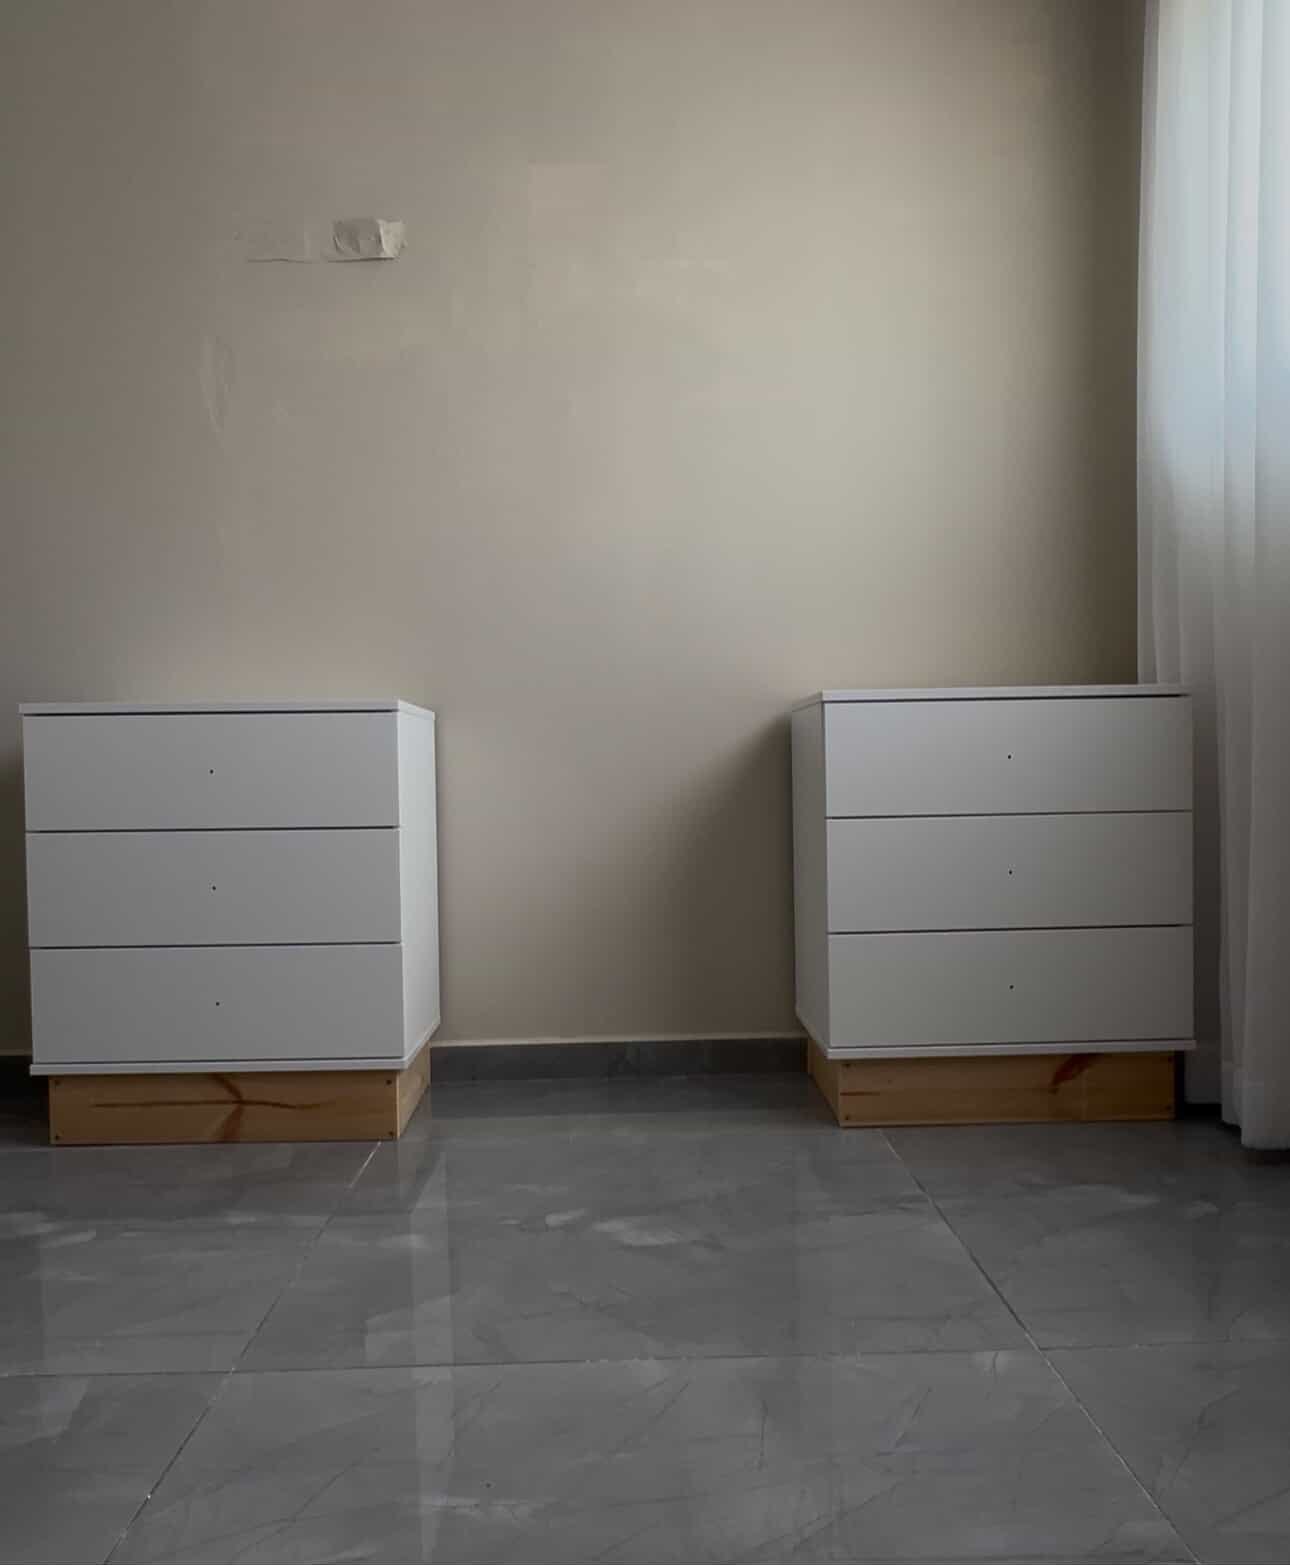
Step 3: Attach the Dressers to the Platform
Once the platform is assembled, position each dresser on top and secure them from underneath using screws. This step is key for stability and ensures the vanity feels solid and professionally built rather than temporary or modular.
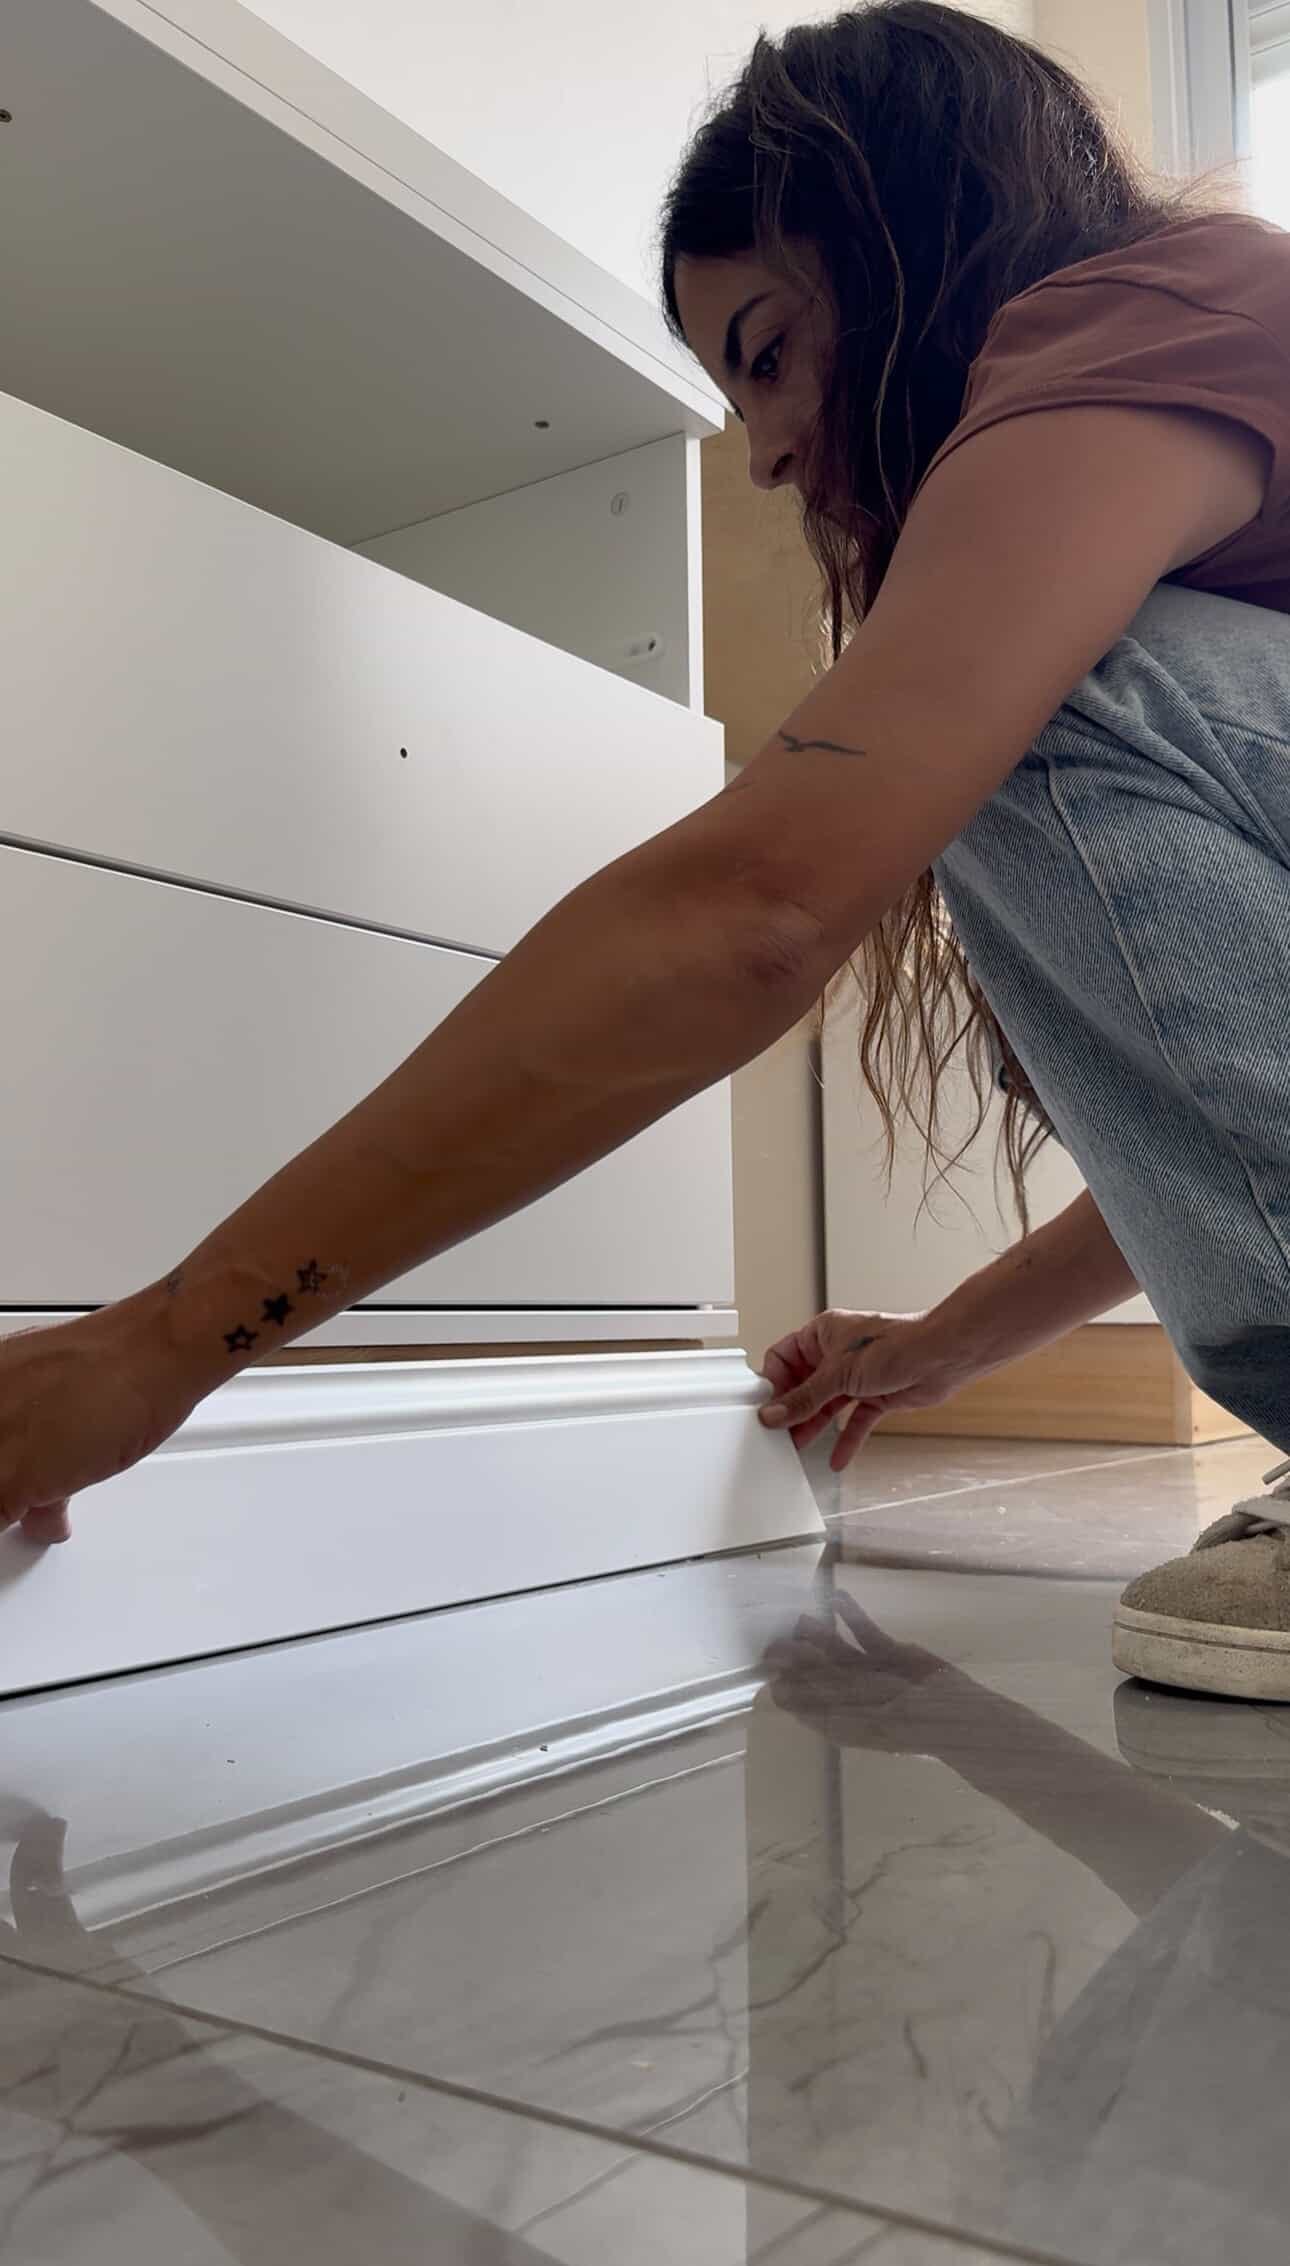
Step 4: Install the Panel Trim
Measure the bottom section of the vanity and cut the white floor panel slightly longer—about half a centimeter on each side. Cut the edges at 45-degree angles, similar to crown molding, to create a seamless wraparound effect. Attach the panel to the wooden base using strong adhesive, then seal all gaps with acrylic caulk for a smooth, built-in finish.
Step 5: Attach the Countertop
Place the Lagkapten tabletop on top of the dressers. The tabletop should be pre-cut to a depth of 42 cm, which is slightly deeper than the dresser to allow it to sit flush against the wall. Secure it with screws and leave an 80 cm gap between the two dressers—this creates perfect legroom and makes the vanity comfortable to use.
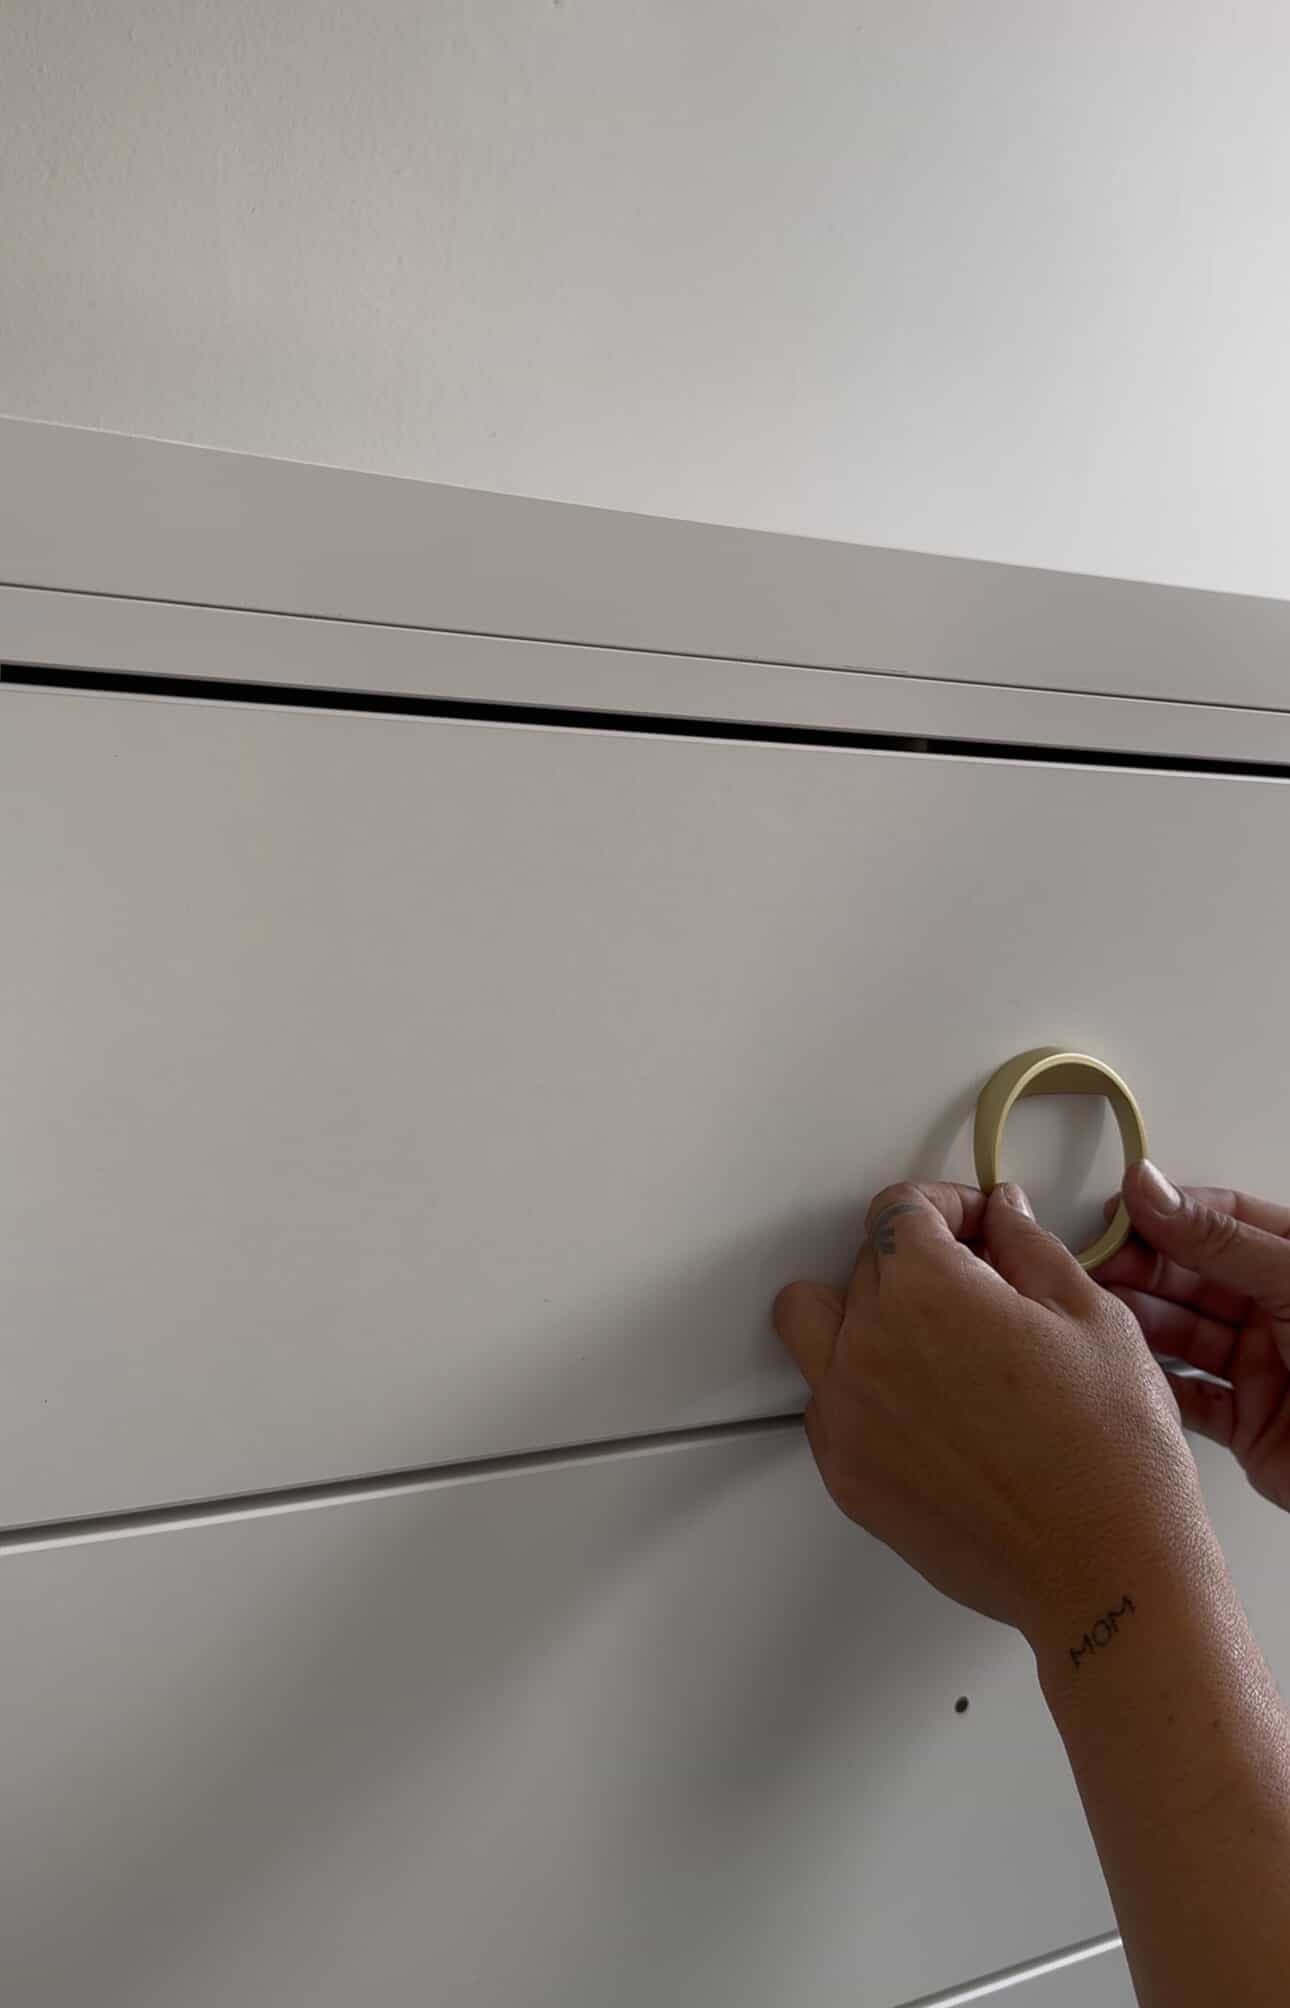
Step 6: Add the Handles
Finish the look by attaching your chosen handles. I went with delicate gold round handles that fit perfectly into the existing holes, instantly elevating the entire piece. This small detail makes a huge difference and is where you can really personalize the vanity to match your style.
And just like that, you have a custom makeup vanity that looks luxurious, intentional, and completely bespoke—without paying designer prices. This project is a perfect example of how smart IKEA hacks, combined with thoughtful details, can completely transform a space.
If you’ve been dreaming of a vanity that feels both practical and beautiful, this DIY is absolutely worth trying. Affordable, functional, and undeniably elegant—this is IKEA hacking at its best.
I’m Dana, a designer, handywoman, and painter. For more DIY projects and design inspiration, you can find me on Instagram.

Creator: Dana
Instagram: @work_of_art_by_dana