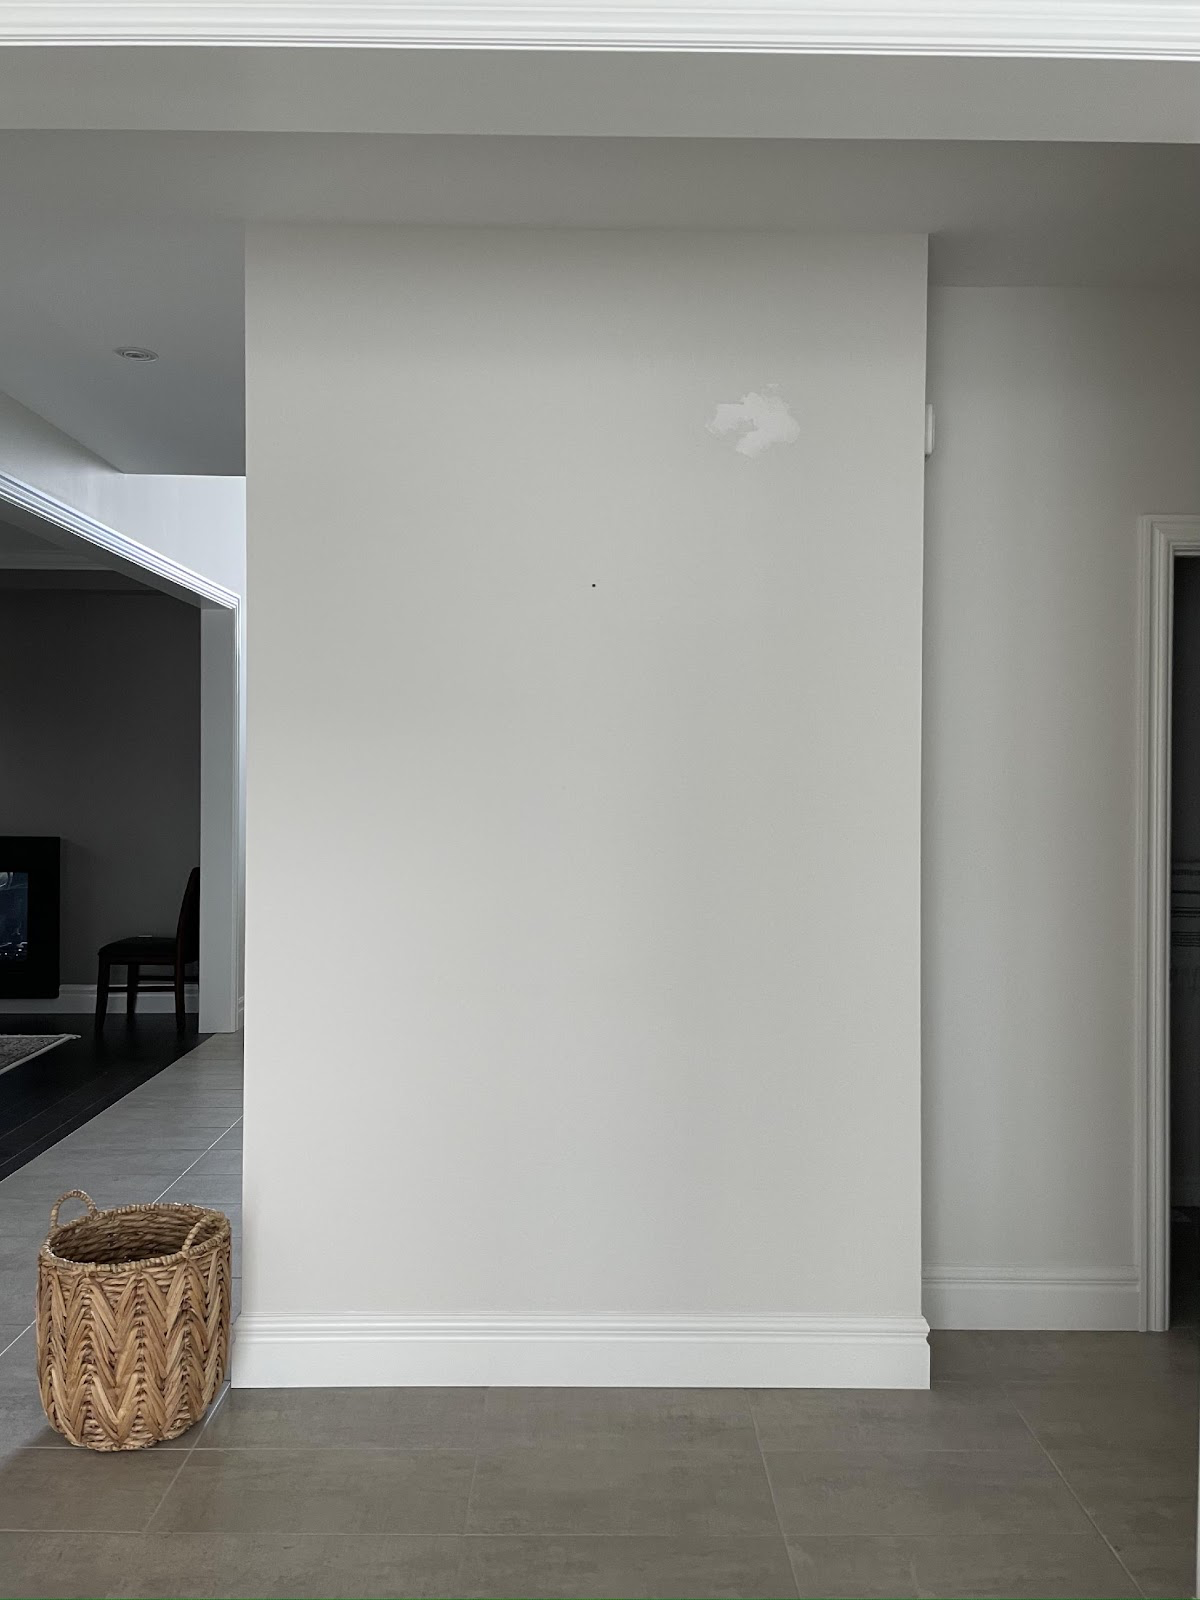
Do you have a blank wall that feels like it needs some attention? Slat walls are a great way to add texture, depth and interest! You can stain them or paint them and immediately create a huge impact! Even better, slat walls are super easy to install and this tutorial will guide you through every step and tell you all of the materials you’ll need!
Here's how to do it:
Step 1: Find Your Measurements and Prep
You’ll first have to measure the height of your wall excluding your baseboards. The next step is to find out the width of your wall and the spacing you wish to have in between each slat. I decided I wanted a 1/2” space between each slat. To figure out how many wood boards you’ll need, use the following math equation.
Math Equation: Take the width of your board (ie. 1.5”), and the width of the space between slats that you decided on (ie. 0.5”), and add them together:
1.5” + 0.5”: 2”
Next, take the measurement of your wall (ie. 55”) and divide it by the total width you just calculated and round it up to the nearest whole number.
55” / 2”: 27.5 rounded up to 28
28: Number of slats needed (as an example)
Now that you know how many slat boards you’ll need, you can cut a spacer the width of your desired slat space, which you will use in the installation process.
At this step, you can either paint your wall black as well to give an illusion of a deeper gap or leave it as is. I chose to leave my wall the colour it already was (Classic Grey).
Step 2: Selecting Your Material
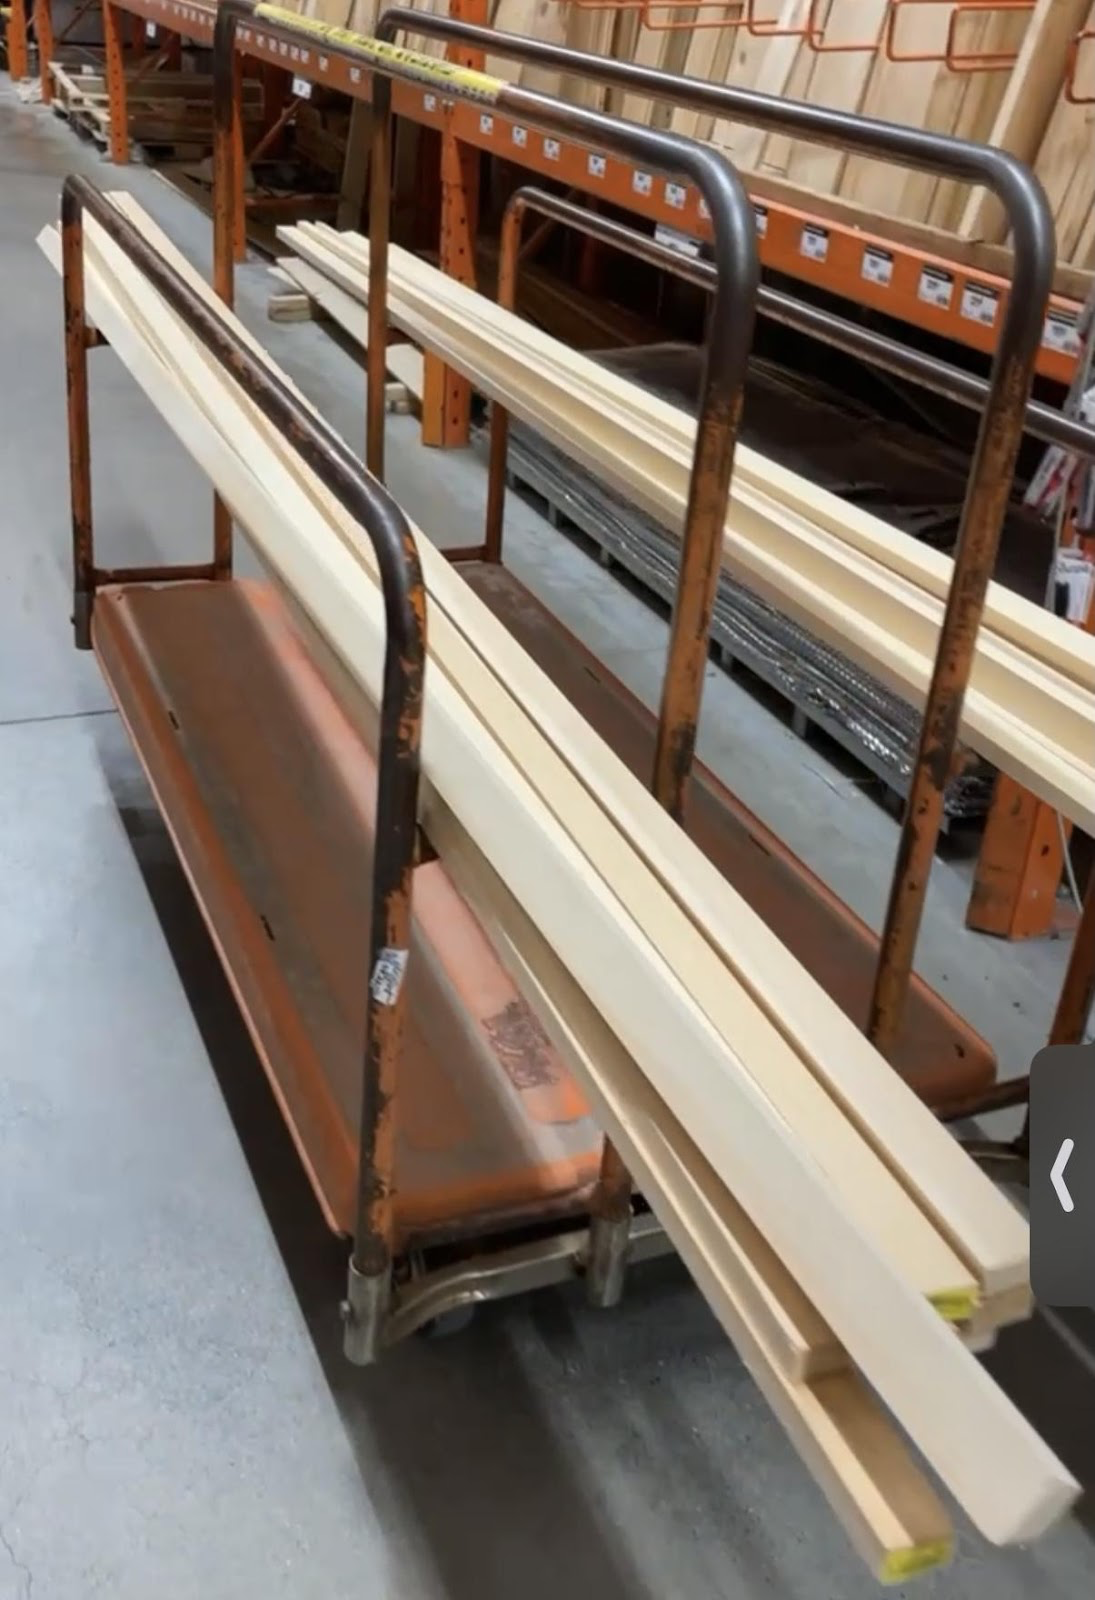
I chose to use 1x2”x10ft Select Pine boards. Select pine is on the cheaper side for wood, alike knotty pine, but it doesn’t have the knots like knotty pine does.
My ceilings are 9 ft tall so I needed 10 ft long boards. Depending on the height of your ceilings, you’ll choose the length of your boards. Other options for wood are Maple, Red Oak, White Oak and Poplar, which are all hardwoods and have higher price points but are better quality.
Another option if you’re wanting to stain your boards is to buy a full sheet of 4x8ft and 3/4” thick plywood and ripping it down to your desired width if you have access to a table saw. This can save a little money but it's more time-consuming.
If you’re planning to paint your slats, you can also use MDF as a substitute to rip them down as well. MDF cannot be stained though.
Step 3: Cutting Your Length and Bevel Ends
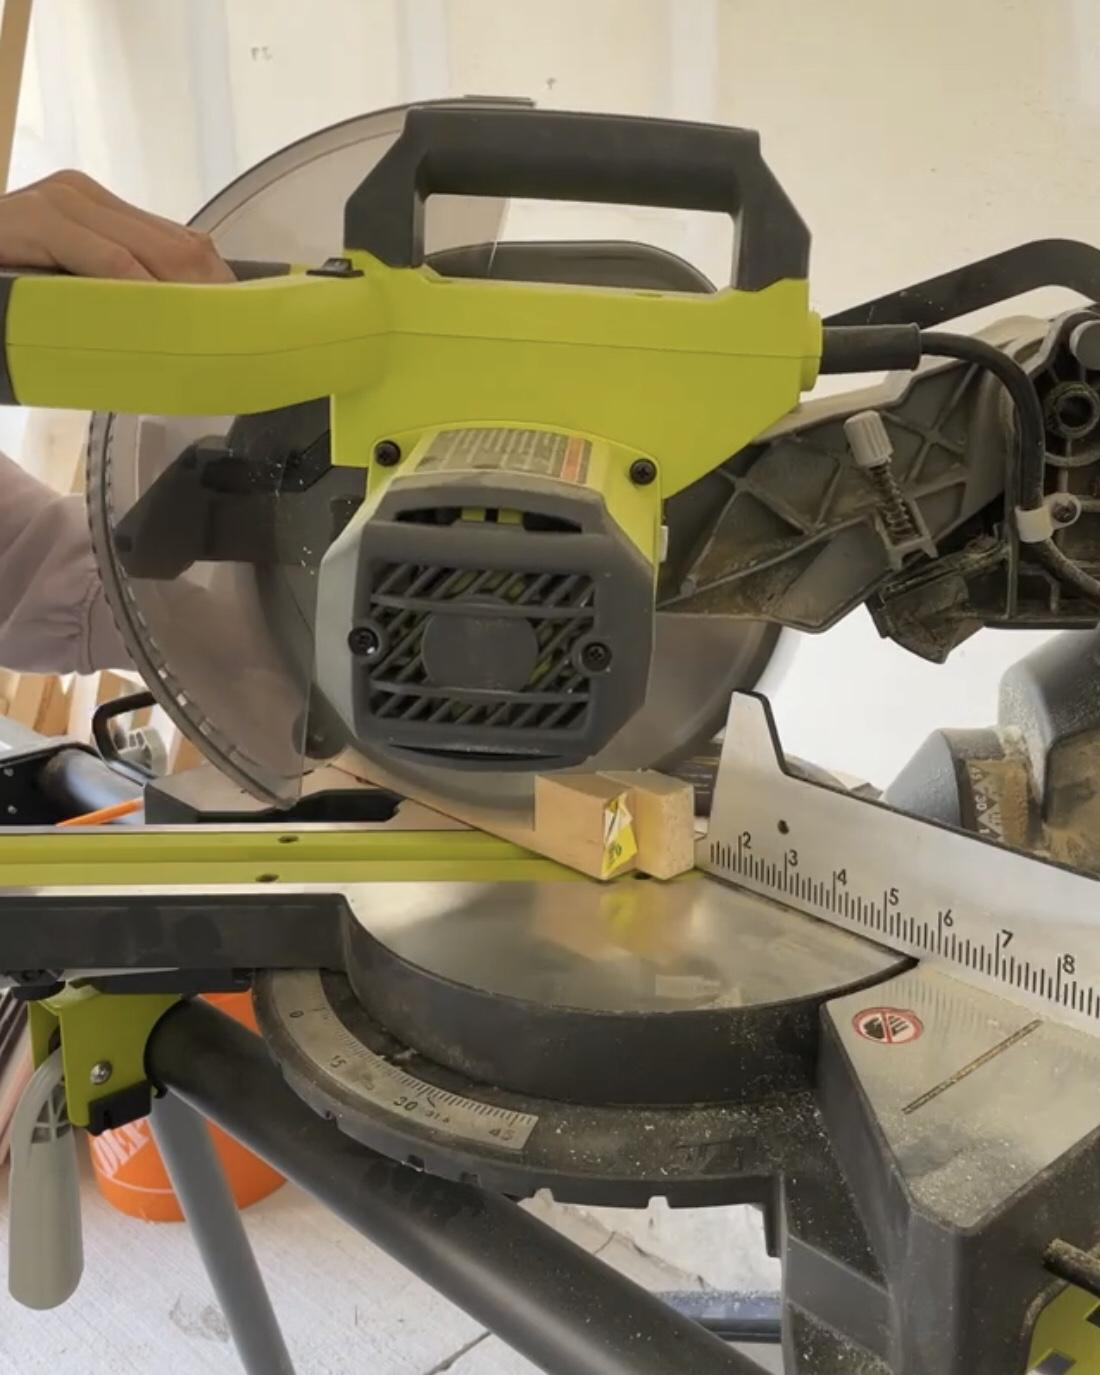
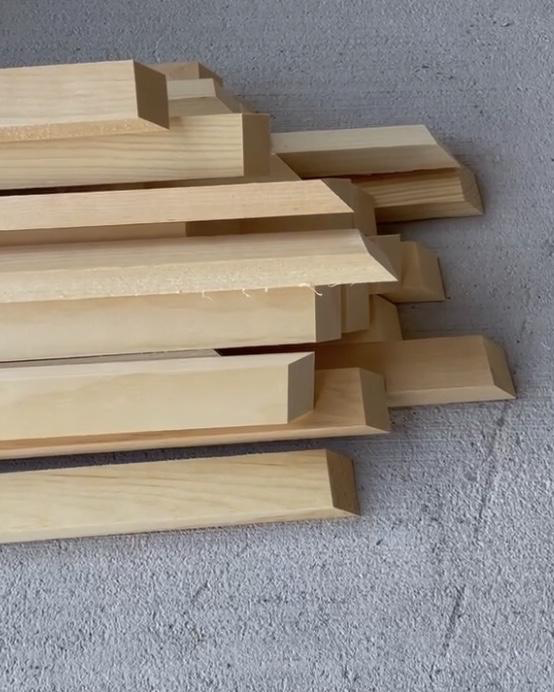
If you have baseboards that are squared off at the top, you can skip cutting a bevel. If you have squared-off baseboards, your slats will run flat into the baseboards. If your baseboards have any curved designs you will want to go ahead and cut a 45-degree bevel cut on one end of your slat.
This bevel-angled edge will ease the transition between slat and baseboard so the transition is not as blunt. Once you have cut all of your bevels, start cutting your boards down to length.
I cut around 5-10 at a time and then re-measured the height of my wall as ceilings and floors are never square and the height difference can vary.
If you don’t have a mitre saw you can cut each board by hand using a mitre box and a hand saw found at most big box stores.
Step 4: Sanding Time
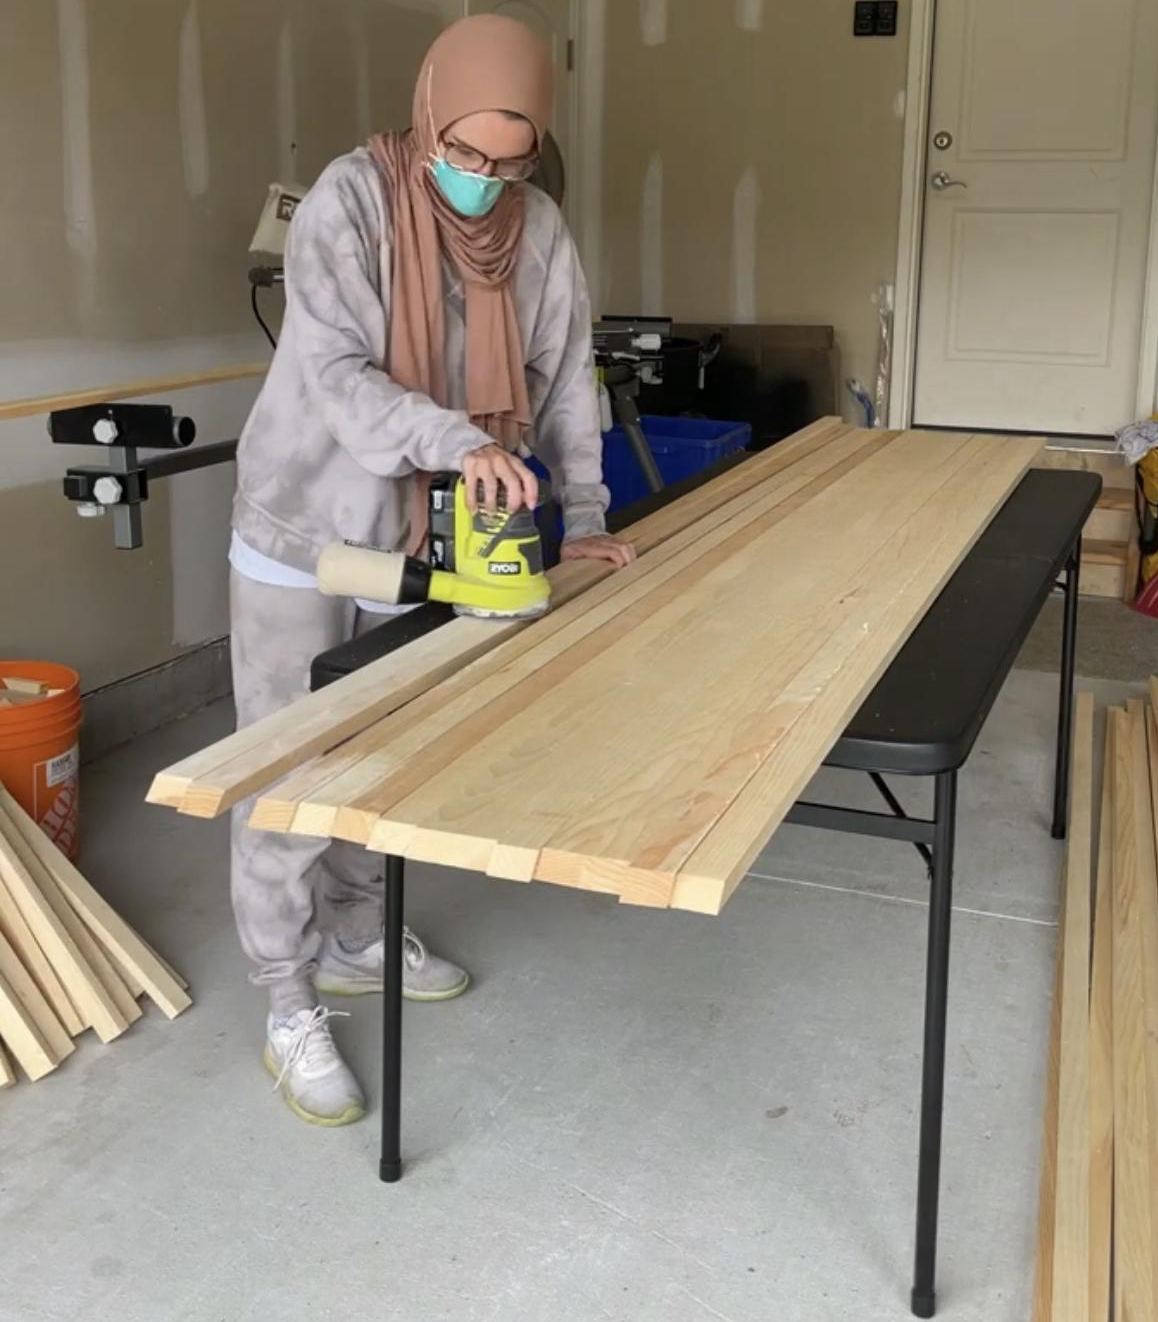
If you are staining your slats, begin sanding with 80-grit sandpaper on the face of your board and the two sides. Once complete, move to 120 and then repeat with 220. If you’re like me and dislike staining with a passion, this step will be agonizing but one that is unfortunately necessary. If you chose to paint your slats, begin with 120-grit sandpaper and repeat with 220 grit for all of your boards.
Step 5: Prepare to Stain/Paint
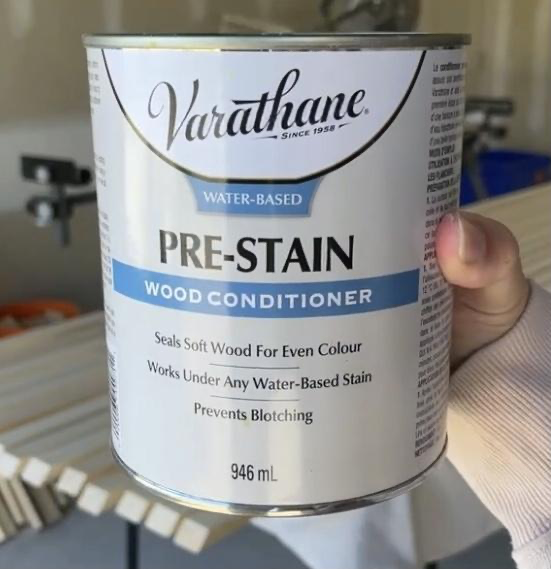

Remove all of the sawdust from sanding with a vacuum and your tack cloth, wiping down the slats really well. If you are planning to stain your slats, then it's time to wood condition all of your boards.
However, do not wood condition your boards unless you are planning to stain them within 2 hours. Stain must be applied after 30 minutes of the wood conditioner but within 2 hours of applying the wood conditioner.
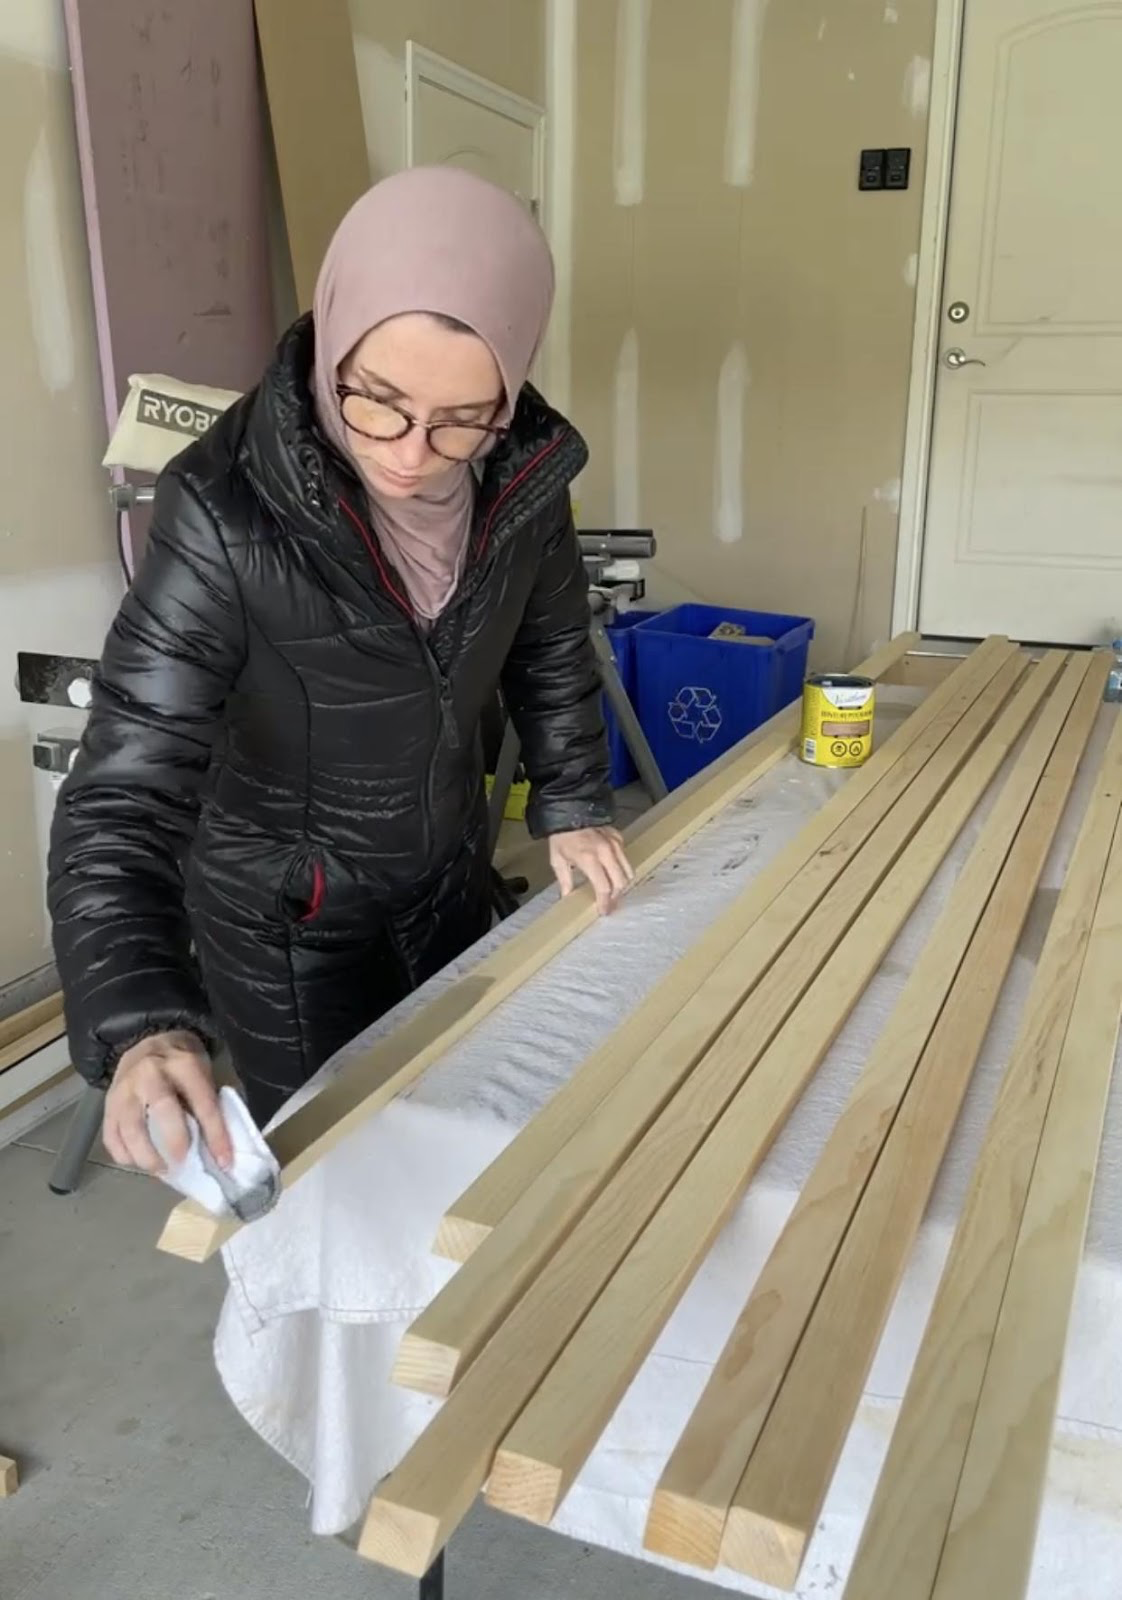
Go ahead and take a staining pad and start applying the wood conditioner to the face of your slats. Go back and turn them all onto one side and repeat until all three sides of the slats have been conditioned.
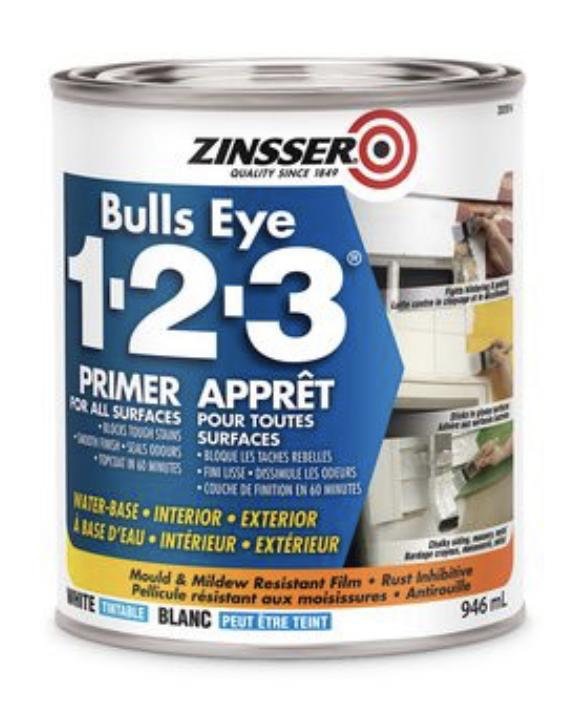
Wipe all the excess off and then wait 30 minutes for the conditioner to dry. If you decided to paint your boards, go ahead and prime your slats.
Raw wood always needs to be primed. Anytime I prime raw wood I use Zinsser Bulls Eye 1.2.3 Water-Based Primer.
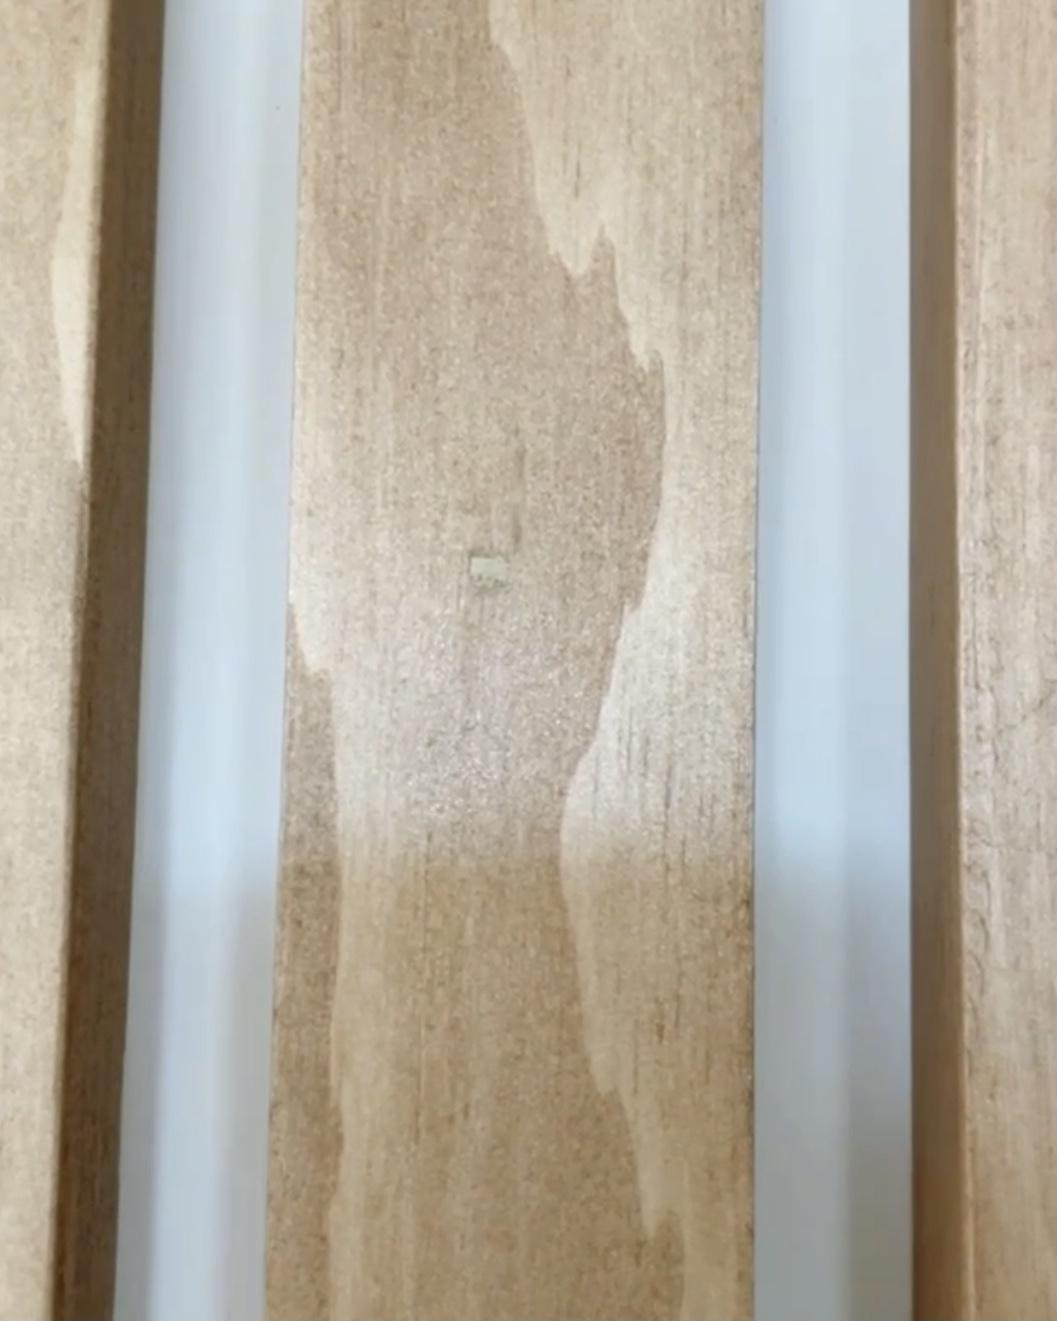
Step 6: Stain and Paint
Staining slat boards can be a little tricky in general but more so depending on the stain you decide on.
I decided to use a combination of stains so I made life a little trickier on myself *as usual*. I found staining the face of multiple boards at once led to a lot of drips between the boards that would have dried and led to a sloppy finished product.
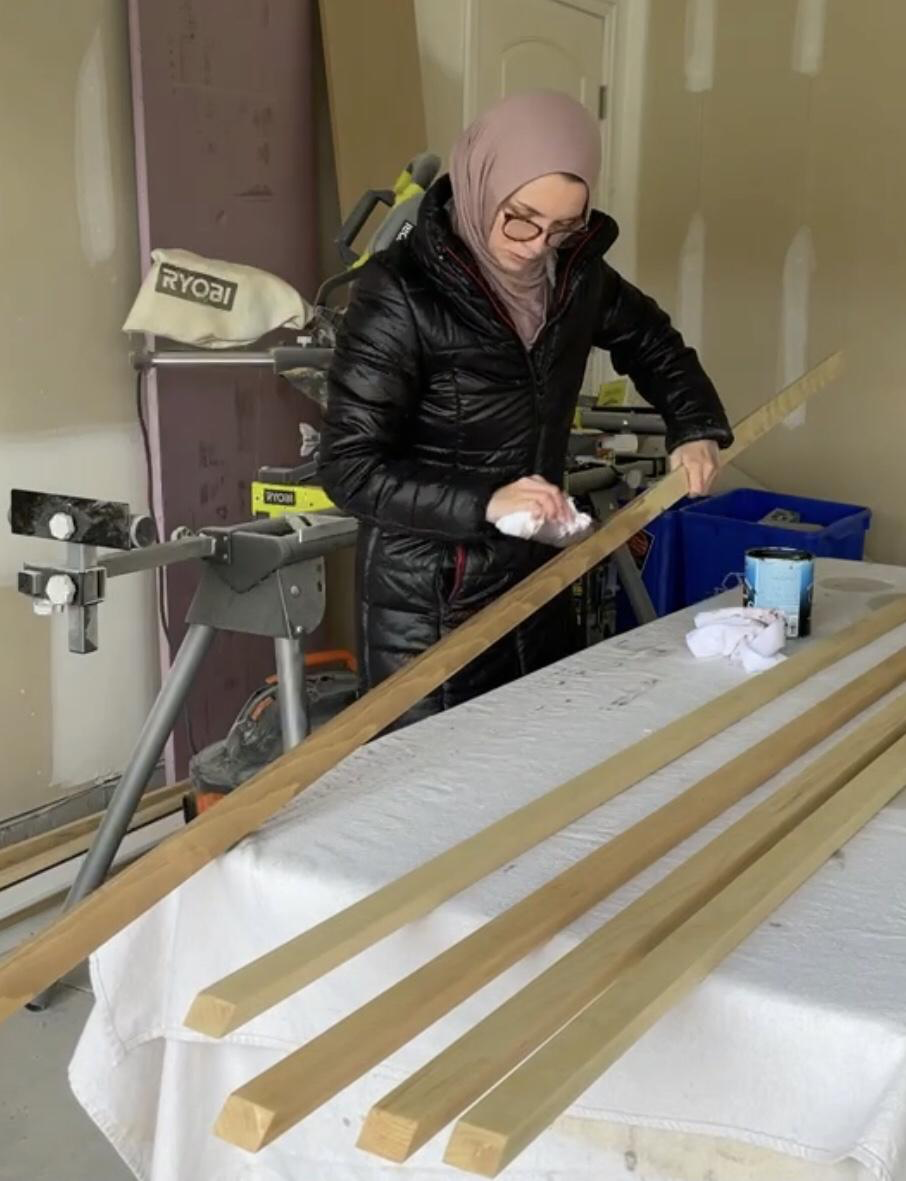
I chose to stain every board one at a time starting with the face of the board, then flipping the board on its side and then flipping the board again to access the third side, as I worked down the entire board.
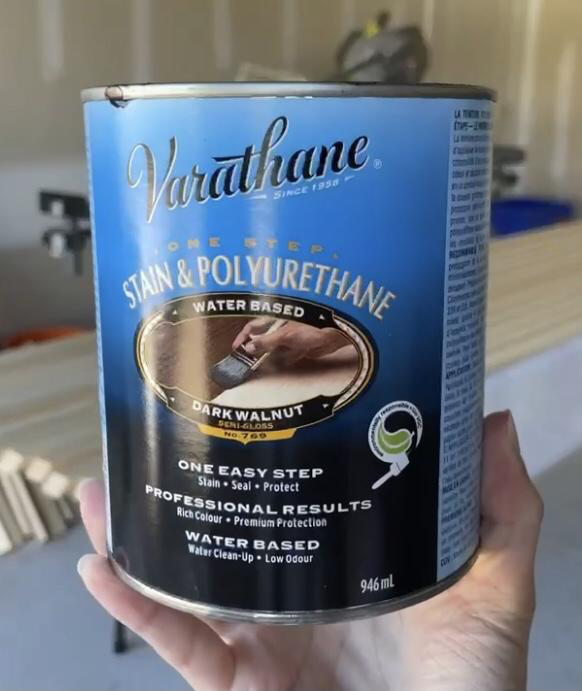
The stain combination I used was Weathered Oak Minwax Oil Based Stain which I left on for 10 minutes and then wiped off. I then immediately applied Dark Walnut Water Based Stain by Varathane and wiped it off almost immediately after applying it to ensure the stain didn’t come out too orange. I went as quickly as possible to ensure there was no stain build-up on any of the sides.
As soon as I would start applying the Weathered Oak stain I would set a timer for 10 minutes to ensure the first board I stained wasn’t sitting longer than 10 minutes before being wiped off. Anytime I stain, I use timers to ensure every stage develops the same. Stain is time sensitive and can easily become too dark or light depending on how long it’s left on the wood before being wiped off.
Proceed to paint your boards during this step if you decided to paint rather than stain your slats. Let the boards dry completely before starting the install process.
Step 7: Painters Tape Trick
I learnt this little painter's tape trick from another creator friend, @texasdiymama, and it’s a game changer!
This step is super helpful if you chose to stain your boards. I’ll explain the purpose of this trick more in Step 8 and 9.
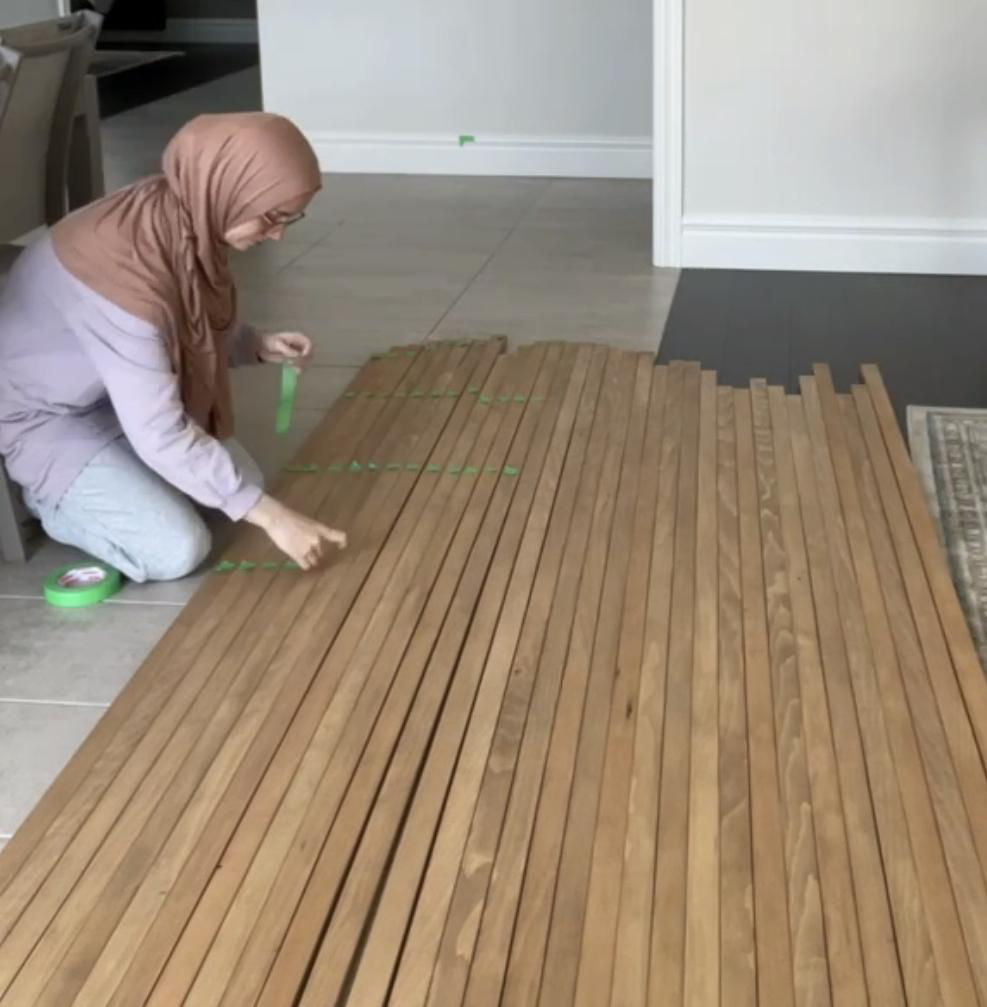
I laid all of my boards on the ground and started applying small pieces of painter's tape every foot and a half to all of the slats.
Once you finish applying the painter's tape, you’ll be ready for installation!
Step 8: Time to Install
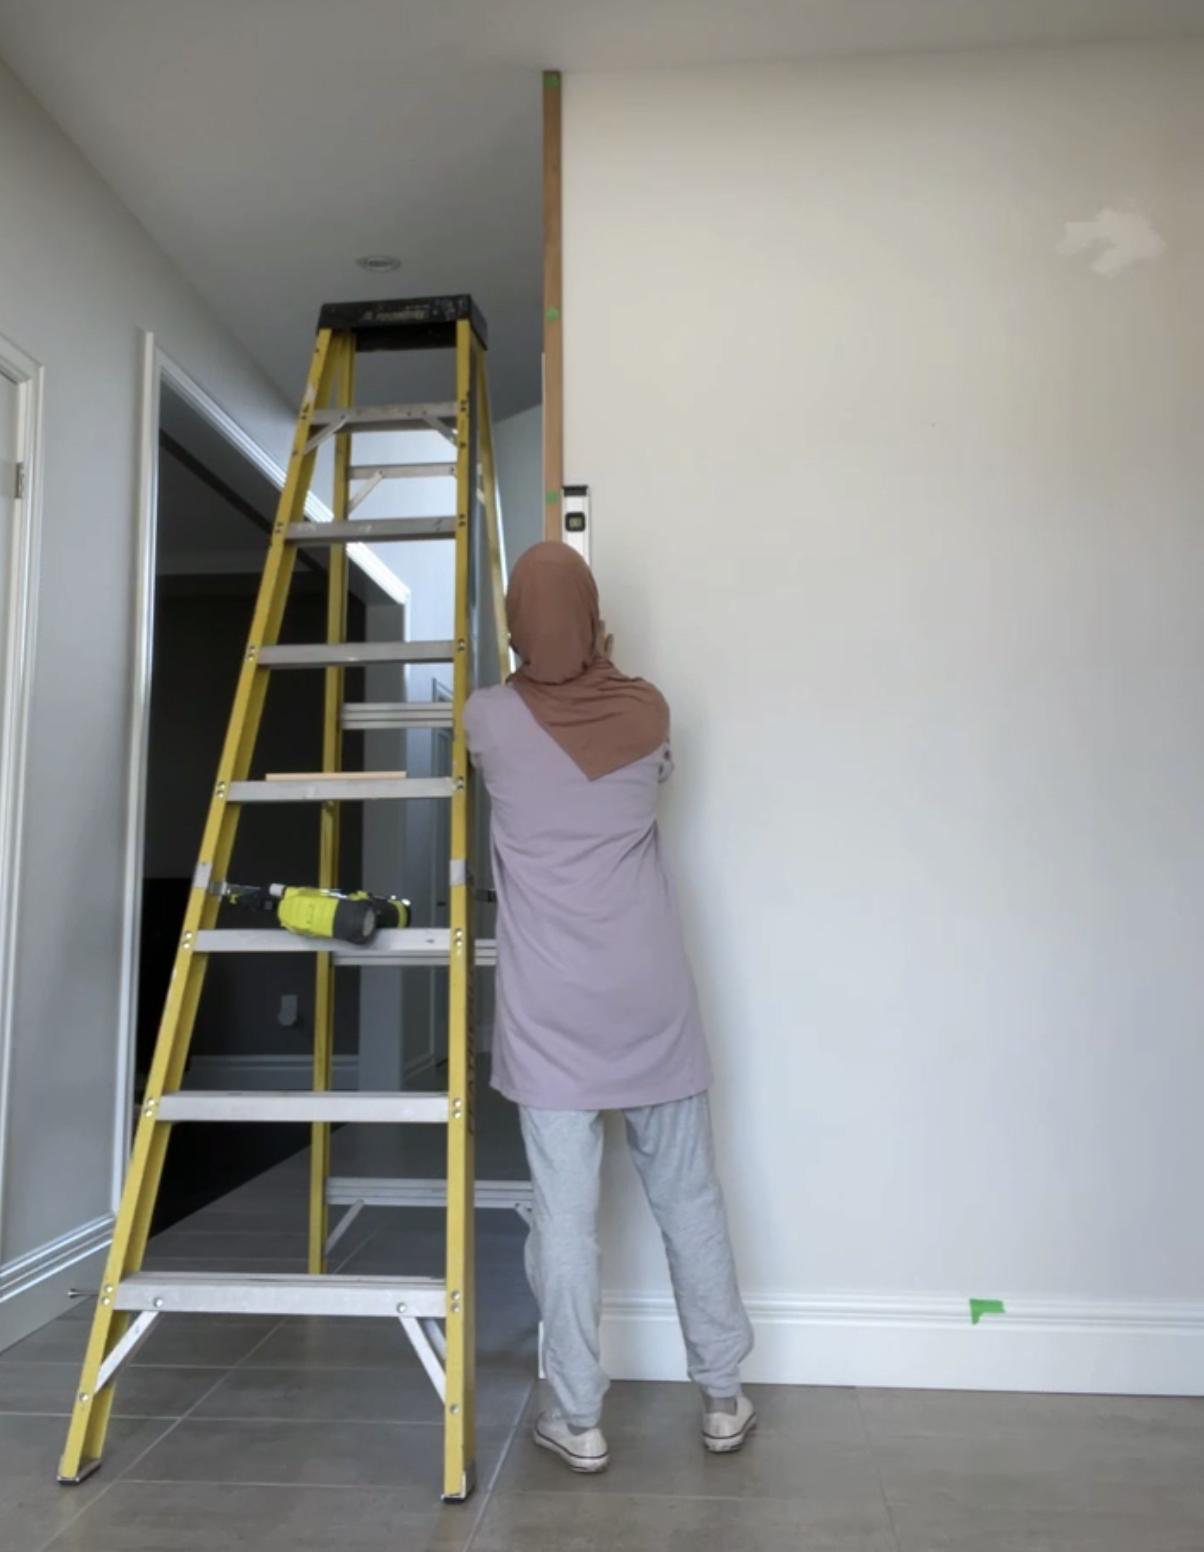
Start from one side of your wall and work in whichever direction you prefer. Ensure your first board is plum (vertically level) because it will determine plum for the rest of your boards following the first one.
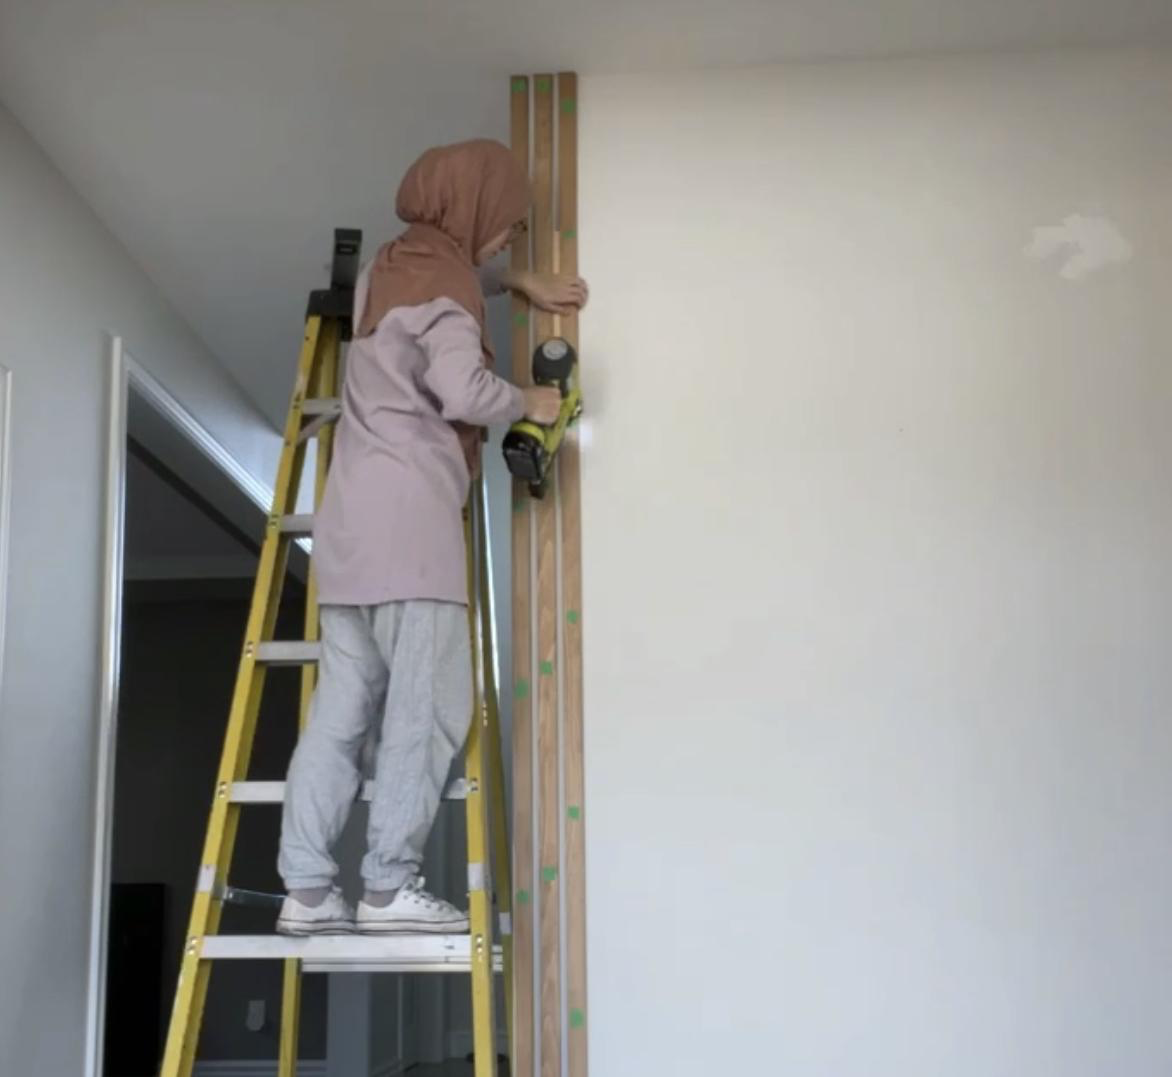
Use a level and nail into the middle of the board, directly overtop of one of the pieces of painter's tape. I like nailing into the middle of the board first as I can make small adjustments on either end of the board as needed to ensure plum.
Nail the slats at every point you applied the painter's tape. Continue nailing each board using the spacer you cut to ensure every board is spaced accurately, and at a level to double-check plum at times.
As you are nailing in your boards, alternate the direction of your nail gun so as to lock the board into the wall rather than nailing directly straight into the wall. The alternating nails create a strong enough hold so you don’t need to use liquid nails.
The installation process is much quicker than any other step and a very exciting one as you watch your wall transform!
Step 9: Wood Filler
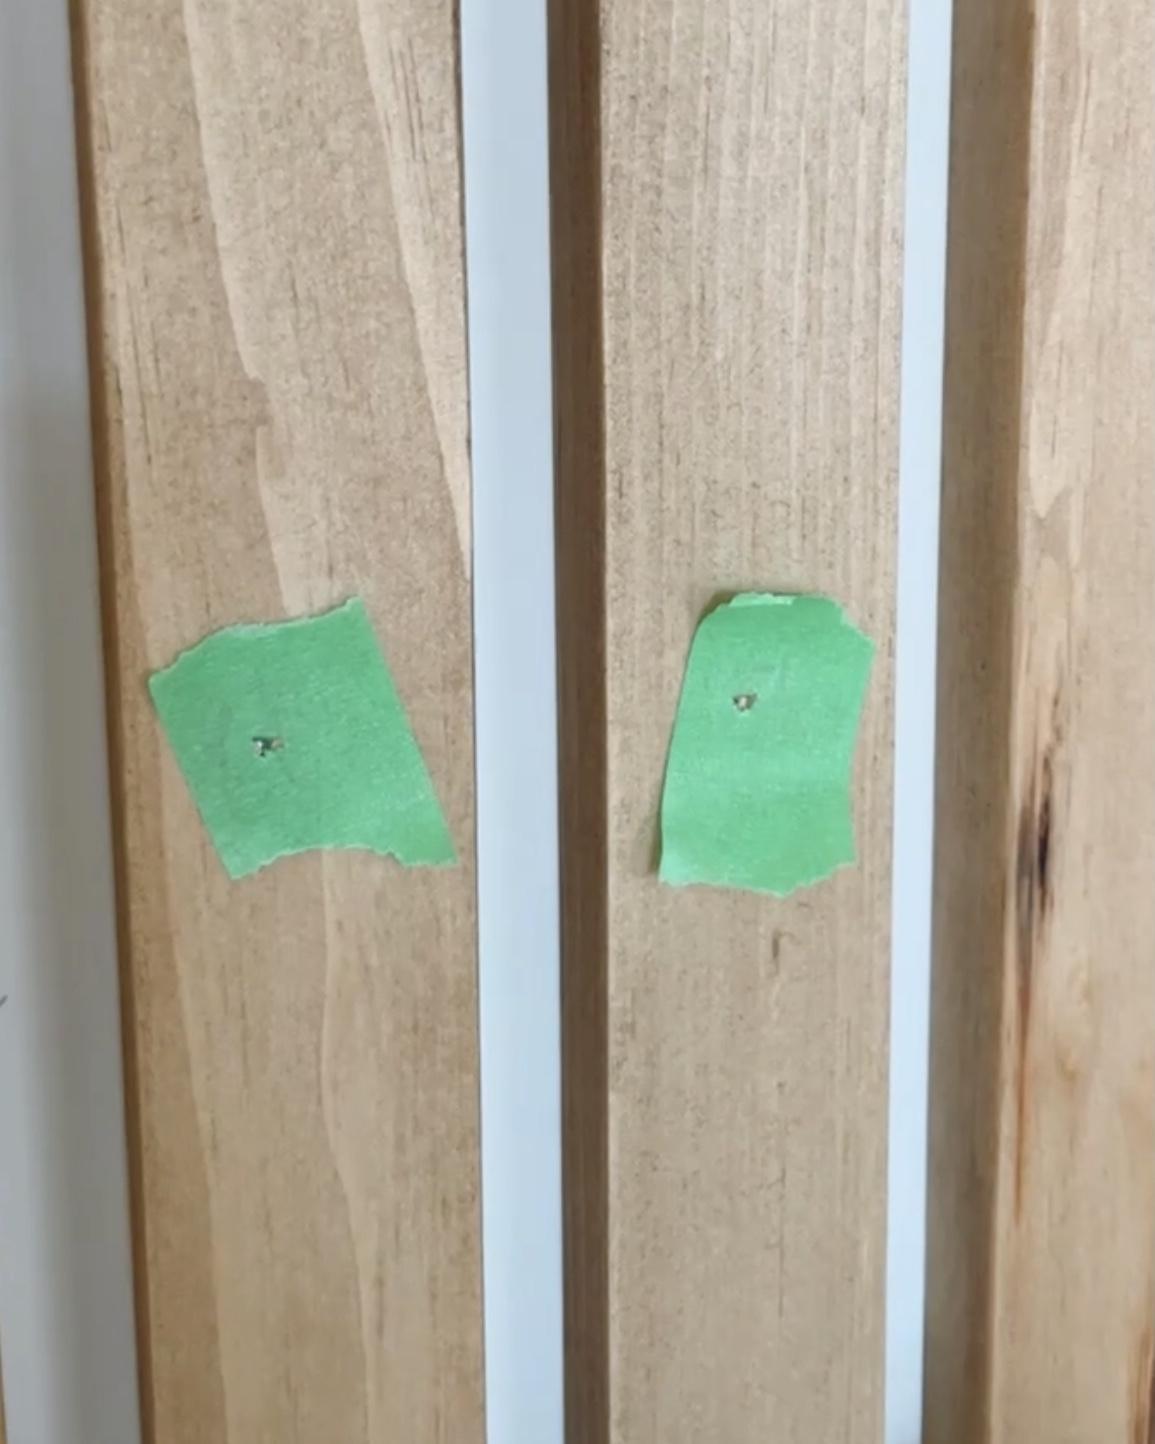
The idea of the painter's tape is that when you would fill the nail holes, the tape protects the surface of the board and only allows wood filler directly into the hole that was created.
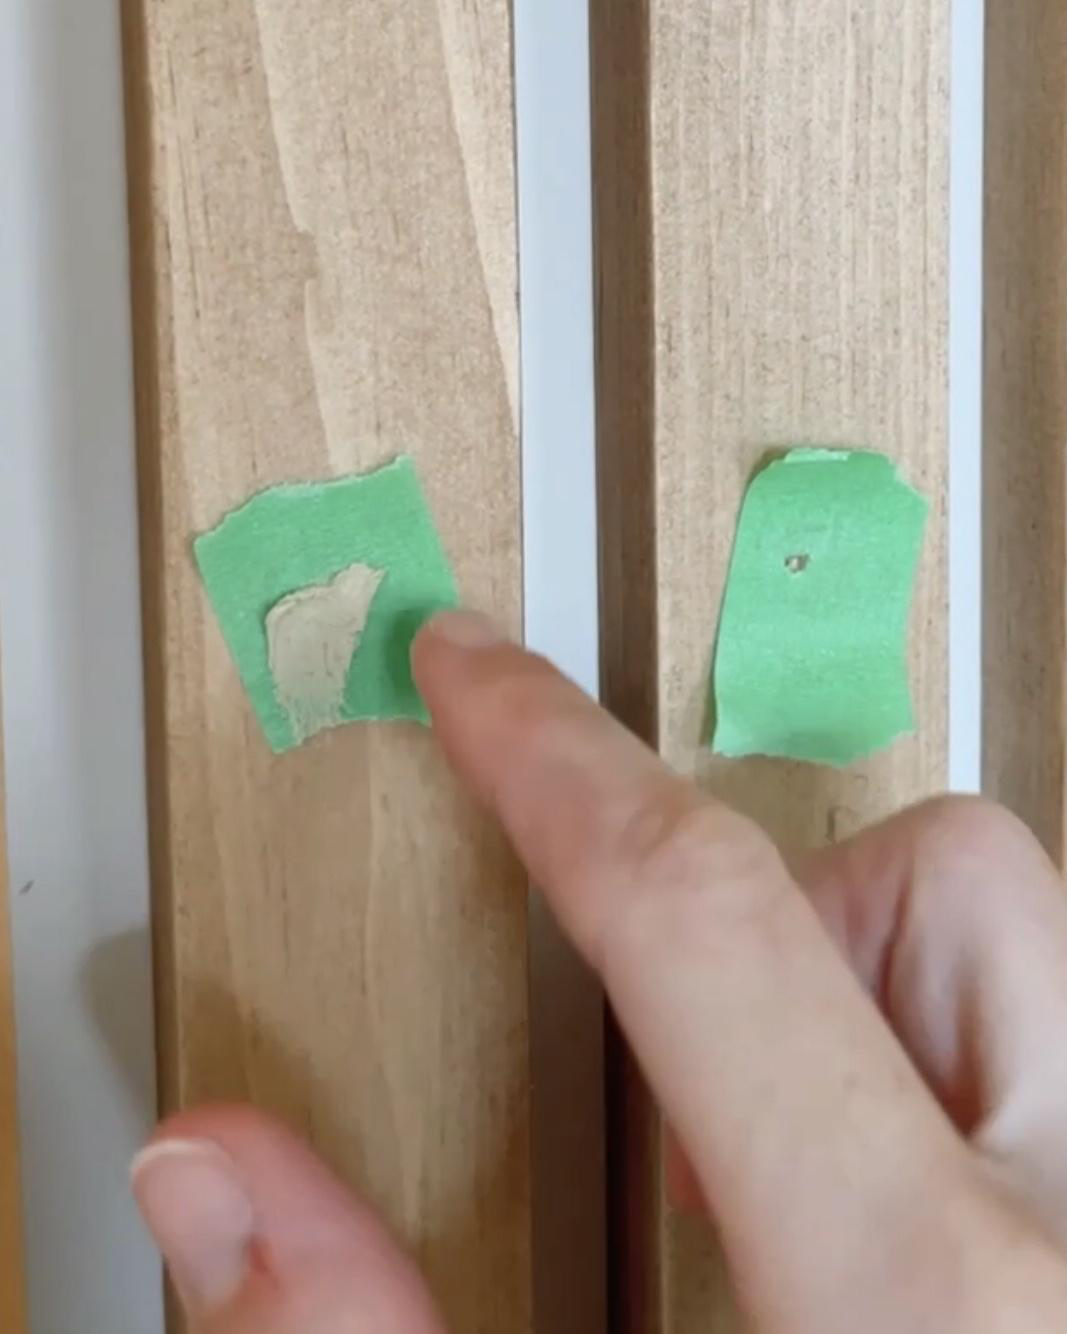
Fill each hole with your favourite wood filler directly overtop of the painter's tape and try to match the colour of the filler as best as you can to the slats.
I only filled the holes and did not re-stain the wood filler, as the painter's tape trick really helps blend the holes. I like to use Dap Plastic Wood. I let the wood filler sit for a few minutes as I continued filling each slat and then went back, removed the painter's tape and wiped the wood filler down with a baby wipe.
The best part about the painter's tape trick is that there is no sanding required! You want to avoid sanding any wood filler on wood that’s already been stained, so the painter's tape trick is so helpful for a slat-wall project.
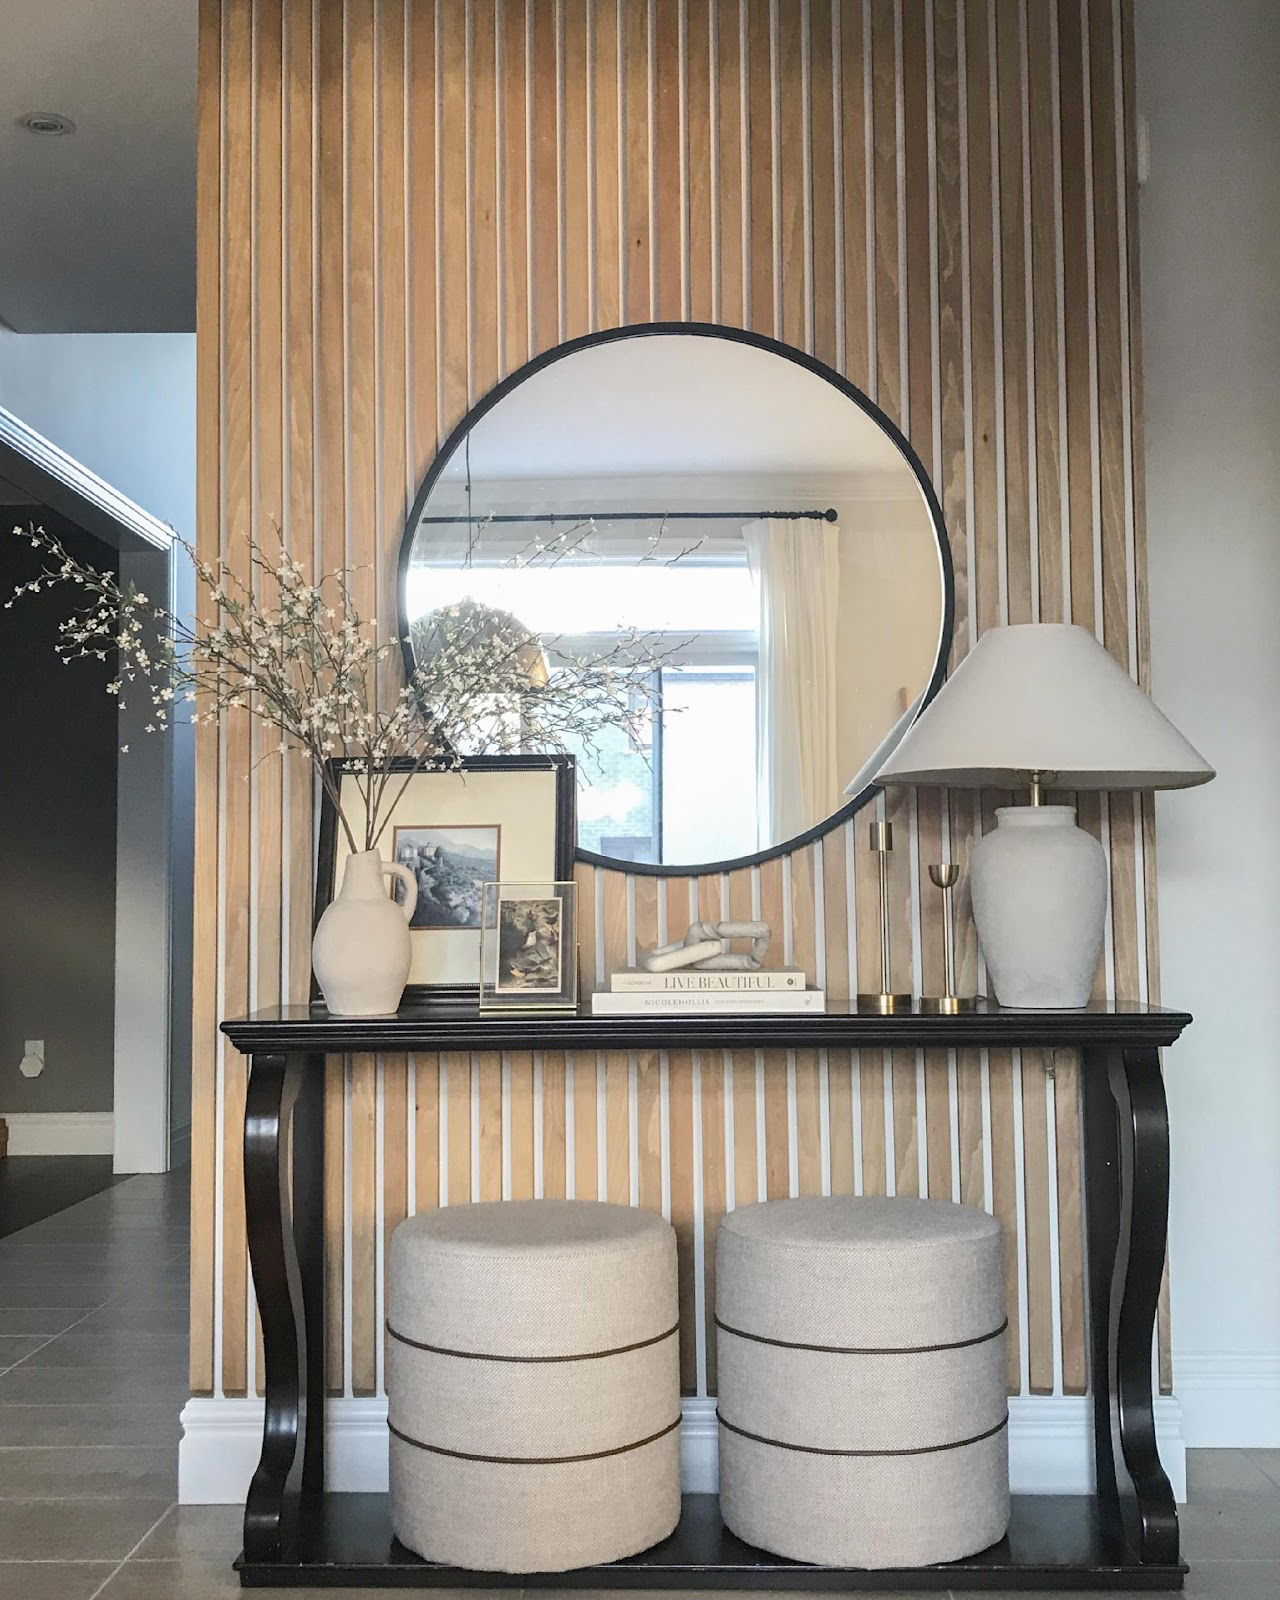
Step 10: Admire Your Work!

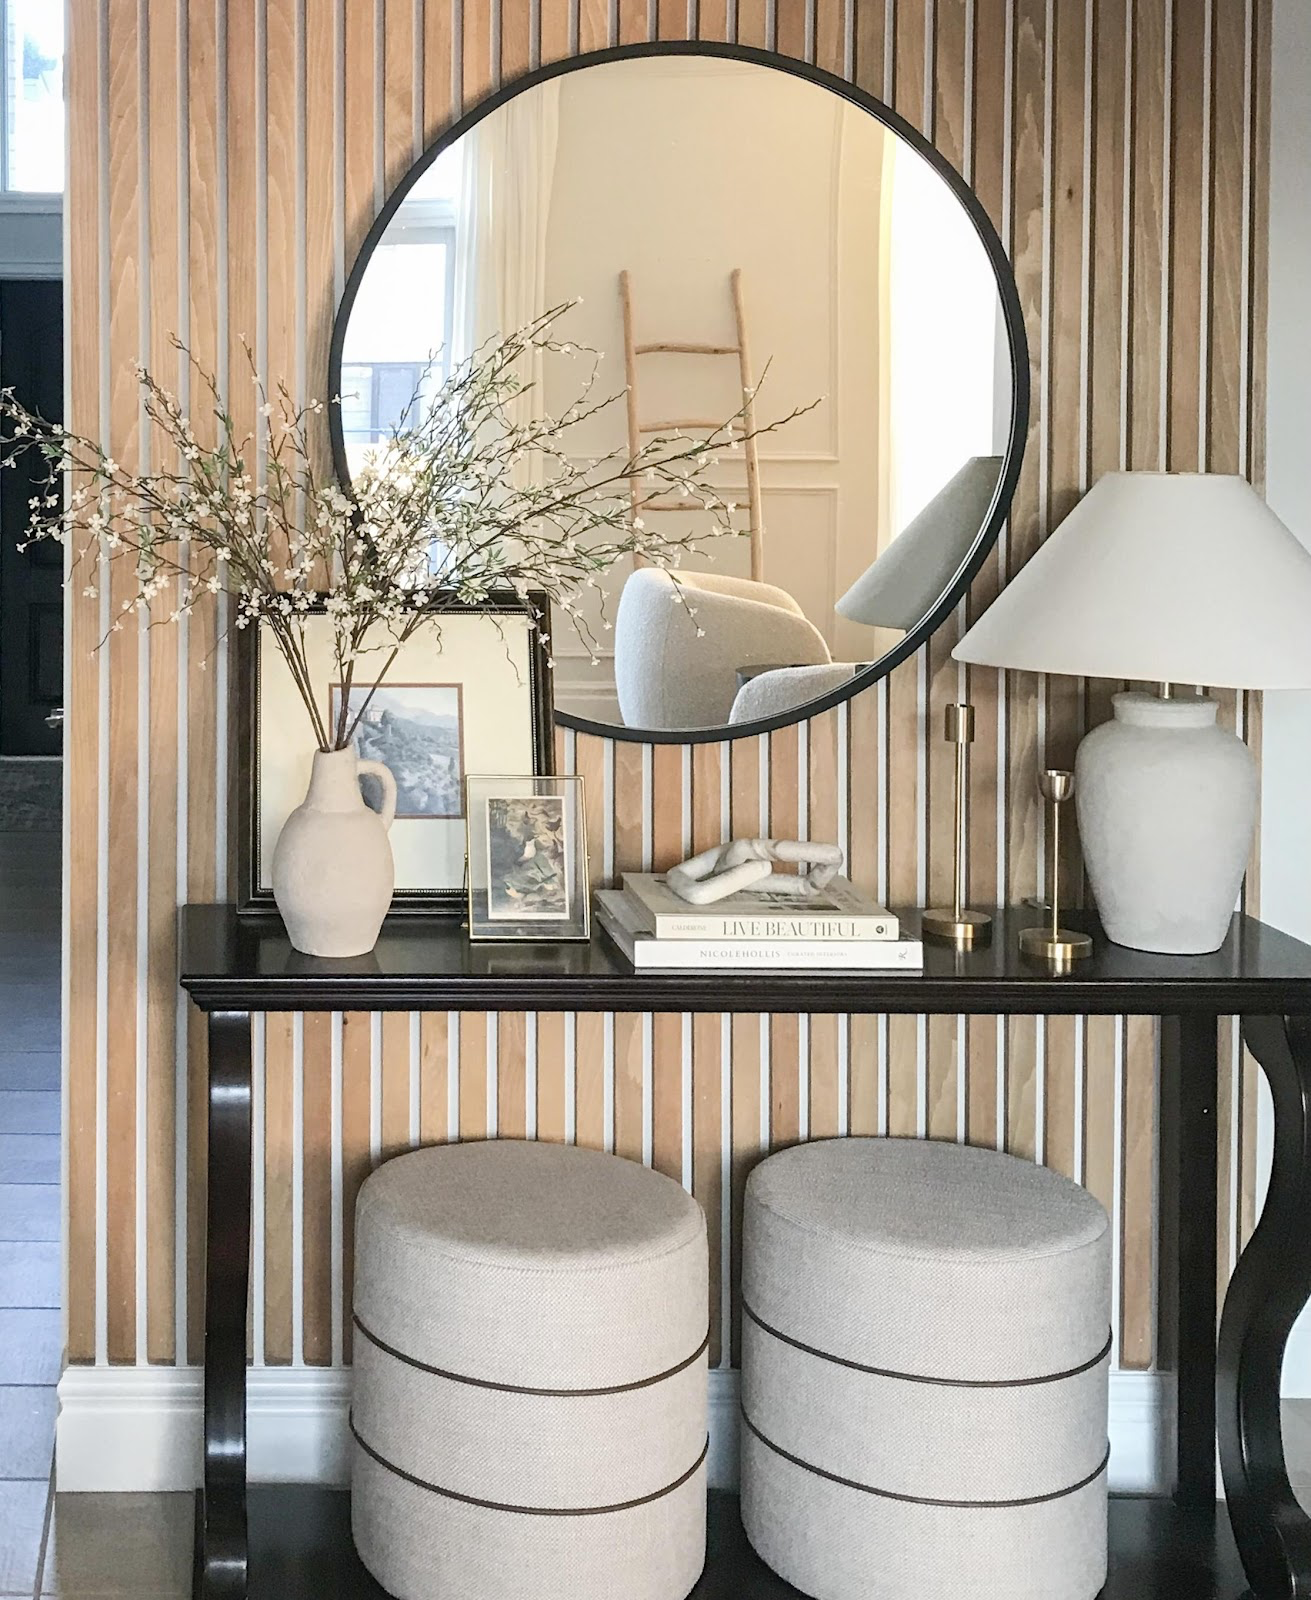
You’re all done! It's a very simple process and definitely great for all skill levels including beginners! Simple projects with a big impact are always one of my favourites. If you try this slat wall project let me know!
What You’ll Need to Build a Slat Wall:
Disclaimer: The following list of items listed are based on exactly how I built my slat wall.
There are multiple ways and even an option where you don’t need any power tools. I will state what I used and give some substitute options as well.
- 1x2” Select Pine boards in the length needed. I used 1x2”x10ft.
- Mitre Saw | Non-Power Tool Option: Mitre Box and hand saw
- Brad Nailer |Non-Power Tool Option: Hammer and Brad Nails
- 2 Inch Brad Nails for automatic gun
- I use an 18V ONE airstrike+ 18- Gauge Cordless Ryobi Brad Nailer
- Automatic Sander or by hand
- Sand Paper
- Tack Cloth
- Staining Pads or an old sock/rag
- Pre Stain Wood Conditioner | I always use Minwax or Varathane Water-Based Pre Conditioner as I find it doesn’t orange the wood as much as Oil-based conditioners do.
- Stain
- Top Coat sealer
- I always use General Finishes Water Based Topcoat High-Performance Satin
- Wood Filler
- Painters Tape
- Measuring Tape
- Level
- Paint and Primer if you decide to paint your slats
CREATOR: Jessica Ross

Instagram: @jessbuildit
TikTok: @jessbuildit
Youtube: @jessbuildit