
Building a custom alcove cabinet is a great way to maximize storage while adding a stylish and functional element to your space. Whether you're working with a small or large alcove, this guide will take you through the step-by-step process of creating a beautiful built-in cabinet. With a combination of off-the-shelf materials and DIY craftsmanship, you can achieve a seamless and polished look that complements your home. Follow these instructions to transform your alcove into a practical and aesthetically pleasing feature.
Materials
- 2x Wall cabinets from Wickes (£130 each)
- 2x 18mm MDF sheet (1220x2440) from Wickes (£27 each, for frame and shelves)
- 12mm MDF sheet (1220x2440) from Wickes (£25, for frame)
- Pack of 6 2.4m timber from Wickes (47x47mm) (£39.90)
- A couple of tubes of Caulk and Adhesive from Tool Station (£20)
- Can of Lick Paint (shade Beige03) (£45)
- EASIpanel Tongue and Groove Panelling (1525x516) x4 (£25 per panel)
- 4x Pushka Home Black Brass Dome Doorknobs (£14 each)
- 2x Recessed Power Sockets from Amazon (£30 each)
- 2x Paintable Access Panels from Amazon (£10 each)
- 2 Pack Cable Brush Wall Plate from Amazon (£7)
- Mahogany trim (made from spare wood in the workshop)
- 2 Pack White Desk Cable Grommets from Amazon (£8)
- 1x Dado Rail from Wickes (£11)
Final Cost: £705.90
Step-by-Step Guide
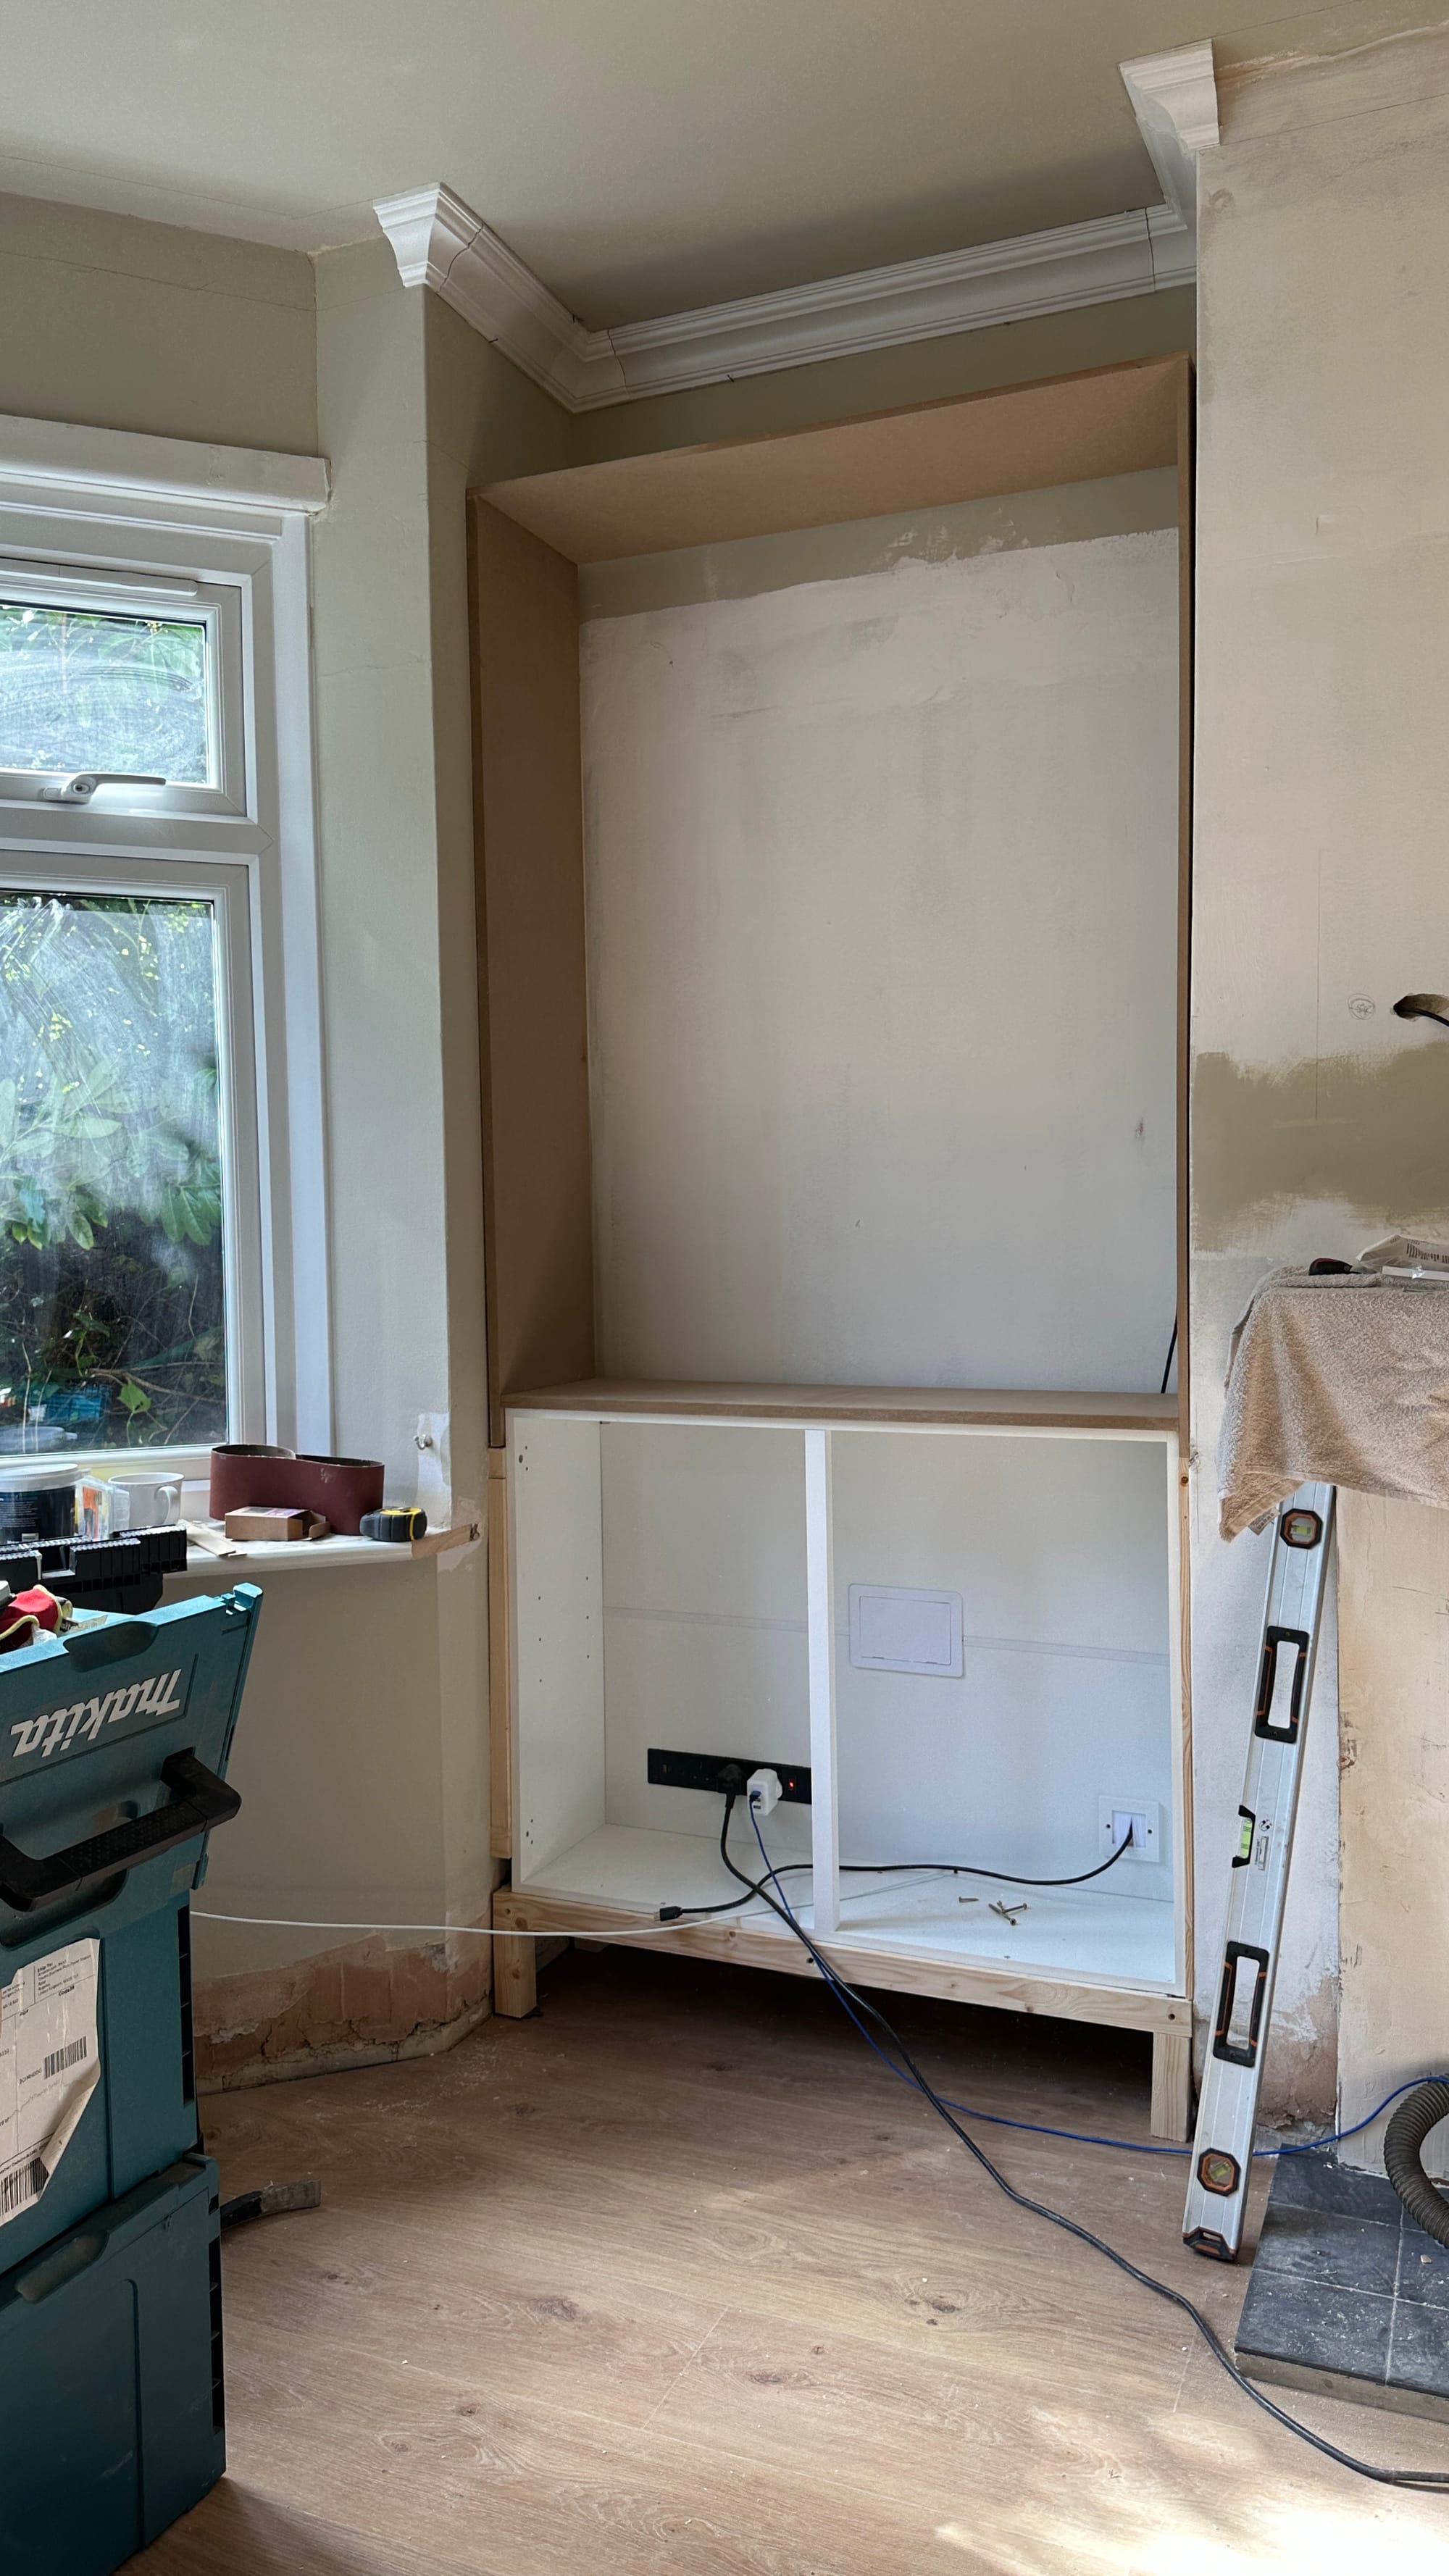
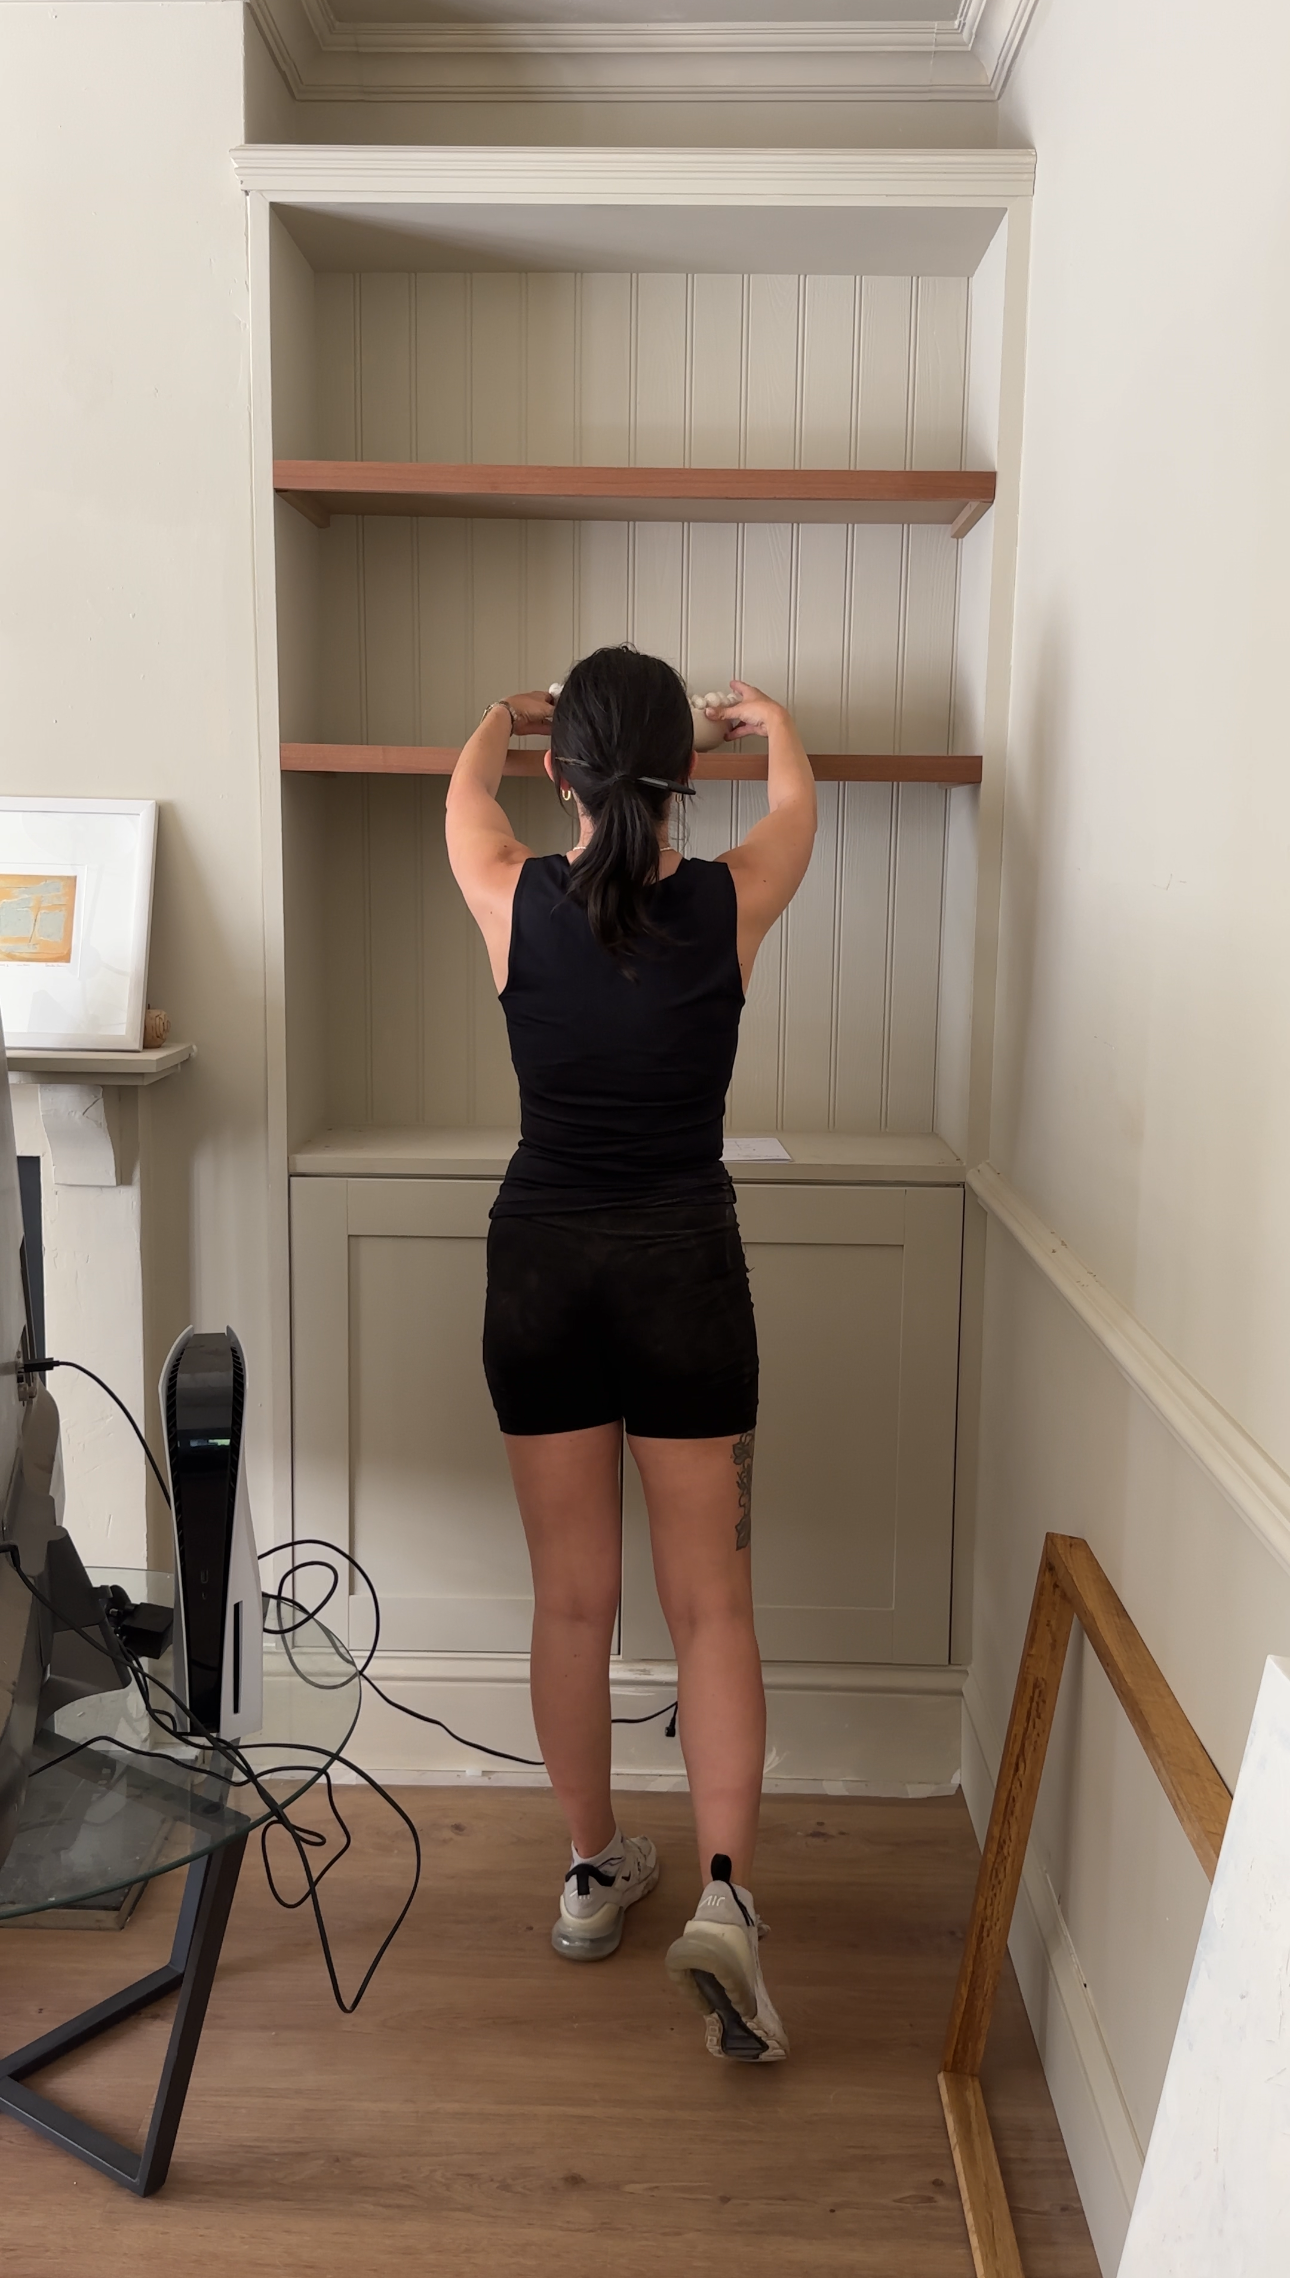
Step 1: Measure Your Alcove
Start by measuring both sides of your alcove, as they may vary slightly. For this guide, we assume both sides are approximately 1050mm wide. Choose a wall cabinet that fits within this space, such as a 1000mm unit. Wall cabinets also come in 600mm, 900mm, and 1200mm sizes, or you can use two 600mm units for a more customized fit.
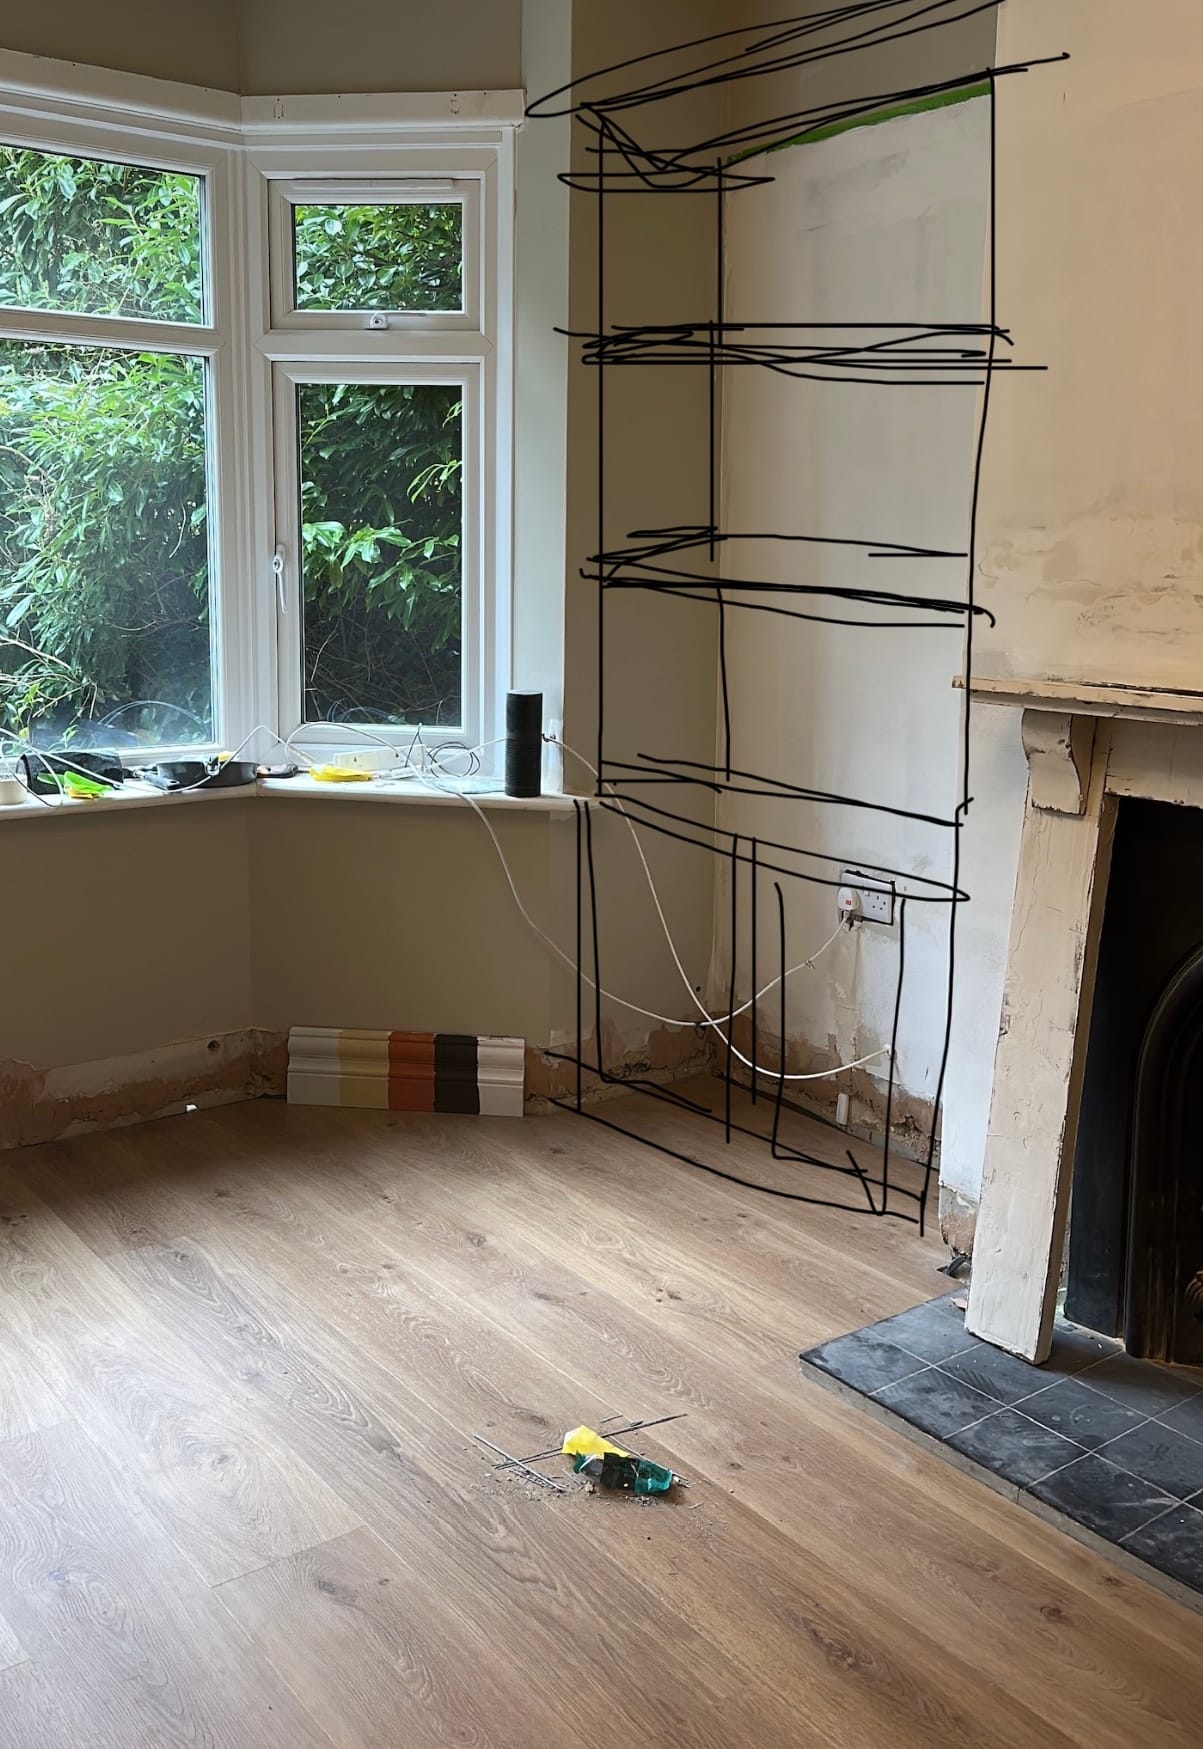
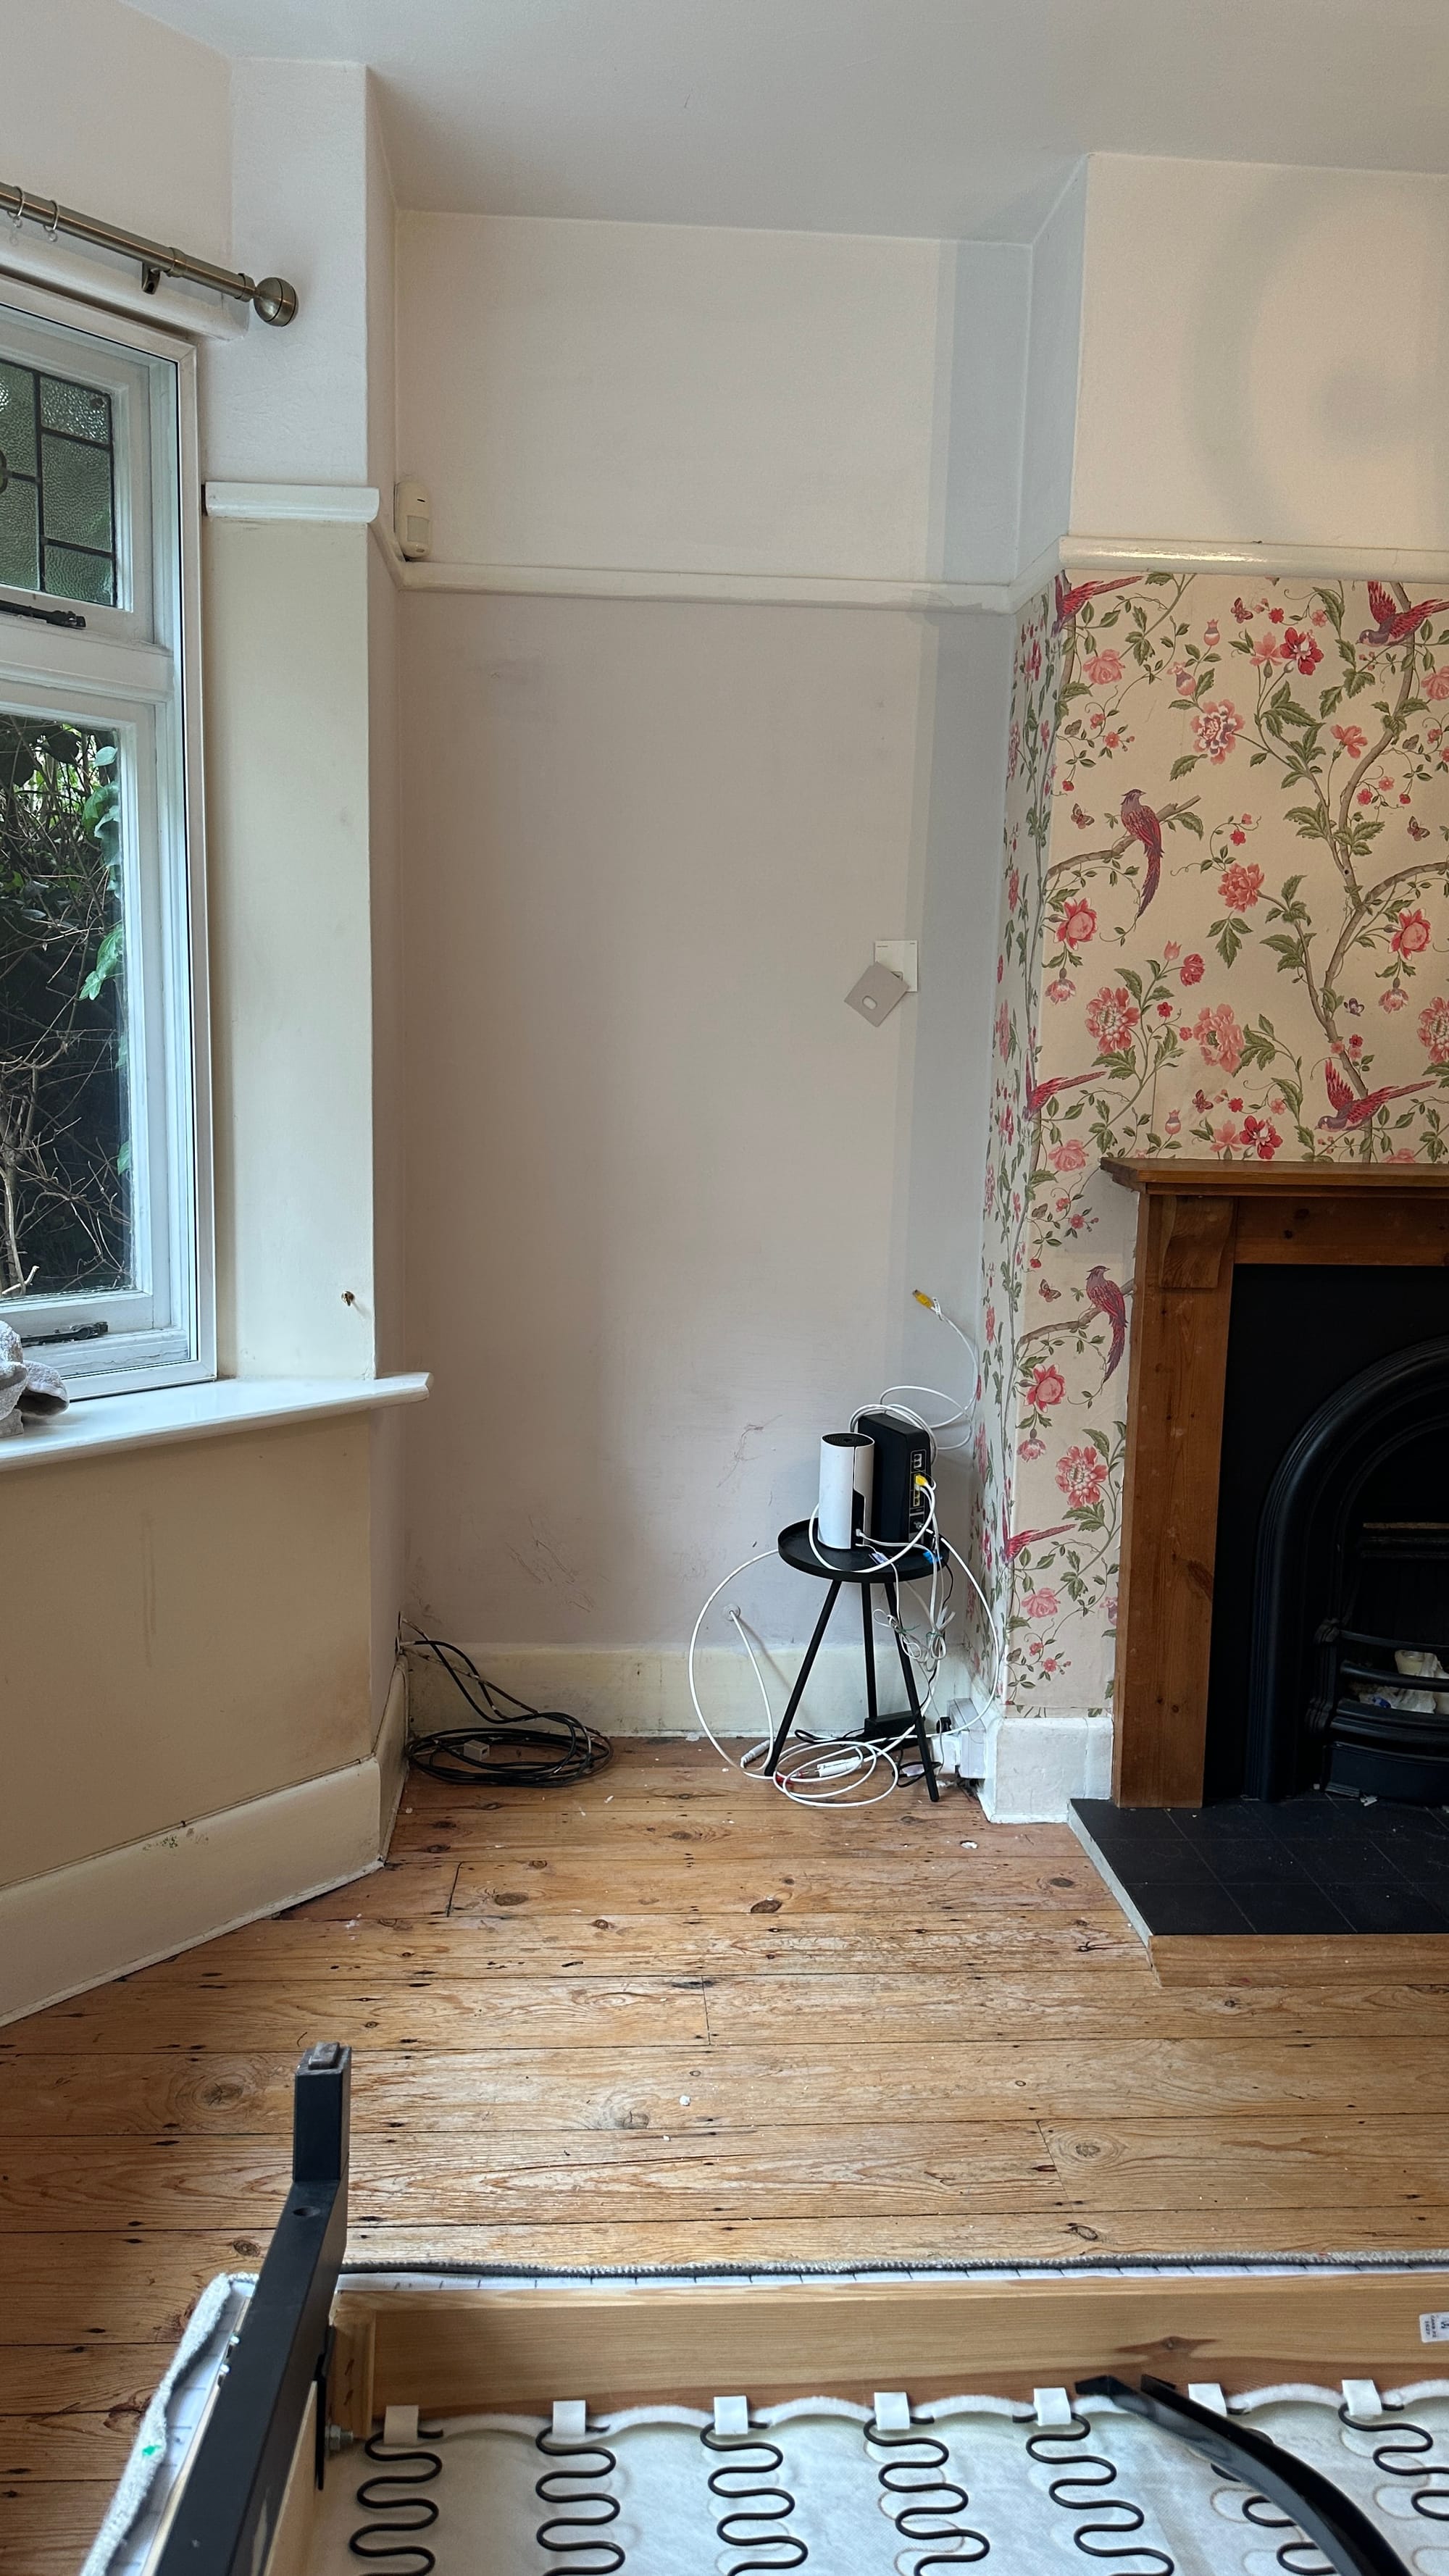
Before
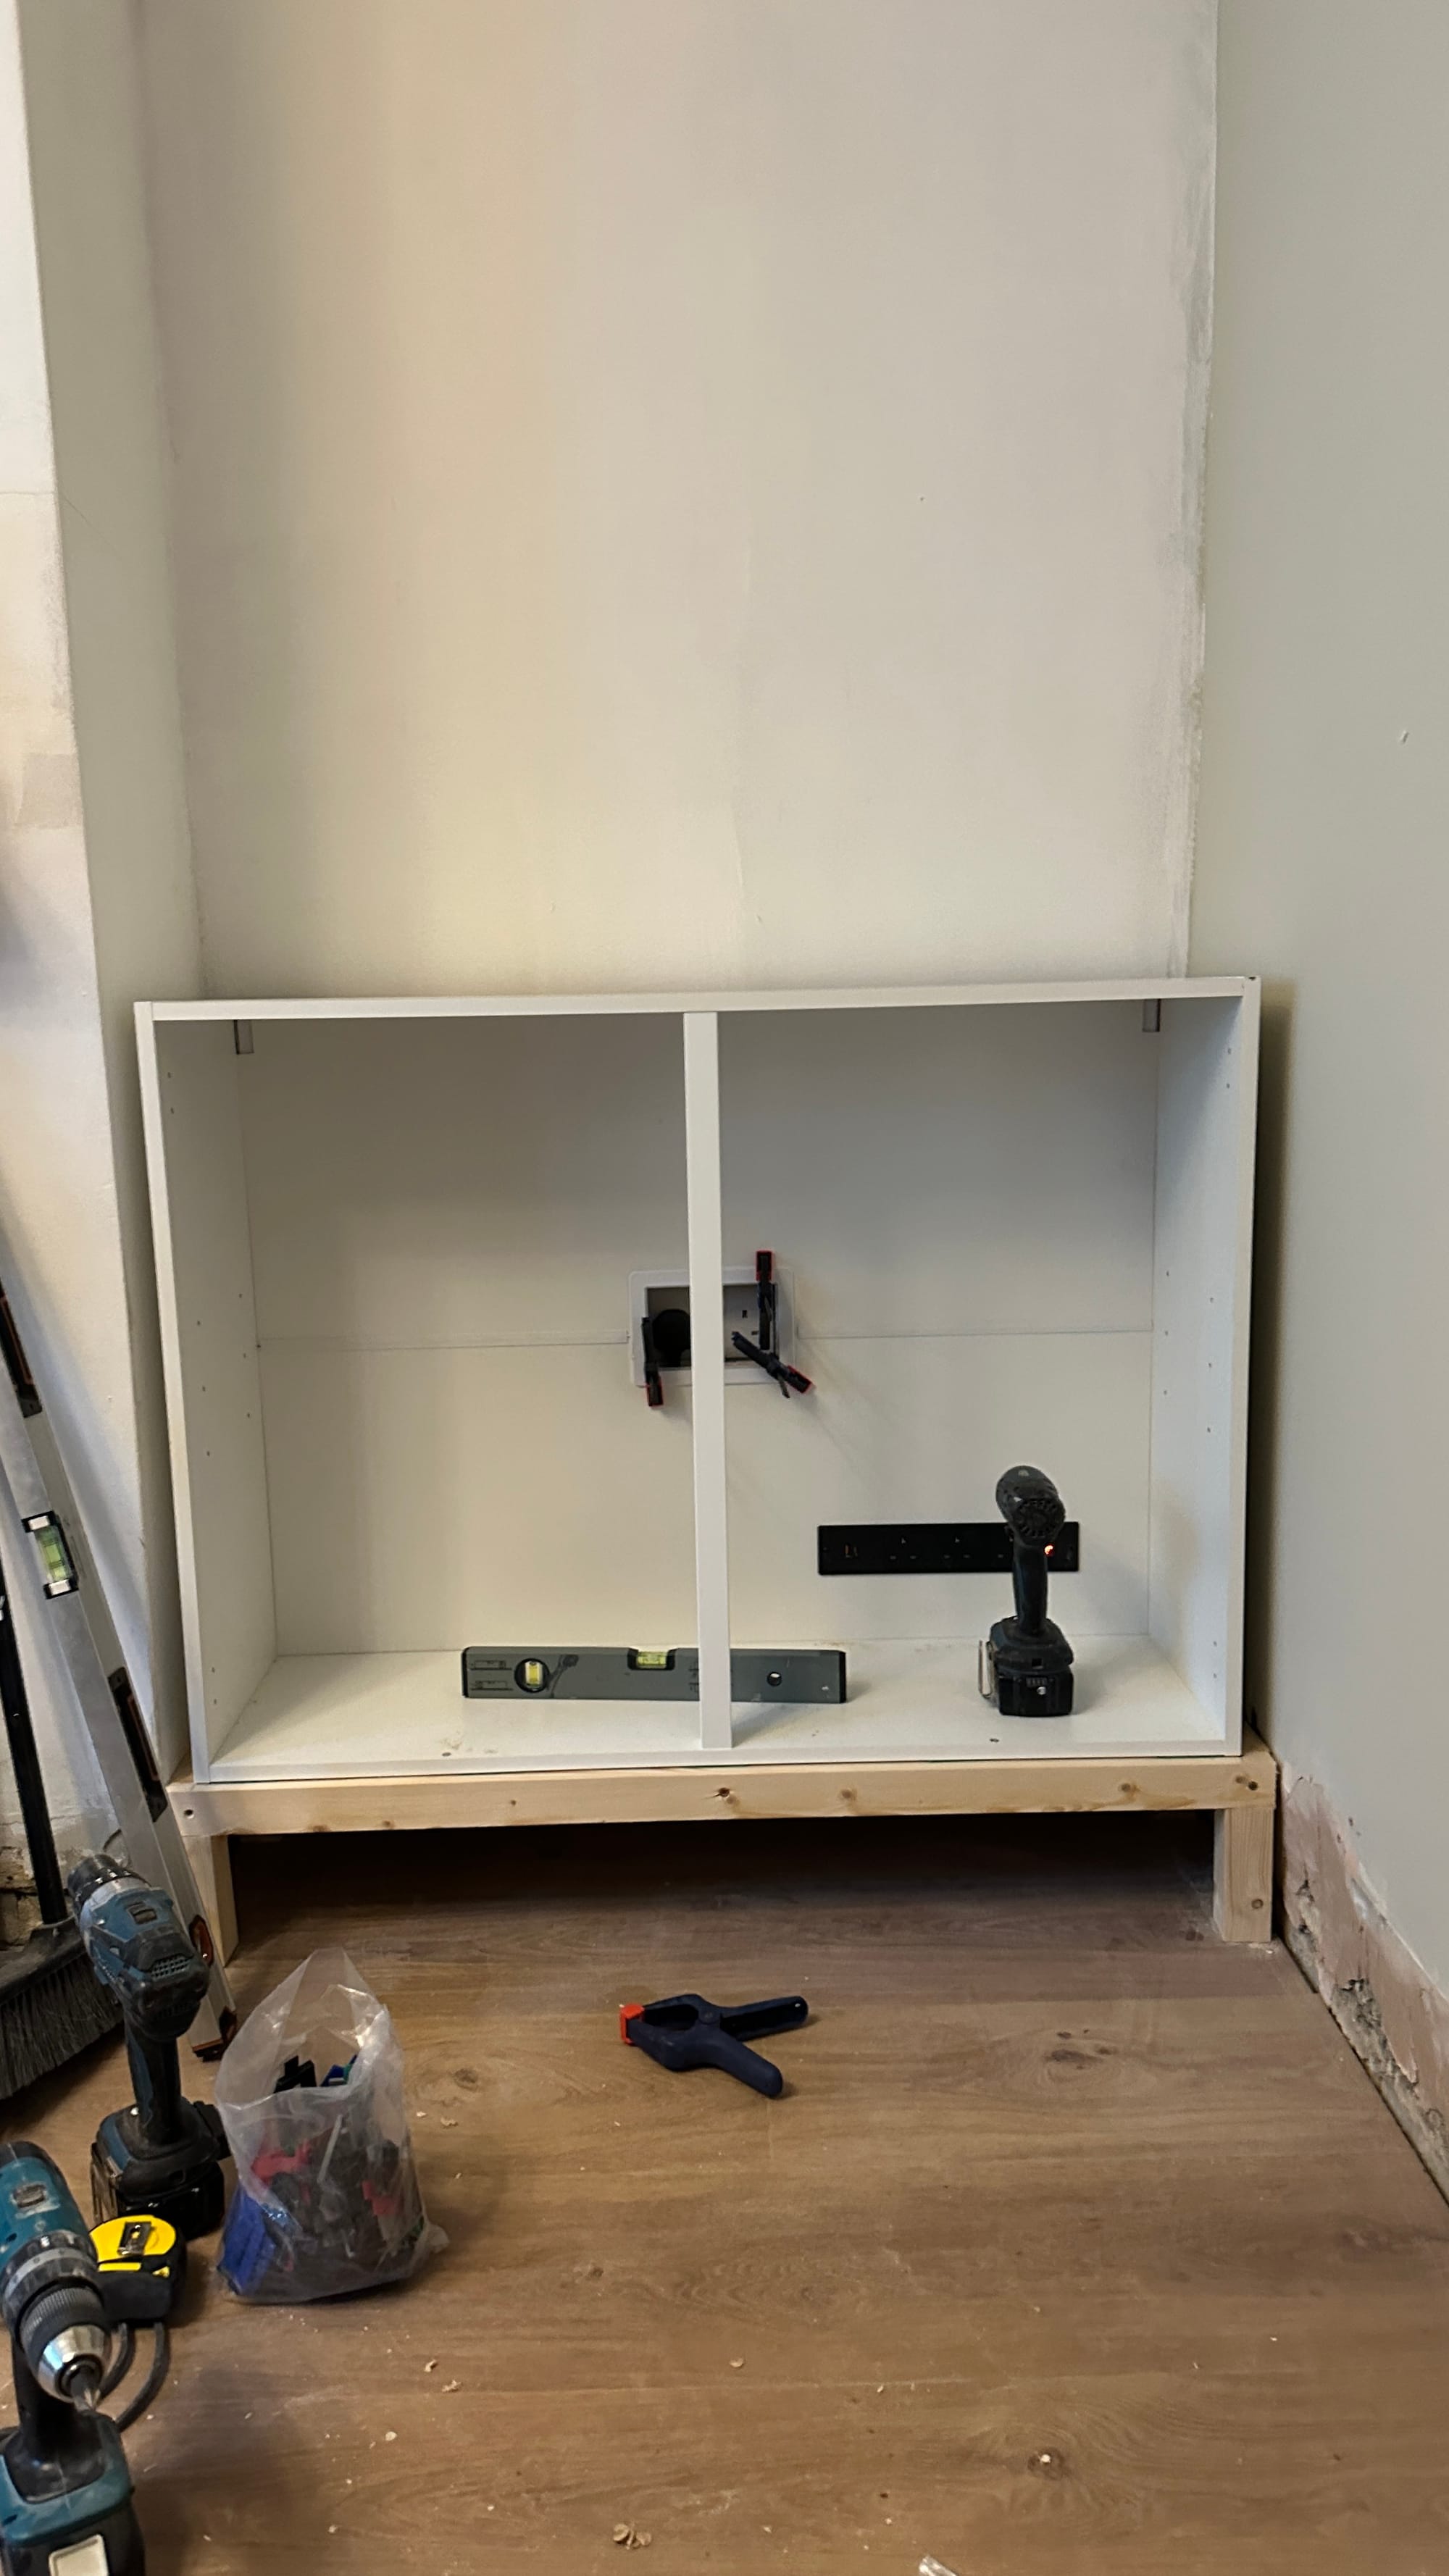
Step 2: Prepare Your Cabinet and Base
Assemble the wall cabinet according to the manufacturer’s instructions, but do not attach the doors yet. Next, build a timber frame base with four legs for support. If your cabinet is large, add a middle leg and a central support for additional stability. The base should be a few millimetres taller than your skirting or plinth. If necessary, cut openings in the back panel of the cabinet for any wires or sockets before proceeding further.
Step 3: Position and Secure the Base
Place the base inside the alcove and use a level to ensure it is even. Once stable, position the cabinet on top of the base, ensuring it is centred. Measure the gaps on either side between the cabinet and the walls. Cut filler blocks to match these gaps, making sure they are slightly shorter than the cabinet’s height. Secure the blocks to the cabinet sides where hinge holes will hide the screws.
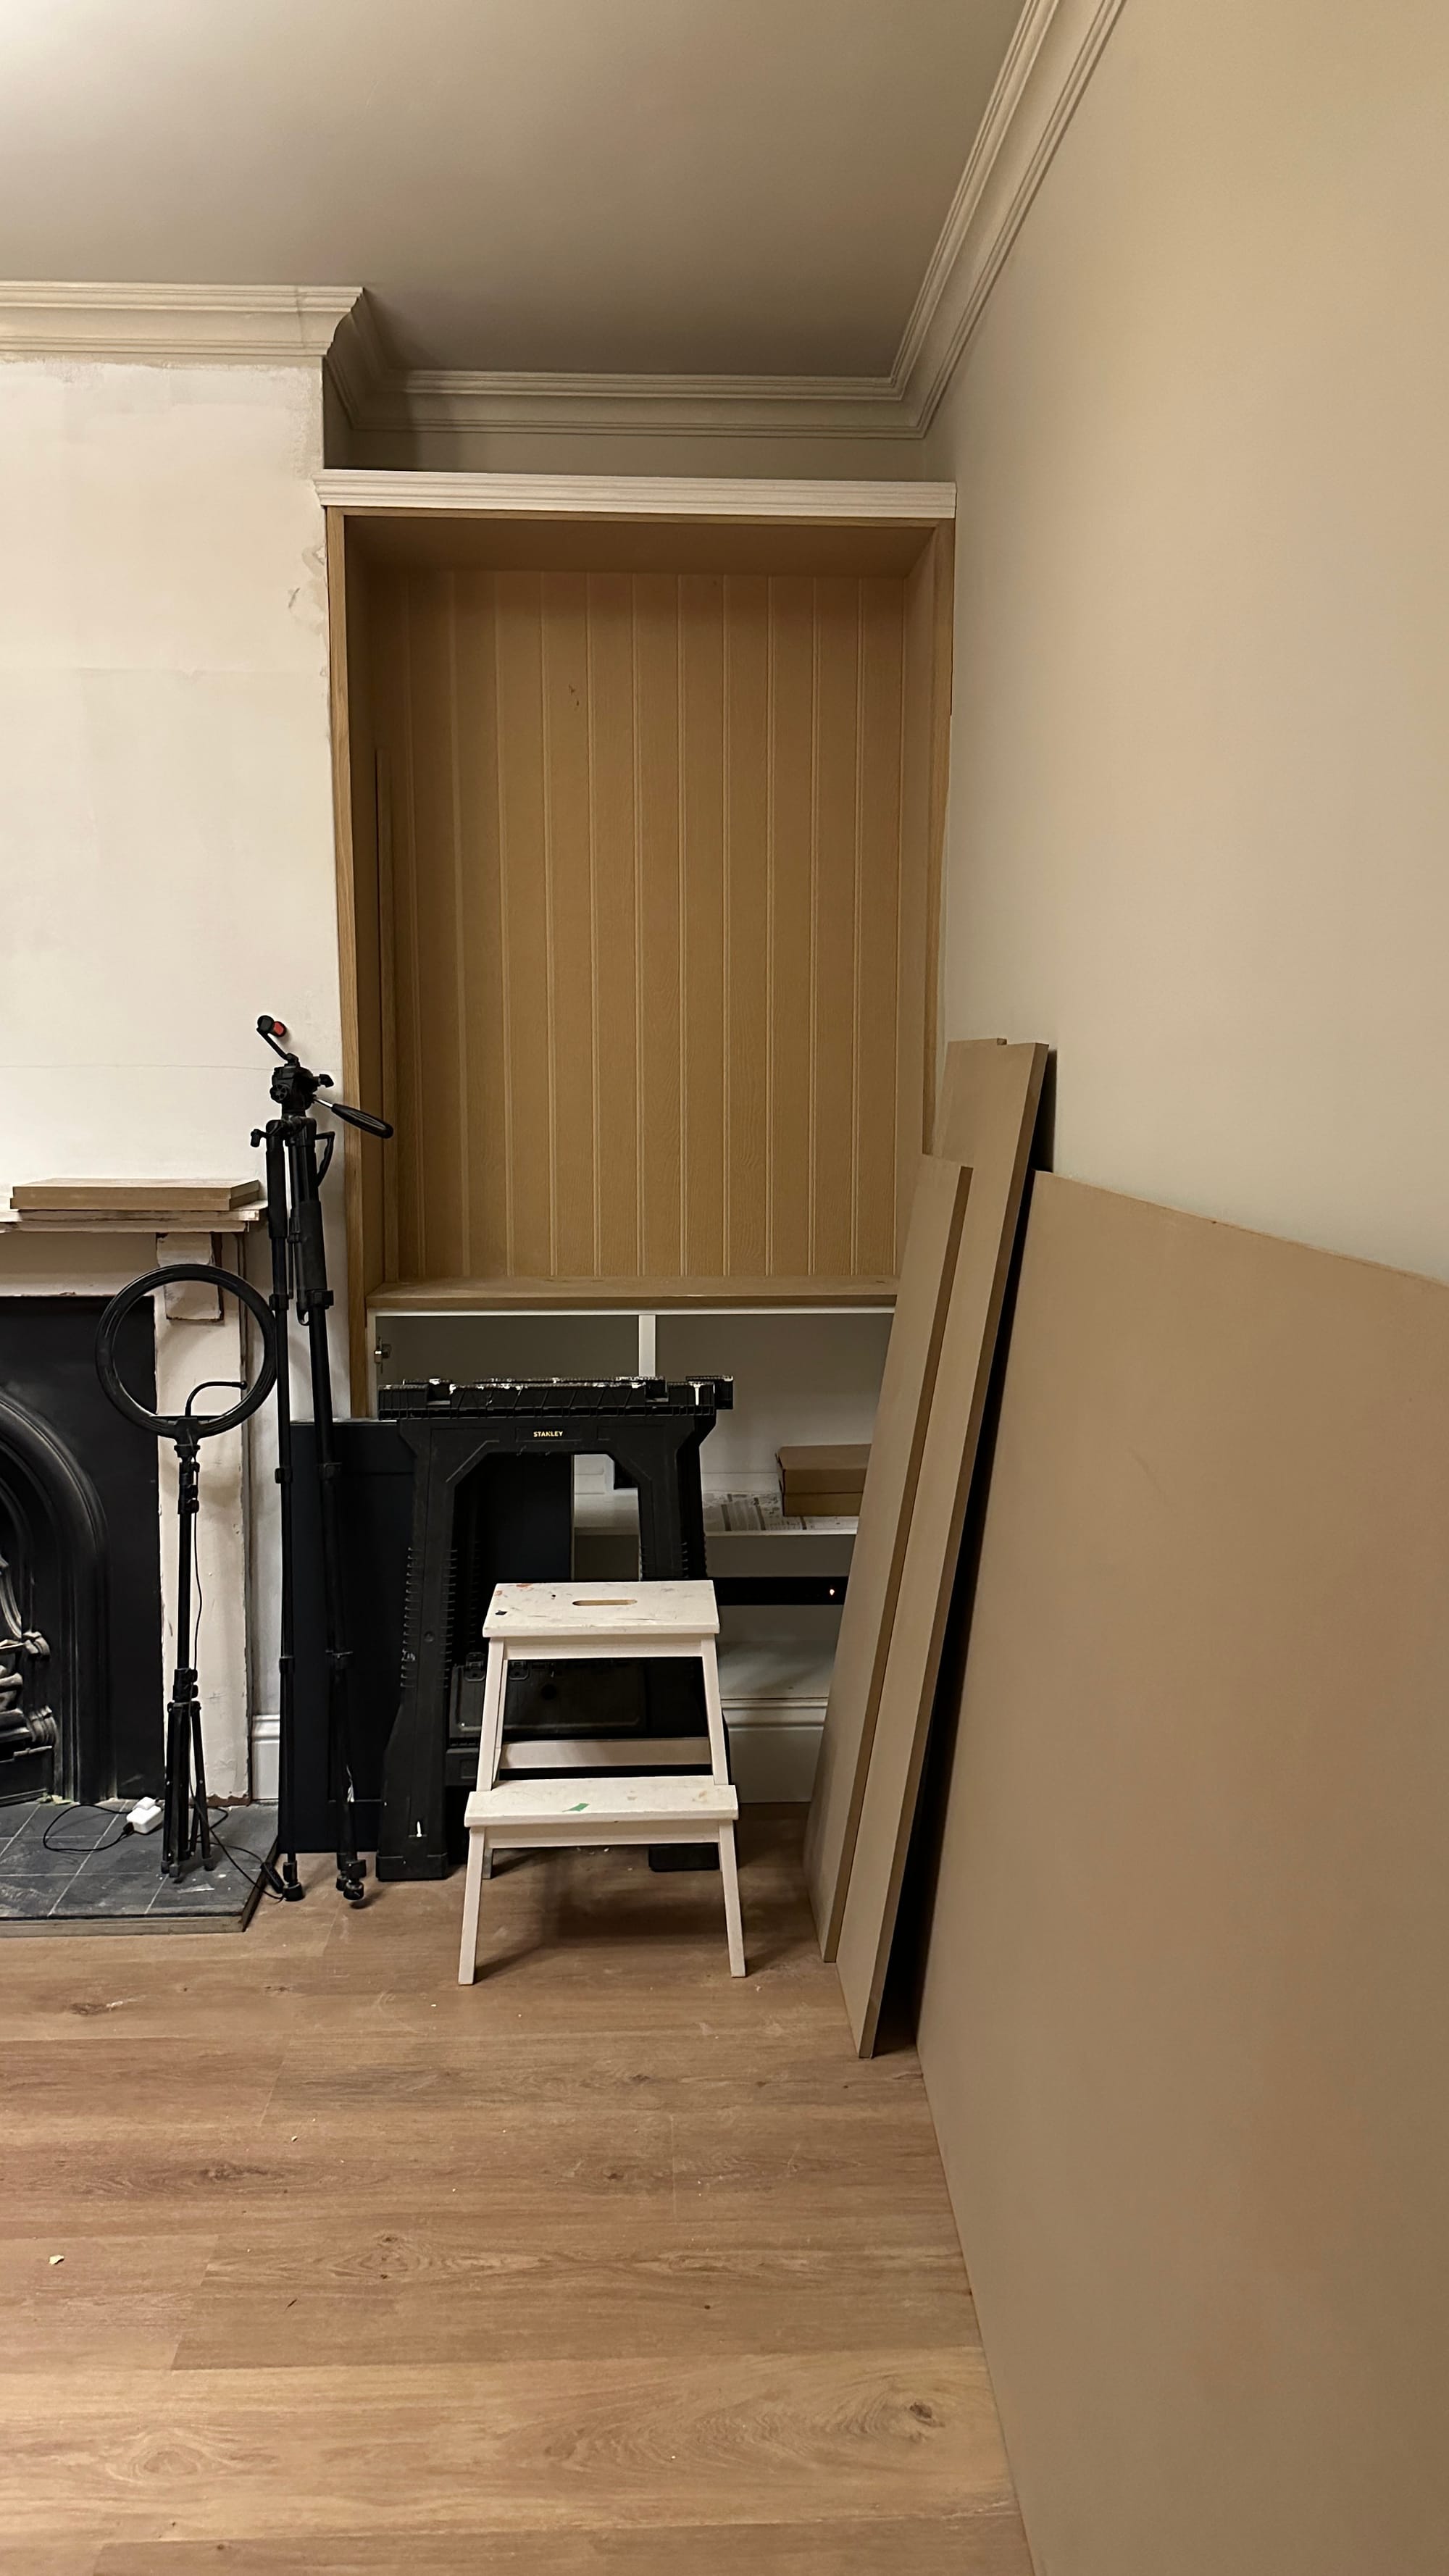
Step 4: Build the Top Frame
First, measure the height from the top of the cabinet to your desired final height. If your walls are uneven, use the smallest width and height measurements for accuracy. Cut side and top/bottom frame pieces from 18mm MDF, ensuring the frame depth matches the cabinet. Your frame should resemble a squared ‘A’ shape, with two longer sections at the bottom.
Next, join the frame pieces using pocket hole screws or standard screws along the butt joints. Attach the side pieces down to the filler blocks, while the bottom piece aligns with the cabinet top. Lay EASIpanel or similar panelling over the frame, ensuring it is square before nailing it into place. Trim any excess as needed and cut holes for wires if necessary.
Finally, carefully slide the completed frame onto the cabinet. Ensure all electrical work is completed at this stage before securing everything into place.
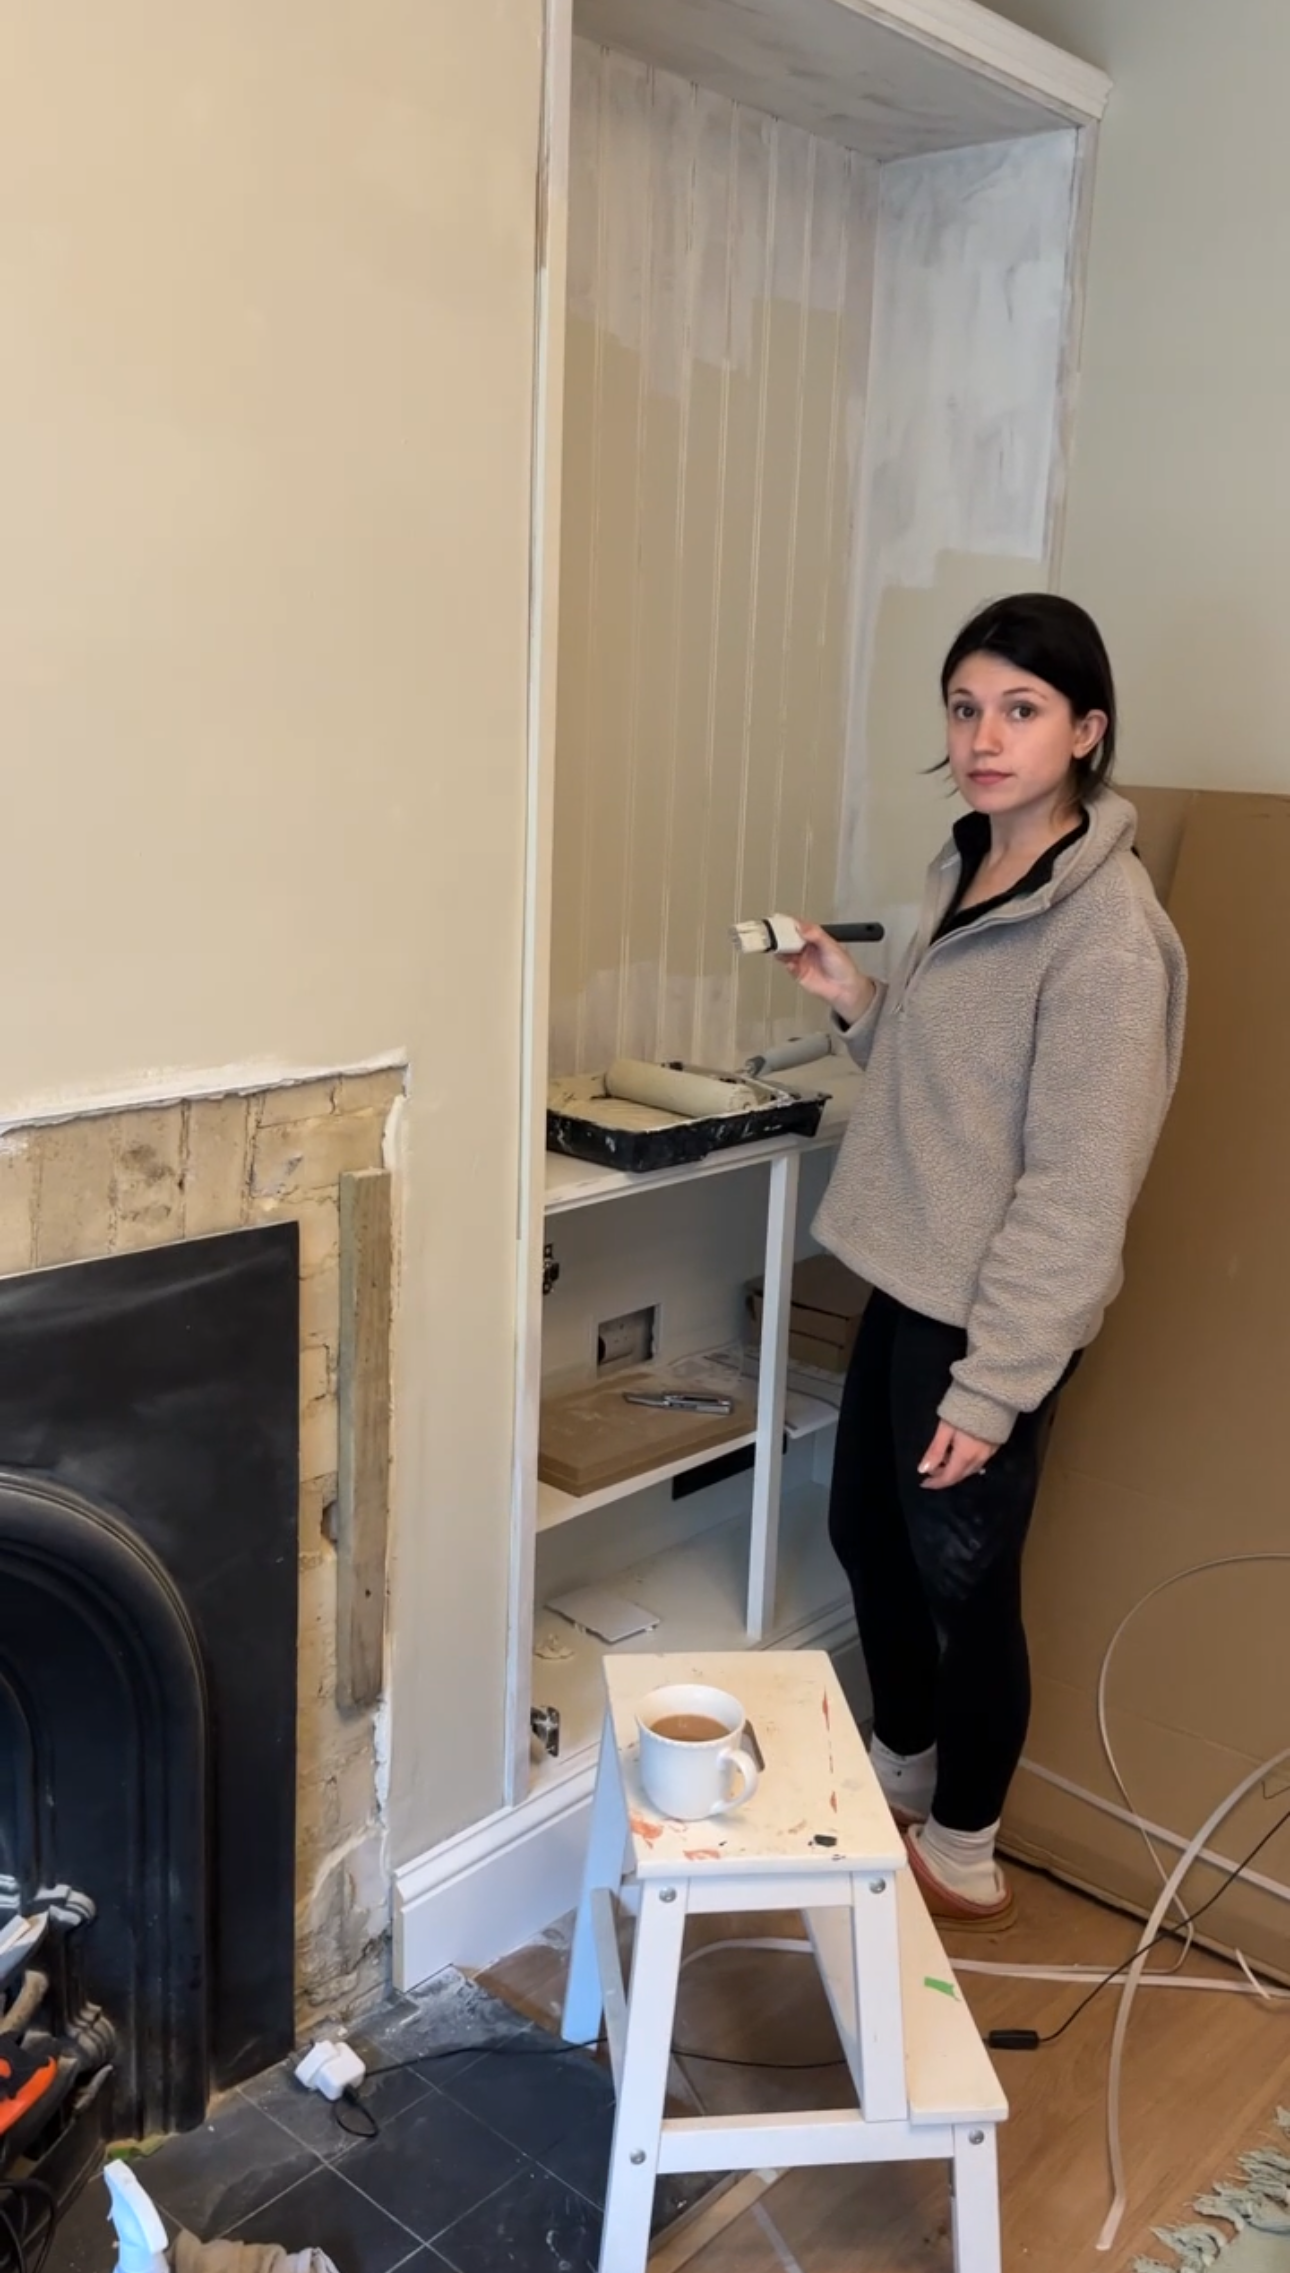
Step 5: Cover and Paint
Cover the side pieces with trim for a seamless look. Attach cornice or architrave to the top and add skirting or plinth to the bottom timber base. Prime the doors, MDF, and panelling before painting in your desired colour.
Step 6: Create and Install Shelves
Cut shelves from 18mm MDF, ensuring they match the cabinet depth. Attach small support blocks along the frame sides and drill sunken holes for hidden screws. Secure the shelves in place using battens for extra support.
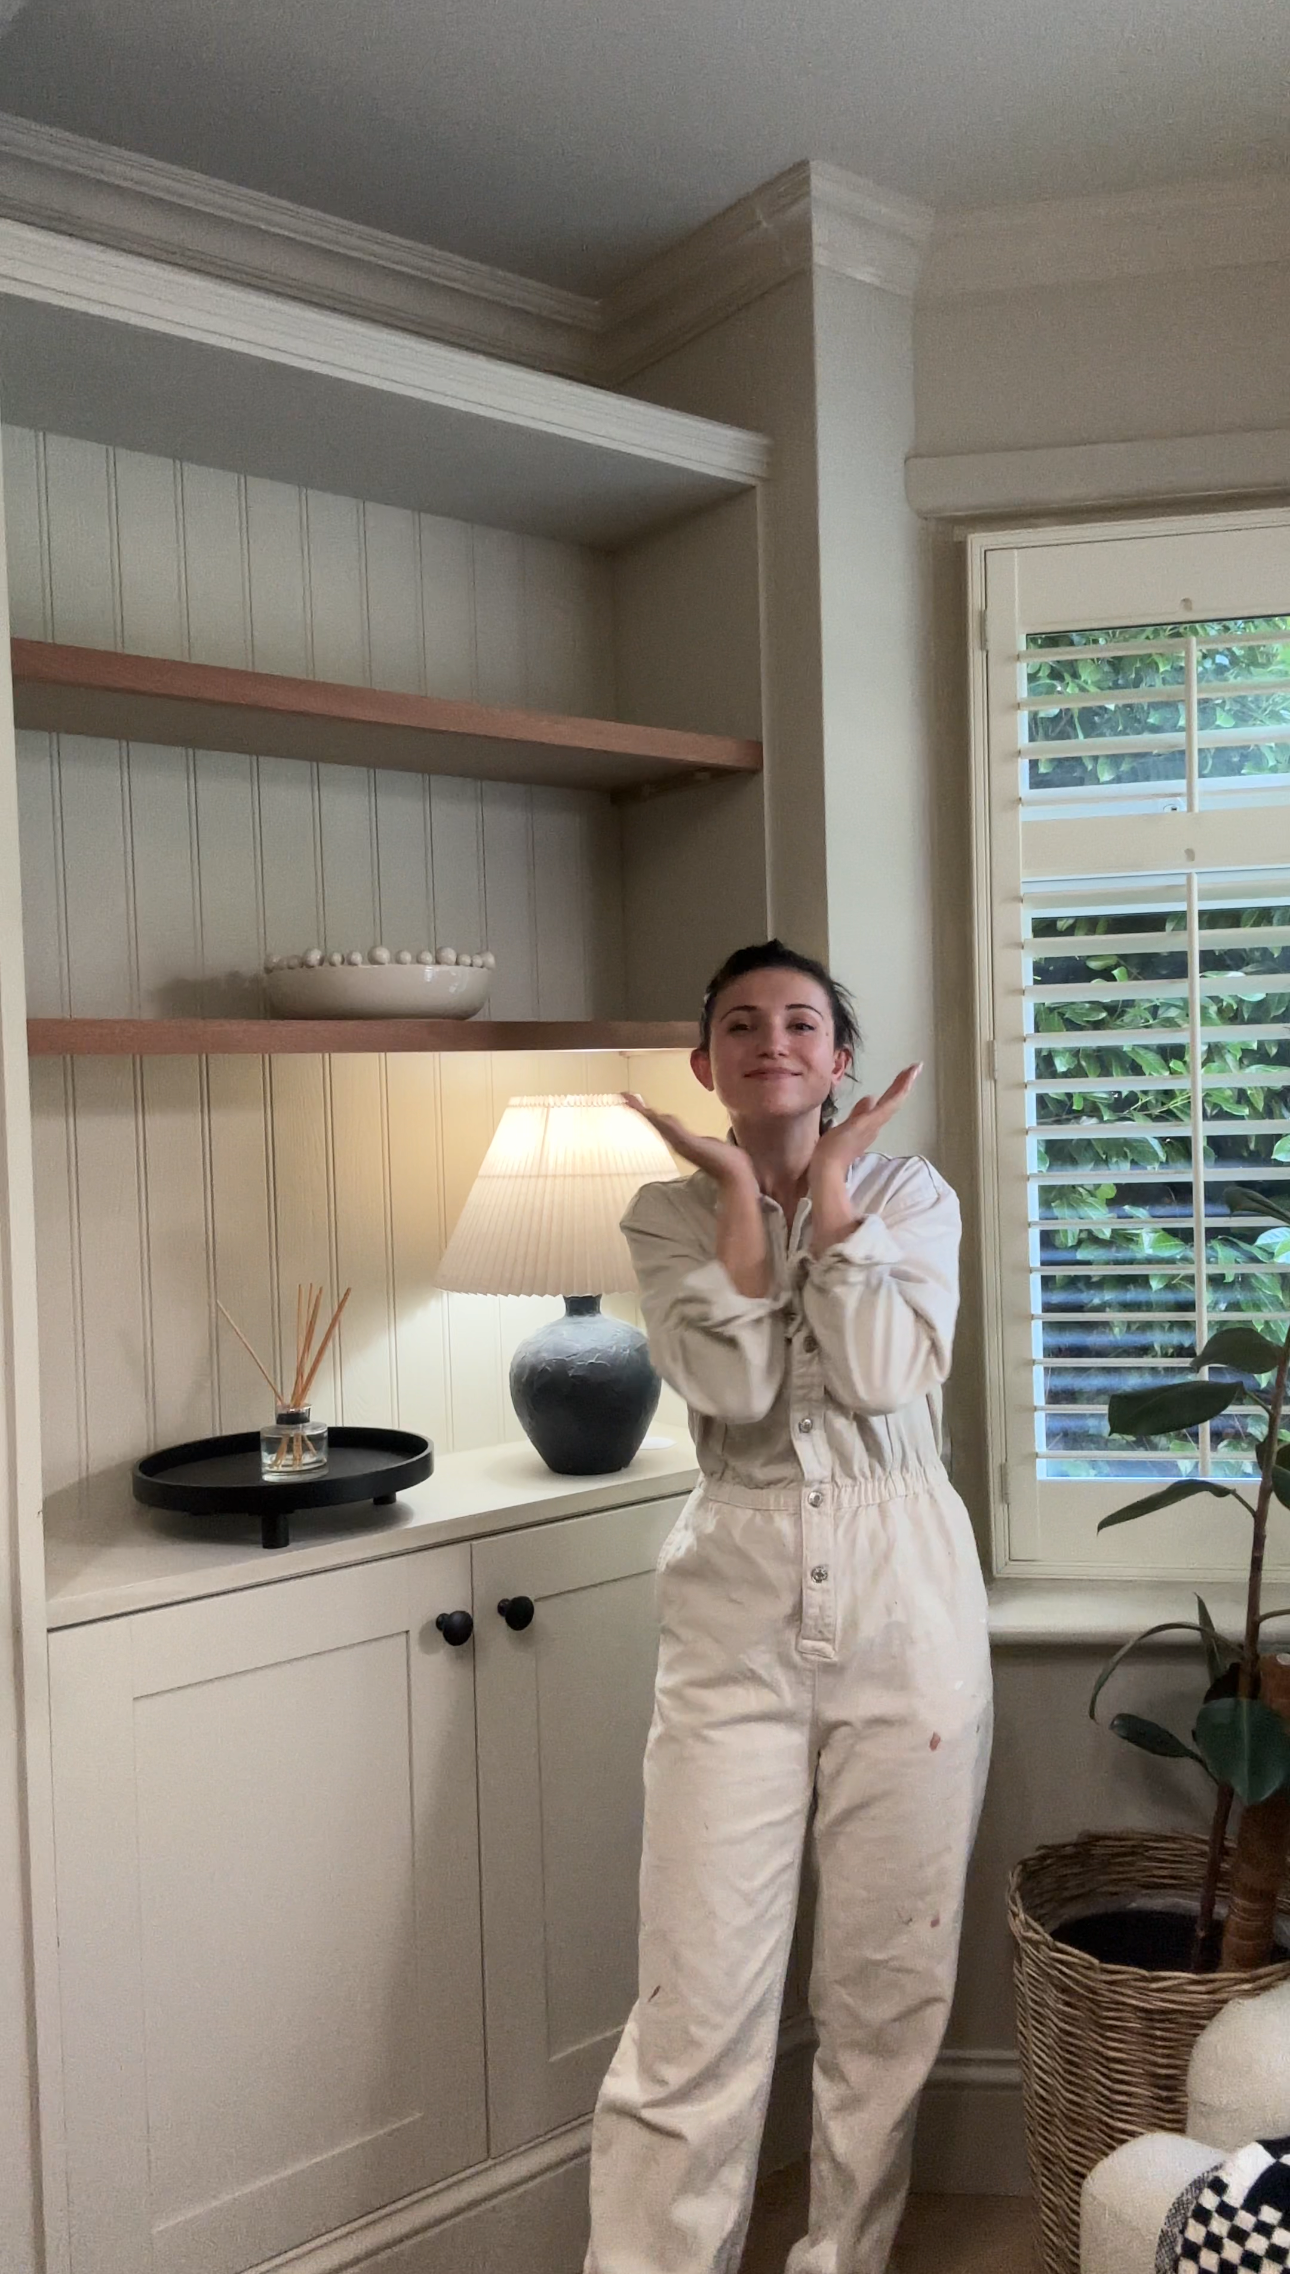
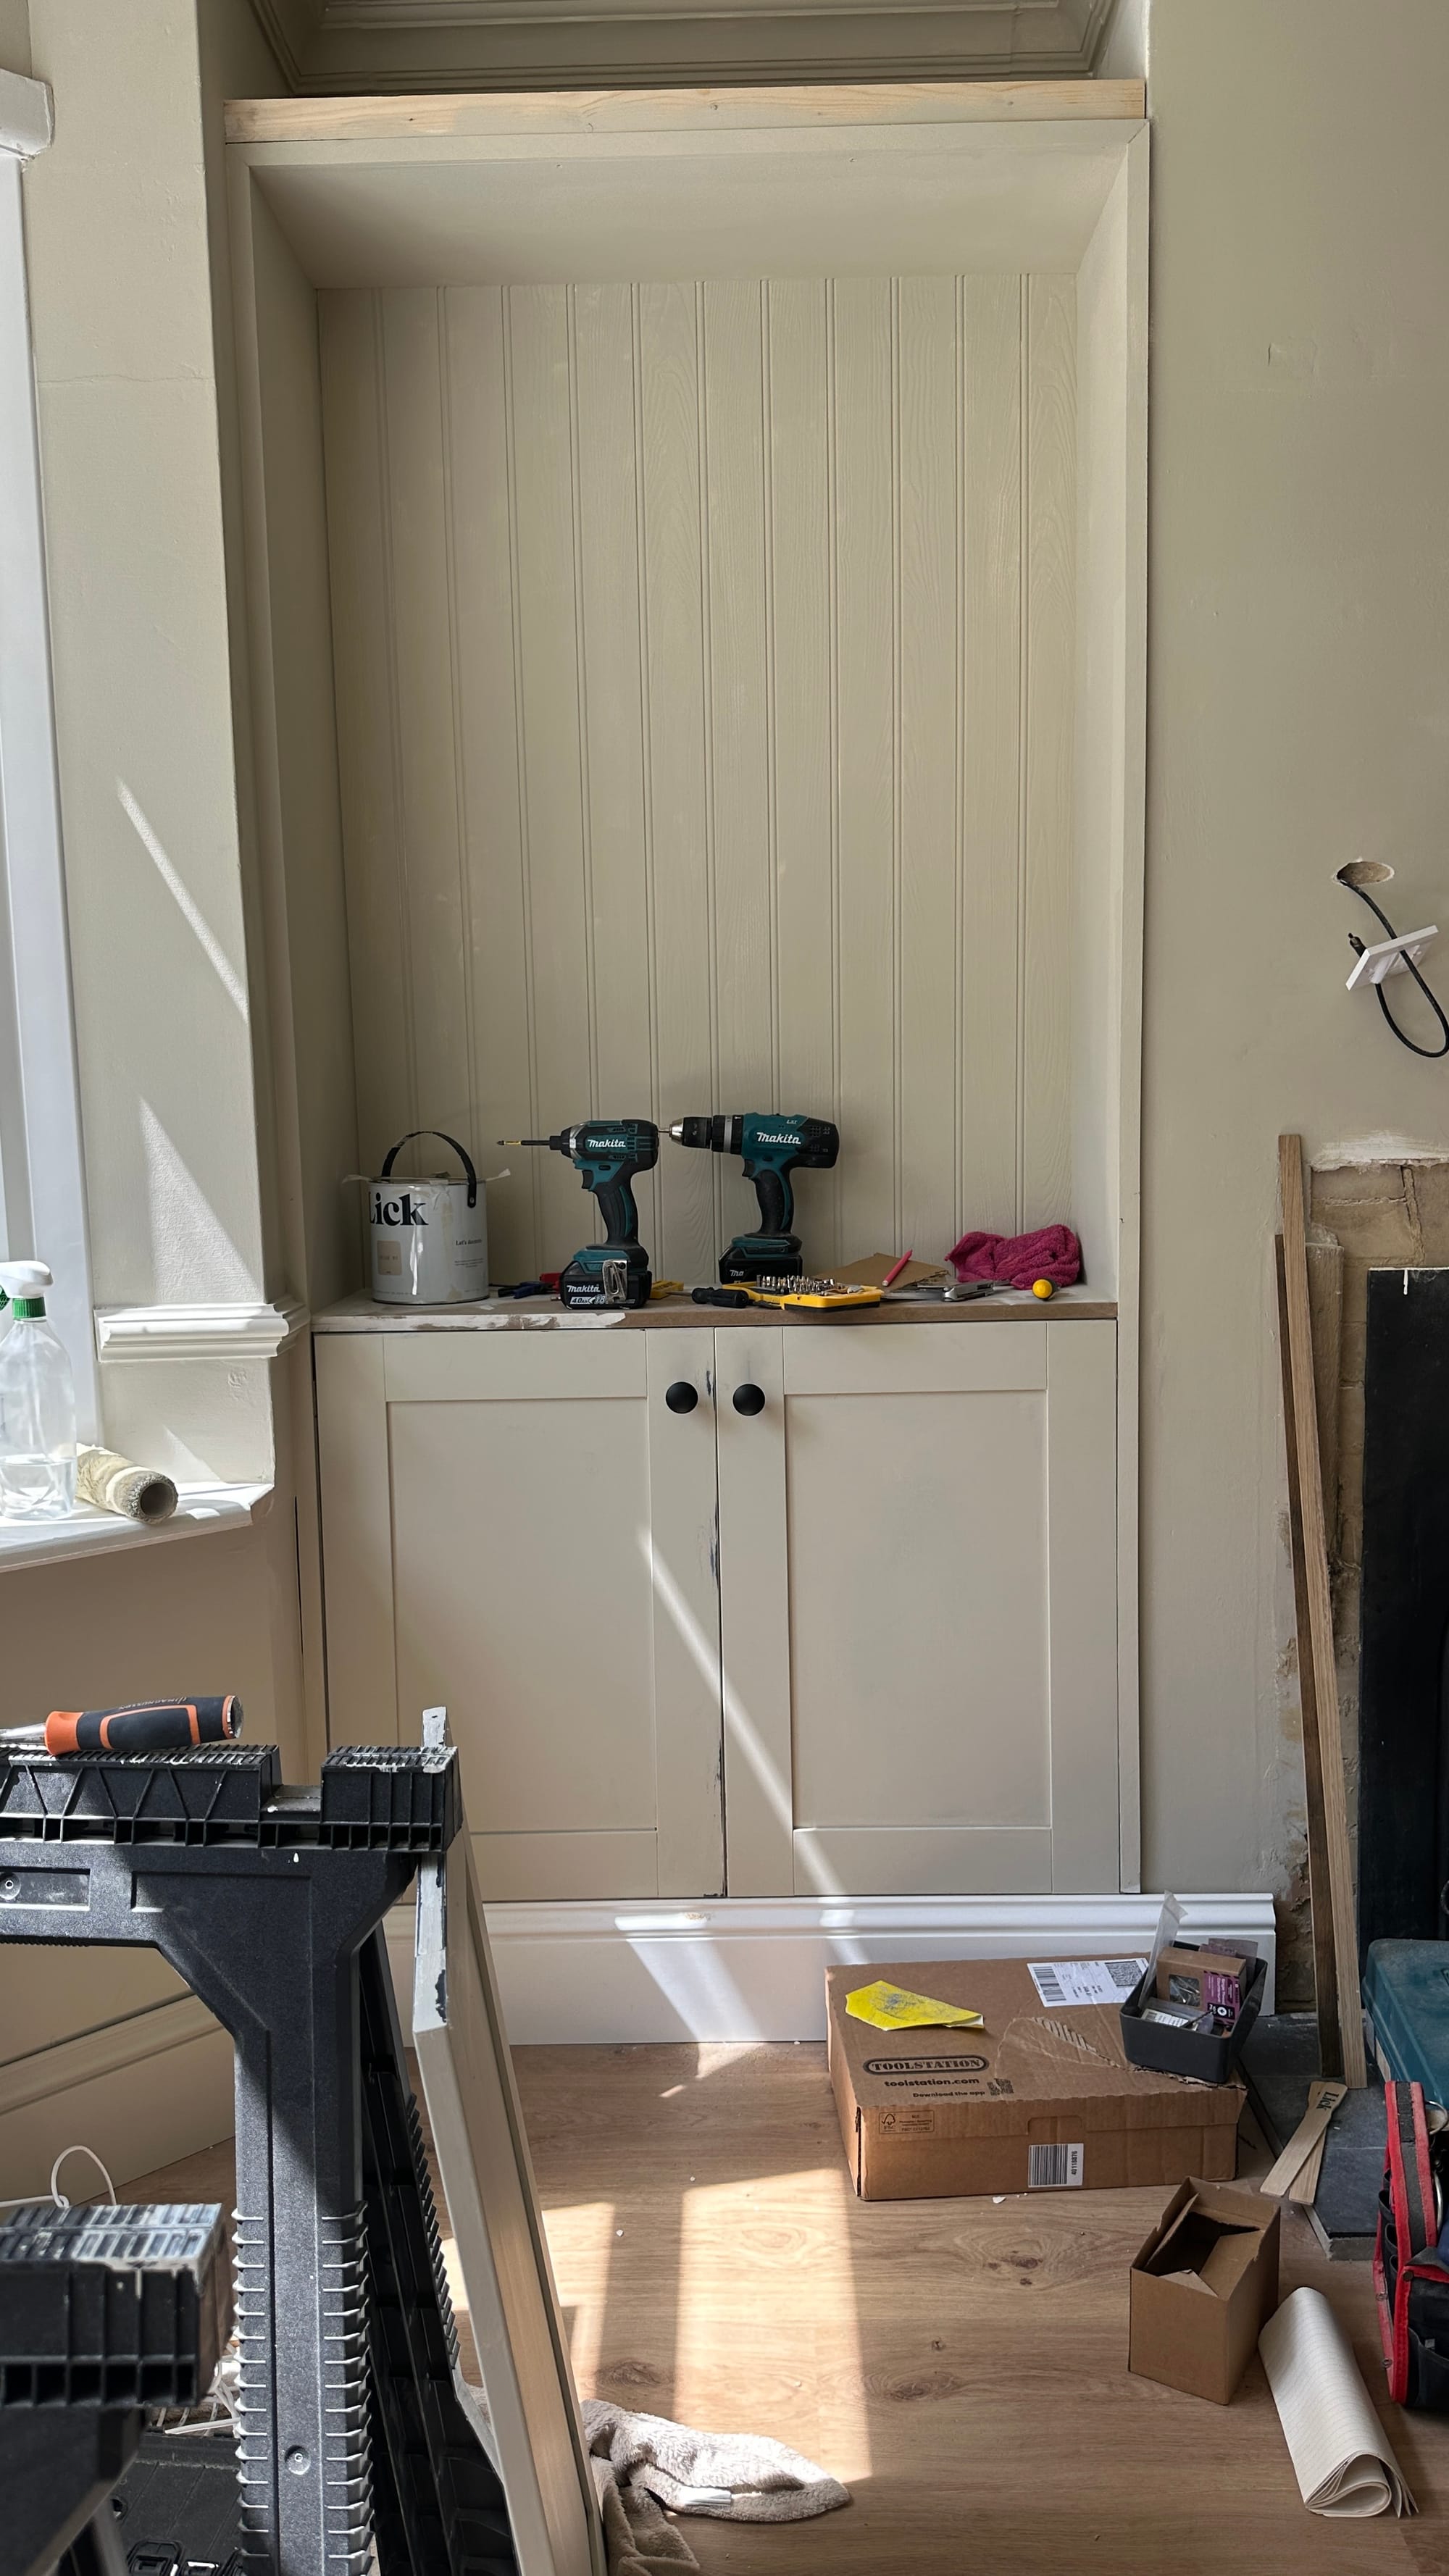
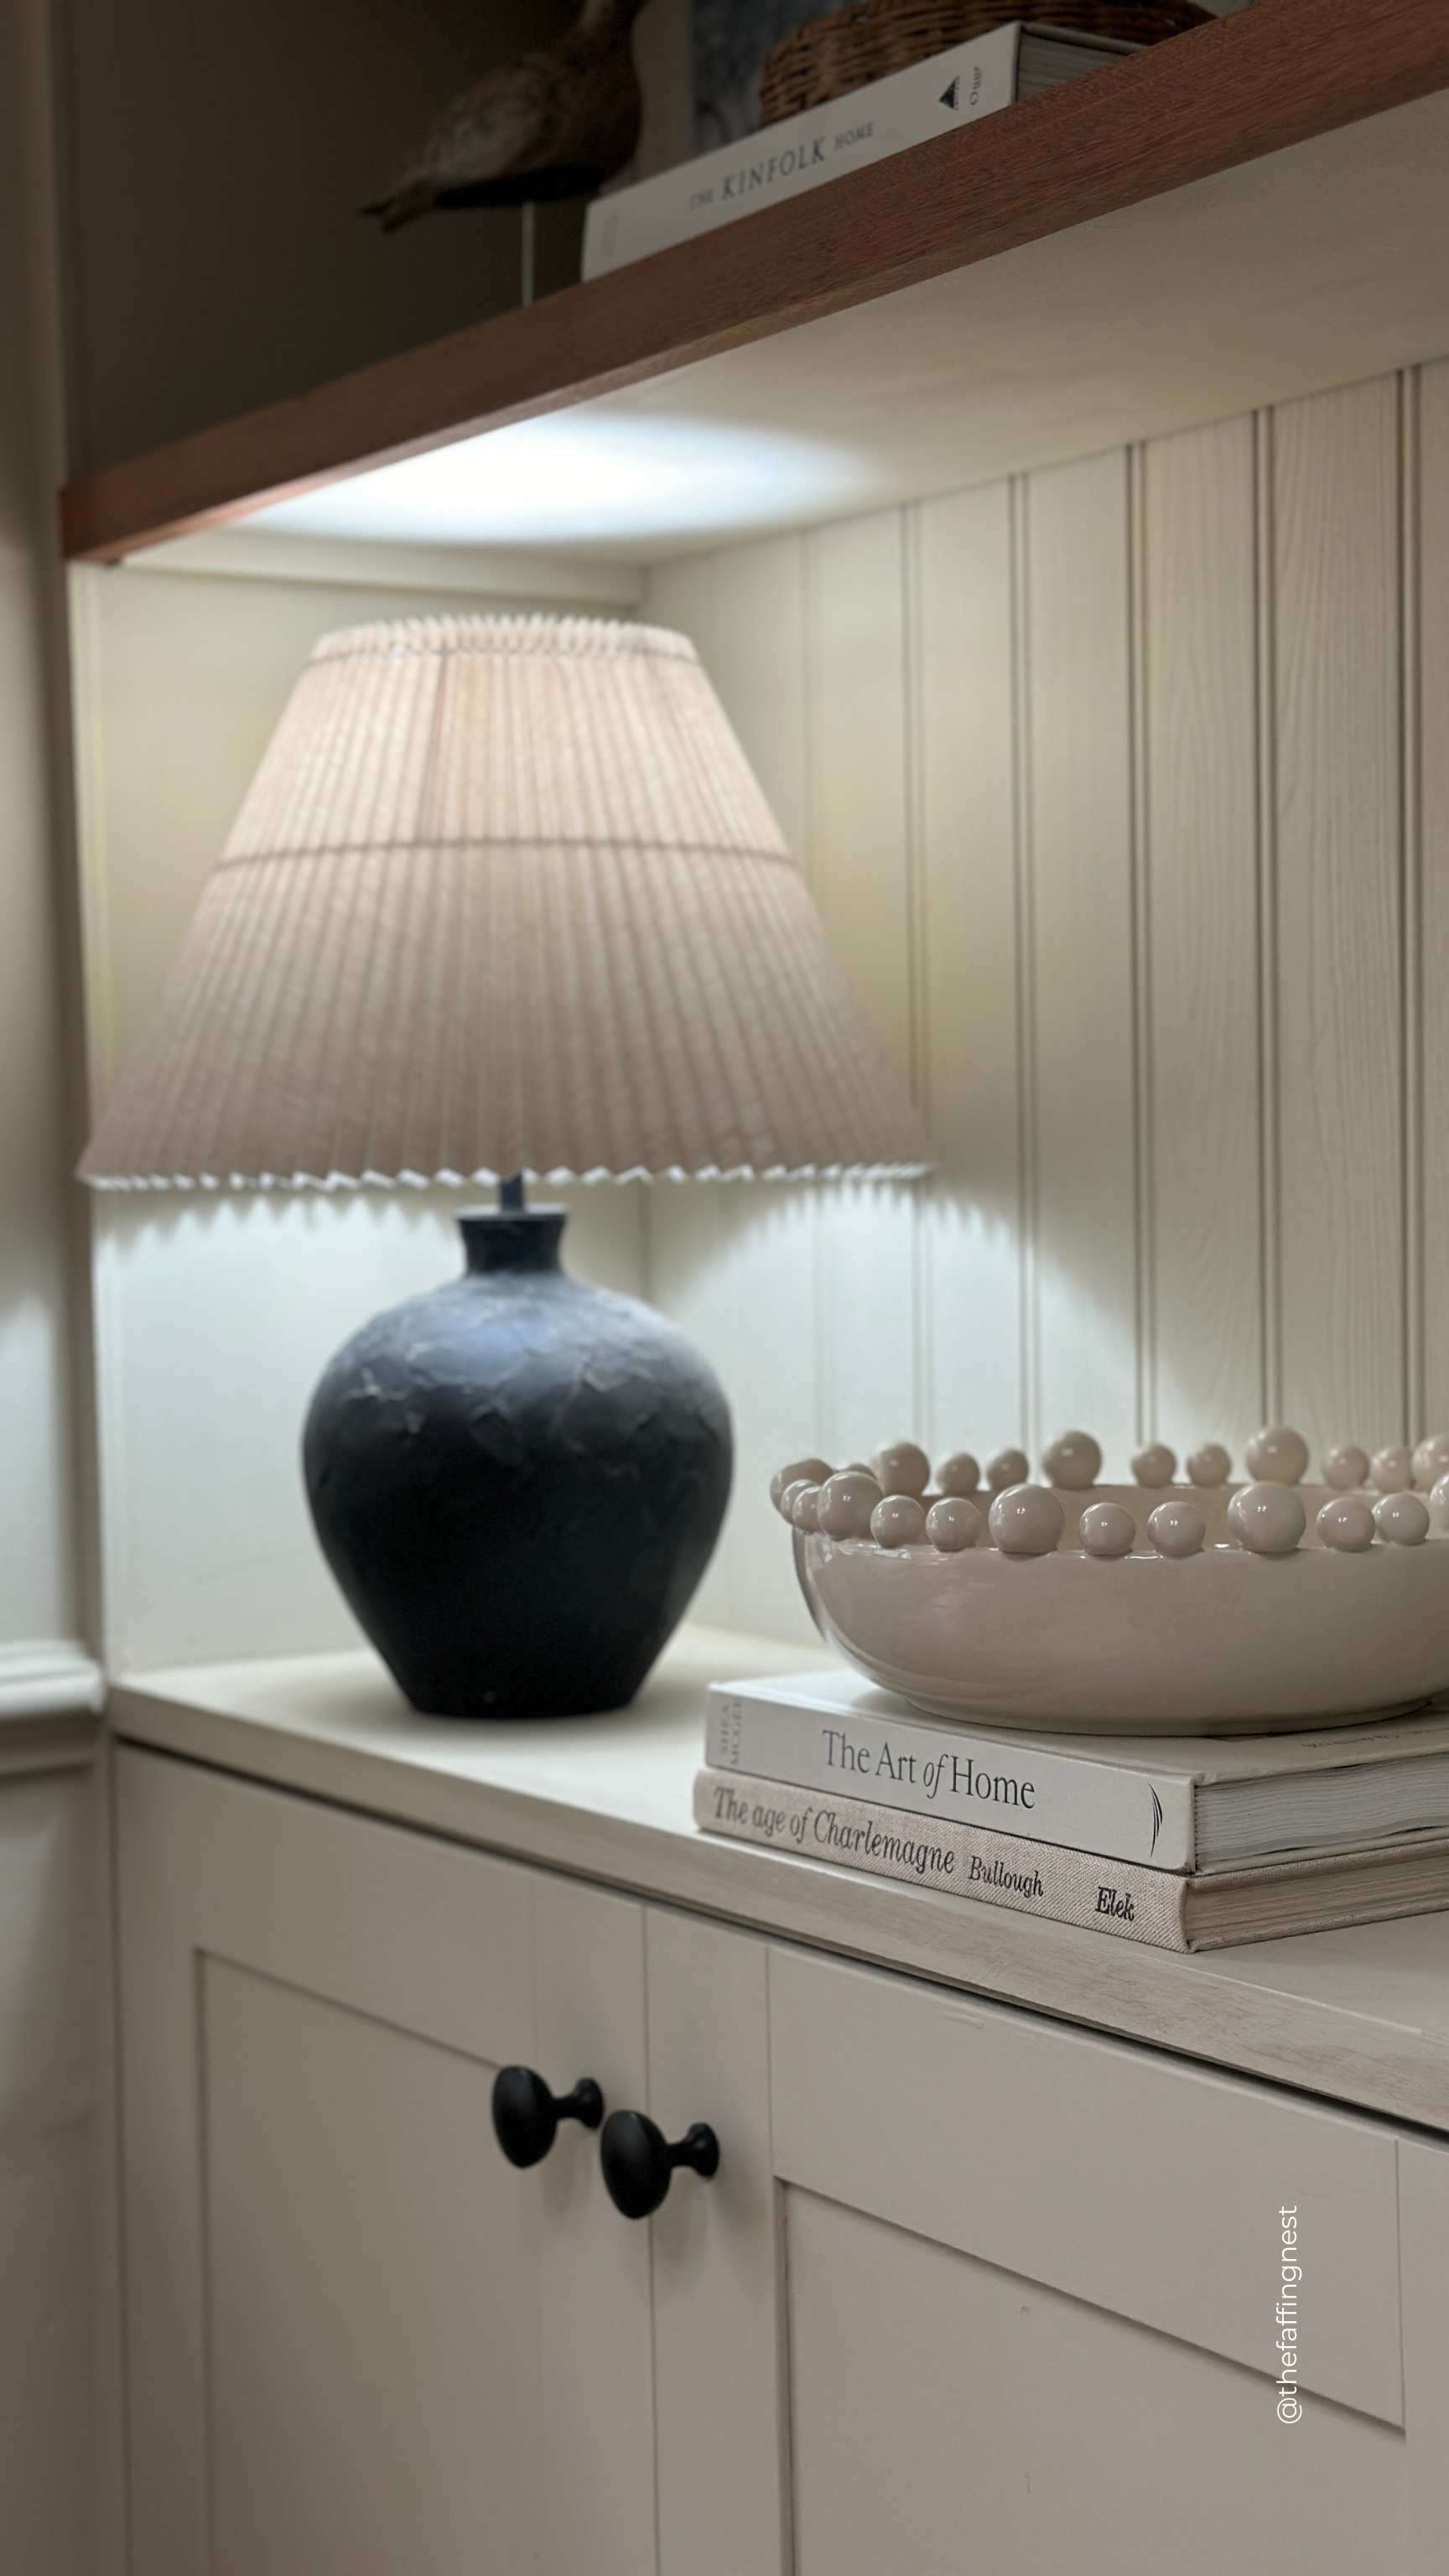
Step 7: Final Touches
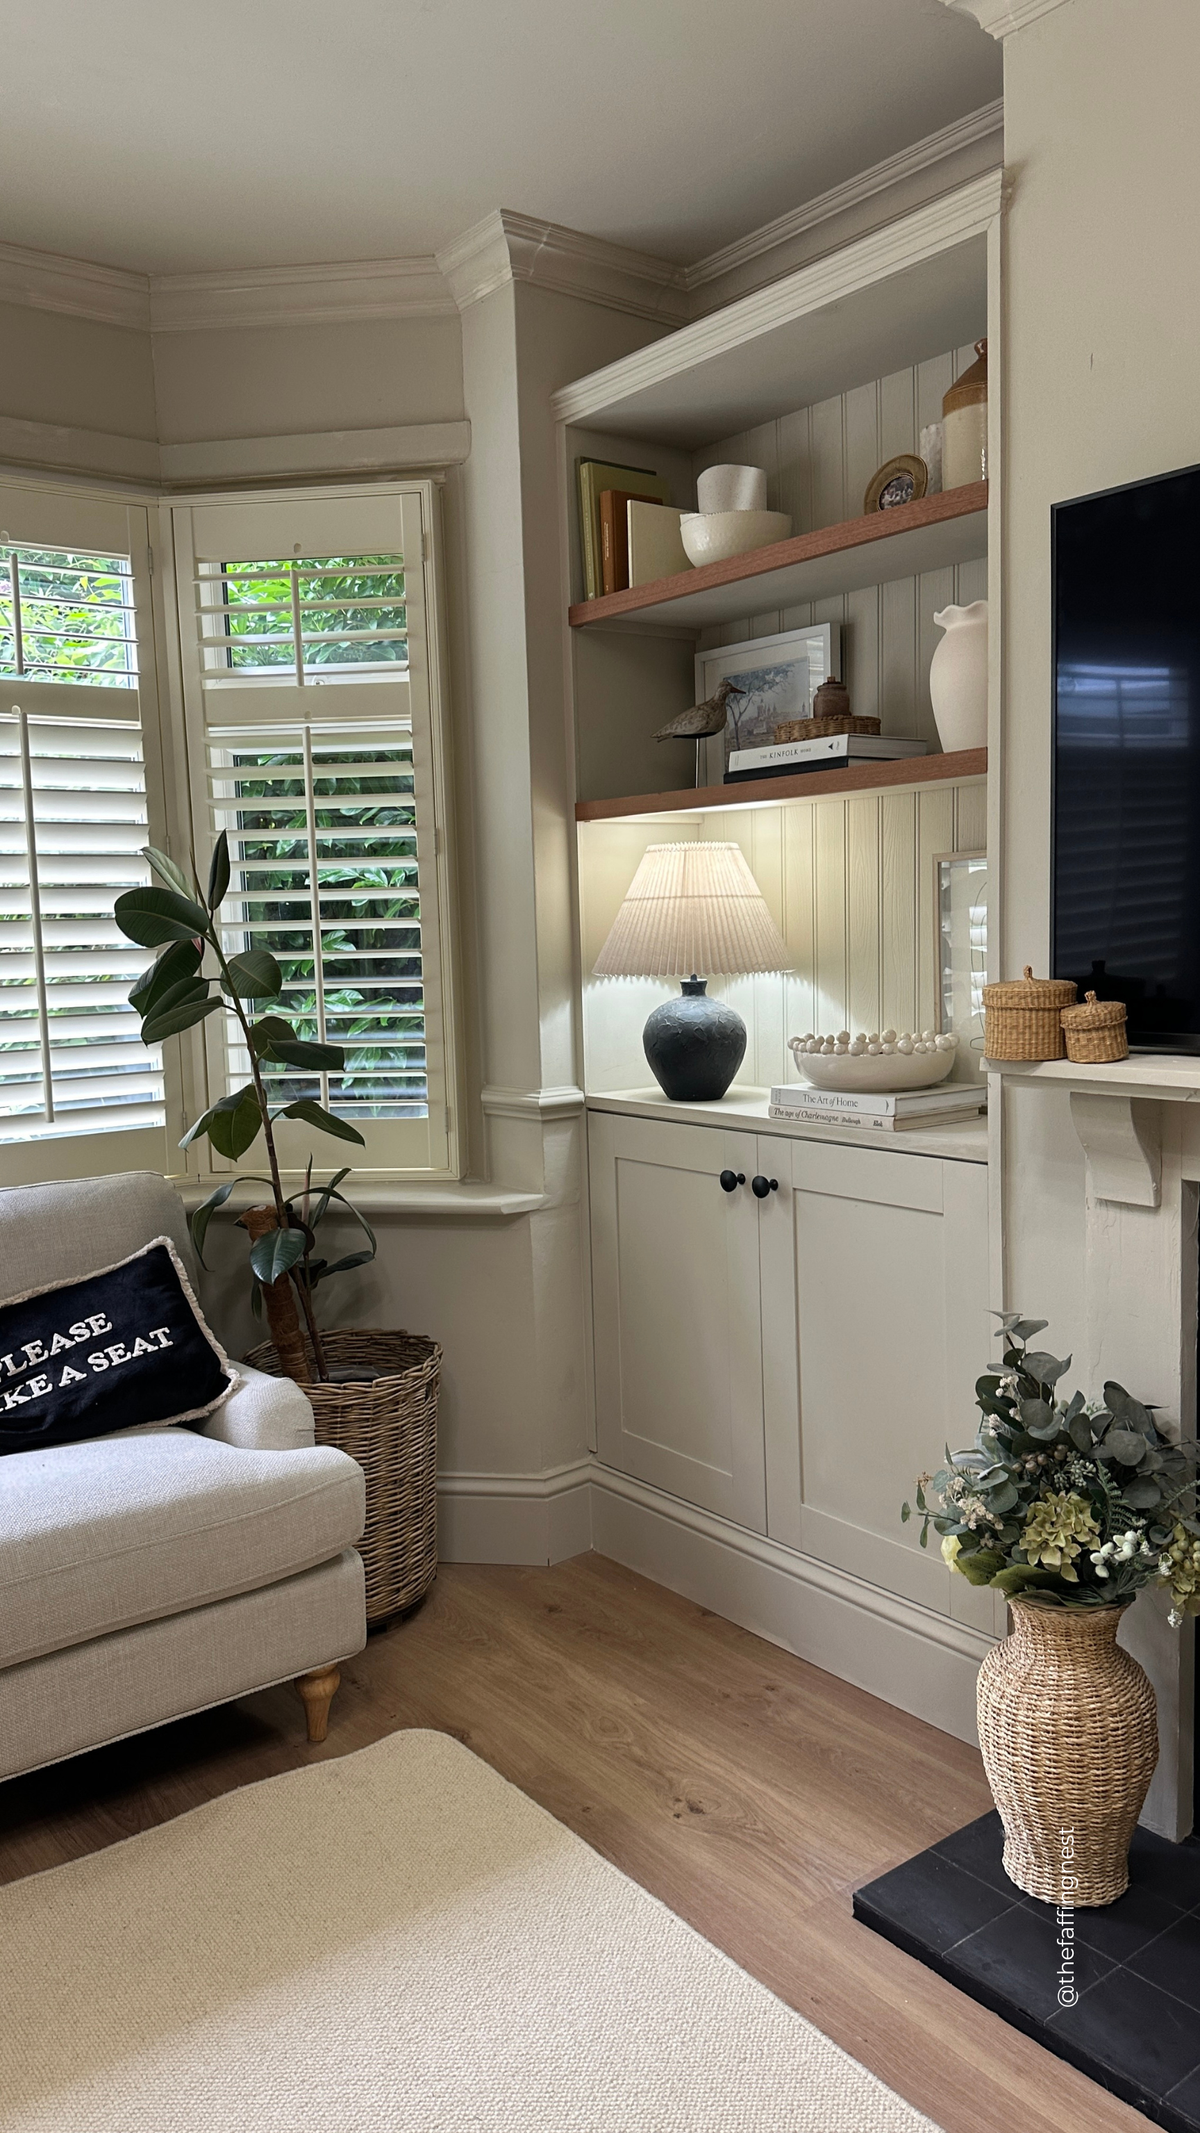
Apply caulking where needed and complete any touch-up painting. Attach handles and double-check all fittings. Once finished, step back and enjoy your beautifully crafted alcove cabinet!
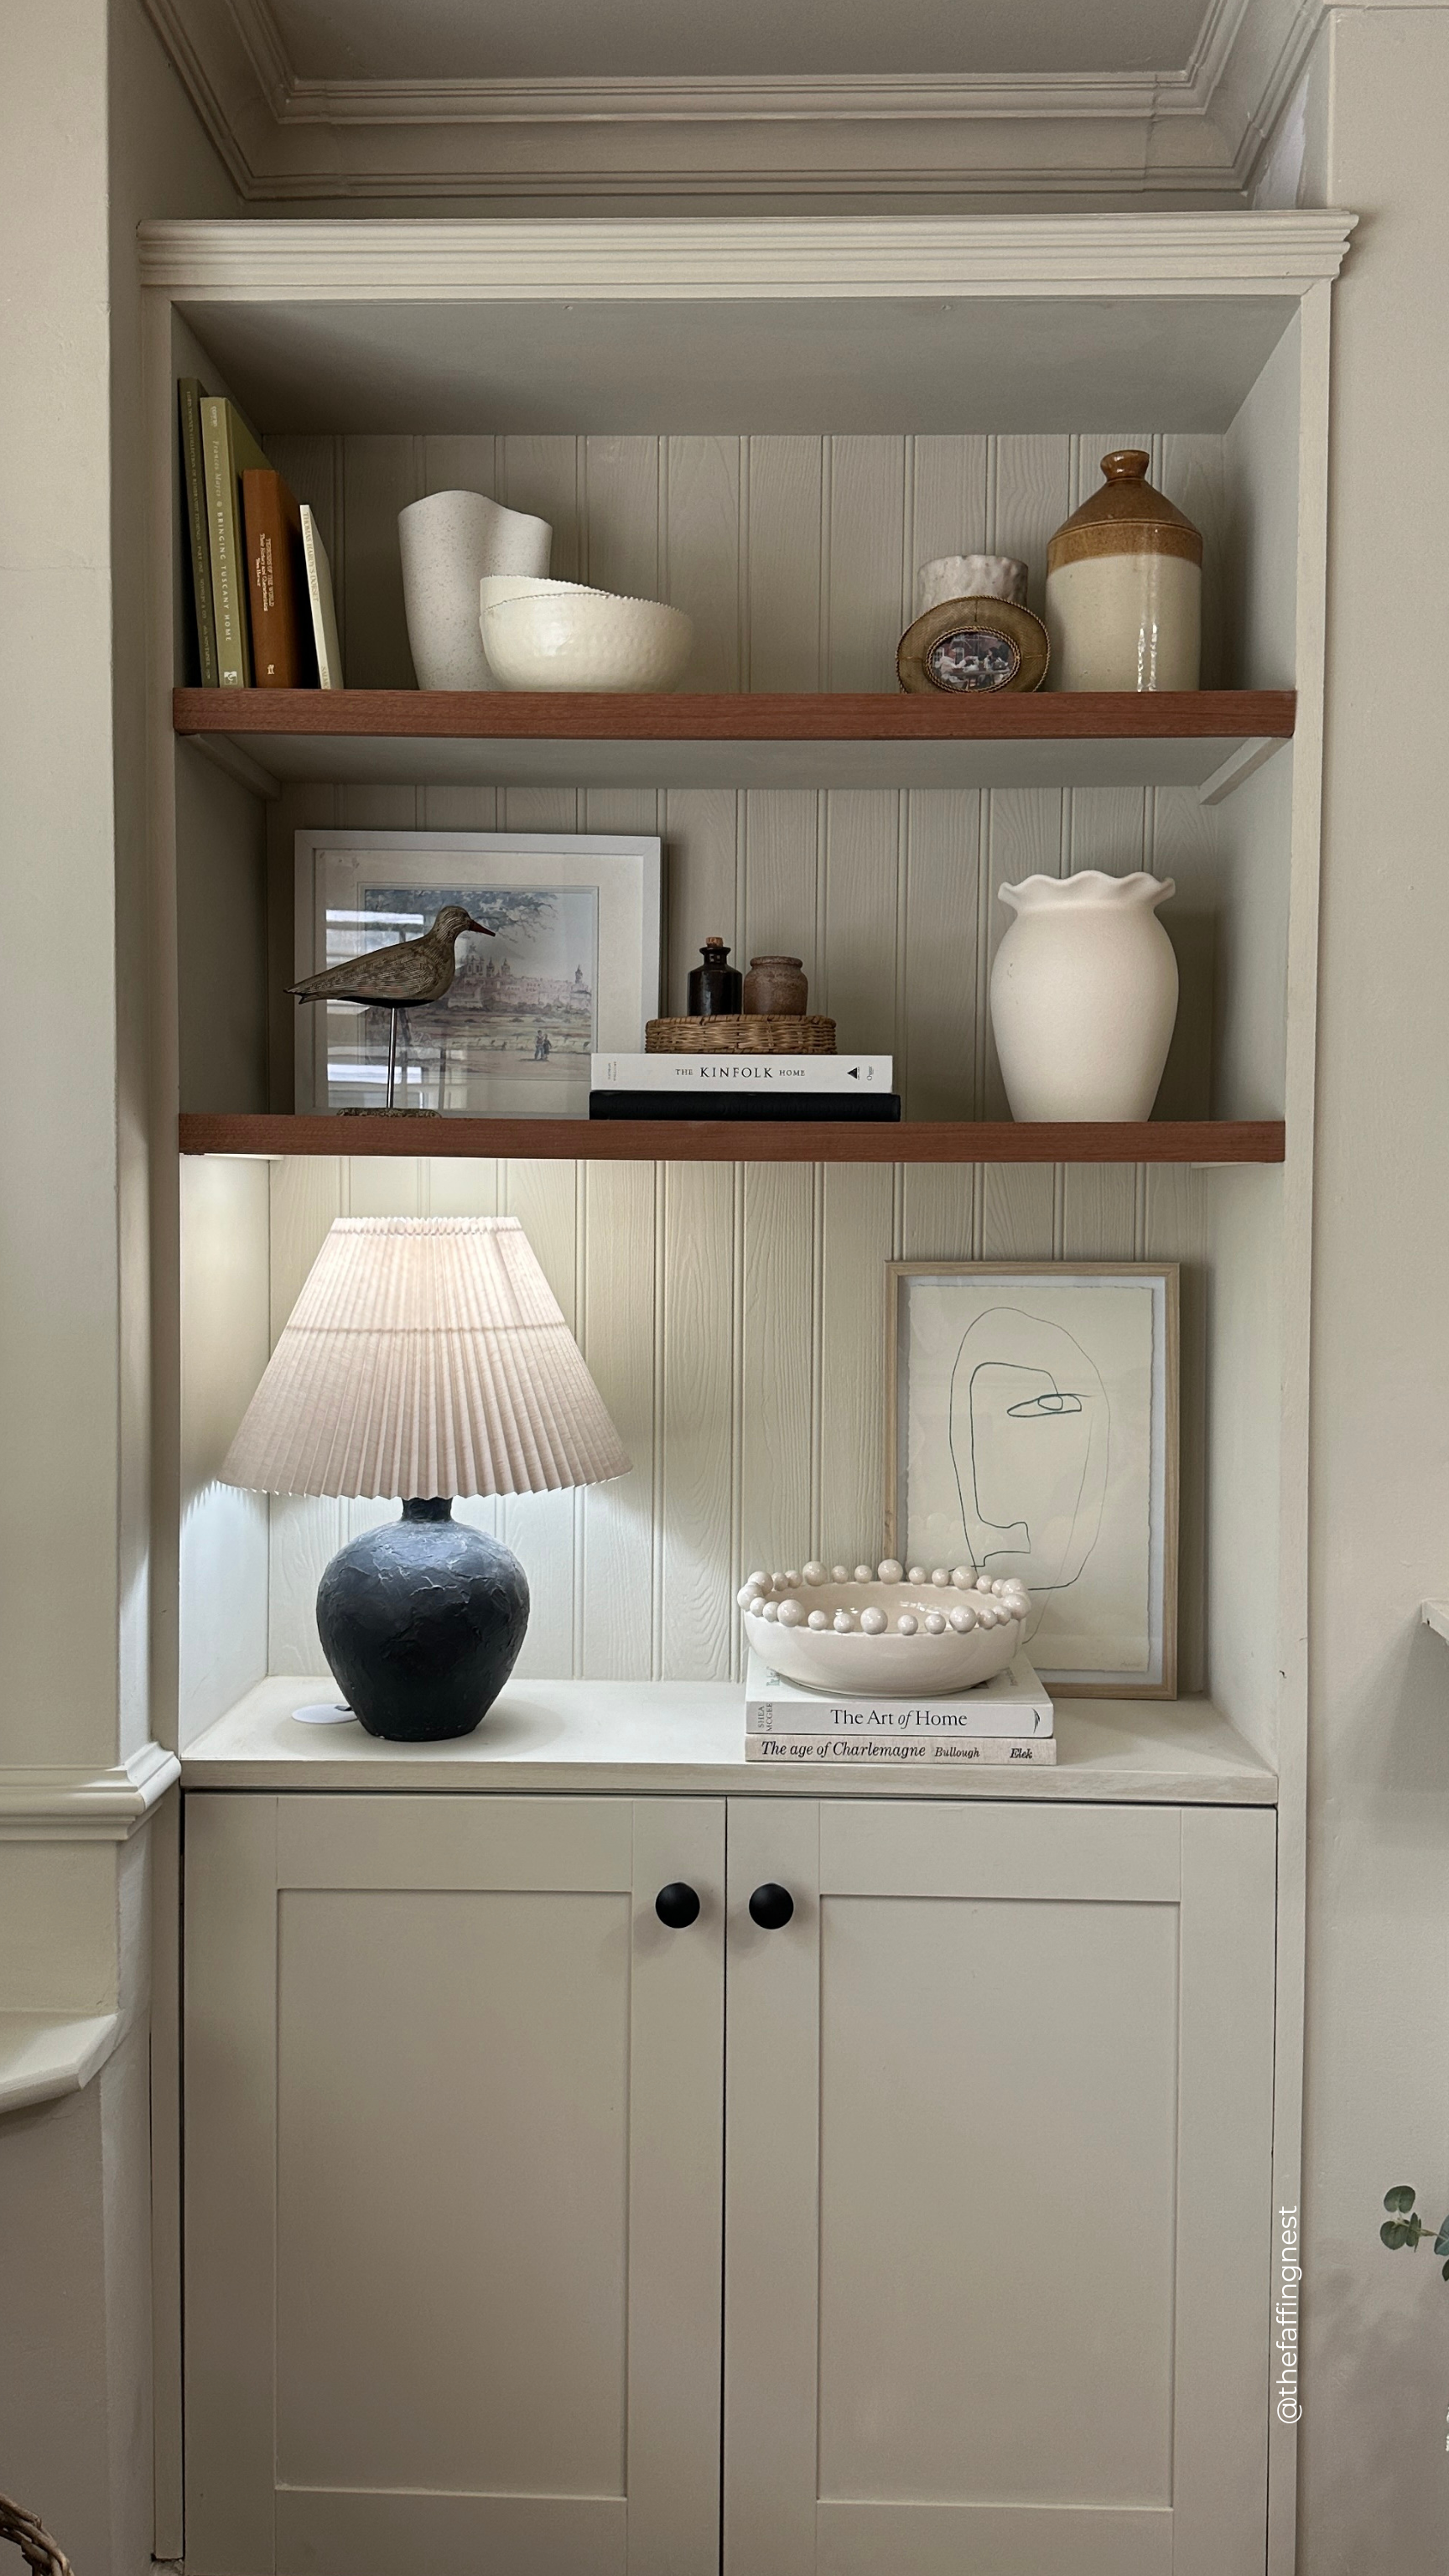
Building a custom alcove cabinet is a rewarding project that enhances both the storage and style of your space. By following these steps, you can achieve a seamless, built-in look that perfectly integrates into your home.
Whether you're using it for books, decor, or practical storage, this DIY alcove cabinet will be a stylish and functional addition to any room.
Happy building!

Creator: Dot
Instagram: @thefaffingnest


