We wanted to maximize space and create a built-in look for our doorway, but we didn’t want to spend a fortune on a custom-made frame. After some careful planning, we decided to take on this DIY project ourselves. With a bit of effort, some basic tools, and a total budget of just £161, we were able to build a stylish and functional door frame with storage that seamlessly blends into our home. This project is perfect for anyone looking to add a touch of custom cabinetry to their space without the hefty price tag.
Follow along as we break down the steps to achieving this custom look, from preparing the area to installing the doors and adding the final touches.
Material List & Cost Breakdown
- 4x lengths of 4m wood – £23
- 2x Ikea doors – £100
- Hinges – £24
- Hanging rail – £5
- MDF sheet – £9
Total cost: £161
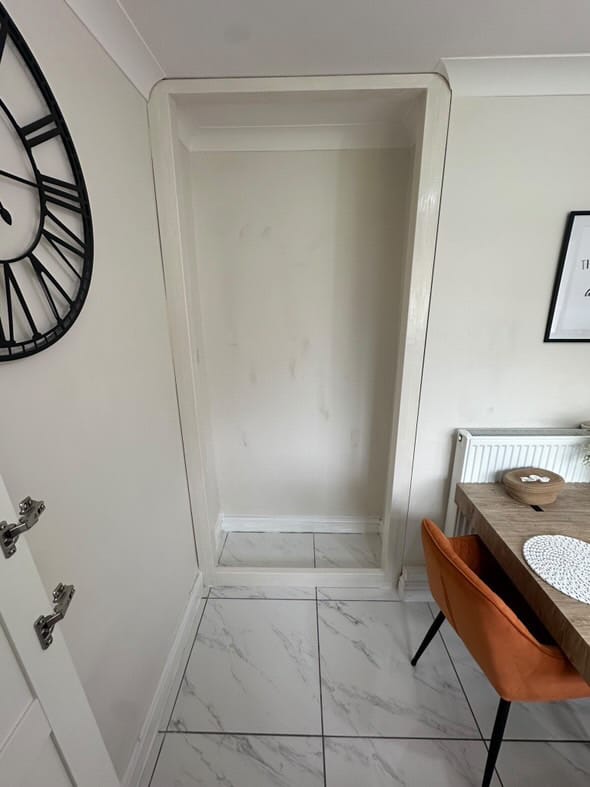
Step 1: Prepare the Area
First, we measured where the frame would sit and cut out sections of the coving and skirting boards so that the frame could fit seamlessly.
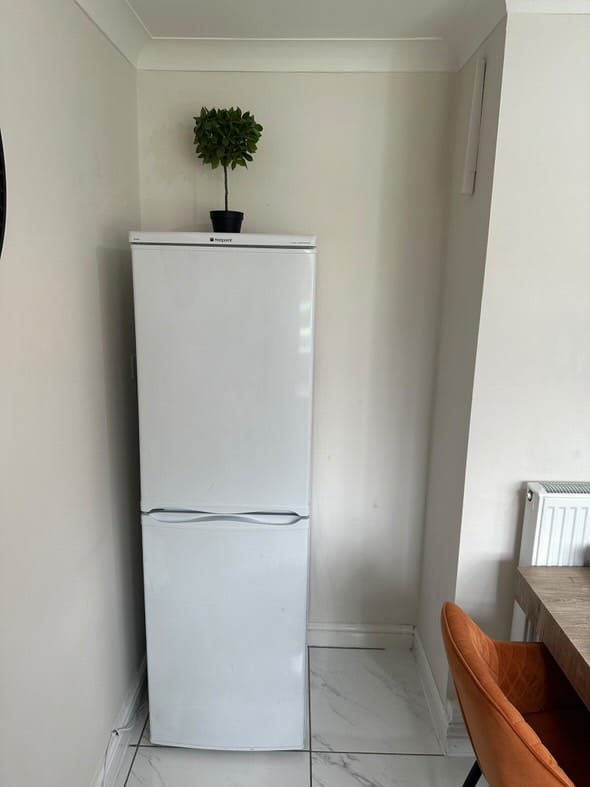
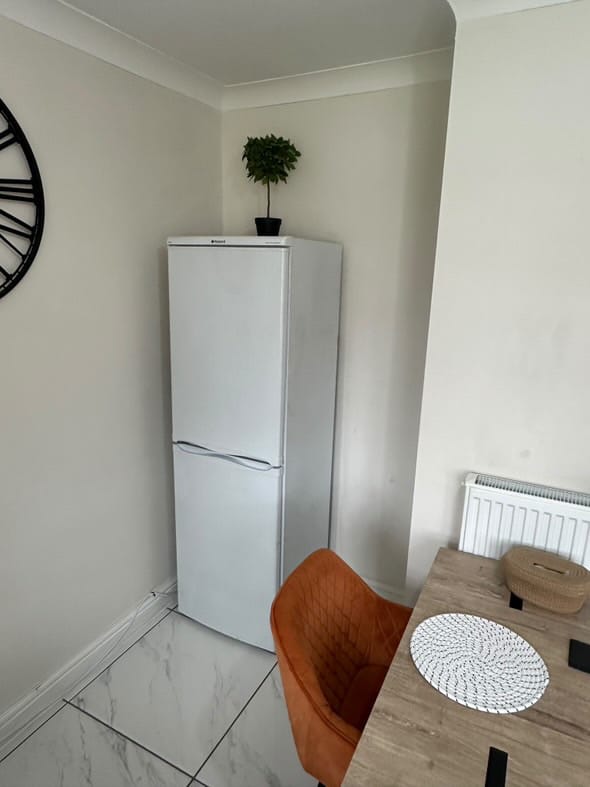
Before
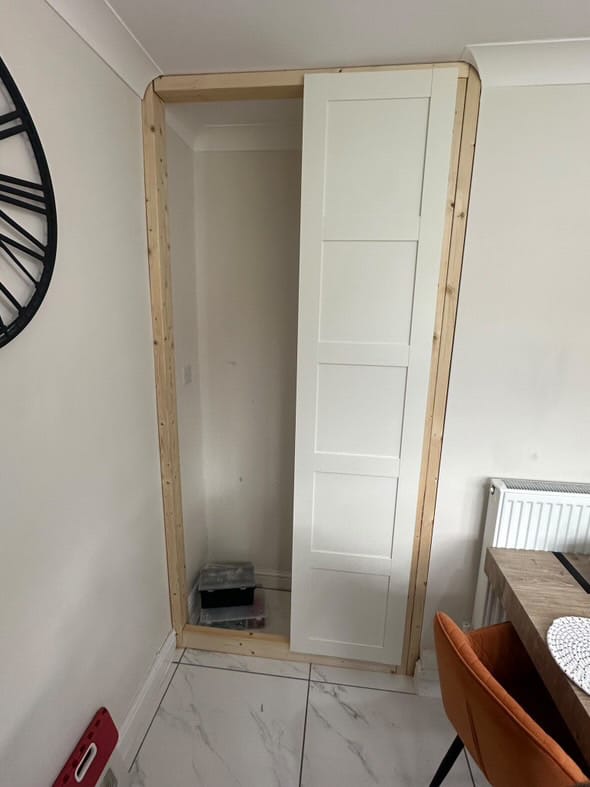
Step 2: Build the Side Supports
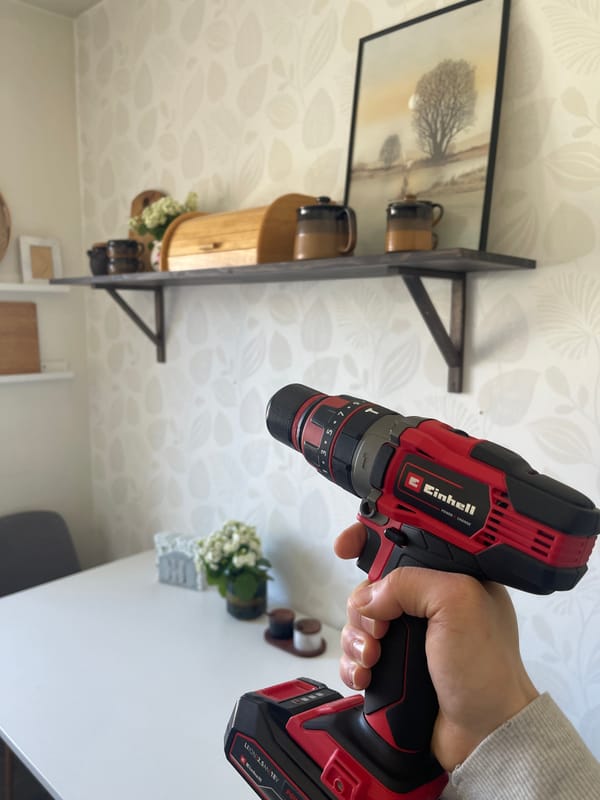
Next, we measured and cut two wooden strips for either side of the frame. After drilling holes through the wood and into the wall, we inserted wall plugs and secured the strips in place with screws.
Step 3: Install the Top and Bottom Frame
We measured and cut a strip of wood for the top of the frame and screwed it into place. Then, we did the same for the bottom of the frame to ensure a strong and stable structure.
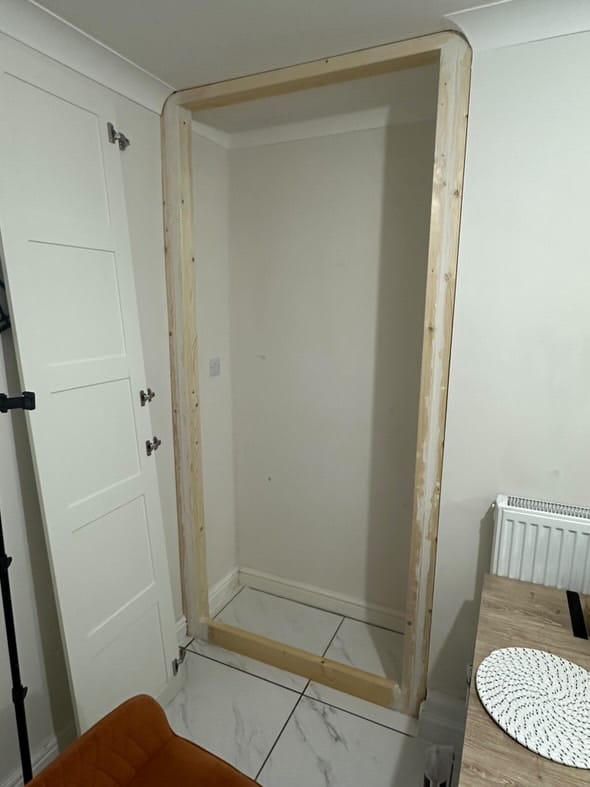
Step 4: Reinforce the Frame
To make the frame thicker and sturdier, we measured and cut two more wooden strips for the sides and screwed them into place.
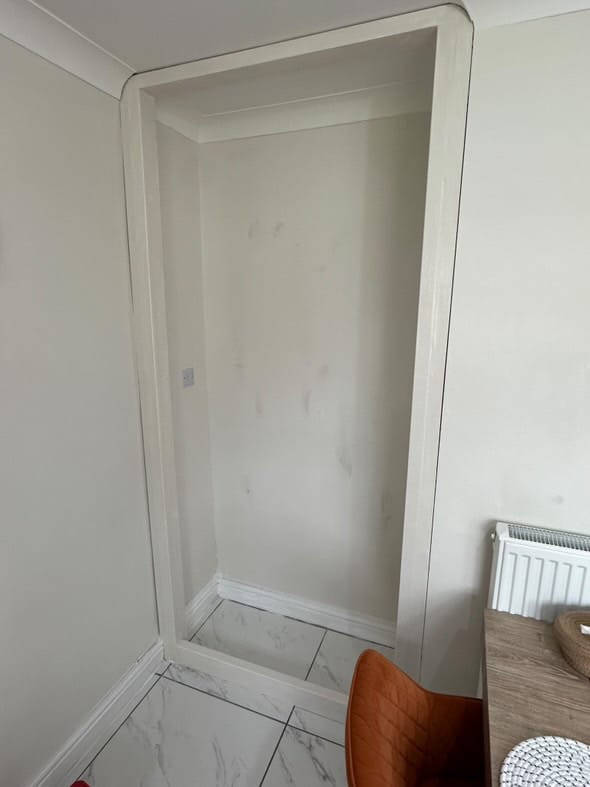
Step 5: Fill, Sand, and Paint
We used sandable caulk to fill all gaps between the wood and, once dry, sanded everything for a smooth finish. Then, we applied an undercoat followed by the chosen paint color for a seamless look.
Step 6: Install the Hanging Rail and Doors
After measuring and cutting the hanging rail, we secured it in place. Then, we attached the doors to the frame at the correct height, ensuring smooth functionality.
Step 7: Add the Shelf
For extra storage, we measured and cut MDF to size, along with wooden battens for support. The battens were screwed into place, and the shelf was positioned securely on top. Finally, we painted the shelf to match the frame.
Step 8: Install Handles and Finishing Touches
We drilled holes in the doors and attached the handles, then sealed around the edges of the frame with caulk to fill any small gaps and create a polished finish.
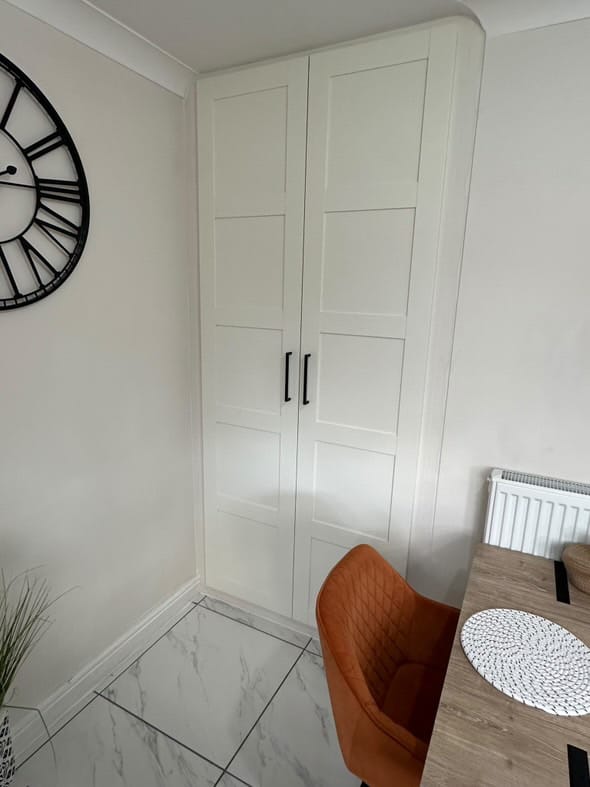
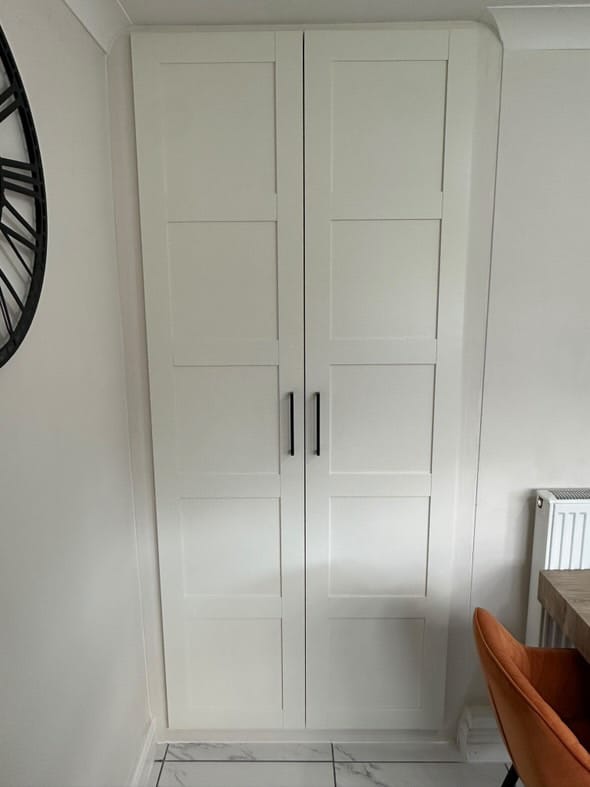
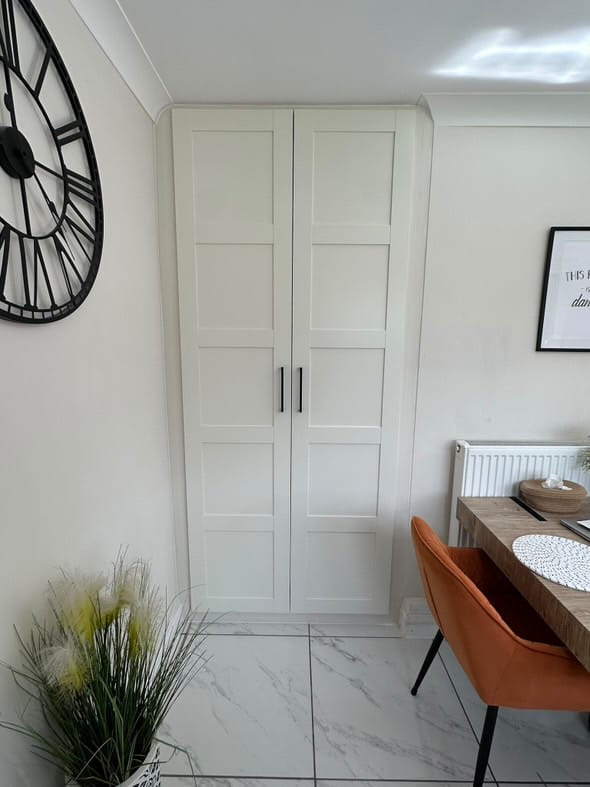
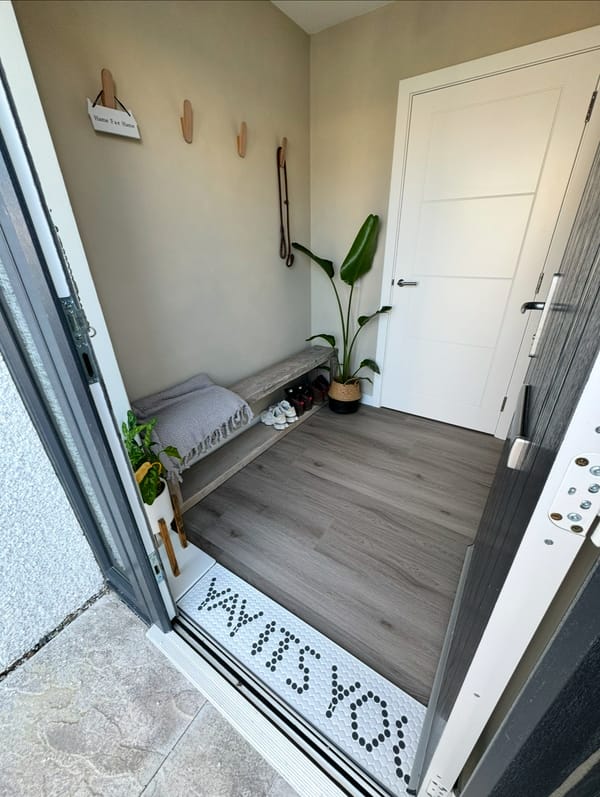
This DIY custom door frame project is a fantastic way to add functional storage and style to your space on a budget. By taking the time to measure carefully, secure each piece properly, and apply a clean finish, we achieved a professional look without the hefty price tag. The end result is not just aesthetically pleasing but also incredibly practical, making the most of our space with a seamless, built-in design.
If you're looking for an affordable way to elevate your home and enjoy the satisfaction of a DIY transformation, this project is definitely worth trying. Happy DIYing!

Creator: Amy
Name: @at_home_with_amy_and_h