

After you have finished painting, staining or varnishing your furniture piece and sealed the piece with either a wax or poly it is now time to add new handles!
What you’re going to need:
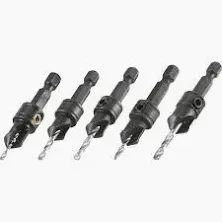
- Drill and 5 HSS (High Speed Steel) Drill Bit
- New handle and screws
- Drawer Handle jig
- Soft Cloth
- Washers (optional)
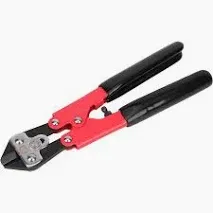
- Bolt cutter (optional)
(All Equipment Needed is Linked in my Amazon Storefront to make finding items easier)
Step 1: (Preparation)
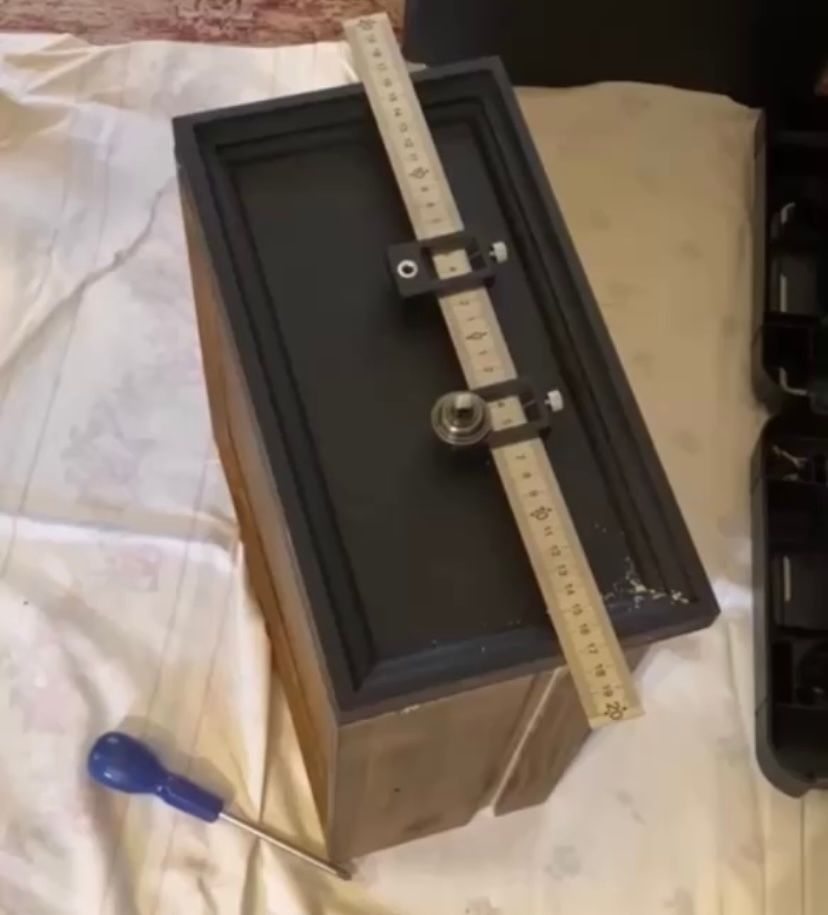
With your drawer handle jig your going to measure the length and height of the drawer front to determine the middle center line of the front of the drawer.
Once you have determined the middle, you are going to adjust the jig holes to match up to the holes of the new handle you are putting on. Once your happy with the jig holes that will represent the handle holes, you are going to screw them really tight so they don’t come undone.
Step 2 (Drilling)
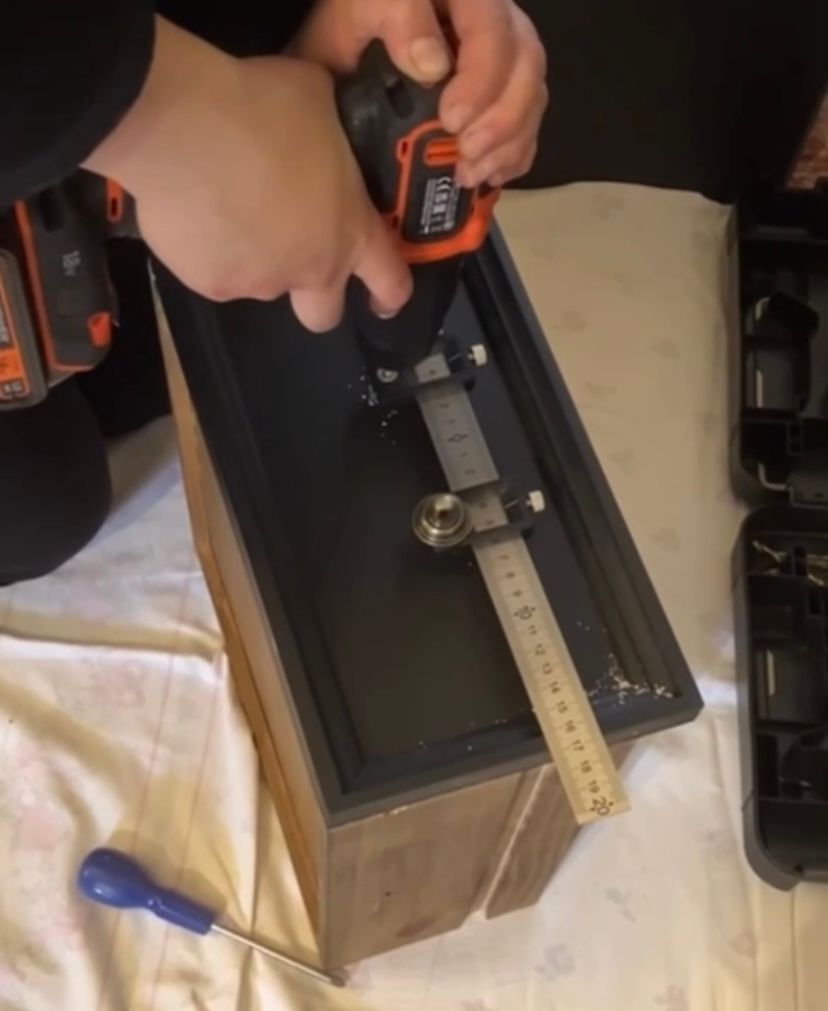
Using a 5 HSS (High Speed Steel) drill bit on your drill you can go ahead and drill the first hole out of the two. Once drilled using a soft cloth or a small hand held hoover, clean up all the excess dust.
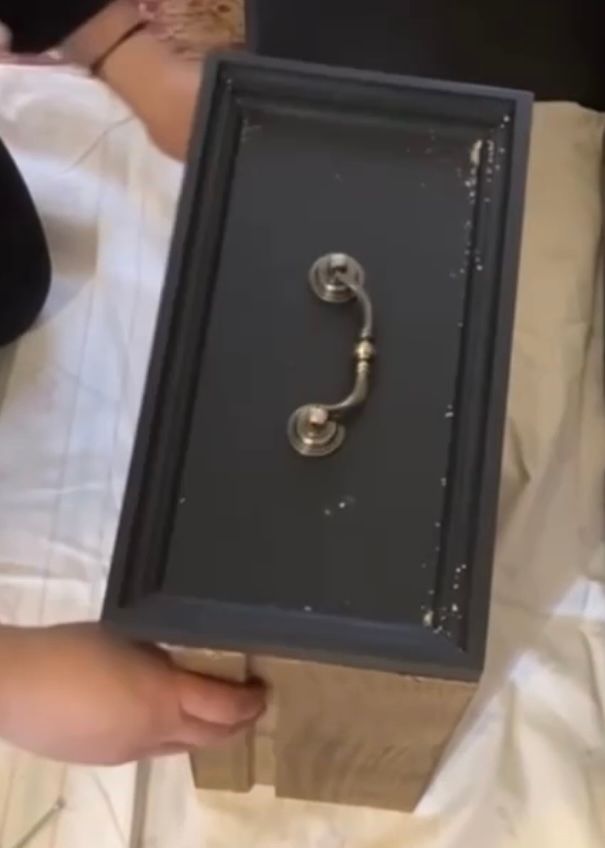
With one hole successfully drilled, I personally like to attach the handle with the screw through the jig hole in the drawer. This will help with better handling with drilling the next hole and also ensures you are keeping everything straight and in line.
Once the 2ndhole has been successfully drilled, you can go ahead and remove the Jig as you no longer need it.
Again wipe away any dust to keep the surface nice and clean
Step 3 (Screwing)
Depending on the drawer, and the handle with the screw you may find that the screw is a little too big or way too big. If the screw your using is only a little bit too big you can simply add a washer on the inside of the drawer front which will create a tighter fit for your handle to make it much more secure.
If the screw however is way too big you can use a pair of small bolt cutters and cut part of the screw you don’t need. Don’t forget once you have cut the screw if you have any sandpaper on hand just to sand the end so that it is not as rough and sharp. You can then go ahead and test your screw to see if it fits. If it is still a little big I would recommend just adding a washer rather than trying to fiddle with the bolt cutter again as it can be quite fiddly and I wouldn’t want to make the mistake of cutting too much off by accident.
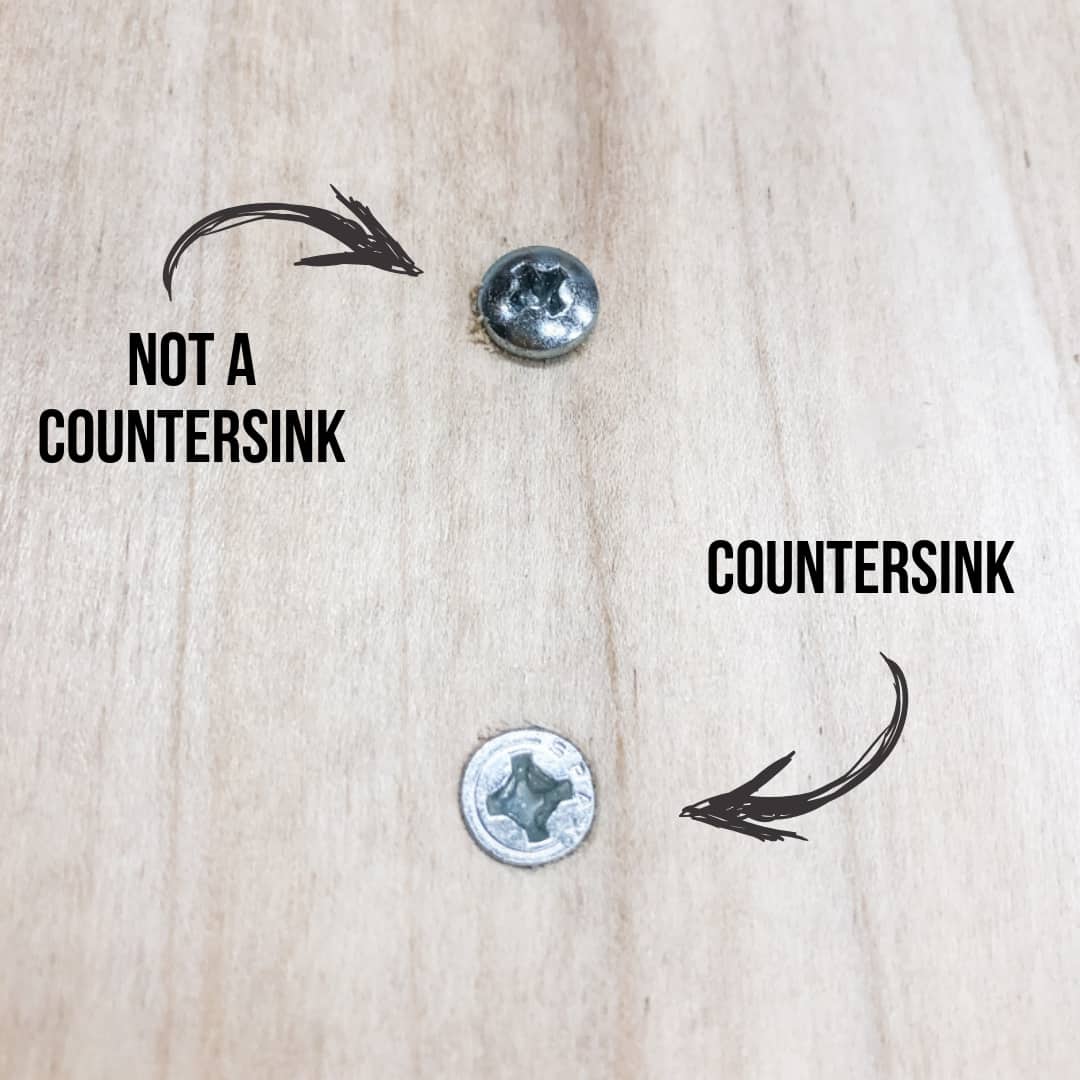
If however the screw is too short to begin with, you can either buy alternative screws or you can buy a counter sink drill bit which will create a hole just below the wood surface. This means that instead of the screw sticking slightly out at the back it would sit inside the material flush. This therefore allows the screw to sit in the wood rather than outside the wood and you should then be able to screw your handle using your shorter screw.
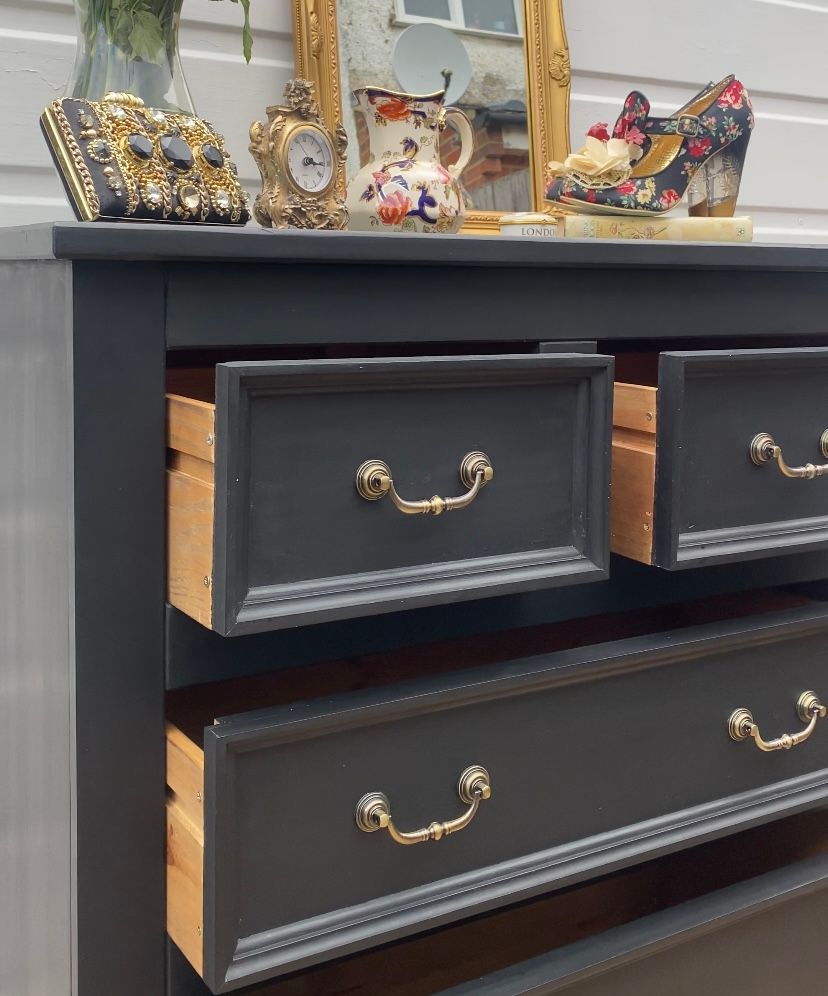
Ta Da! New handles in 3 simple steps to give your furniture piece a brand new look at a low cost investment!
All the equipment needed for this DIY is listed in my Amazon Storefront Below! :)
Sev's Little Finds (Click To Check Out More Content on Instagram)