Our bathroom was in desperate need of a refresh. It felt dark, outdated, and far from the serene space we dreamed of. So, we decided to take matters into our own hands and renovate it ourselves! With a budget of around $5,000 (though we ended up closer to $6,000), we tackled everything from demo to decoration. The result? A bathroom that feels modern, fresh, and completely transformed! Read on to see exactly how we did it.
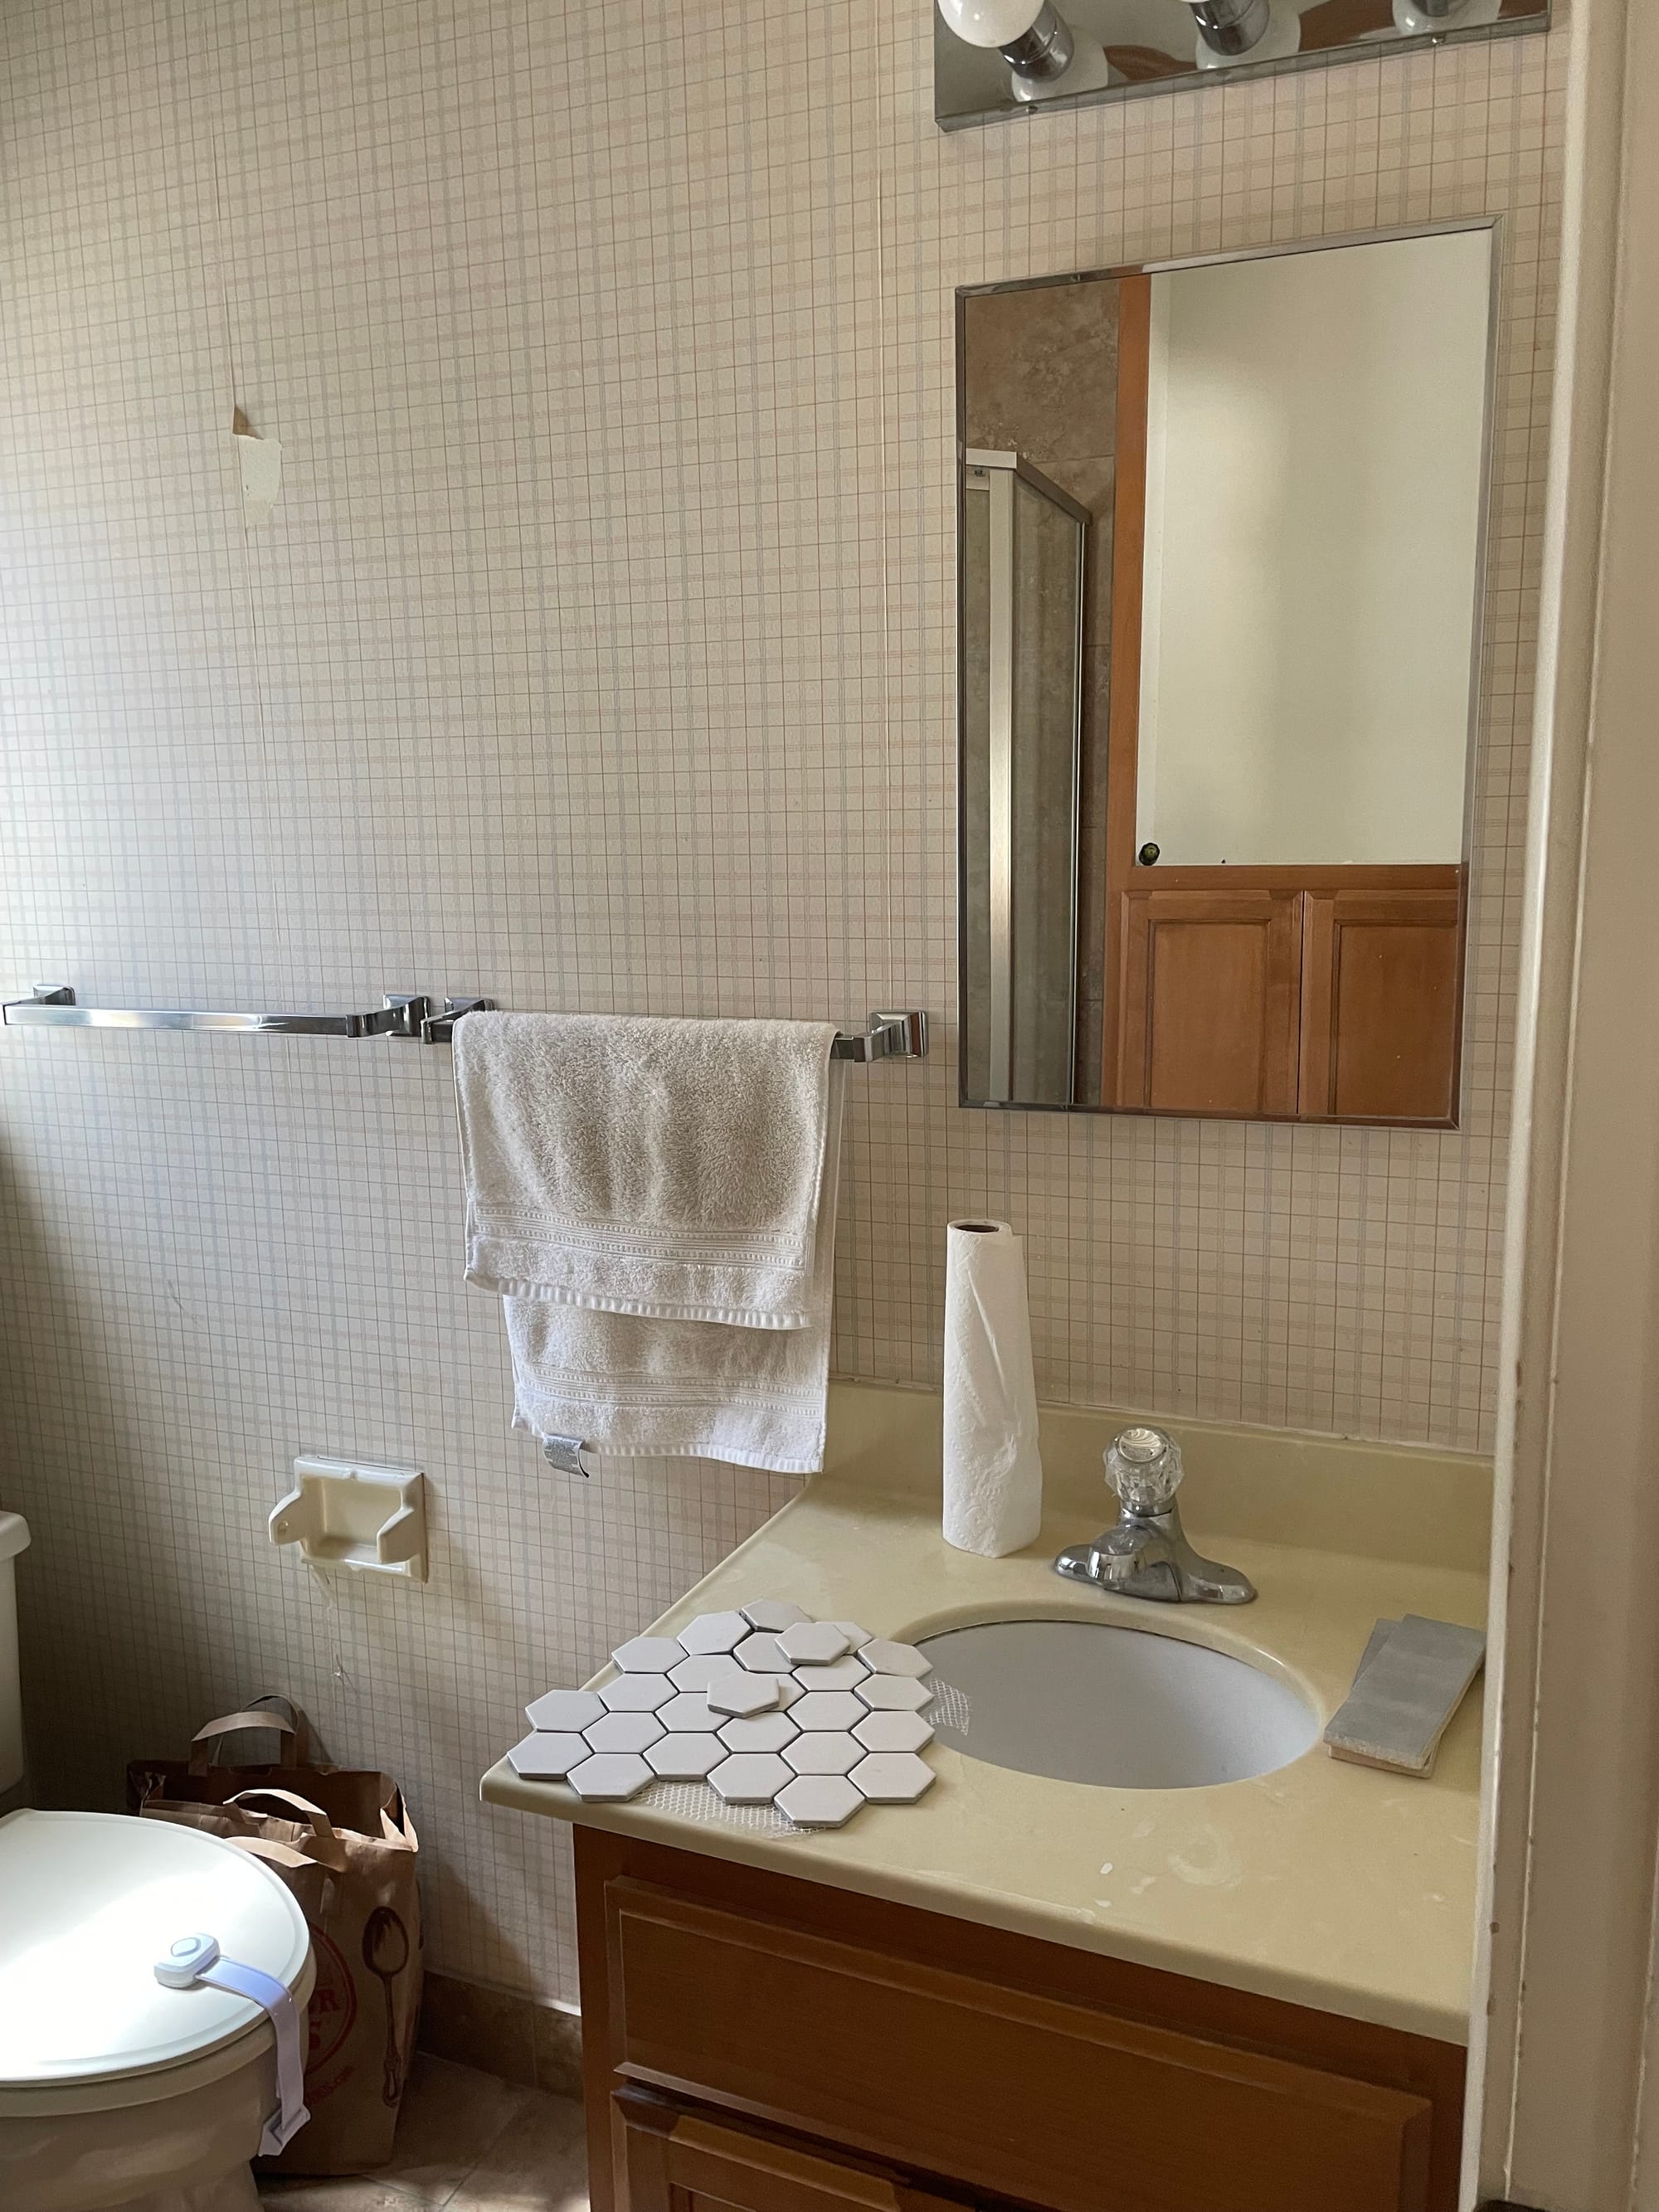
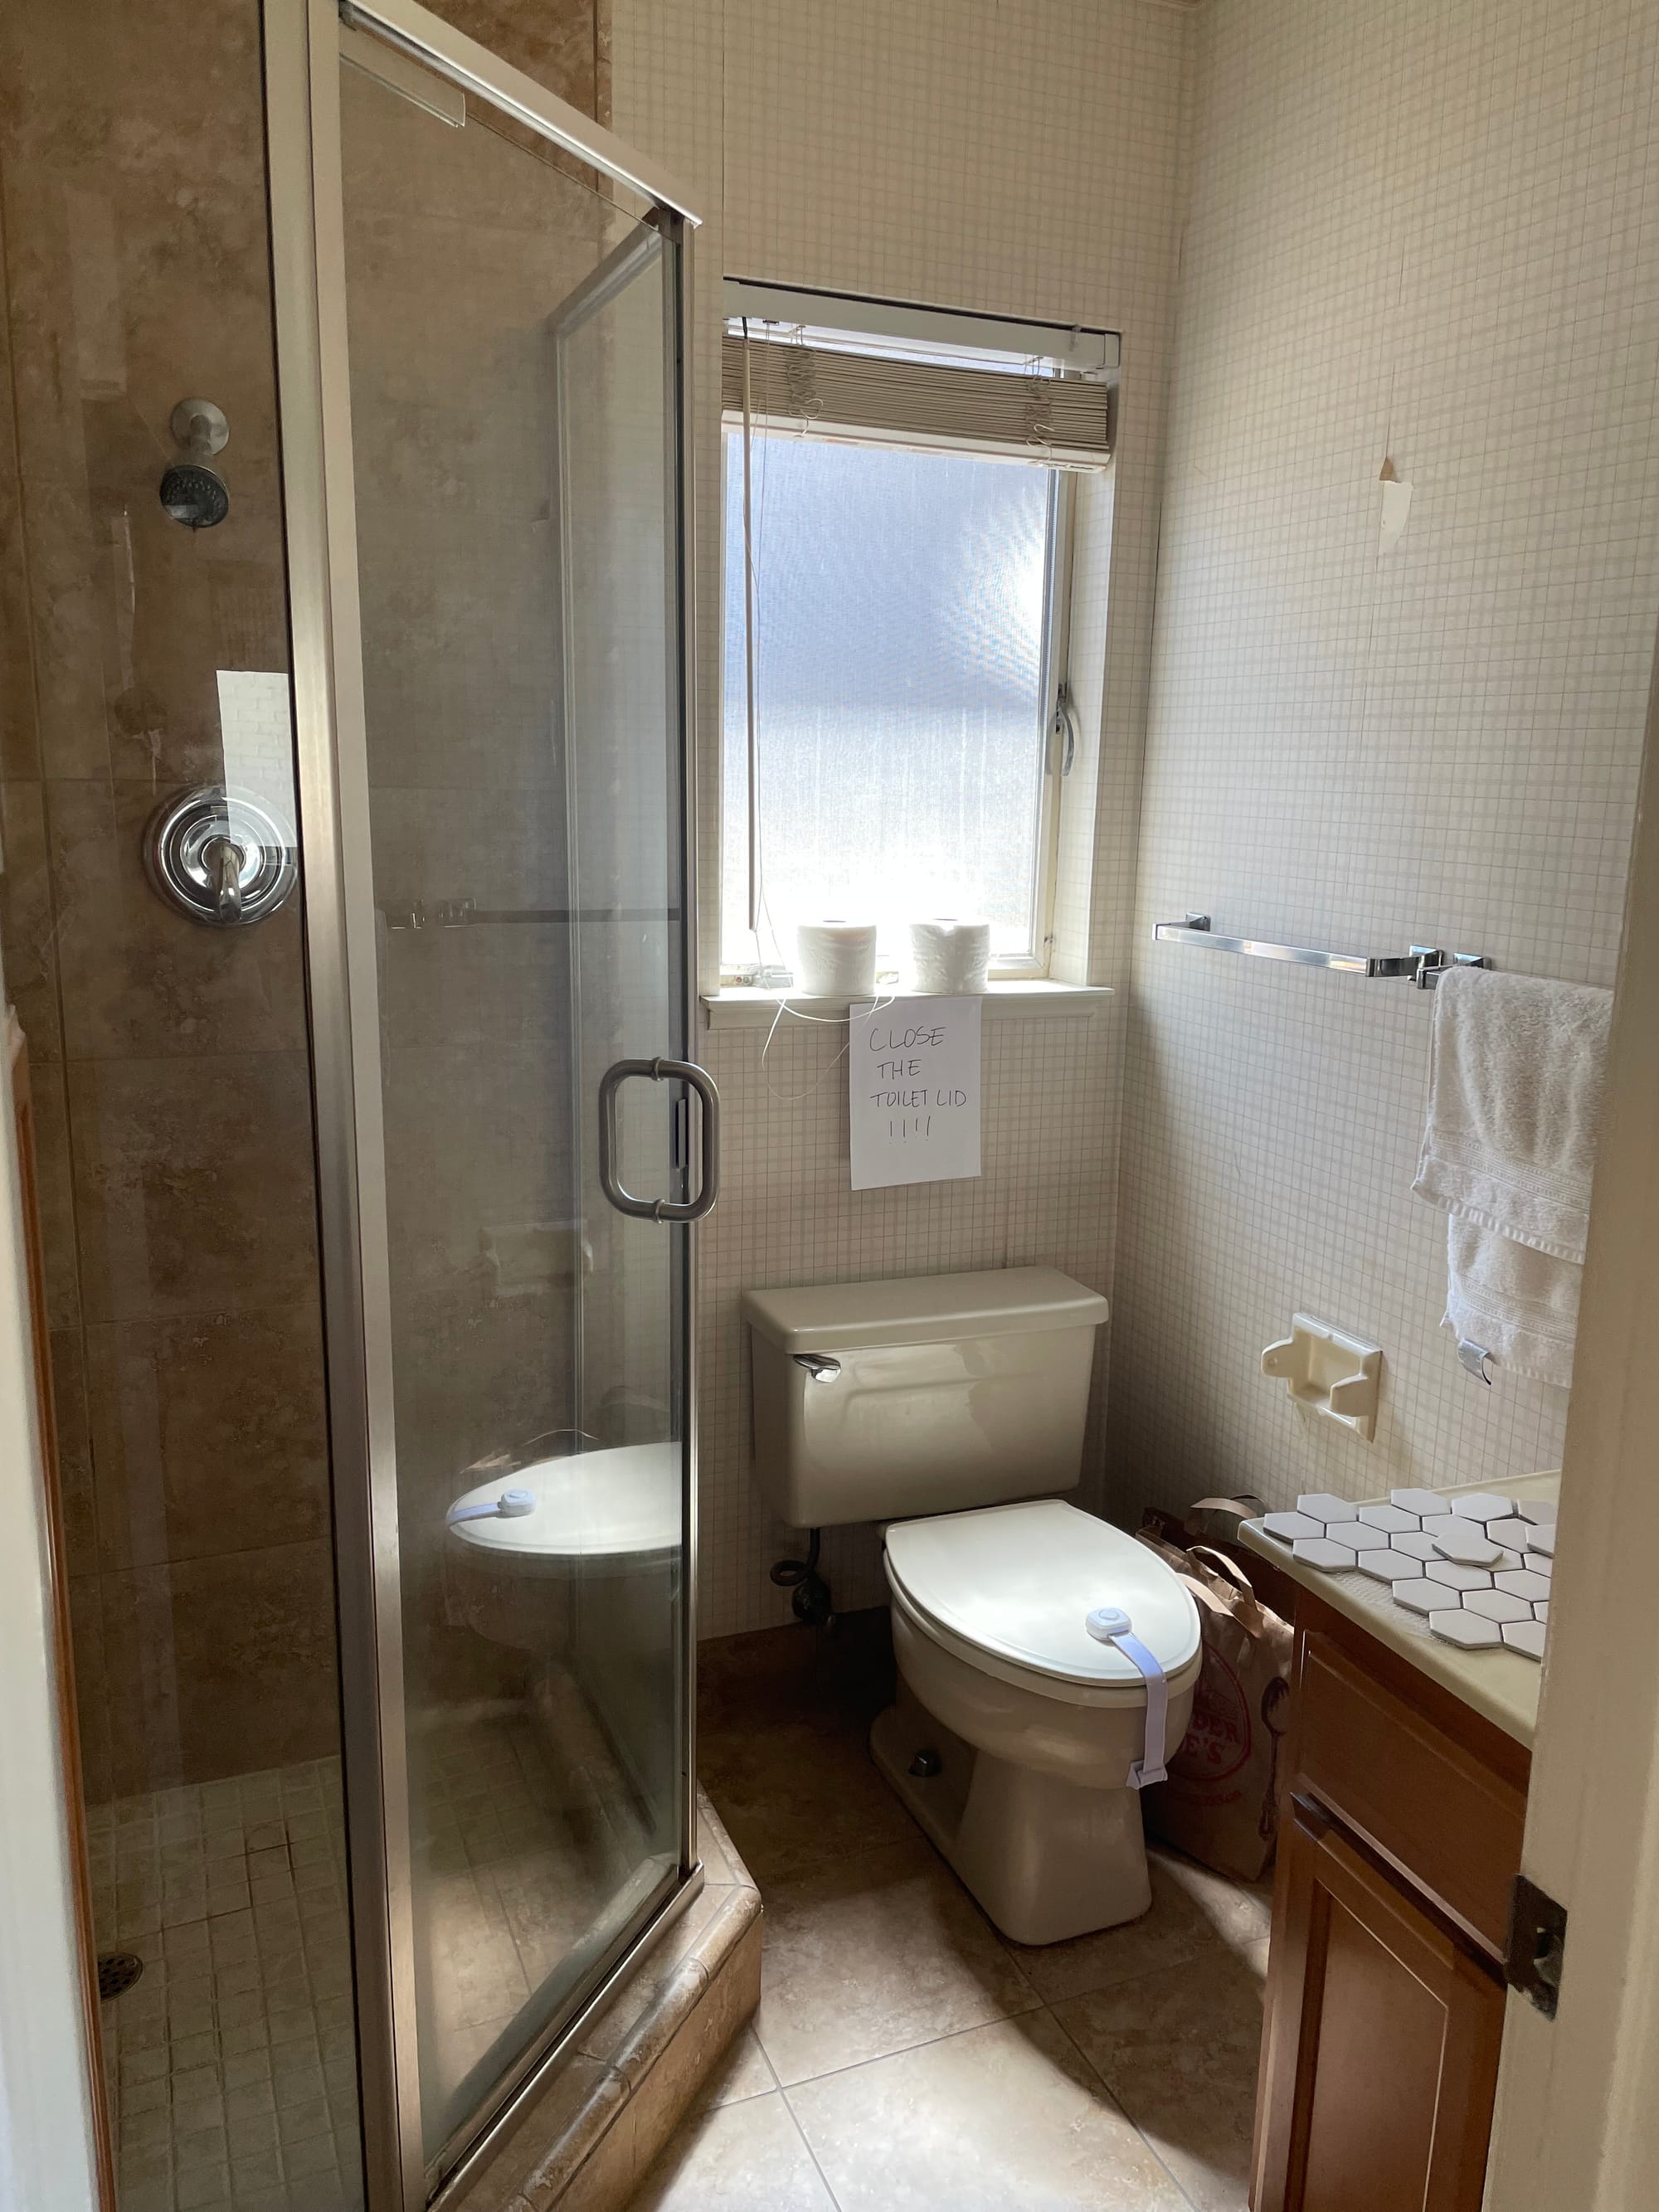
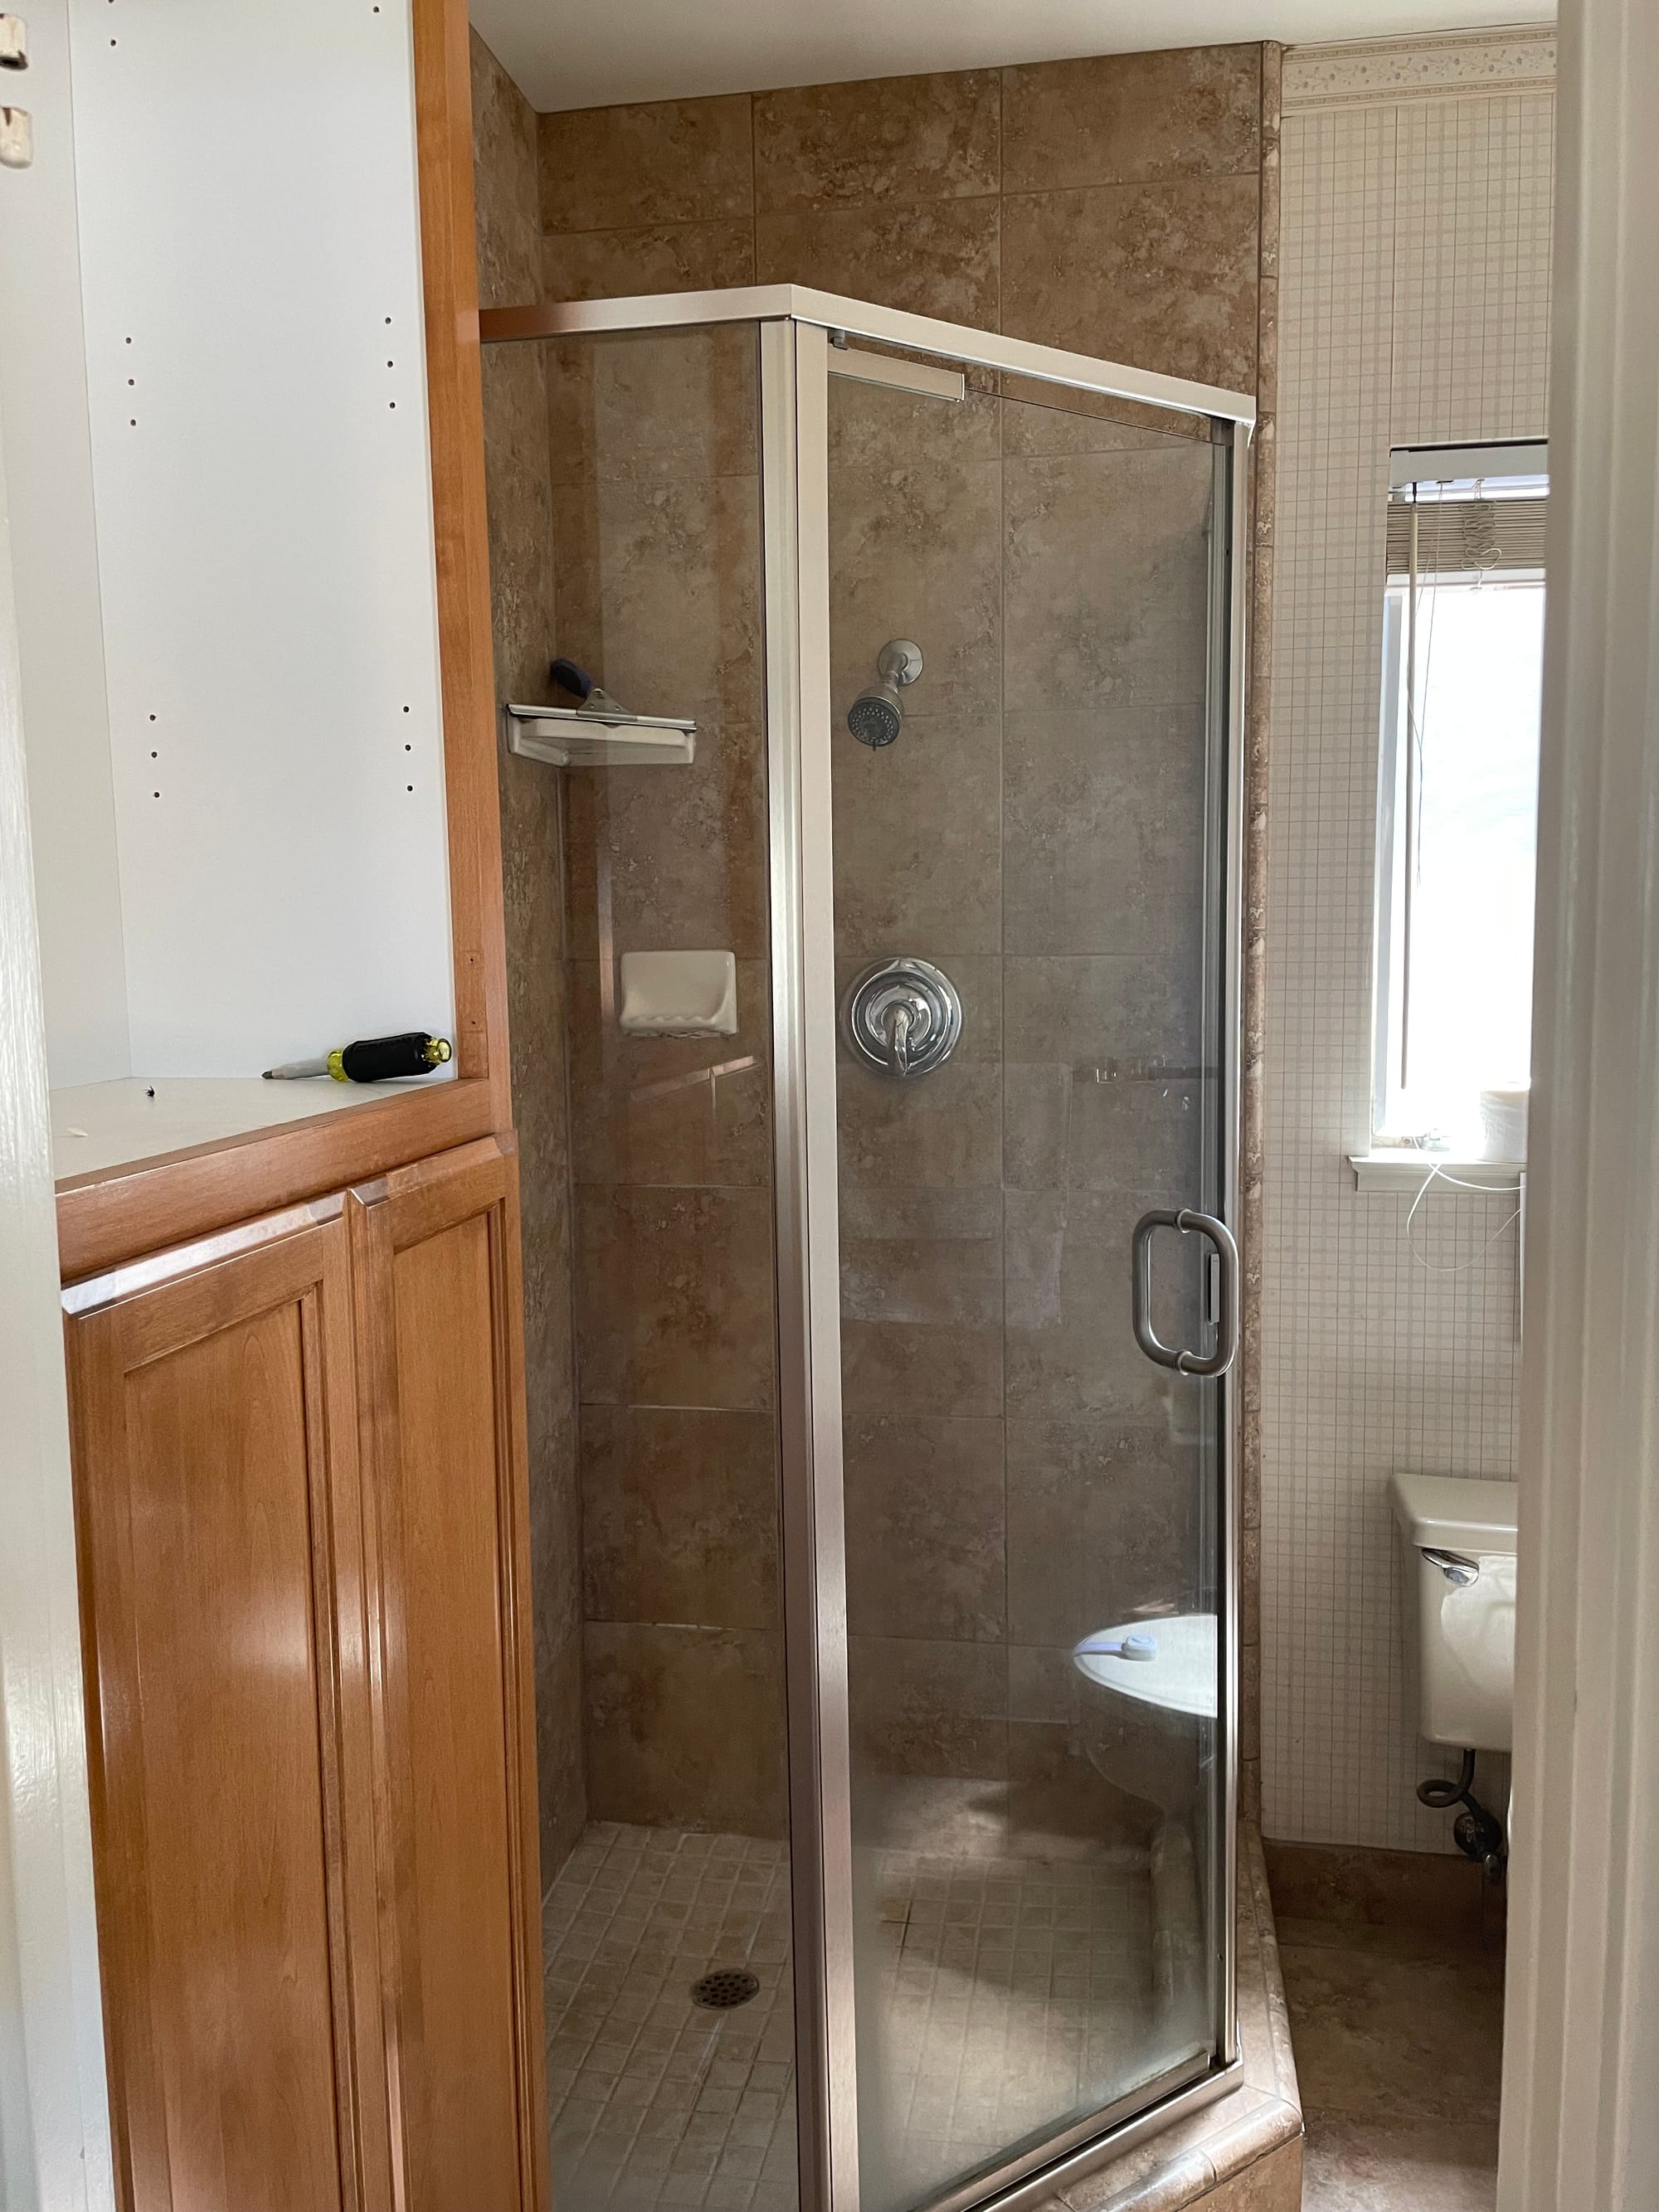
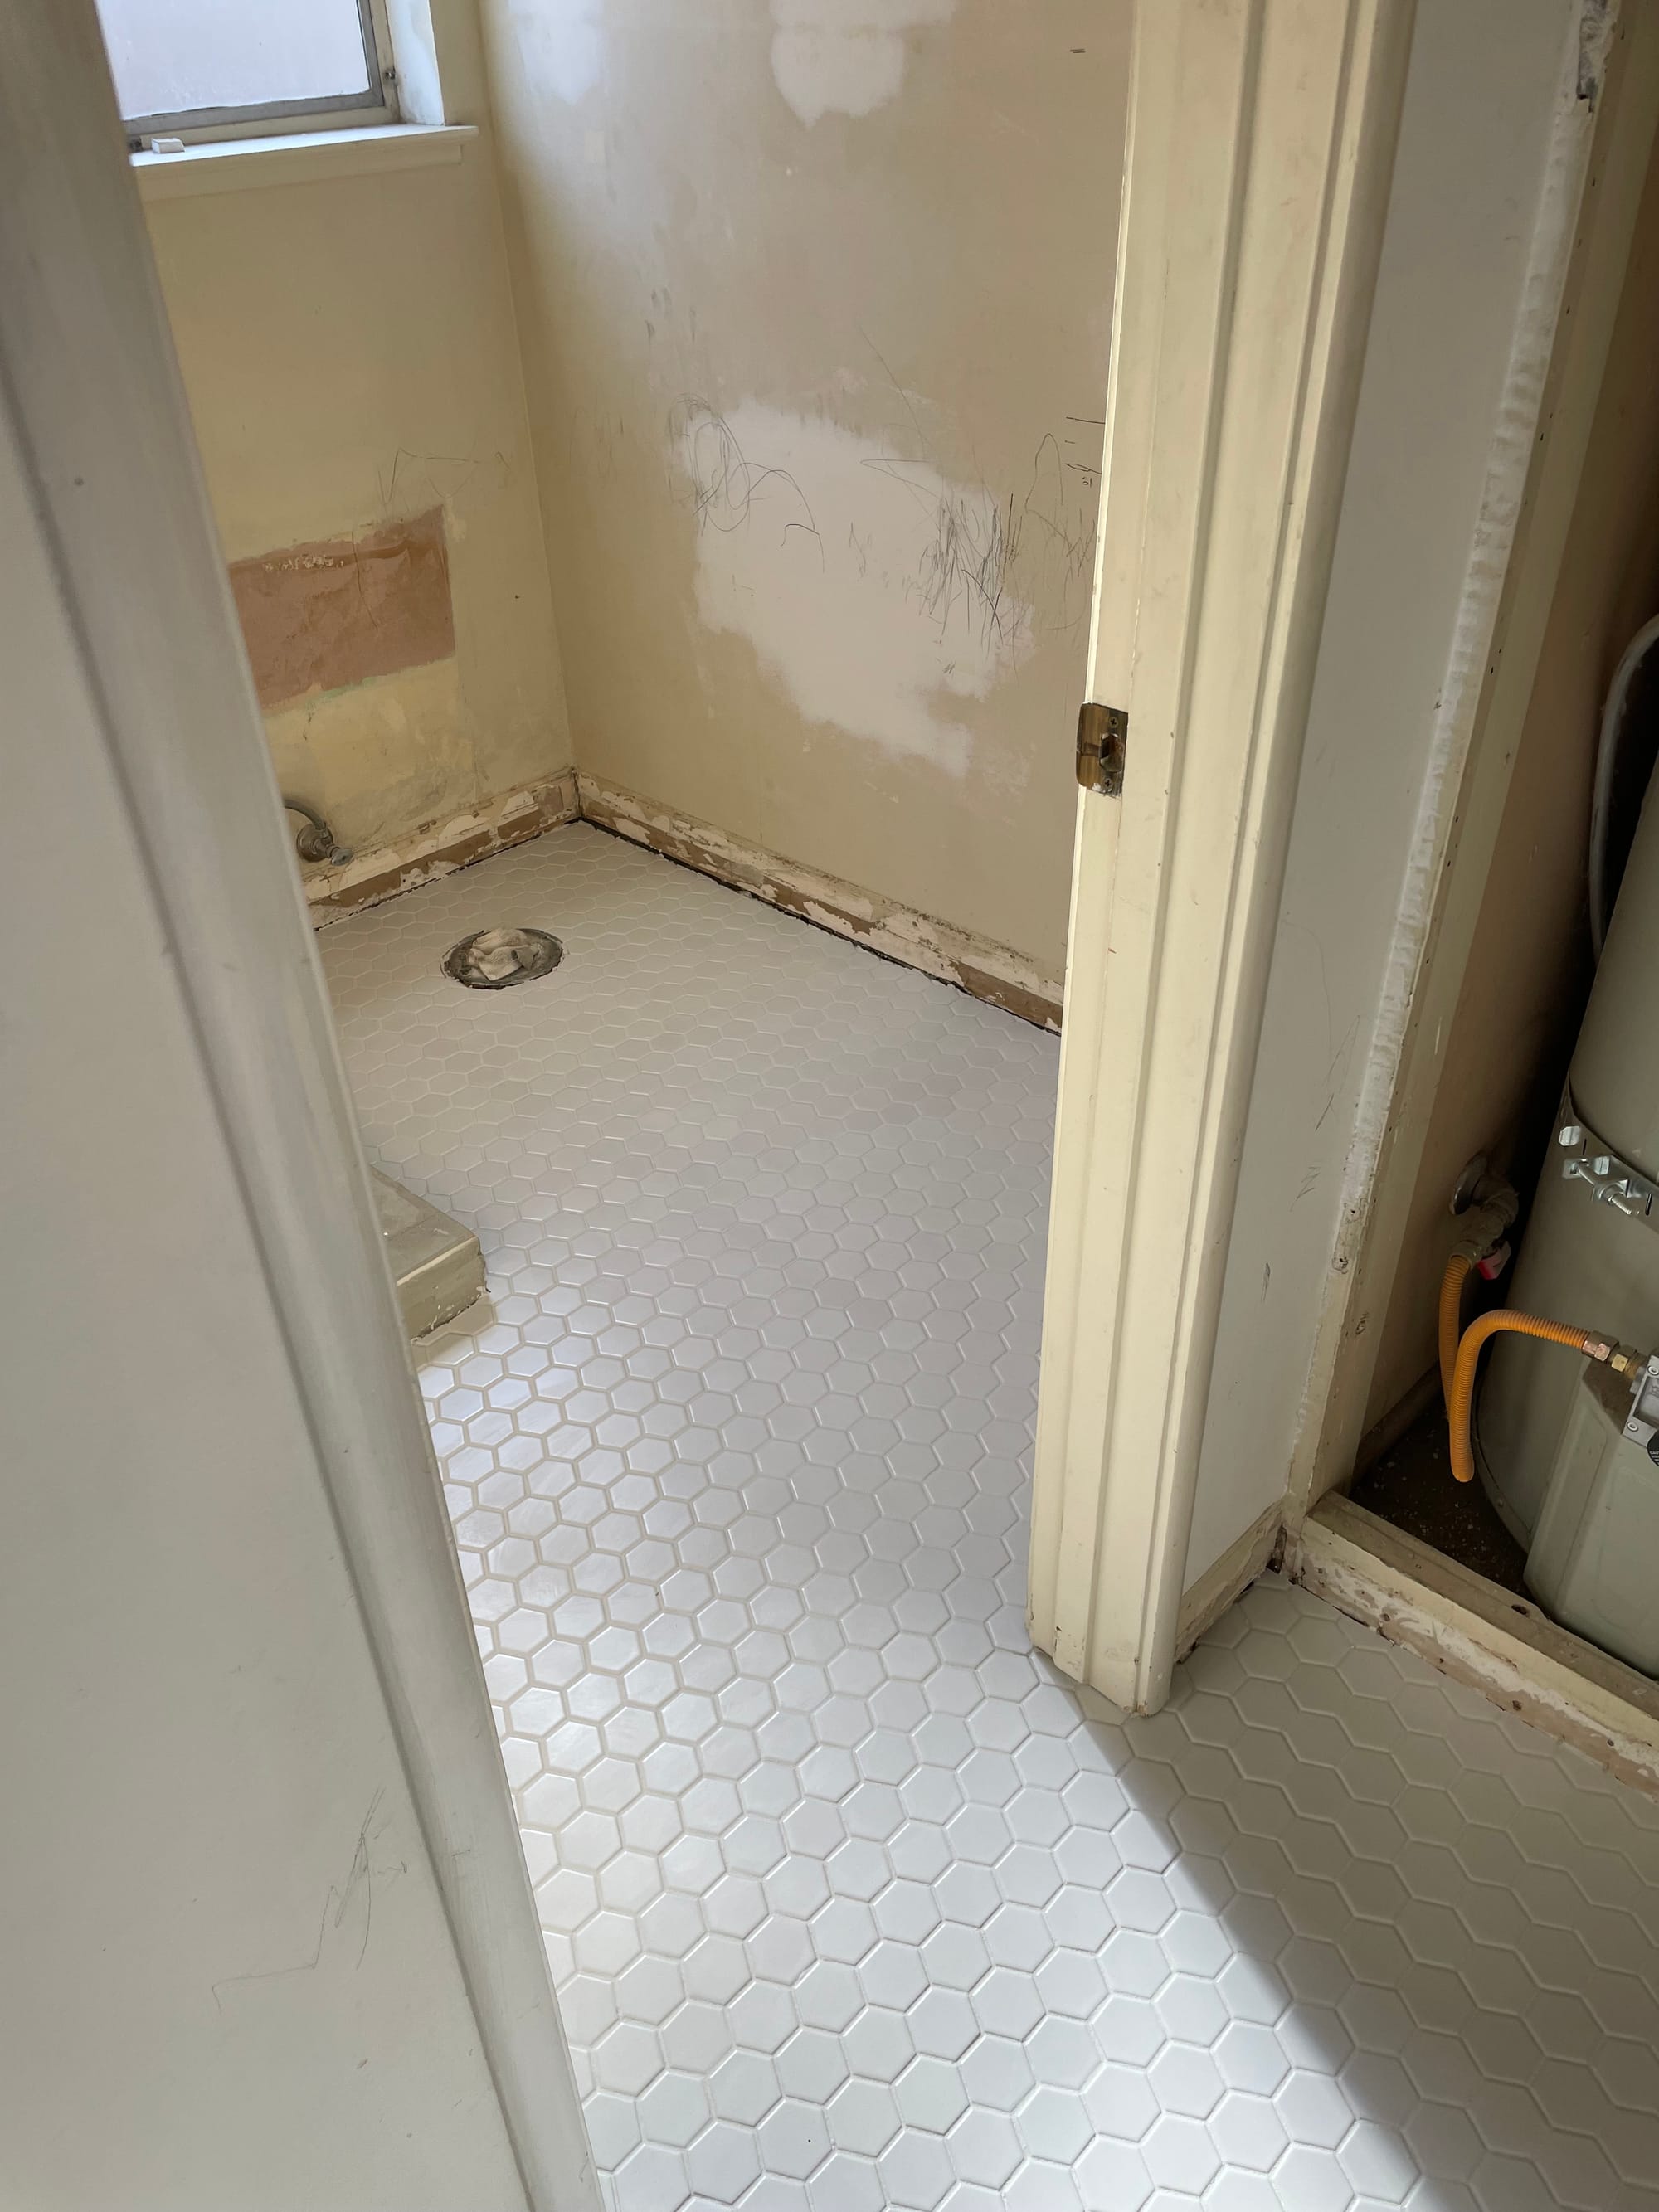
Before
Materials List
- Waterproof membrane & shower pan (Schluter Kerdi system)
- Floor tile: Basketweave mosaic marble sheets (Floor & Decor)
- Shower tile: Bedrosians Cloe tile in Gray
- Beadboard wall treatment
- Paint: Behr Simply White & Behr Wheat Bread (later repainted in Farrow & Ball London Clay)
- Fixtures:
- Mirror (Amazon)
- Faucet (Kohler)
- Showerhead (Kohler)
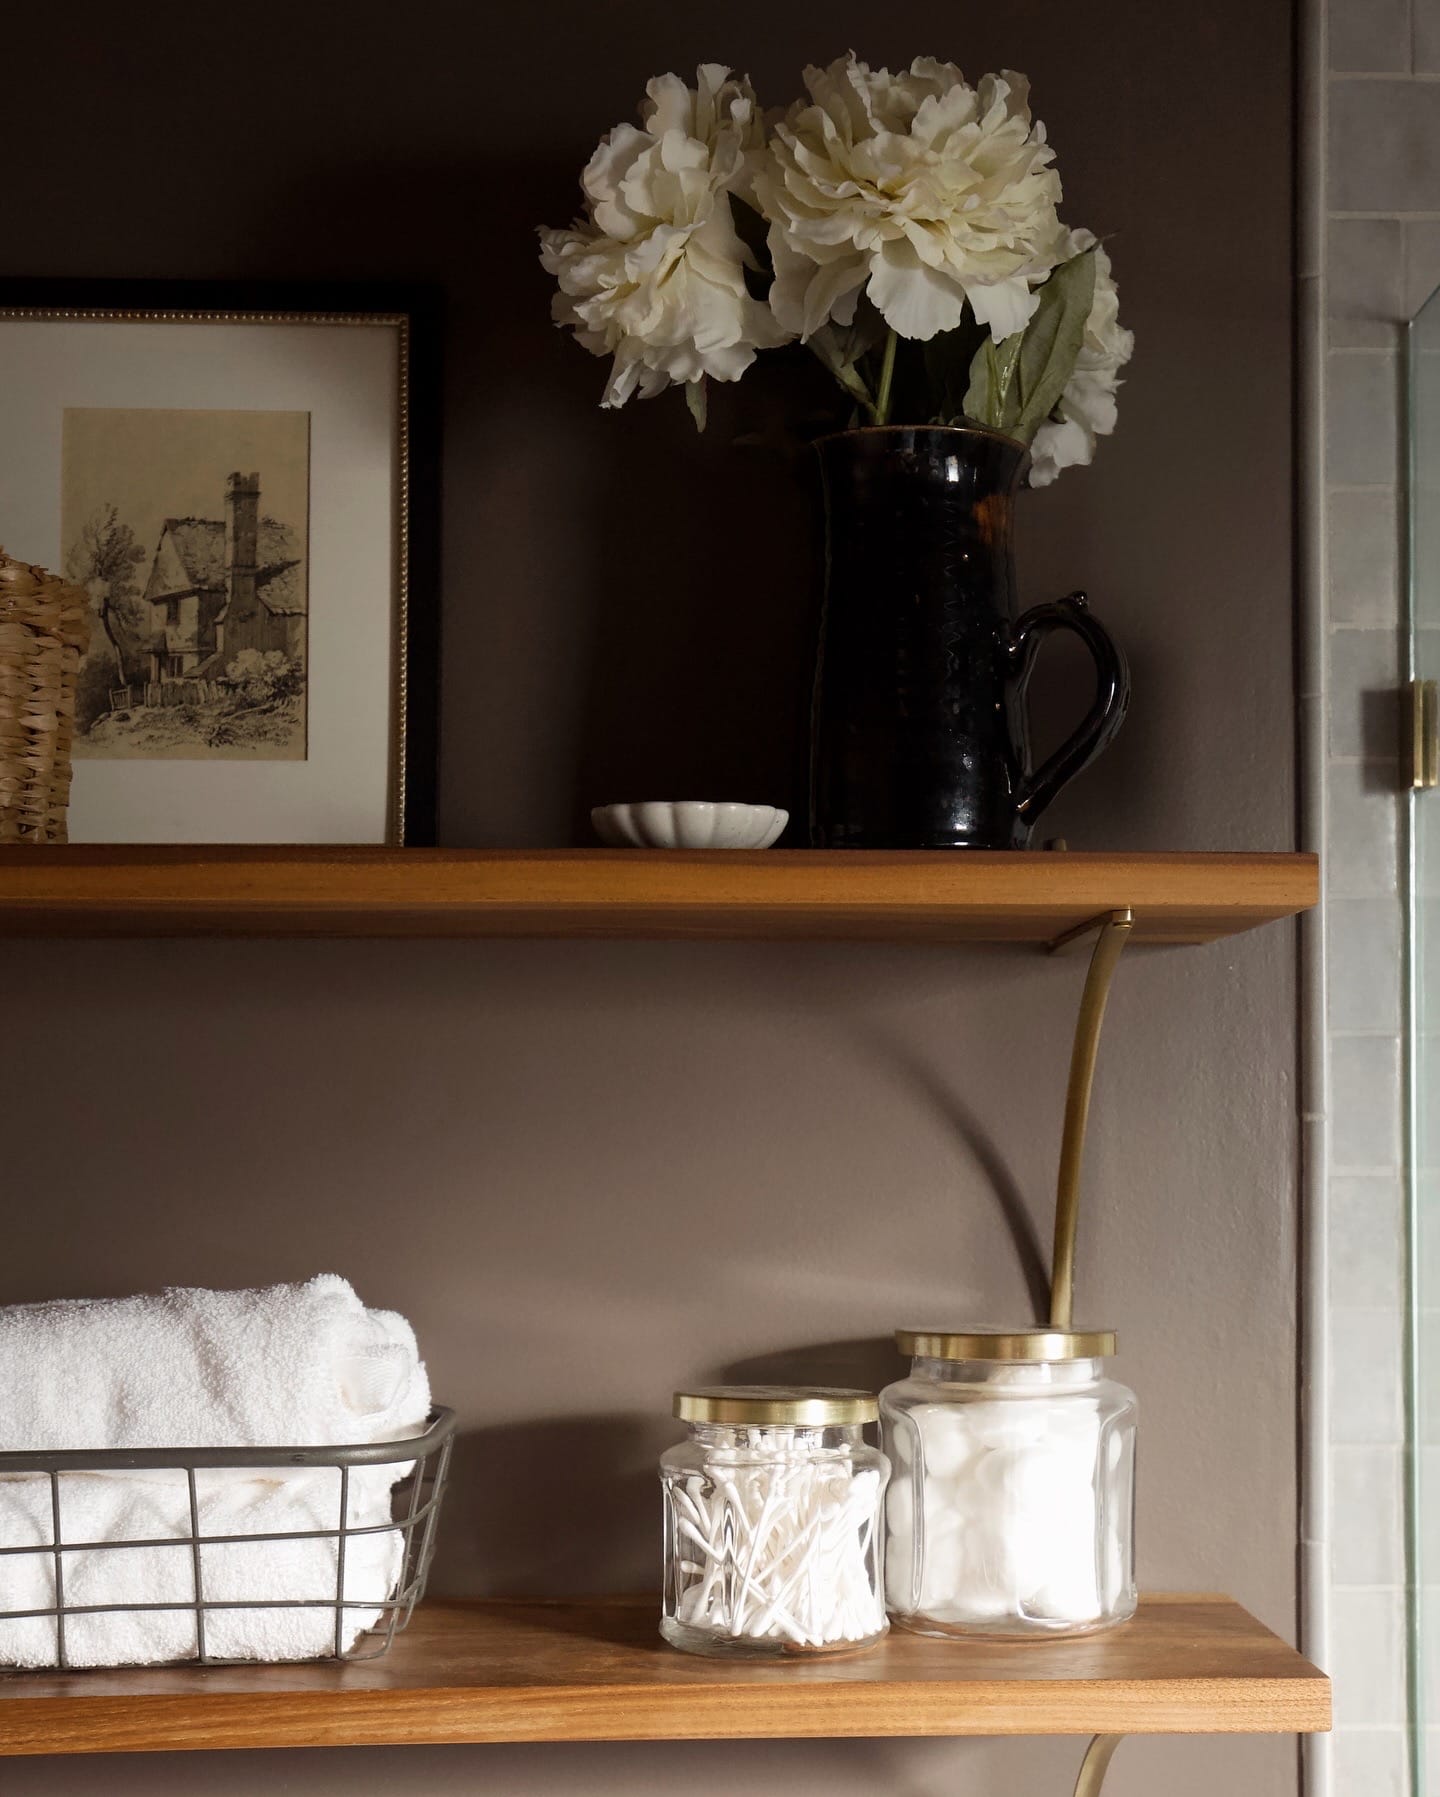
- Decor: Walnut shelves, mirror (Amazon)
- Tools: Tile cutter, drill, caulking gun, paint rollers, level, measuring tape
Total Budget ≈ $6000
Step-to-Step
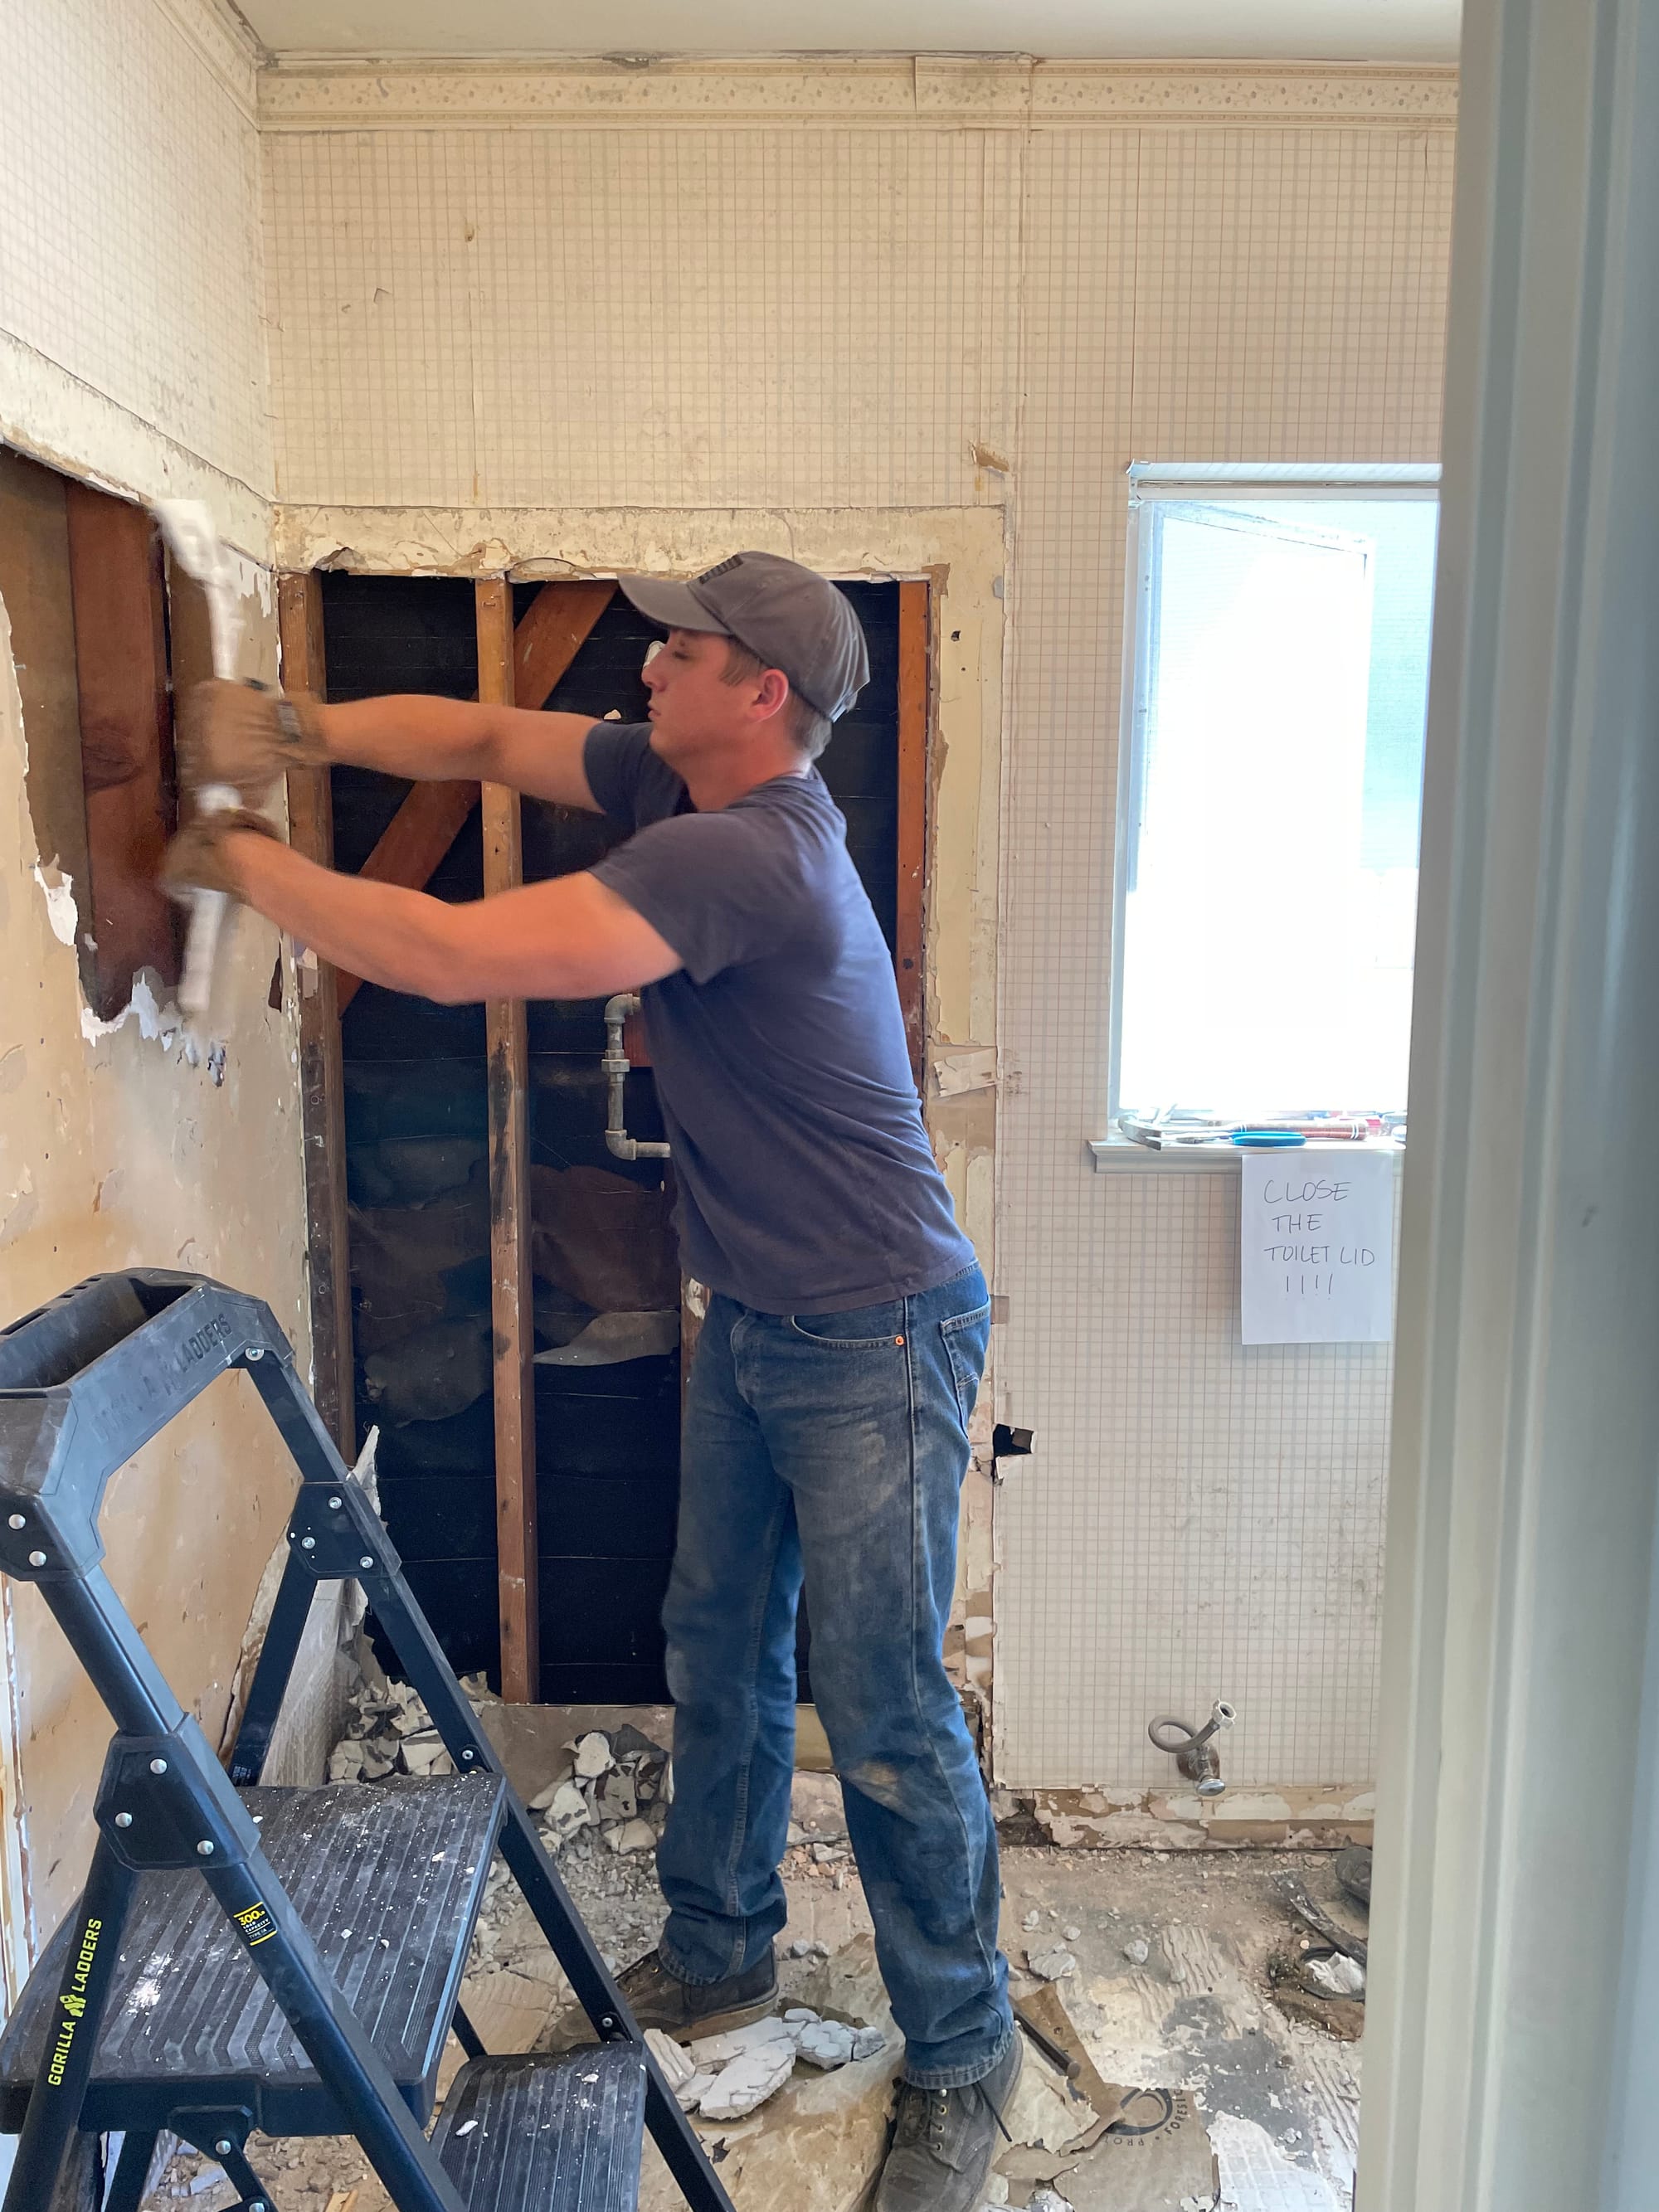
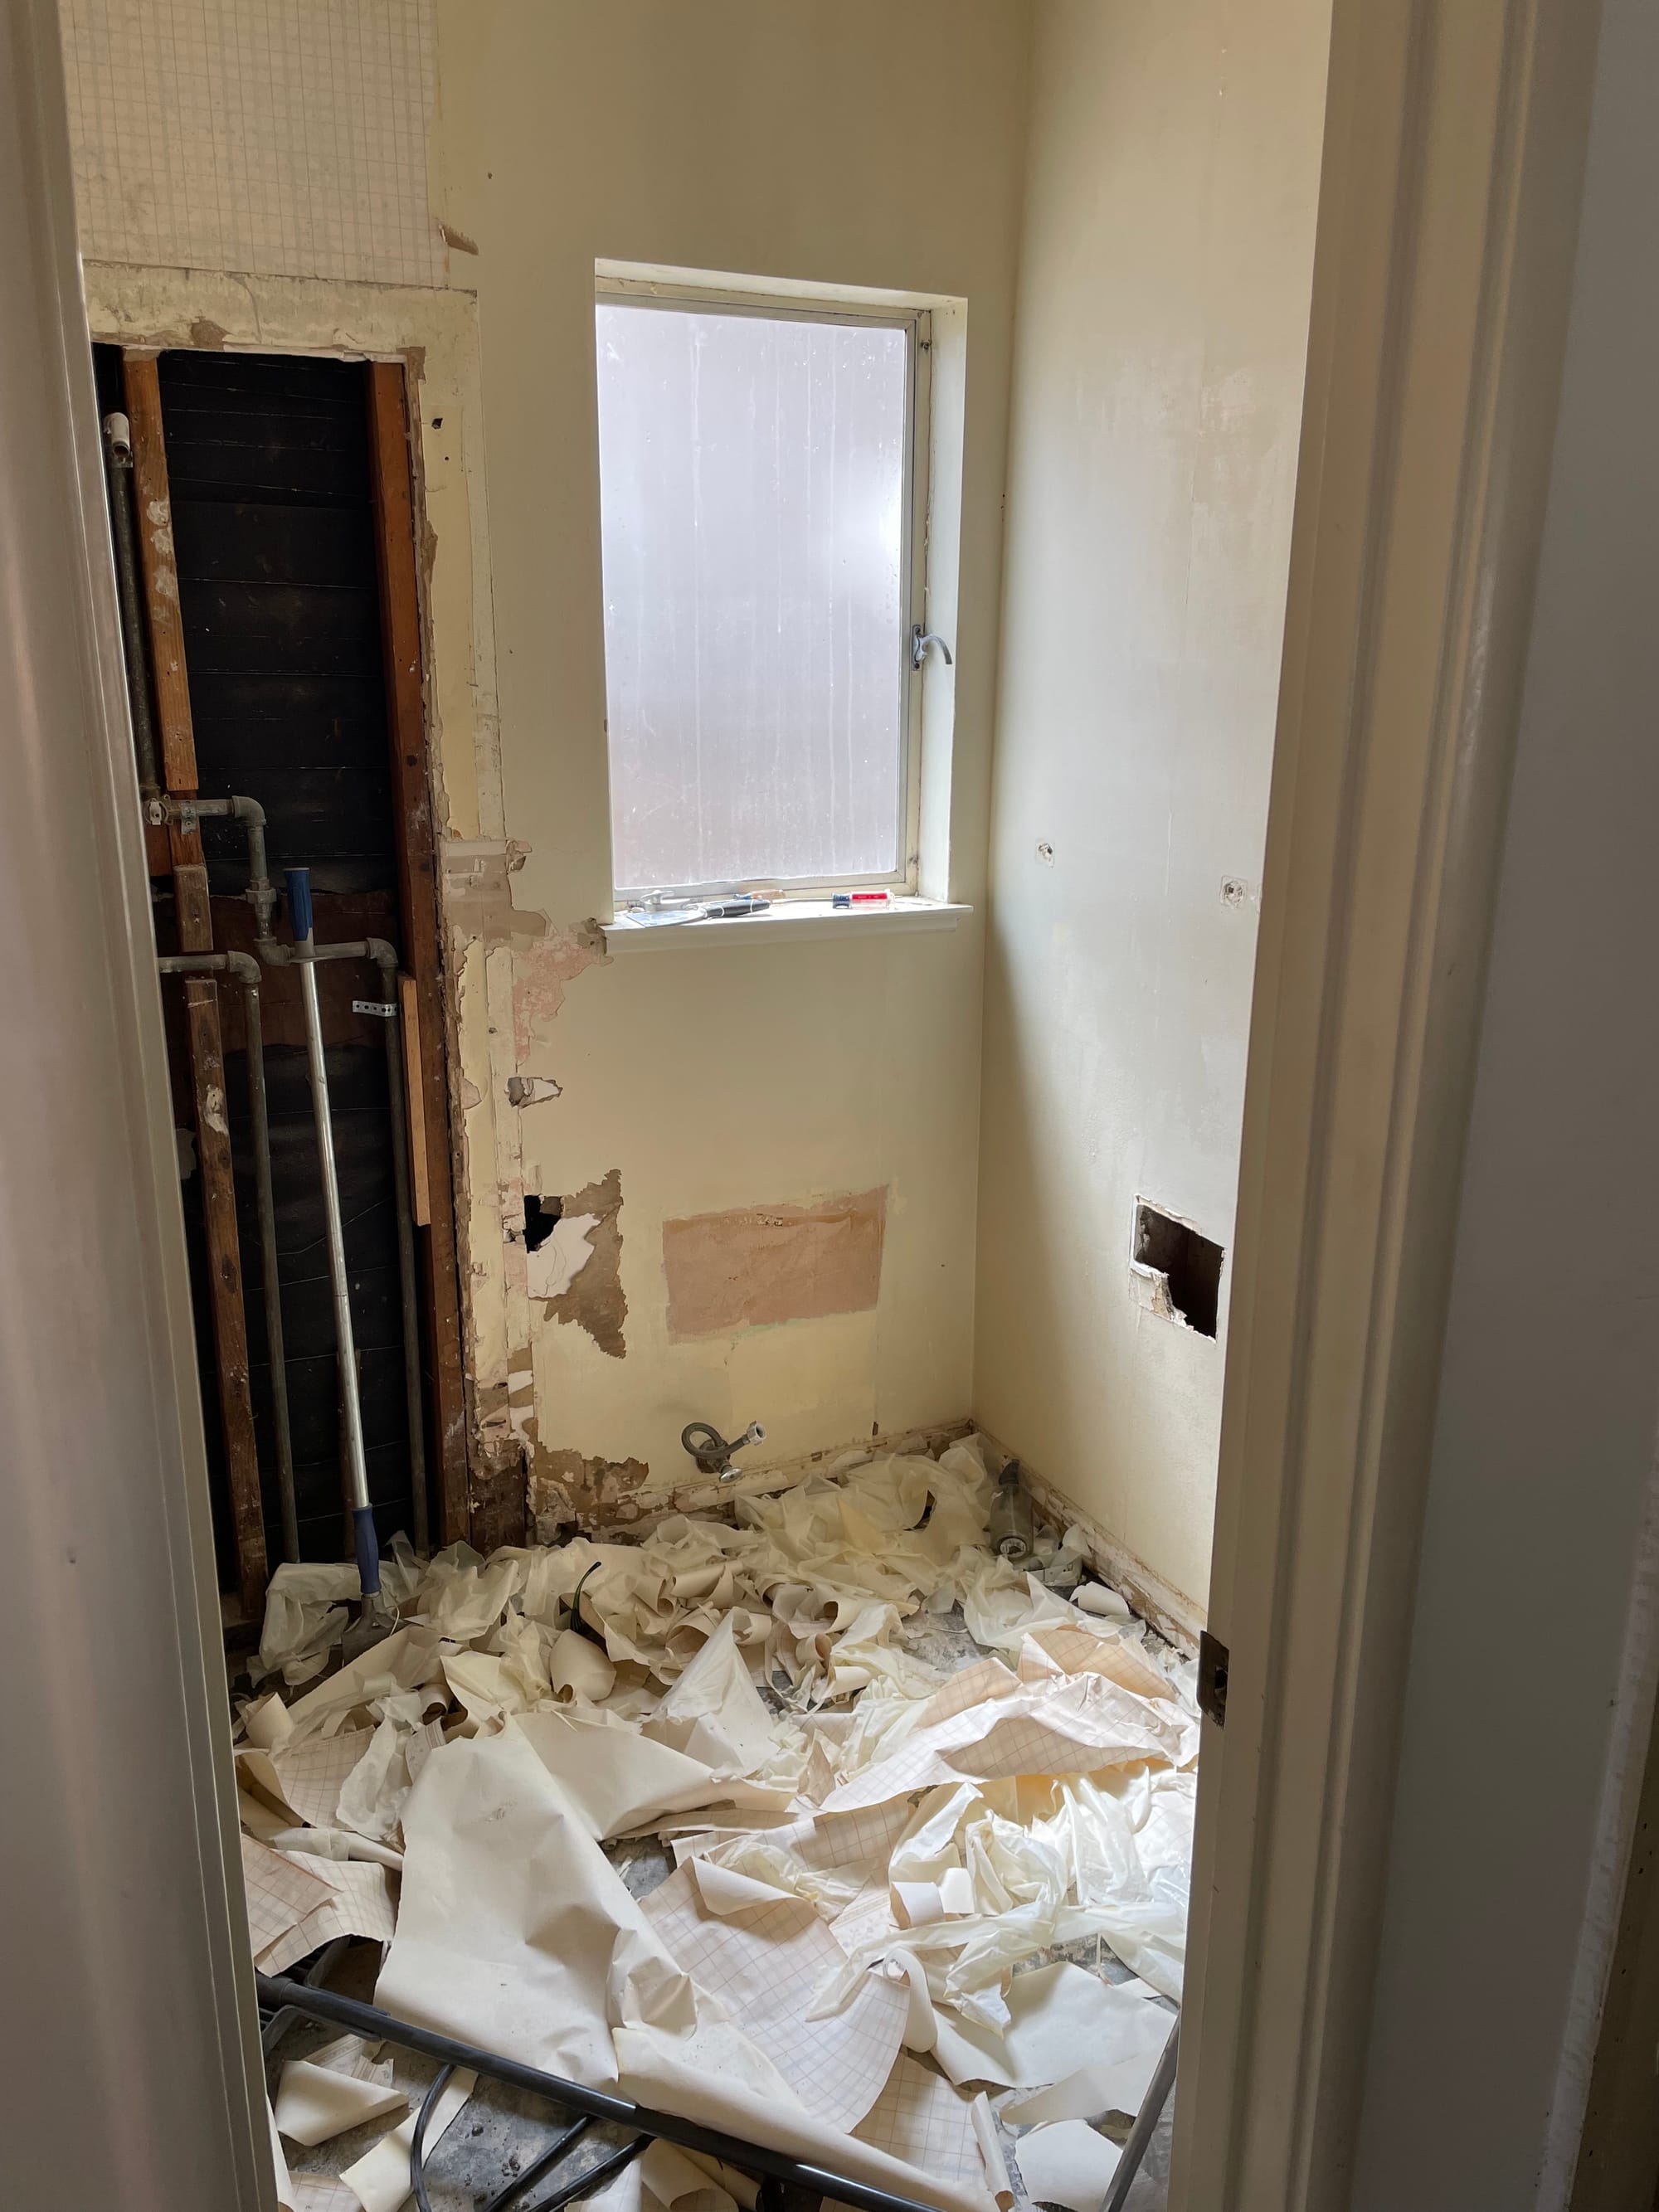
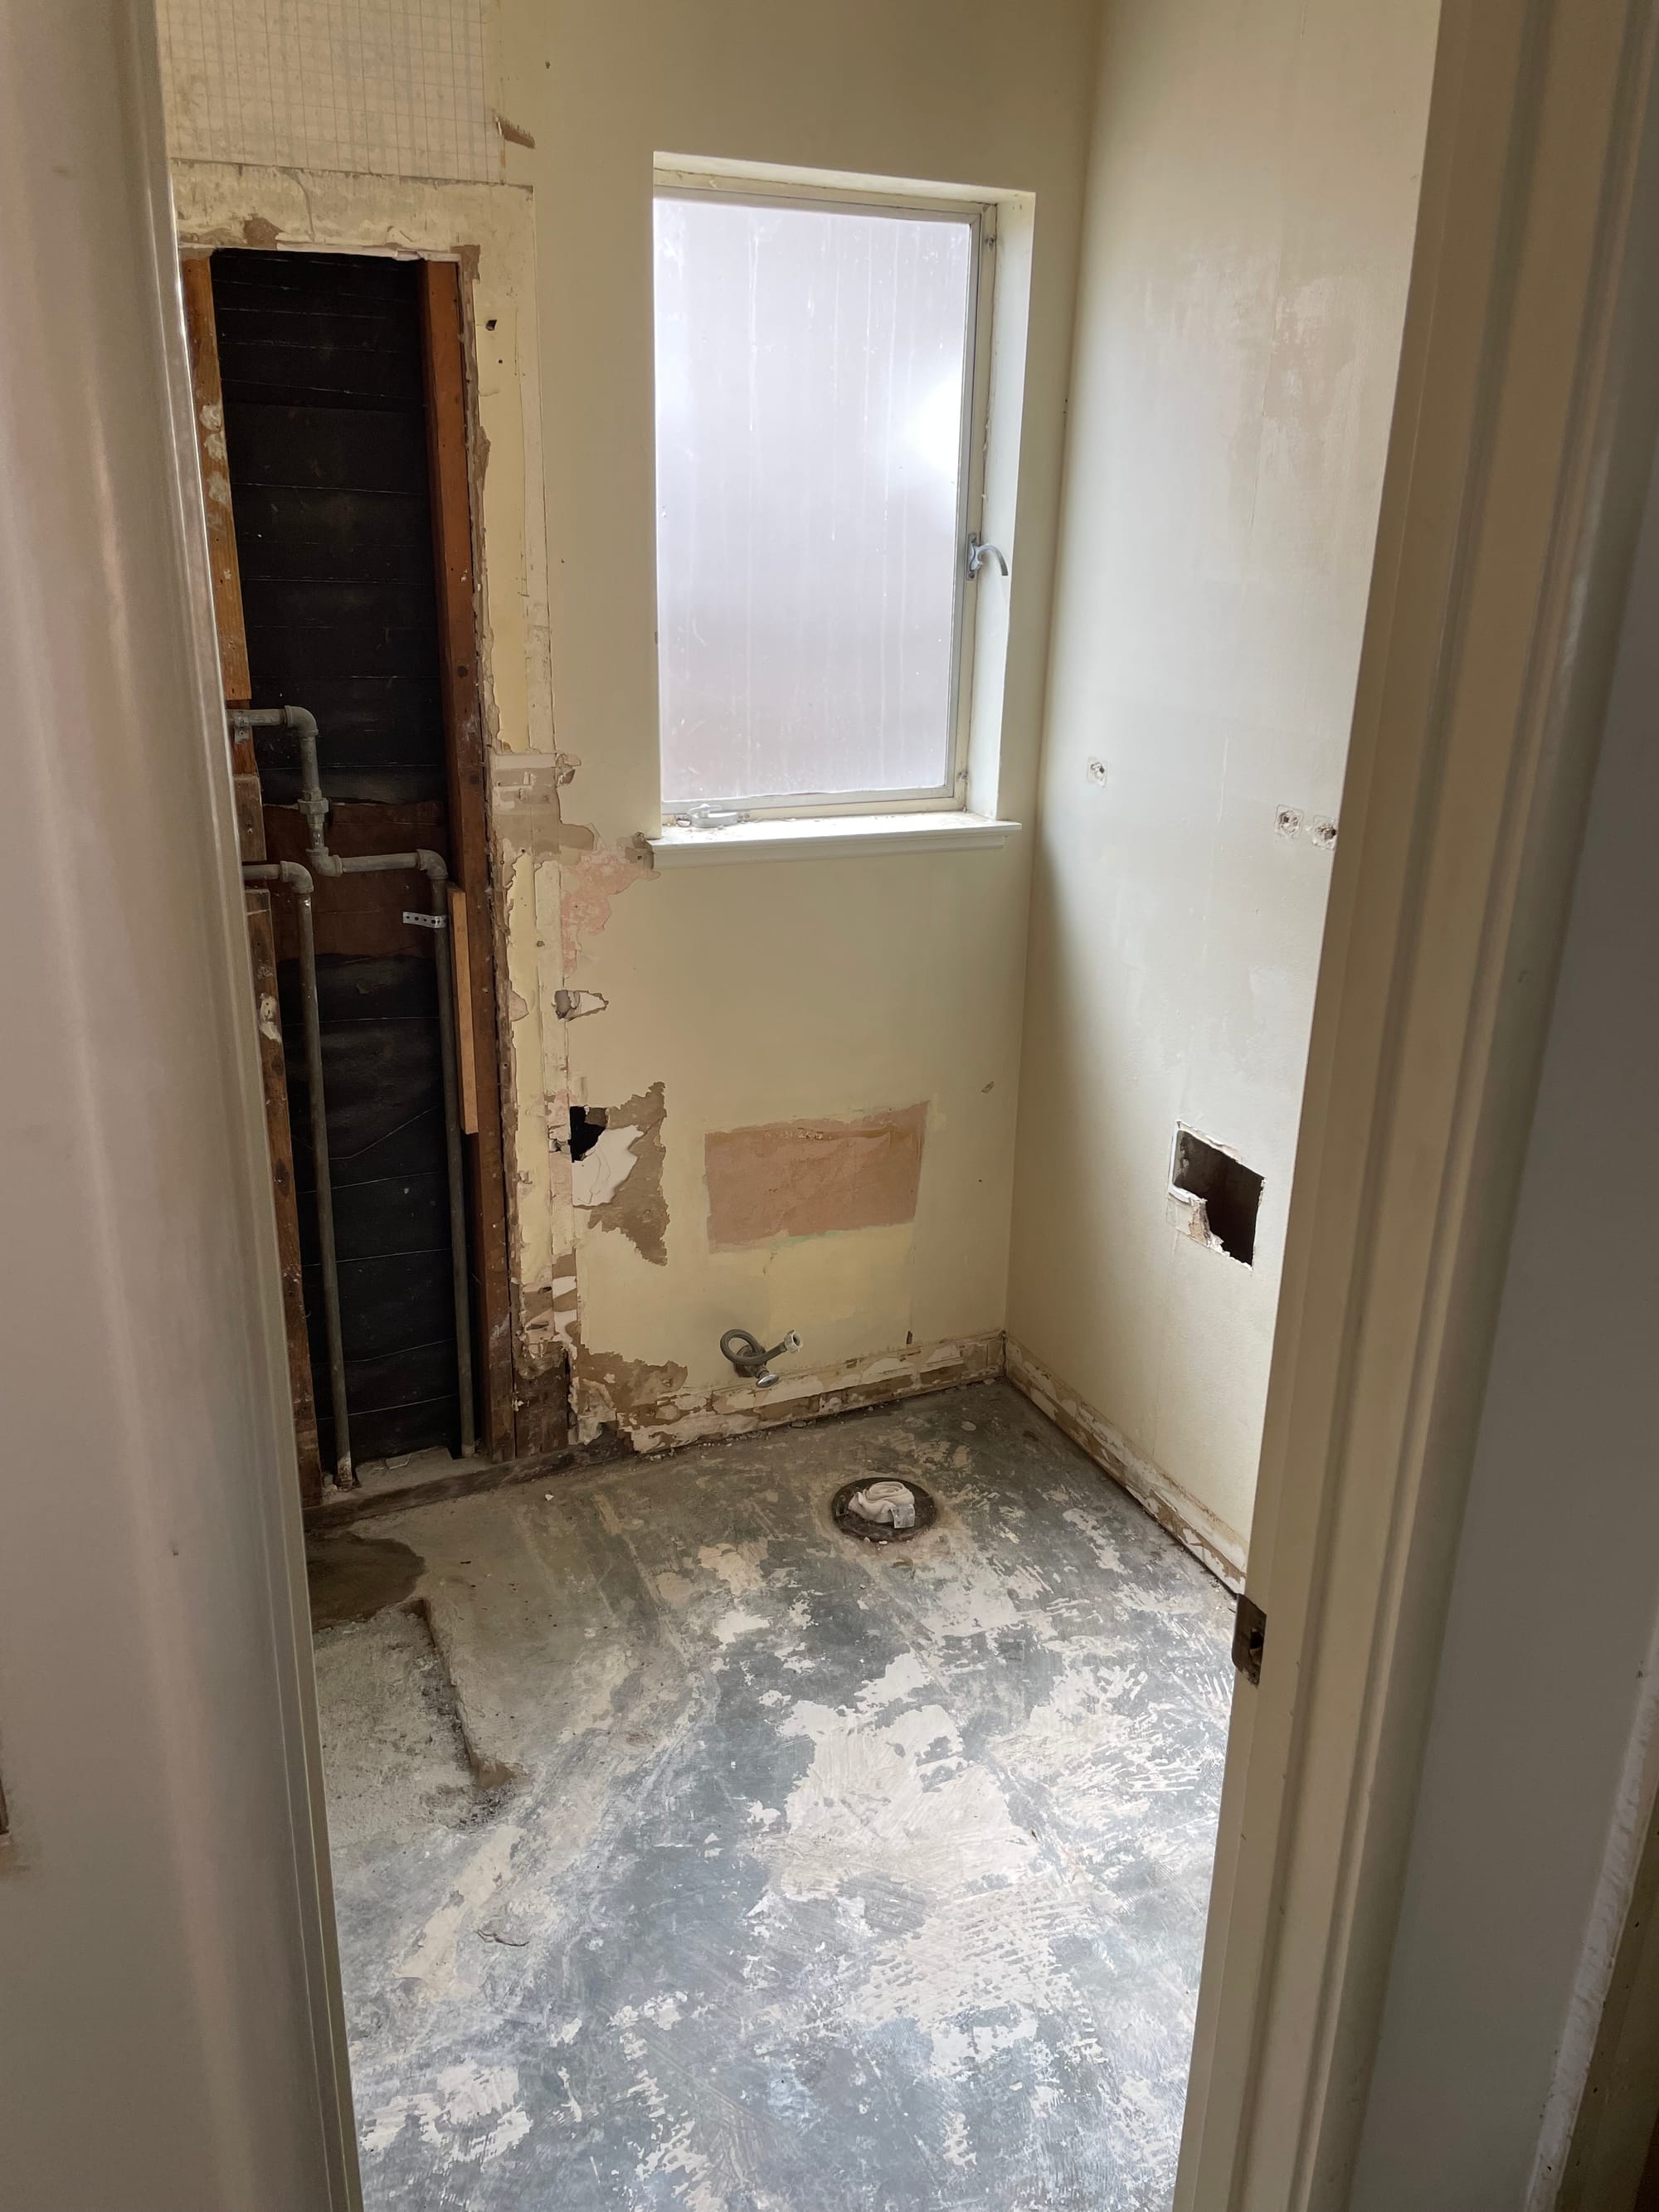
Step 1: Demoing the Space
The first step in our renovation was to remove the outdated fixtures, flooring, and shower. We took on the demo ourselves, carefully stripping the bathroom down to its bare bones. This gave us a blank canvas to work with and allowed us to address any underlying plumbing or structural issues before moving forward.
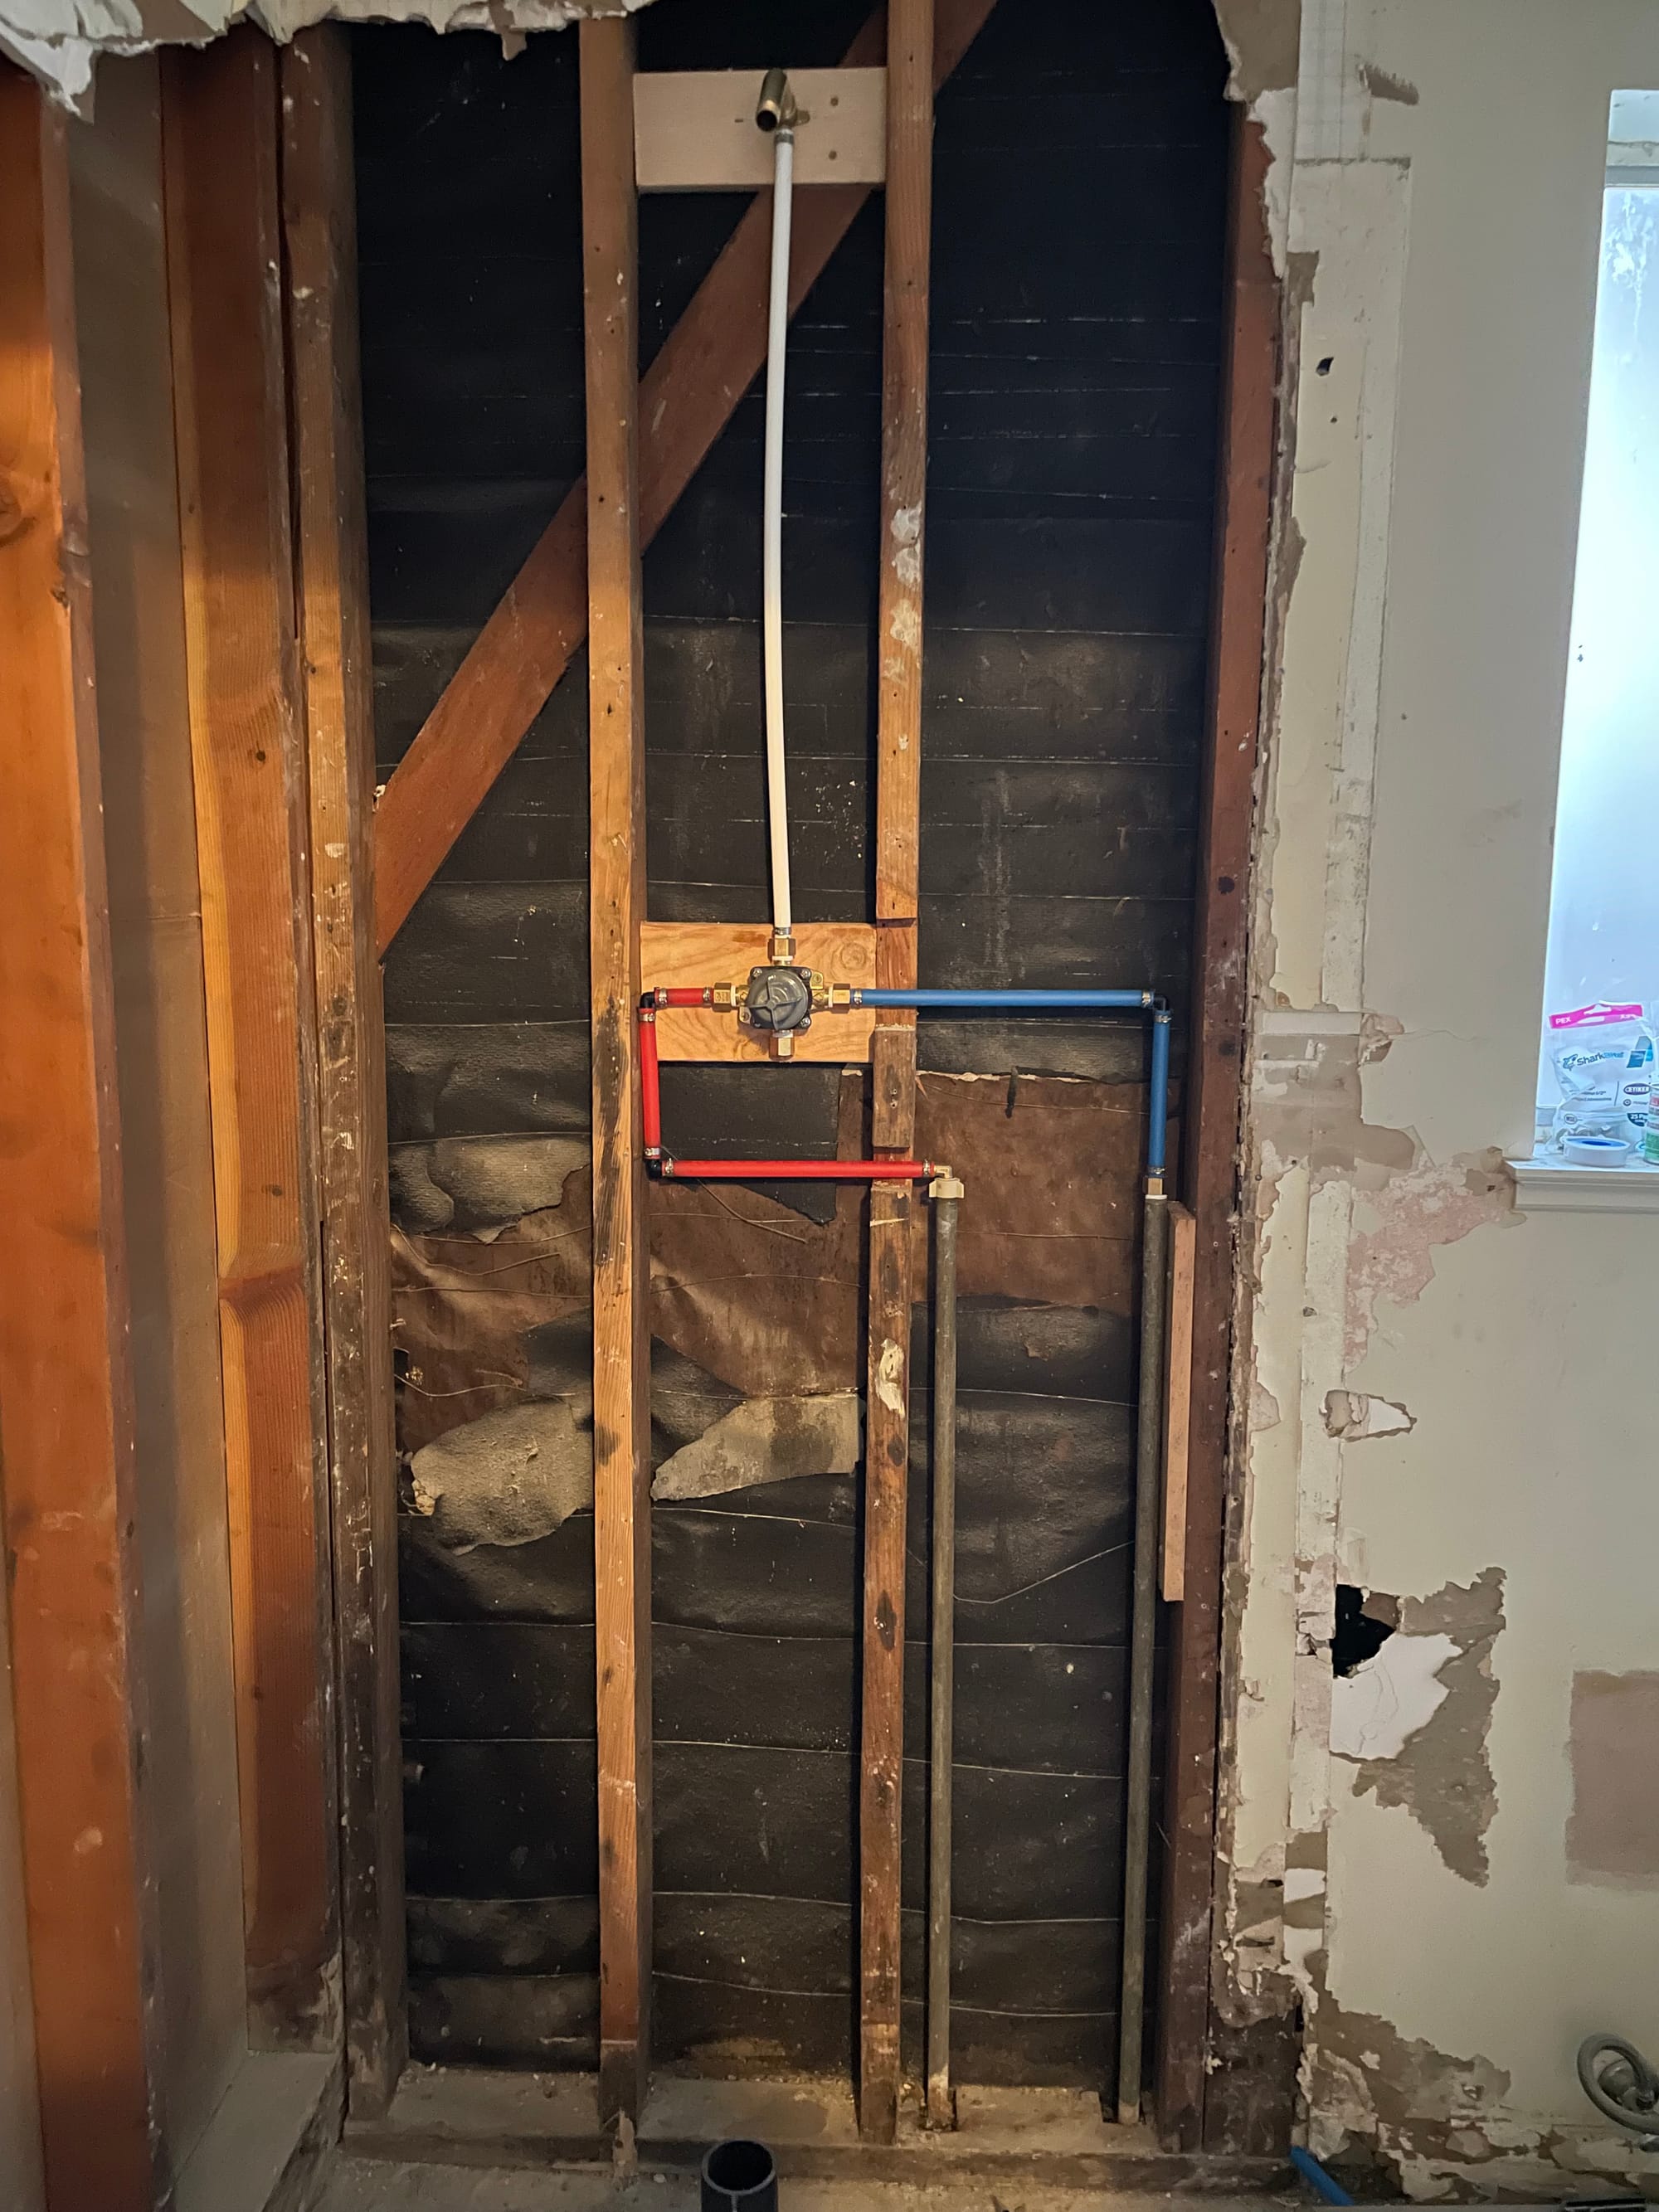
Step 2: Adjusting the Plumbing
Once the space was cleared, we had to fix some plumbing issues with the shower. Ensuring proper drainage and water flow was essential before moving on to the next steps. If you're doing a similar project, always check your plumbing and consult a professional if needed!
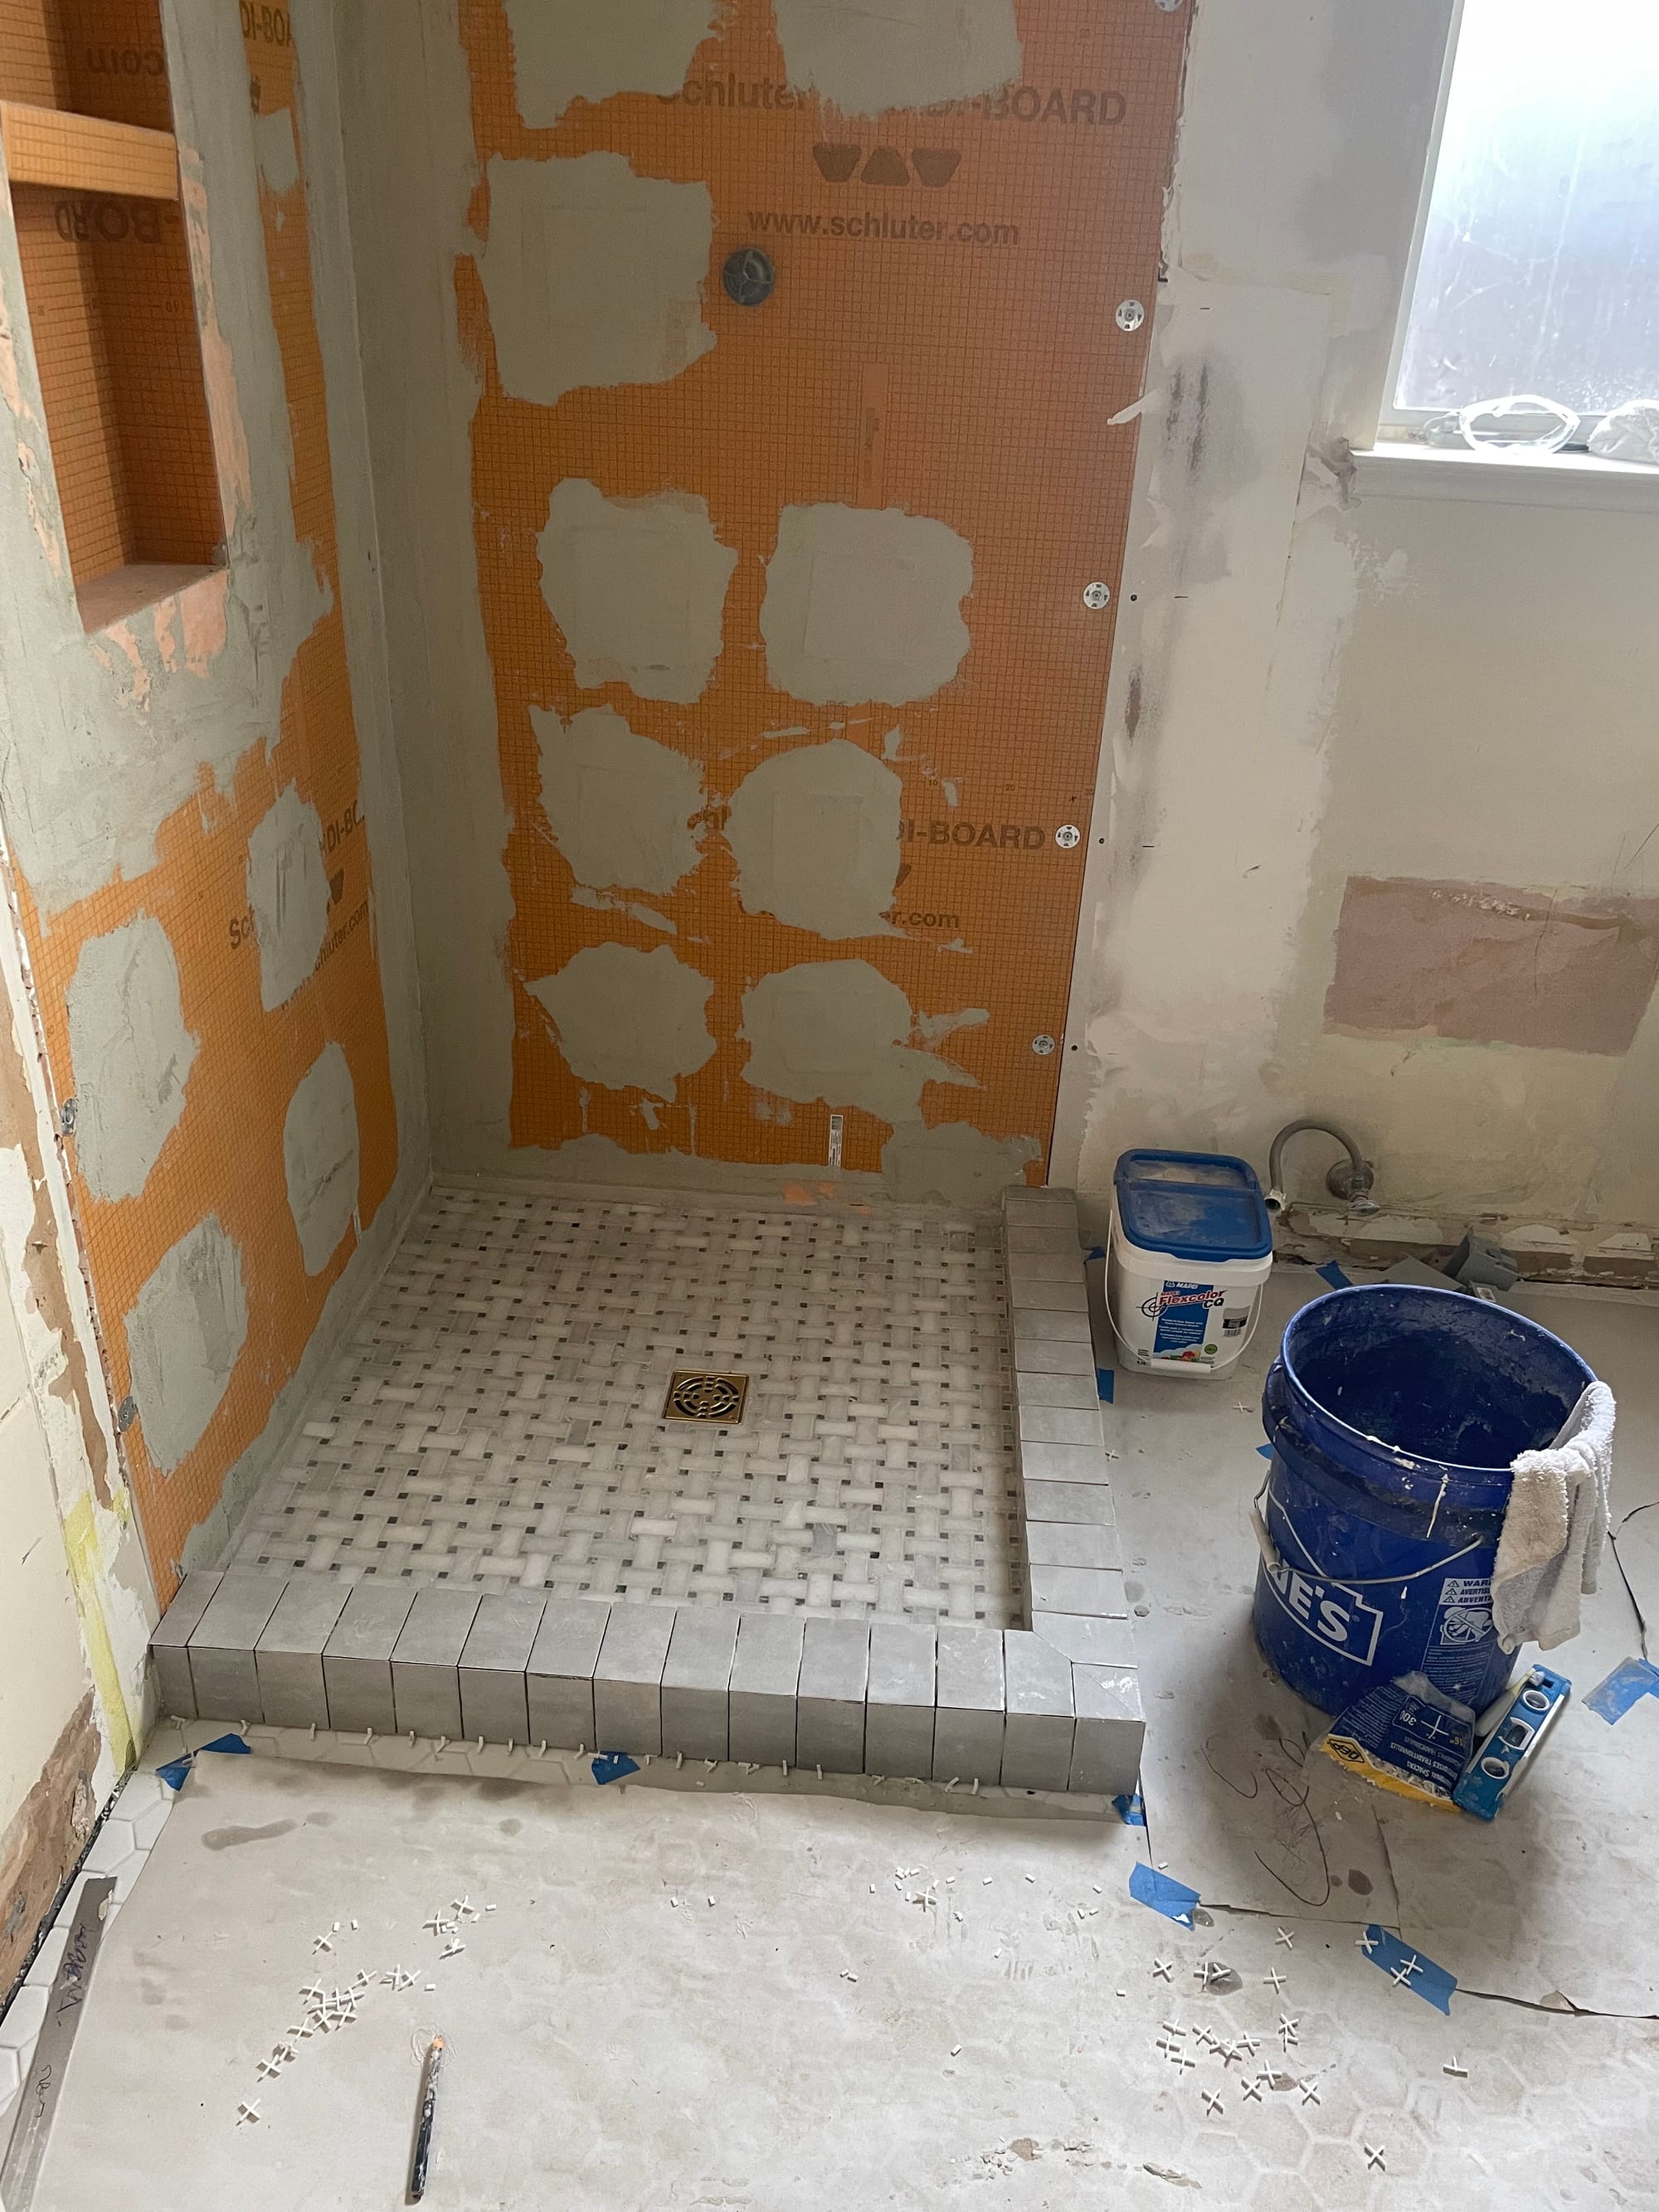
Step 3: Installing Waterproofing and Prep Materials
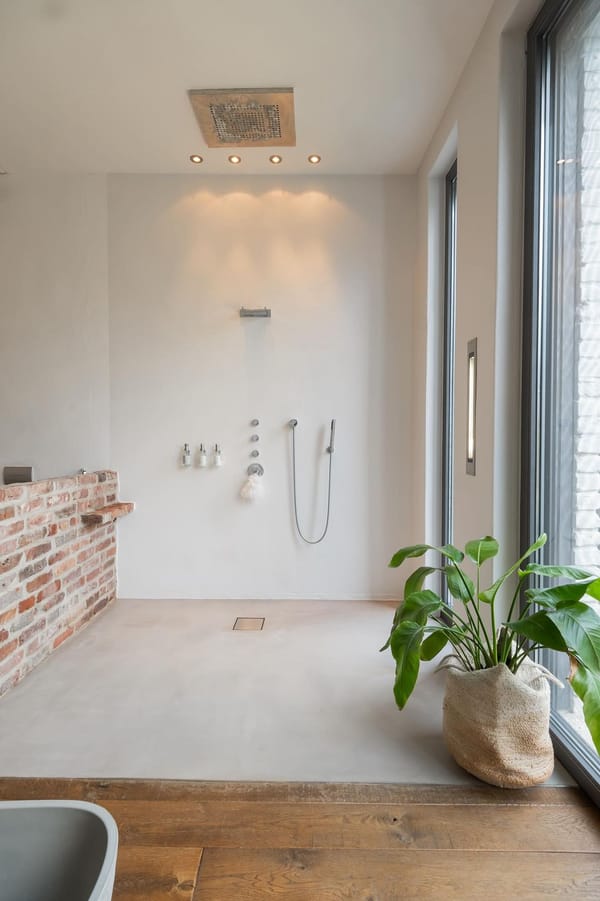
We used the Schluter Kerdi system to install a waterproof membrane, shower pan, and curb. This step is crucial for keeping moisture out and ensuring the longevity of the shower. Proper waterproofing prevents costly damage down the line.
Step 4: Installing the Floor Tile
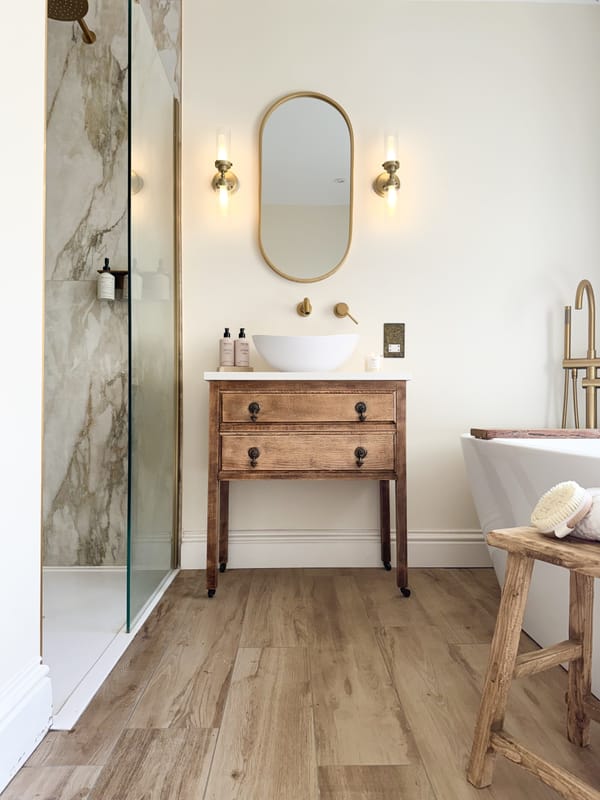
For the flooring, we chose basketweave mosaic marble sheets from Floor & Decor. The elegant design instantly elevated the space, making it feel luxurious yet classic. Laying the tile took time and patience, but the result was well worth the effort!
Step 5: Installing the Shower Tile
Next, we tackled the shower tile. We used Bedrosians Cloe tile in Gray, which added a beautiful, textured look to the space. The glossy finish reflected light, making the shower area feel bright and airy.

Step 6: Modifying the Electrical
We needed to update some of the electrical work to accommodate new lighting and fixtures. This step involved adjusting outlet placements and ensuring everything was up to code.
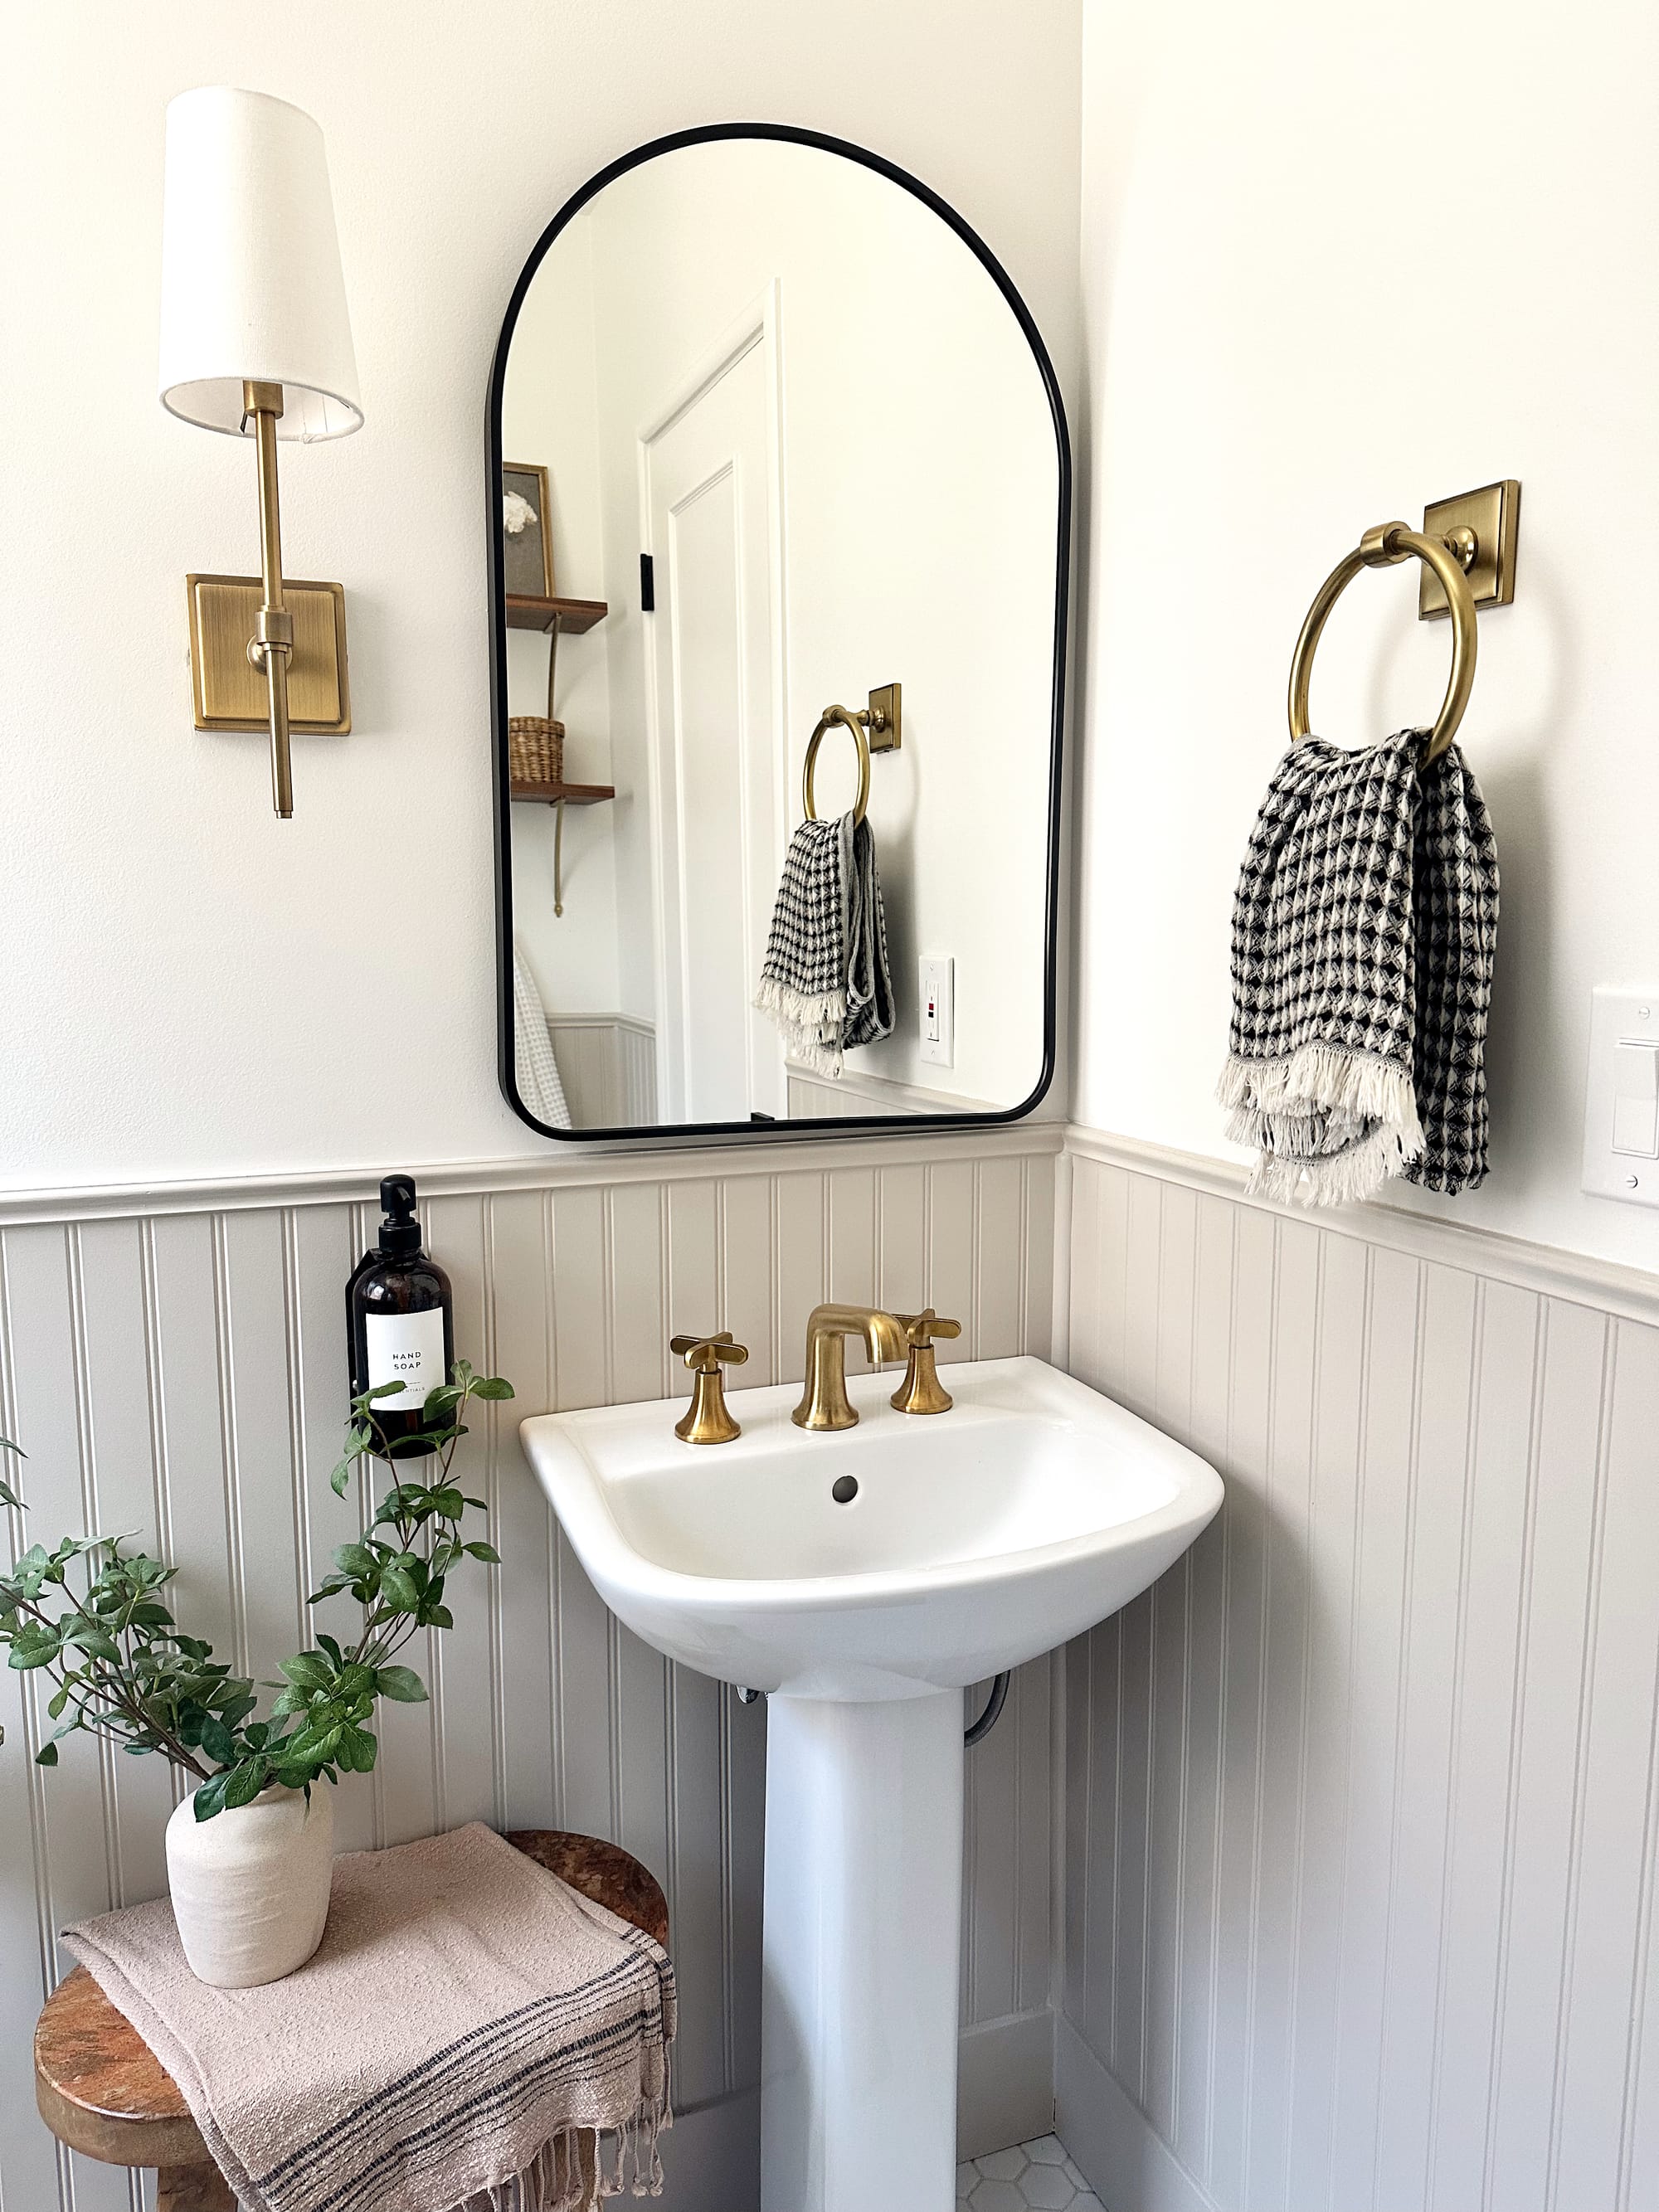
Step 7: Installing the Wall Treatment
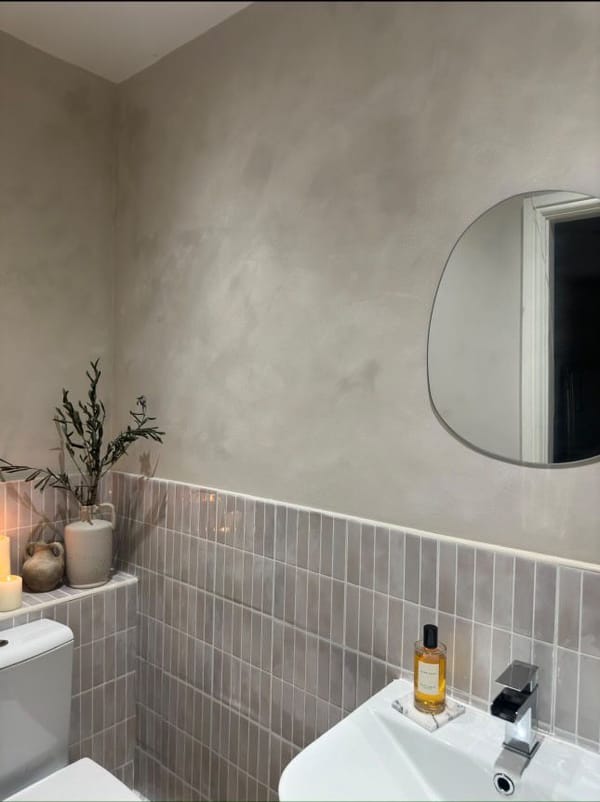
To add character to the bathroom, we installed beadboard on the lower half of the walls. This classic touch brought warmth and texture, balancing out the sleek tilework.
Step 8: Painting the Bathroom
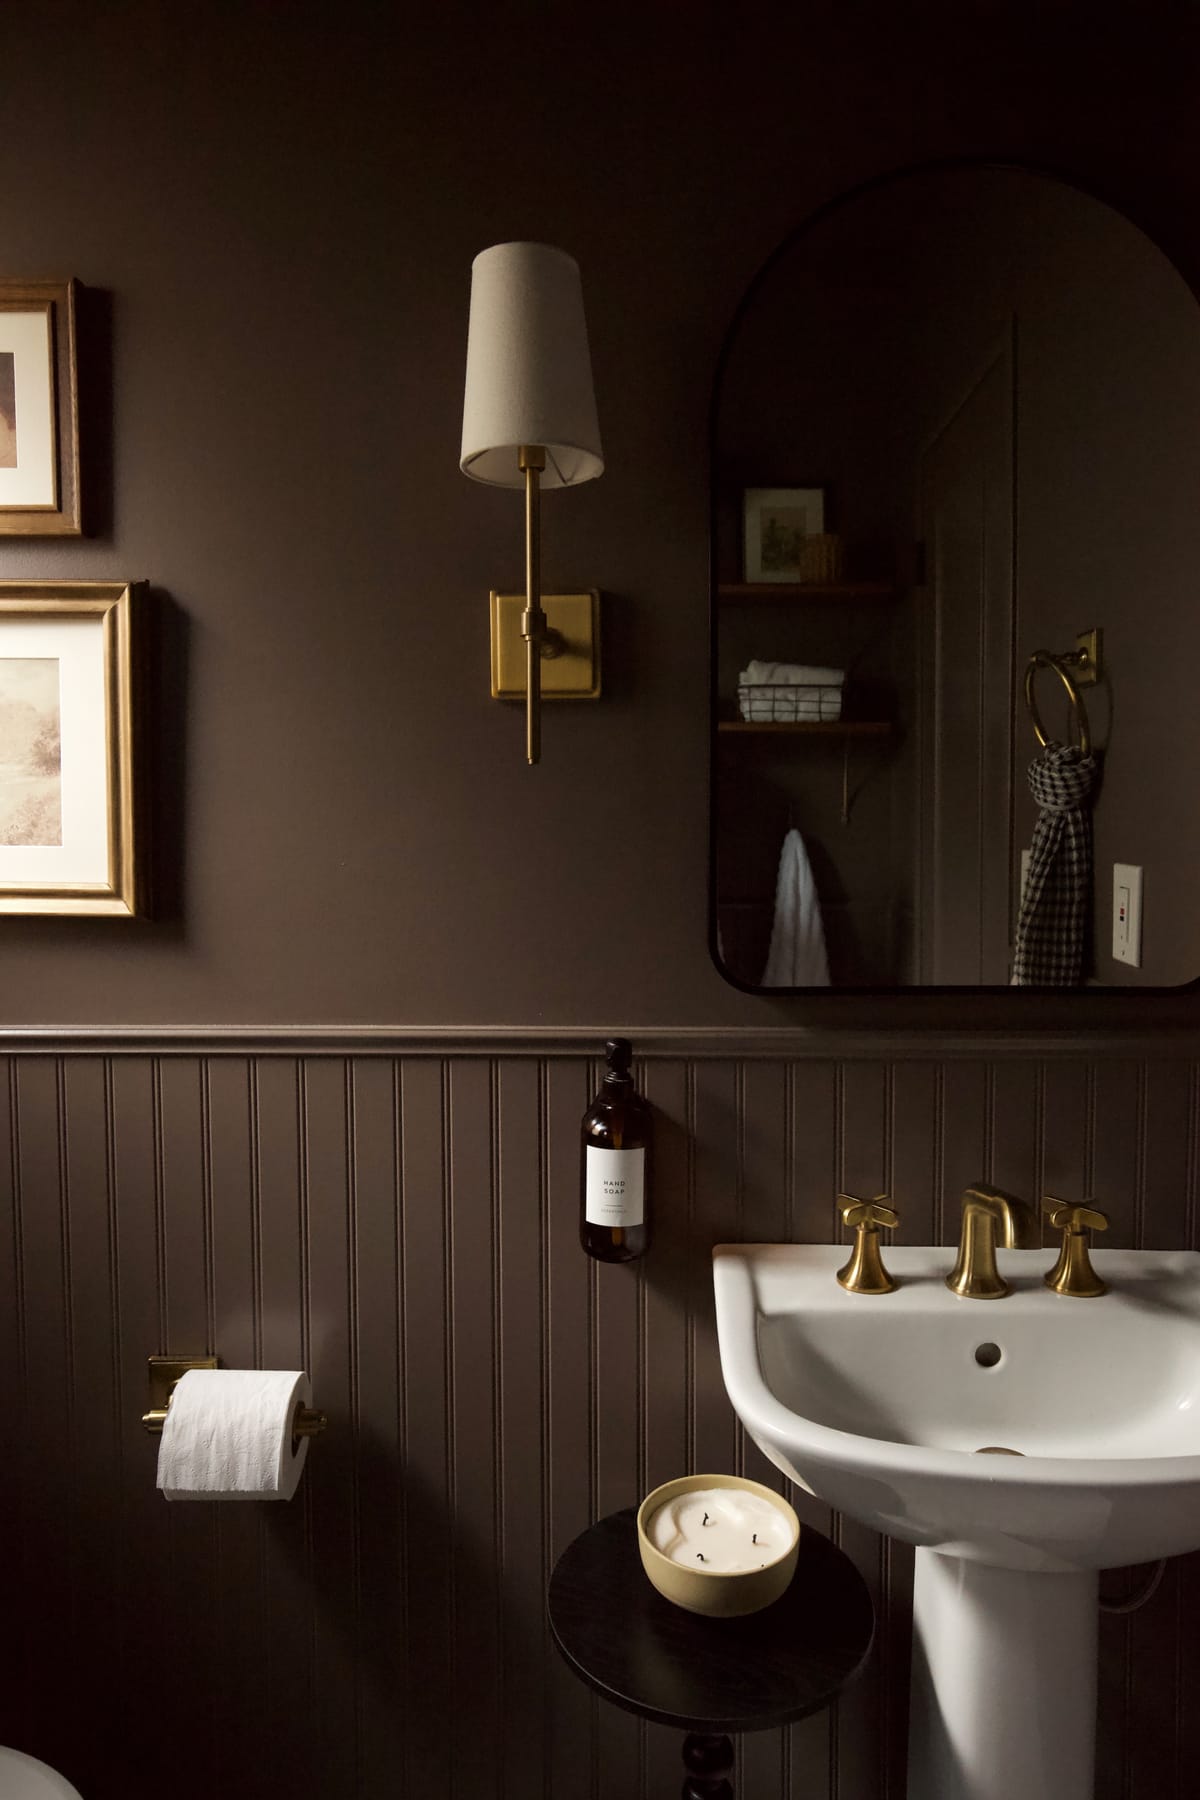
Originally, we painted the bathroom in Behr Simply White on the upper half and Behr Wheat Bread on the lower half. However, later on, we decided to go bold and repainted the entire space in London Clay by Farrow & Ball—a rich brown-purple shade that went viral on Instagram!

Bathroom with Behr Simply White
Step 9: Installing Fixtures
With the major structural work done, it was time to install the fixtures. We chose a mirror from Amazon, faucet and showerhead from Kohler, and sleek hardware to complete the look. Each piece added a polished and cohesive feel to the space.
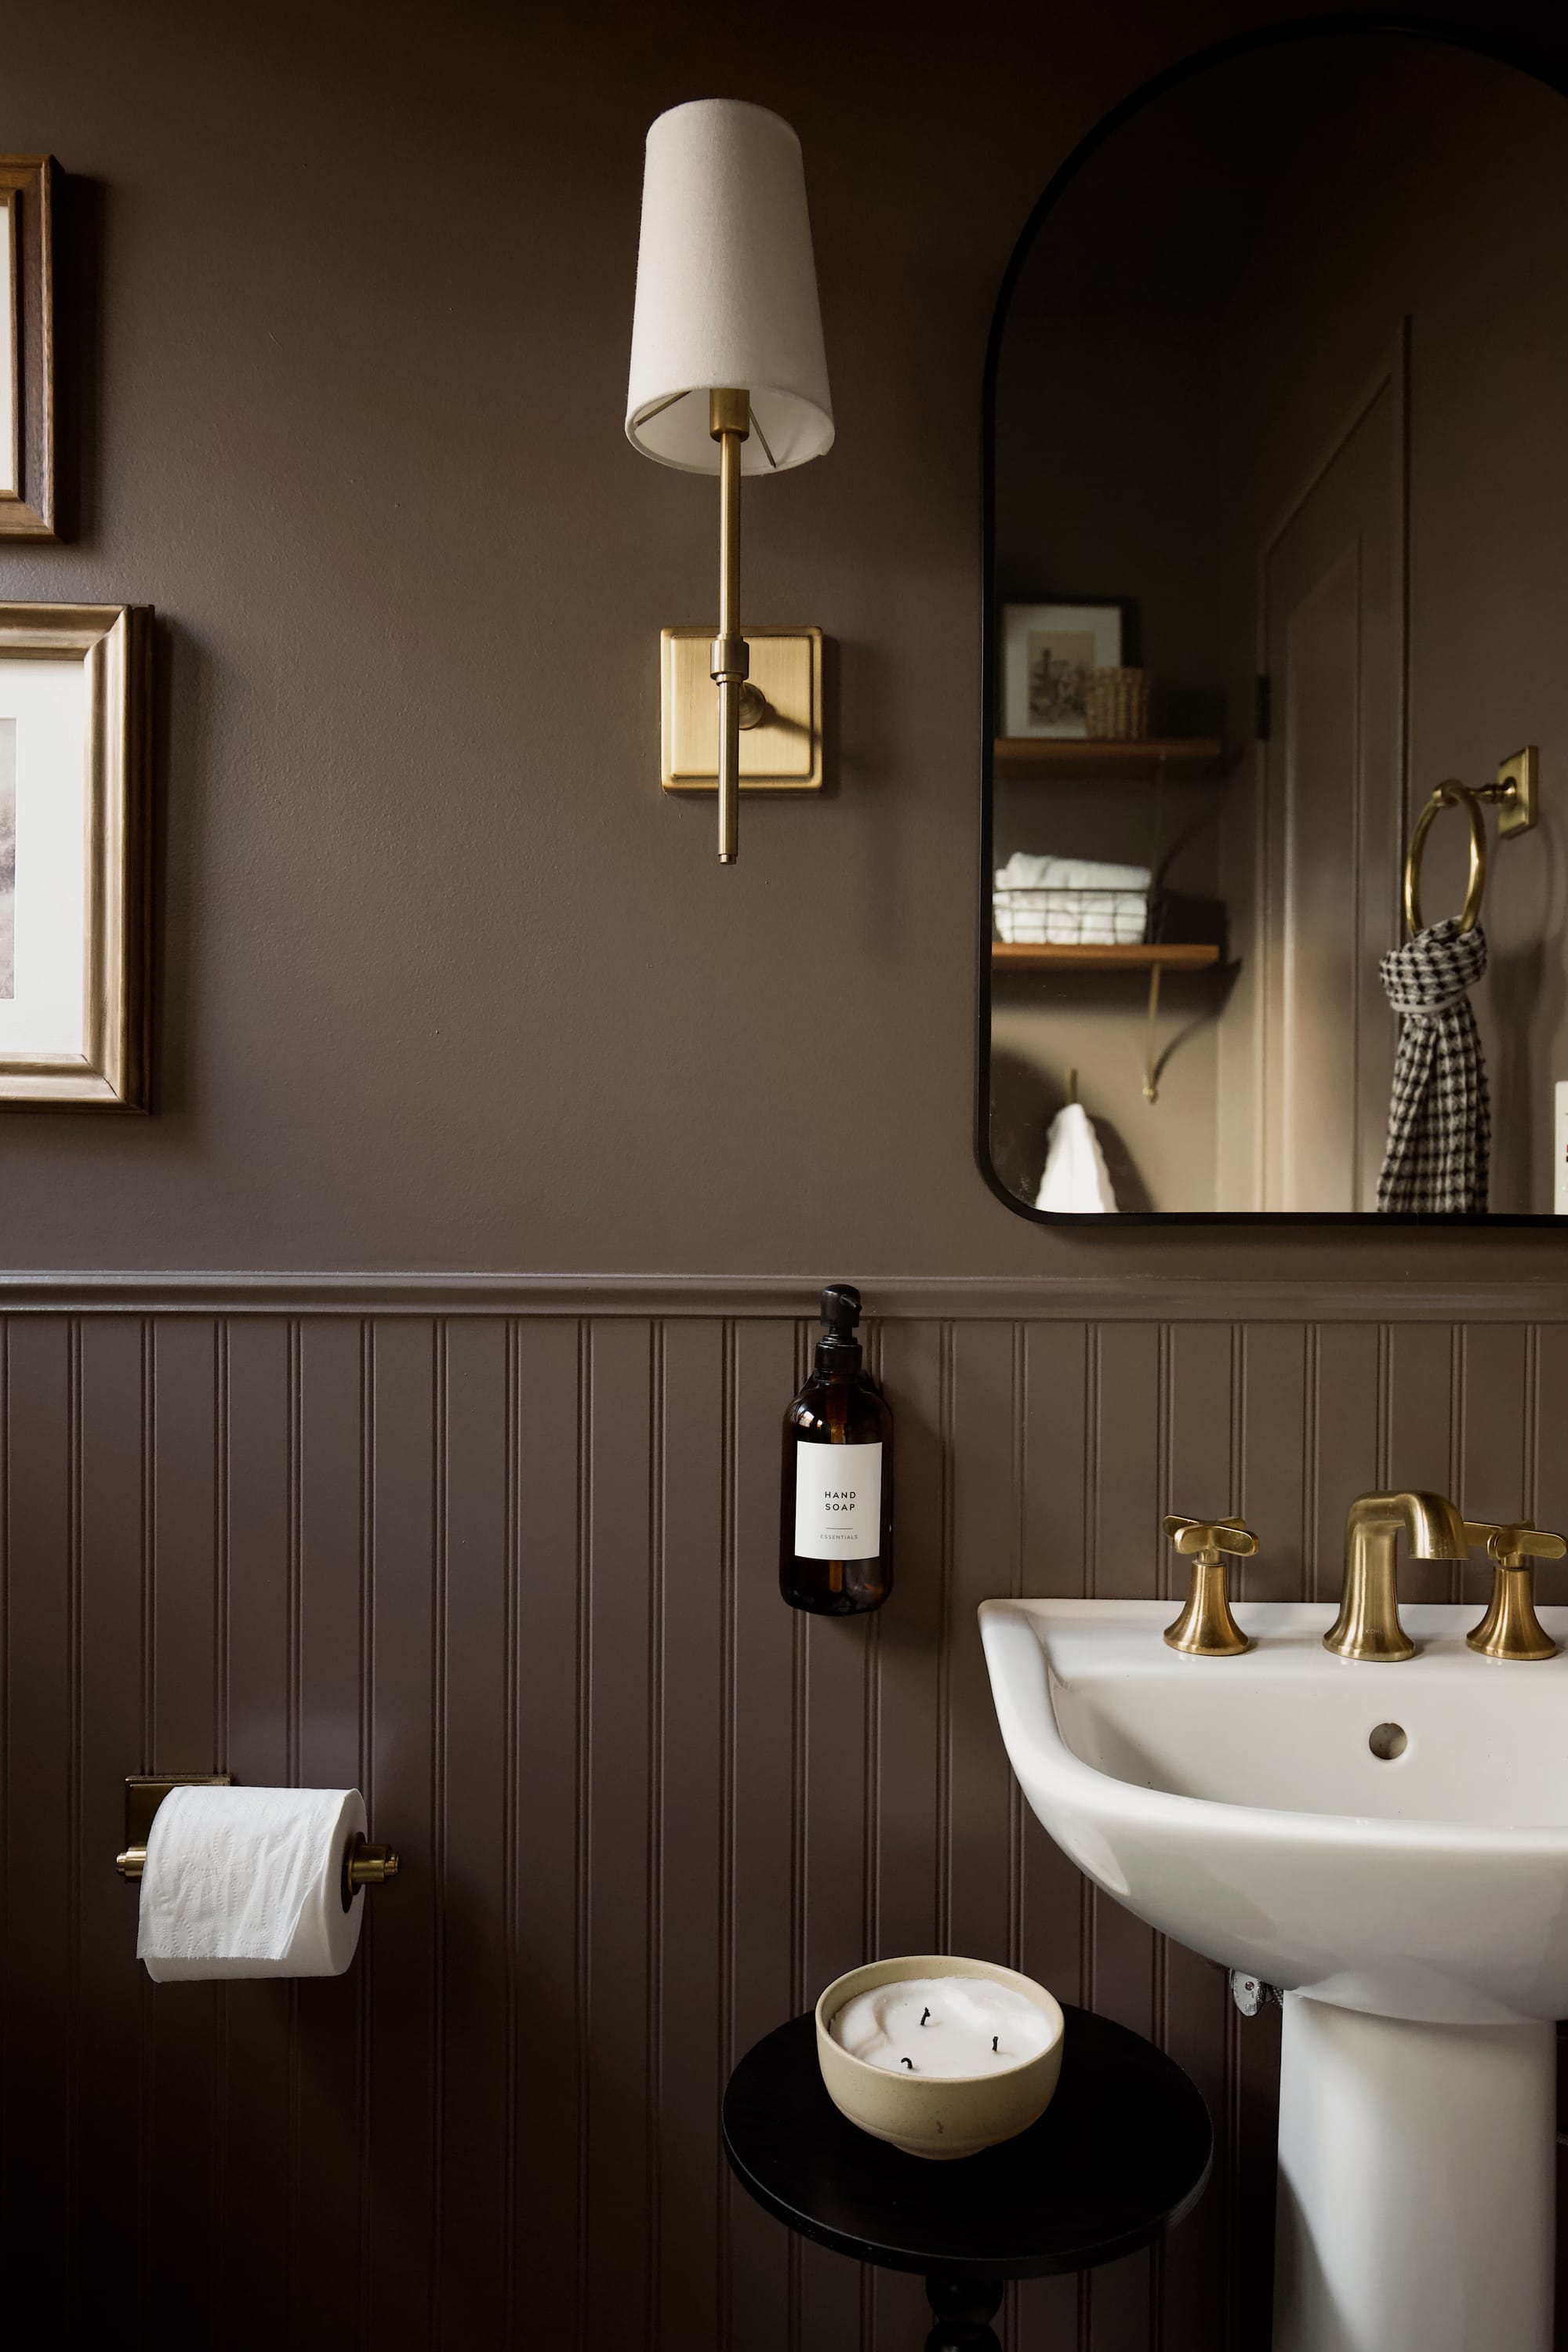
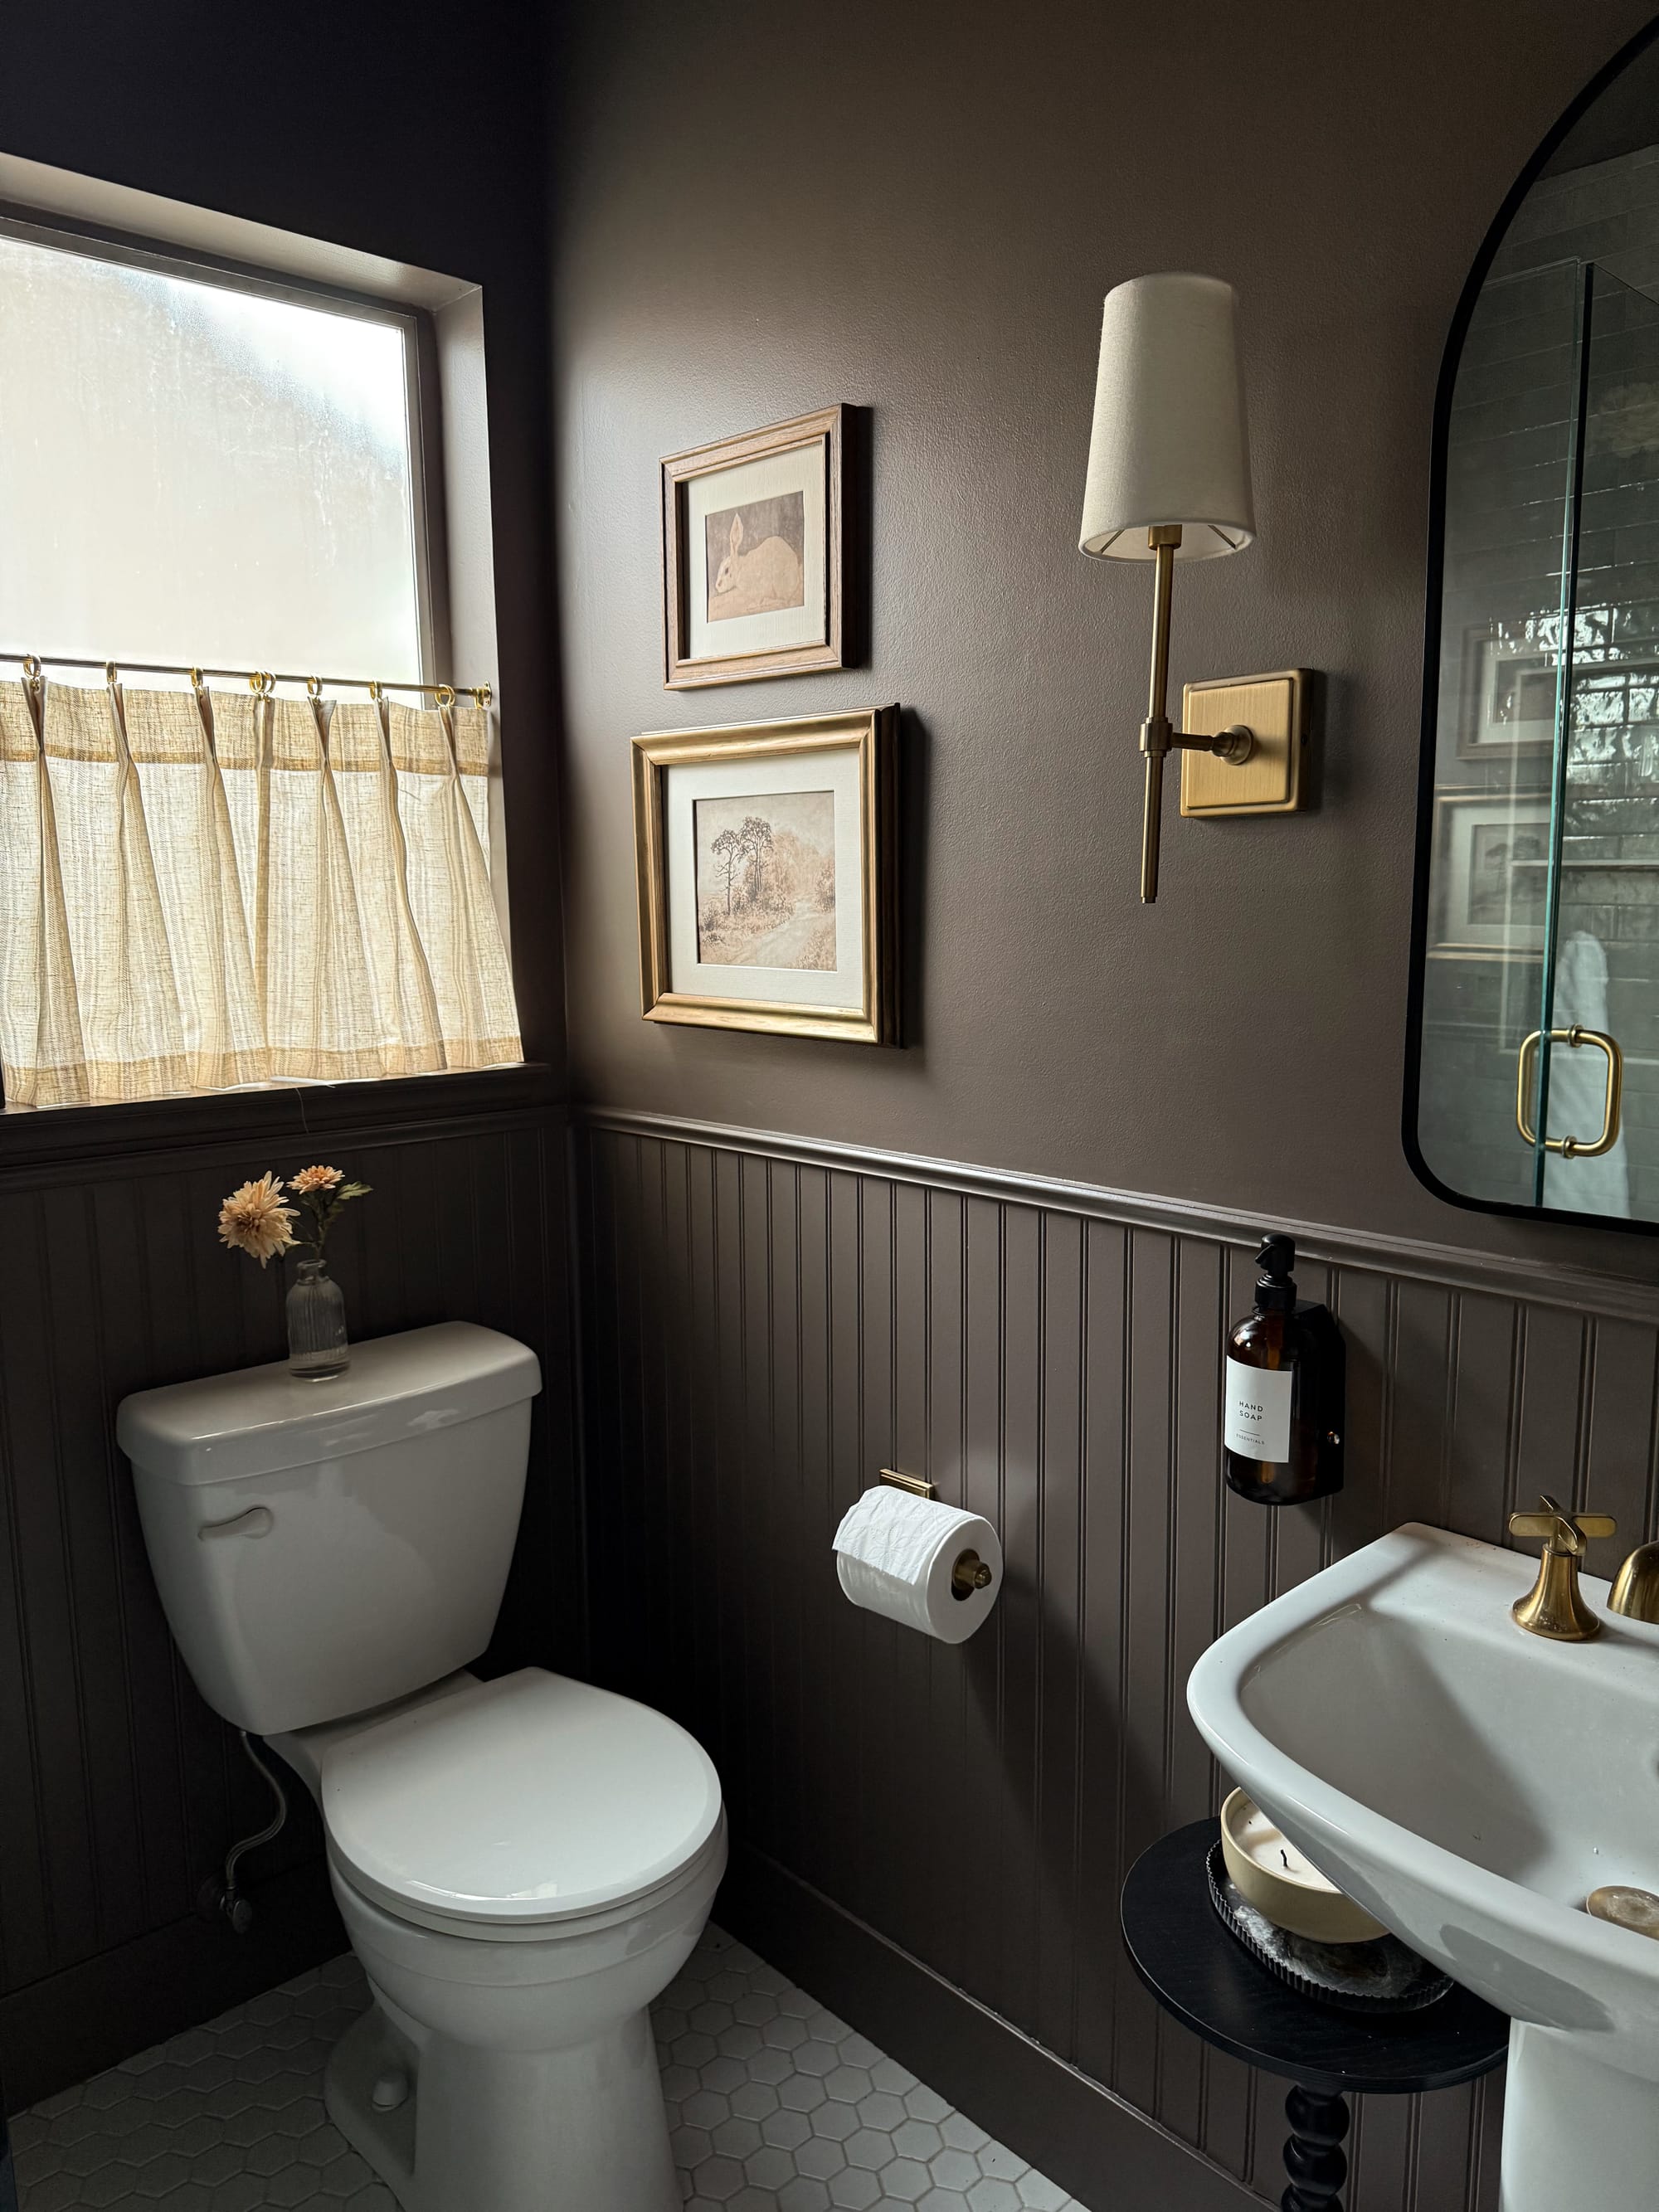
Bathroom with London Clay by Farrow & Ball
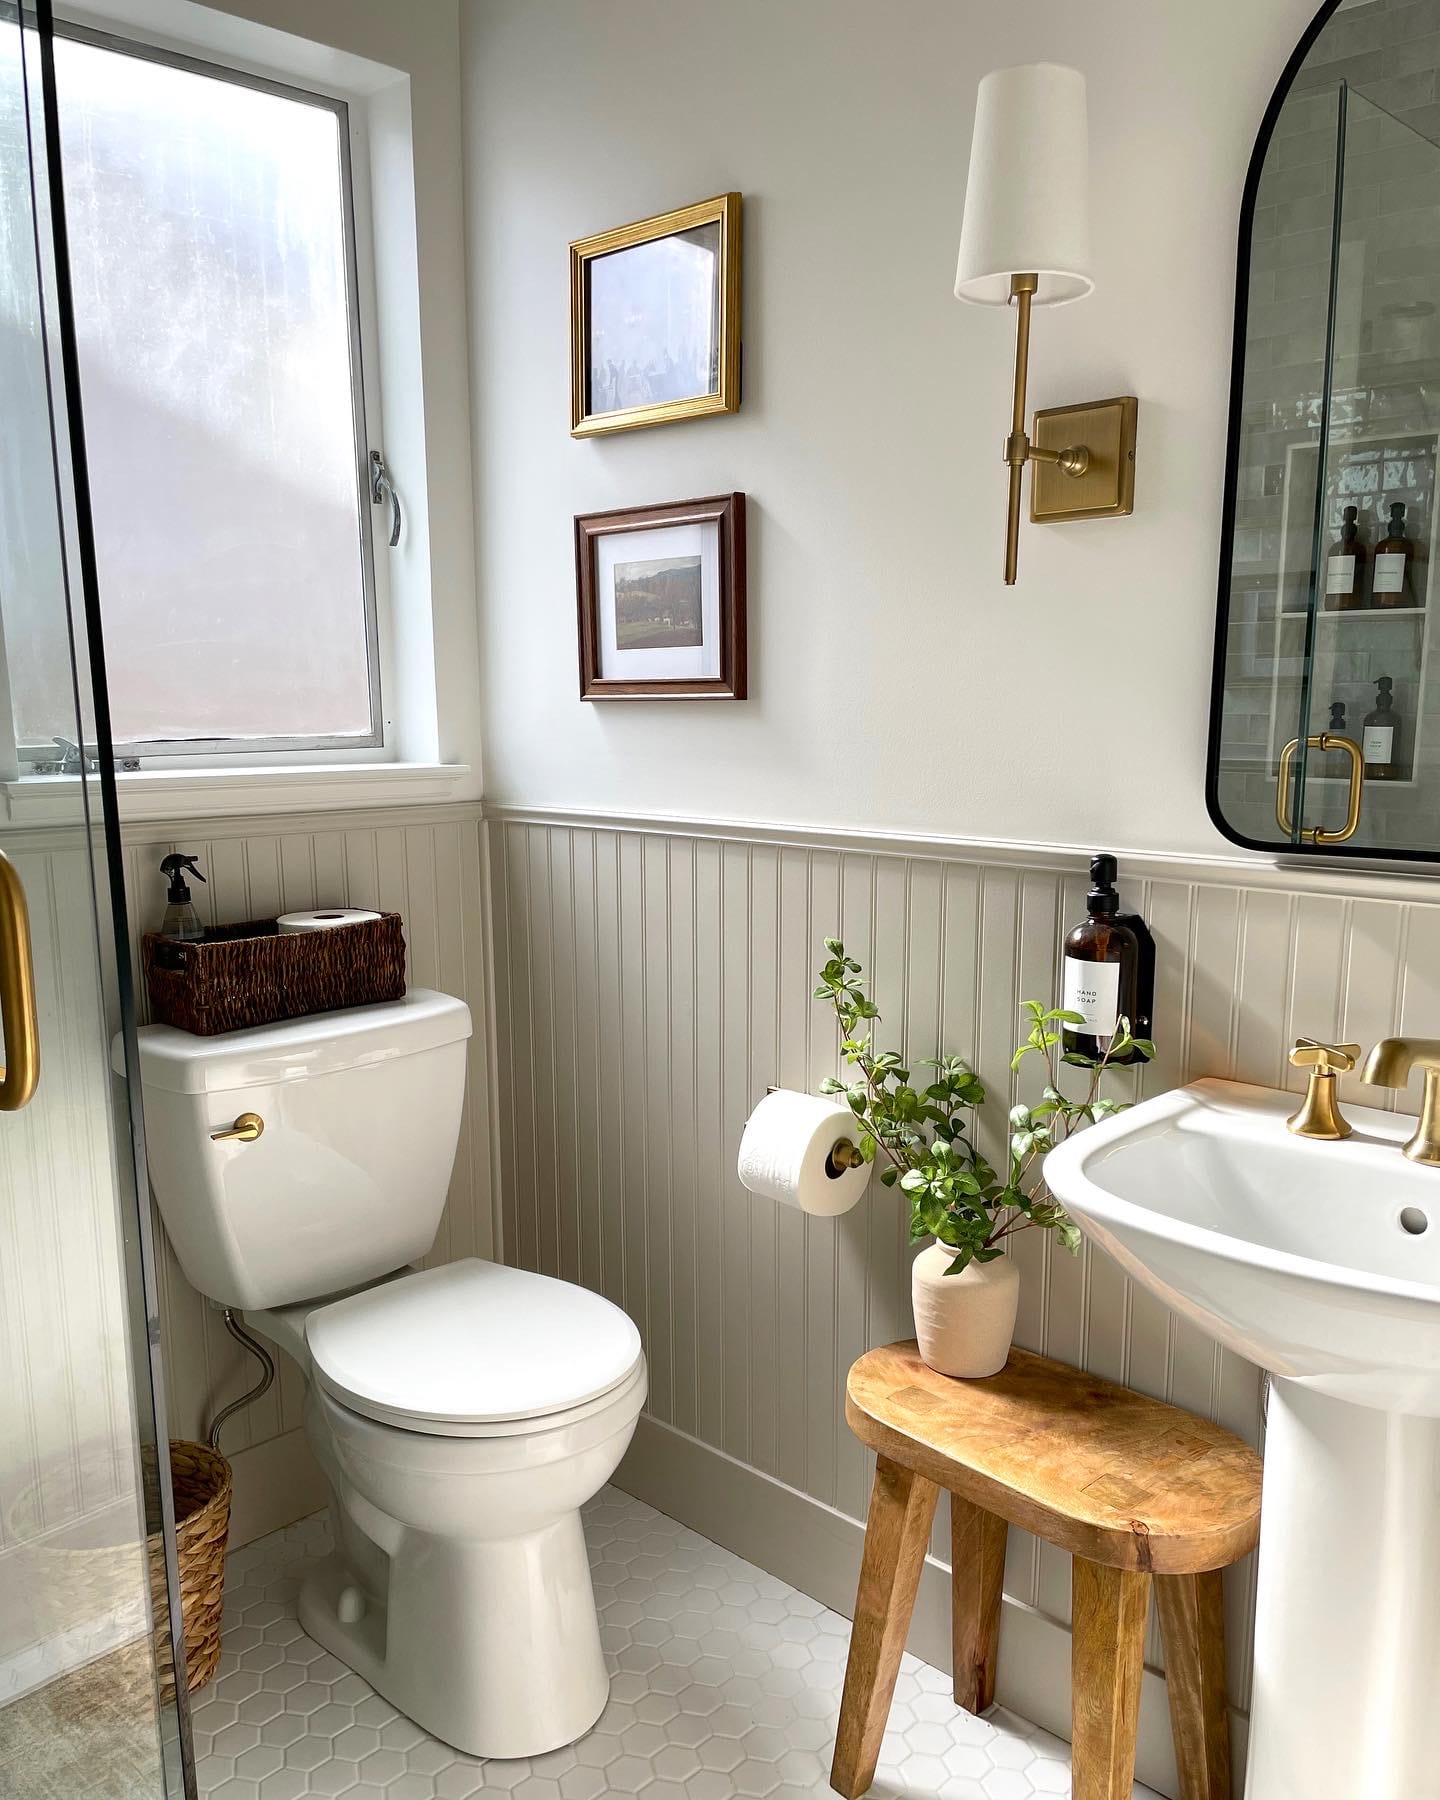
Step 10: Decorating the Space
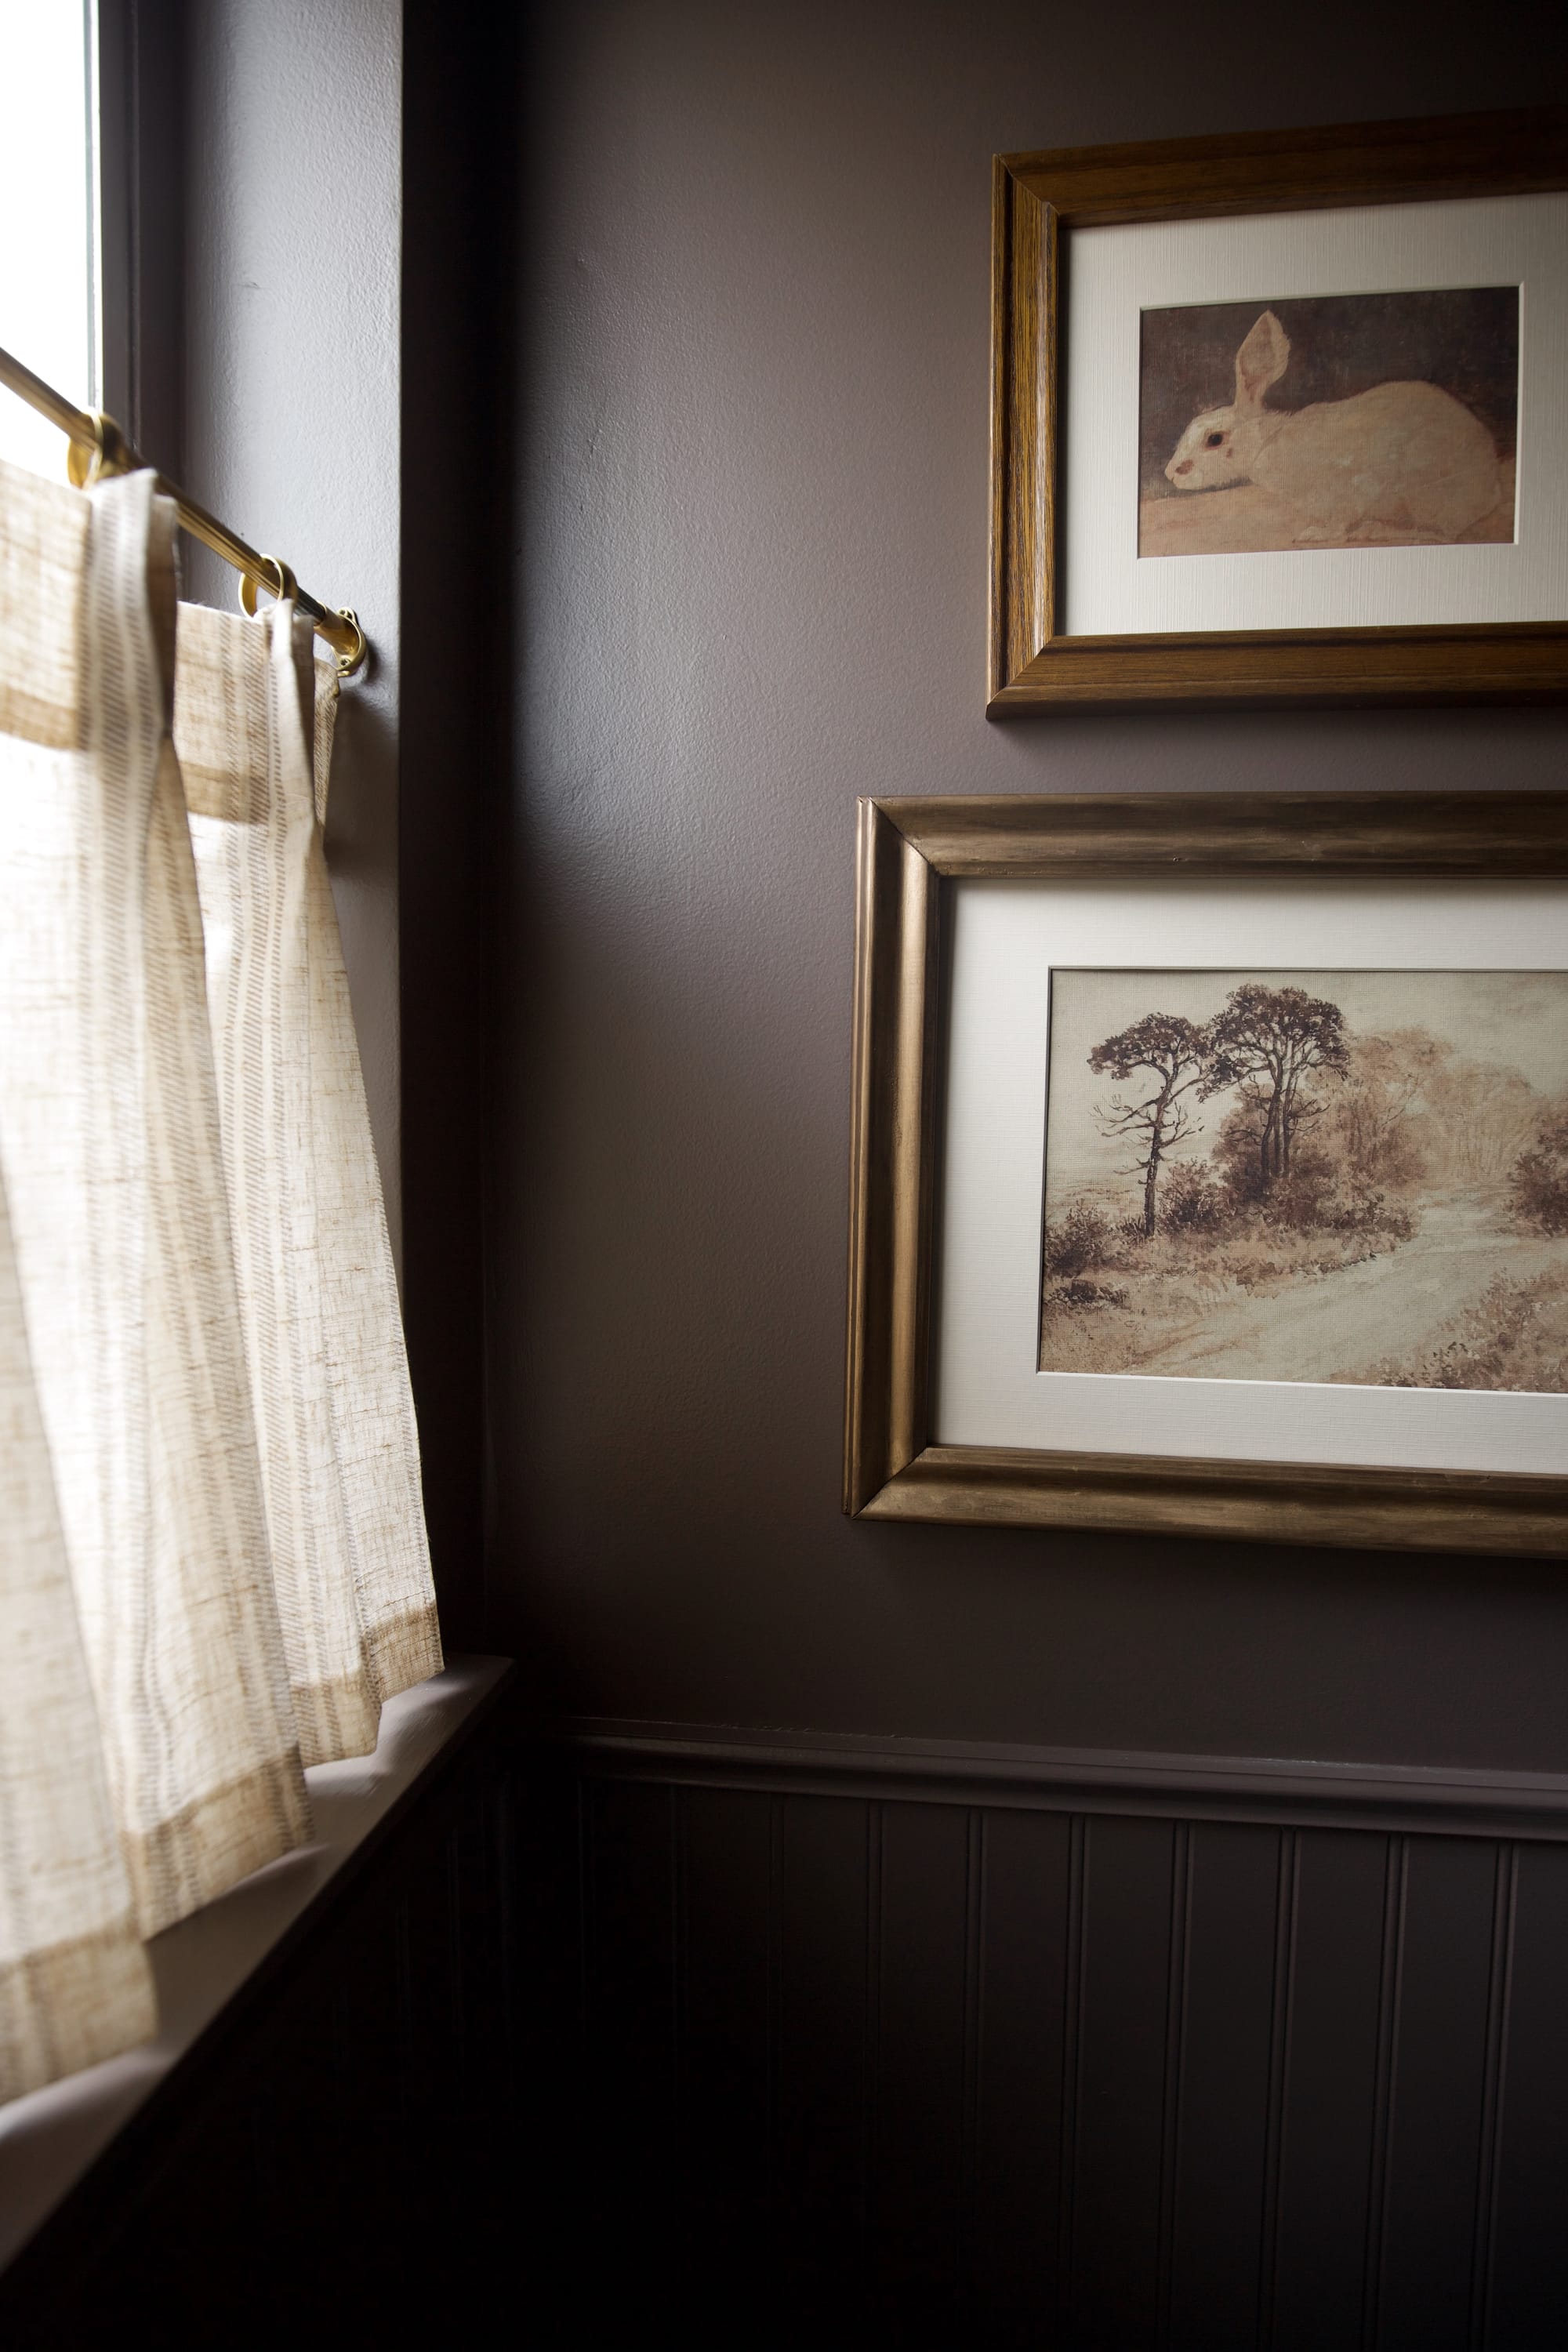
Finally, we added the finishing touches! Floating walnut shelves, a stylish mirror, and thoughtfully placed décor items made the space feel warm and inviting. These small details truly made the bathroom feel complete.
This bathroom transformation was a labor of love, but it was worth every bit of effort. What was once a dingy, outdated space is now a serene retreat that blends classic elegance with modern style. Whether you're planning a full renovation or just looking for small ways to update your space, we hope our project inspires you to take the plunge. Don't be afraid to get creative, take your time, and most importantly—enjoy the process!
Happy renovating! ✨

Creator: Korissa & Travis
Instagram: @meetthemosers