

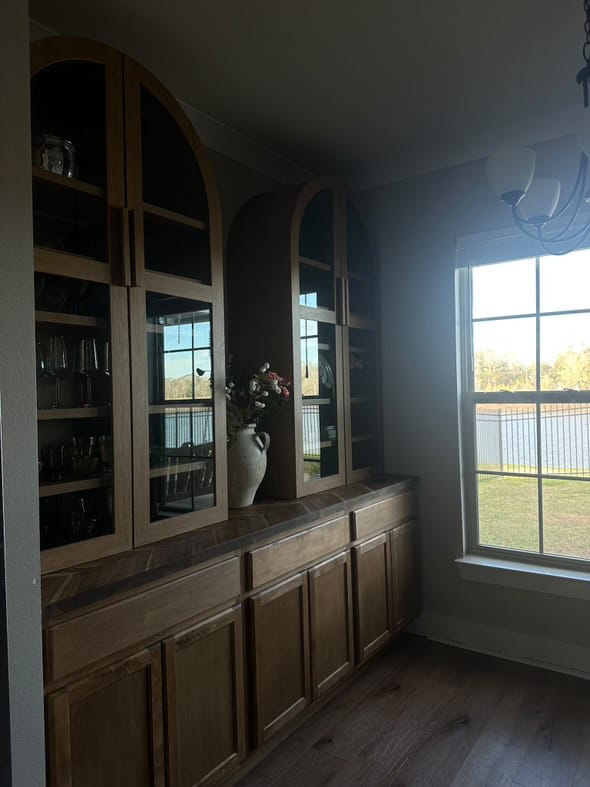
Transforming an ordinary space into a beautiful built-in area doesn’t have to be complicated. With a little planning, some great finds, and a bit of elbow grease, we turned our vision into a reality. Follow along as I share the steps we took to create these stunning built-in cabinets, complete with a countertop and arched bookcases.
Supplies List
Home Depot:
- Hampton Bay 30 in. W x 24 in. D x 34.5 in. H Assembled Base Kitchen Cabinet in Unfinished with Recessed Panel
- #8x2 in wood screws
- Drywall Anchor with included bolts for 3/16” Heavy Duty
Lowe’s:
- Allen + Roth 8-ft x 25-in x 1.5-in Natural Chevron Acacia Butcher Block Countertop
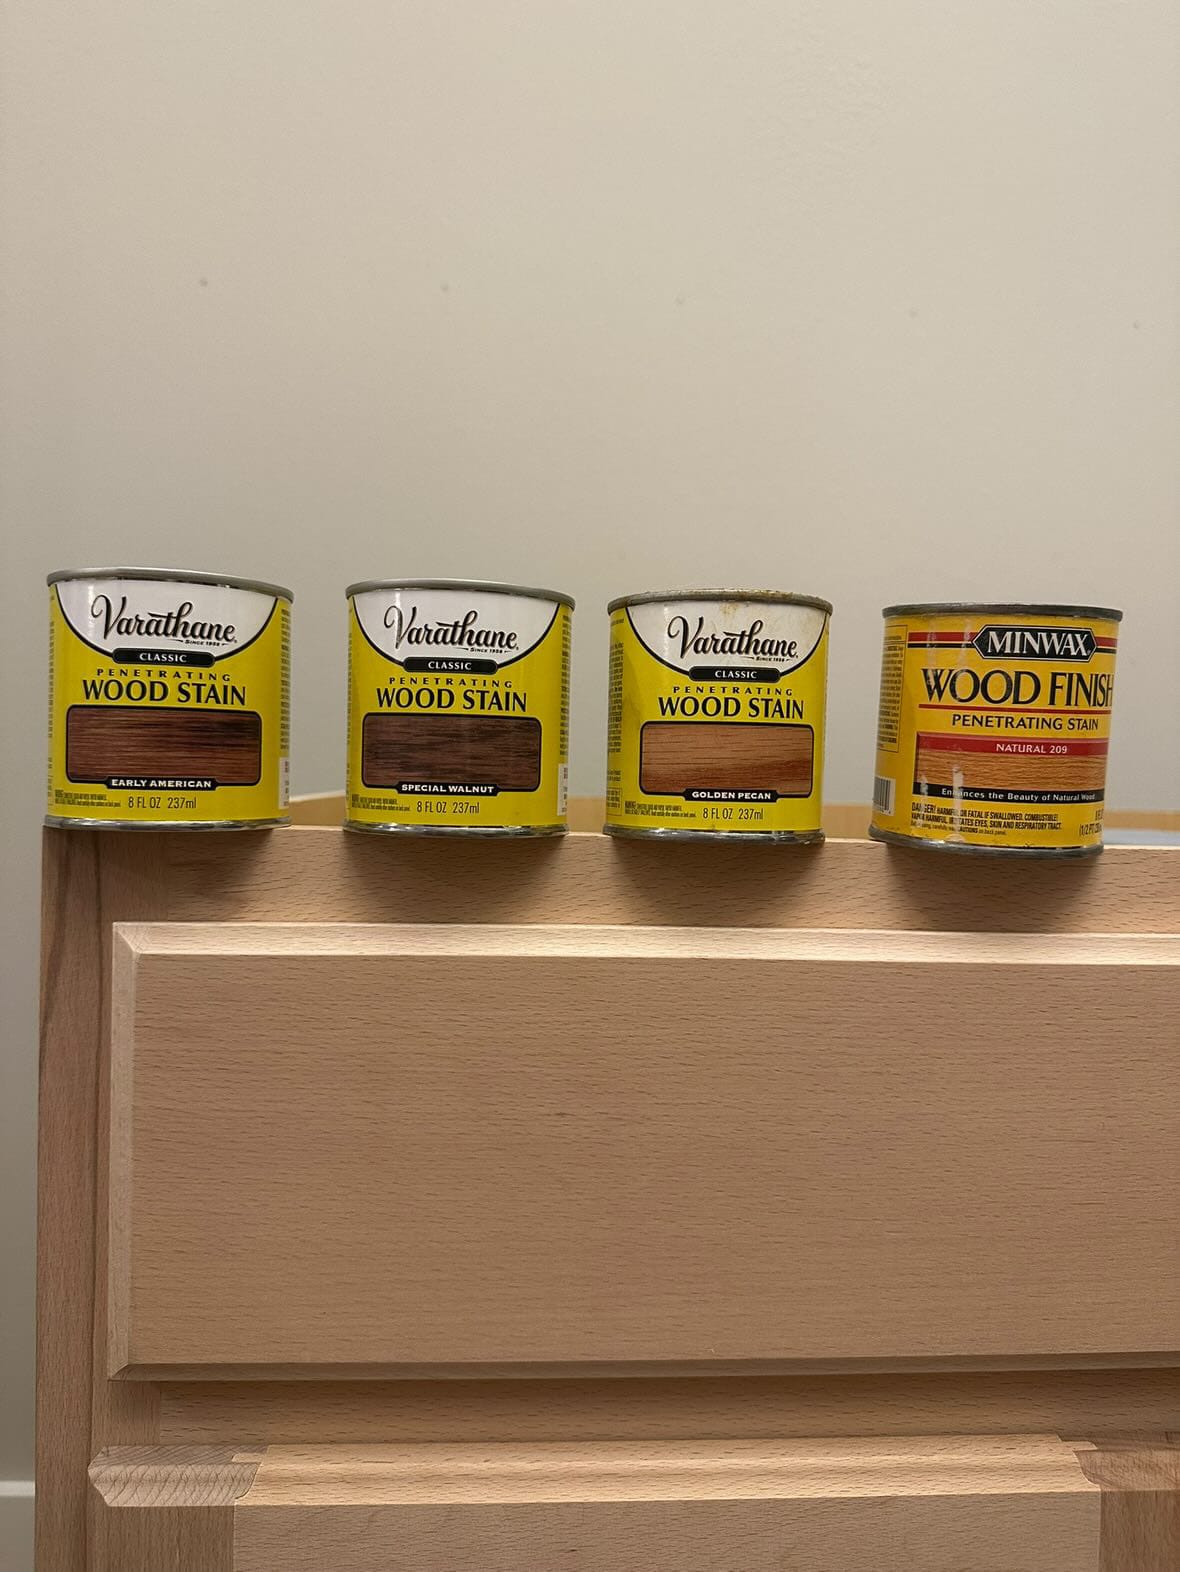
- Early American wood stain by Minwax
- Project Source Oak Brook 96-in W x 4-in H x 0.22-in D Unfinished Cabinet Toe Kick
- Gorilla Glue Construction Adhesive
Walmart;
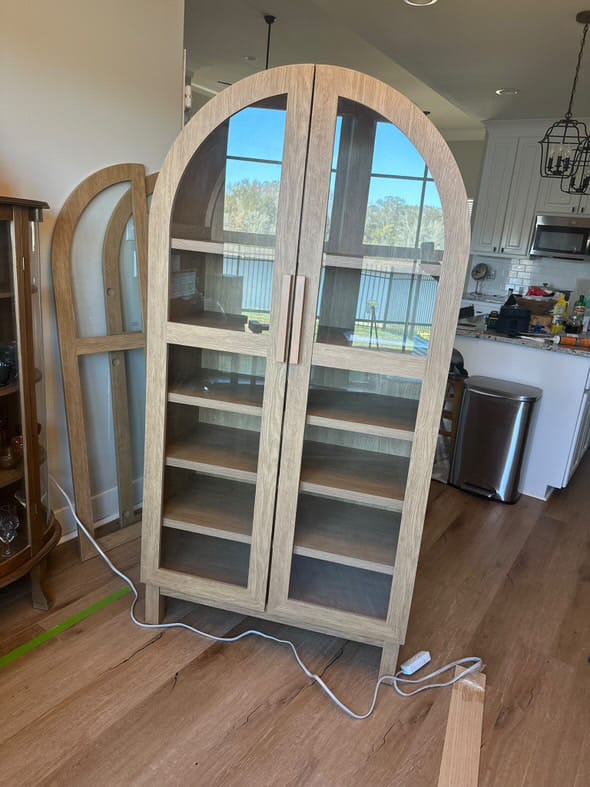
- Better Homes & Gardens Juliet Arch Cabinet, Light Honey Finish
- Miscellaneous (We already owned!)
- Circular Saw by Milwaukee M18
- Jolie Finishing Wax
- Sandpaper in 260 grit
Step 1: Planning, Measuring, and Sourcing
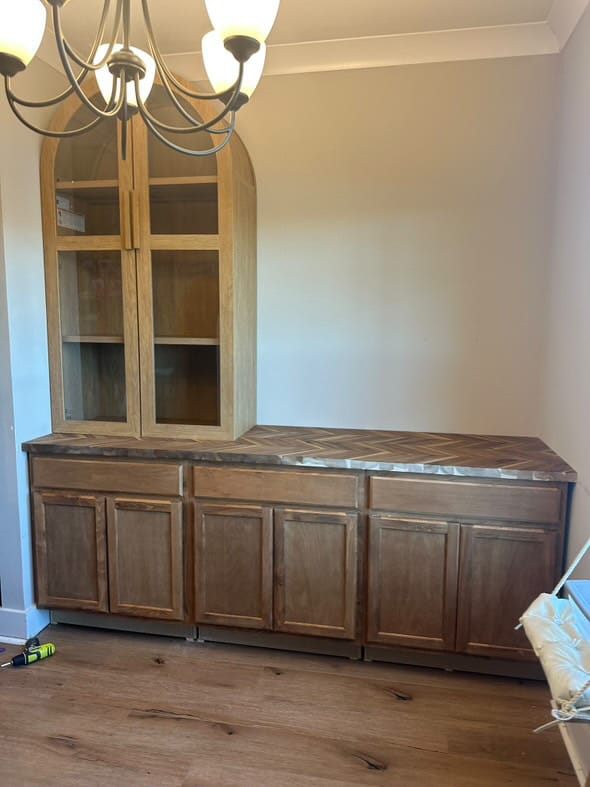
We started this project after I found beautiful bookcases from Walmart. Walmart’s “Better Home and Garden Julient Arch Cabinet” just happened to fit perfectly in our style! My husband is an architect, which was very useful when drawing up the plans. See below. We then searched for the perfect countertop, which ended up being from Lowe’s “Allen and Roth Natural Chevron Acacia Butcher Block Countertop”. Finally, the lower cabinet base from Home Depot, “Hampton Bay Lower Base Cabinets”
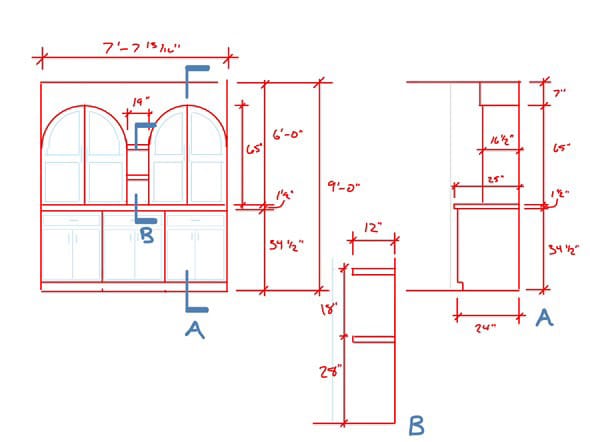
Plan
Step 2: Build Build Build
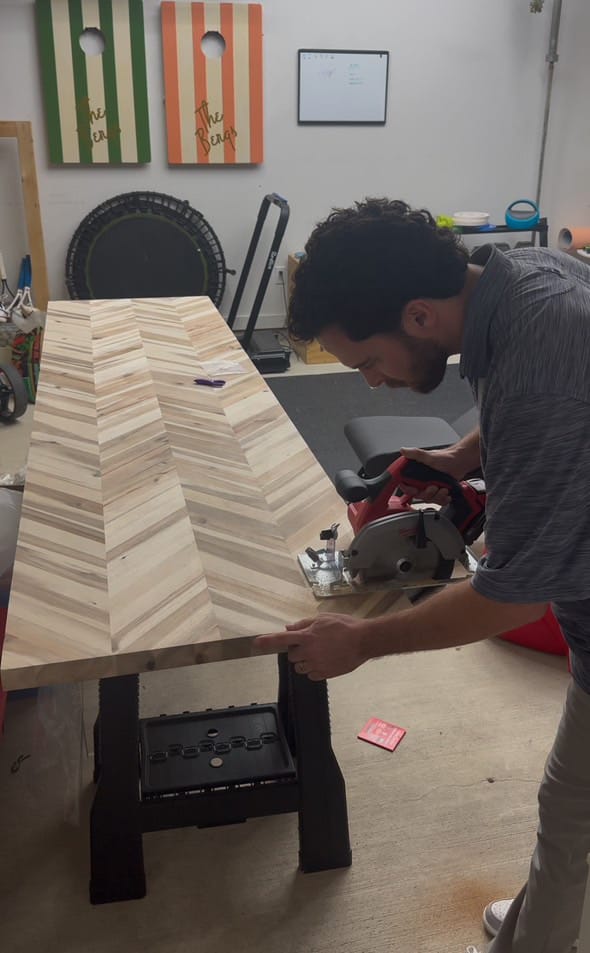
I began putting all of the puzzle pieces together. First, building the bookcases and NOT completing the step of putting the legs onto the base. This allowed for the cases to sit flush on the countertop. During this time, my husband began removing our floor trim to allow the cabinets to fit perfectly into the space. My husband also used our circular saw to trim the countertop by 6 inches.

Step 3: Matching Stain to the House
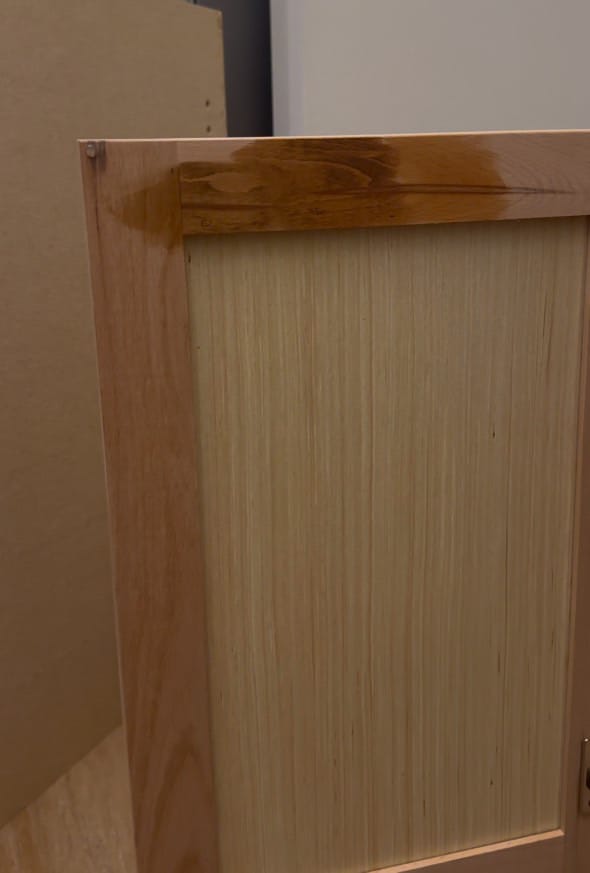
Once we got all of the pieces in the same room, I began to colour-match. This took me some time in the stain aisle at Lowe’s, but I finally decided on Early American by Minwax. This colour offered warmth to the space. I used a dust-free cloth to stain both the lower cabinets and the countertop.
Step 4: Putting the Puzzle Together
Now the exciting part! We began to place each piece into their new home and began mounting/stabilizing each piece. We used #8x2 in wood screws to attach each lower cabinet to each other. Then, we used a drywall Anchor with included bolts for 3/16” Heavy Duty” anchors to attach each piece to the back wall.

Step 5: Final Touches
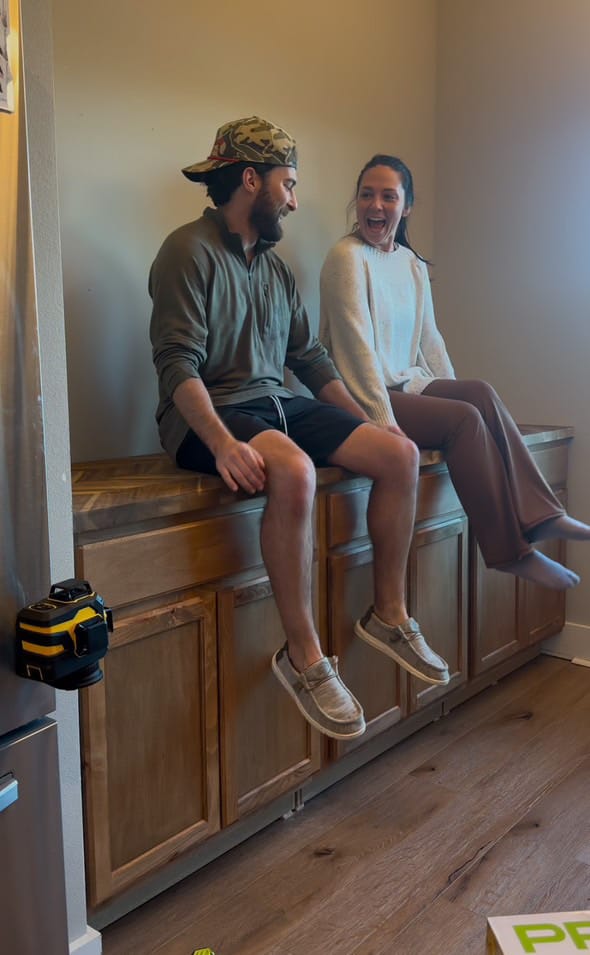
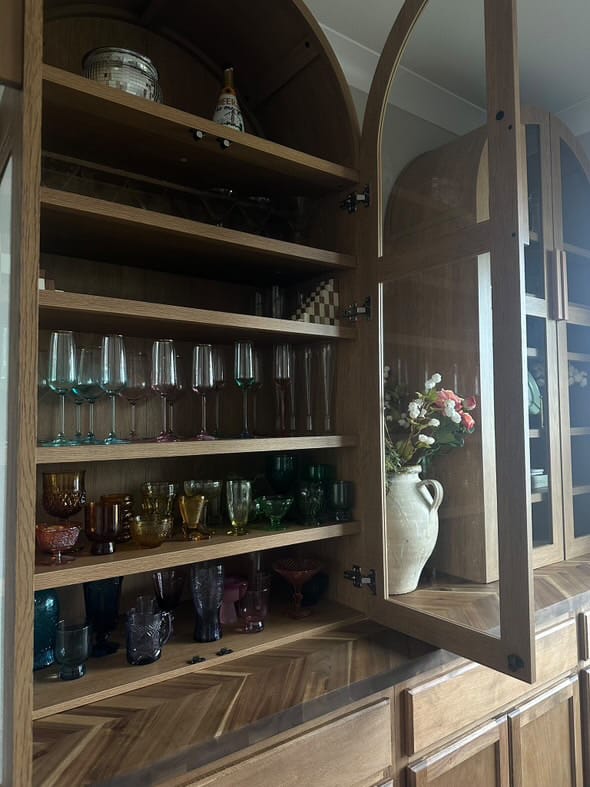
The last few steps we sealed the cabinets and the countertop using Jolie’s Finishing Wax. While I was doing this, my husband was adding the finishing trim under the cabinet using Gorilla Glue’s Construction Adhesive. Now to the fun part! Styling and displaying my favorite items. From our wedding guest book to my coloured glassware collection.
We hope this project inspires you to take on your own home improvement endeavours. Remember, it doesn’t have to be perfect—it just has to feel like home. Follow us on Instagram or TikTok, and let’s celebrate the beauty of DIY together.
Happy building!

Creator: Bailey
Instagram: @bshaynehome
Tiktok: @bshayne00


