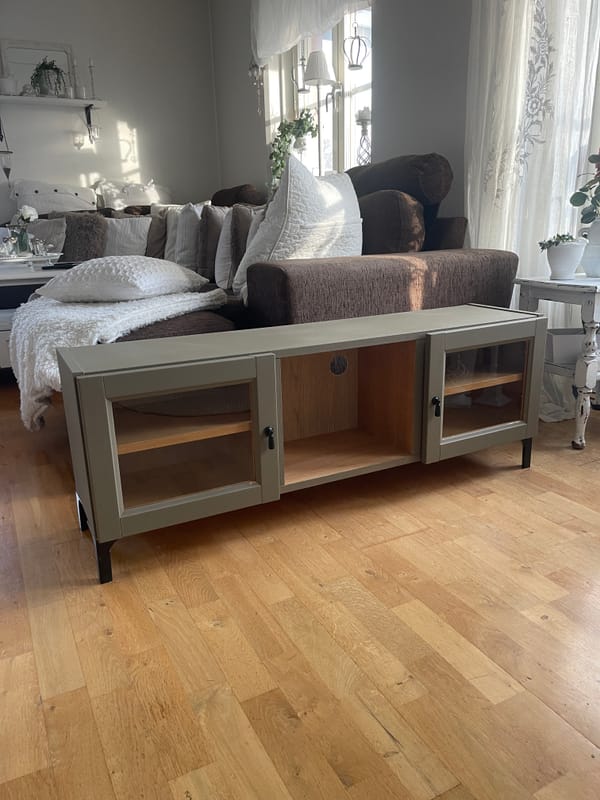
The small dining area at the end of our kitchen has always felt a little cramped, especially when we have guests round. We wanted to create a more comfortable dining area for our growing family, so at the end of last year we decided to cut back the rarely used breakfast bar to free up some additional space and give us room to create a built-in dining bench with some all important storage!
As our budget was limited, having something bespoke built was out of the question, so instead we looked to similar IKEA hacks we'd seen for inspiration.
Materials Used:
- 3 x IKEA Besta frames (60 x 40 x 38)
- 3 x IKEA Besta drawer frames (60 x 25 x 40)
- 3 x IKEA Besta push-open drawer runners
- 3 x IKEA Sutterviken drawer fronts
- 1 large piece of 18mm MDF cut to size for the bench top/seat
- Made to measure V-groove panelling for back wall and exposed side of bench – from CNC Creations
- Timber battens from B&Q for bench base and support along the wall
- A piece of pine moulding for the top of the panelling
- Combi drill & wood screws
- Adhesive
- Caulk
- Zinsser BIN Primer
- Eggshell paint
Step by step
Step 1. Build the IKEA units
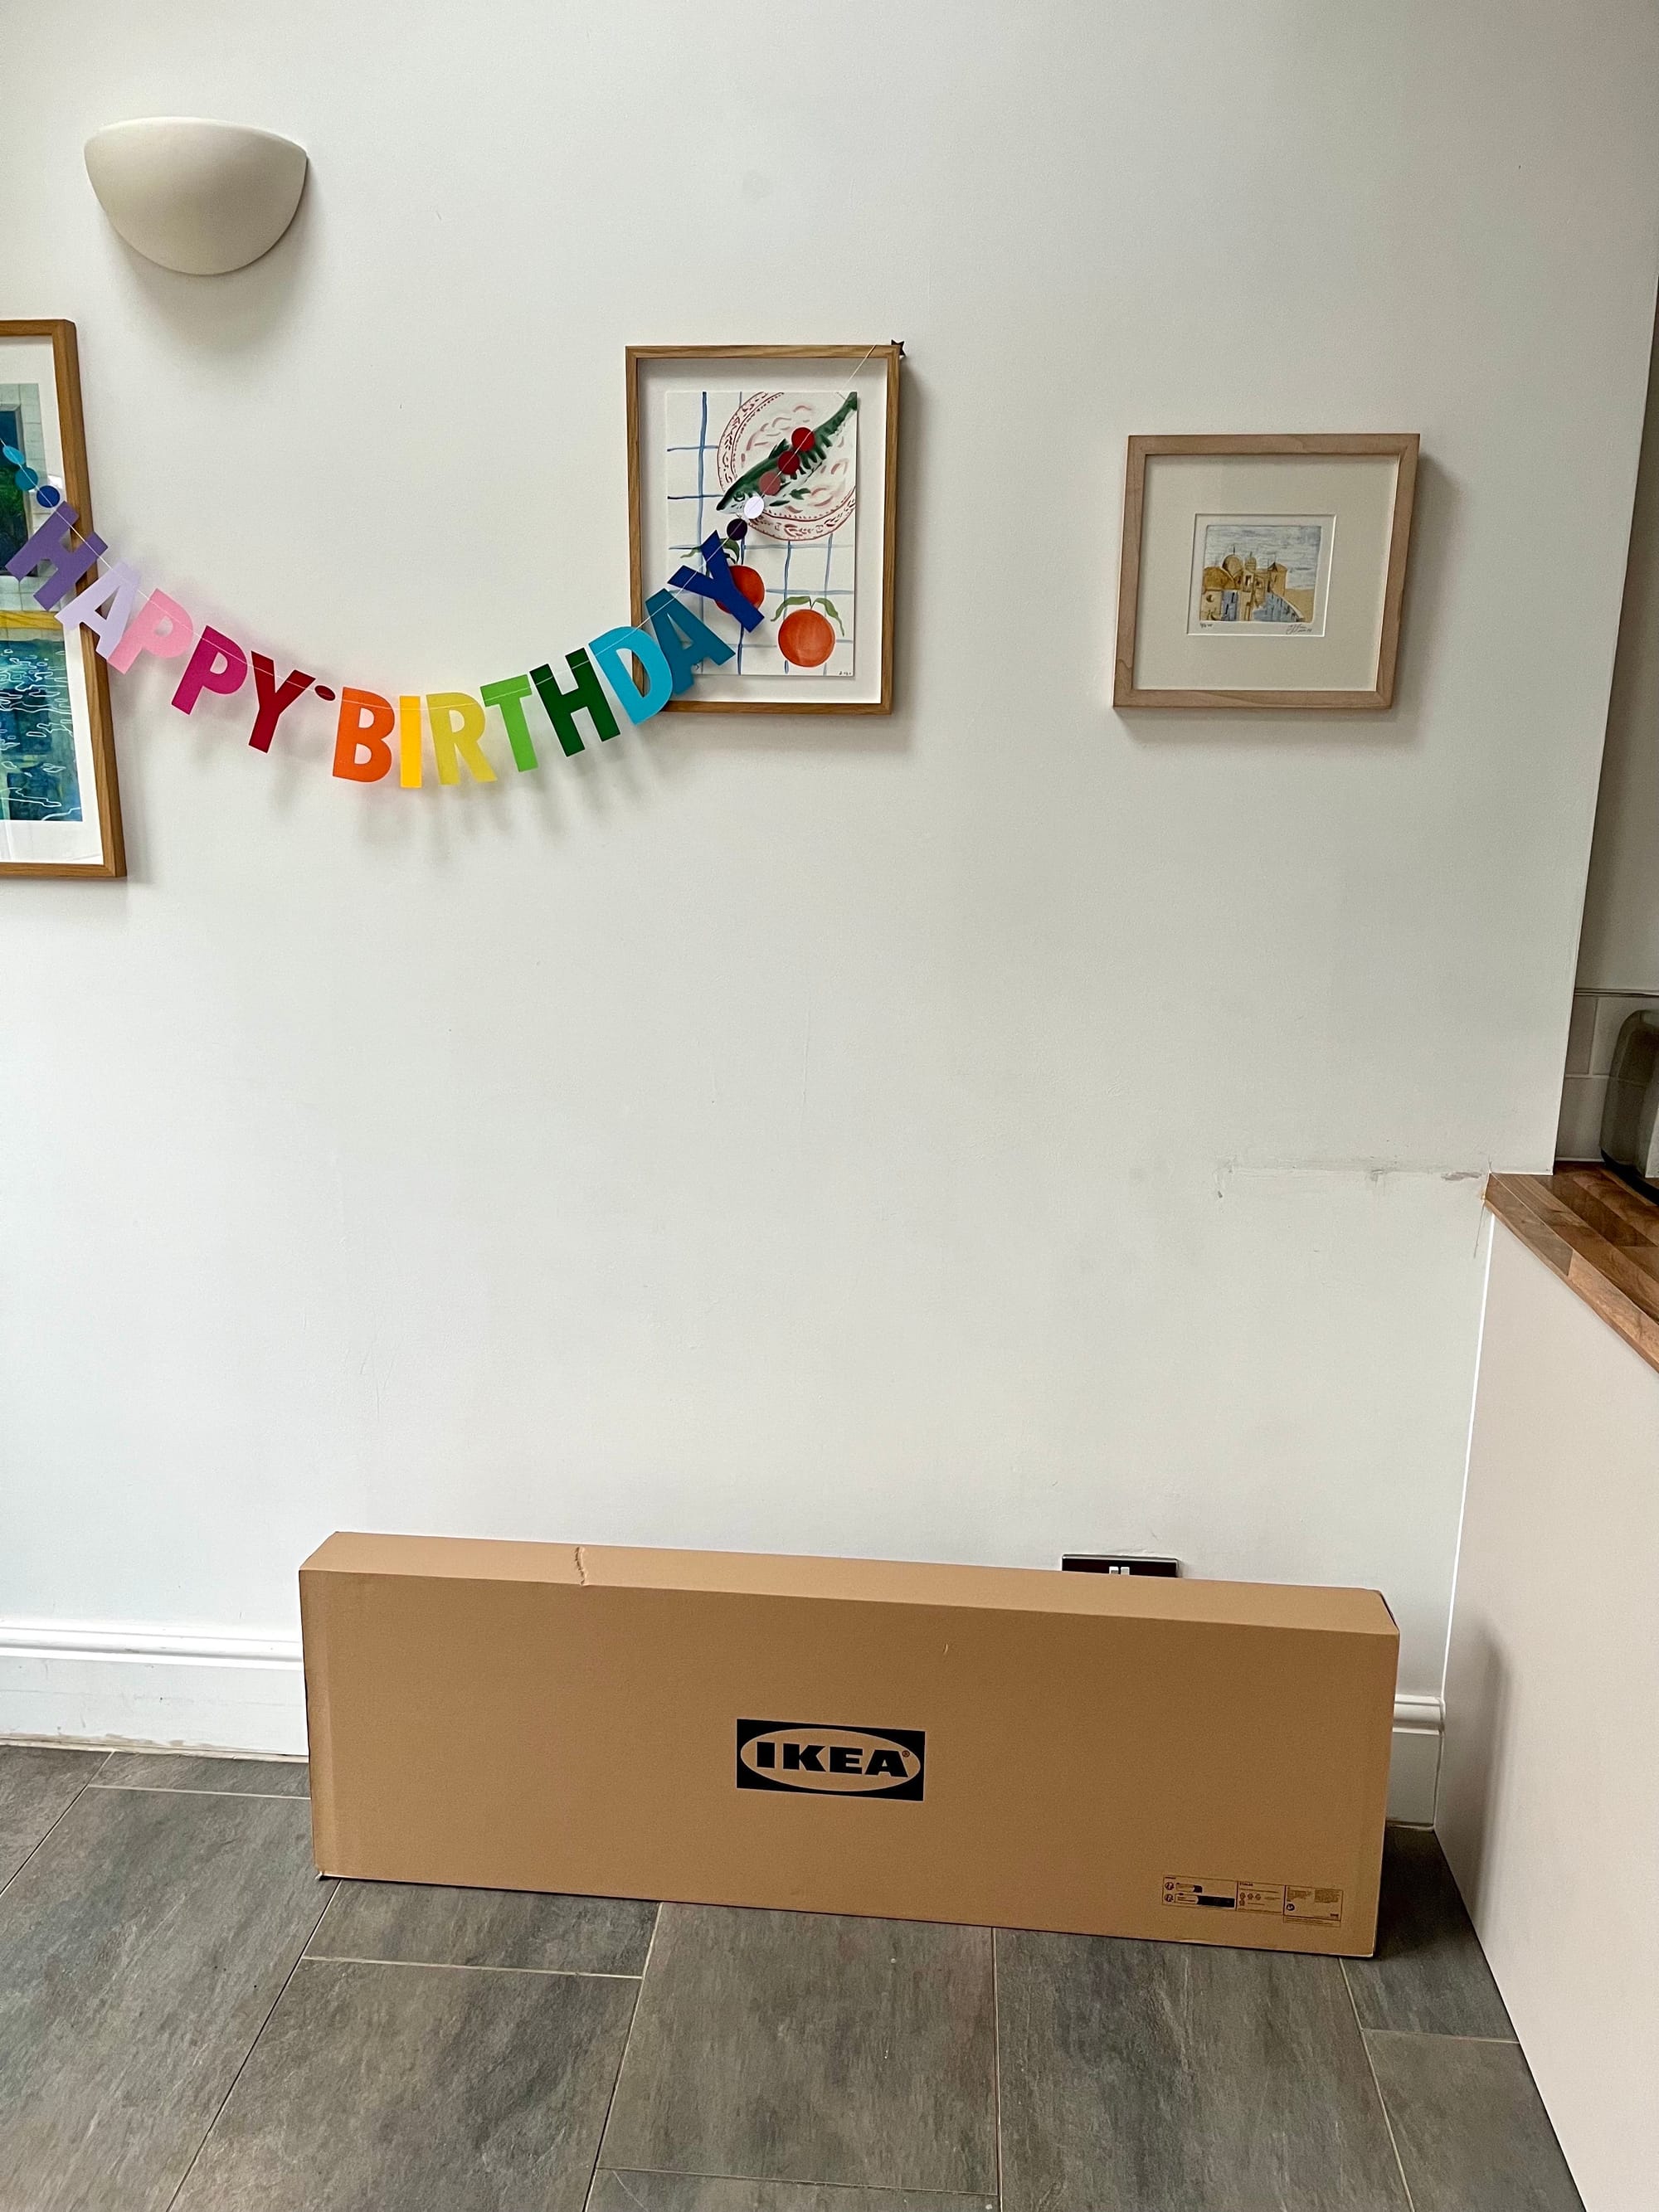
We started by building the IKEA Besta units, including the drawers and runners.
Step 2. Build a timber base
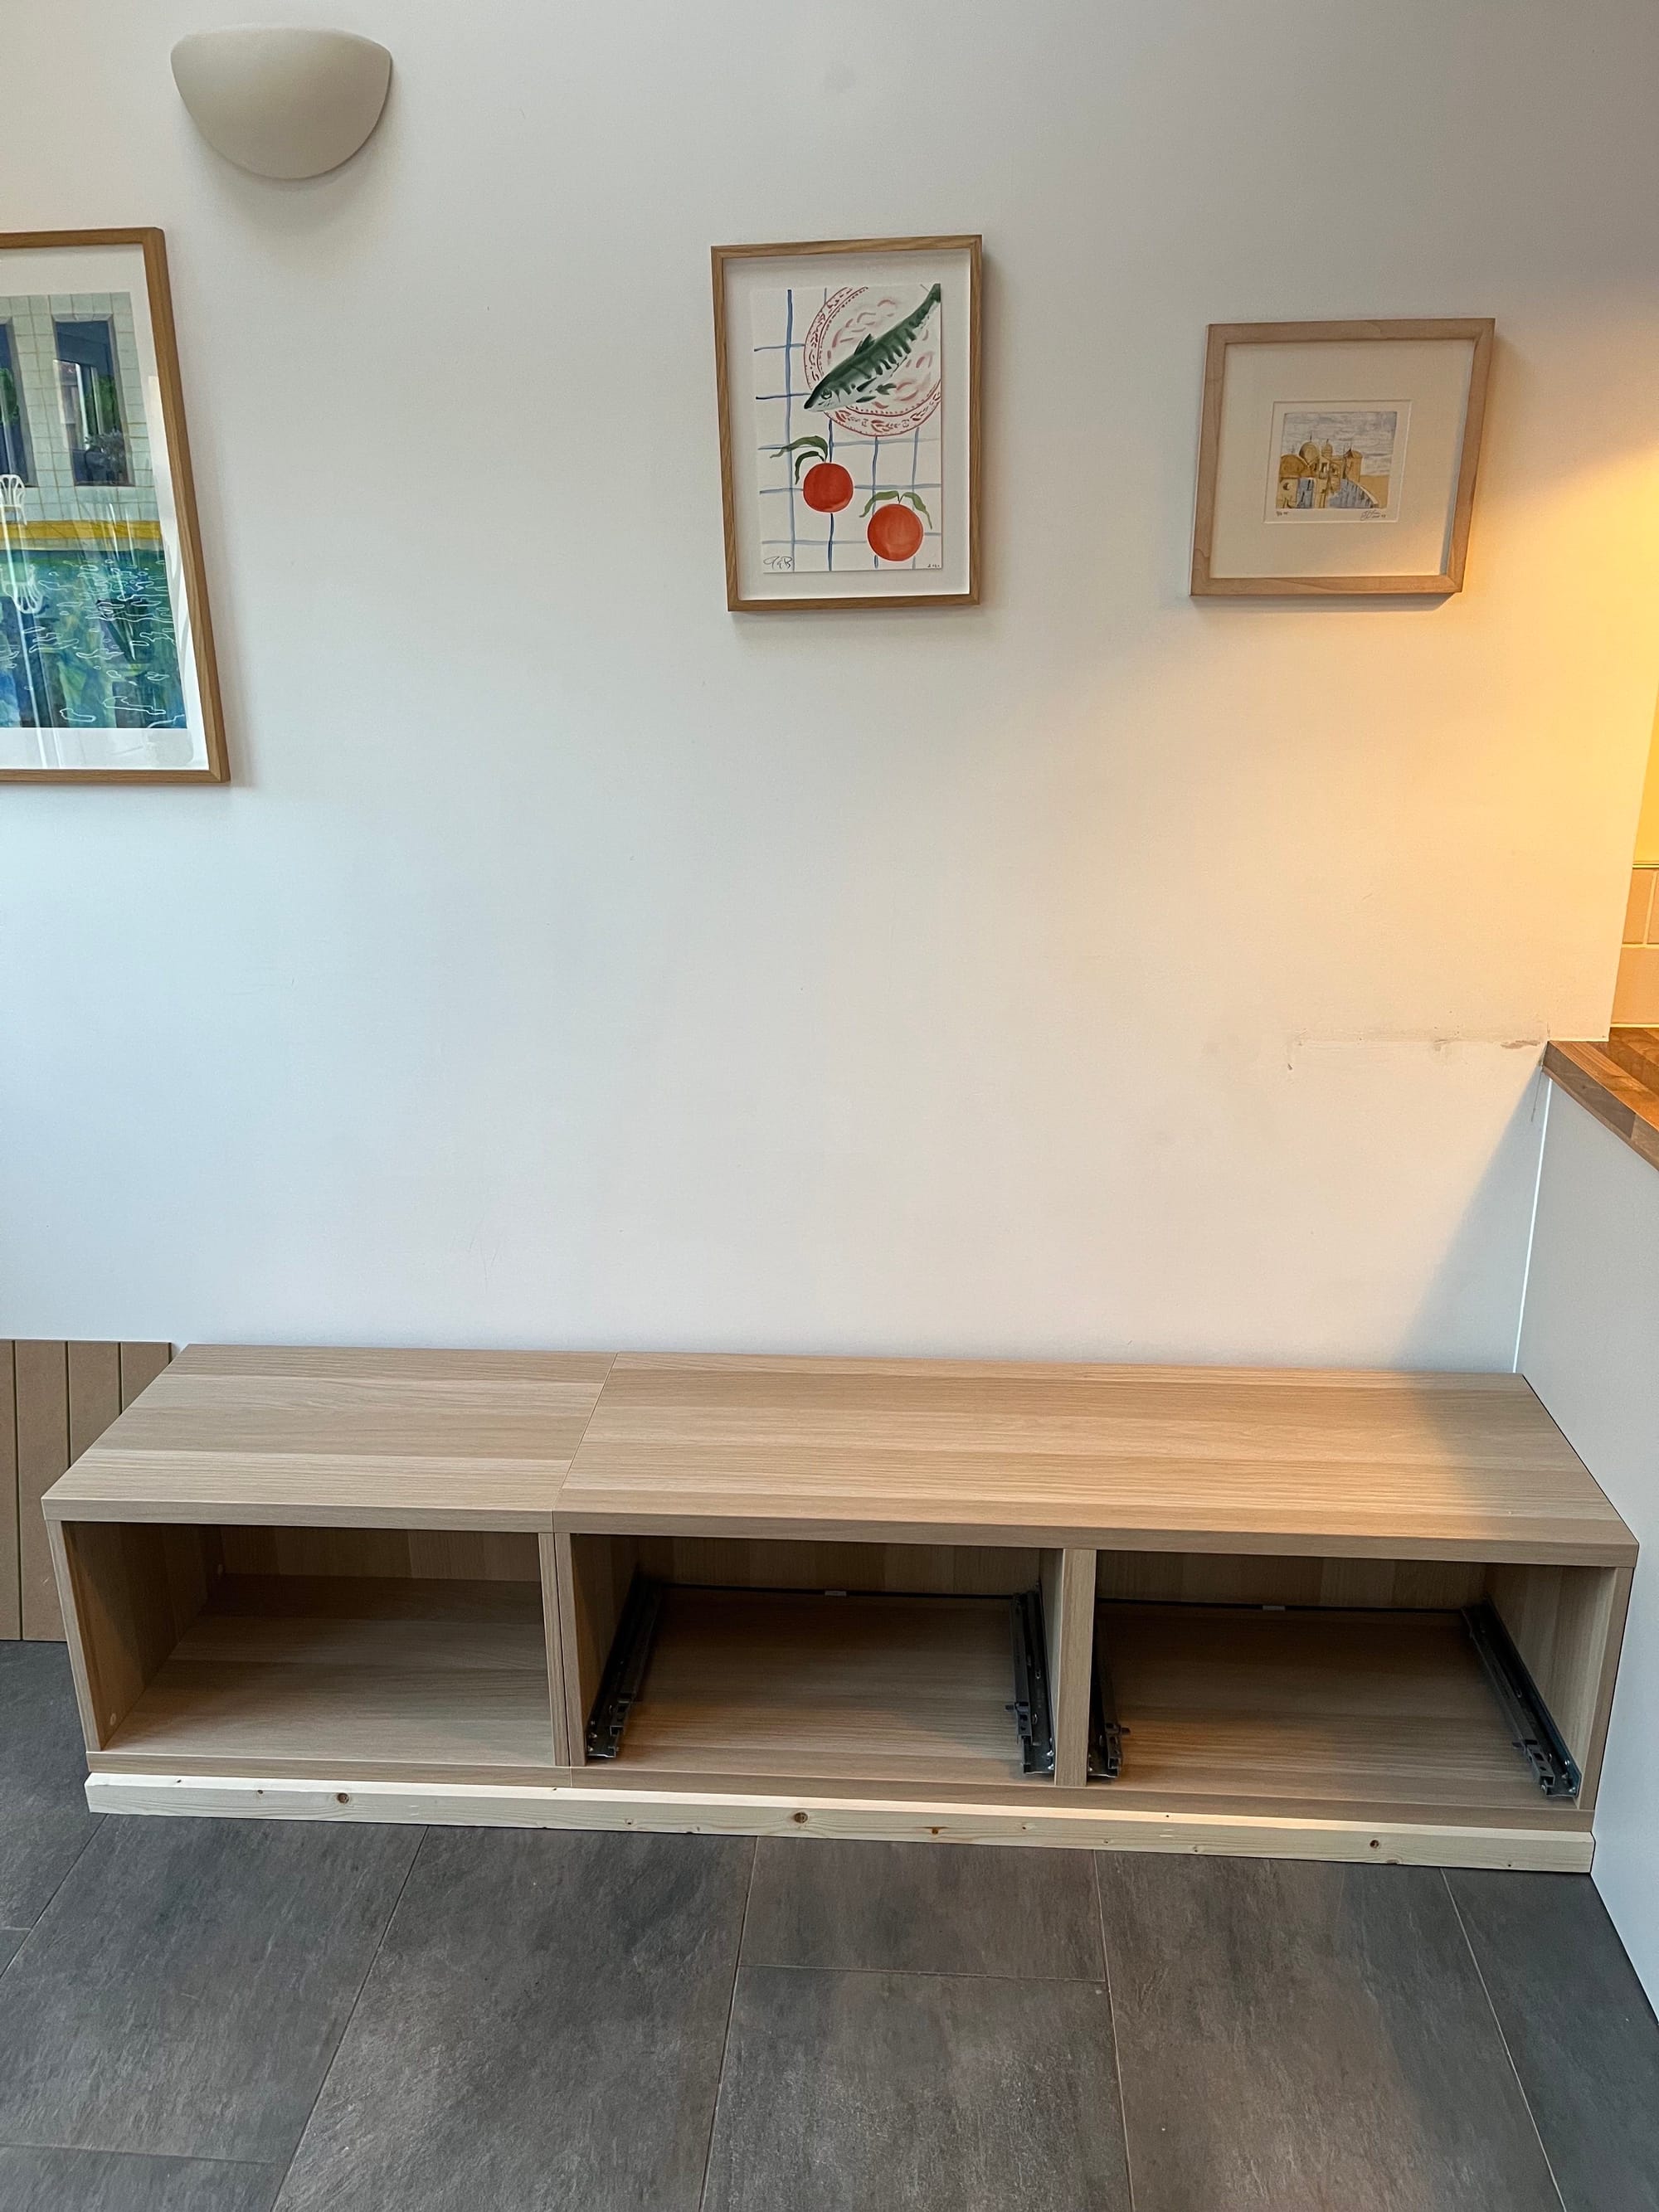
Then, we measured up and built a ladder base for the IKEA units to sit on, using timber battens which we cut down to size. We used angle-plate brackets and wood screws to fix the ladder base together. Once the base was built, we screwed it into the skirting board to create a stable foundation for the IKEA units. We also screwed a wood batten into the wall behind where the bench would sit, to allow us to secure the IKEA units to the wall as well as the base.

Step 3. Secure the units to the base
Once the support frame was built, we positioned the IKEA units and firstly secured them together with screws, then screwed them into the base and to the timber batten on the wall.
Step 4. Add the bench seat
The next step was to fit a large piece of 18mm MDF over the three units. We had this cut to size so that it was flush with the wall and with the edges of the Besta frame. We used adhesive to secure it to the Besta units.
Step 5. Fit panelling
We then fitted our made-to-measure panelling on the exposed side of the bench and behind the bench, along with a piece of moulding above the panelling, to create more of a built-in look. Again, we used adhesive for this.

Step 6. Caulk and prep
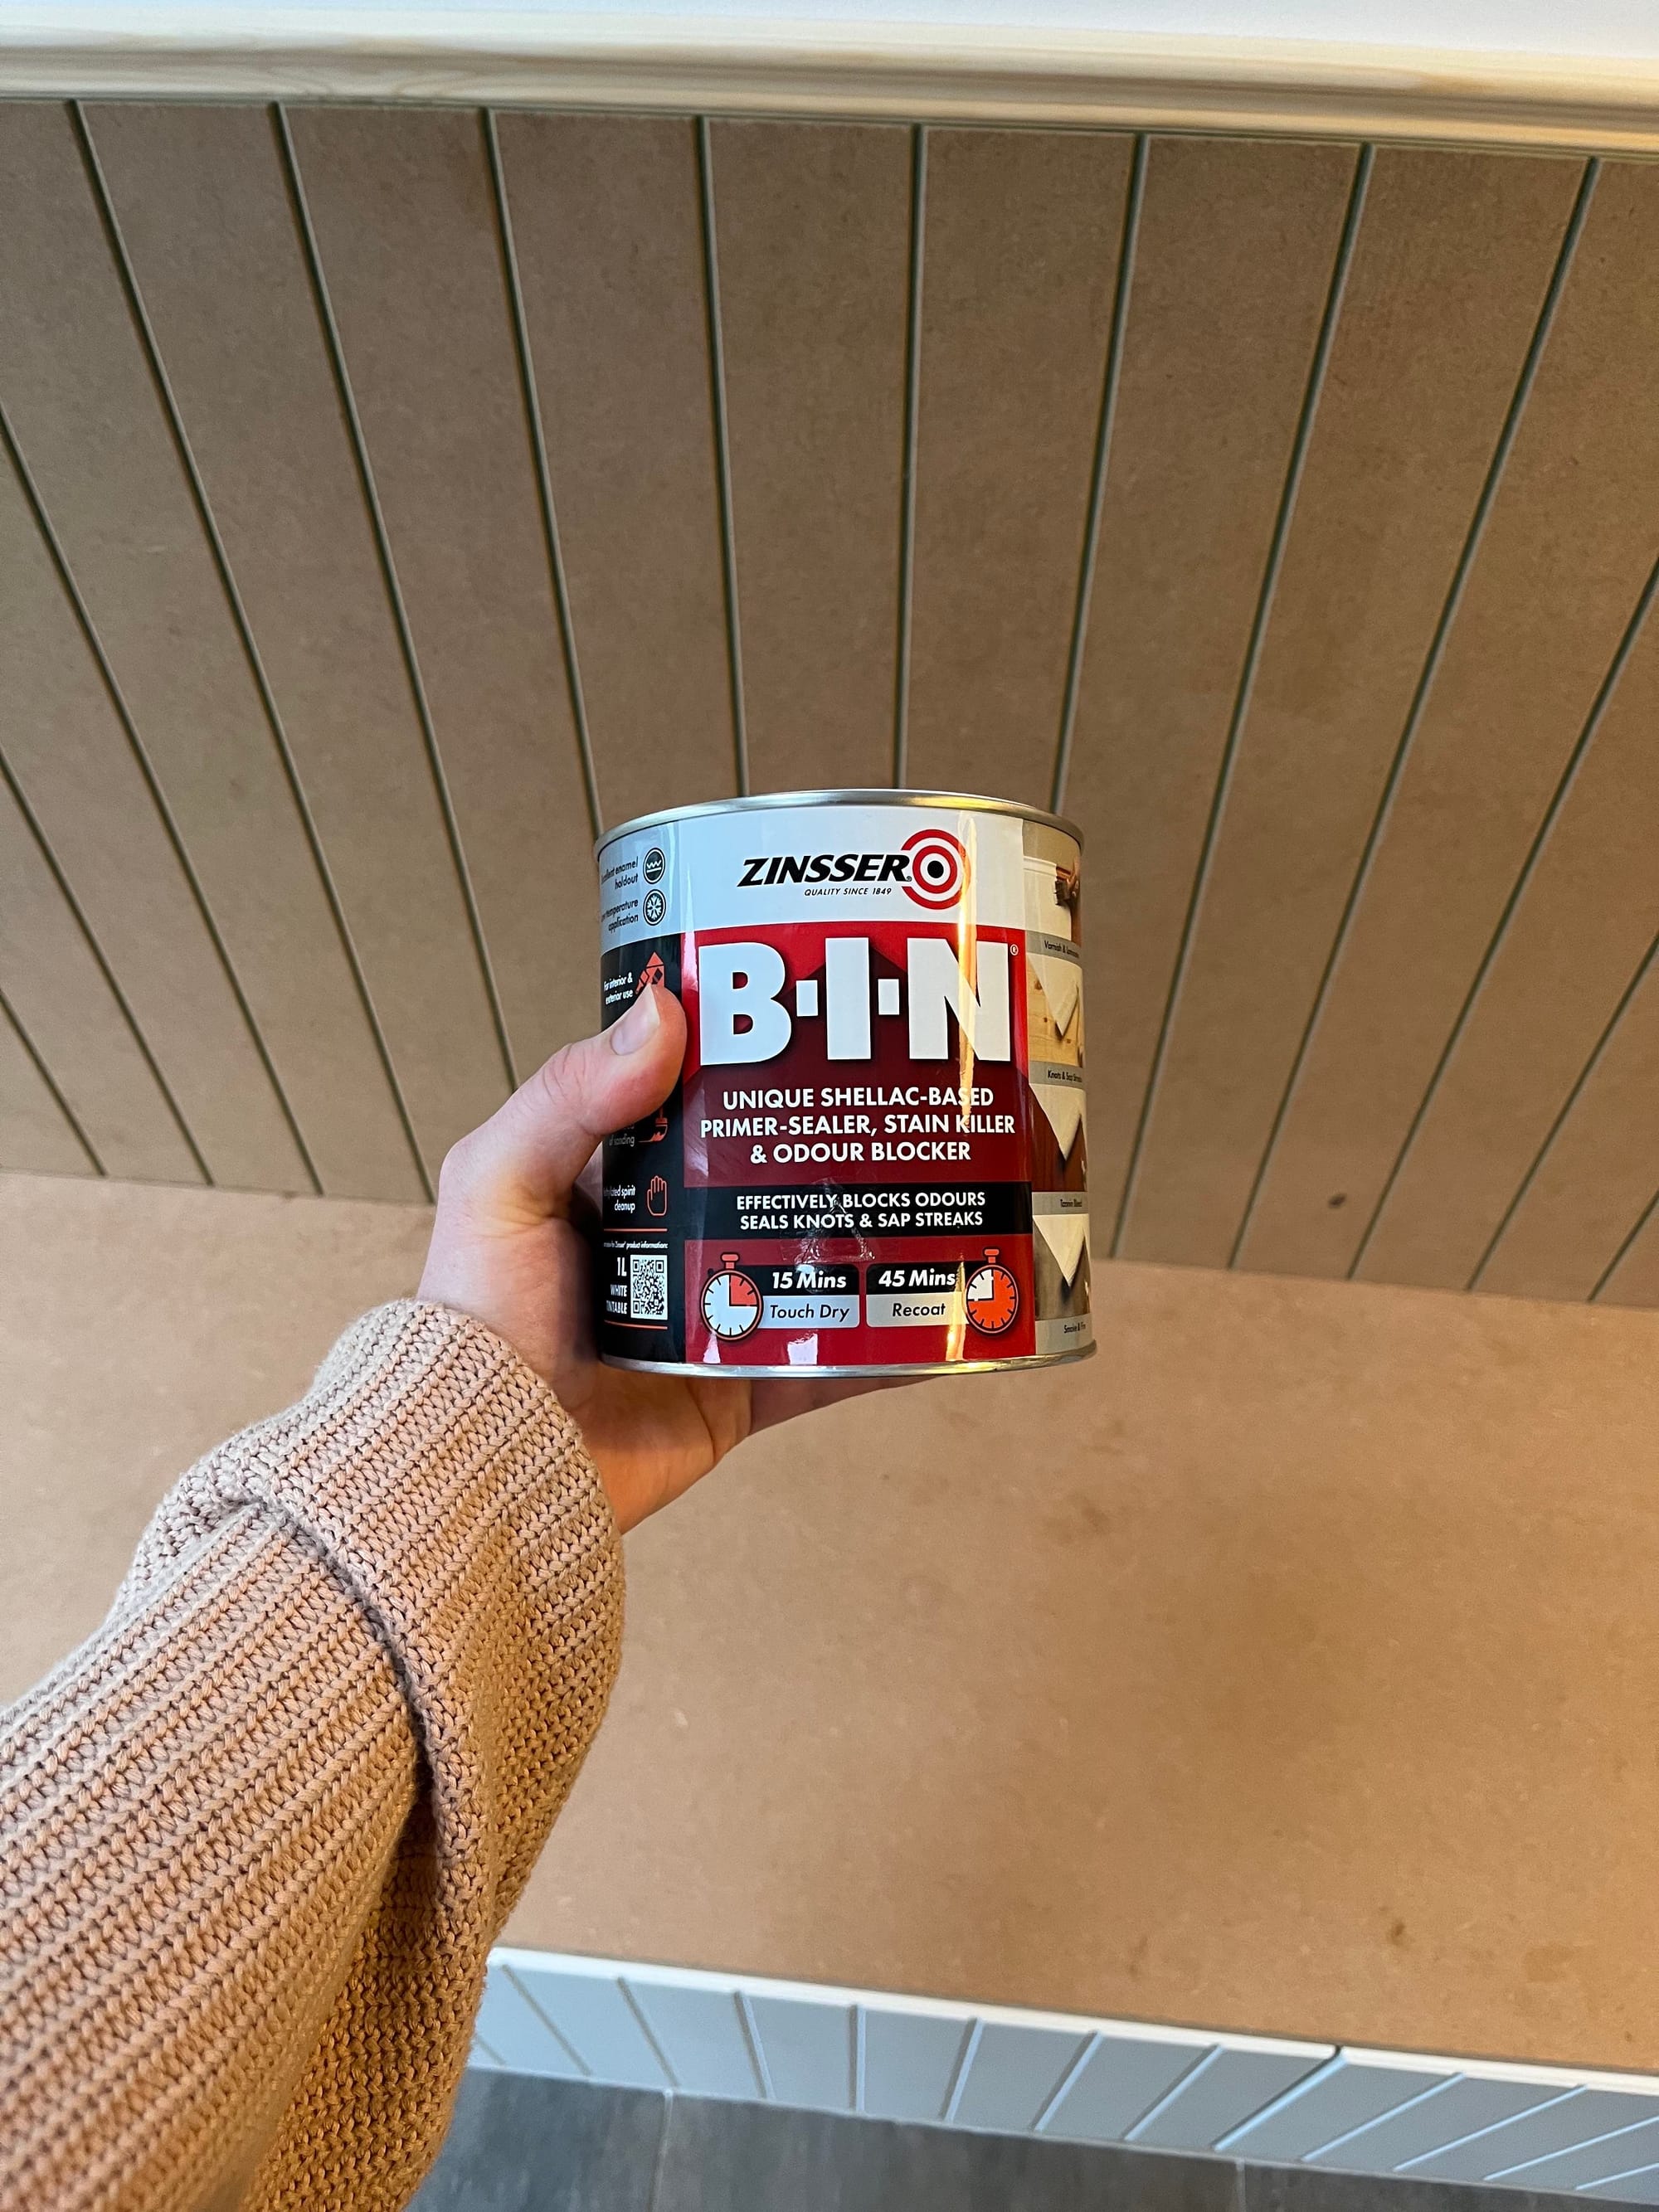
The next step was to caulk any gaps and prep the MDF and IKEA units for painting. I used Zinsser BIN primer, which came highly recommended, to create a good base for the paint to stick to (especially important on the IKEA laminate surfaces!) I allowed the primer to cure for a day or two before painting.
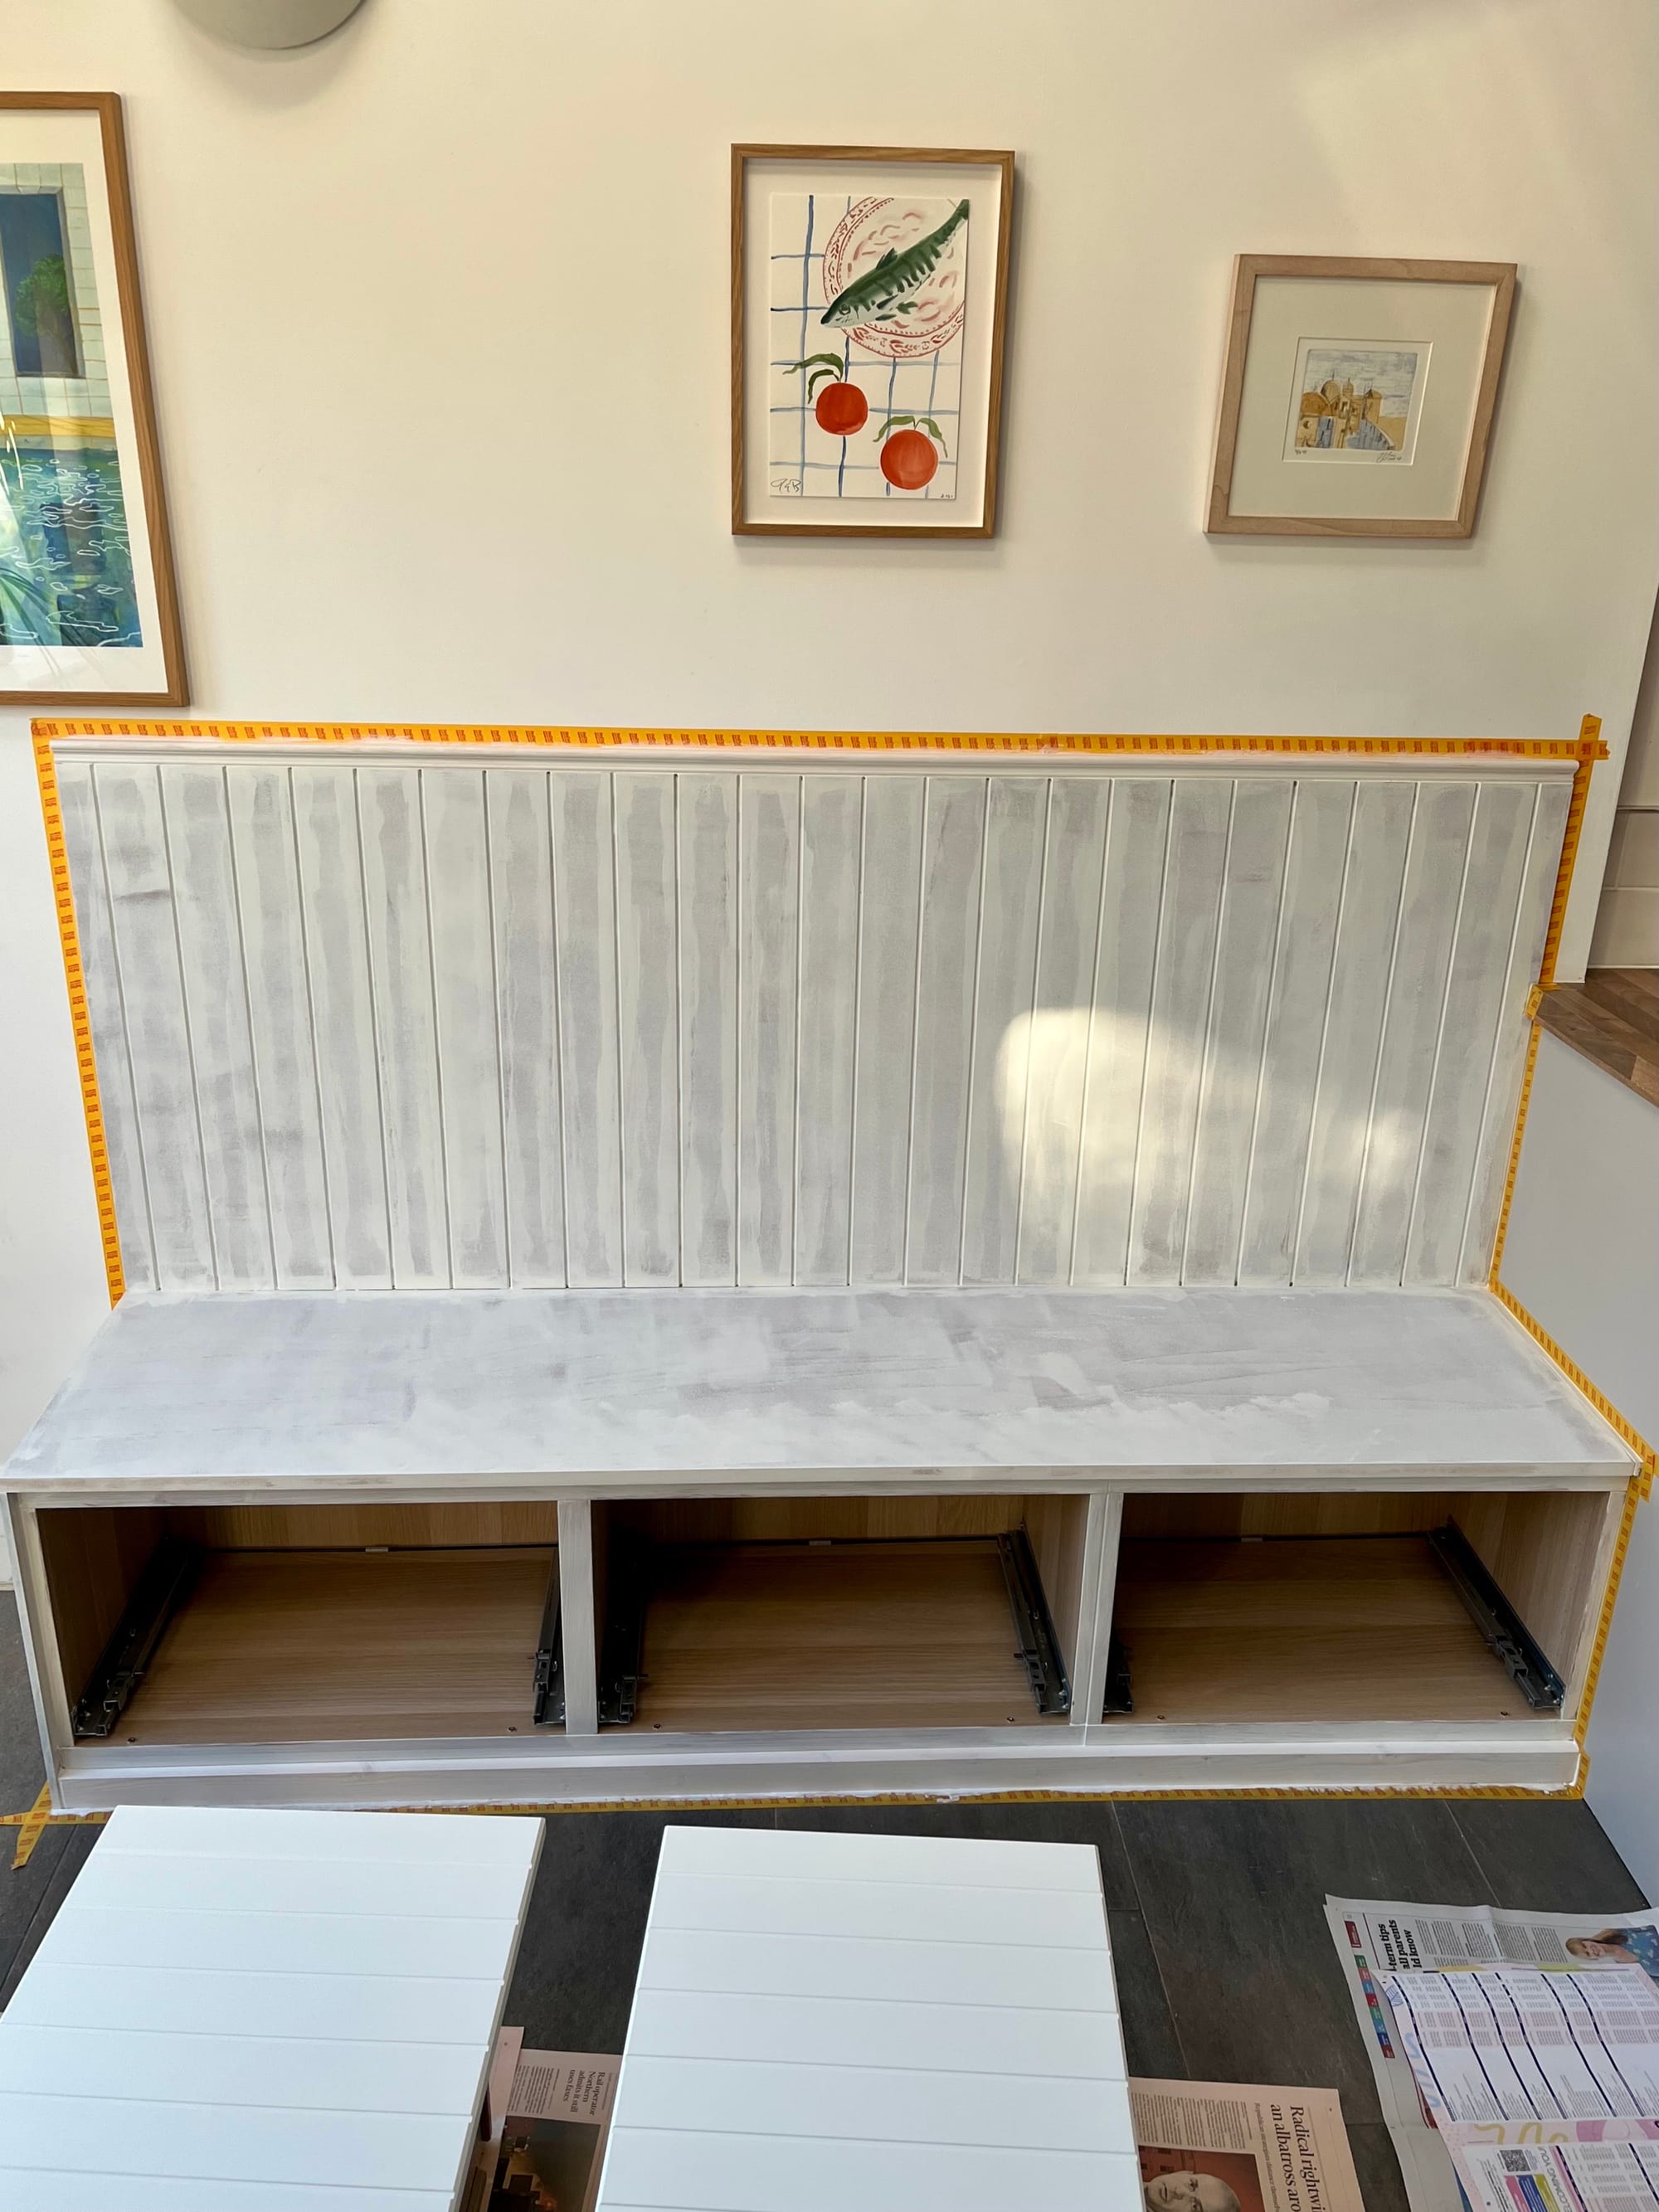
Step 7. Paint
Finally the fun part! Once the primer had cured, I then painted everything using eggshell paint. I did 3 coats and used a mixture of brush and roller to get a smooth finish. Again, we let the paint cure before we started using the bench, to help minimise the risk of chipping.

This DIY built-in bench has completely transformed our dining space. It feels more open, provides much-needed storage, and adds a custom feel—all without the custom price!
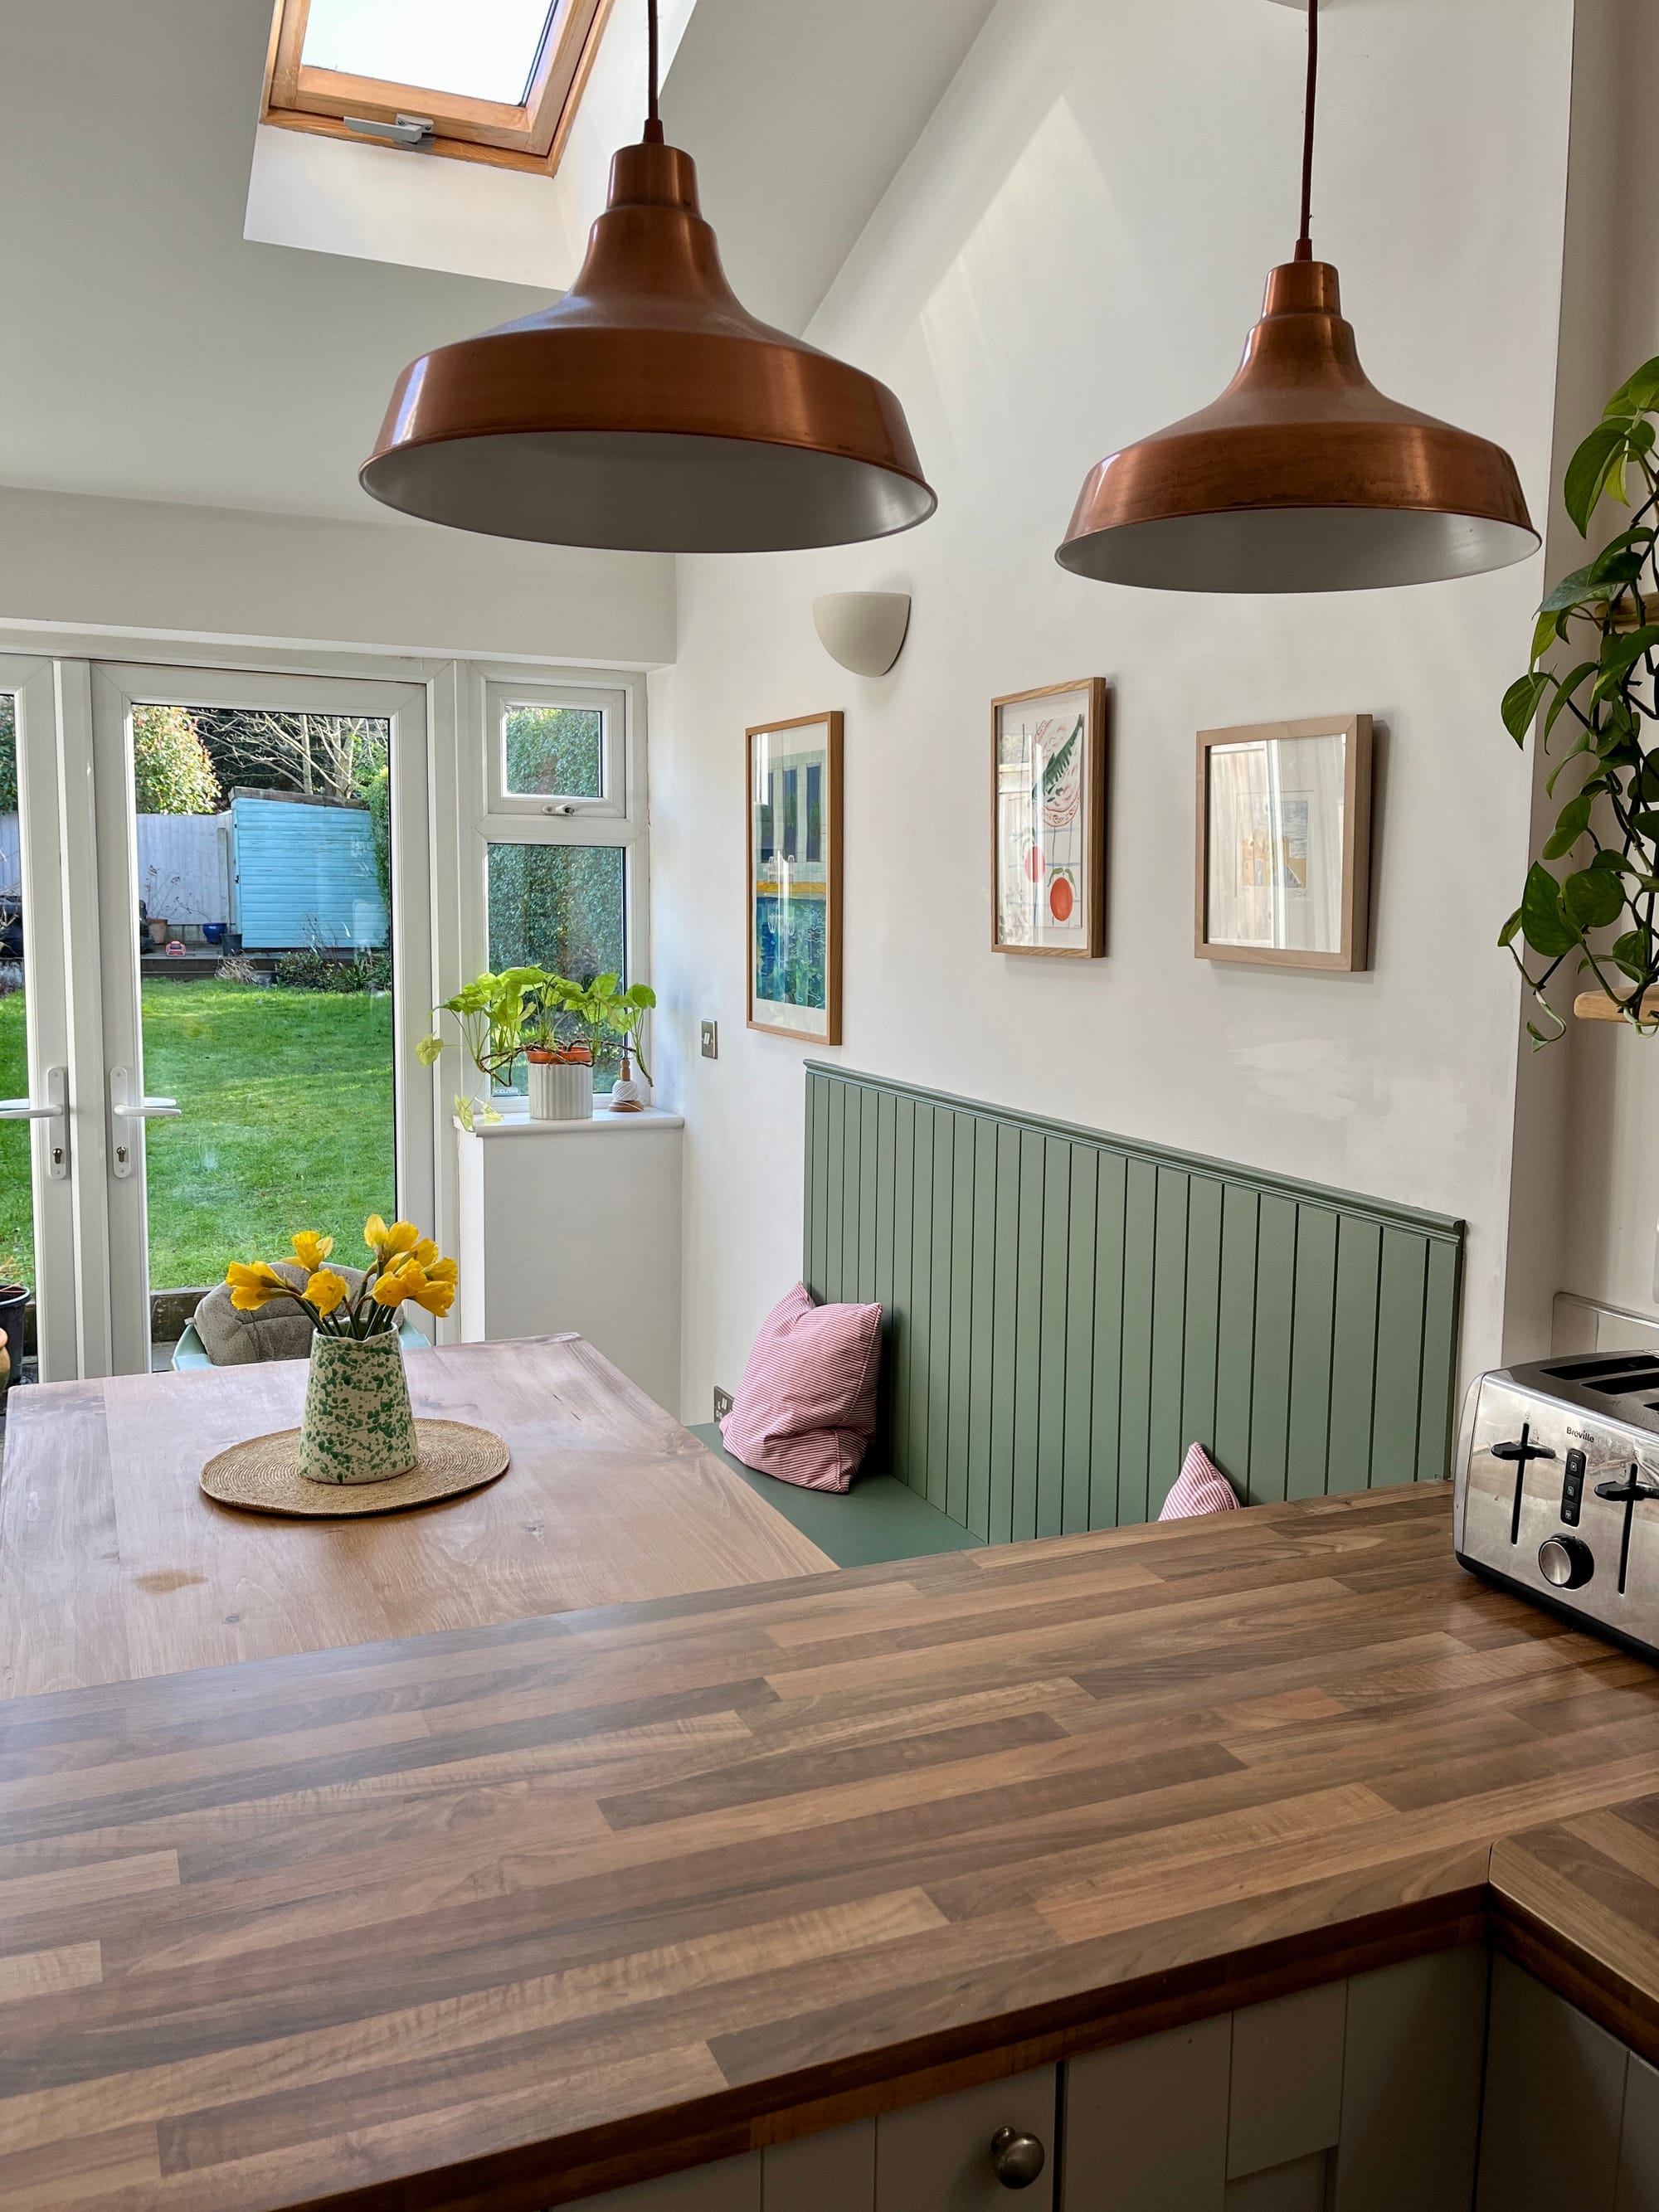
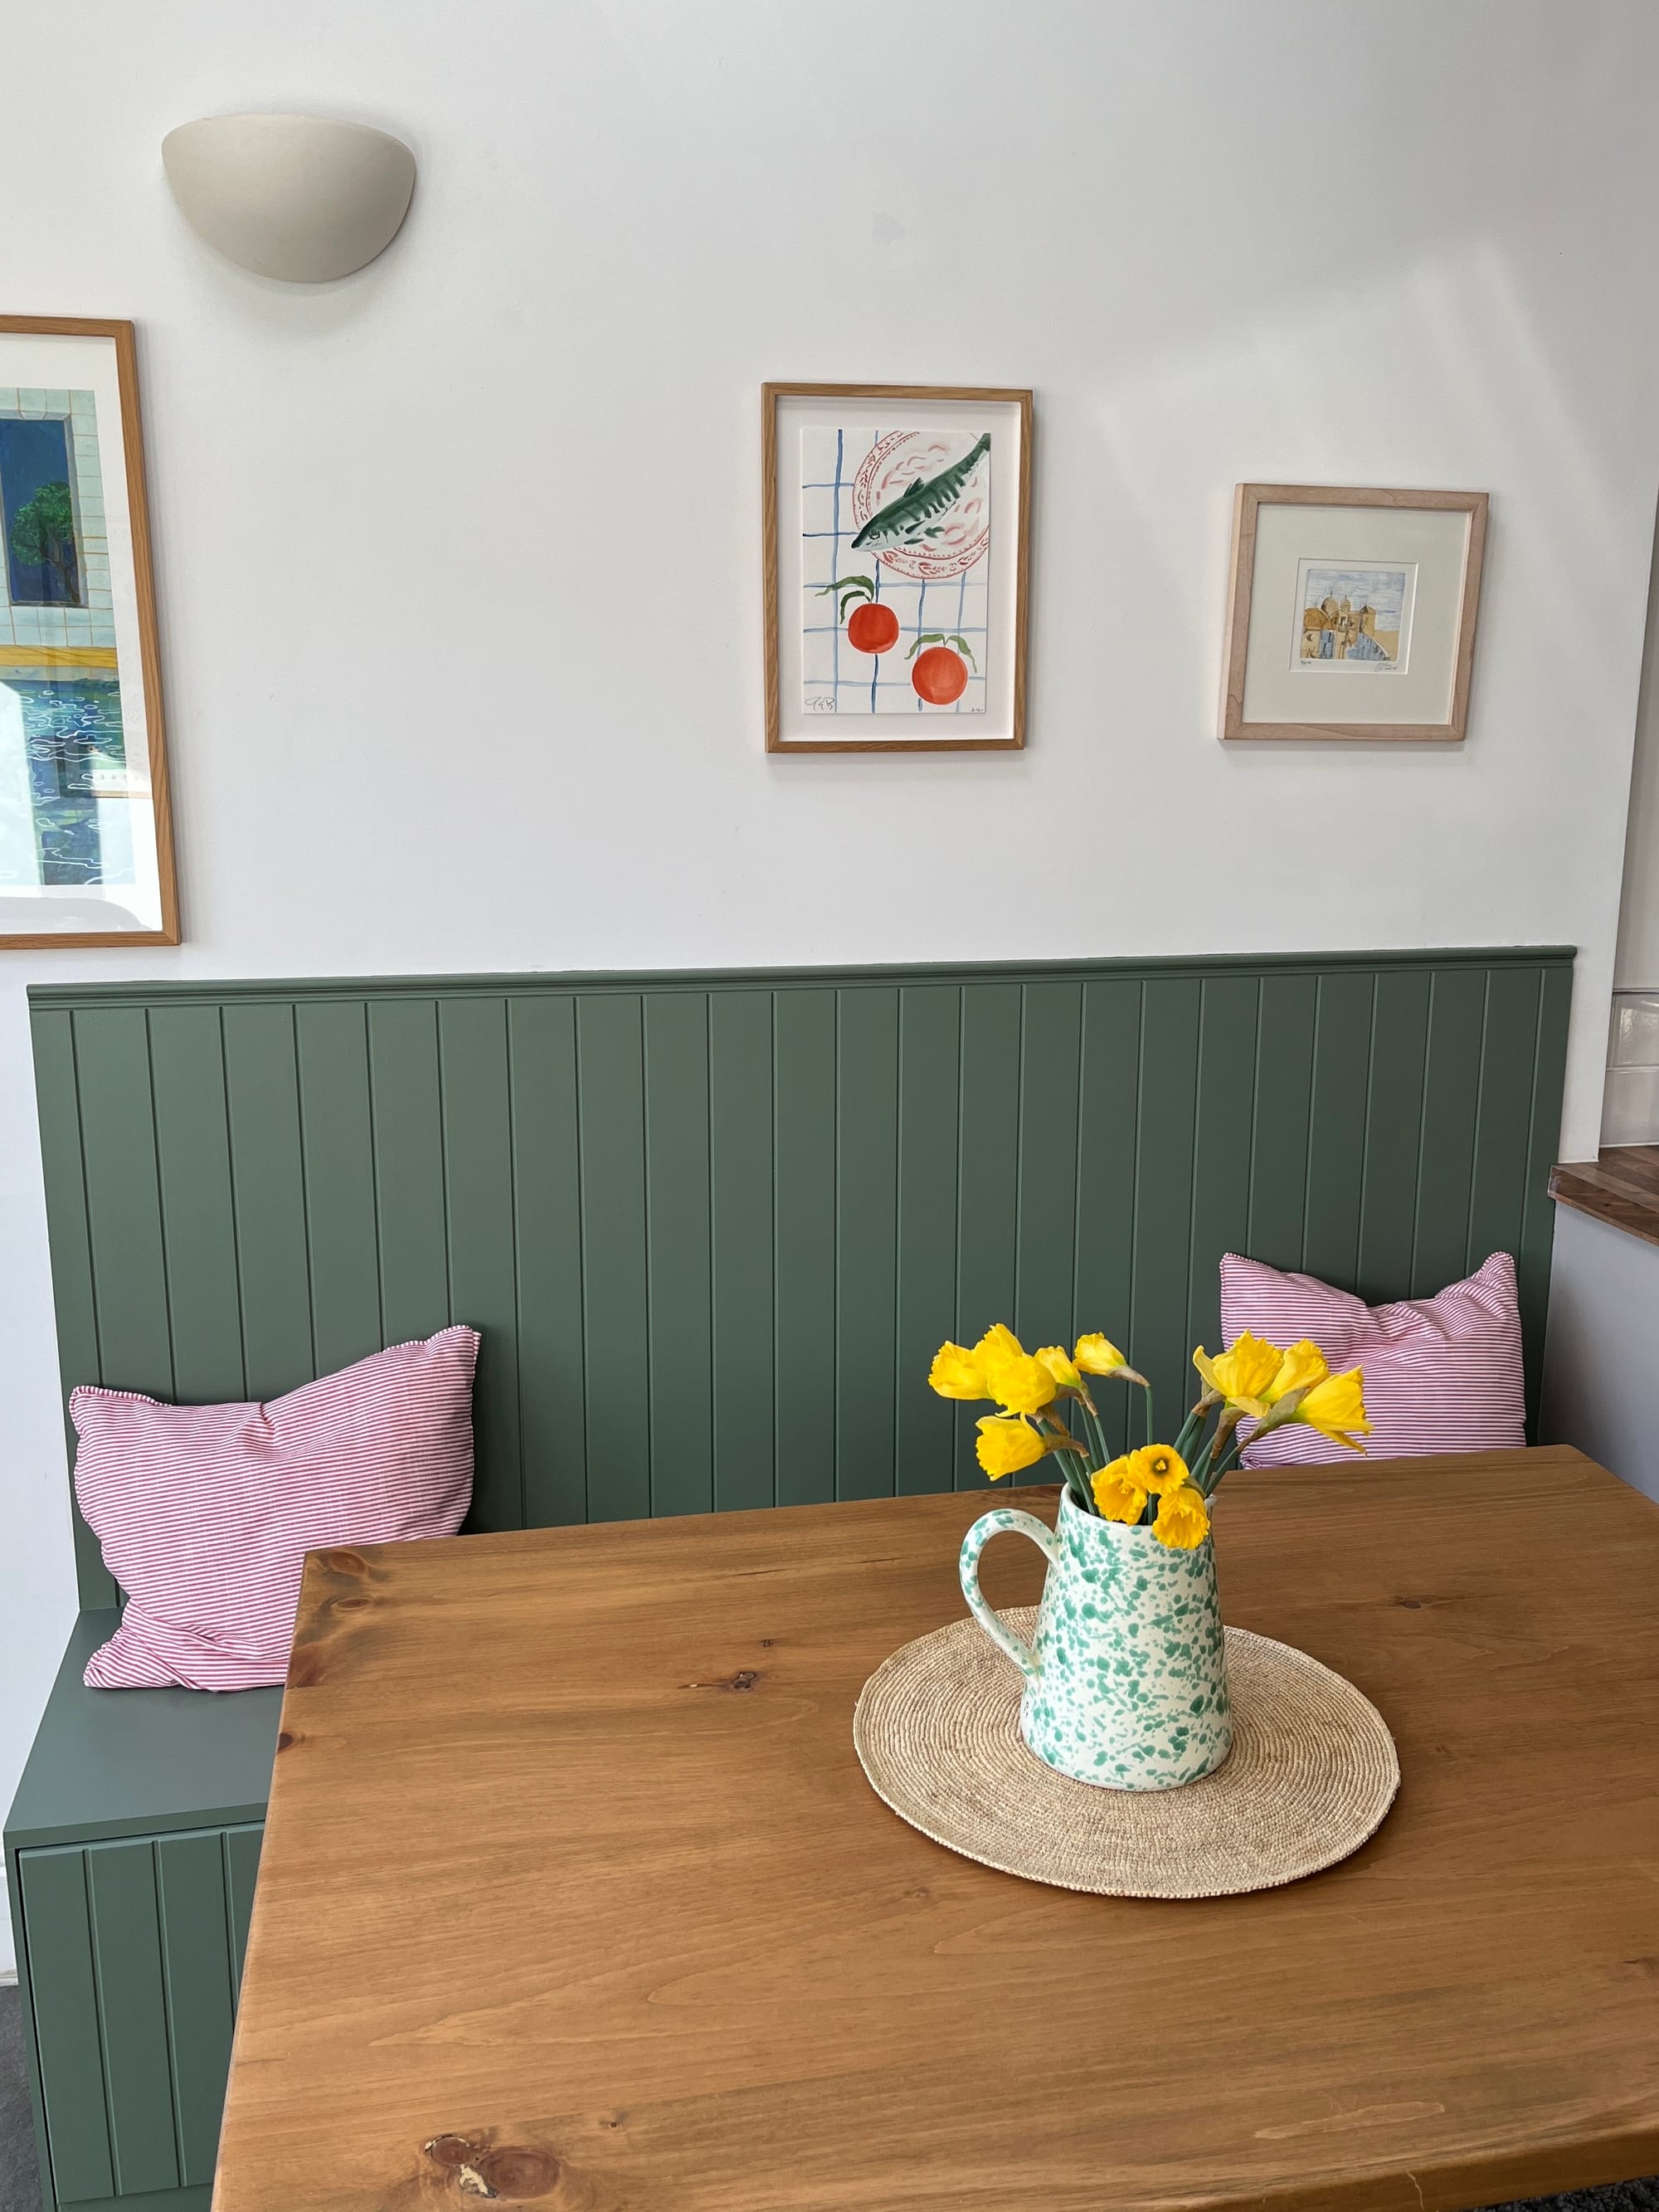
Final Result
P.S.: I also ended up adding a bench cushion to fully round up this space, I think it looks amazing and ties it all together!
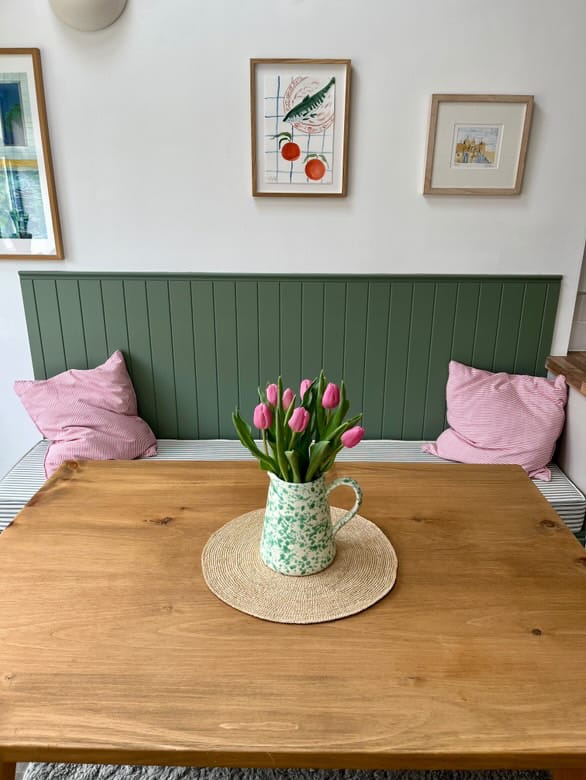
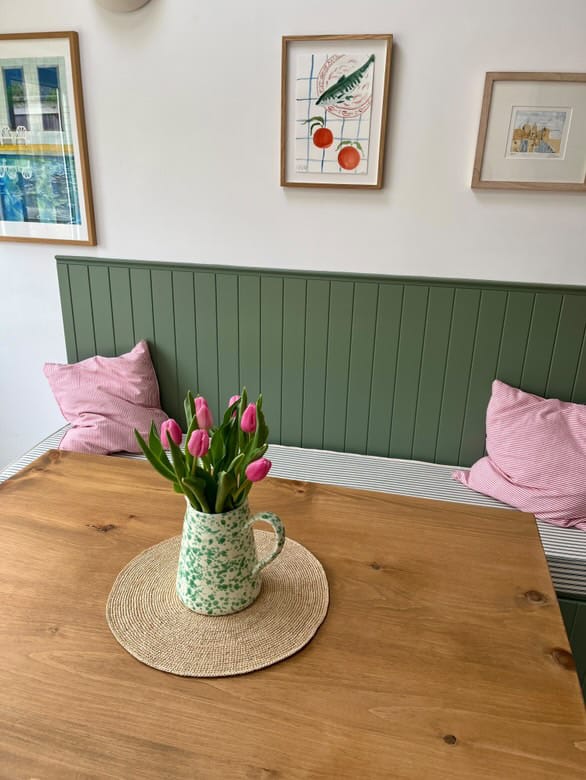
If you're looking for a budget-friendly way to maximize your dining area, this IKEA hack is a fantastic option.
Would you try this project? Let us know in the comments!

Creator: Henrietta
Instagram: @ladybayhome
TikTok: @ladybayhome


