
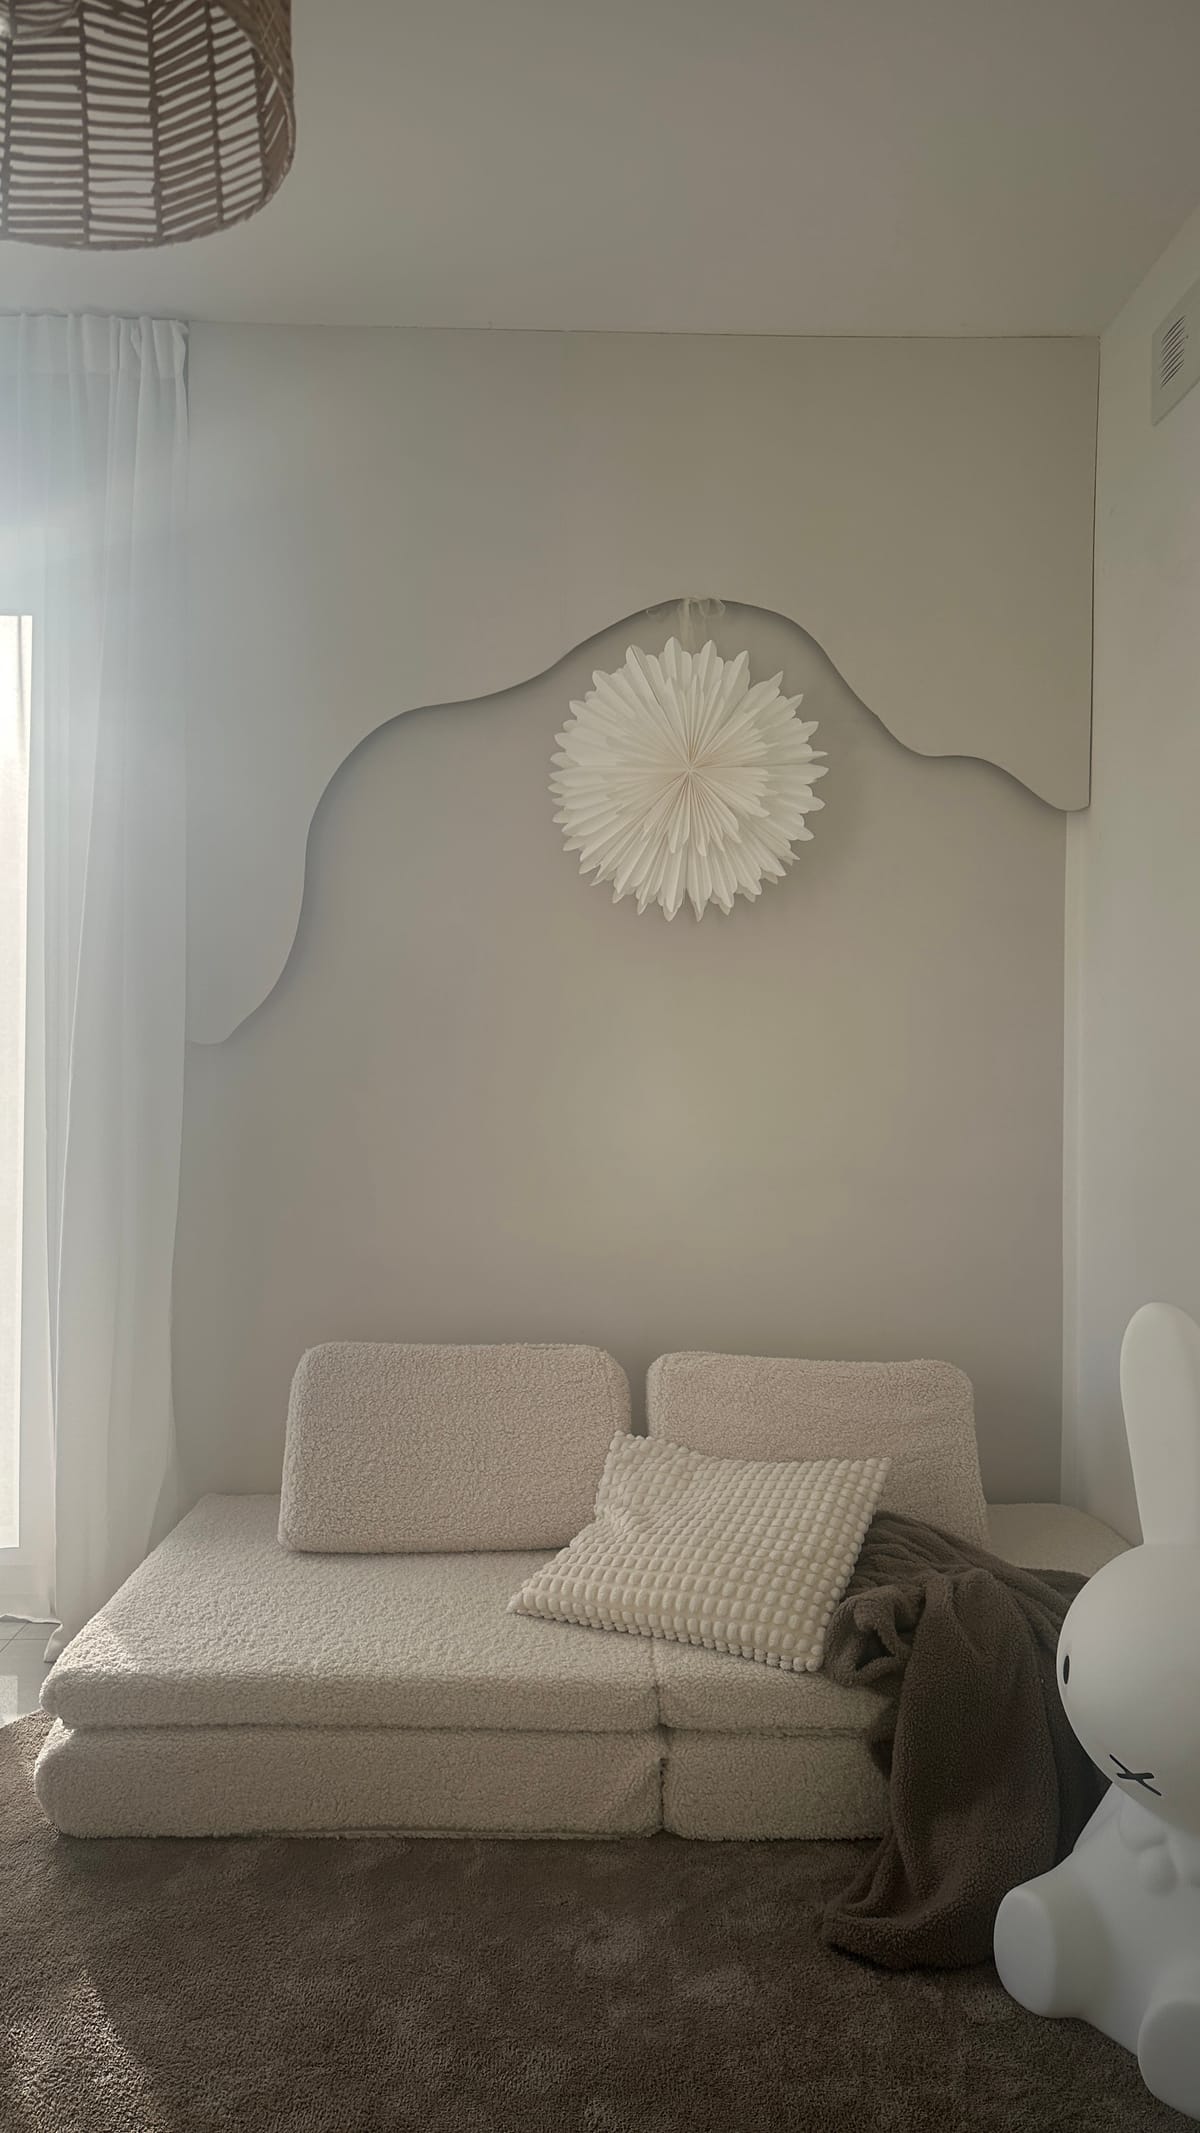
Looking to add a touch of artistic flair to your walls? This wavy wall design using MDF panels and LED lighting is the perfect project to bring some creativity and elegance to your home. It’s fun, customizable, and easier than you might think. Here’s how to do it step by step!
Materials and Tools You’ll Need
Materials:
- Wooden slats (in various lengths for mounting; pre-cut or cut at home)
- MDF panels (cut to size; the exact dimensions depend on your wall)
- Wood primer (e.g., Schöner Wohnen’s primer for wood and MDF)
- Wall paint (e.g., Alpina’s “Elegante Gelassenheit”)
- LED light strip (battery-operated or plug-in, depending on your setup)
Tools:
- Jigsaw (for cutting the wave pattern)
- Sandpaper (medium grit for smoothing edges)
- Screws and screwdriver
- Spackle/filler (for smoothing uneven areas)
- Paintbrush or roller
- Measuring tape
- Sander (optional but handy)
Step 1: Prepare the Wooden Slats
Start by cutting wooden slats to various lengths and mounting them onto the wall. These will serve as the foundation for attaching your MDF panels. Don’t worry if the cuts aren’t perfect—once the panels are installed, they’ll be hidden.
Step 2: Cut the MDF Panels
Using a jigsaw, cut your MDF panels into wavy shapes to create an organic, flowing design. Be as creative as you like—this is your chance to make the wall uniquely yours! If, like me, straight lines aren’t your strong suit, consider having the MDF pre-cut at the hardware store to minimize extra spackling later. Once cut, sand the edges lightly to ensure a smooth finish.
Step 3: Mount the MDF Panels
Attach the MDF panels to the wooden slats with screws. Make sure they’re securely fastened and aligned. If you notice any uneven areas or gaps, apply spackle to smooth them out. Once the spackle is dry, sand the surface again to ensure everything is smooth and seamless.
Step 4: Prime and Paint
Now it’s time to bring your design to life! Apply a layer of primer over the MDF panels to ensure the paint adheres well. For this project, I used Schöner Wohnen’s primer for wood and MDF. Once the primer is dry, paint the panels in your favorite wall color. I opted for Alpina’s “Elegante Gelassenheit” for a sophisticated and calming effect.
Step 5: Add the LED Light Strip
To give the wall a glowing effect, attach an LED light strip along the edge of the wavy MDF panels. If your wooden slats are slightly thicker, you’ll have more space to hide the strip and ensure an even glow.
Step Back and Admire
You’re done! Turn on the LED lights, and enjoy your stunning new feature wall. Whether it’s in your living room, bedroom, or hallway, this design adds a unique touch that will leave everyone impressed.
If you have any questions or need more tips, check out my socials!
Happy crafting! 😊
Creator: Steffi
Instagram: @leys.home


