Dreaming of a walk-in closet but think it’s out of reach? Think again! With some clever planning and a bit of elbow grease, you can transform an ordinary room into a stylish, functional walk-in closet. We did it, and we’re here to show you how. Let’s dive into this exciting DIY project!
Materials You'll Need:
- Wooden board (for reinforcing the wall)
- Clothing rod (metal, 3 meters long)
- Paint (we used Kalklitir paint)
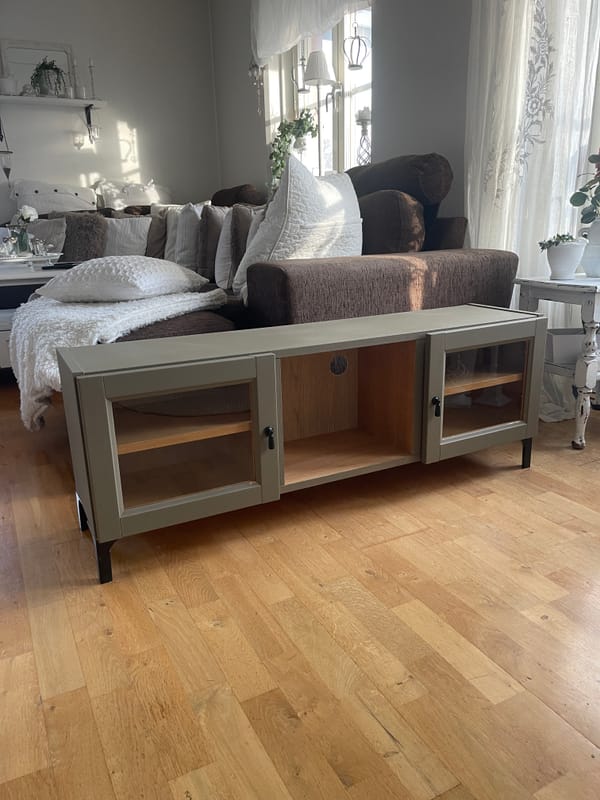
- Bottom cabinet (IKEA NORDLI unit, 54 cm high)
- Screws and wall plugs
- Screwdriver
- Measuring tape
Step-by-Step Guide:
Step 1: Reinforce the Wall
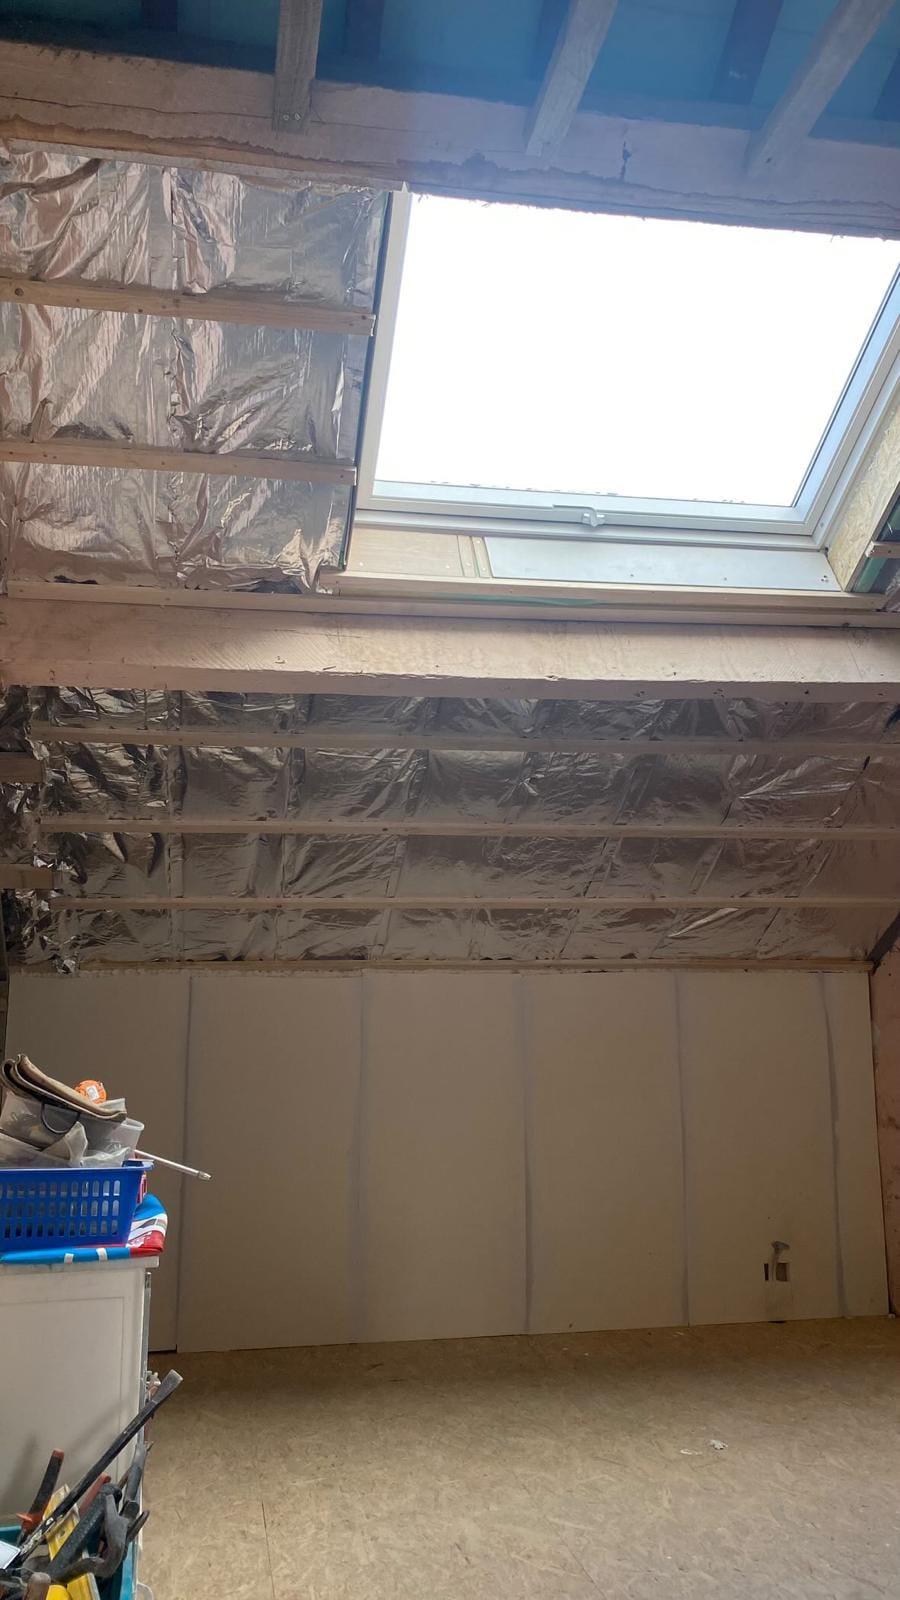
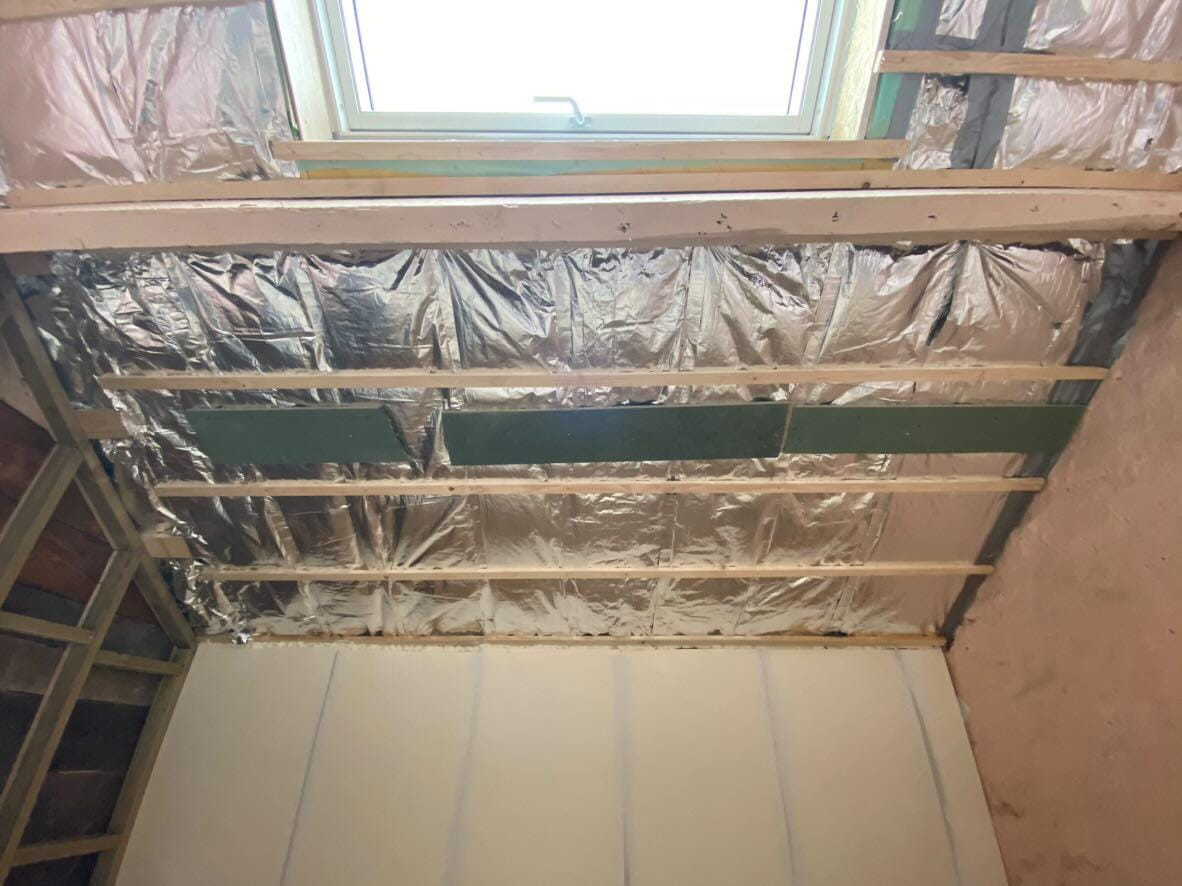
First, we needed to ensure the clothing rod could handle the weight of all our clothes. To do this, we reinforced the wall with a sturdy wooden board where the rod would be mounted. Secure the board to the wall with screws and wall plugs, ensuring it’s firmly in place.
Step 2: Prepare the Room
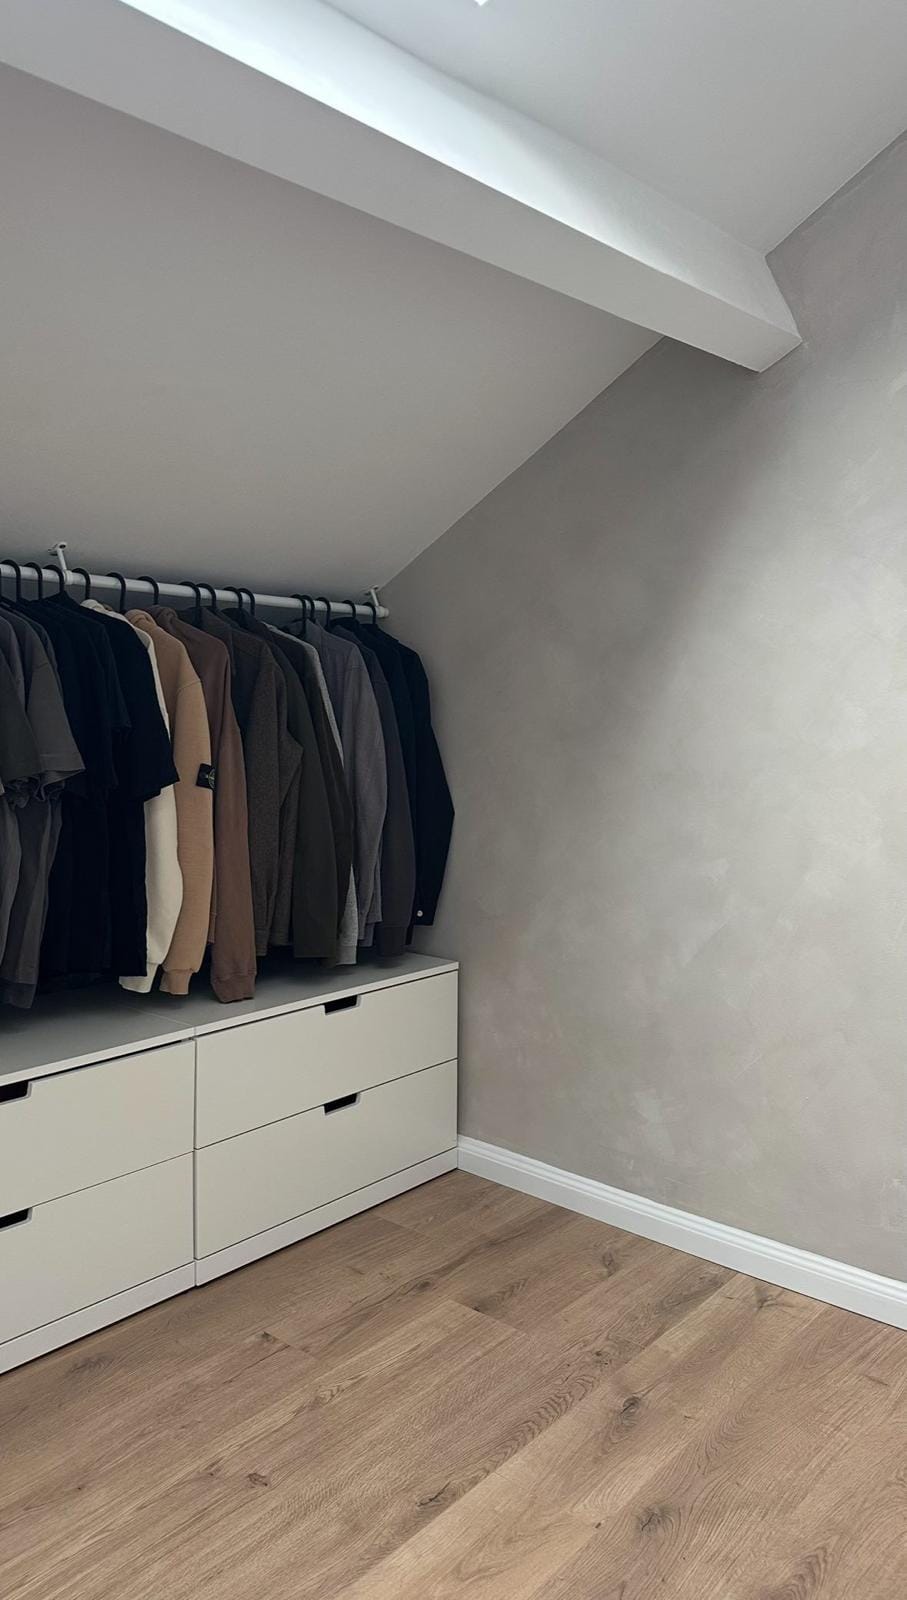
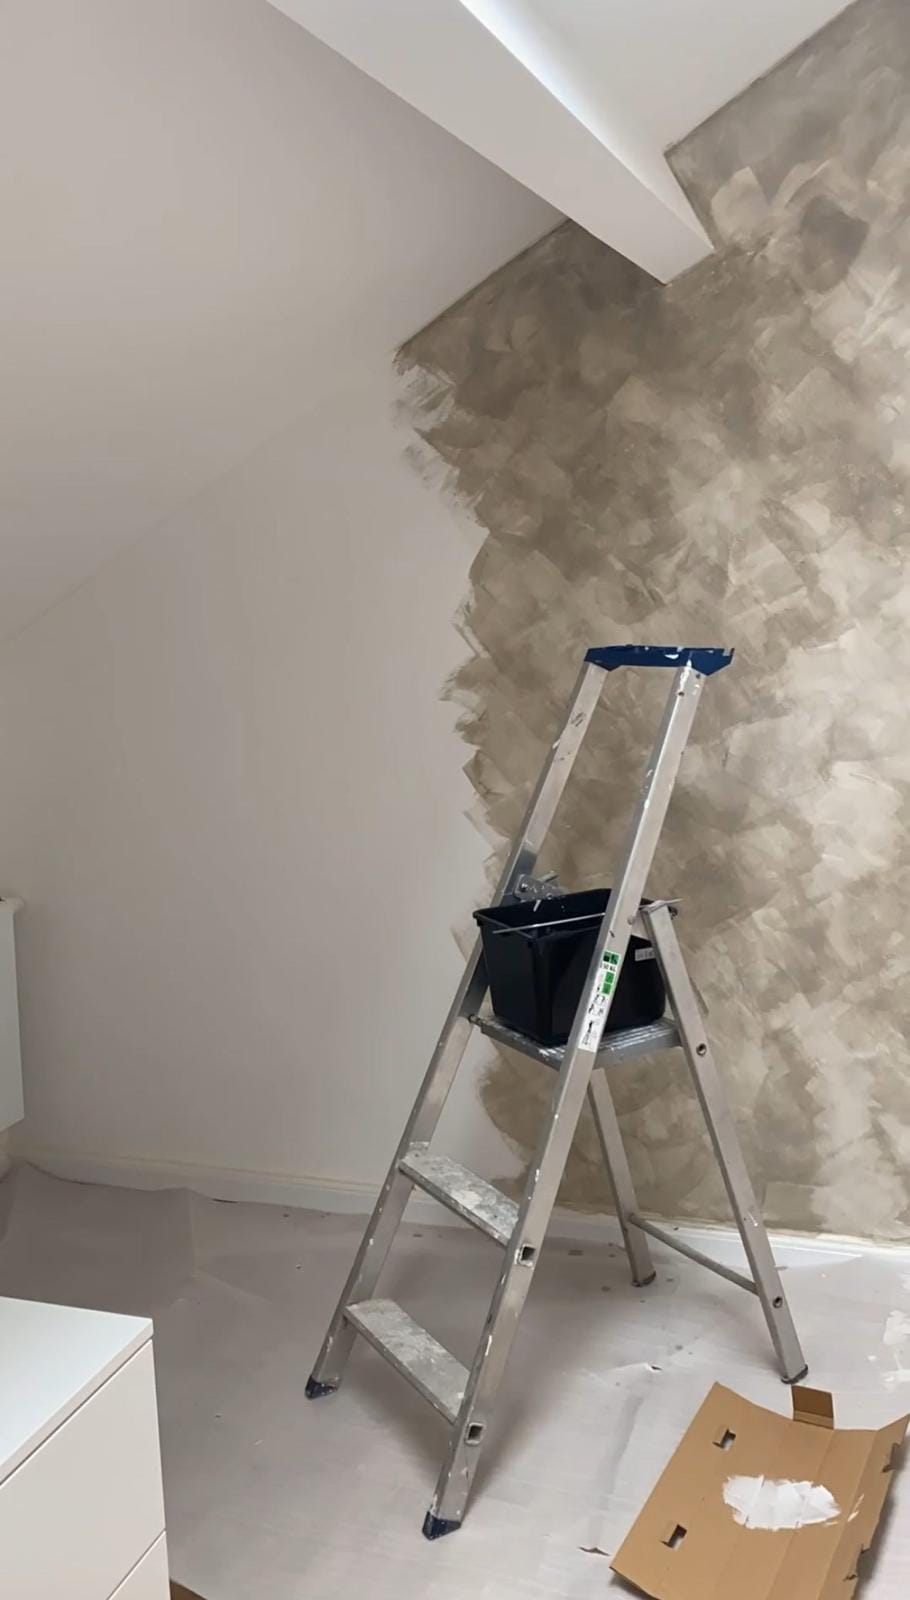
Once the wall was reinforced, we plastered the room and installed the flooring. Next, we painted one wall with Kalklitir paint to create a cozy and inviting atmosphere. This paint adds a unique texture and warmth to the space. You can find more about Kalklitir paint here.
Step 3: Measure and Plan the Layout
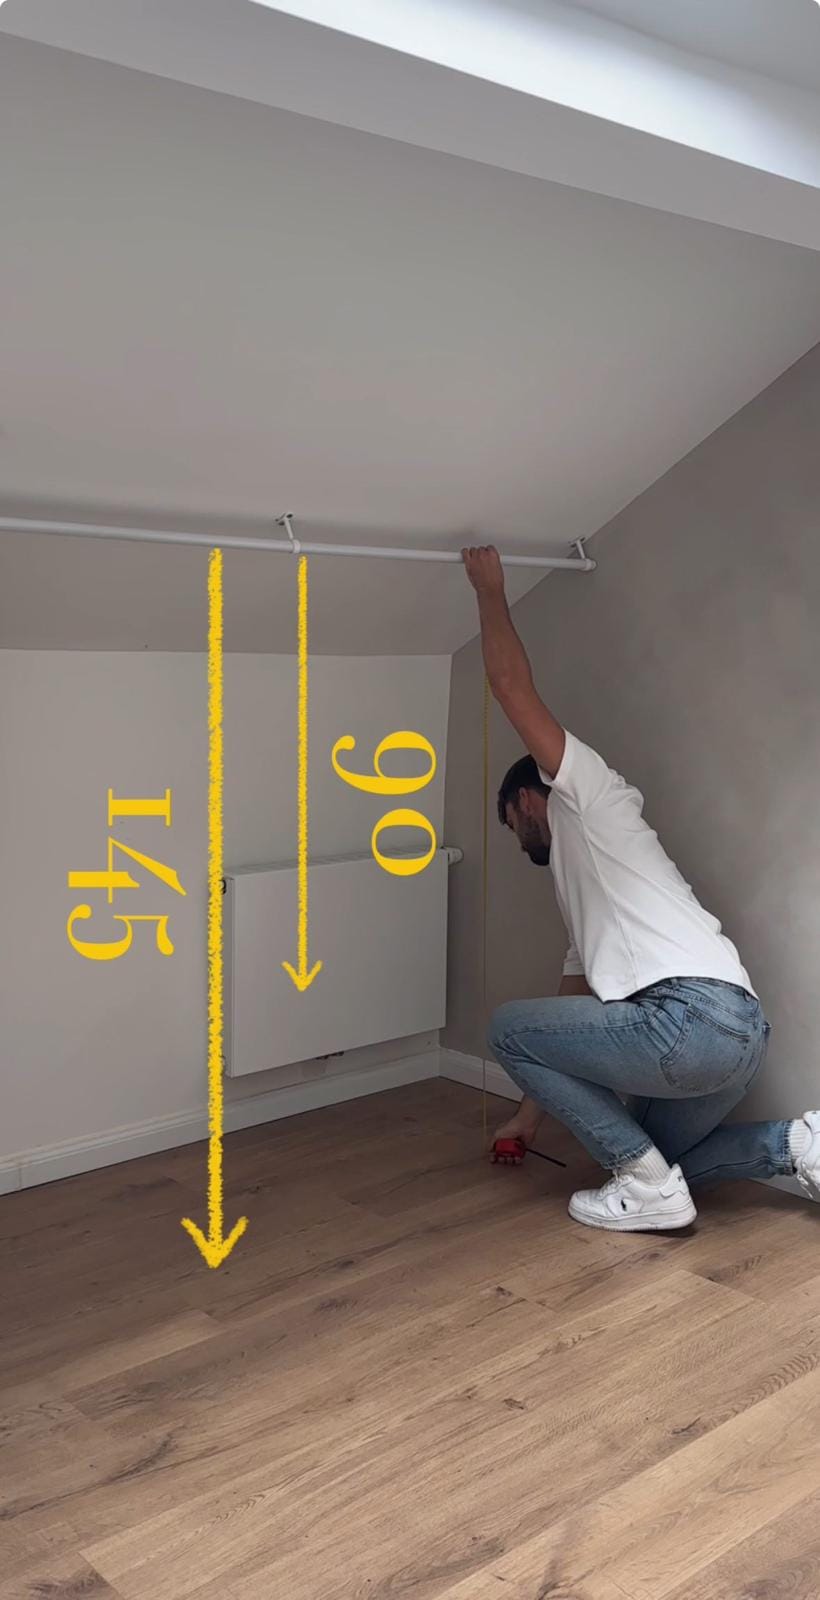
Carefully measure the distance needed between the bottom cabinet and the clothing rod. We found that 90 cm was the perfect distance to prevent clothes from touching the furniture. With the rod mounted at 145 cm high, we needed a cabinet shorter than 55 cm. The IKEA NORDLI unit at 54 cm high fit the bill perfectly!
Step 4: Install the Clothing Rod
Choosing a metal rod was key to preventing any bending, especially since our wall is 3 meters long. Measure 145 cm from the floor and mark where the rod will be mounted. Attach the rod securely to the reinforced wooden board using screws. Make sure it’s level and sturdy.
Step 5: Place the Cabinet
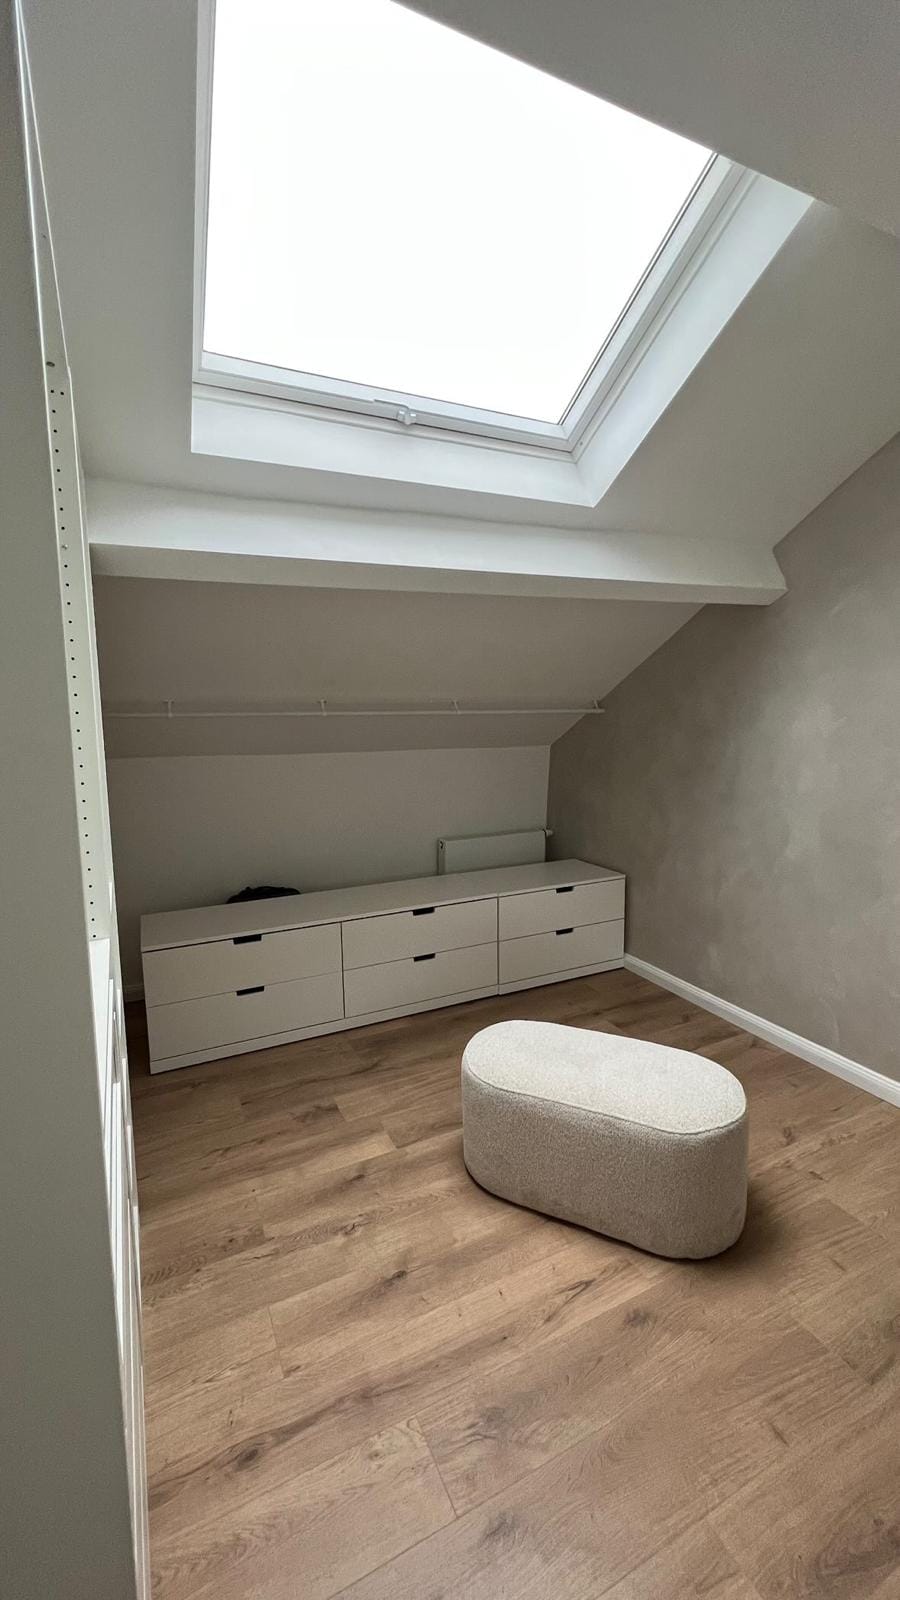
Position the IKEA NORDLI unit beneath the clothing rod, ensuring there’s a 90 cm gap between the top of the cabinet and the rod. This setup provides ample space for hanging clothes without them brushing against the furniture.
Step 6: Final Touches
Add any additional shelves or storage units as needed to organize shoes, accessories, and folded clothes. Take a step back and admire your new walk-in closet!
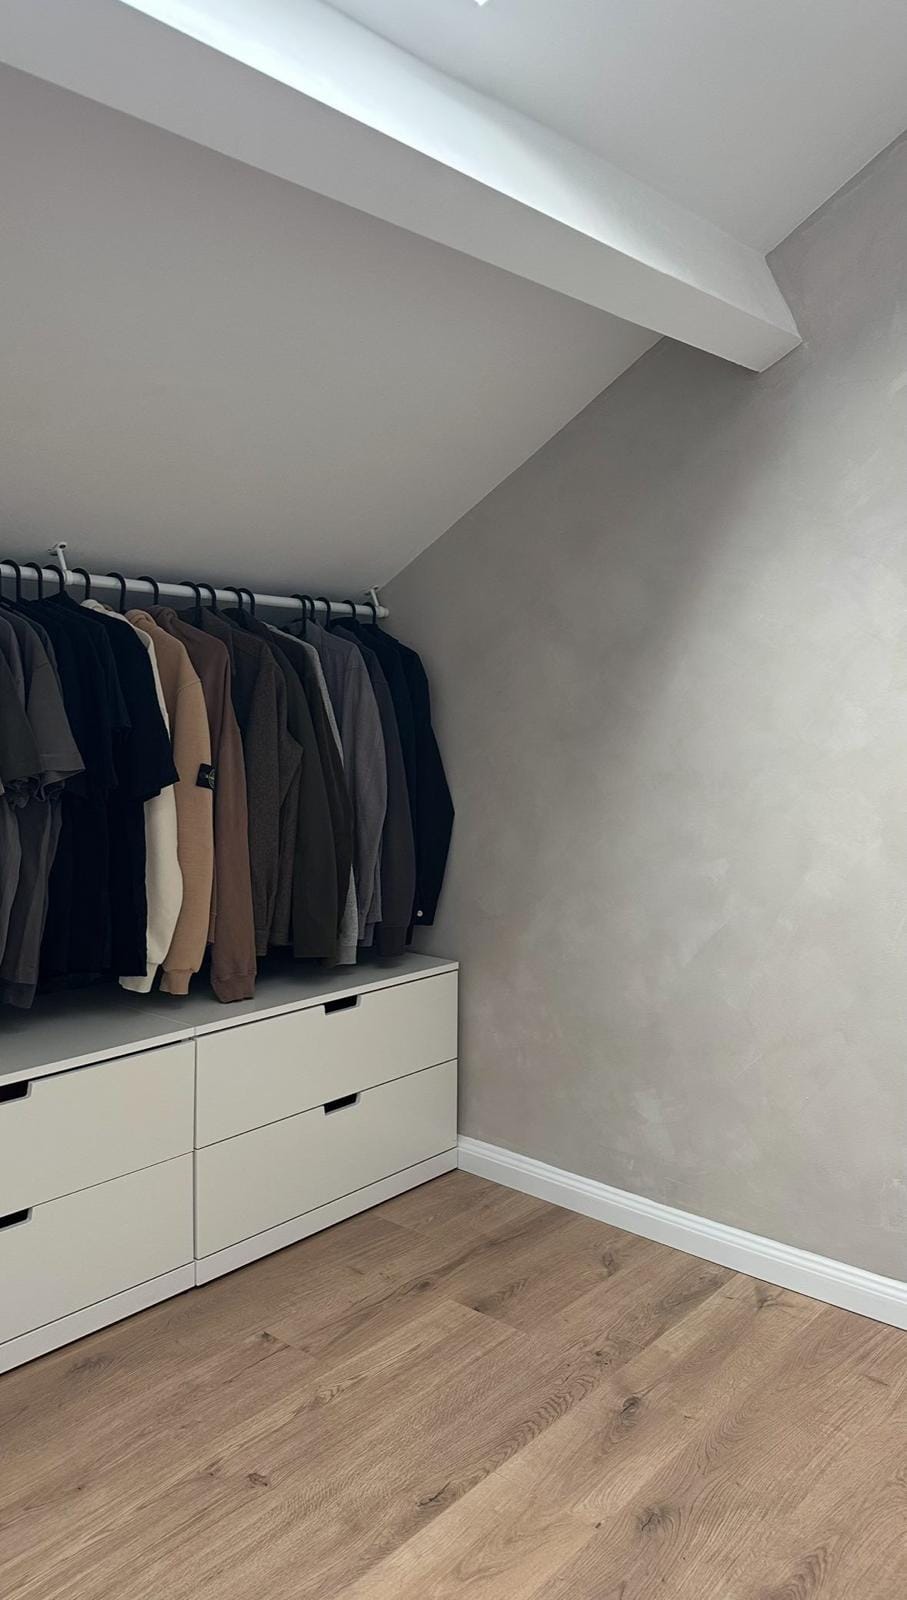
Creating a walk-in closet doesn’t have to be expensive or complicated. With some careful planning and a few smart choices, you can turn an unused room into a beautiful, functional space that makes getting dressed a joy.
We love our new closet, and we’re sure you’ll love yours too!

Creator: Thibaud
Instagram: @thibouww


