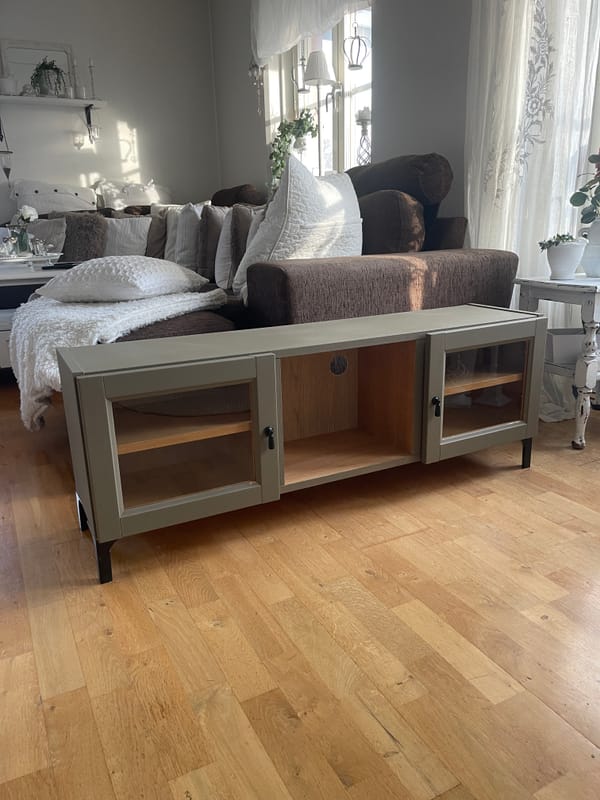
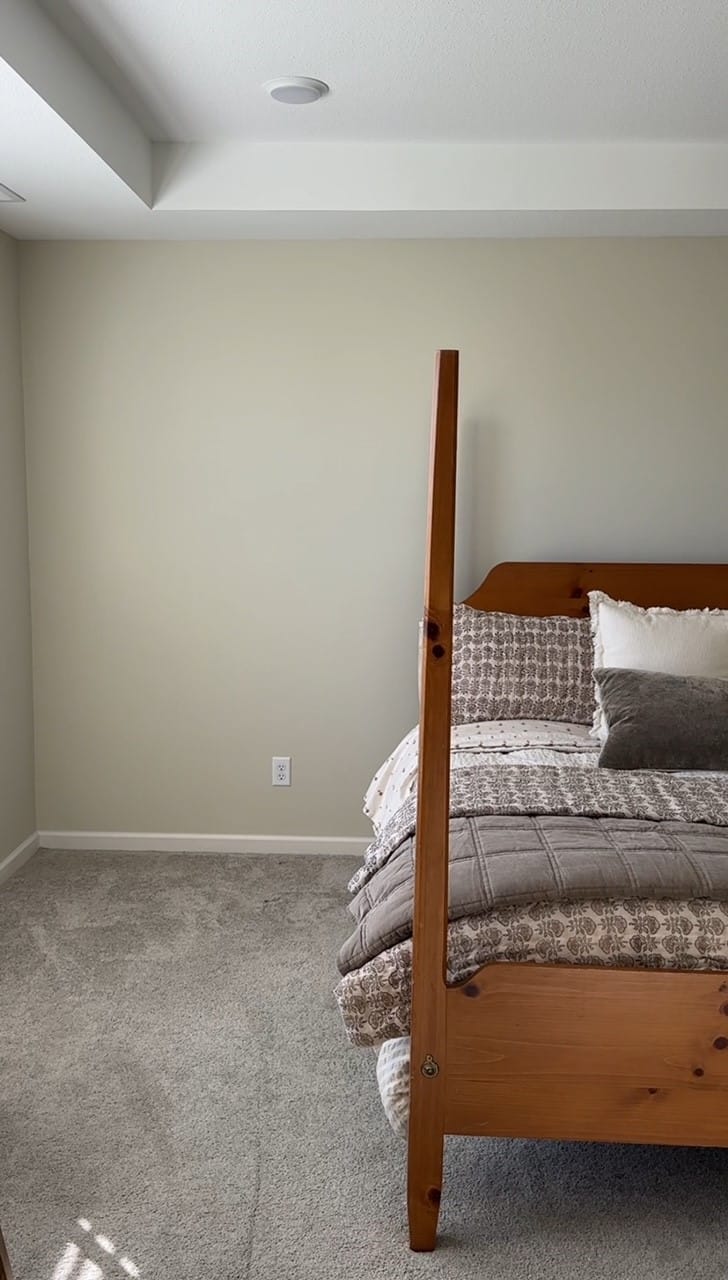
We had initially planned on working on a nursery upon our return from vacation, but life changed, and in turn, plans did to. After the loss of our baby, we decided to work on our primary room. We moved into a builder-grade house about two years ago, and as you can imagine, there is no trace of character in any four walls within these types of homes.
My style preference is cozy cottage, so the goal of this accent wall was to add character and functionality, while also staying true to my design preference.
Here is how we did it!
Materials Needed:
- Nail Gun
- Caulk Gun
- All-purpose Caulk
- All-purpose Spackle
- Oil-based White Primer
- Benjamin Moore Paint (Color: God-Given)
- Oil-based Paint Brushes
- Water-based Paint Brushes
- Paint Rollers
- Clamps
- Sanding Blocks / Handheld Sander
- Home Depot: Ekena Millwork Corbels (Size & Style varies based on your preference)
- Home Depot: Square Edge Wood Board: 4x3/10 x 5 (for stiles & first layer of shelving)
- Home Depot: Square Edge Wood Board: 6x3/10 x 5 (for stiles at the top of your wall)
- Home Depot: Square Edge Wood Board: 5.5 x 1 x 6 (for final and thicker layer of shelving)
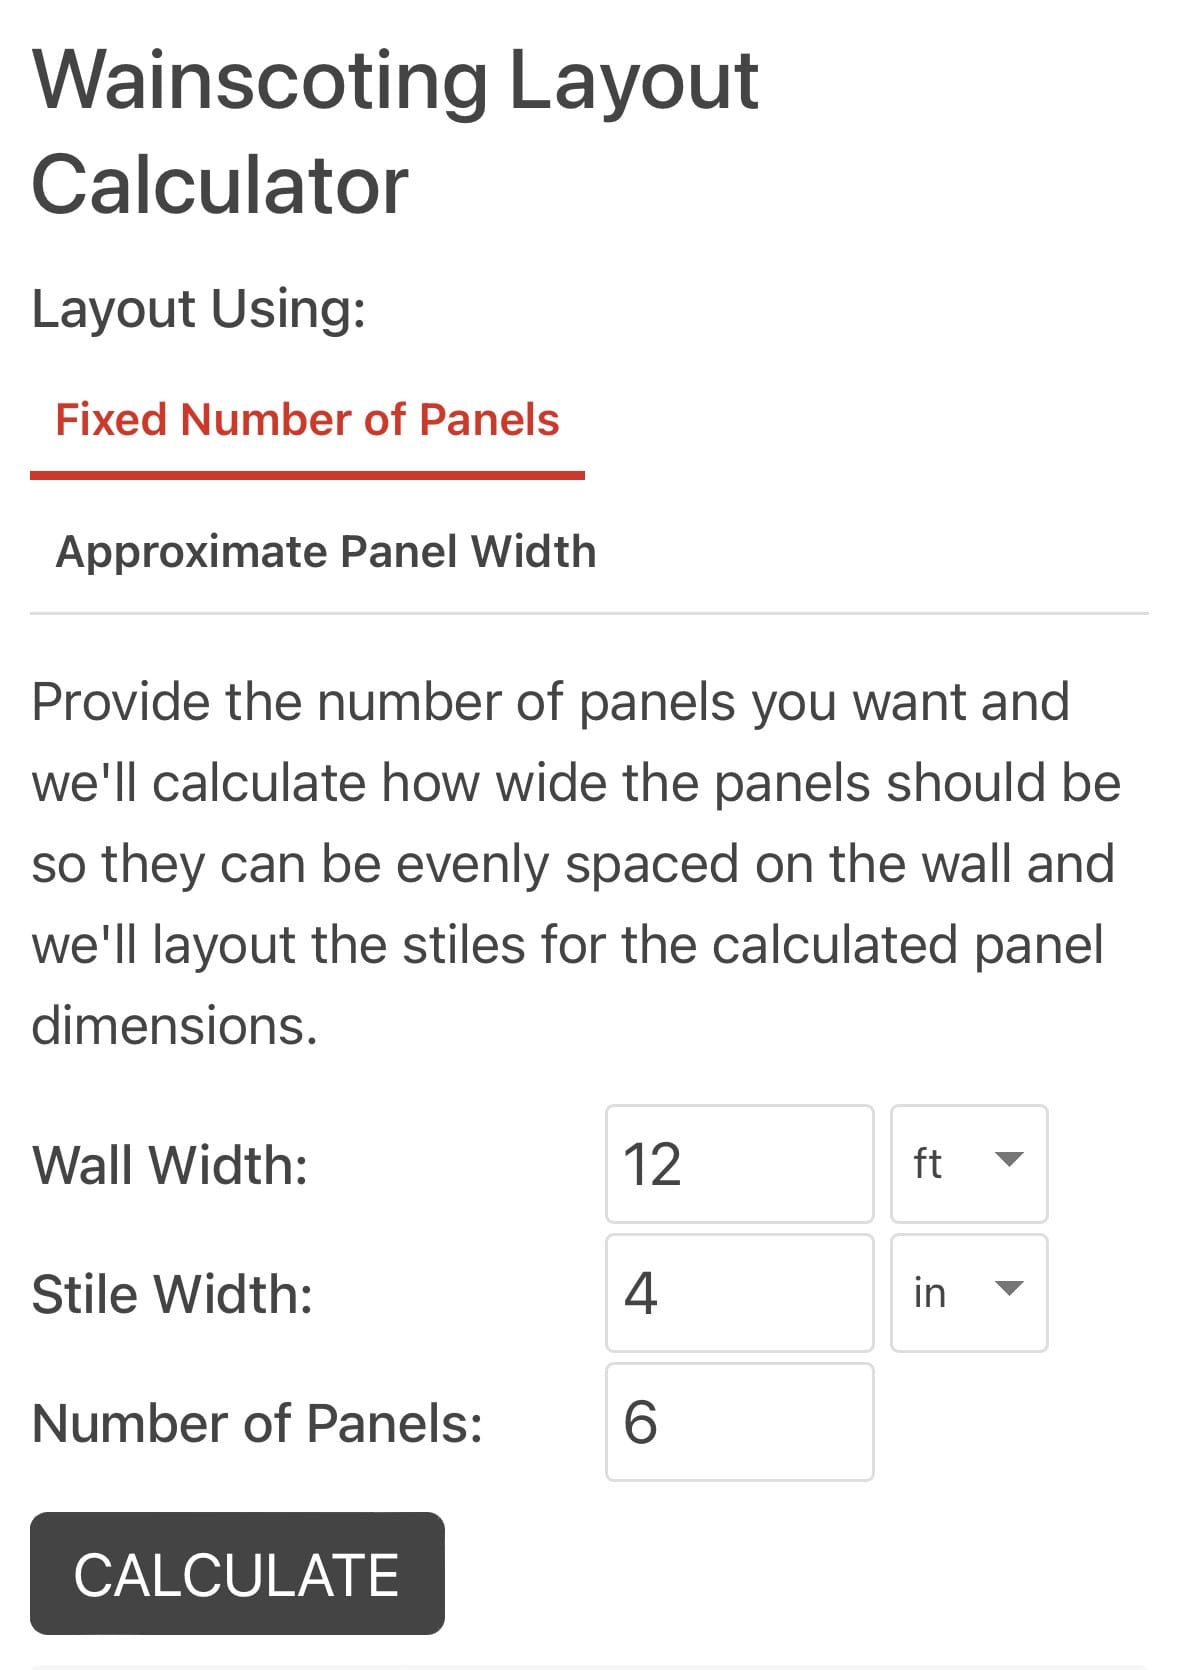
- The Inch Calculator: Construction Calculators → Wainscoting Layout Calculator
- Amazon: Wood Knobs
Step-by-Step Instructions:
Step 1: Plan Your Wainscoting
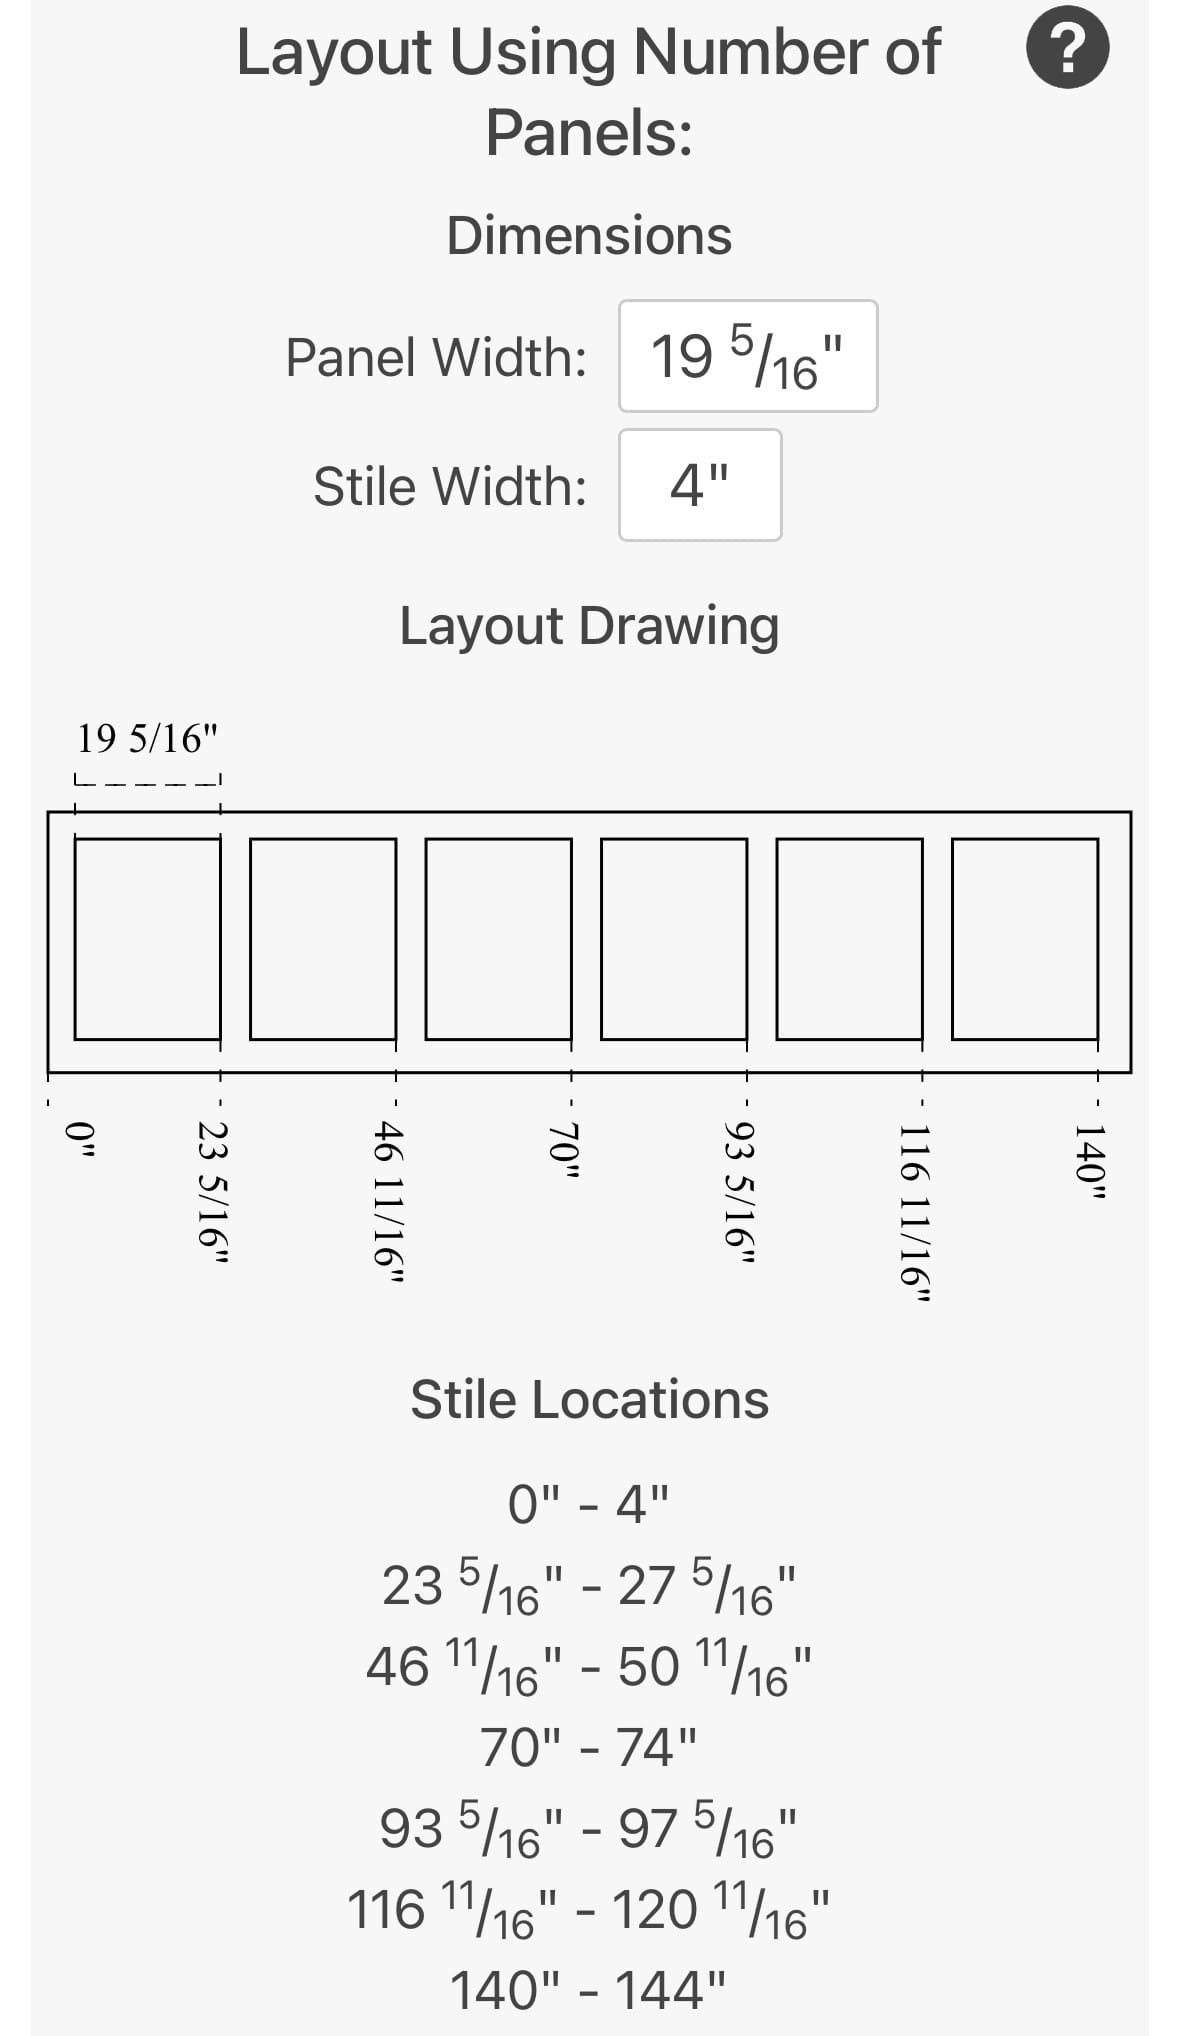
Before you start going crazy with the nail gun, make sure you measure and plan out the dimensions of your stiles, panel amounts, and spacing for your accent wall. All measurements are preferential based on the materials available to you, your trim dimensions, and what design you are going for. We used “The Inch” calculator, which saves time and sanity by doing the calculations for you.
Step 2: Begin Installation
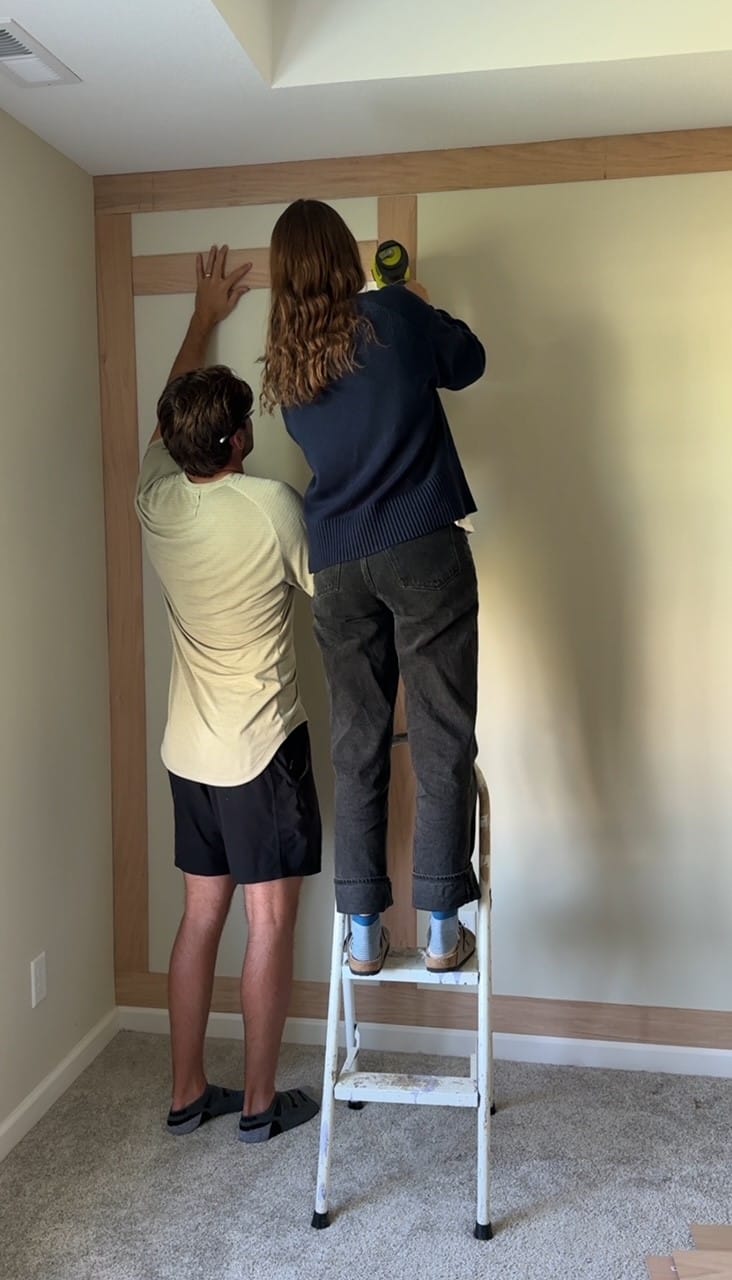
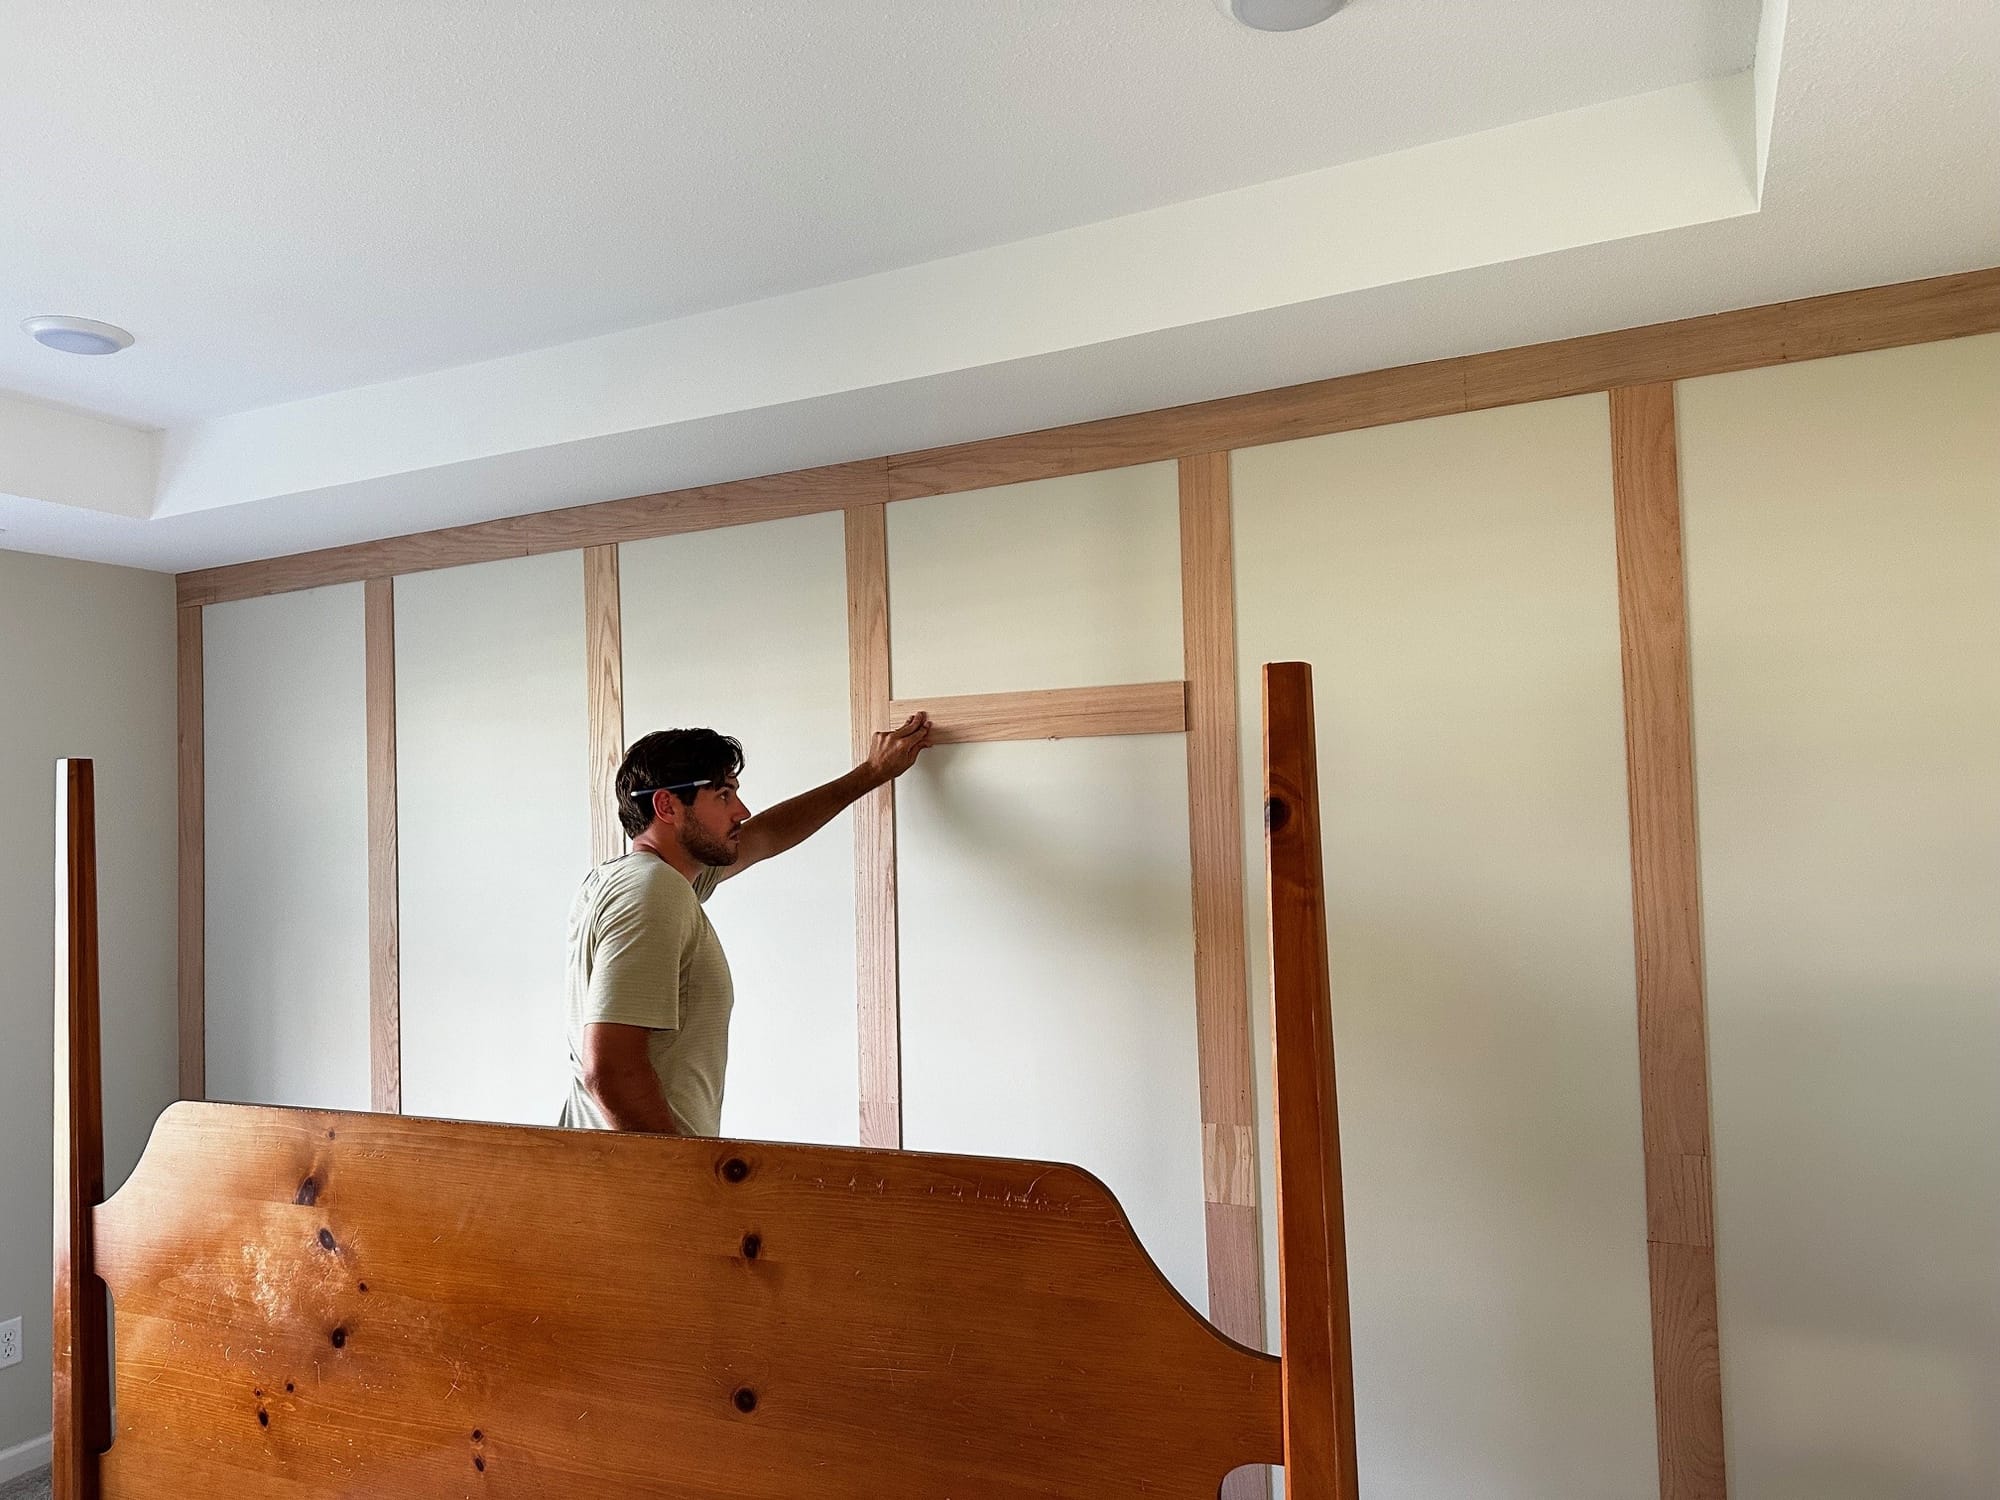
Once you have your measurements finalized, begin installing the border of your wainscoting using your thinner square edge board. The border of your wainscoting would be the frame of your wall. Once the frame is established, begin the stile installation process by cutting one board as a measurement guide, this would be the length of the panel width. Repeat this process for all stiles. Once your vertical stiles are installed, position your horizontal stiles at your desired height.
Step 3: Corbel Installation
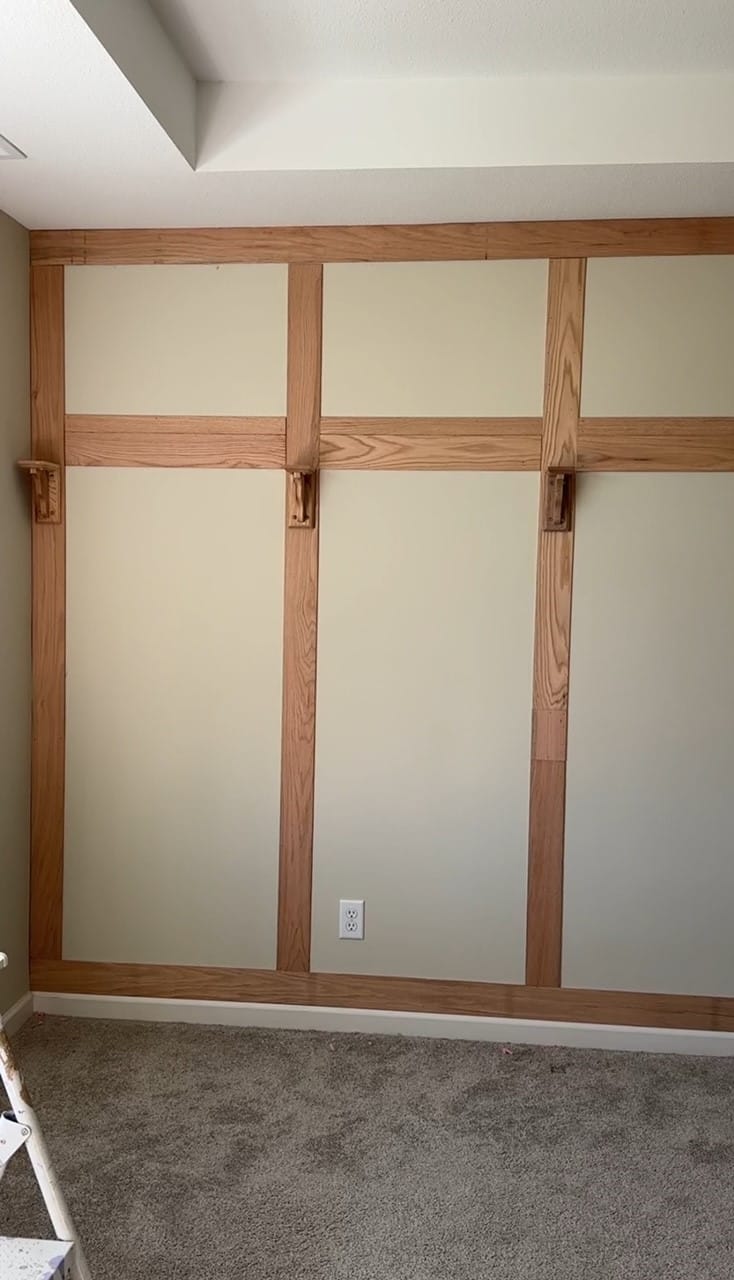
After your wainscoting is installed, begin placing your corbels. We placed ours in line to the bottom of the horizontal edge of the stile. Note: To save yourself some heartache, prime and paint your corbels before install, this will make painting go significantly smoother.

Step 4: Caulking, Spackling, and Sanding
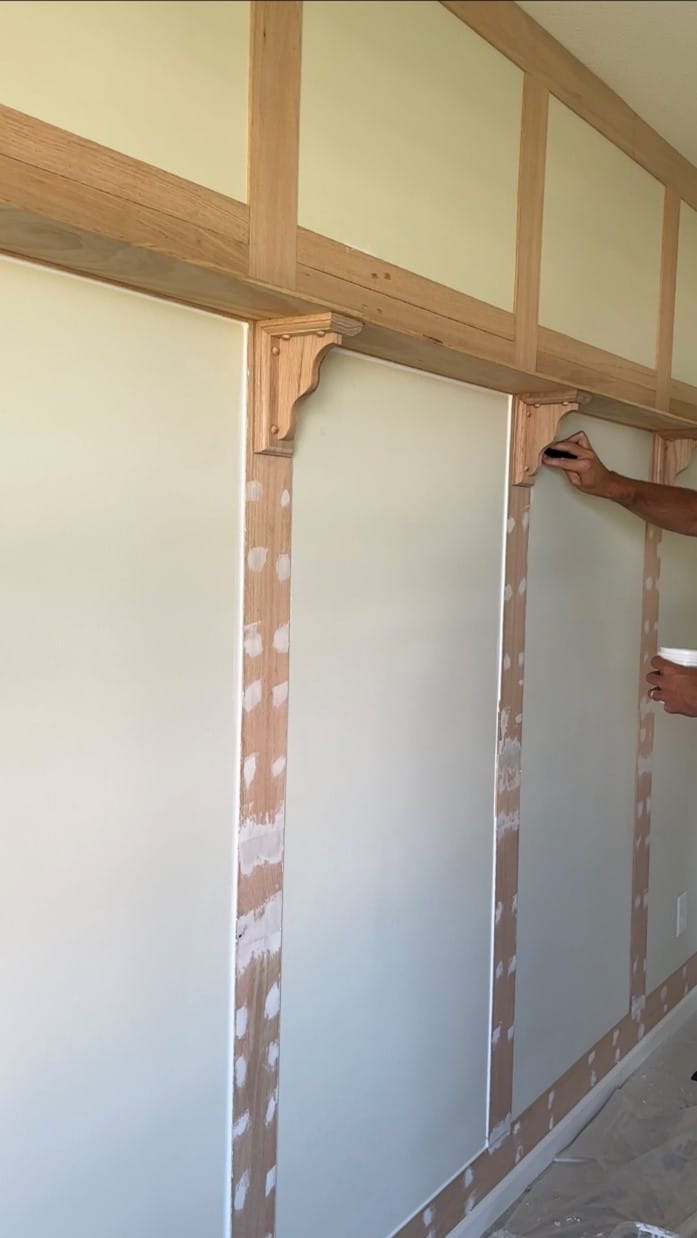
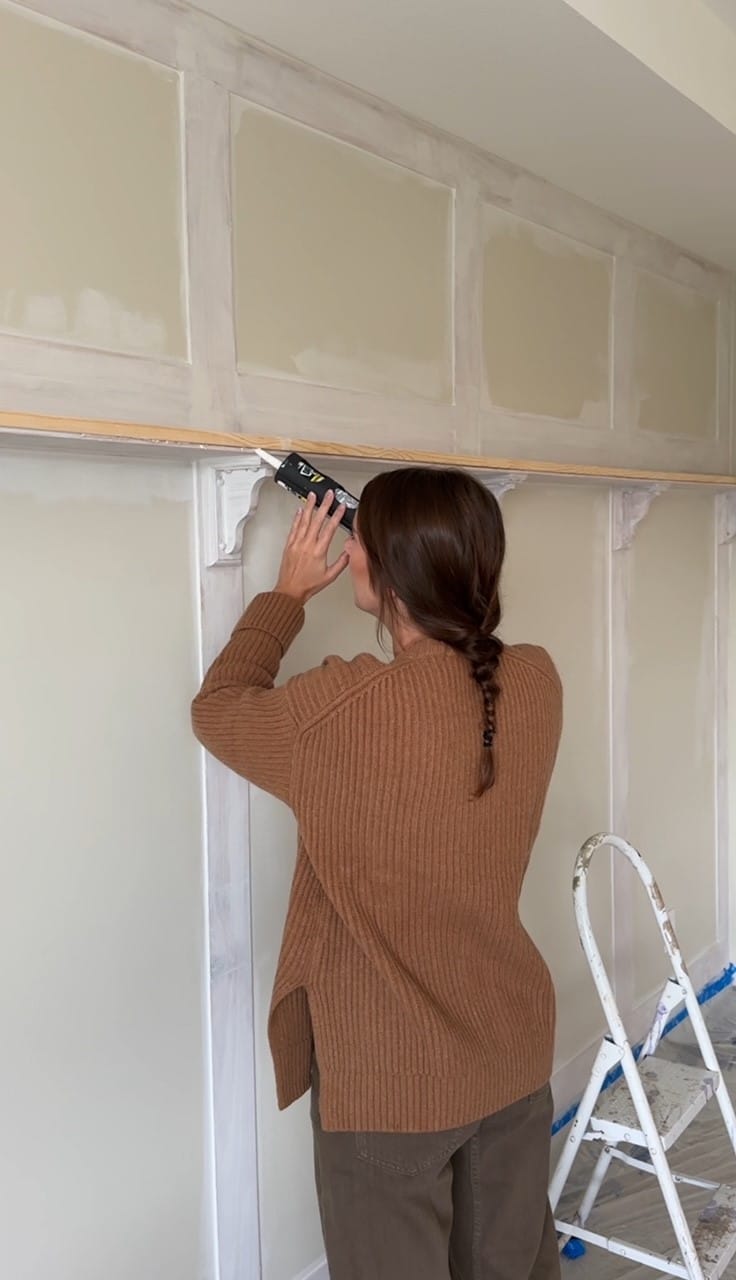
In order to achieve a clean edge and finish, we caulked each stile to the wall and also patched up nail holes on each piece of wood. Be careful to not use too much caulk, as over time it can loosen and tear off the wall as your house settles. The last step is to sand down the spackling to ensure a smooth finish. We used our electric handheld sander, however sanding blocks work just fine as well, it just takes a bit longer and requires more womanpower!
Step 5: Shelving Installation
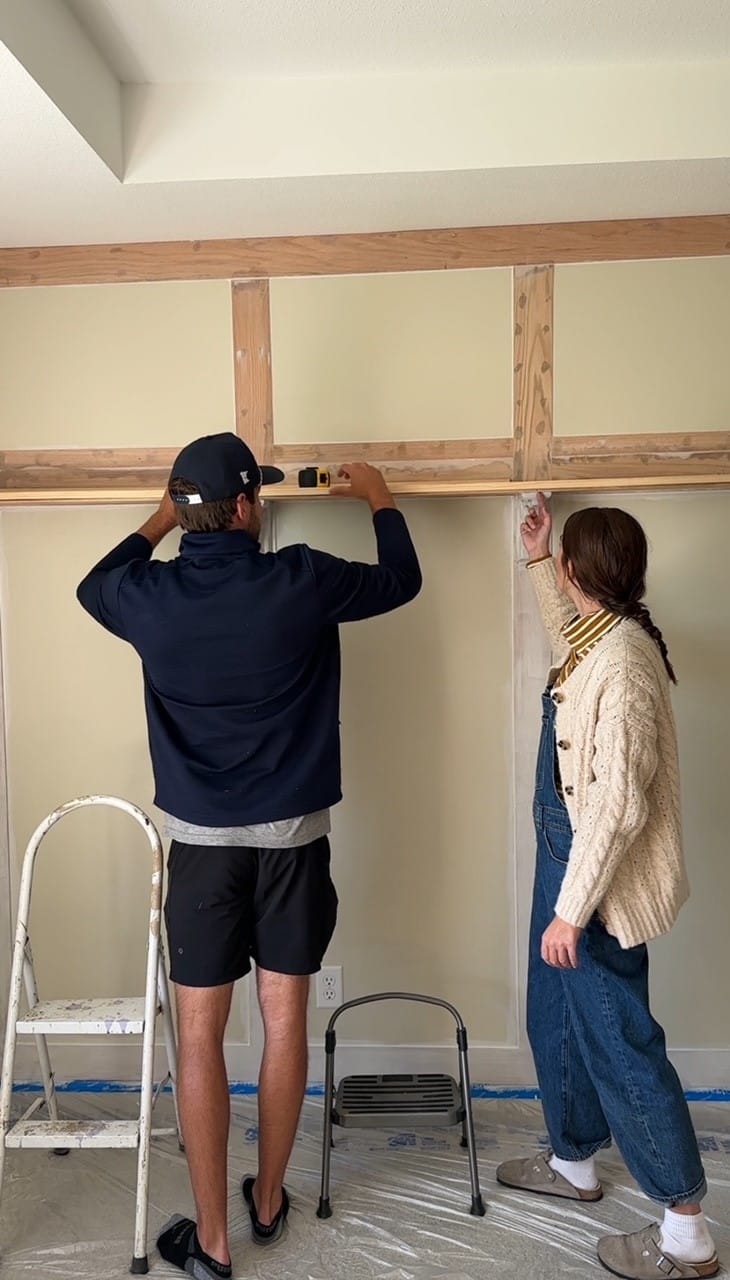
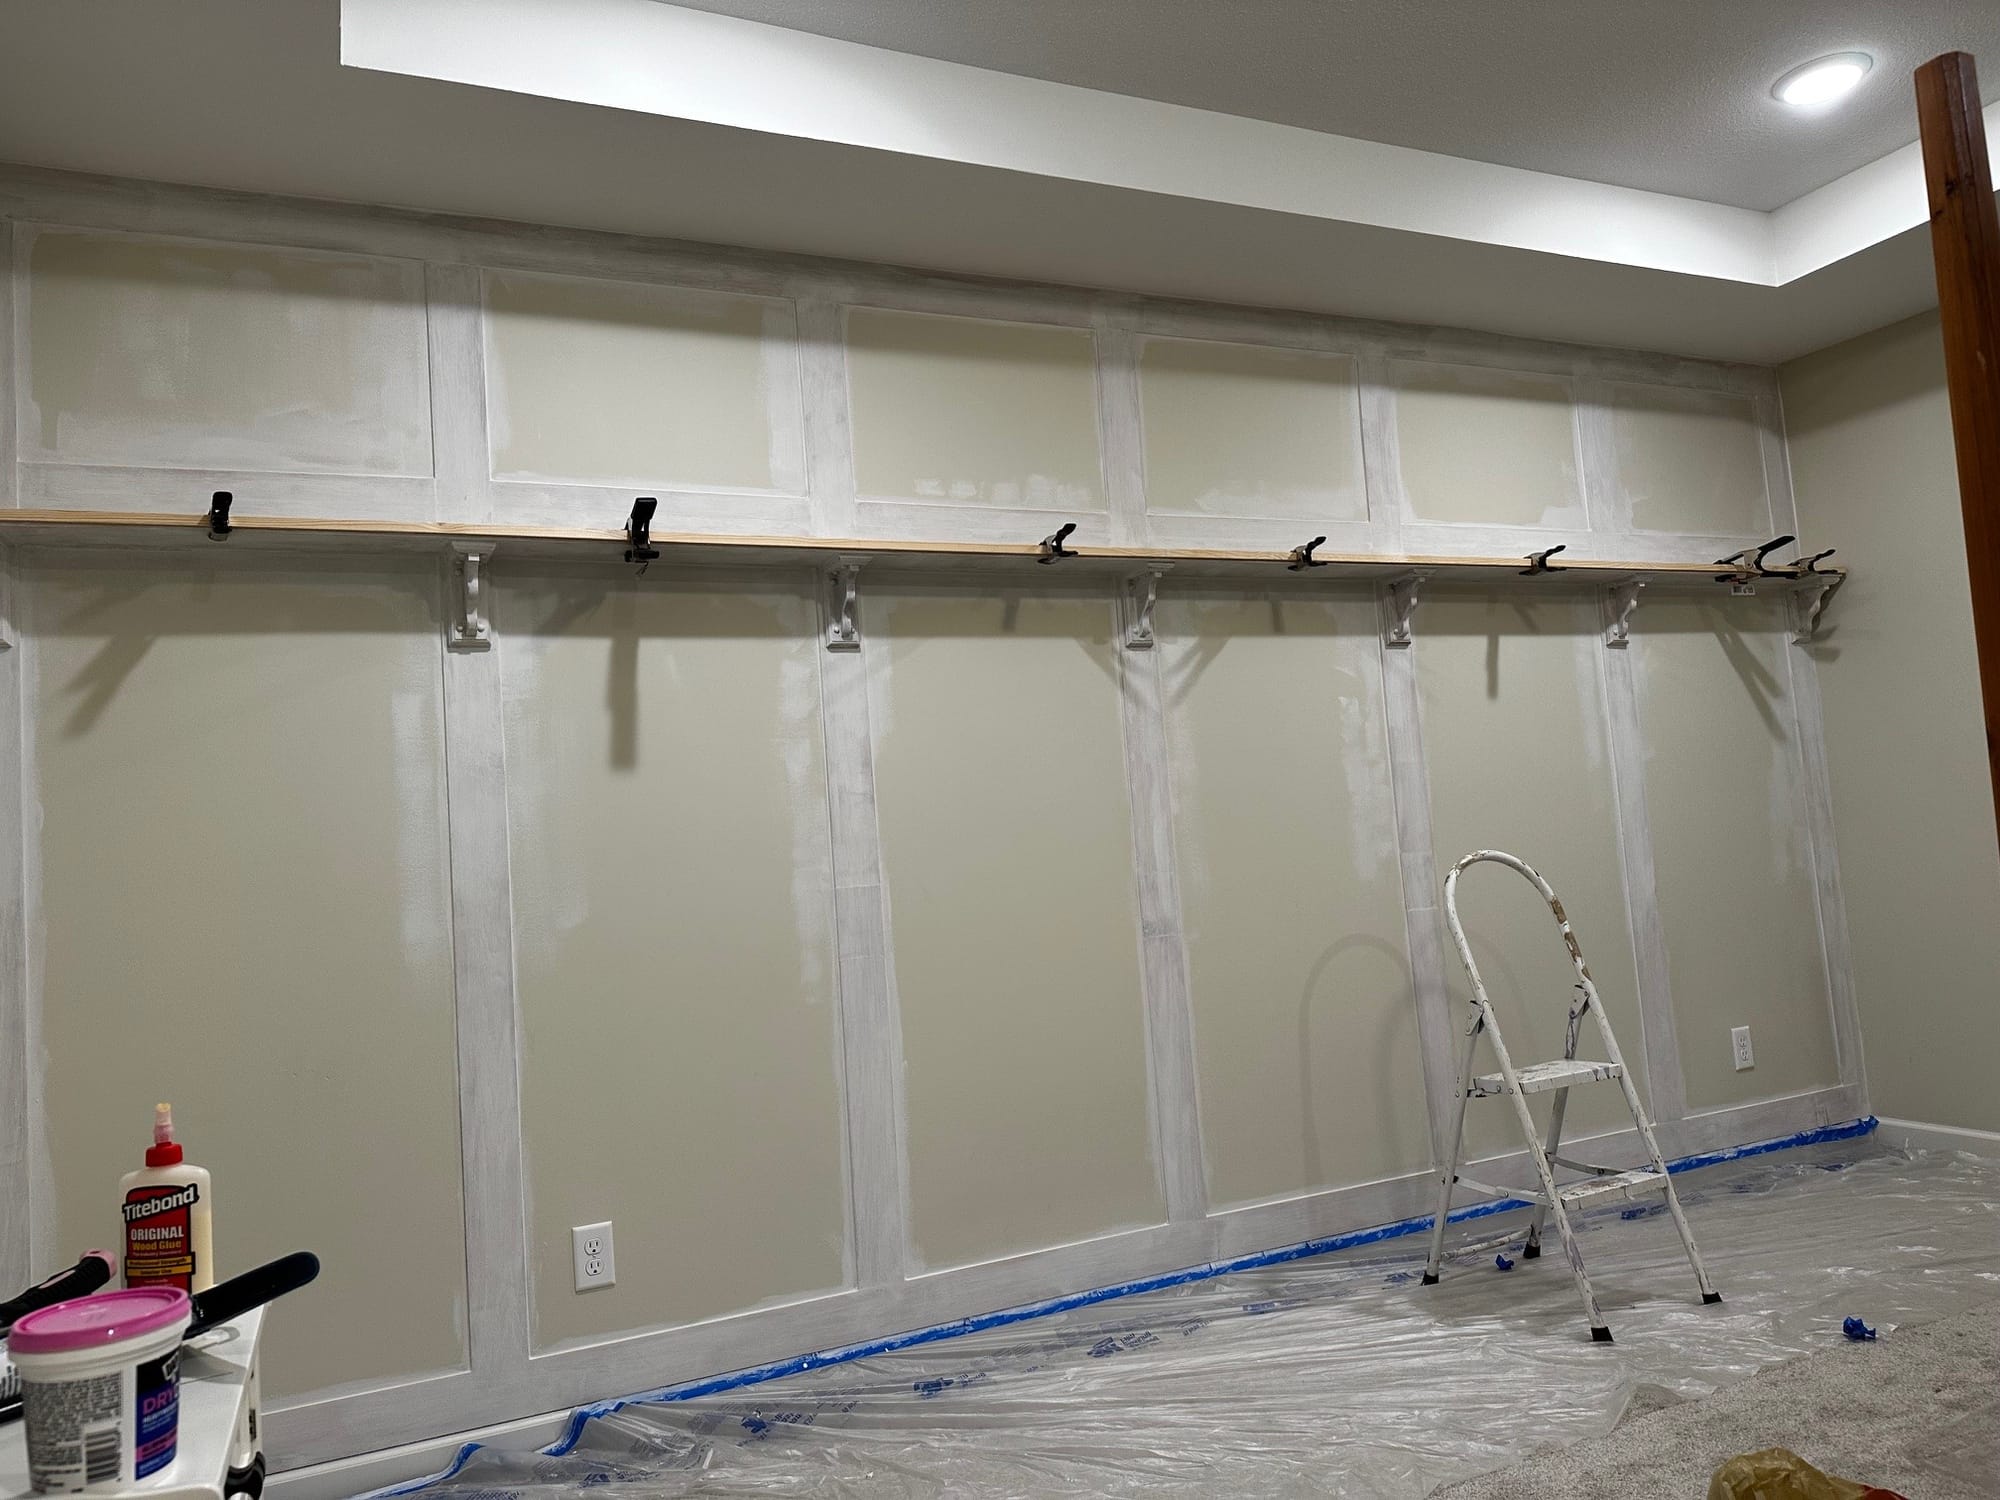
Initially, we had planned to use only one piece of wood for our shelving. Luckily, we changed our minds and decided to double up on the pieces of wood utilized, adding an extra dimension and a more customized look. In total, we used four pieces of wood to complete the shelving. Two thinner pieces of wood as the base, and two thicker pieces of wood as the top layer of the shelf. Using a nail gun, we nailed the base boards to each corbel. We then used wood glue and a nail gun to install the thicker piece of wood, attaching the thicker piece of wood to the base piece of wood. We then used clamps and let sit for 12 hours to dry.
Step 6: Time to Paint!
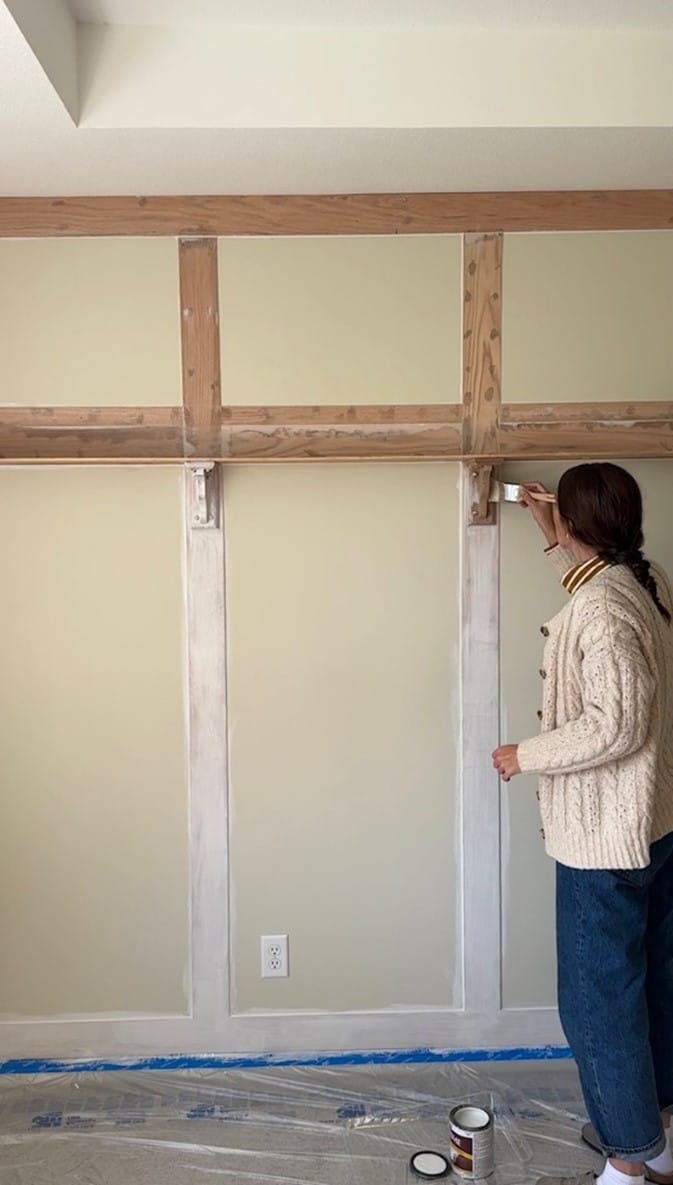
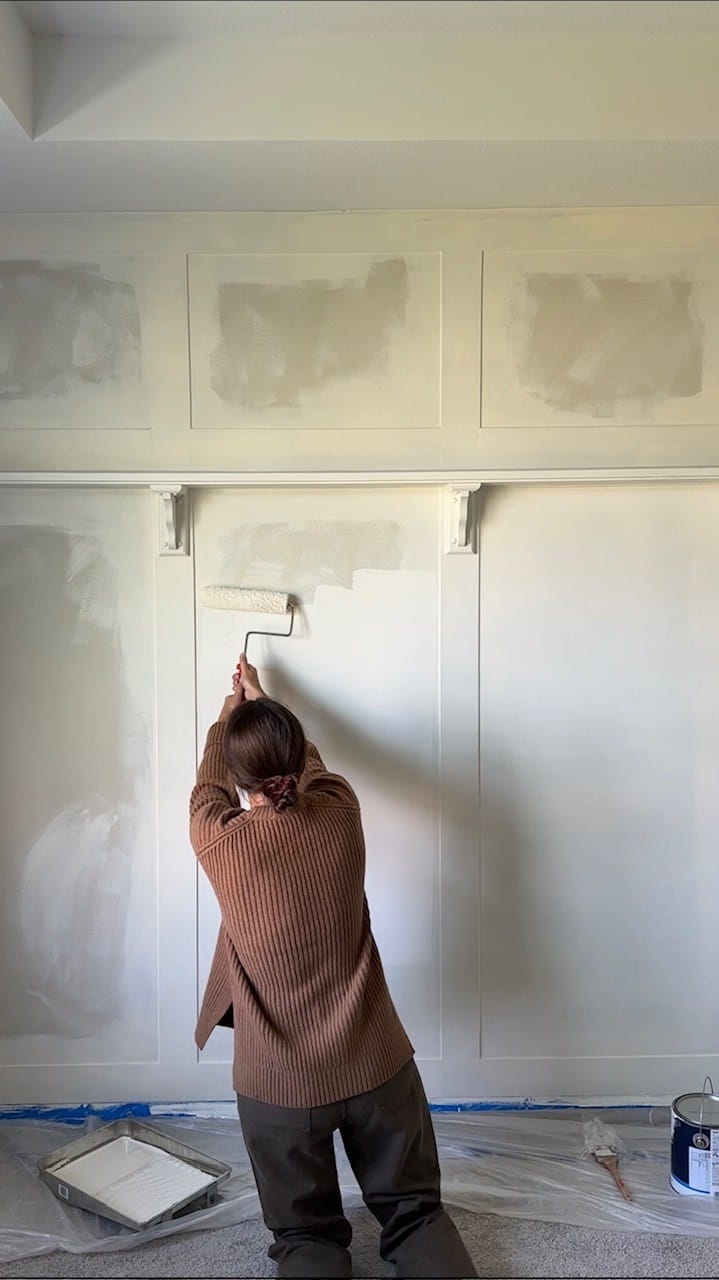
After consulting our local paint store, we decided on an oil-based primer. Oil-based is best when working with wood as it helps fill in the wood grain and provides a smoother finish. If you don’t have this, have no fear! Standard water-based primer is fine, however, you may see more wood grain in the finished product and should consider doing more coats. We did two coats of primer and two coats of paint in total. The color we used is a Benjamin Moore: God-Given. We decided on this color because it is slightly lighter than our current color and didn't
want a loud accent wall, and also the color selection acts as an homage to our baby, Sam.
Step 7: Additional Accents
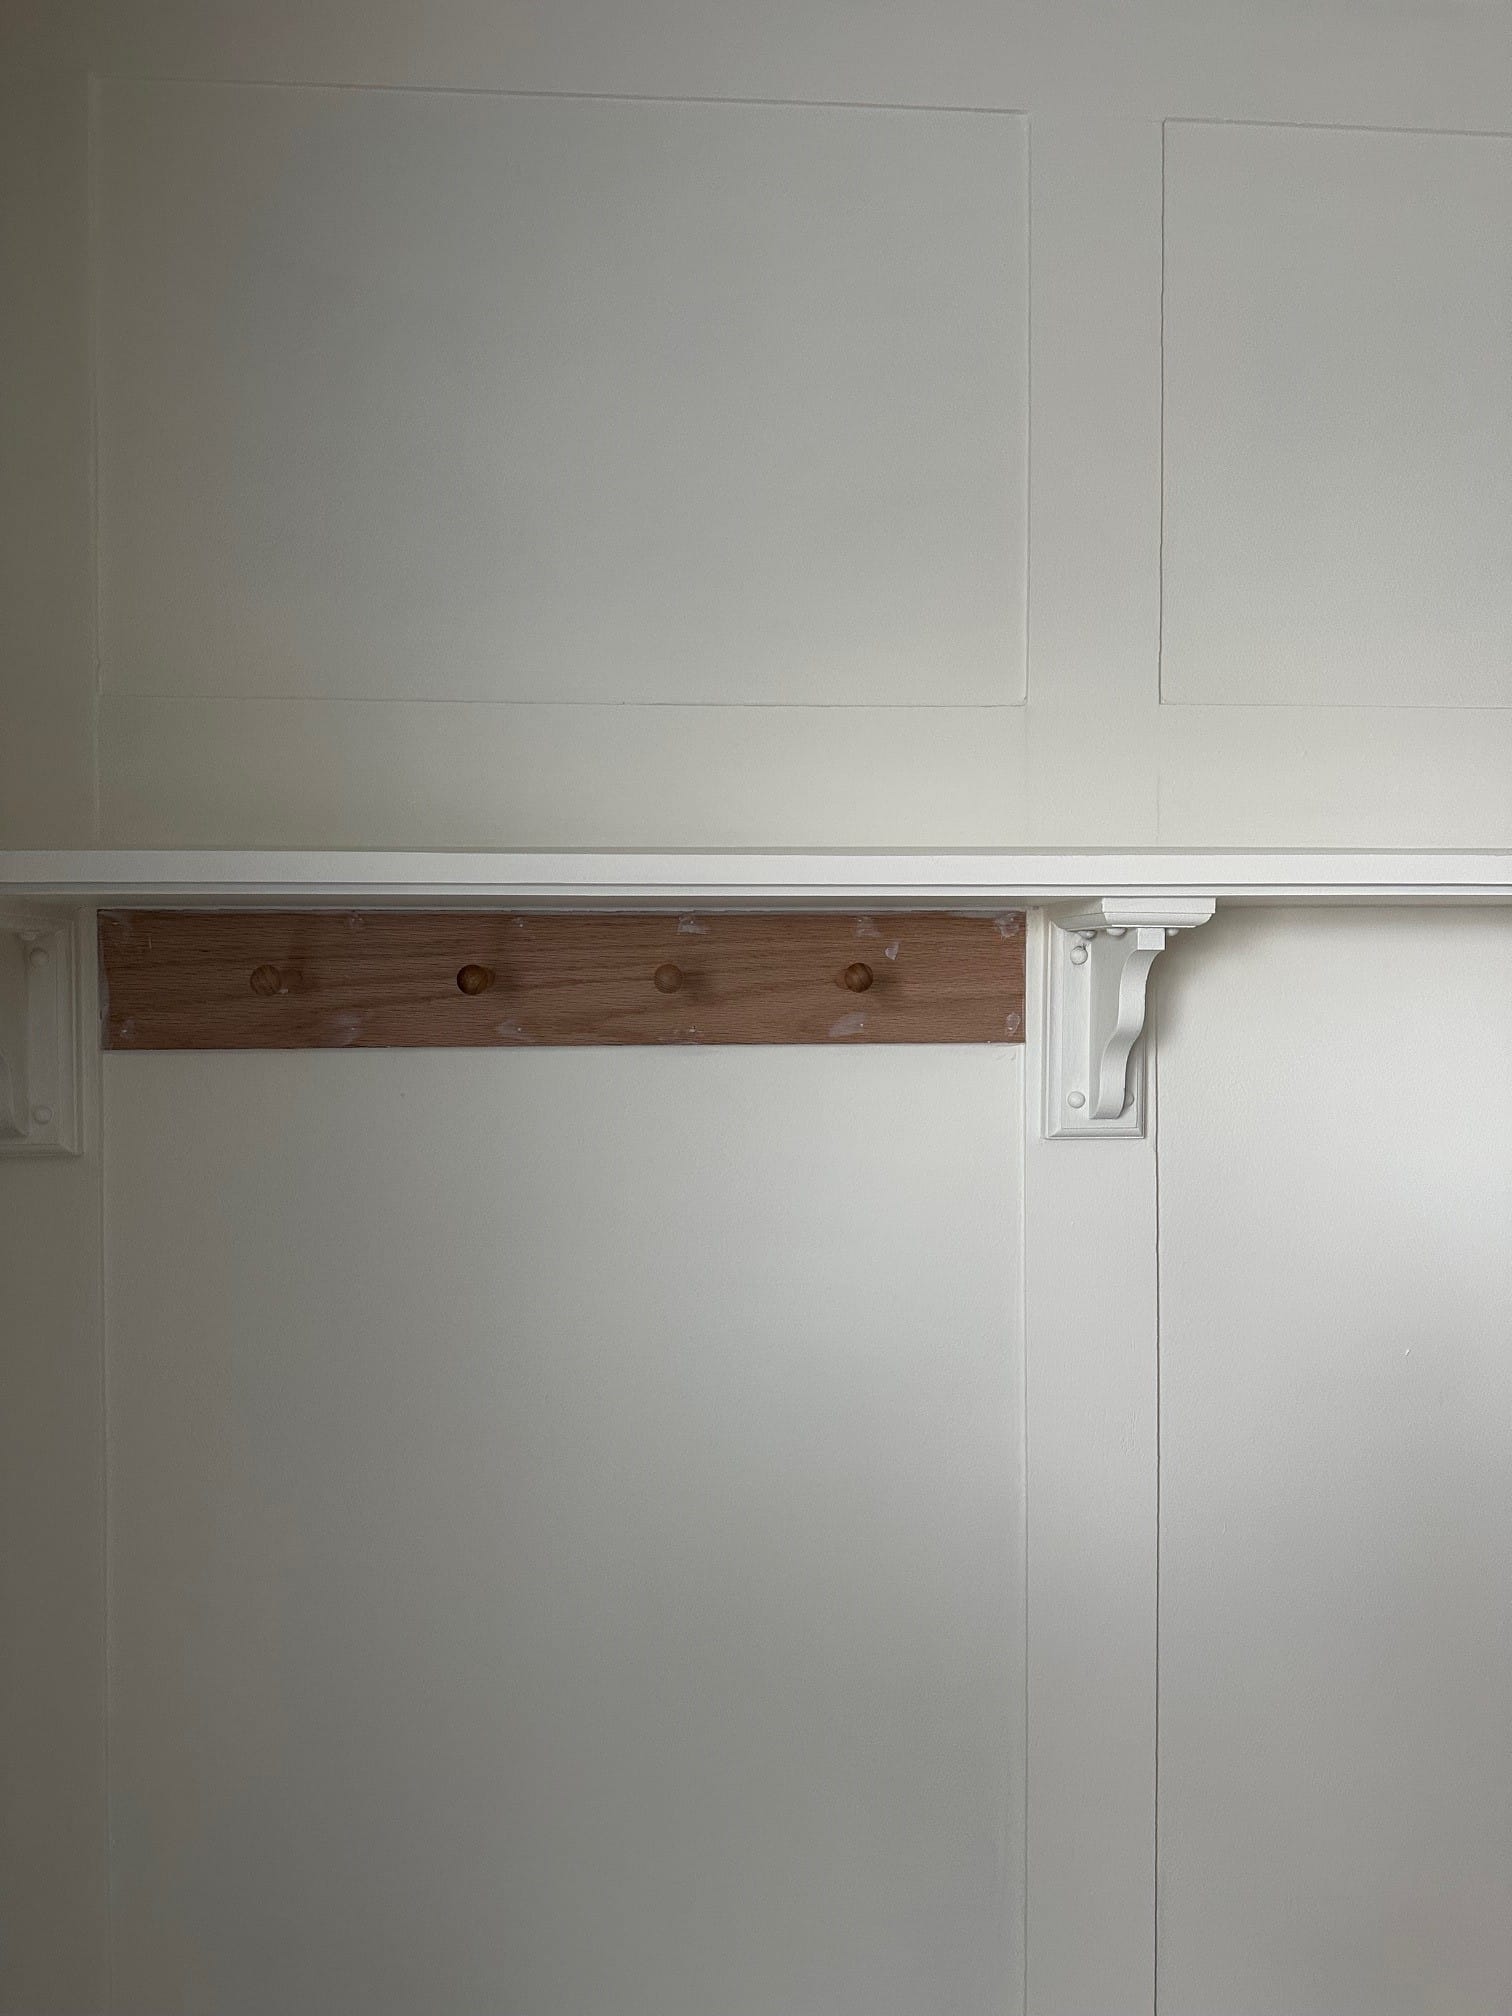
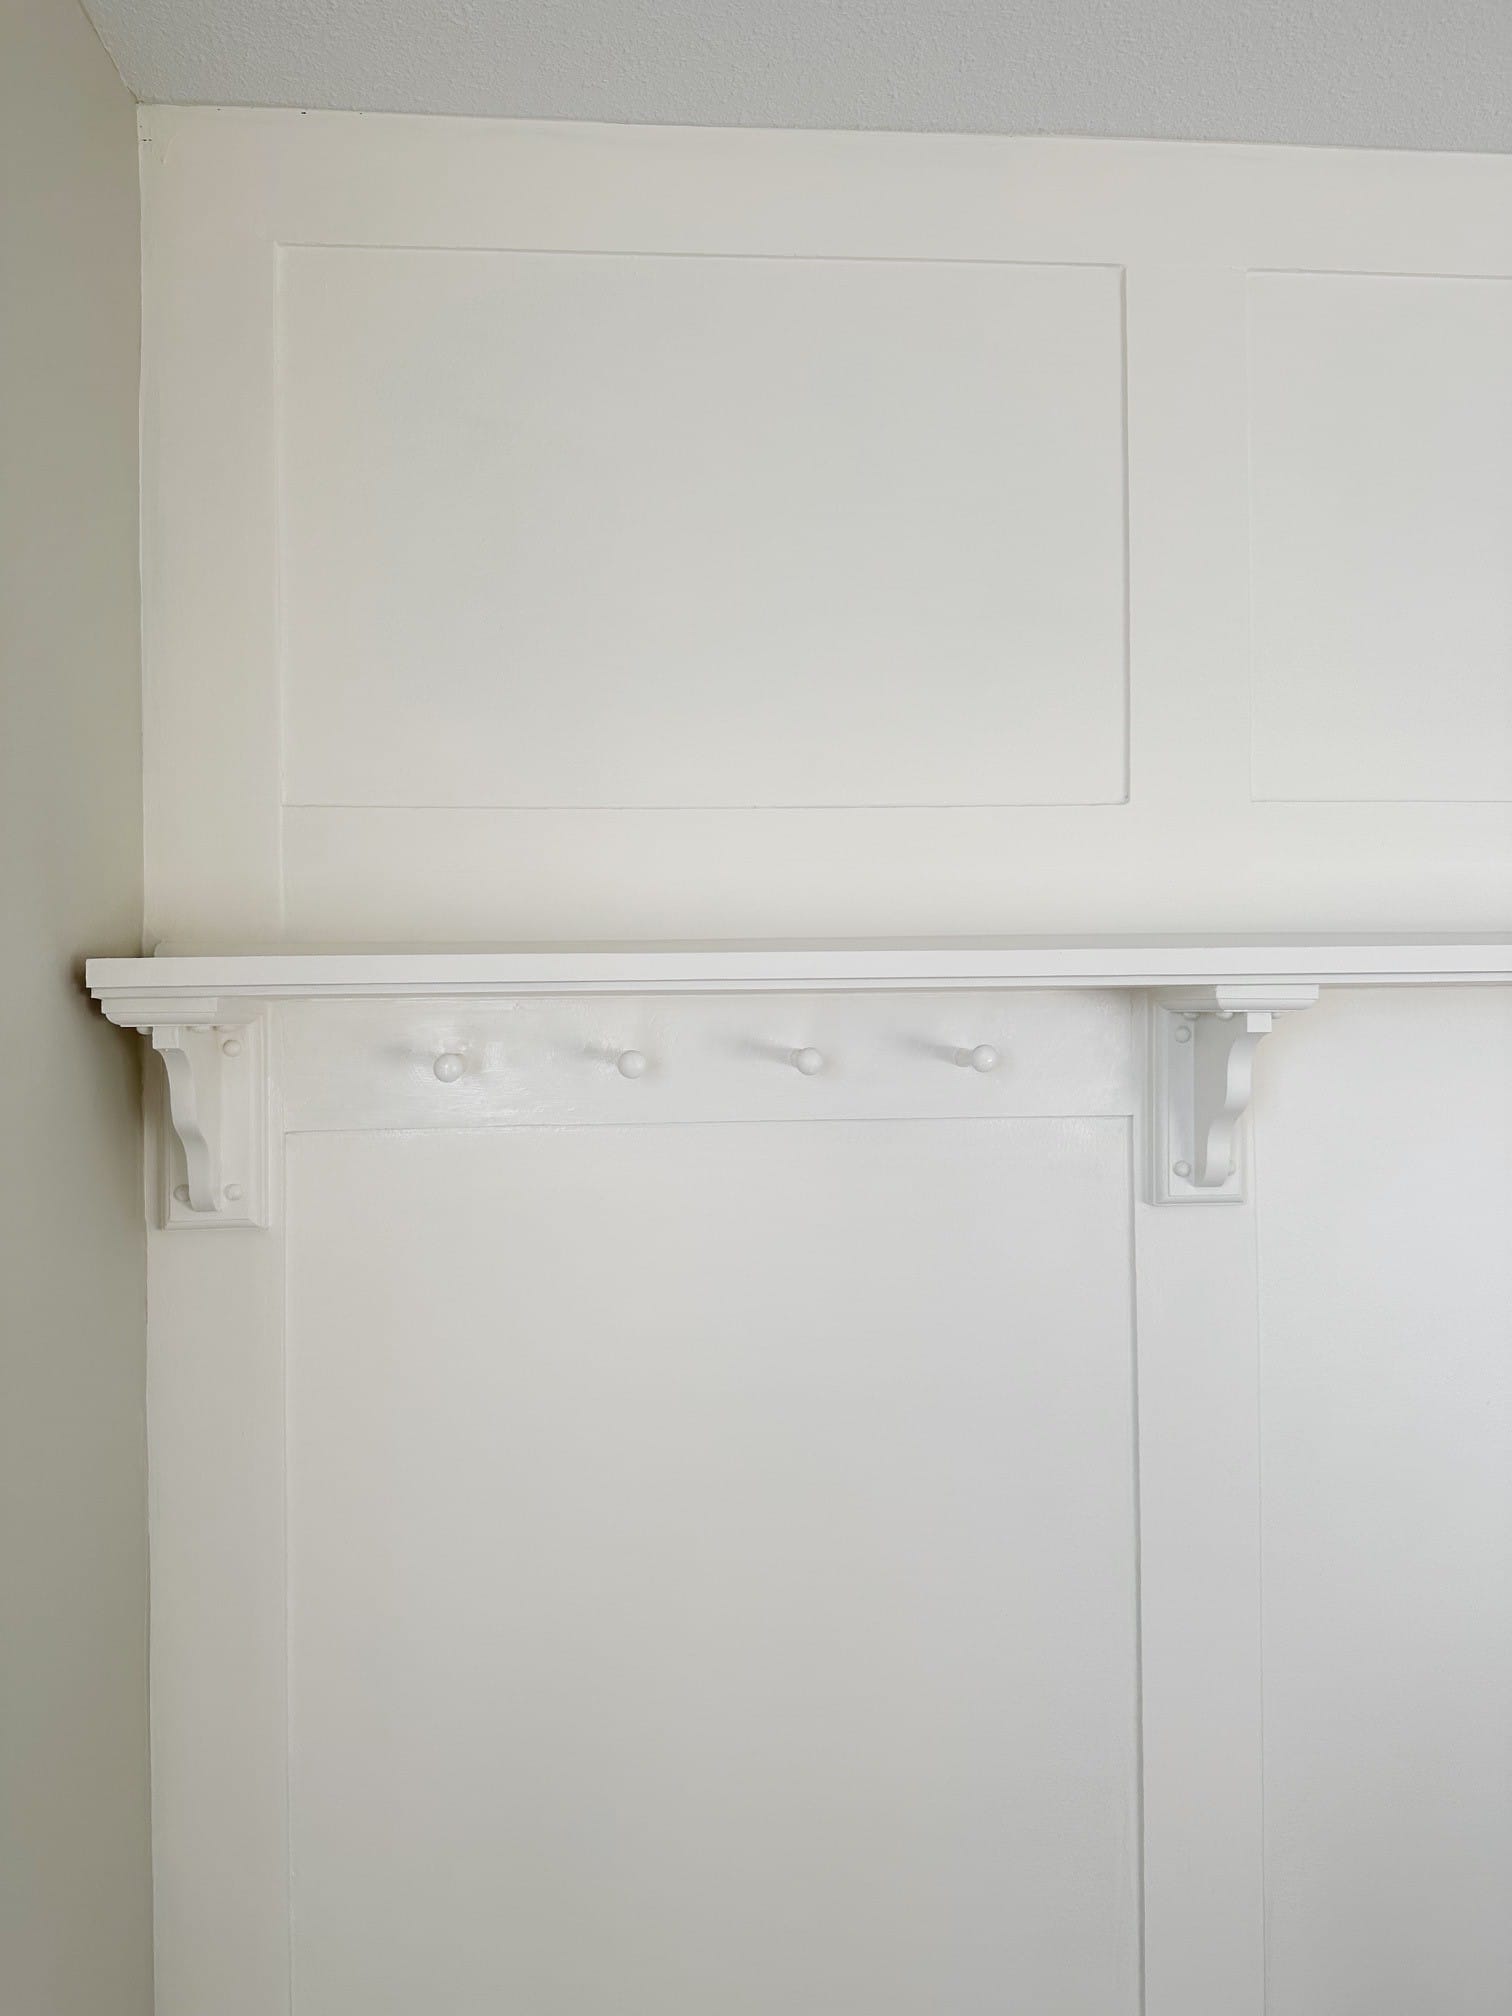
We wanted to add one last touch to our wainscoting adventure by adding some knobs to act as hangers for seasonal décor and additional accents. We utilized the spacers from our initial wainscoting measurements and installed a panel to the far panels the wall. Next, we purchased knobs from Amazon and screwed them into each panel.
Step 8: Final Result
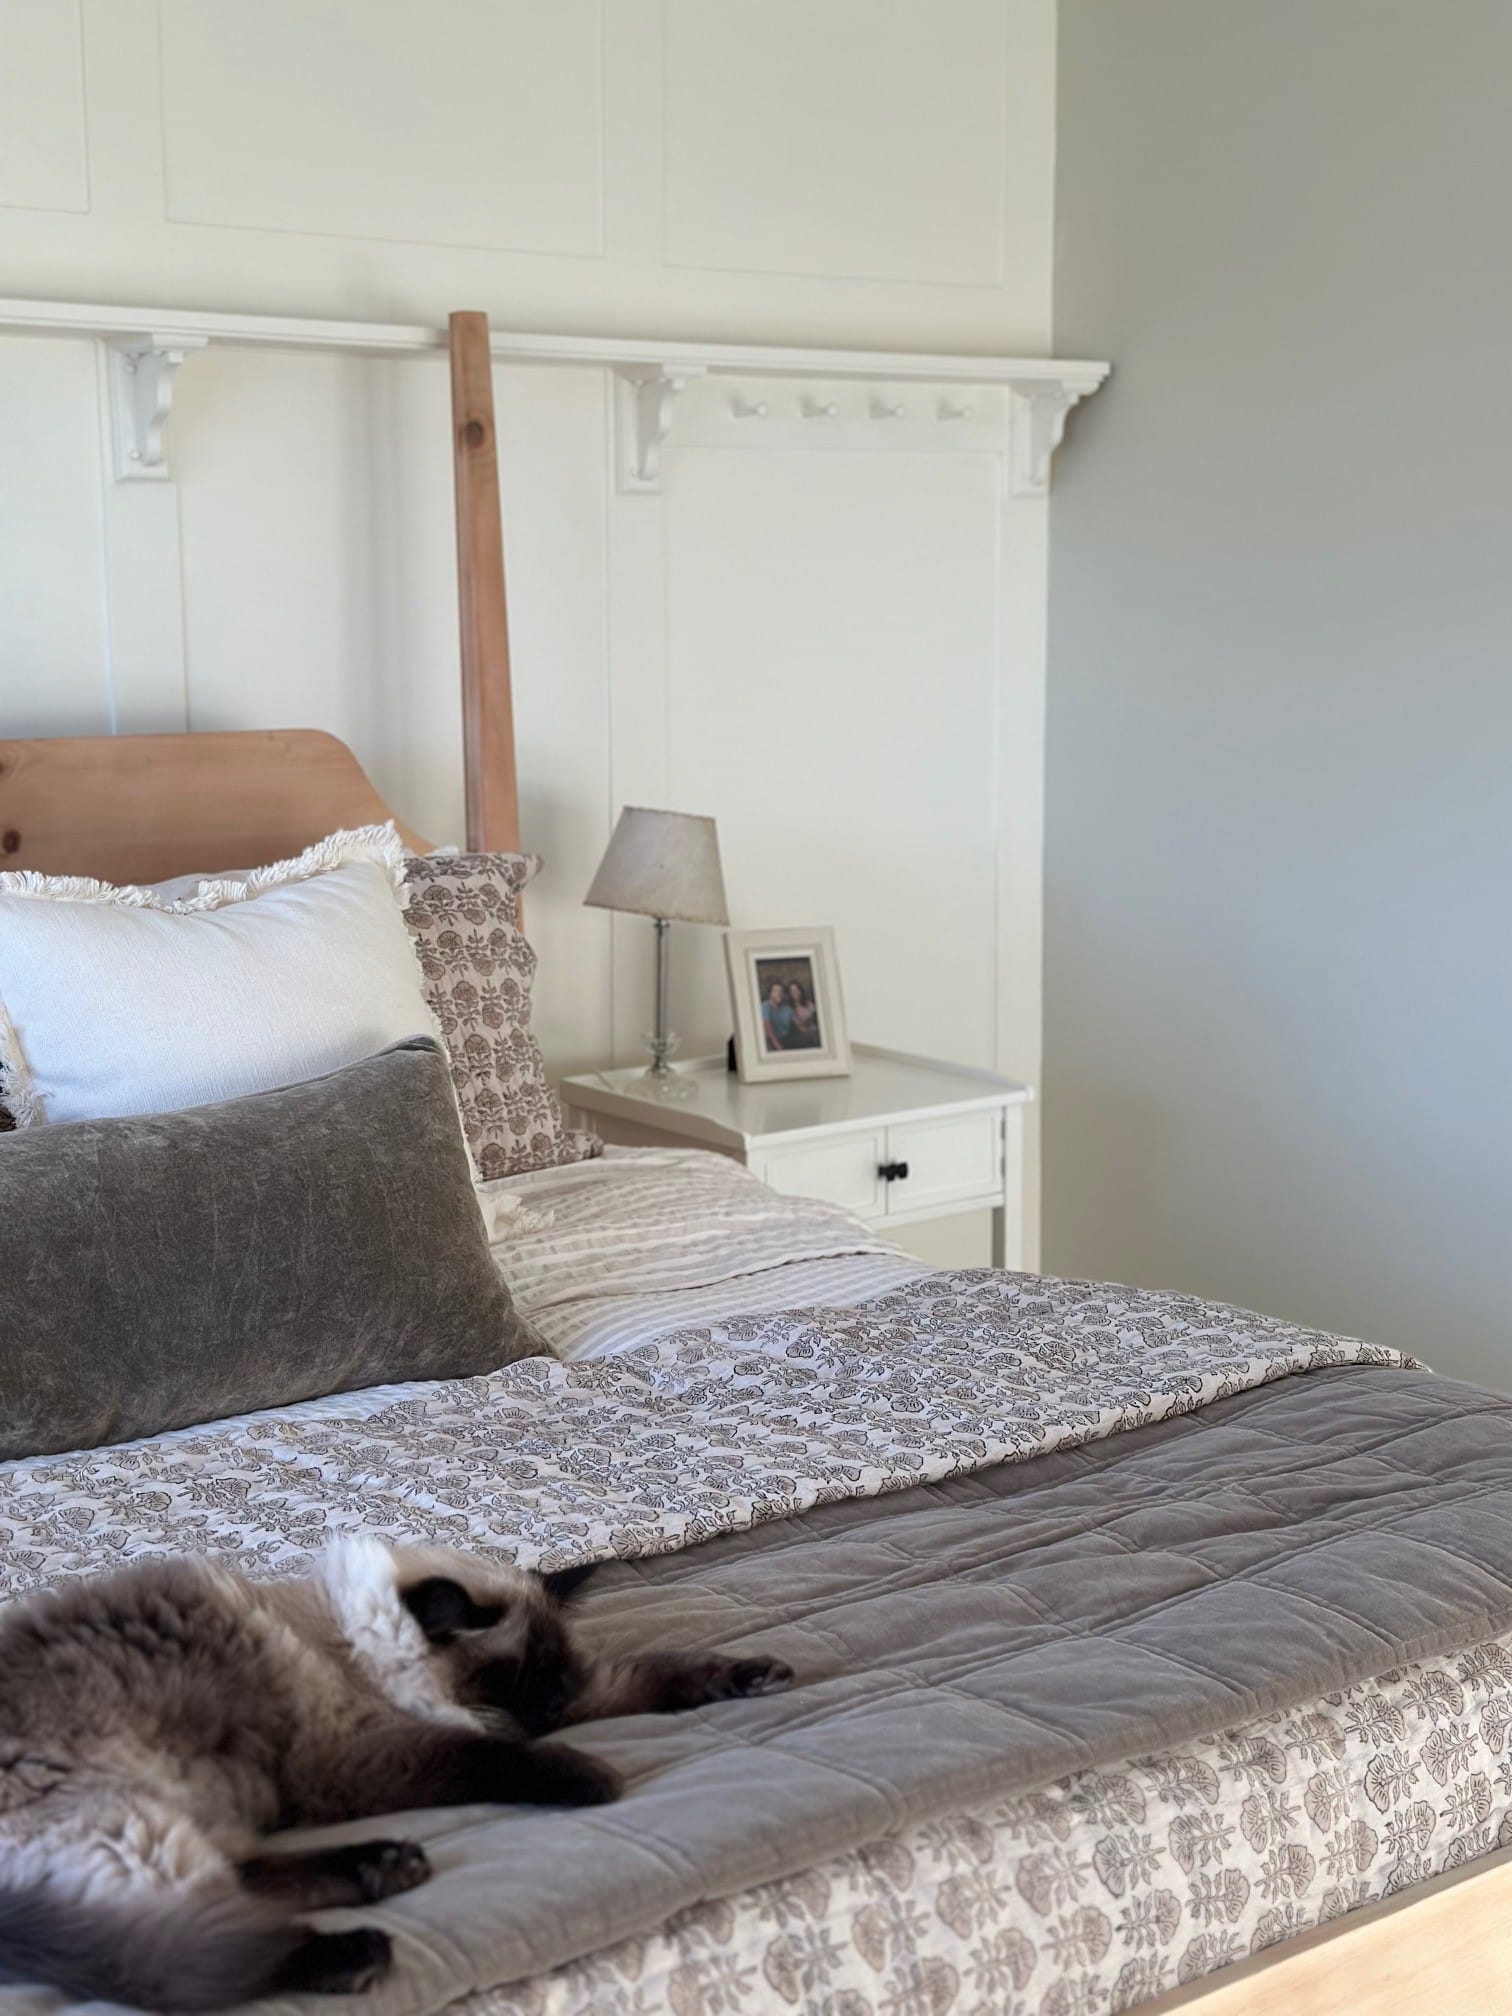
Once painting is complete... you are done! You have completed your very own wainscoting accent wall. We are so happy with the result, and you can rest assured that we will be doing this to other rooms in our home, with different twists of course!
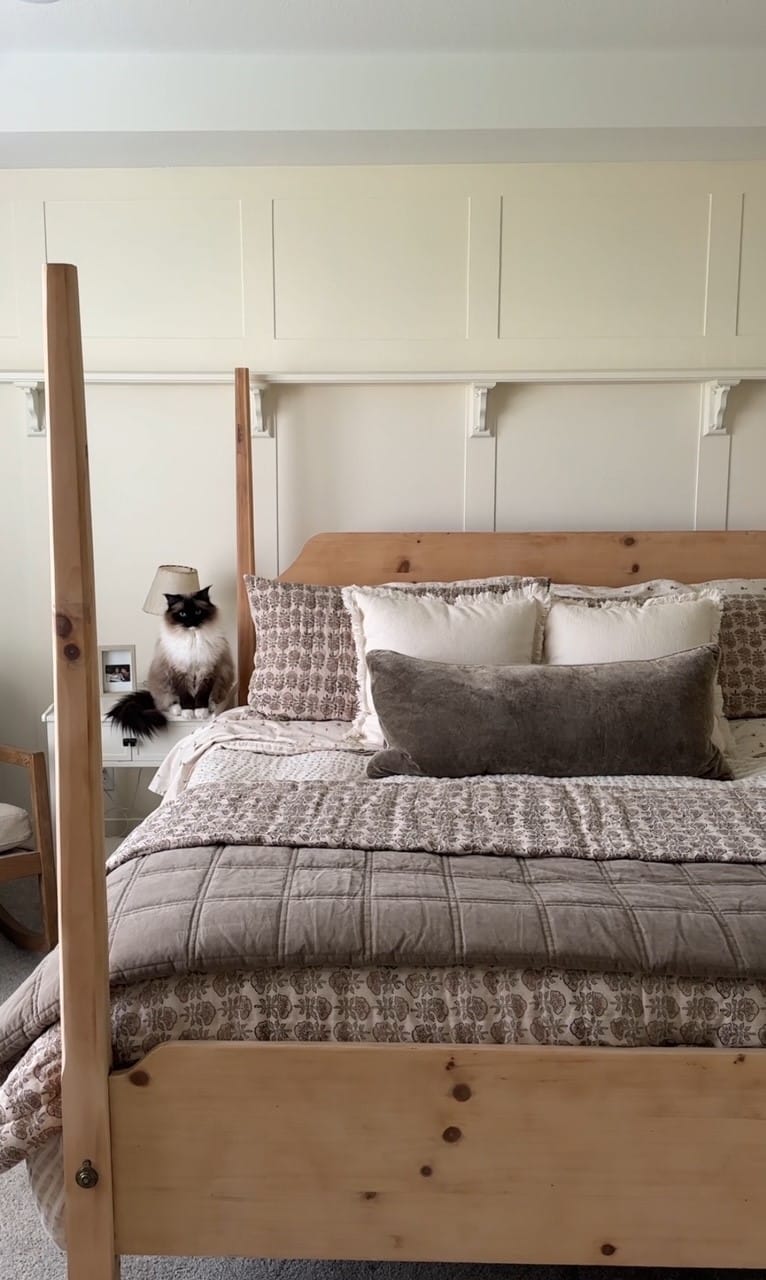
Why Install Wainscoting?
- Stylish: Adds an interesting focal point to your room.
- Functional: with shelving and hanging options, you can add décor and other accents to your space without punching more holes in your walls
- Value-Add: Additions such as wainscoting add value to your home, and keep buyers interested and thinking about the unique characteristics of a home.
Wainscoting is an easy way to add immediate charm and customization to any room of your home. These unique details are what keep buyers interested and offer an artistic and cottage-esc focal point within your space. This DIY project turned out to be one of my favorites and has been a therapeutic outlet for my husband and I as we move through a challenging time in our lives. We have many more plans to jazz up some of our other, not-so-aesthetic spaces in our home, and we hope you follow along with us!
For more home-styling, creative crafting, and DIY fun, follow me on my Instagram page.
Thanks for spending some time with me at my cottage!

Creator: Madeline
Instagram: @cahillcottage


