After building our shelves in the last post, we really wanted to try something new. If you remember, we had to sand after applying the varnish because we left some pretty noticeable brush marks and patches. We loved the final result, but we weren’t too happy about how long it took to paint, and even less about having to sand and redo everything twice (making it take even longer).
We’d used the wrong brush, an honest beginner’s mistake. But that’s exactly what we are: beginners learning as we go. In any case, those pesky brush strokes inspired this new project. Since painting is one of the easiest and most effective ways to DIY and refresh any furniture, we thought this time we’d focus on achieving a smooth, even finish without the dreaded streaks.
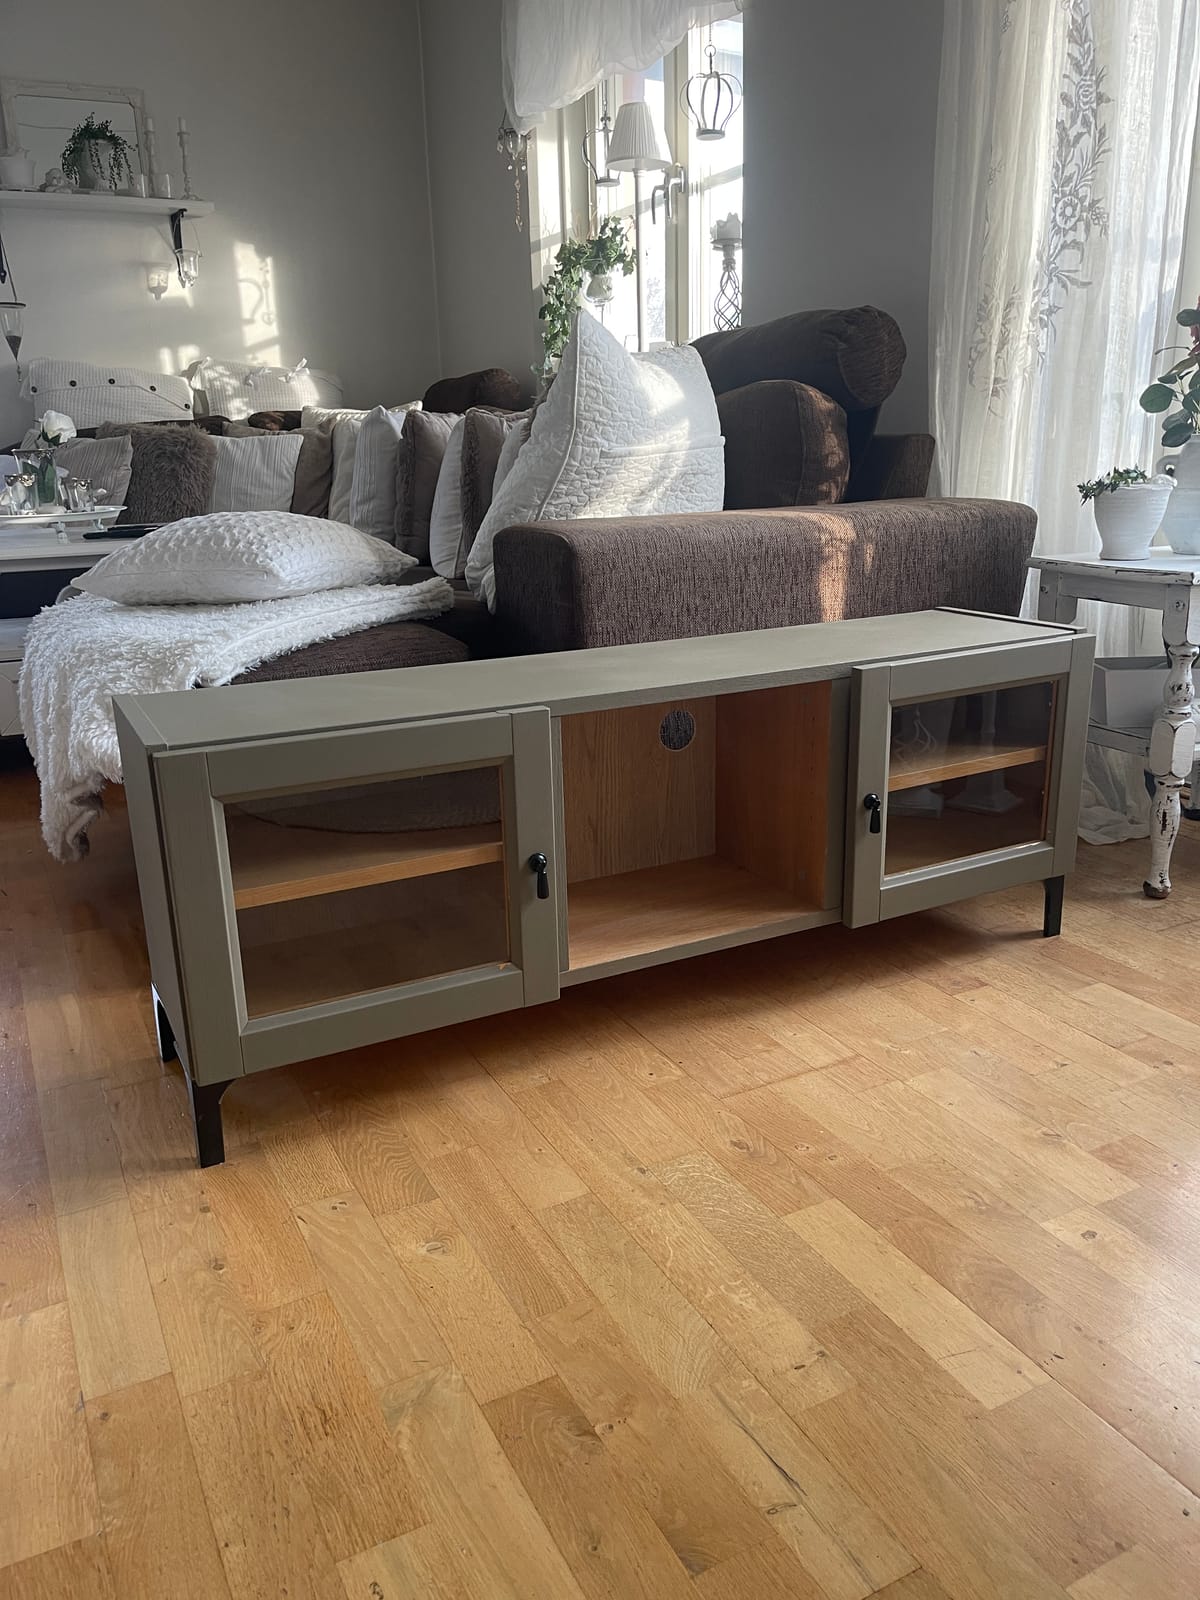
A small secondhand pine TV stand became the perfect test subject, and it gave us the chance to try out, for the first time, something that promised to end brush marks, and save us a lot of time: a cordless paint sprayer.
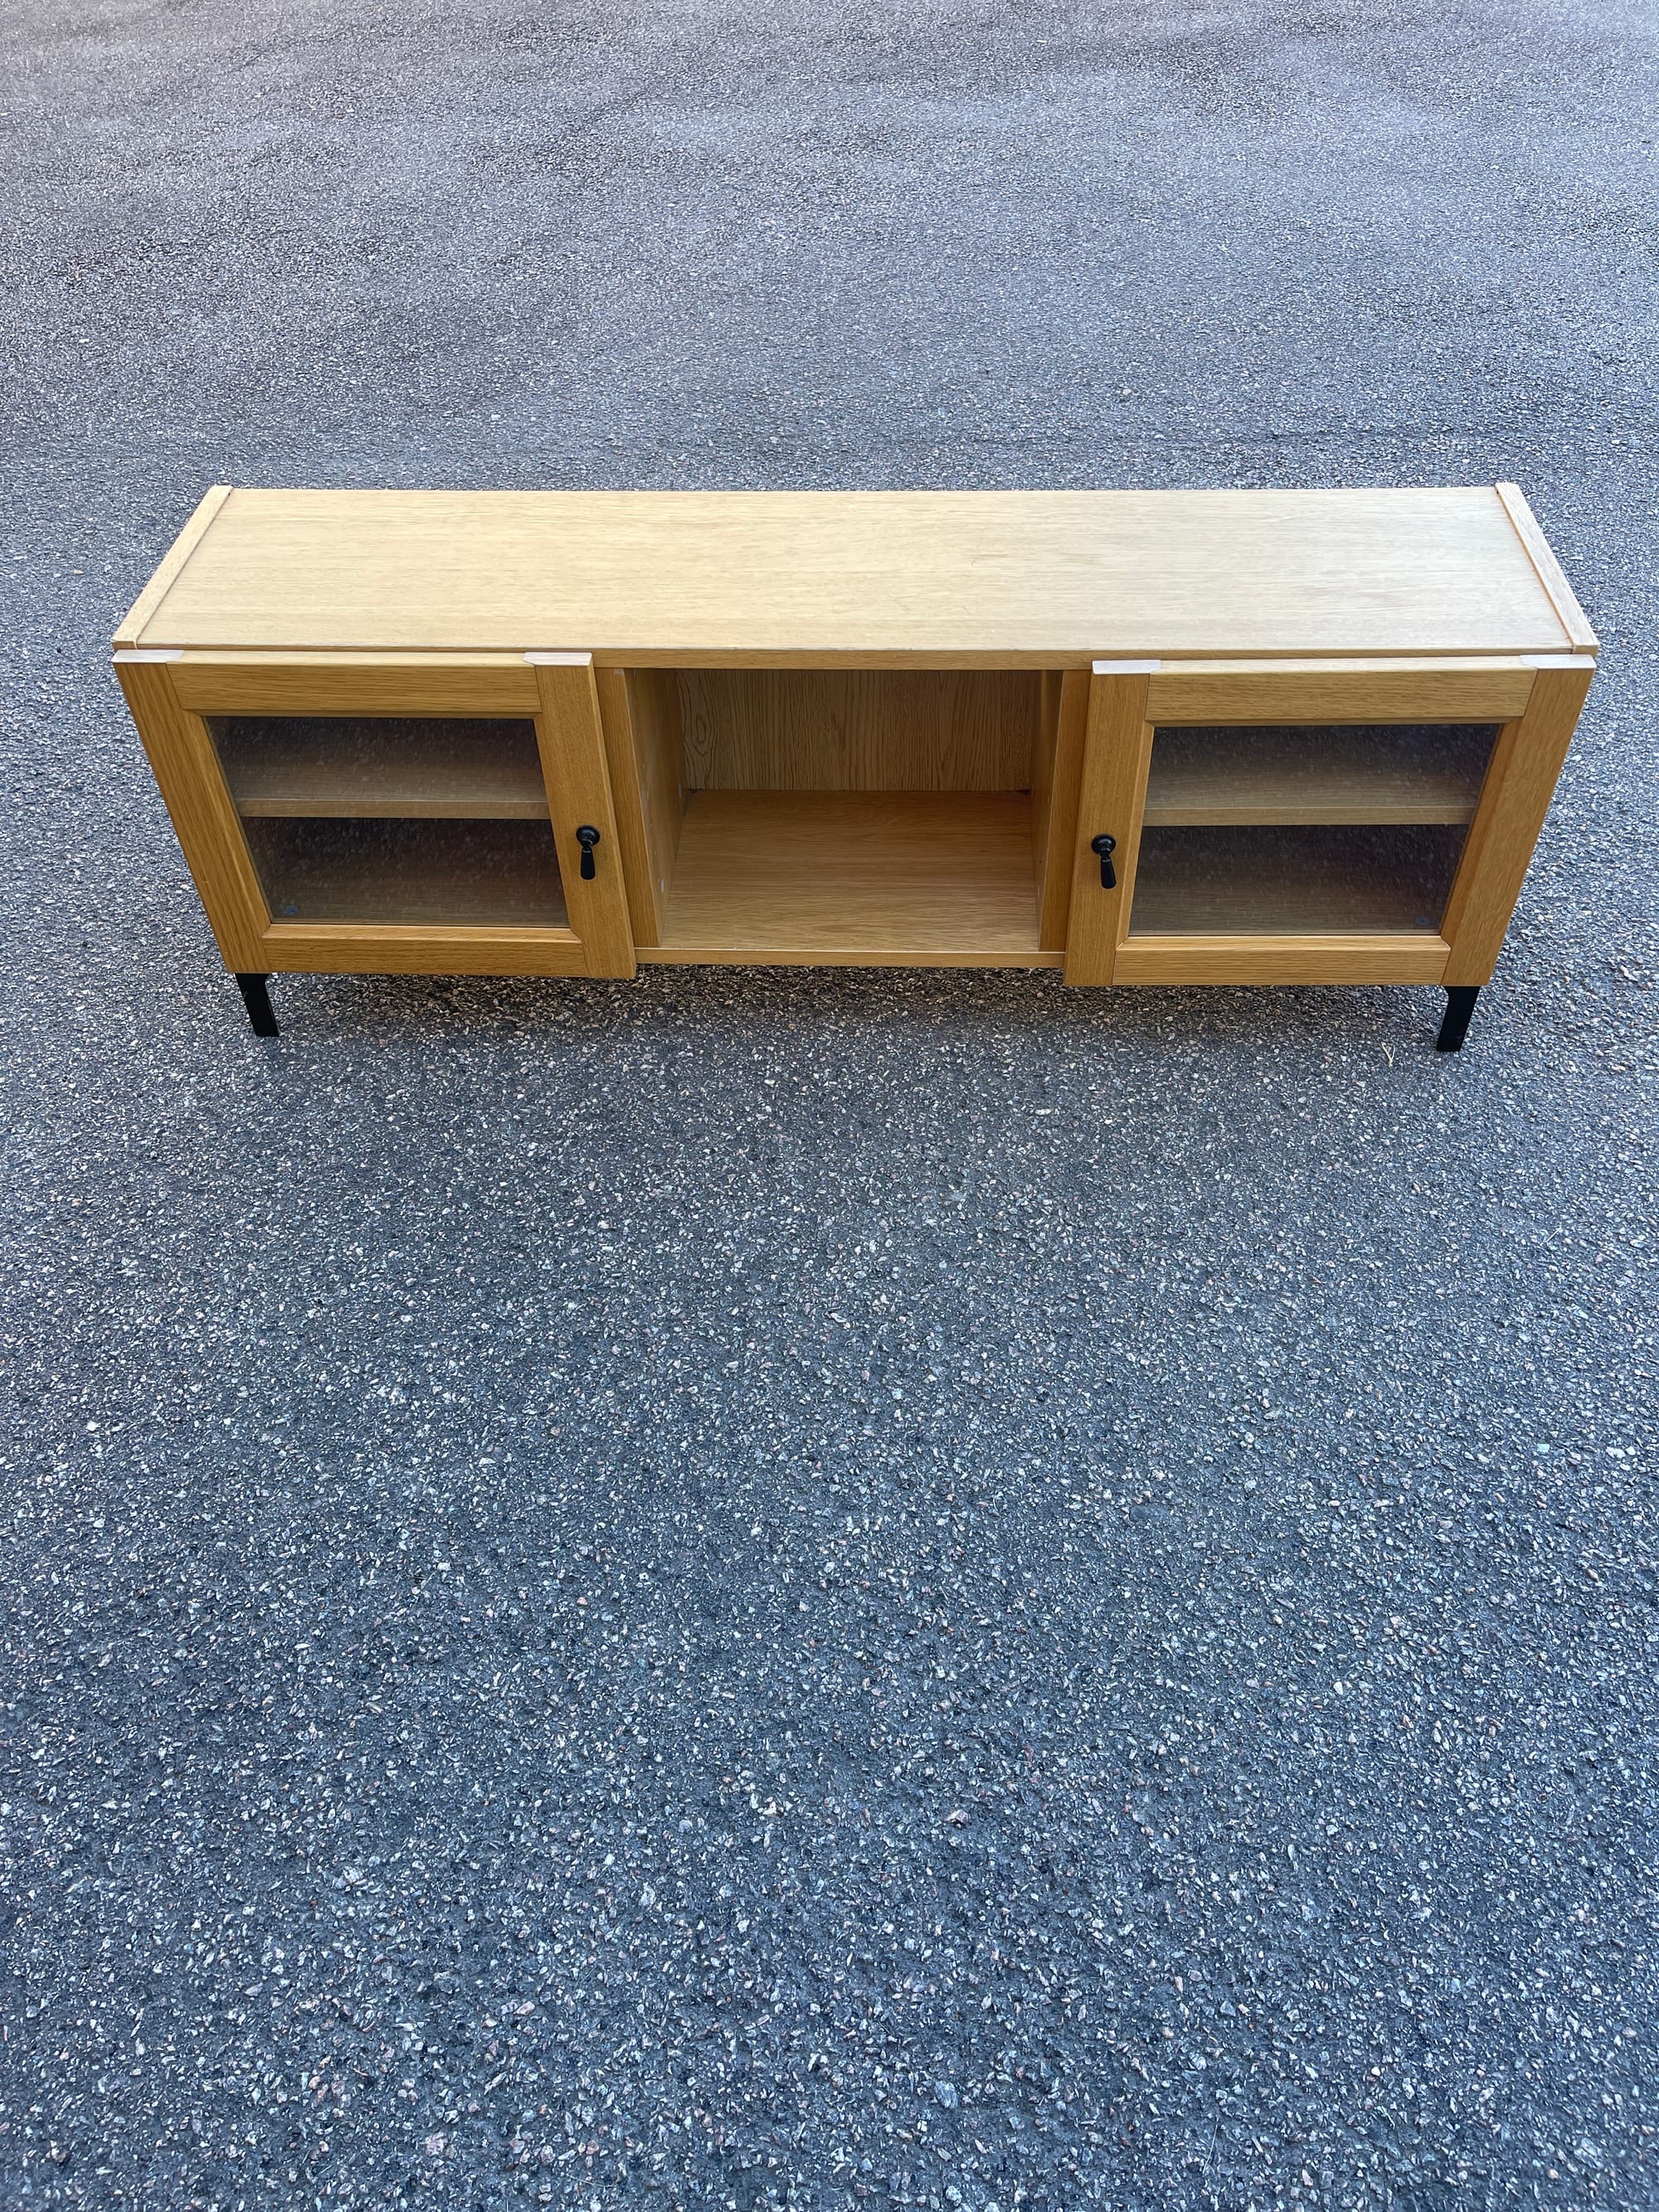
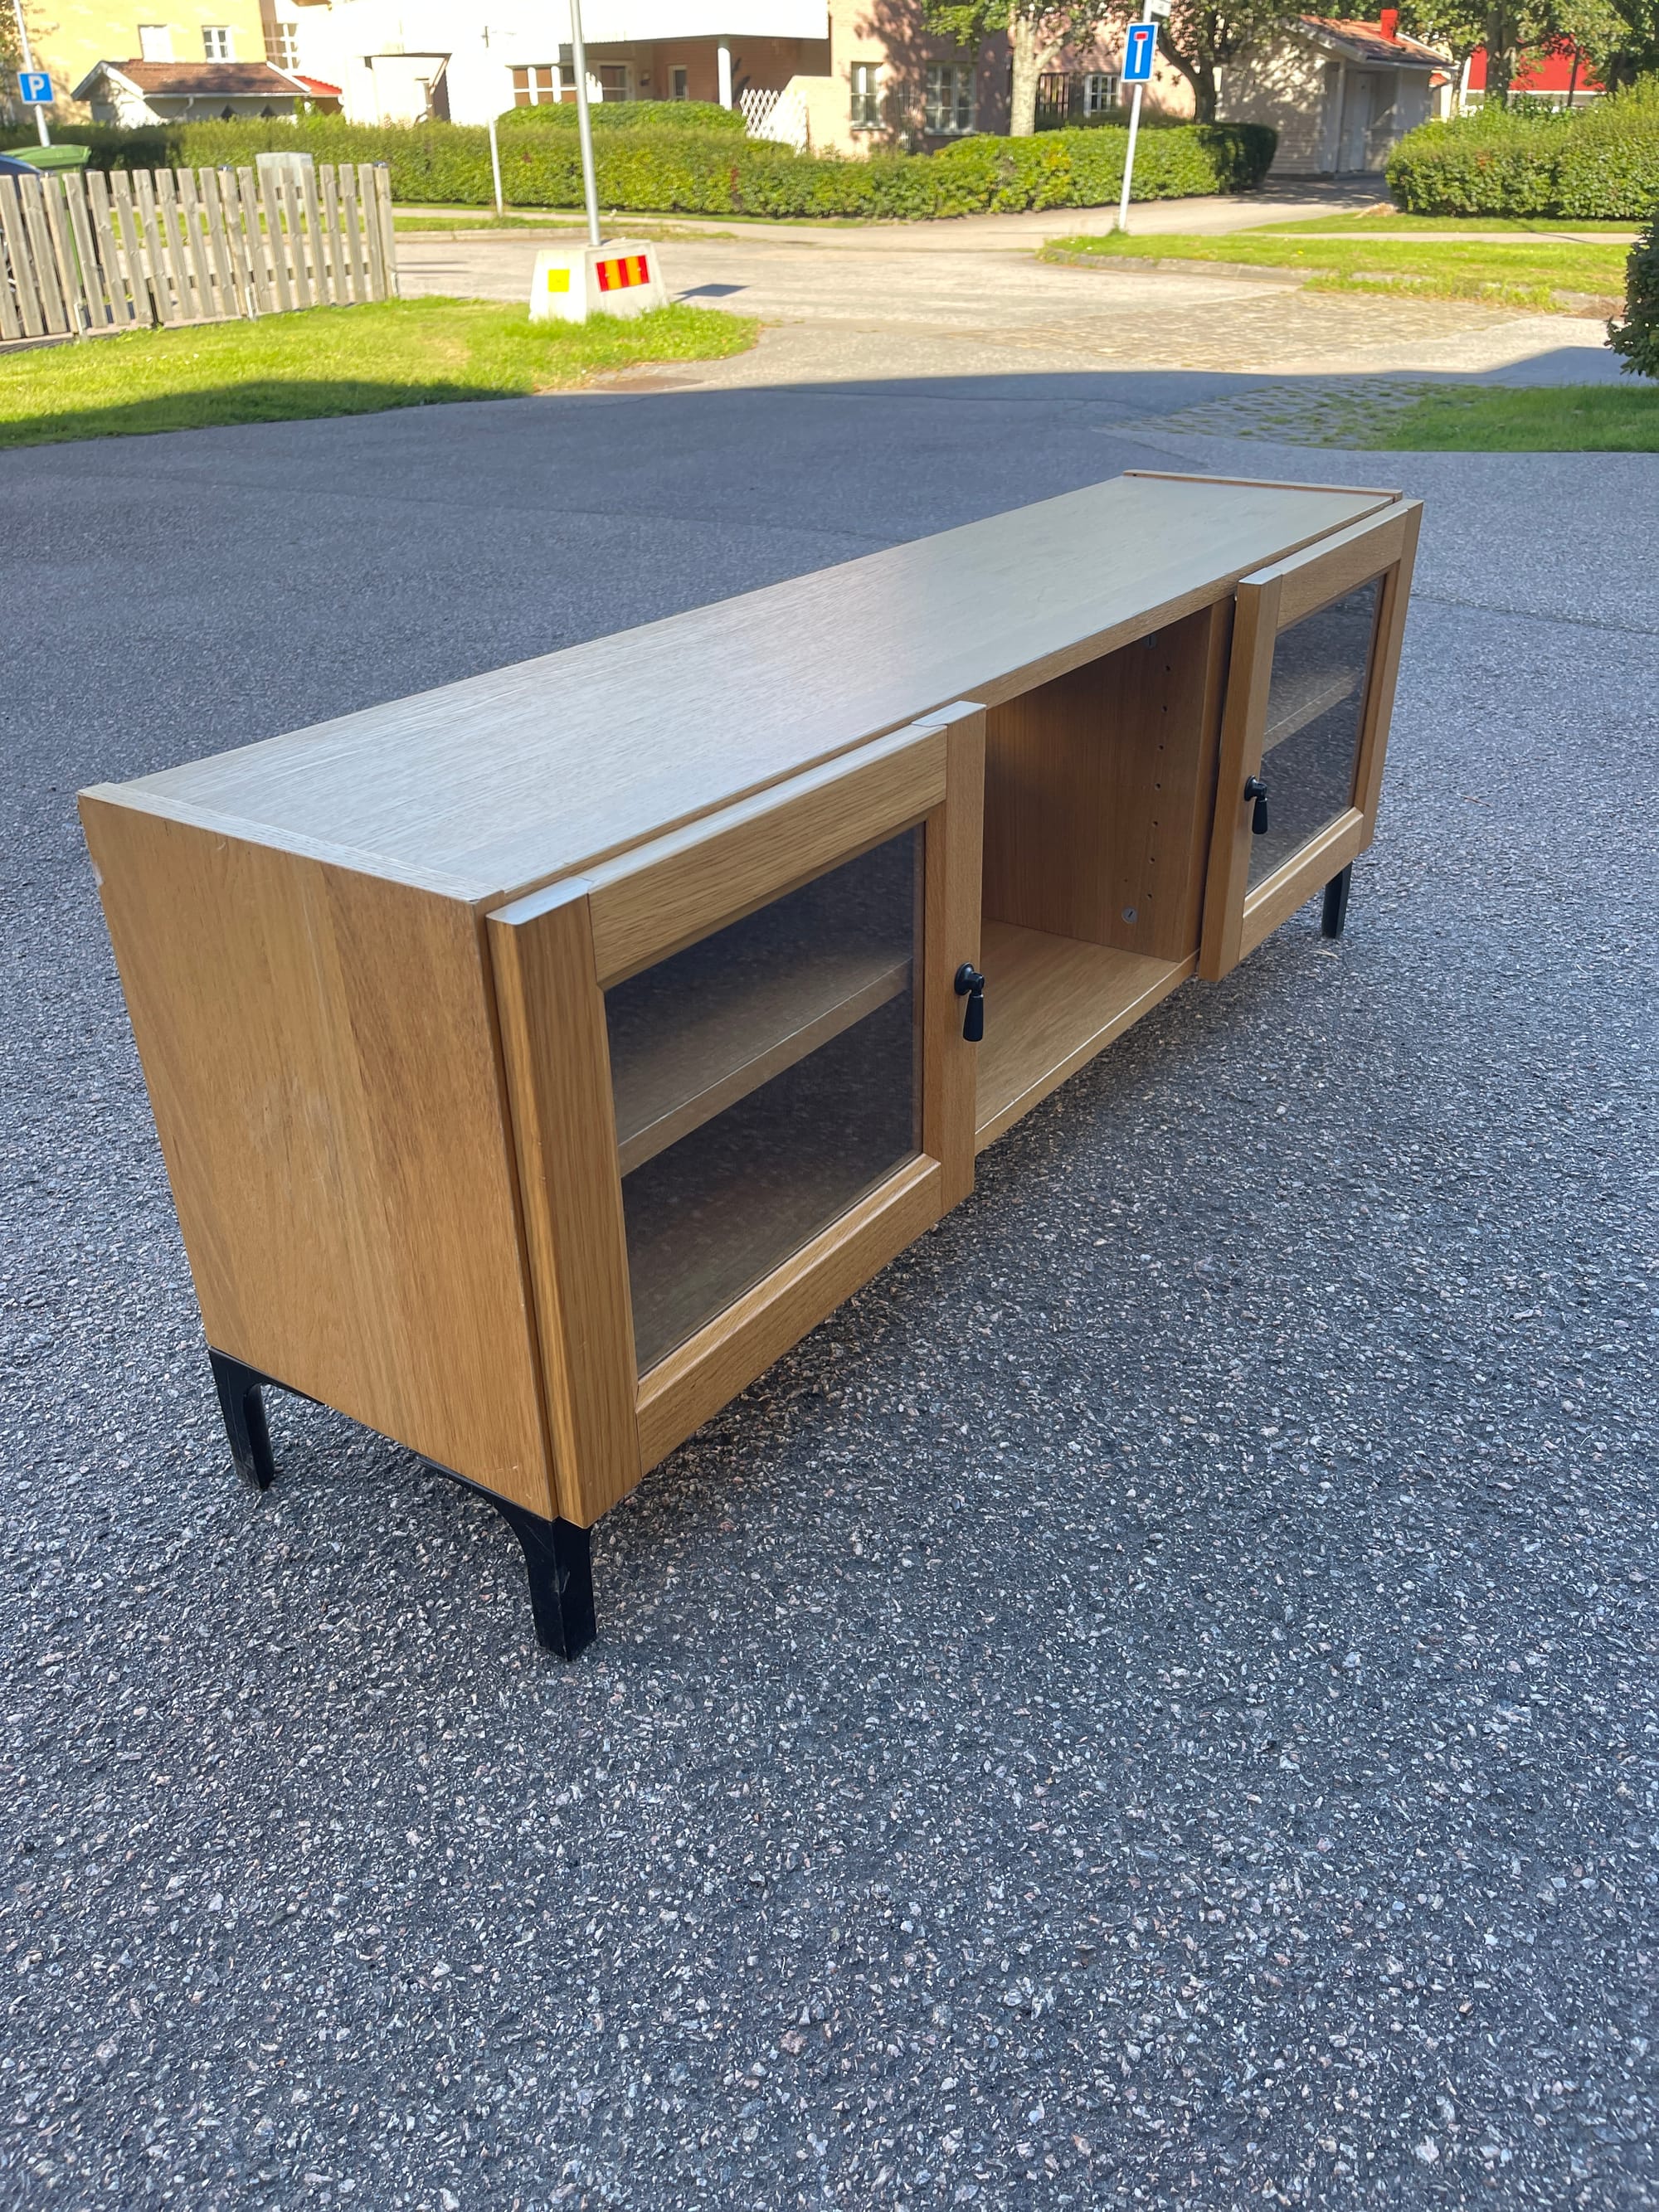
Before
We’ll admit—we were a little intimidated at first. Our “knowledge” of this tool came mostly from short reels online and it didn't look the easiest. But spoiler: we ended up being surprised at how simple and fast (and fun!) it made the whole project.
So whether you’re brand new to DIY or just curious about using a sprayer, this little makeover is for you. Here is all that we used for this project:
Materials & Tools Needed
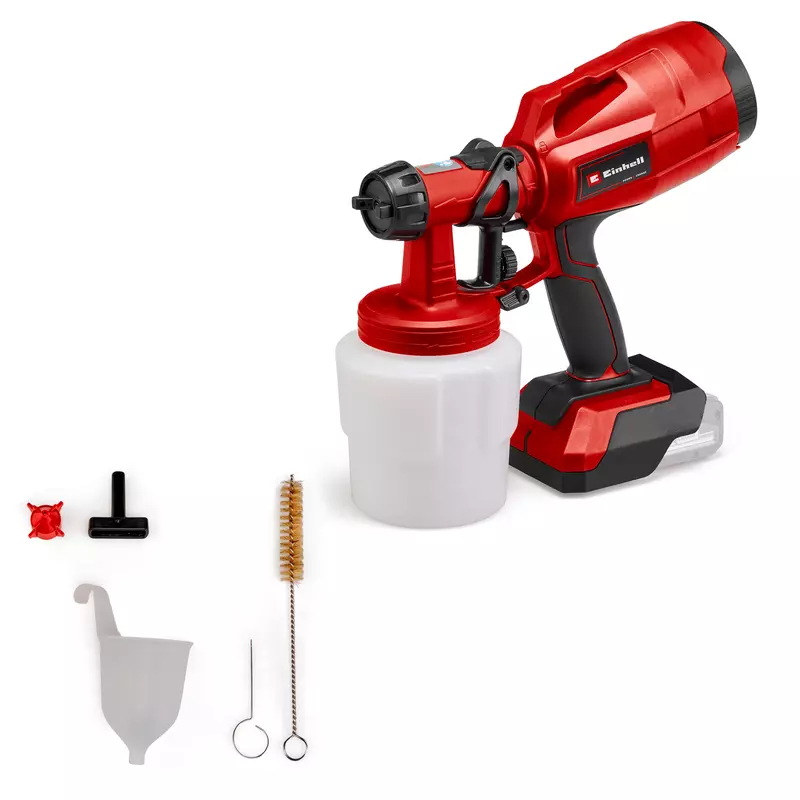
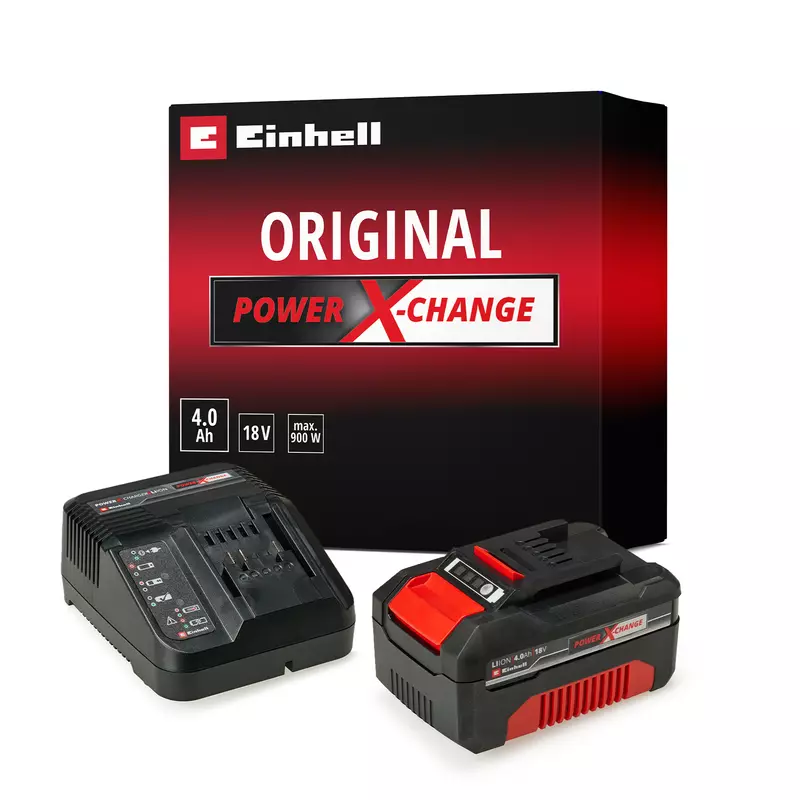
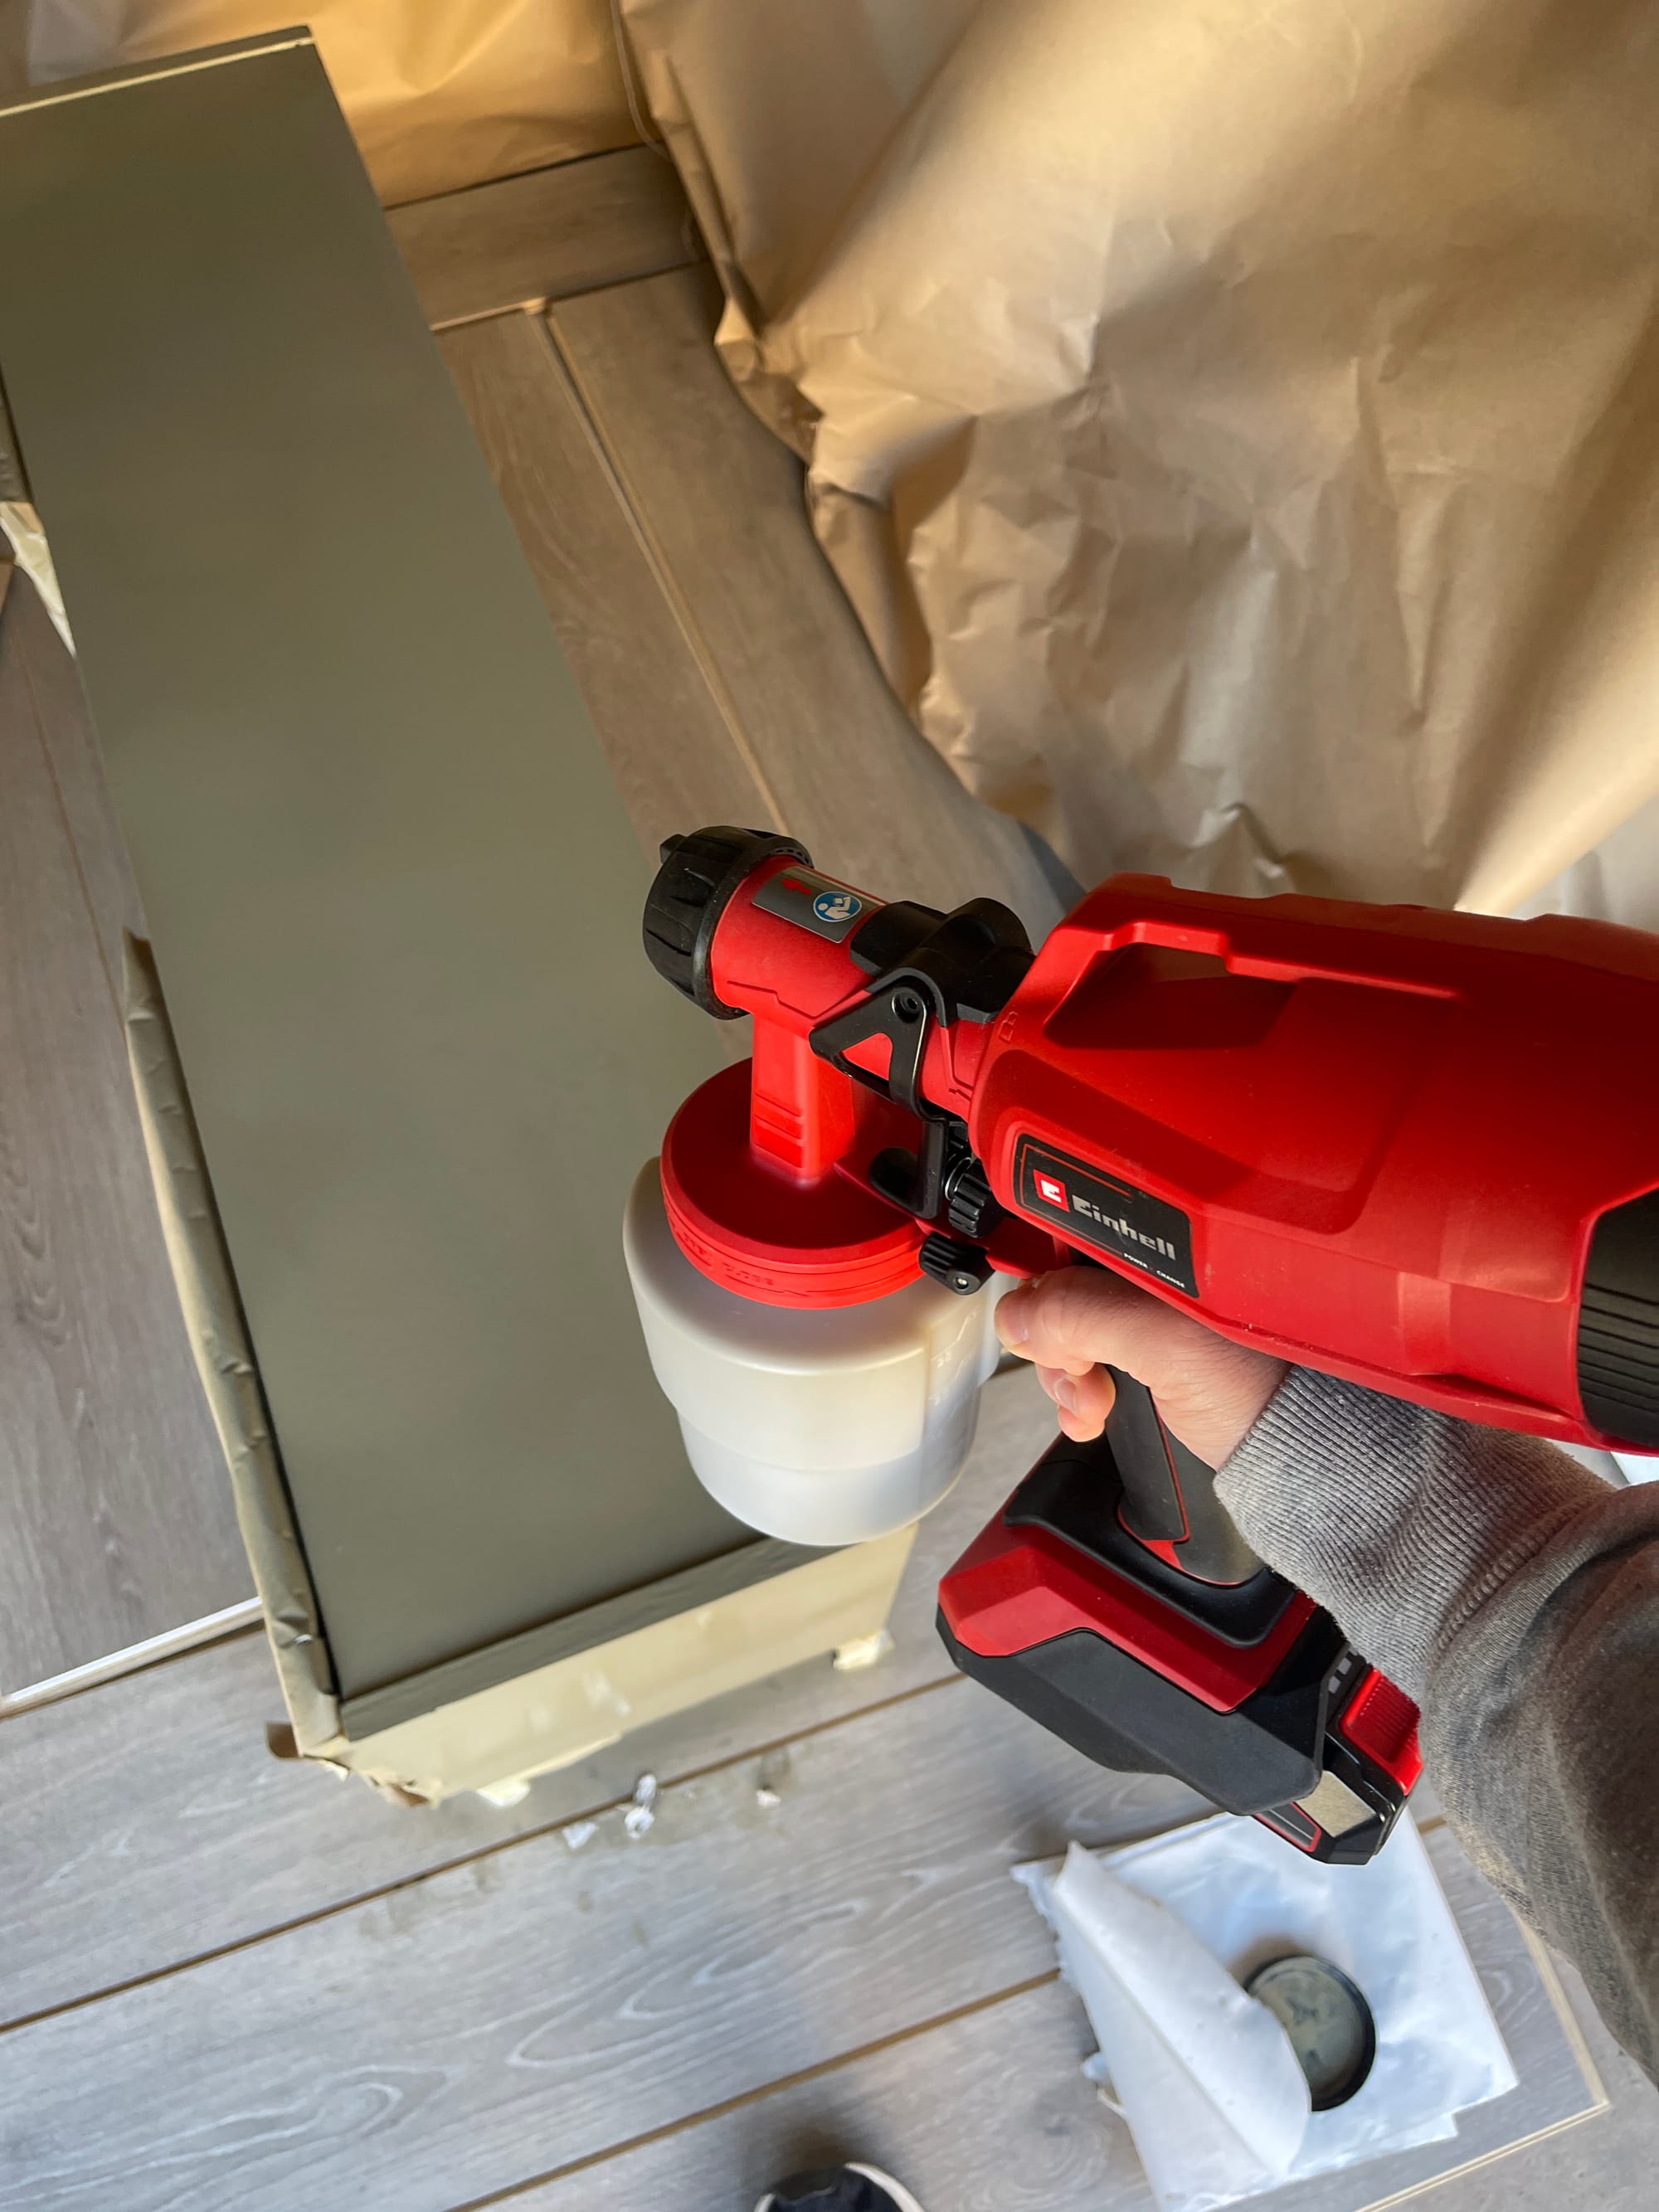
- Cordless paint sprayer TC-SY 18/60 Li-Solo (Einhell Power X-Change)
- 120- and 240-grit sanding sponges
- Masking tape and drop cloths
- Water-based furniture paint
- Protective paper or plastic sheeting (to protect surfaces)
- Screwdriver (for removing hardware)
- Clean cloth, gloves, dust mask
Step by Step
Step 1: Sand & Prep
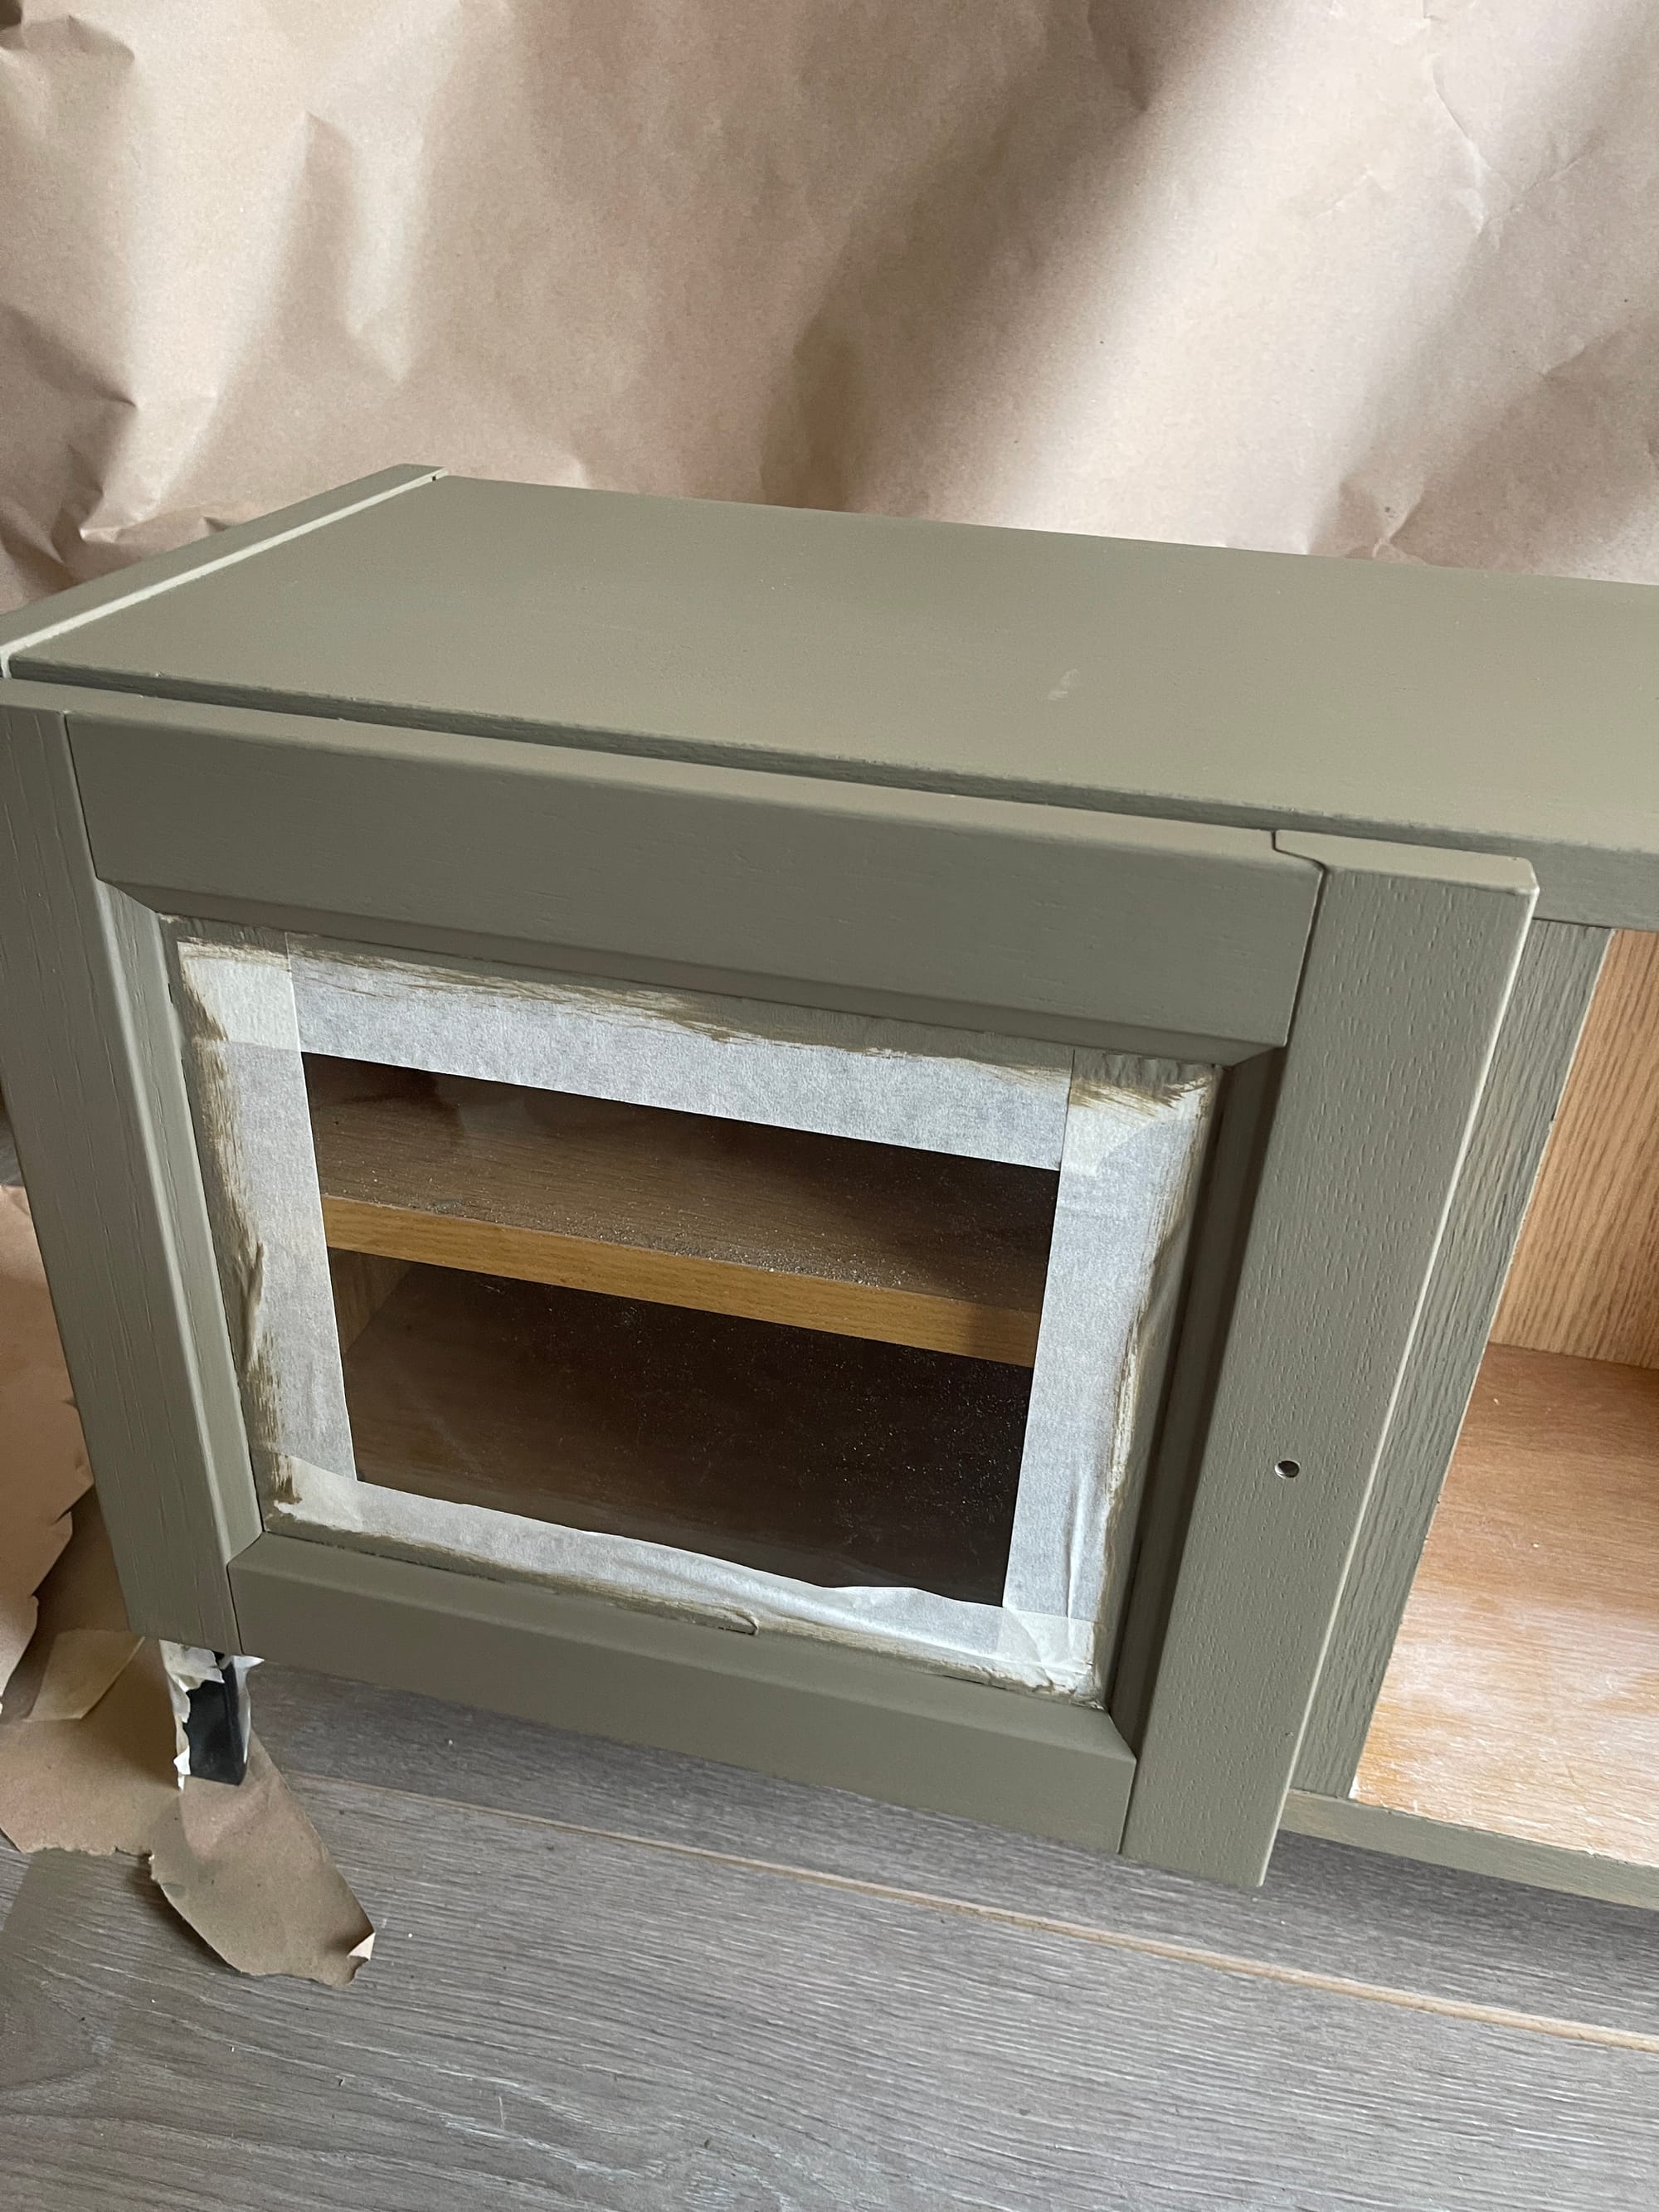
Prep is where the magic begins. We gave the bench a once-over with coarse (120 grit) sanding to smooth out scratches and bumps, then followed with finer (240 grit) sanding to create a silky base for paint. Think of this as giving your furniture a fresh canvas.
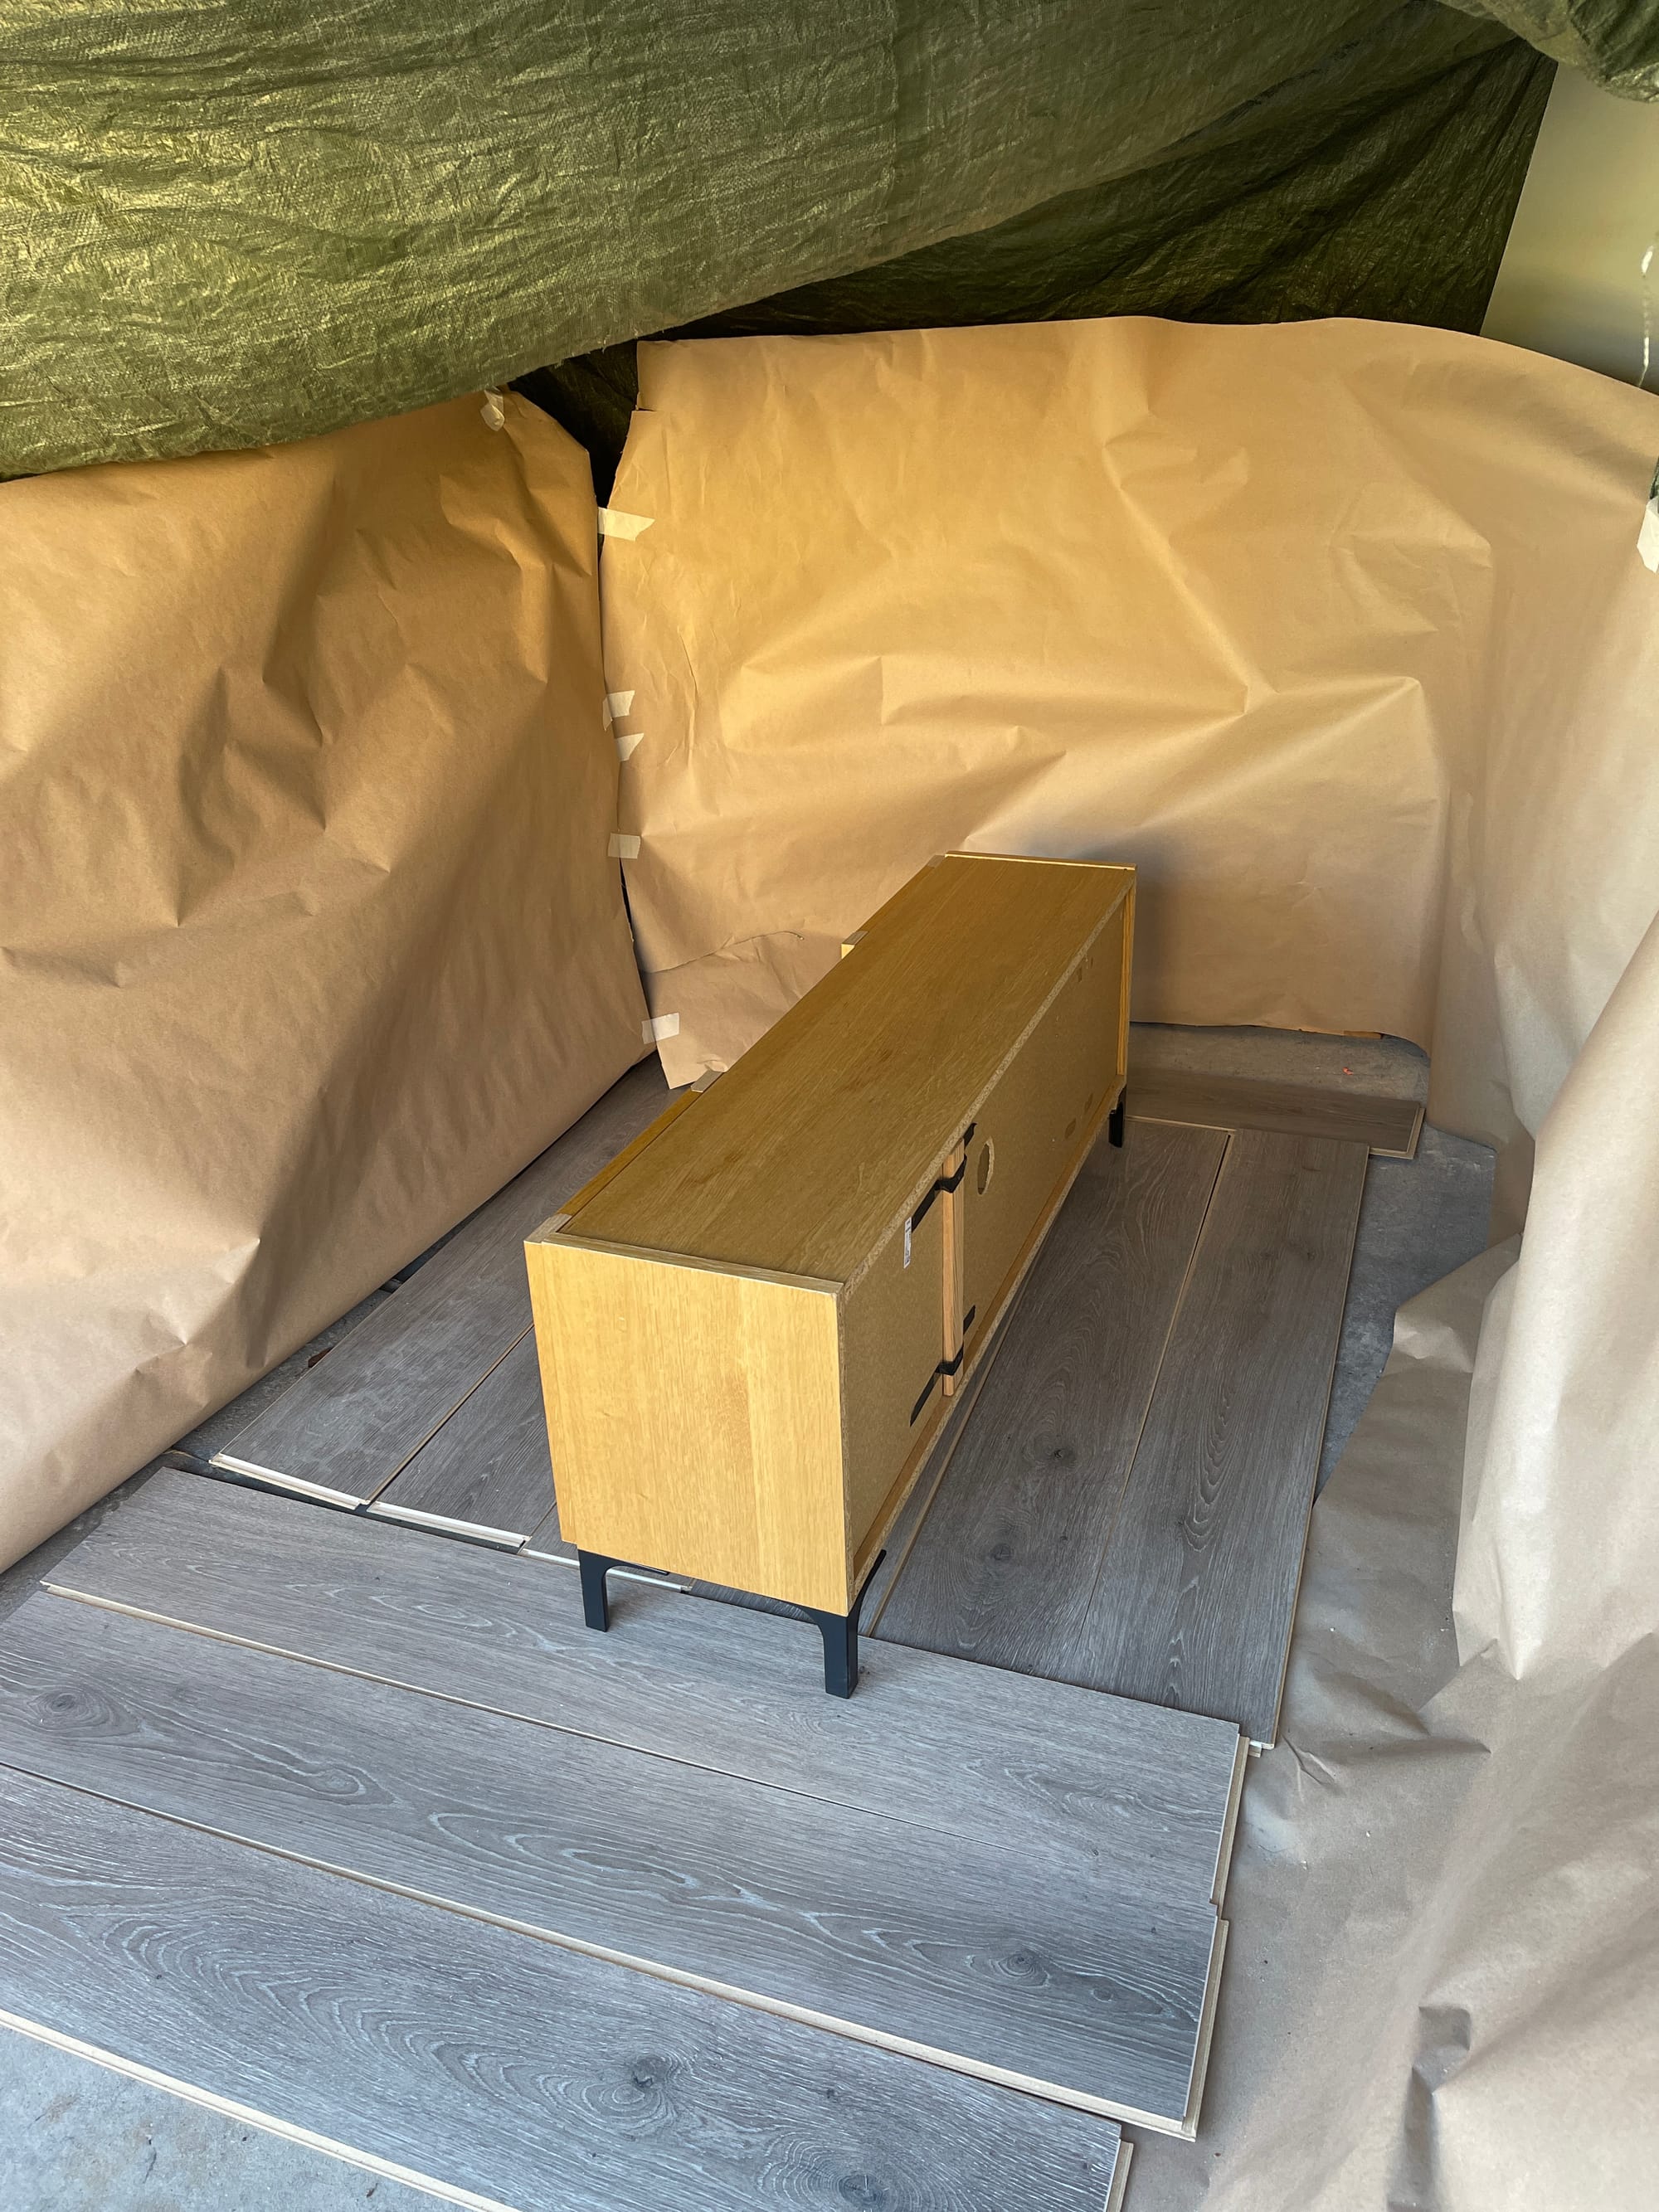
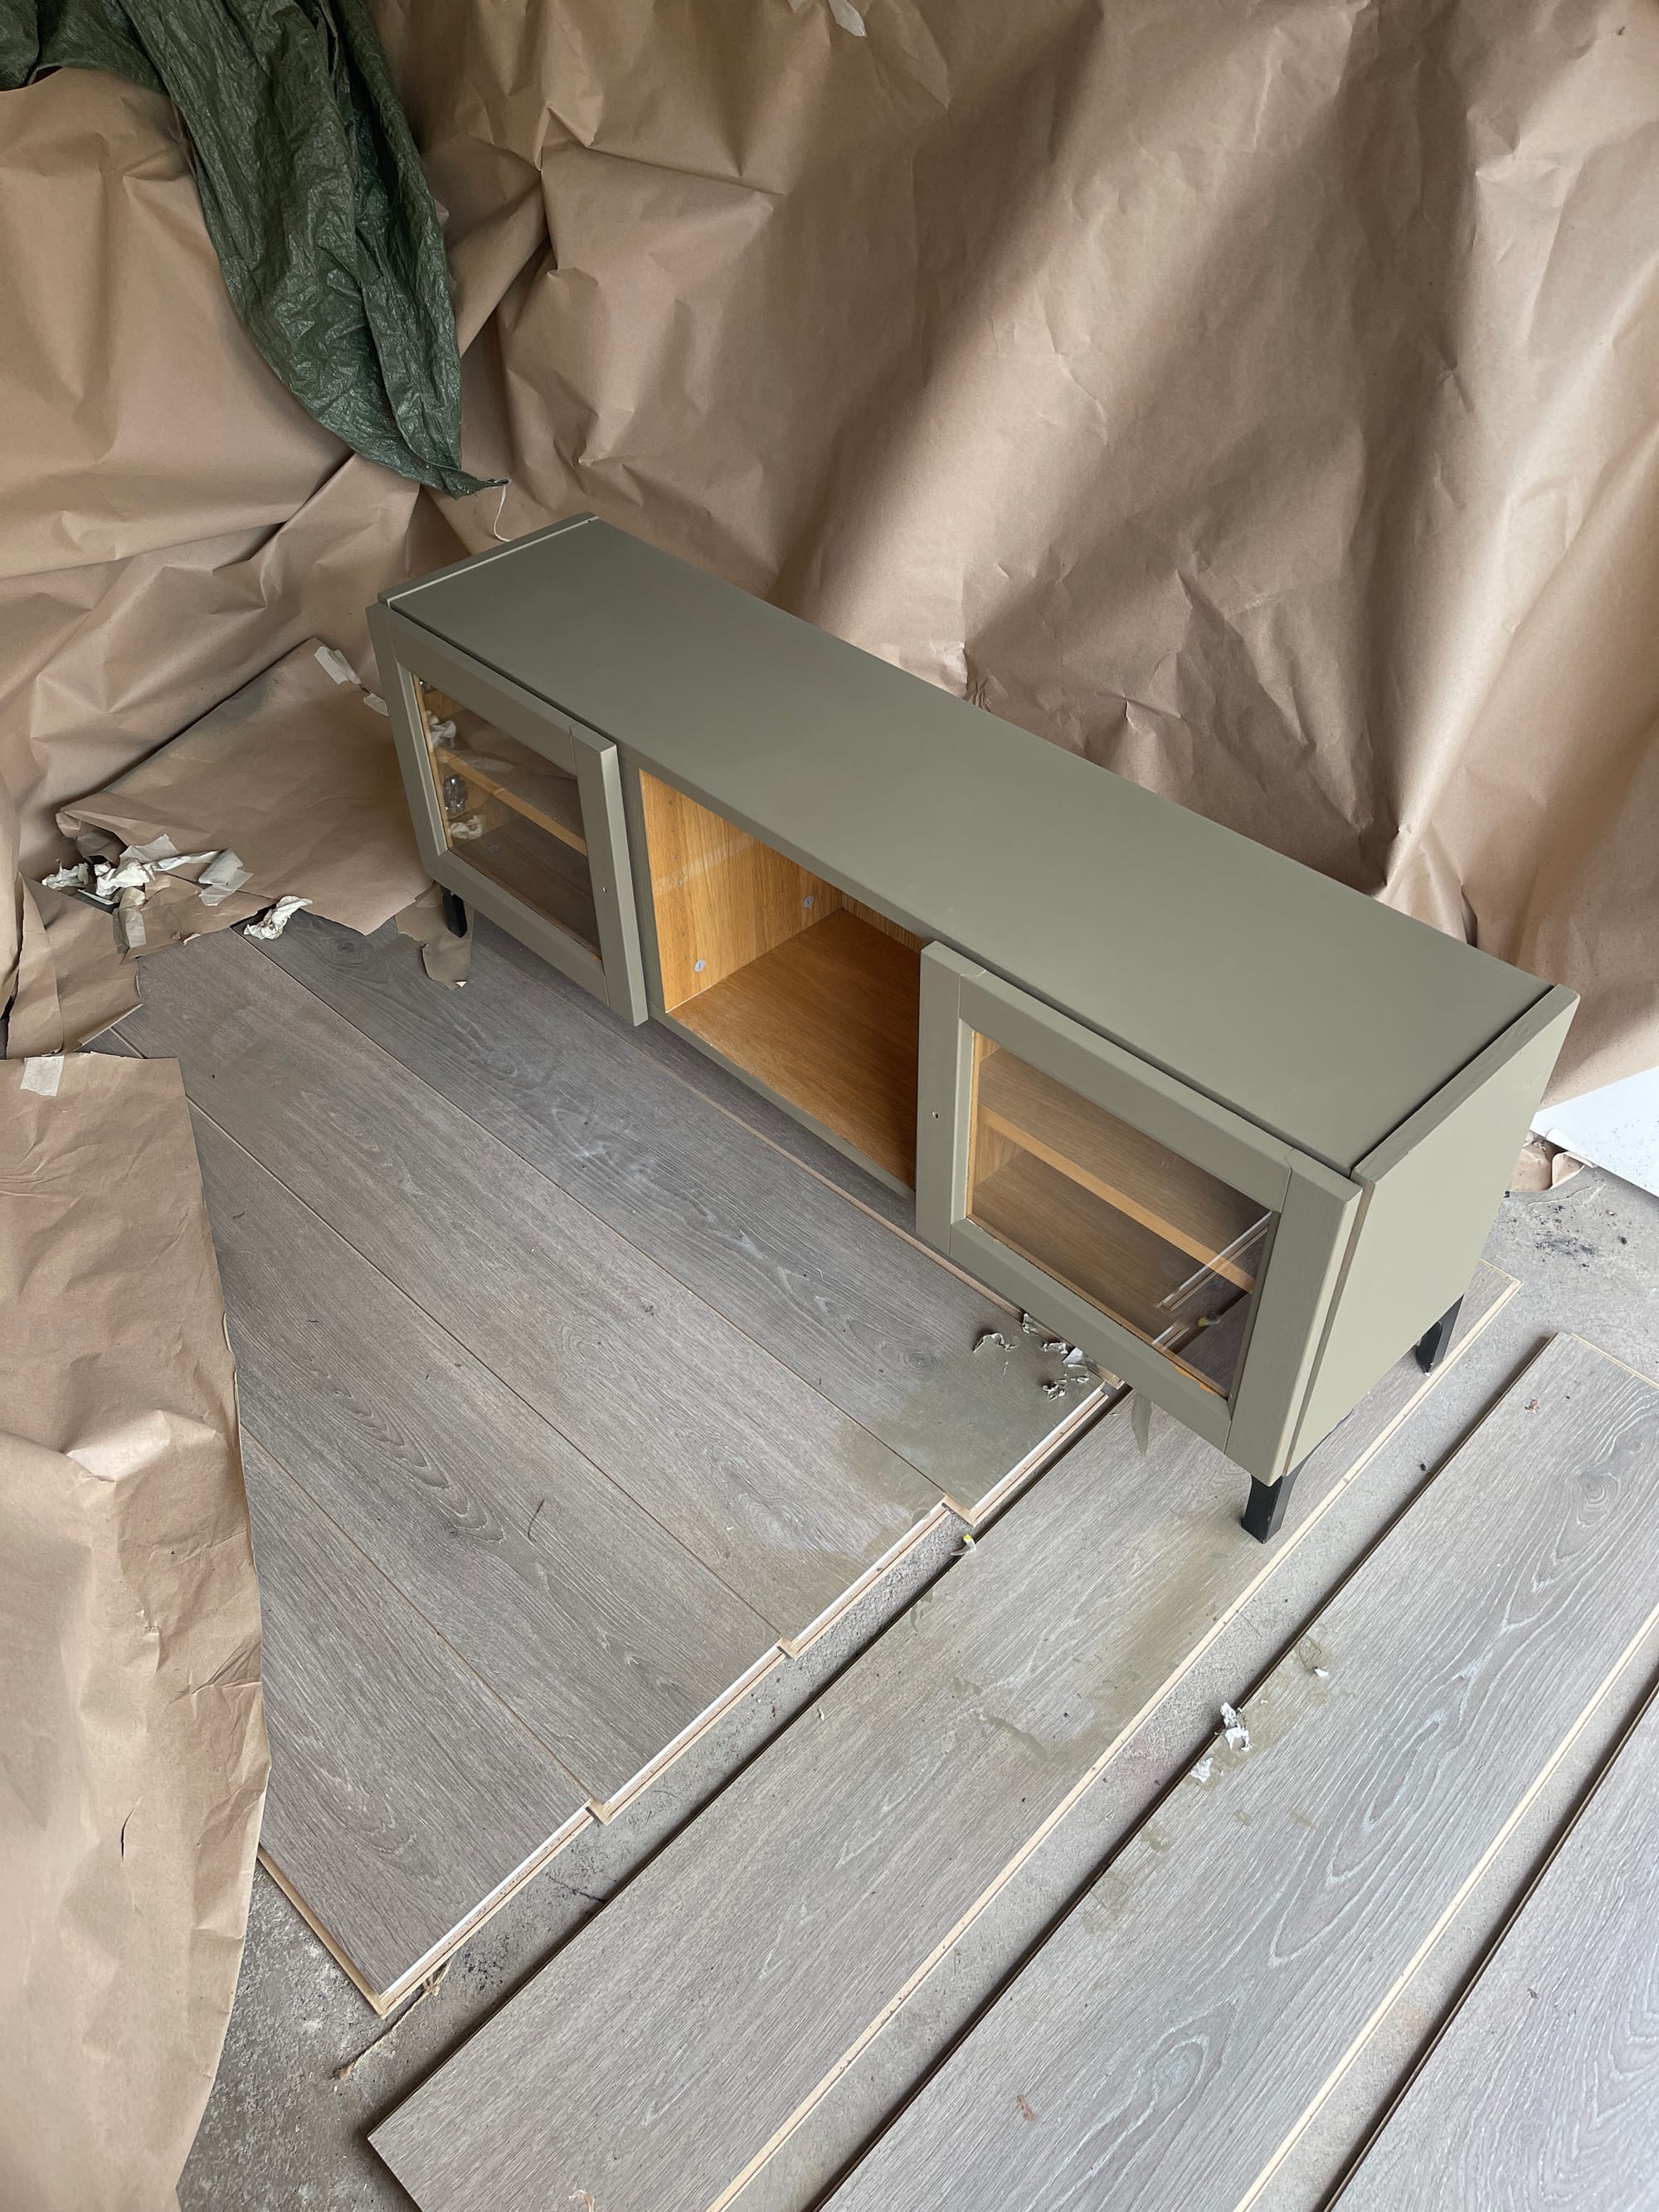
After sanding, we wiped away all the dust and removed the knobs. Then came one of the most important (but often skipped) steps: masking. We carefully taped the drawer runners, inside edges, and even the floor around us. Why? Because just like when you paint with a brush or roller, you’ll want to cover the floor and protect anything nearby. The sprayer covers surfaces quickly, but anything nearby can get a fine mist if you’re not careful, A few extra minutes of prep made the whole spraying process smooth and stress-free. A few minutes of prep can save hours of cleanup later.
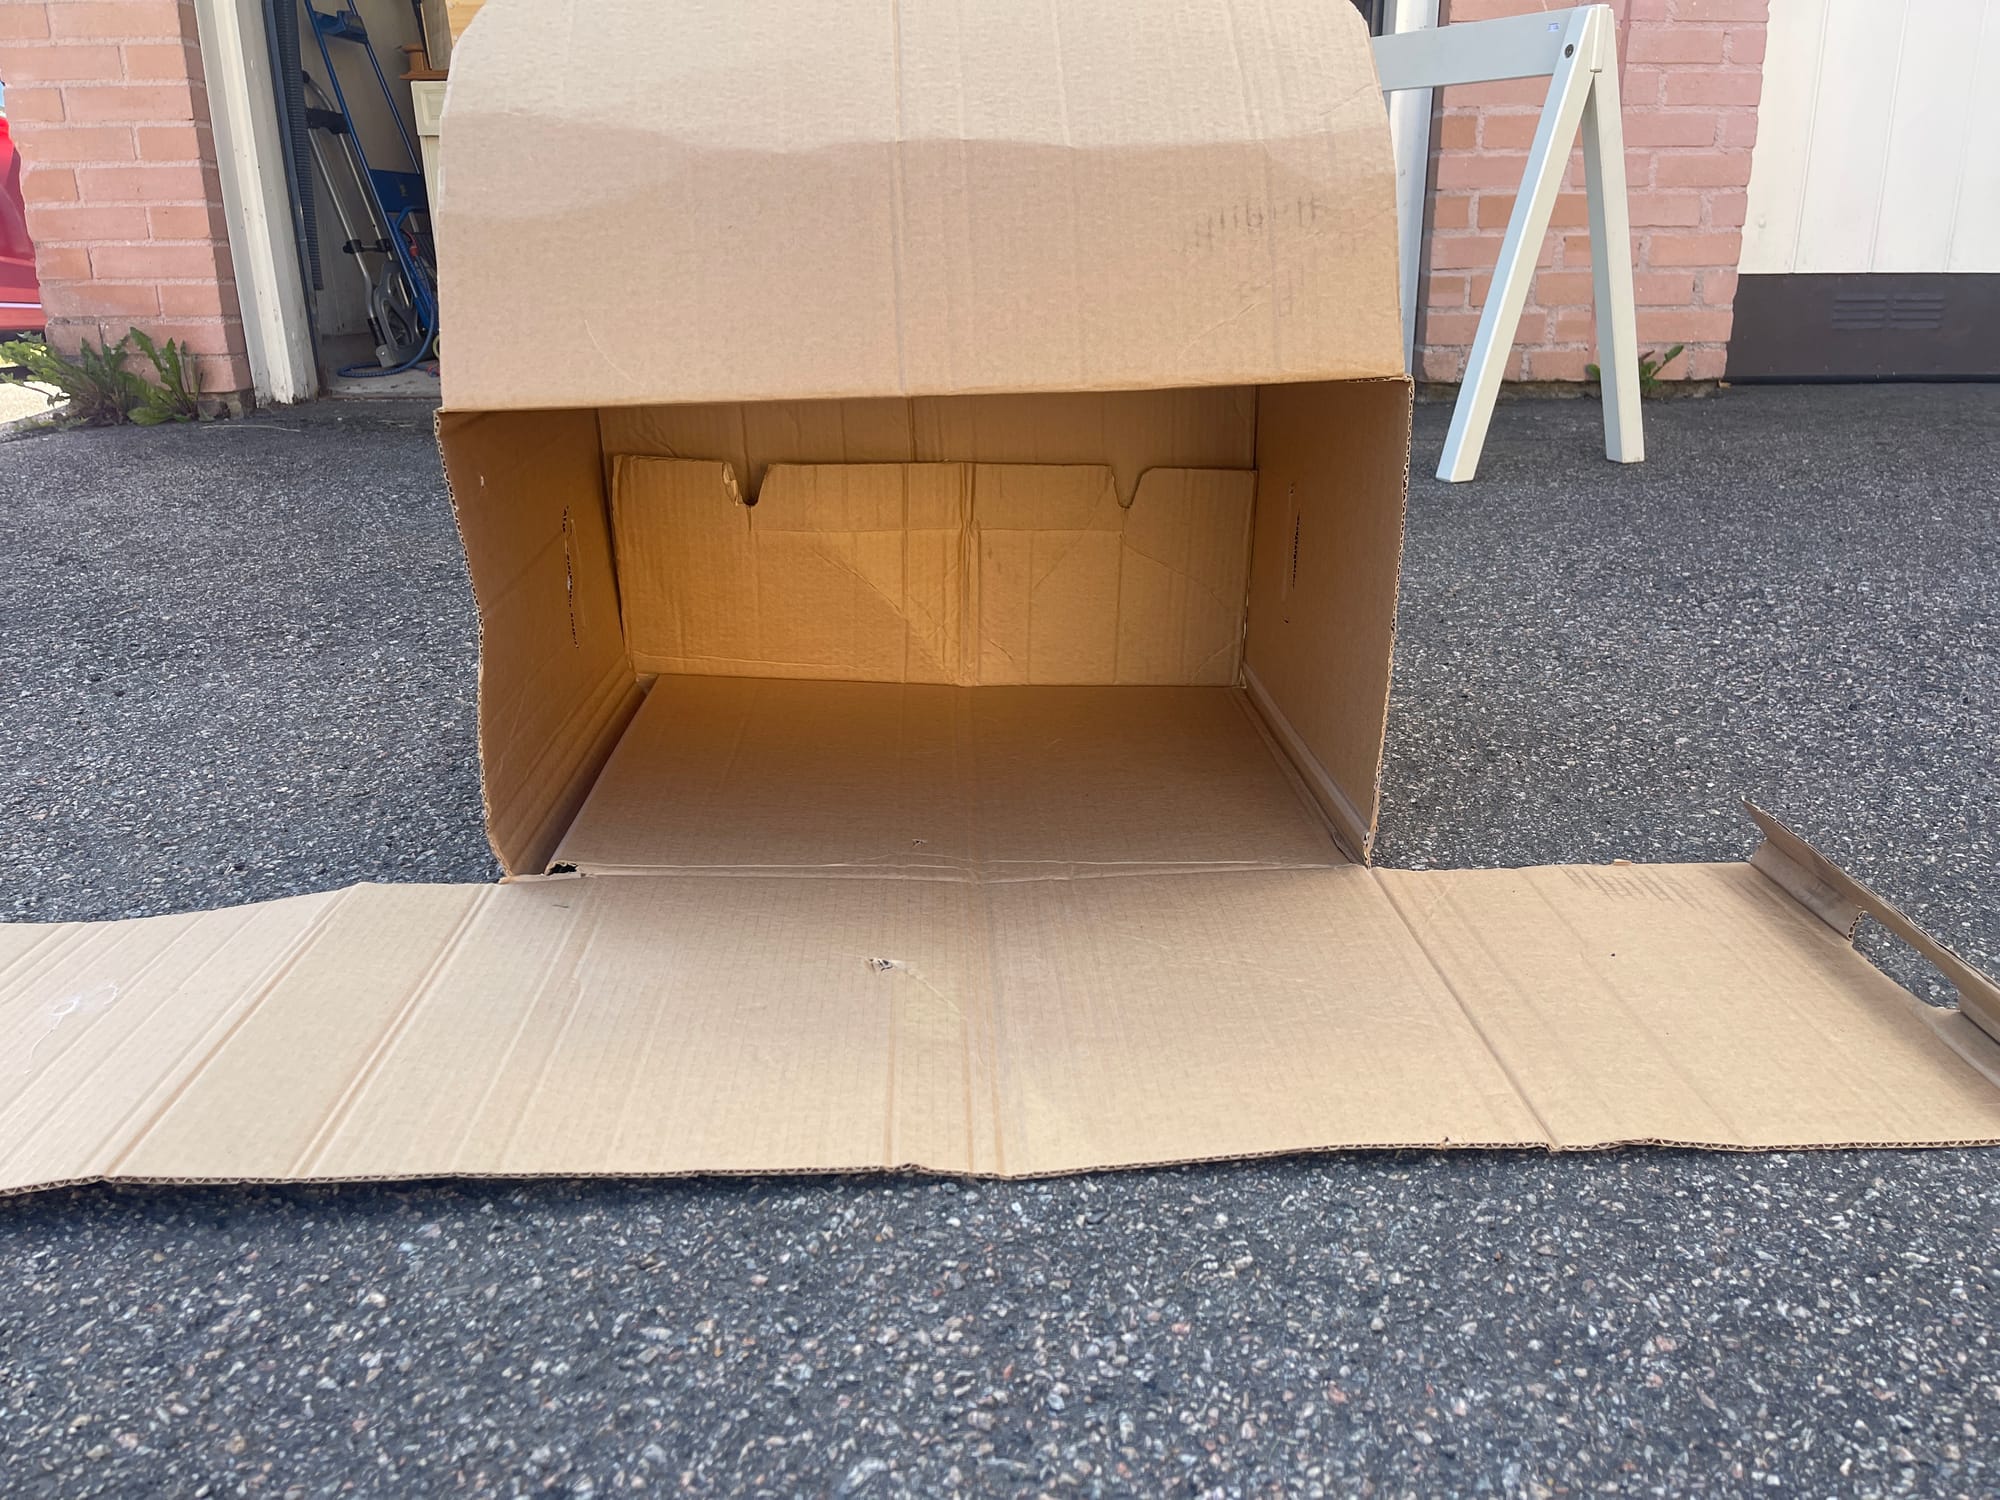
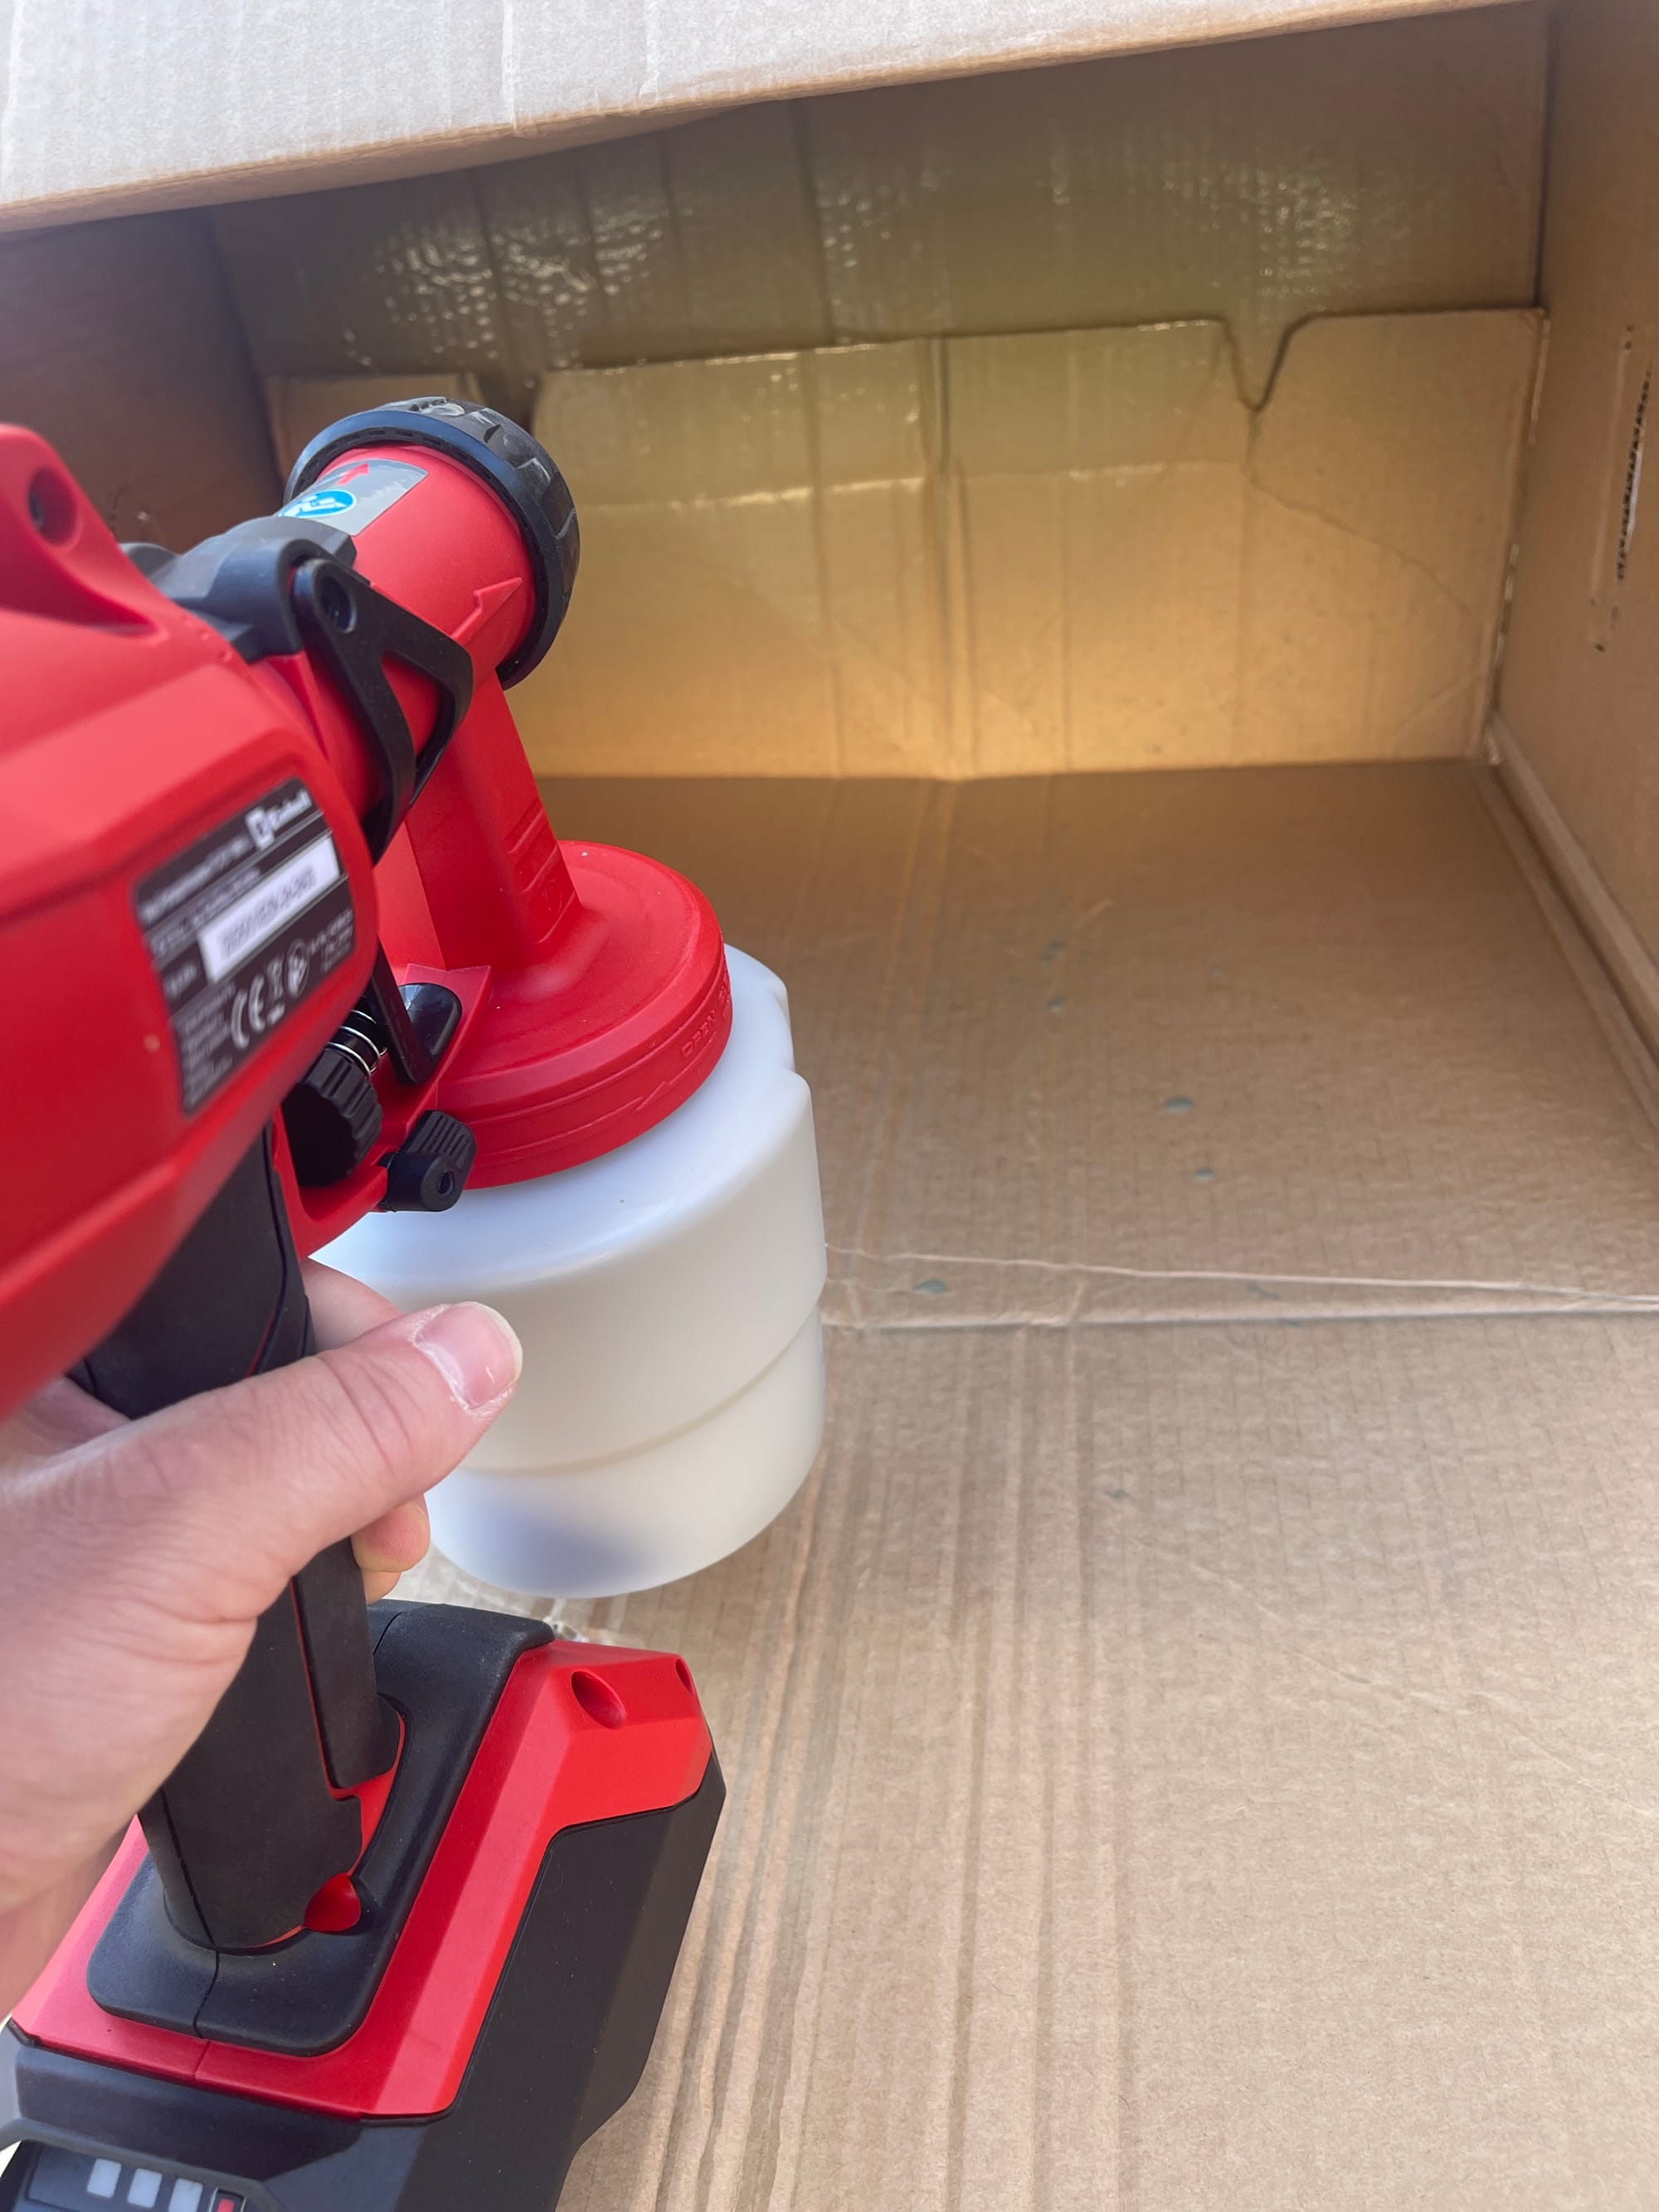
Step 2: Test the Sprayer
Before pointing the sprayer at the bench, we practiced—twice—on a scrap piece of cardboard. This was the moment we went from “a little nervous” to “oh, this is actually fun.” Adjusting the spray pattern and paint flow let us control how the paint came out, and within a couple of tries, it felt natural.
✨ Tips we learned fast:
- Keep the paint container topped up—when it runs low, the spray can get spotty.
- Start your spray slightly off the edge of the piece, then move across in one steady motion. This avoids heavy blobs at the beginning.
- Practice on scrap wood—it makes you more confident, and the finish on your actual piece will look much better.
Testing first took the pressure off. By the time we aimed at the bench, we felt ready.
Step 3: Paint in Layers
Now for the satisfying part. Holding the sprayer about 15–20 cm away, we moved in smooth, overlapping passes. The coverage was instant and it took just seconds! It was like “dusting” the paint on, you do thin layers and overlap each pass a little to get an even finish the thin coats builded up really nice.
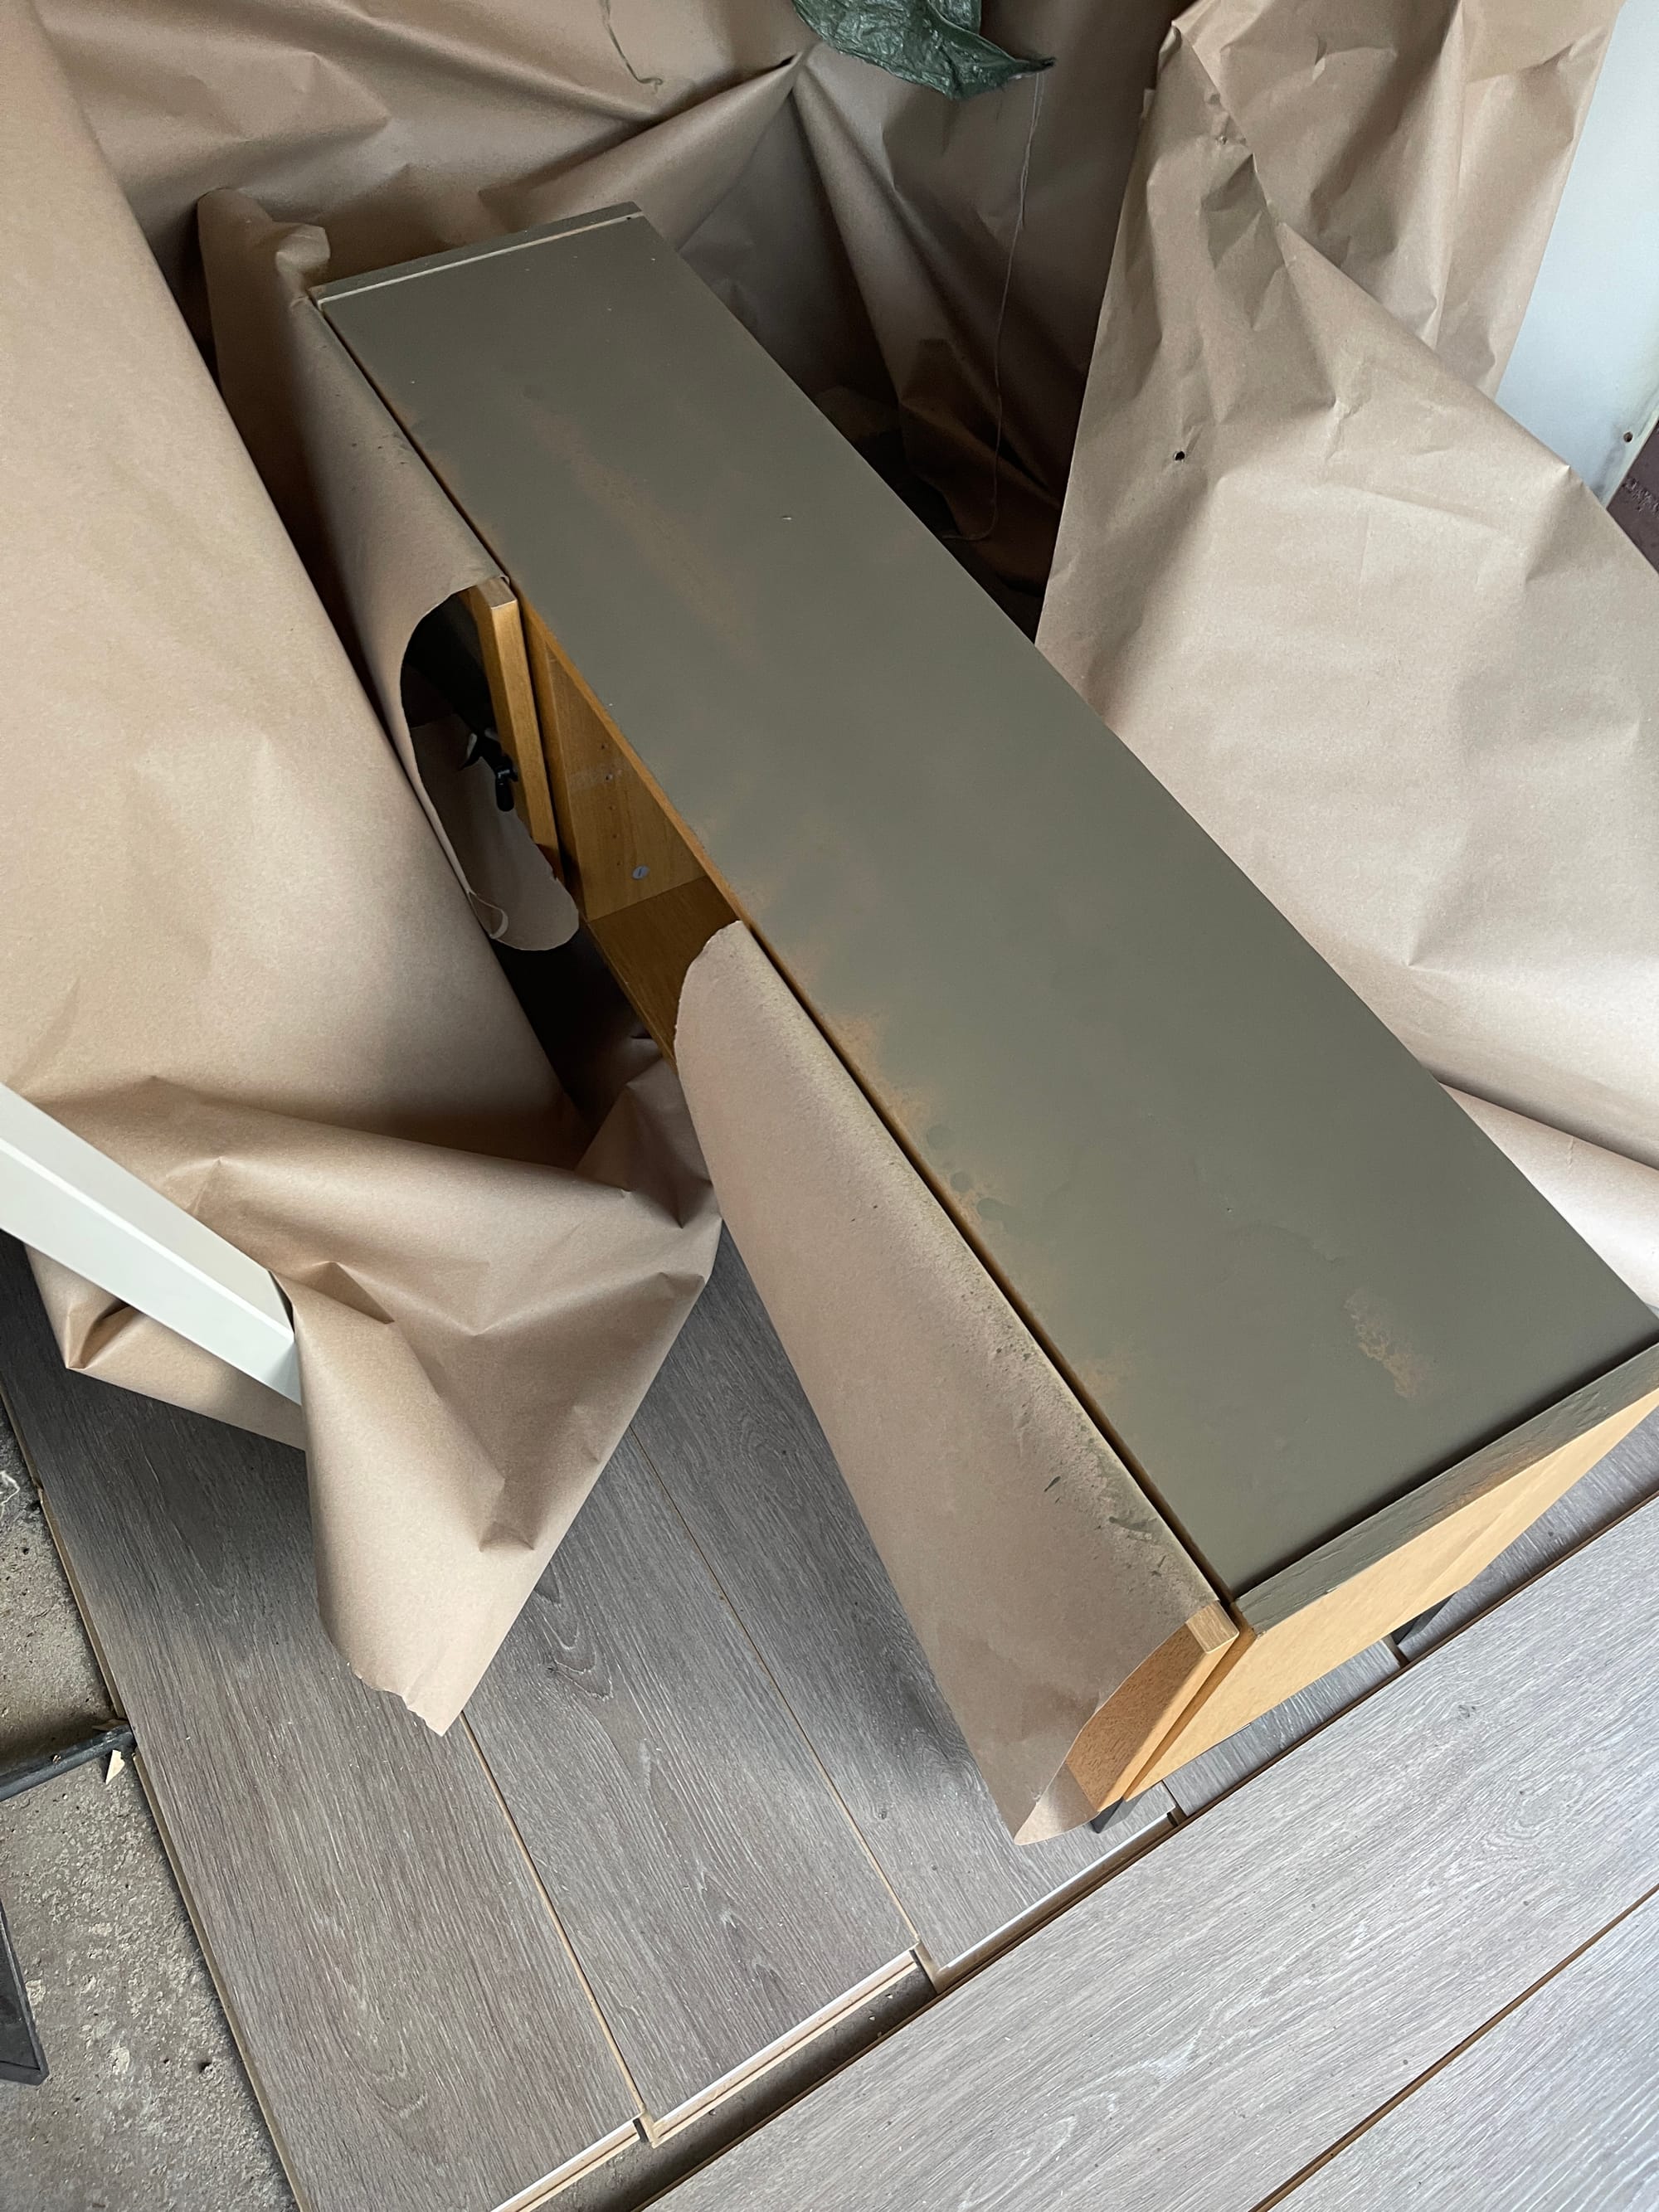
First try & layer - Second layer
We did two thin coats, letting the first dry completely (it took about 2 hours) before adding the second. This kept the finish smooth and avoided drips. Something we found really handy is that if the paint needed drying over night you could just put a lid on the container of the sprayer and leave it there and it won't go bad, this is perfect if you want to create your own shade of paint so you don't mix it twice and risk it not being the exact same color. Spraying both parts (as beginners who had no idea what they were doing) took under 20 minutes total, which means if you know what you are doing it will probably take half that time.
Step 4: Dry Time & Cleanup
We let the bench dry overnight before reattaching the hardware. Waiting might feel like the hardest part, but it’s worth it—the paint needs that time to set properly. You don't want to mess your perfect even and smooth paint job by getting to impatient.
Details
Cleanup was what worried us the most, but the the sprayer came with it's own brush which made it surprisingly easy. We flushed the sprayer with warm water, used the brush to clear any residue, and it was ready to go again. The key is to do it right away—paint is much easier to wash out while it’s still wet.
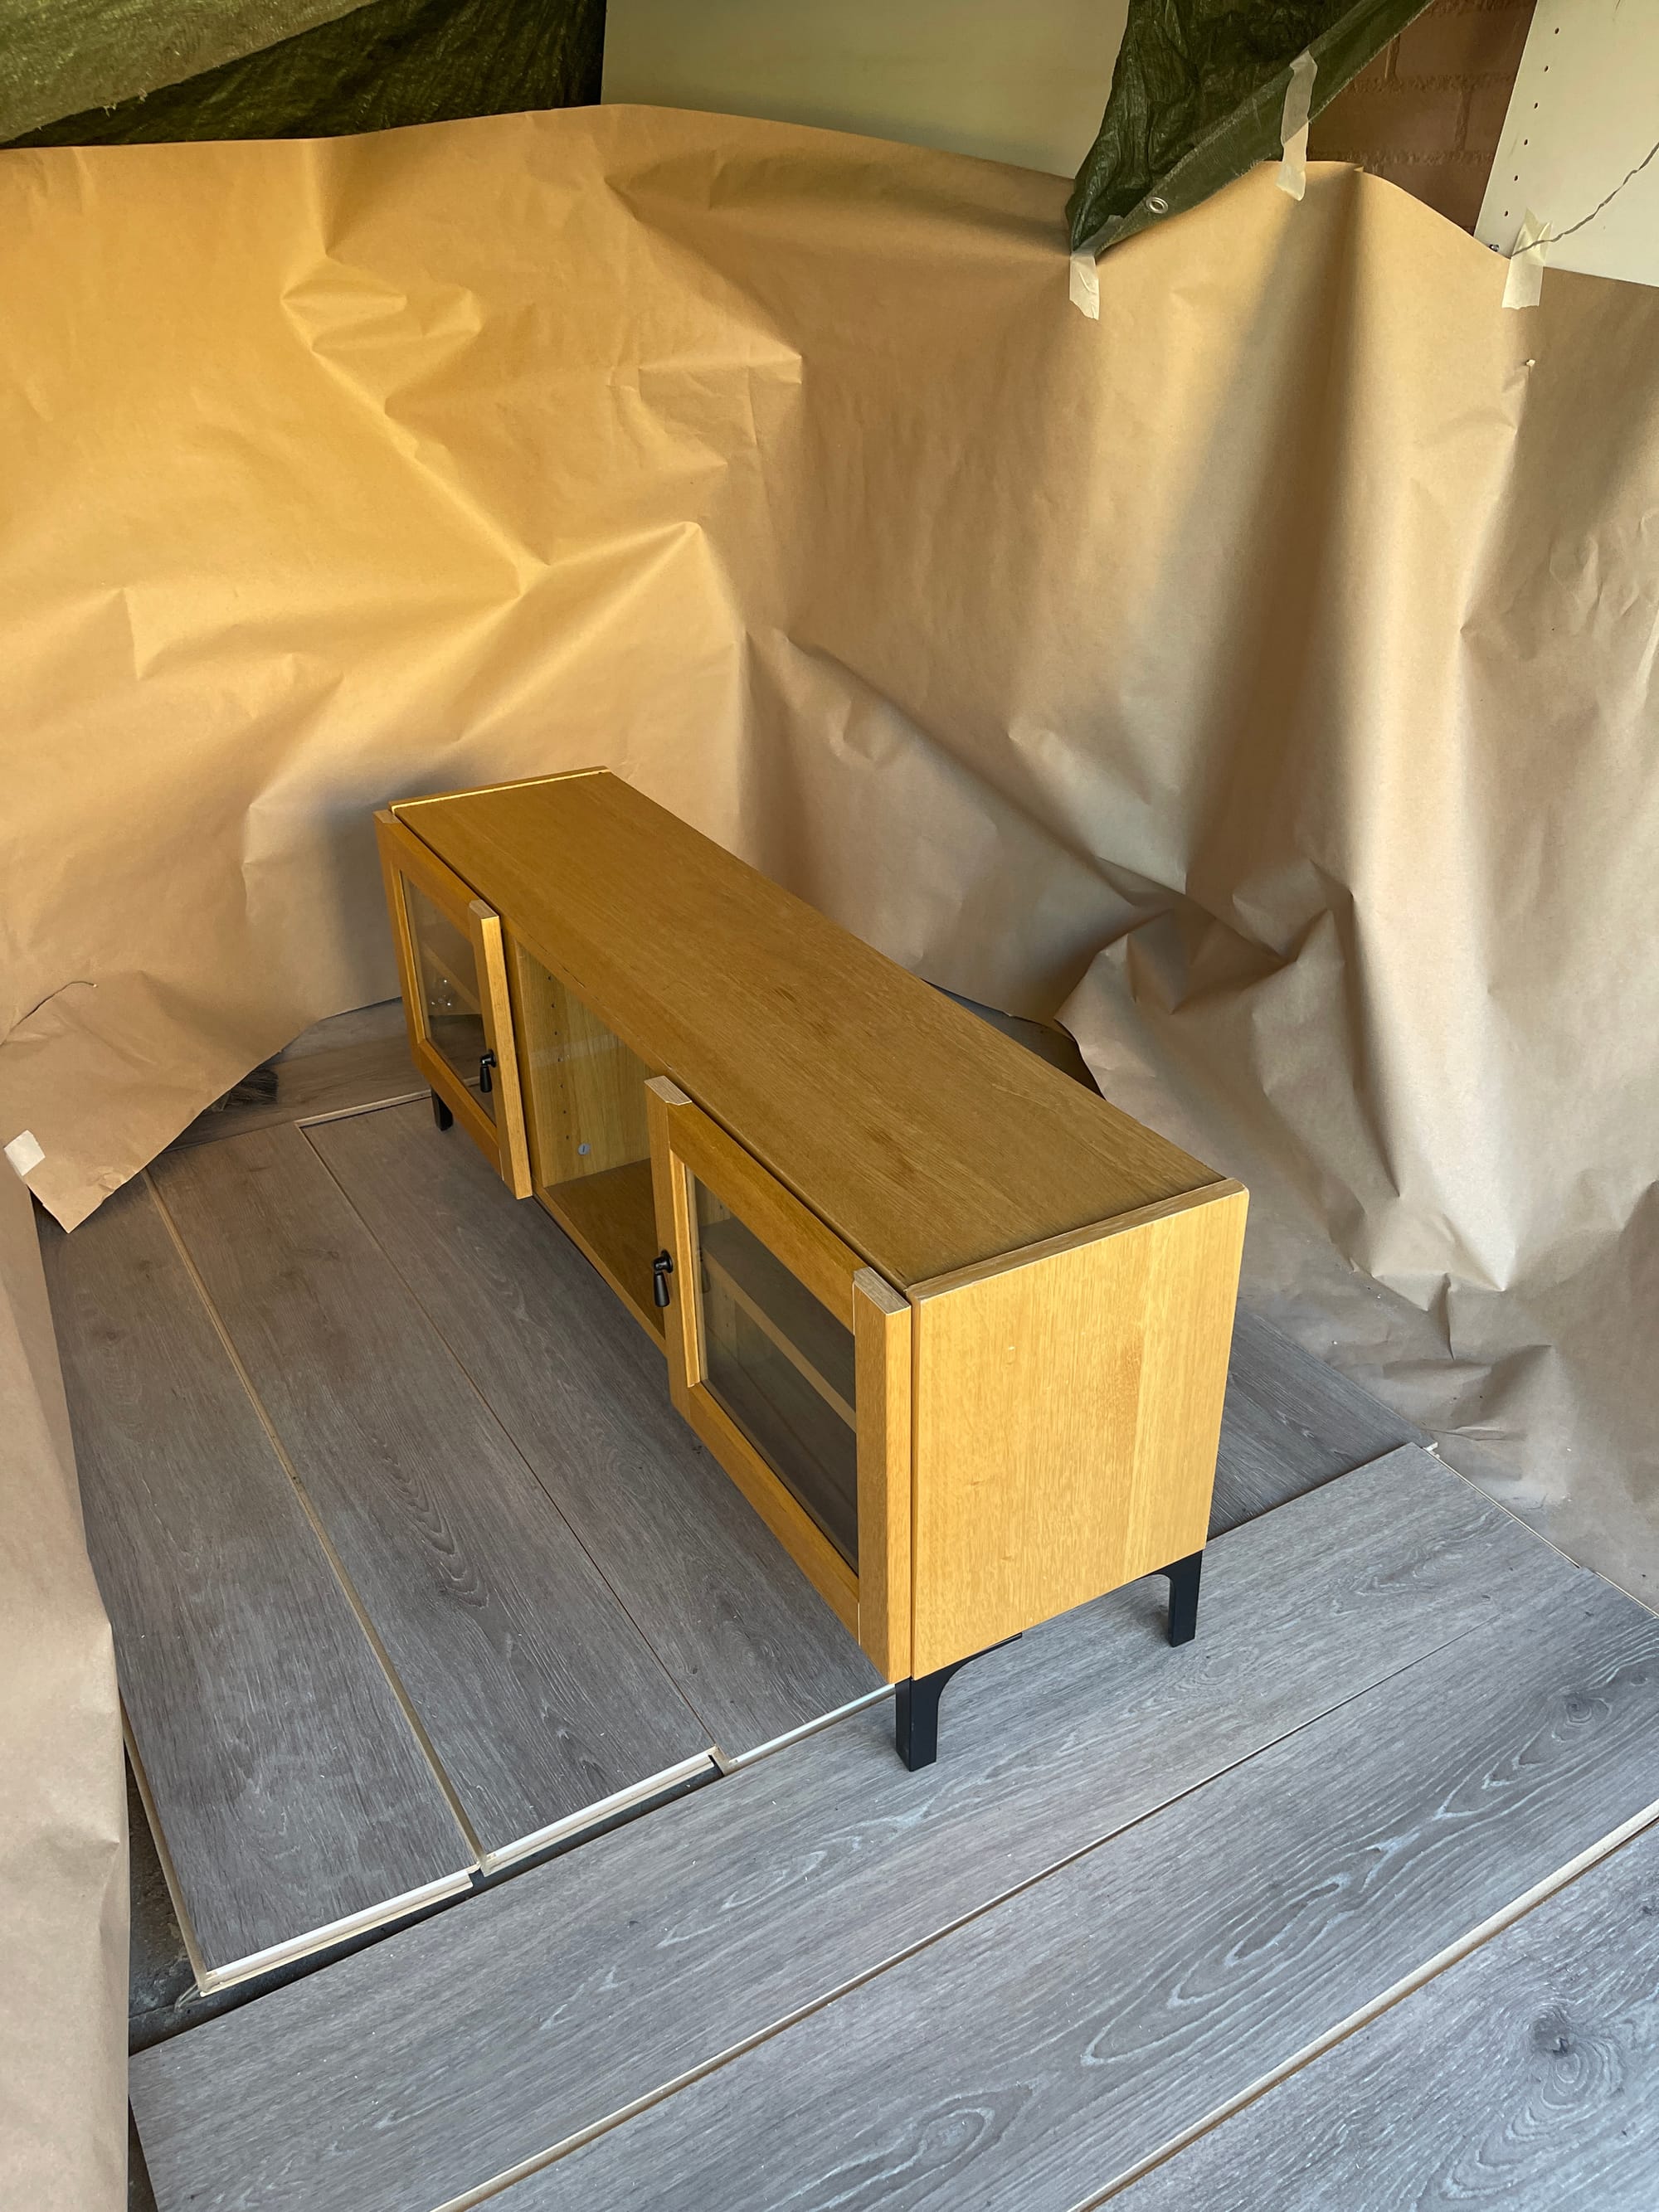
The transformation amazed us. What was once a yellowed, scratched pine TV stand now looks modern, fresh, and smooth—all in no time and without the frustration of brush marks. This little tv-bench makeover was proof that DIY doesn’t need to be complicated. With the right prep and a little confidence, you can give old furniture a whole new life.
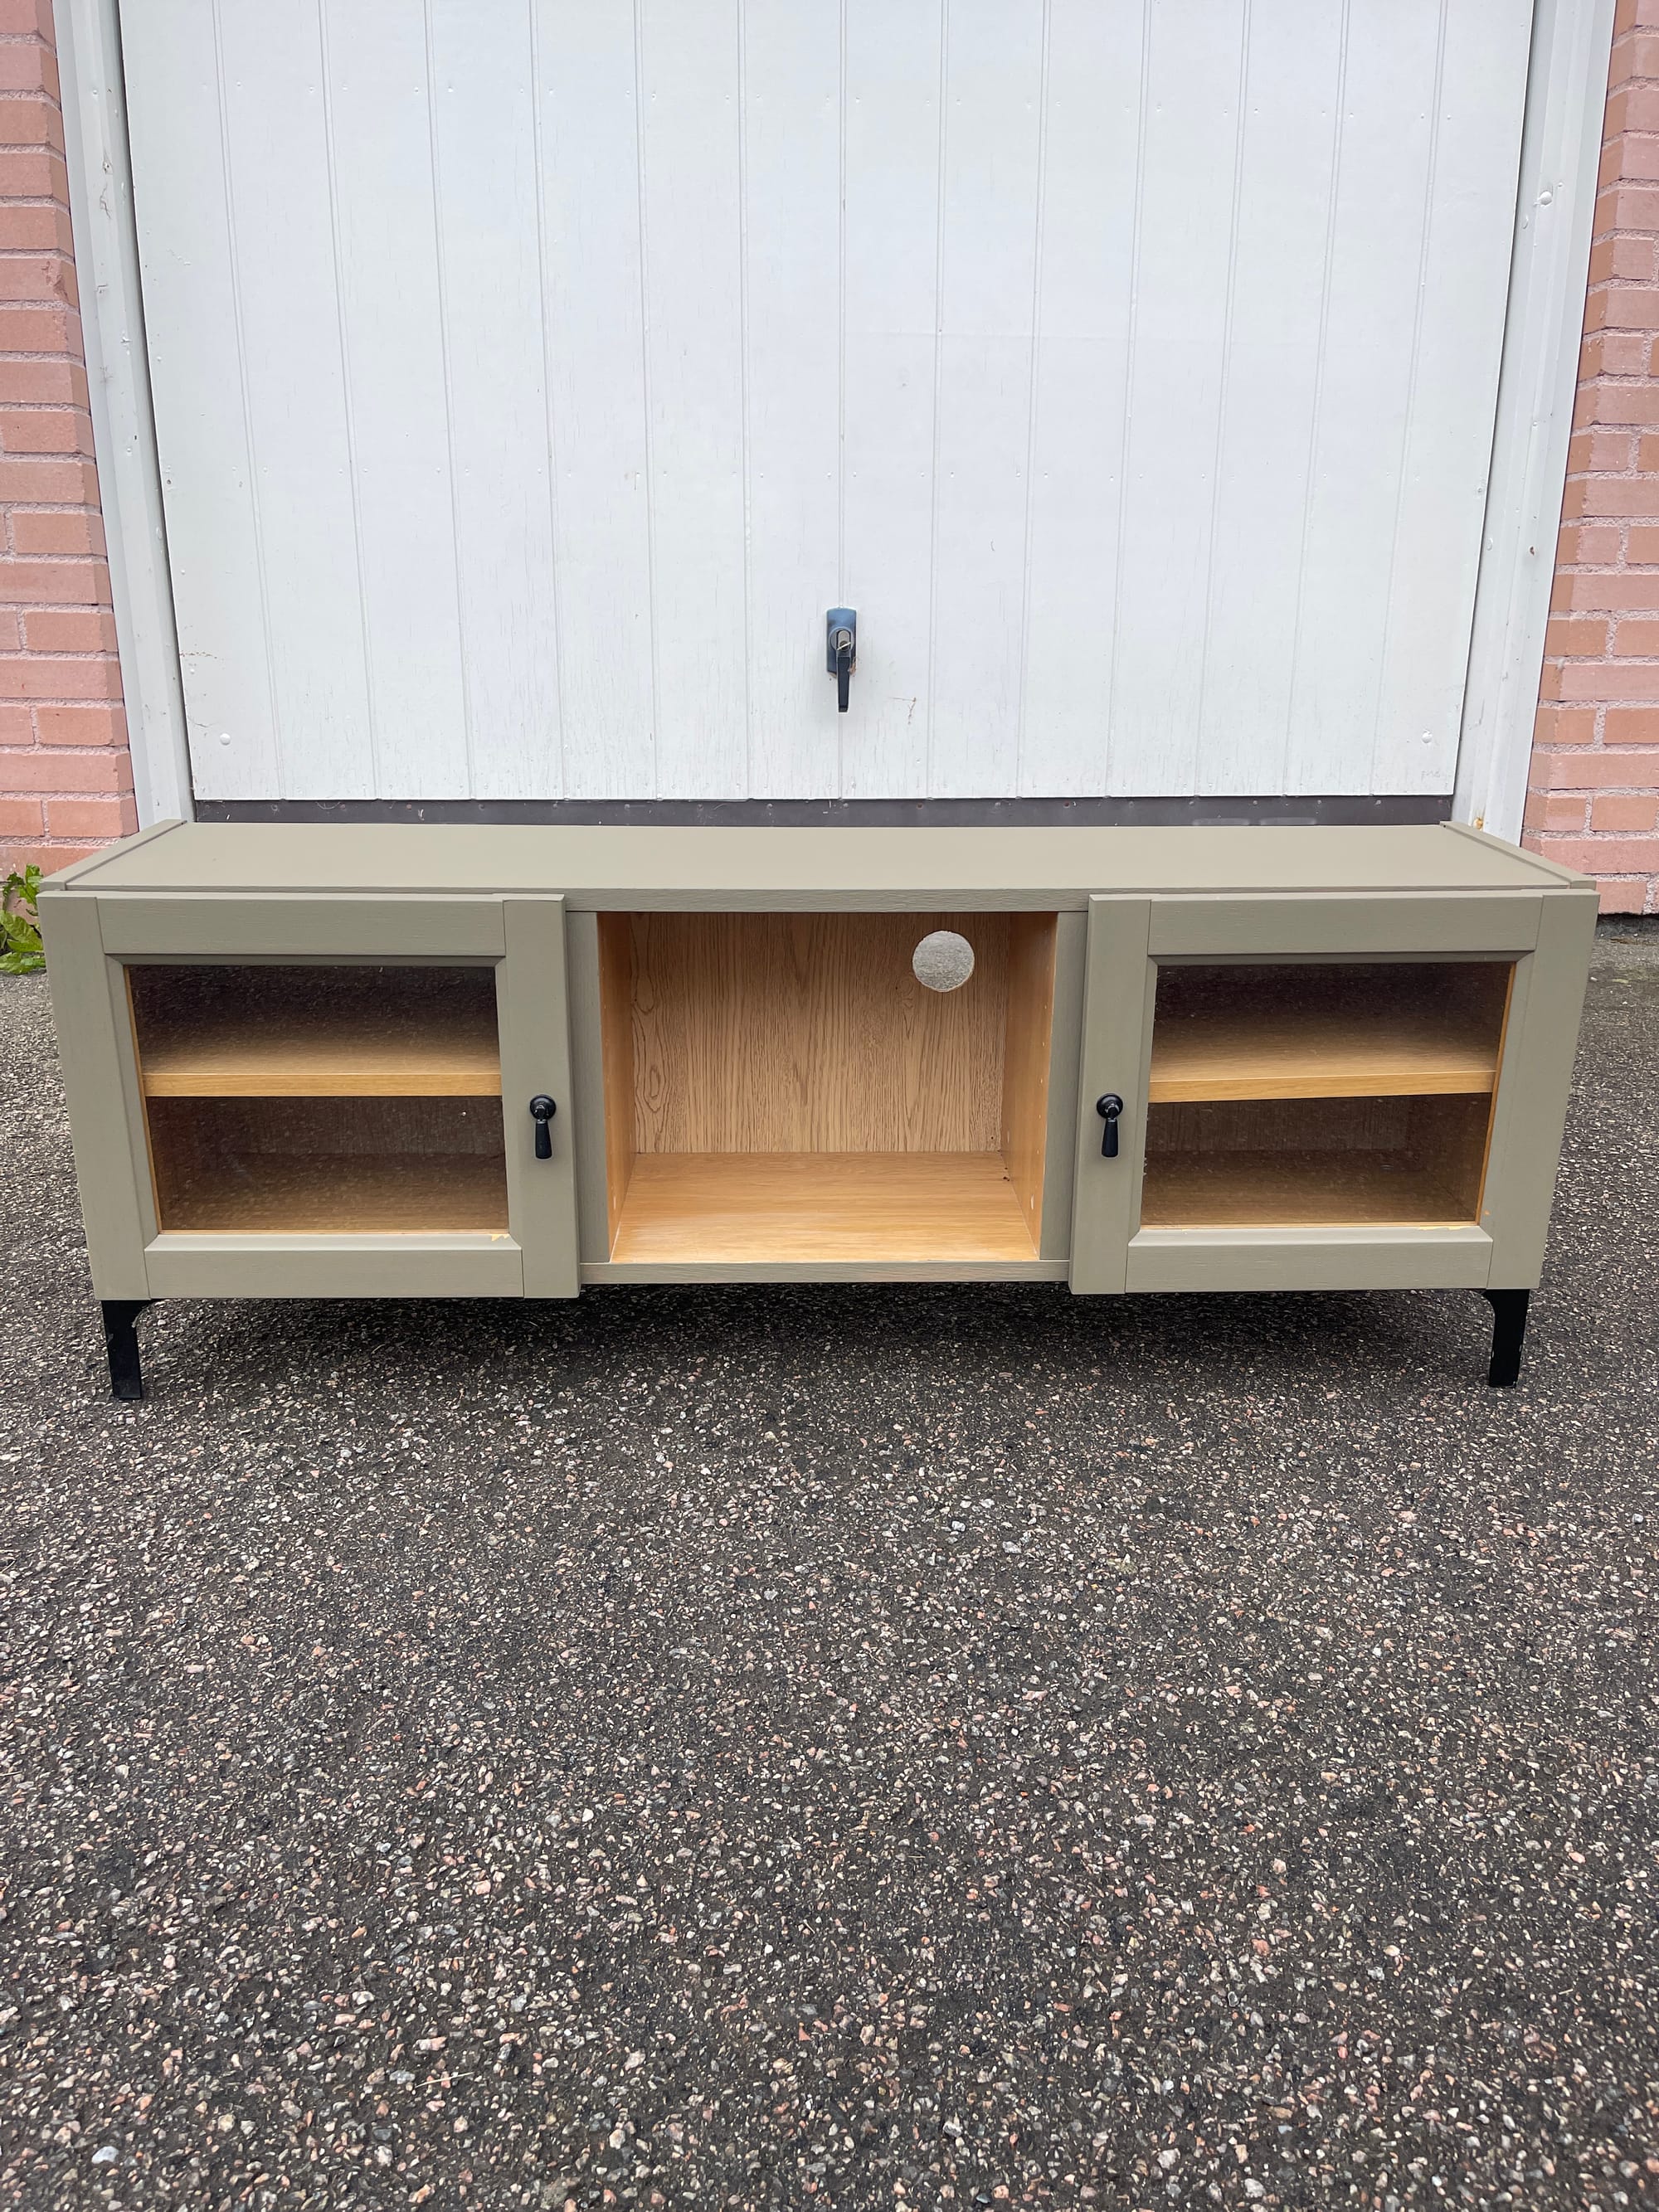

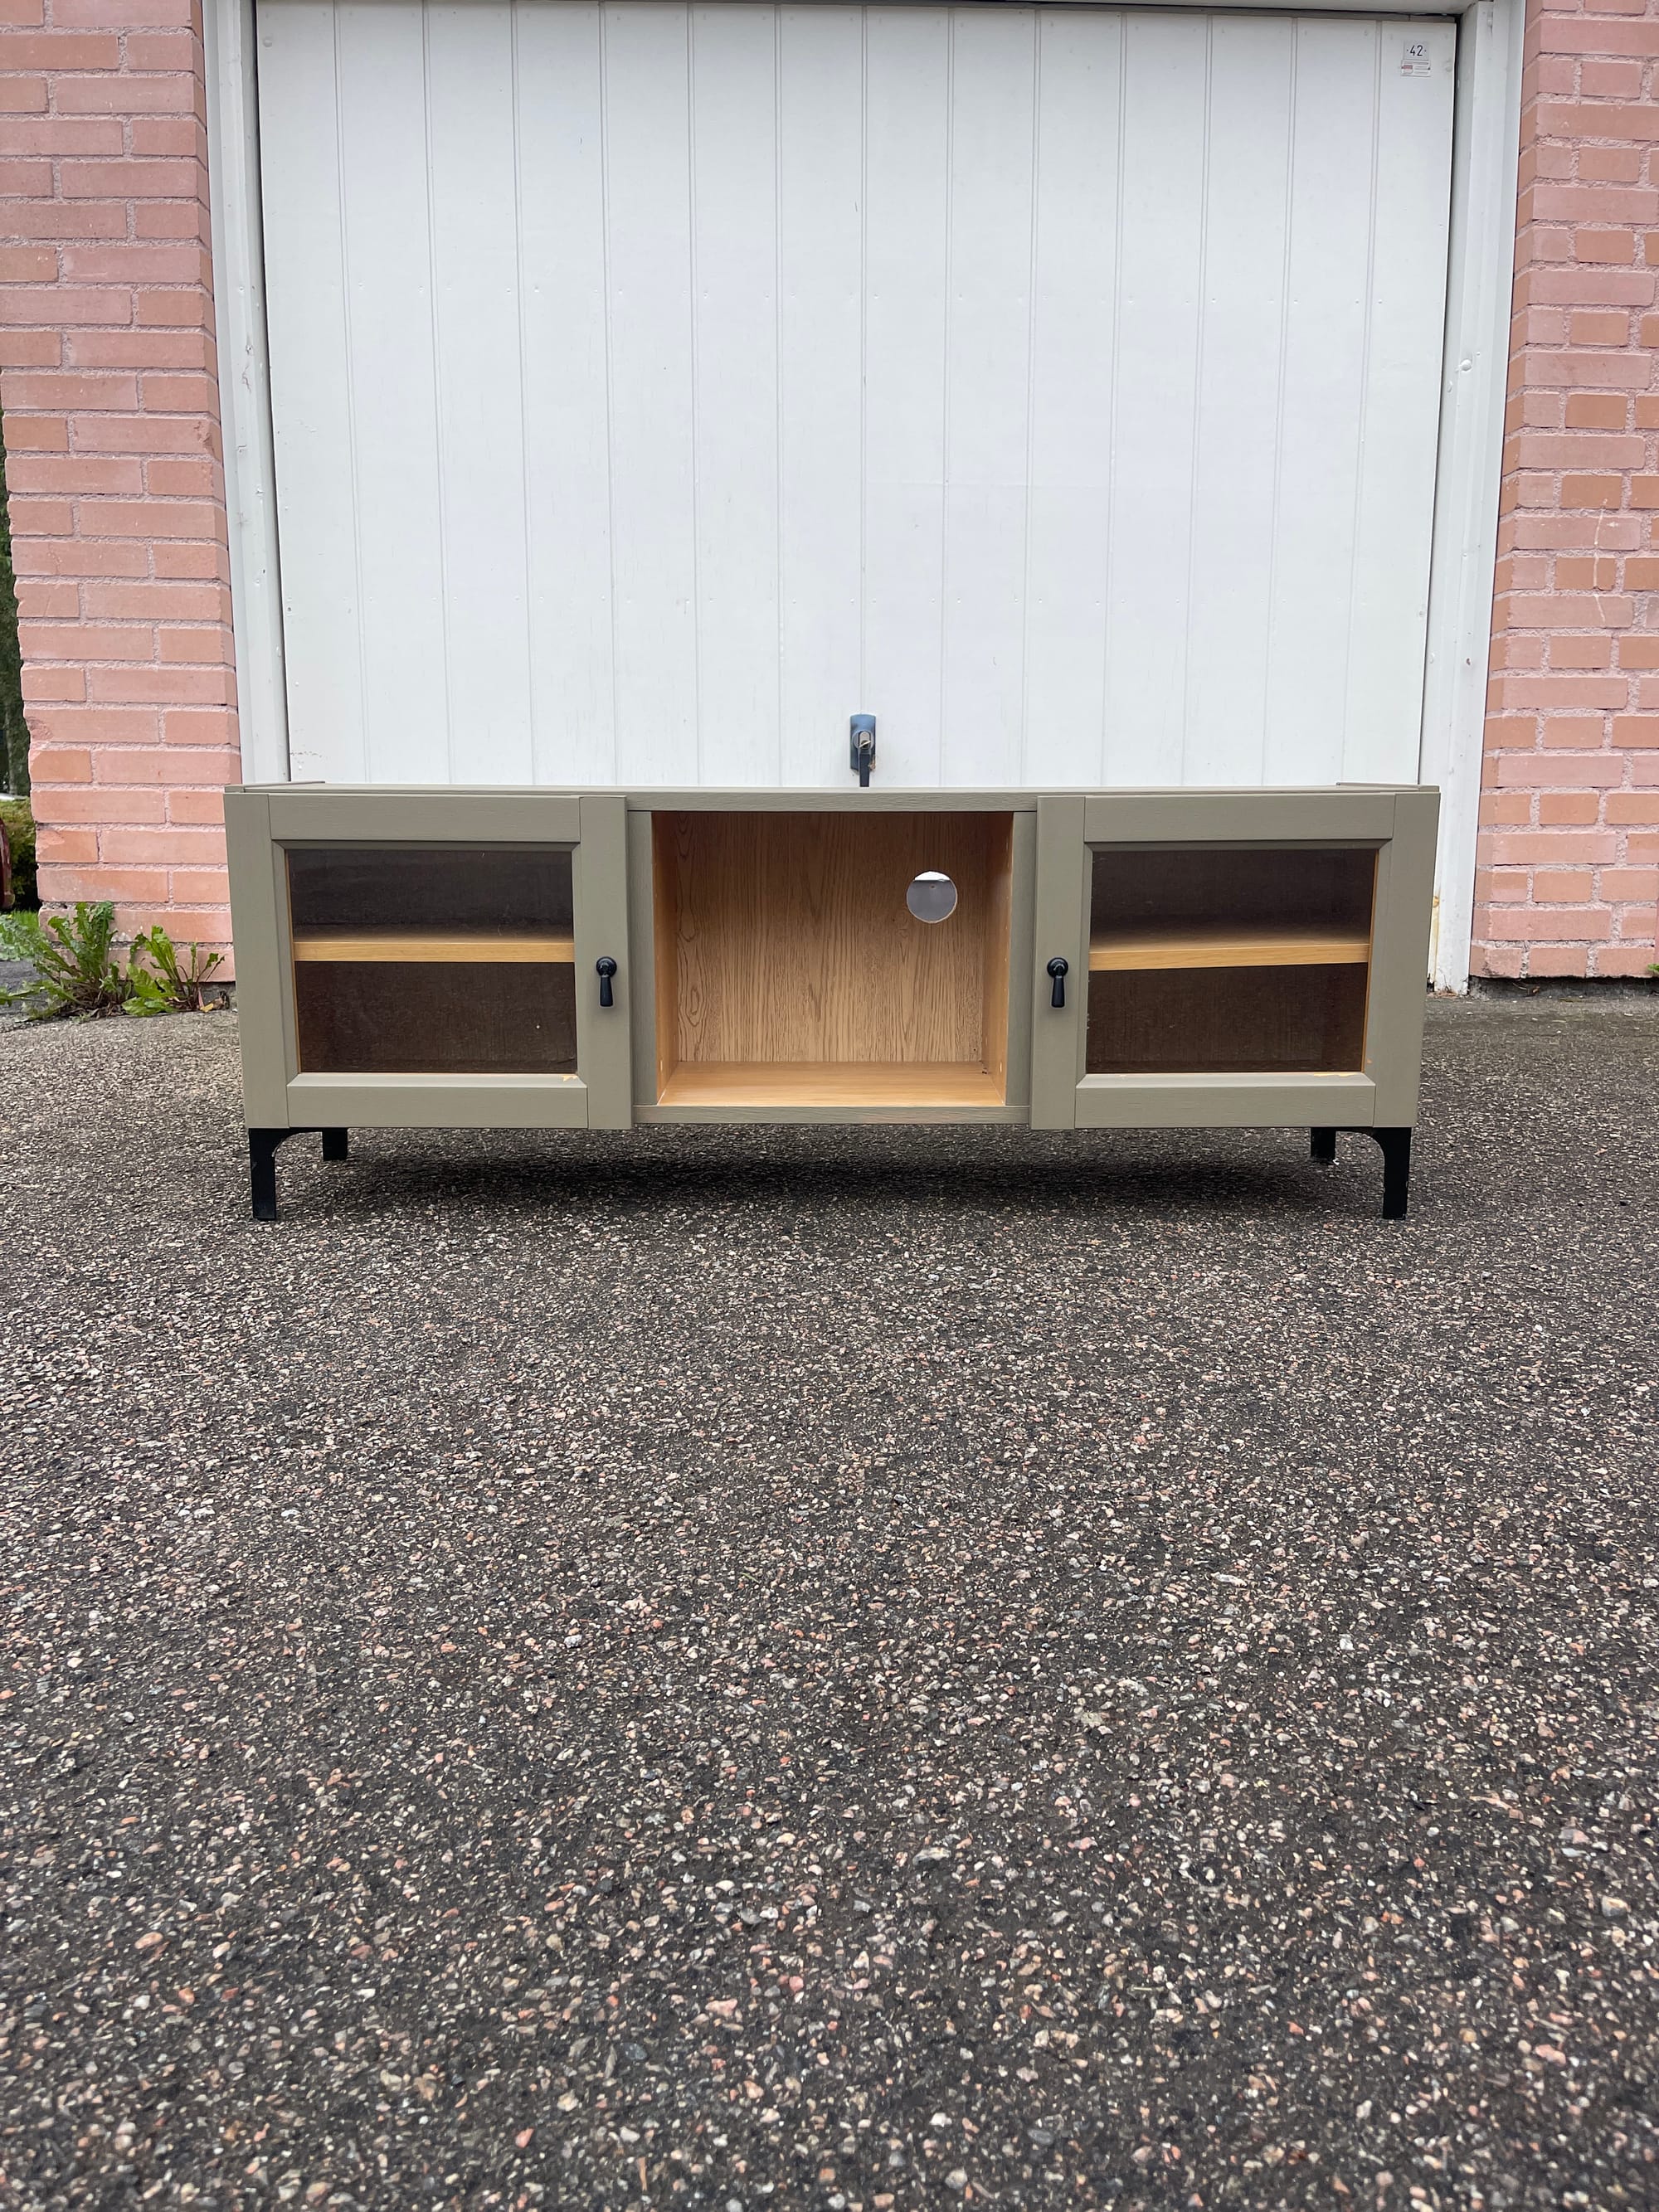
After
Next up in this series, we’ll be bringing out Einhell’s Circle Saw for a brand-new project—another chance to learn, create, and push our DIY skills a little further. We can’t wait to share it with you! Stay tuned, and maybe grab that piece of furniture you’ve been meaning to refresh. Trust us: once you start, you won’t want to stop.