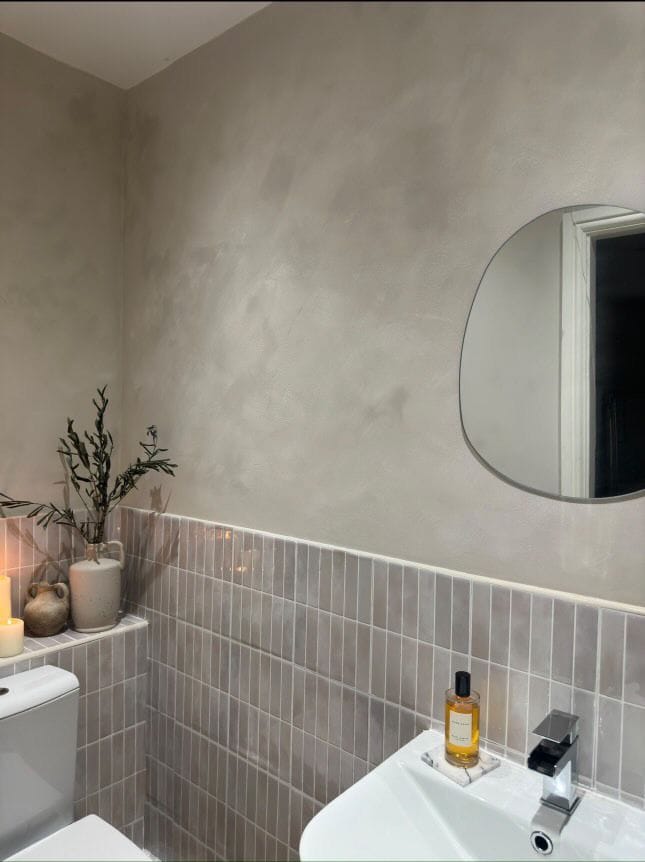
Ready to give your space a fresh, stylish update without the hassle of traditional tiling? Stick-on tiles are your new best friend! They’re affordable, easy to apply, and can transform any room in no time. Let’s dive into this exciting DIY project and learn how to achieve a stunning tile look with minimal effort.
Materials You'll Need:
- Stick-on tiles (we used self-adhesive tiles from Shein, but similar ones can be found on Amazon)
- Silicone sealant
- Cleaning supplies (soap, water, sponge, cloth)
- Utility knife or scissors
- Straight edge or ruler
Step-by-Step Guide:
Step 1: Clean the Surface
Start by thoroughly cleaning the tiles you plan to cover. Use soap and water to remove any dirt, dust, or grease. Wipe down the tiles with a clean cloth and let them dry completely. A clean surface ensures the adhesive sticks properly and lasts longer.
Step 2: Plan Your Layout
Before you start sticking, lay out your tiles to get a sense of how they will fit on the wall. This will help you visualize the final look and make any necessary adjustments.
Step 3: Apply the Stick-On Tiles
Begin applying the tiles from the top of your surface, working your way down. Peel off the backing and carefully align the top edge of the tile with your starting point. Press the tile firmly onto the surface, smoothing it from top to bottom to avoid trapping air bubbles. Repeat this process, aligning each tile with the previous one for a seamless look.
Step 4: Trim and Fit
For edges and corners, you may need to trim the tiles to fit. Use a utility knife or scissors to cut the tiles to the desired size. A straight edge or ruler can help ensure clean, precise cuts.
Step 5: Seal the Edges
Once all the tiles are in place, it’s time to seal the edges. Use silicone sealant to go around any edges and corners. This not only gives a more polished, realistic look but also helps to secure the tiles and prevent them from lifting. Apply a thin, even bead of silicone and smooth it out with your finger or a caulking tool.
Step 6: Final Touches
Check for any areas that may need extra adhesive or sealing and make any final adjustments. Wipe away any excess silicone and let everything set according to the manufacturer’s instructions.
Stick-on tiles are a fantastic way to update your space quickly and affordably. With a bit of preparation and careful application, you can achieve a beautiful, realistic tile look that enhances any room. We love how our project turned out, and we’re sure you’ll be thrilled with yours too!

Creator: Charlotte
Instagram: @ashwood_house_


