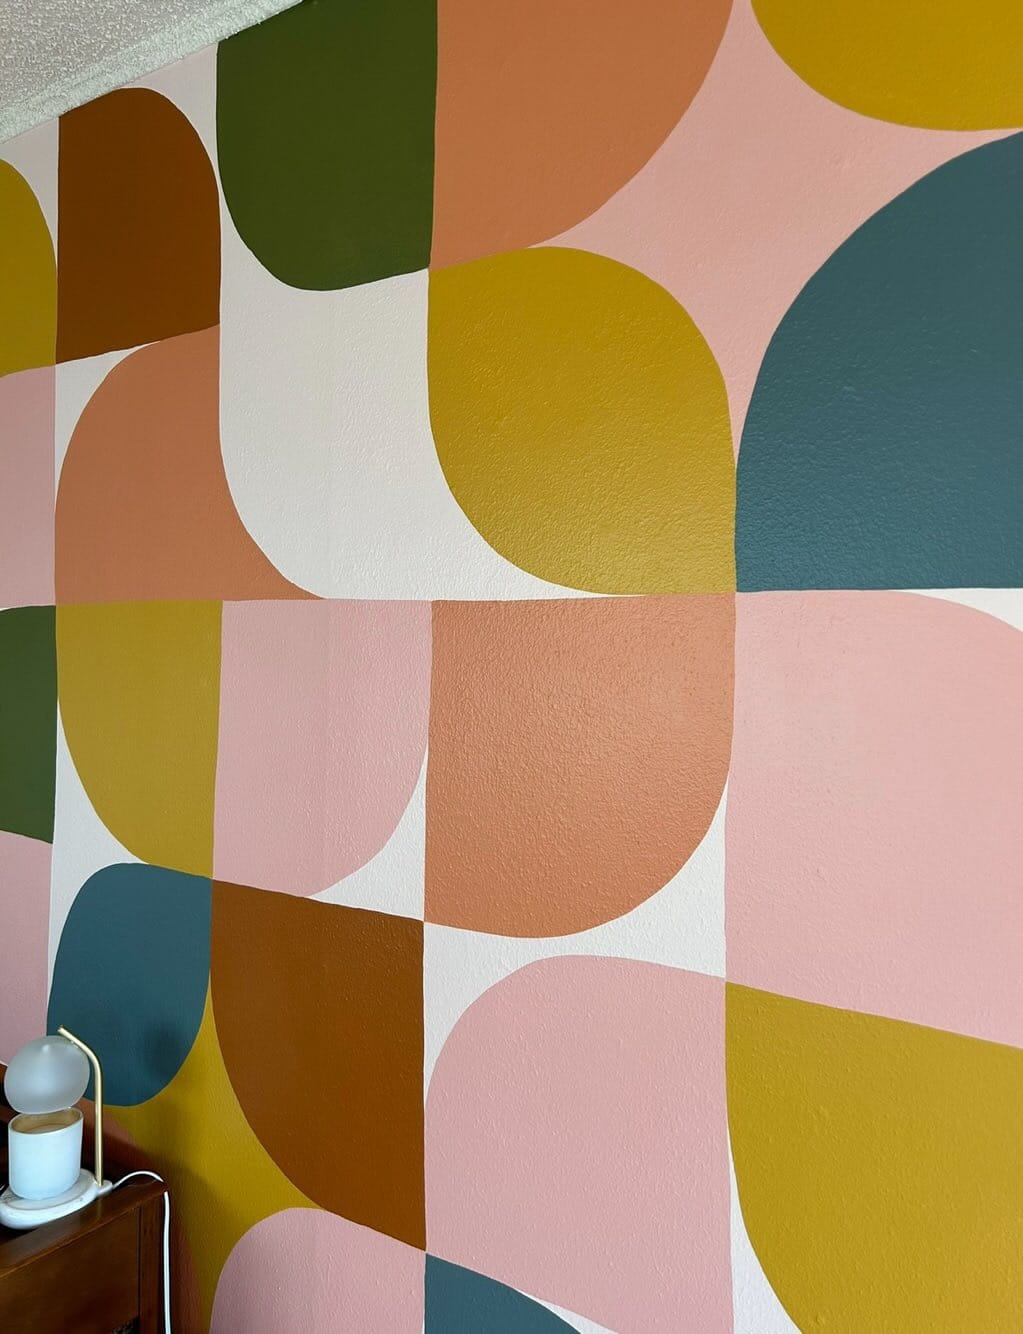
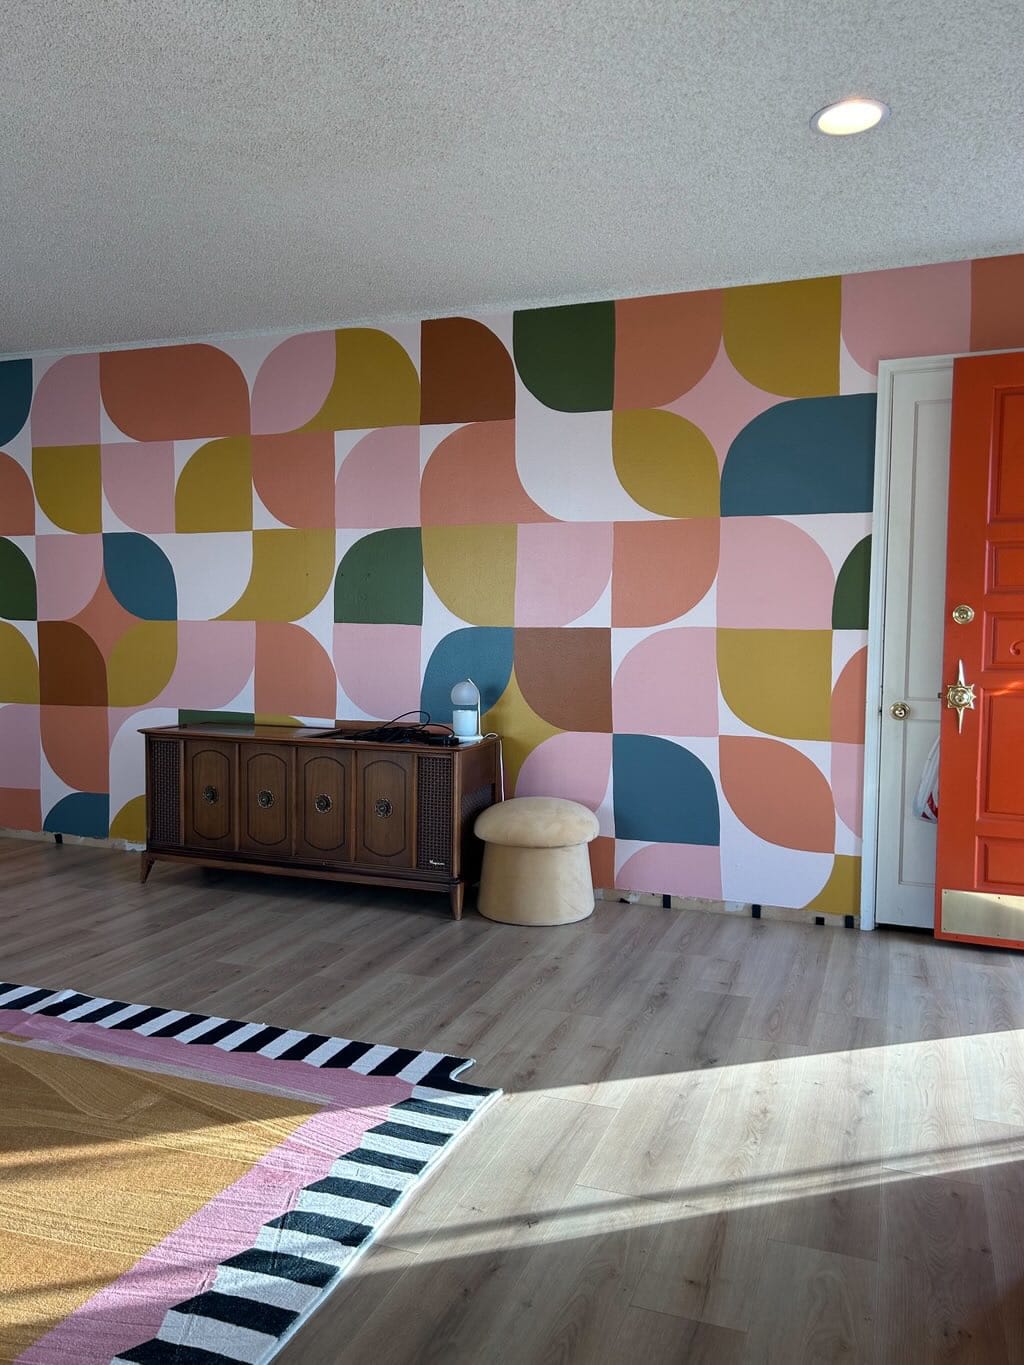
Creating a stunning, custom-designed wall doesn’t have to break the bank. With a bit of creativity and patience, you can paint your own "wallpaper" for a fraction of the cost of store-bought options. Here’s how I transformed my wall into a work of art using a simple stencil and some beautiful Behr paints.
Materials You Need
- Cardboard box
- Pencil
- Paint brushes (from Home Depot)
- 7 different Behr paints (from Home Depot)
- Stencil shape (cut from cardboard)
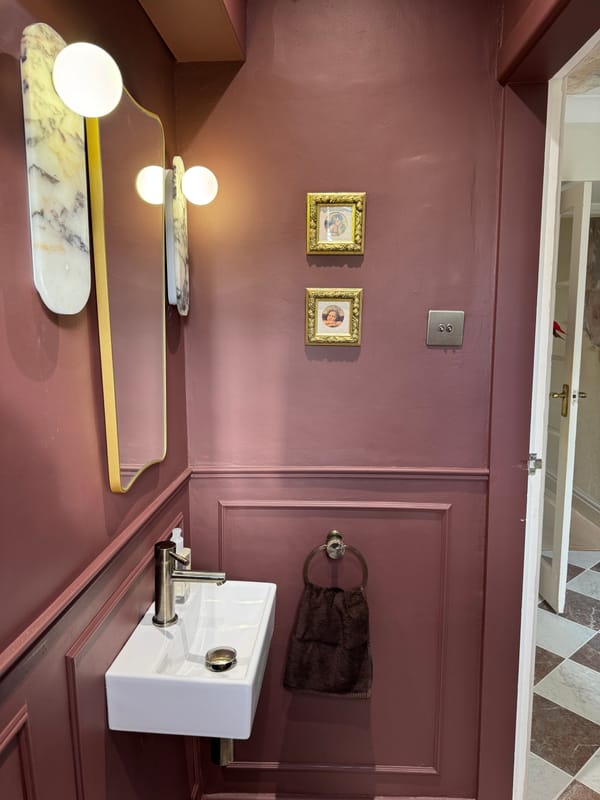
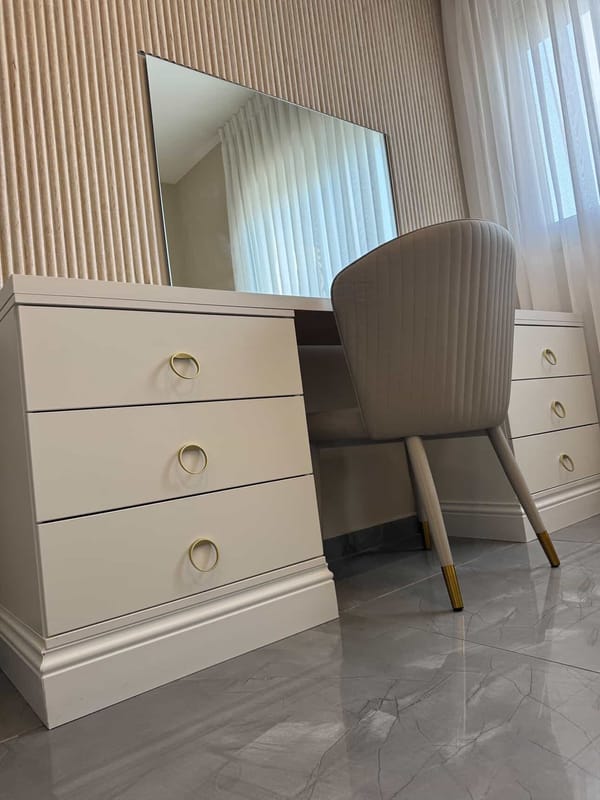
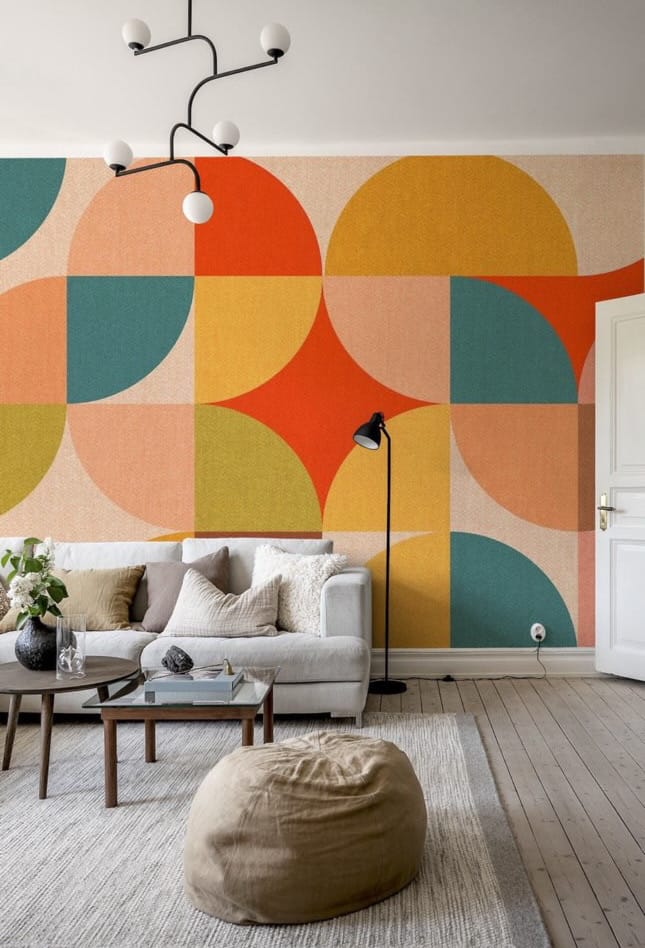
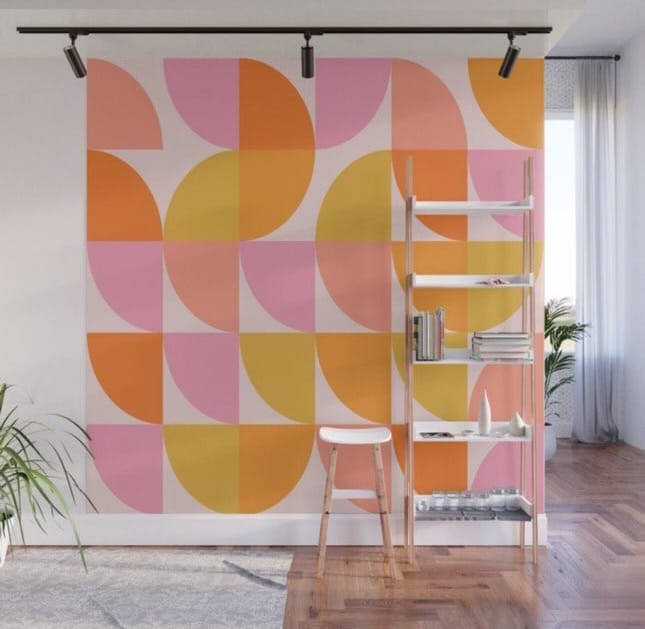
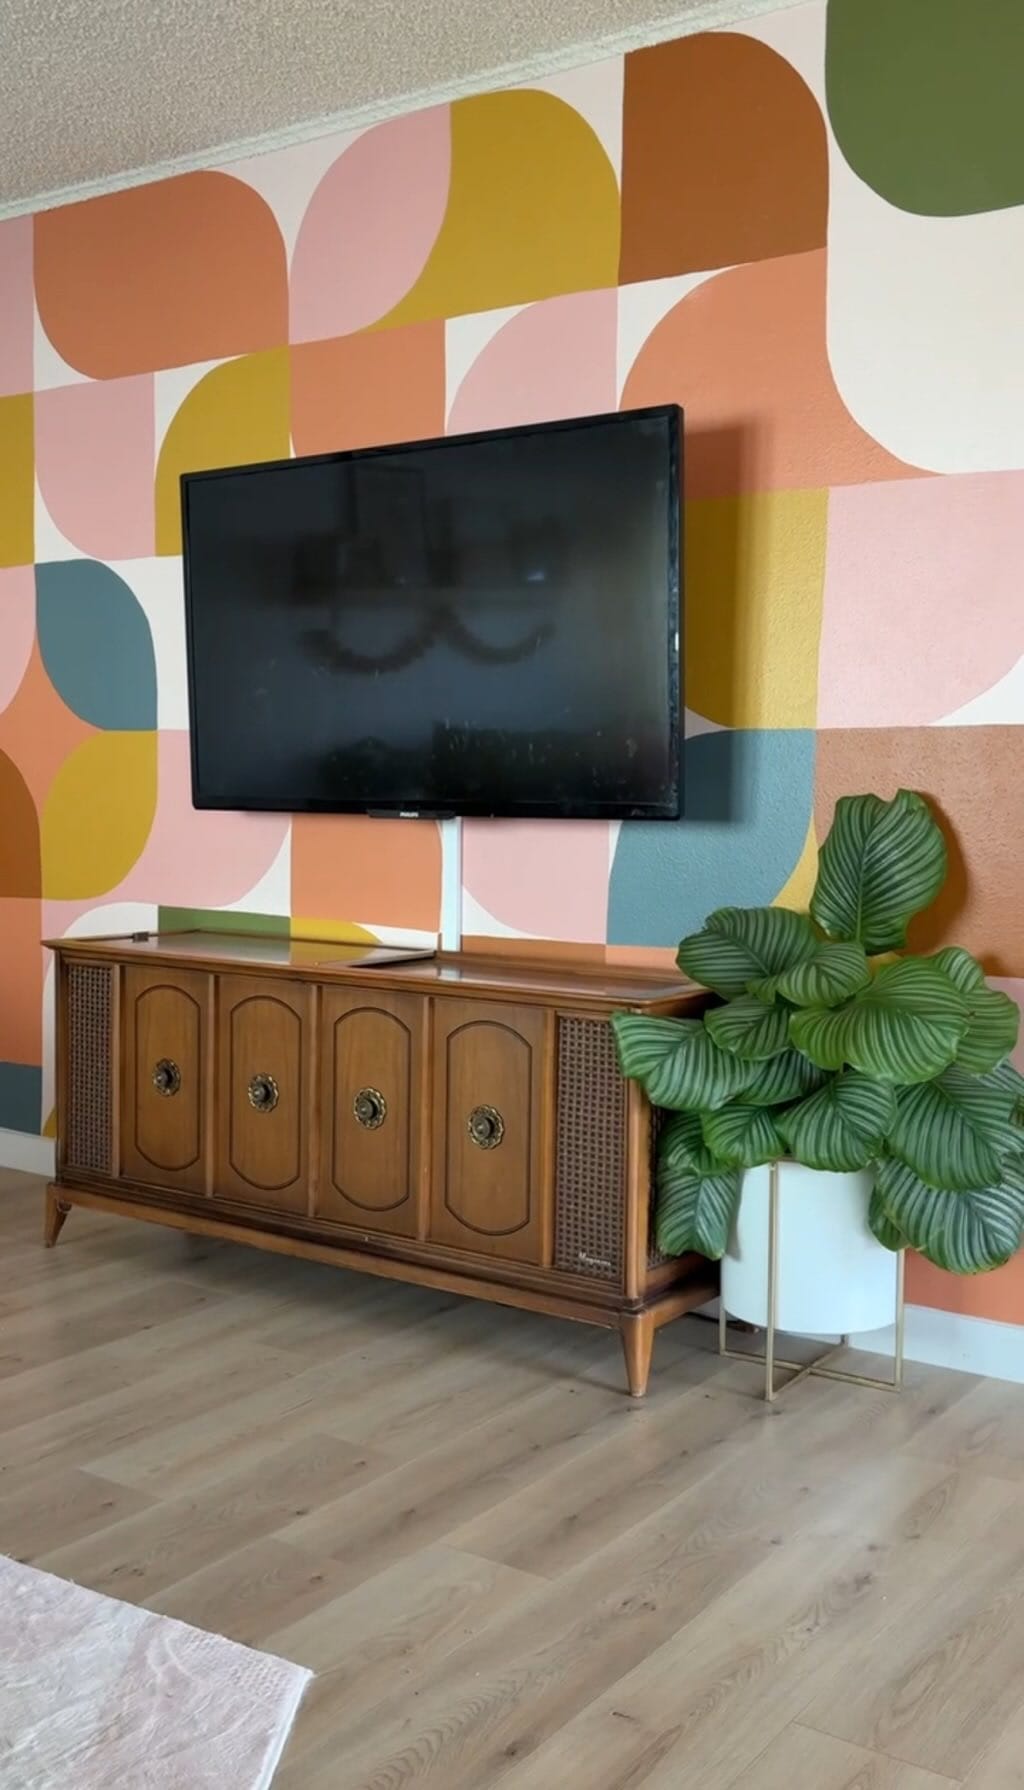
The inspiration for this project came from countless hours spent scrolling through beautiful wallpaper designs on Pinterest. Each design I saw was stunning, but I knew that creating something similar by hand would not only be more affordable but also allow me to infuse a personal touch into my space. Here are some pictures that inspired me for this project!
Step-by-Step Guide
Step 1: Choose and Create Your Stencil
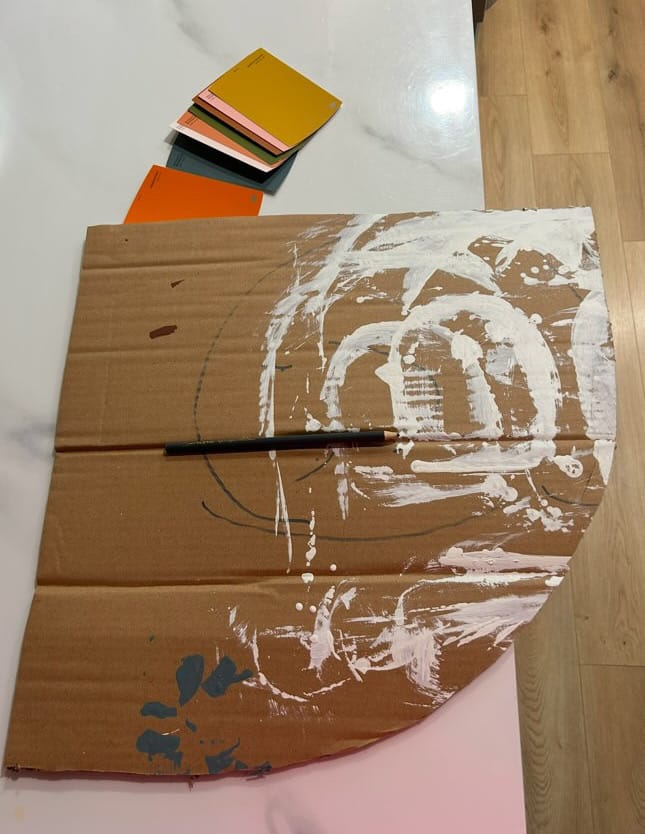
I started by browsing different wallpaper designs on Pinterest for inspiration. Once I found a shape I loved, I traced it onto a cardboard box and cut it out to create my stencil. This cardboard stencil was the key to achieving uniform shapes across the wall.
Step 2: Trace the Stencil on the Wall
Using a pencil, I traced the stencil on the wall, flipping it back and forth to create a pattern with shapes facing different directions. I made sure to stay within my pre-drawn level lines to keep the design consistent and aligned.
Step 3: Plan Your Color Placement
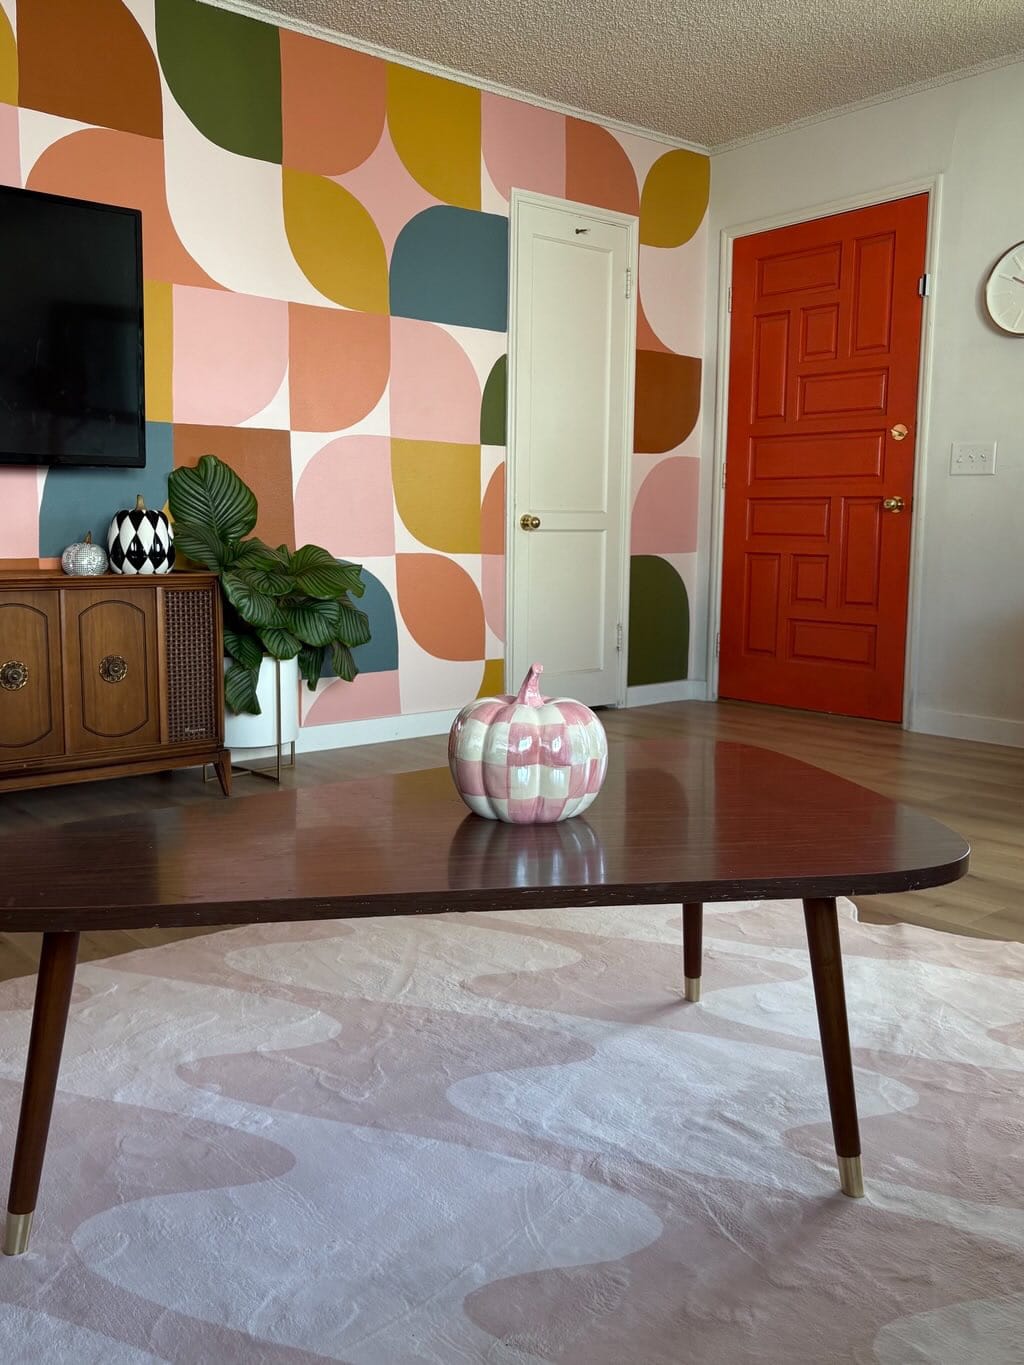
With my shapes traced out, I carefully planned where each color would go. I wanted a balanced mix without any two identical colors next to each other. I also decided to use fewer blue and green shapes—just 2-3 of each—while the other colors would dominate the wall.
Step 4: Start Painting
I used a couple of paint brushes from Home Depot and started painting each shape. It was important to apply three coats of paint on each shape to achieve a rich, vibrant color. Trusting the process, I let my creative side flow and enjoyed watching the design come together.
Step 5: Finishing Touches
The entire project took about a week, working a few hours each day. The result was a beautifully painted wall that looked like high-end wallpaper but was created with my own two hands.
Paint Colors Used
- Balcony Sunset
- Coney Island
- Noble Blush
- Maple Glaze
- Stolen Kiss
- Saffron Strands
- Garnish
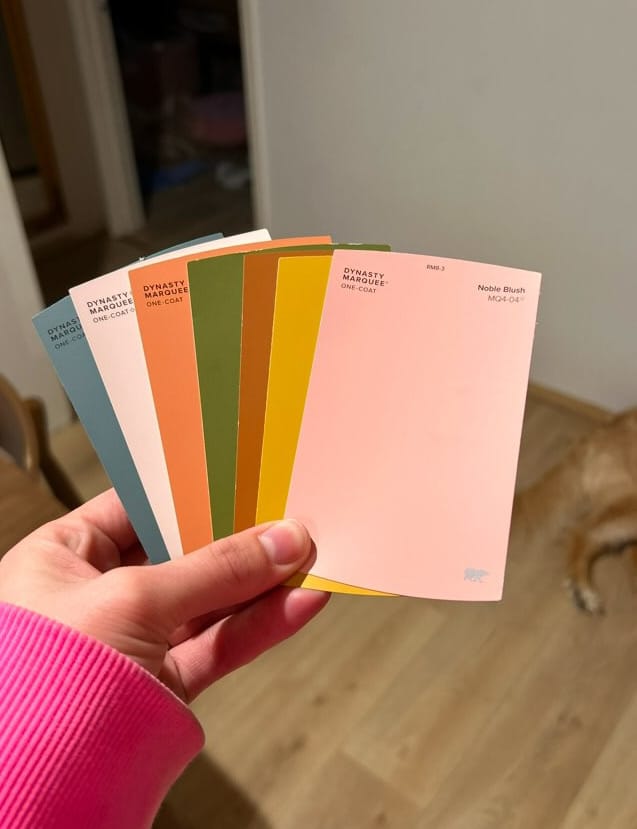
I used a gallon of each color except for the green and blue, where a quart was sufficient. All the paints had a satin finish, giving the wall a subtle, elegant sheen.
Final Thoughts
Creating this DIY painted "wallpaper" was a rewarding project that allowed me to infuse my personal style into my home. It was not only cost-effective but also a fun and creative process. If you’re looking to add a unique touch to your space, give this project a try. You might be surprised at how beautifully it turns out!

Creator: Mckenna
Instagram:@mckennamalonemolt
TikTok: @mckennamolt


