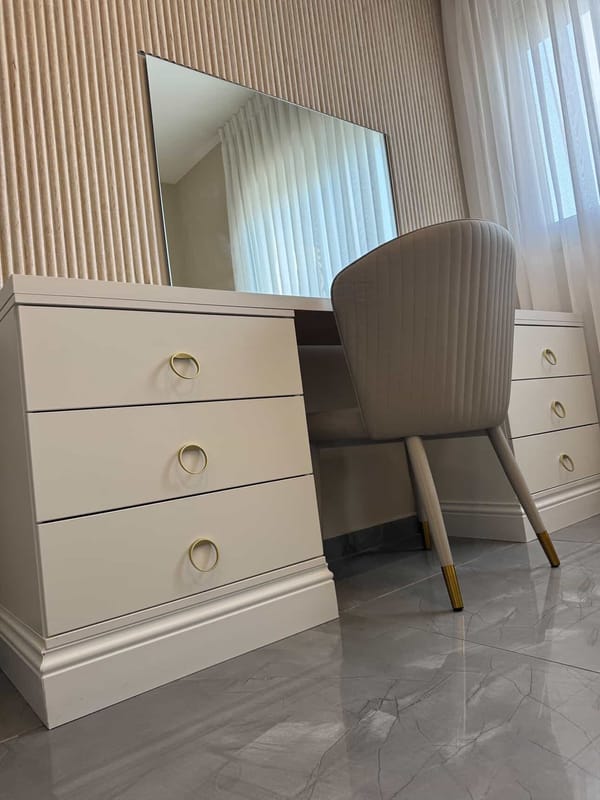
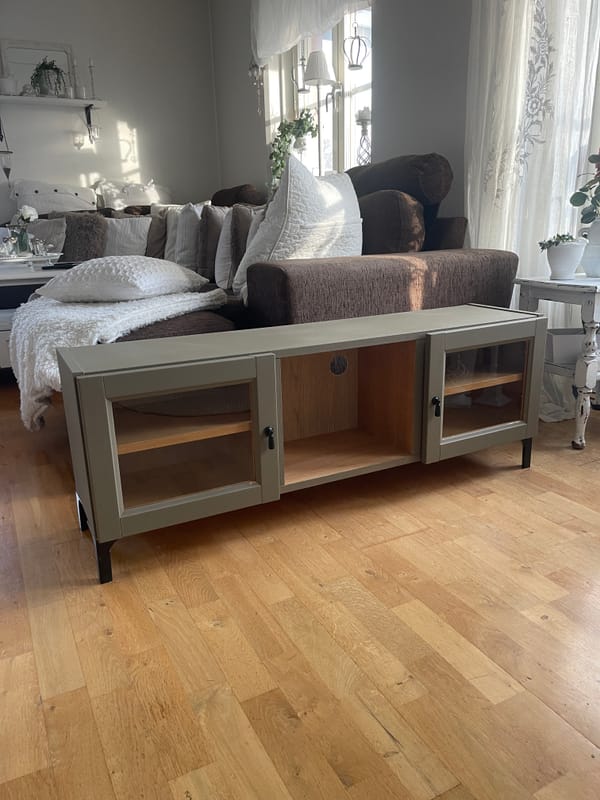
Are you ready to transform your space with a custom-made closet? Building your own MDF (Medium Density Fiberboard) closet is a fulfilling DIY project that will add both style and functionality to your home. With a bit of planning and the right tools, you can create a beautiful, tailor-made closet. Let’s dive into the step-by-step guide to making your dream closet a reality!
Materials and Tools Needed:
Materials:
- MDF Panels: 16mm to 19mm thick for the walls and shelves.
- Hinges: Inset hinges are ideal for this project.
- Wood Screws
- Wood Battens (20 x 20 mm): Pine or spruce for the internal frame.
- Door Handles
- Paint, Varnish, or Oil: For the finishing touch.
Tools:
- Jigsaw or circular saw (for cutting MDF)
- Electric drill/driver
- Tape measure
- Bubble level
- Clamps
- Sander
- Pencil and ruler
Project Planning
Before we start proper planning is the cornerstone of a successful project. Here’s what to do:
- Dimensions: Measure the height, width, and depth of the space where the closet will be installed. Don’t forget to measure the dimensions of the doors.
- Interior Organization: Decide on the number of shelves, drawers, or clothing rods you need.
- Type of Doors: We’re opting for louvred doors for their natural ventilation benefits.
Step-by-Step Guide
Step 1: Cut the MDF Panels
Prepare your MDF panels according to the following dimensions:
- 2 Side Panels
- 1 Top Panel
- 1 Bottom Panel
- Shelves (as per your needs)
- Several Panels for the Front and Doors
If you're not comfortable cutting MDF, many hardware stores offer precise cutting services. Sand the edges of your panels for a smooth finish before assembly. Protect yourself from dust with a mask or connect your sander to a vacuum.
Step 2. Frame Assembly
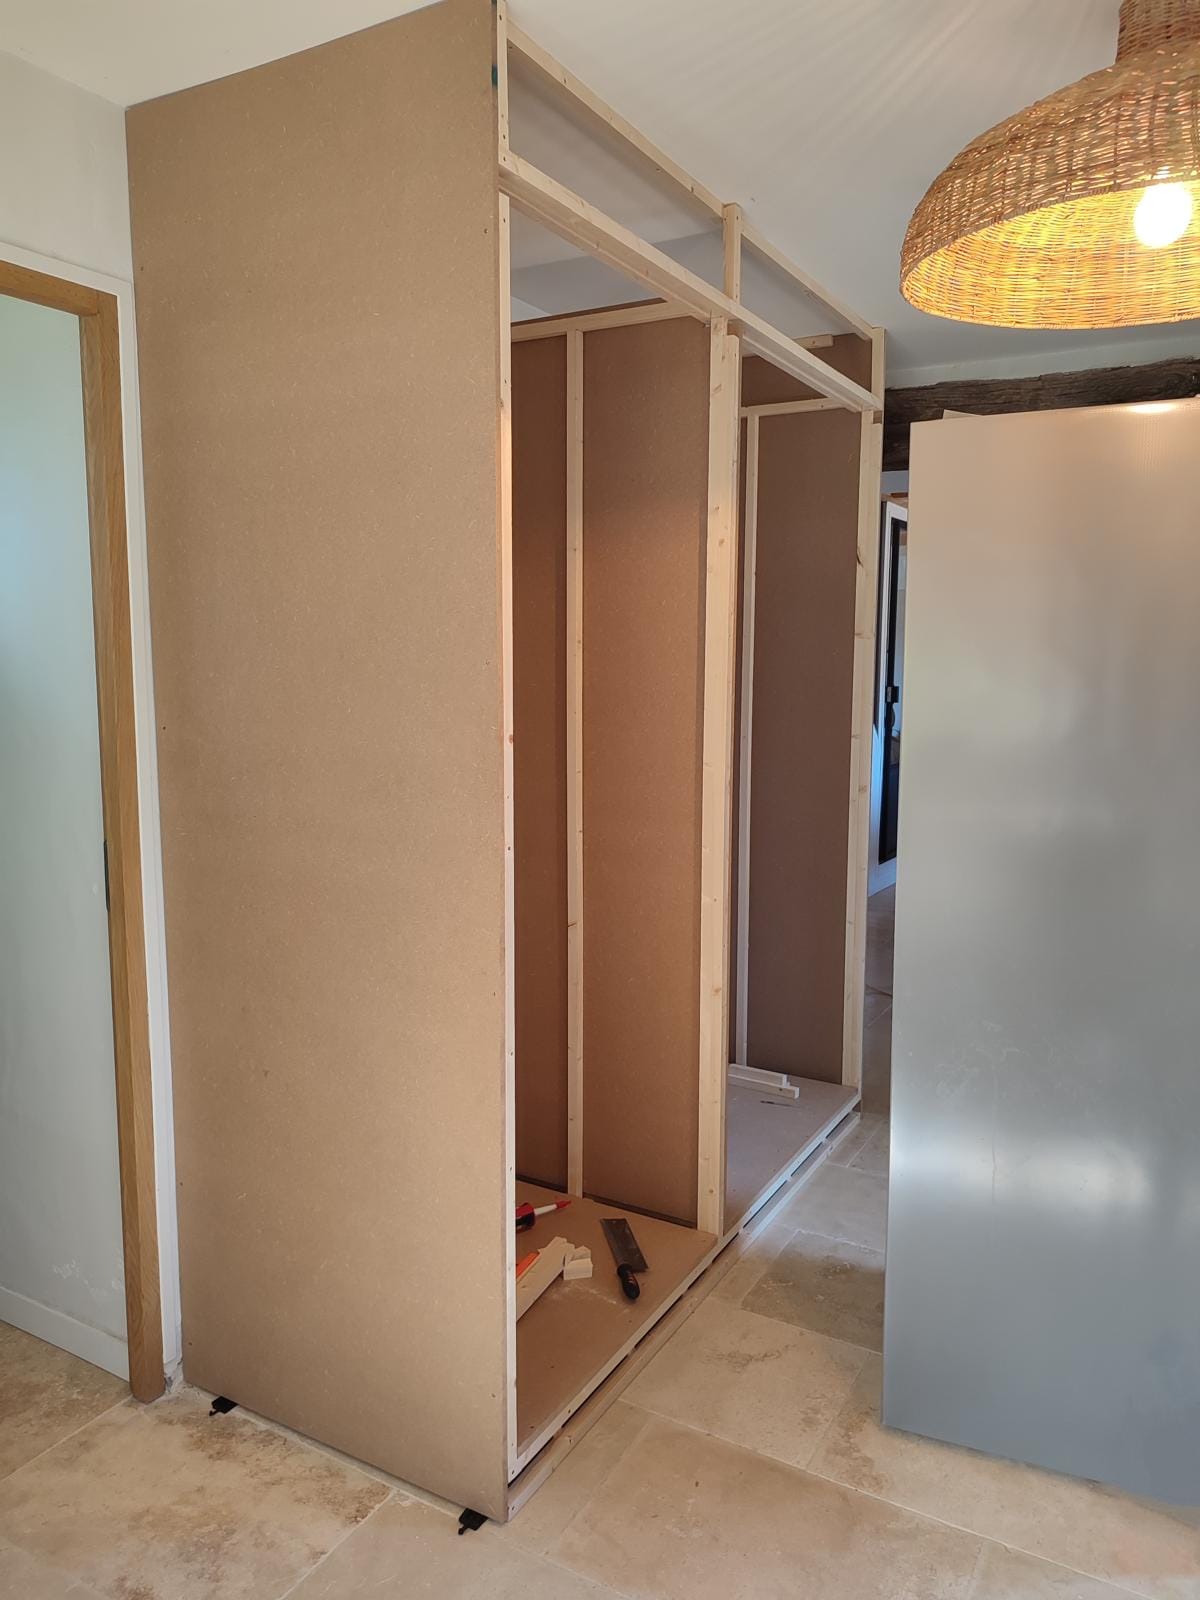
Create the internal frame using the 20 x 20 mm wood battens for support and stability. If possible, fix the frame to the floor, wall, and ceiling for maximum strength.
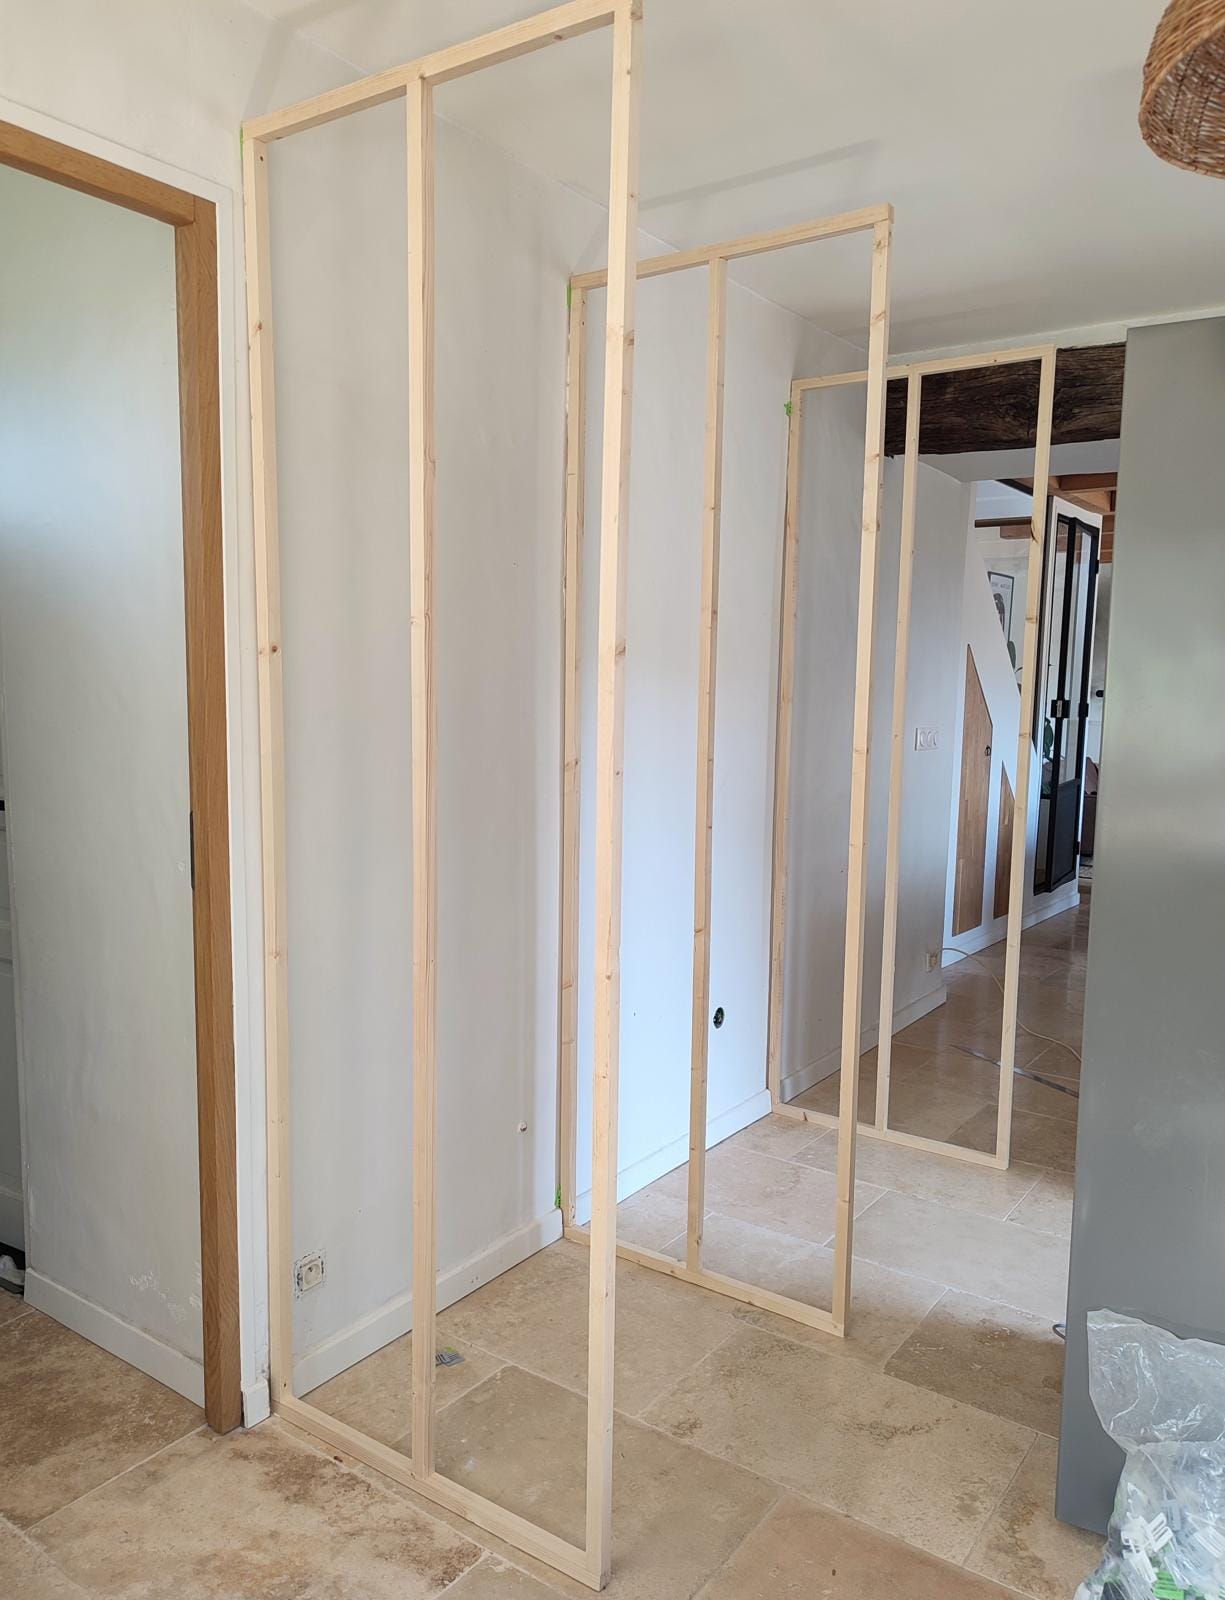
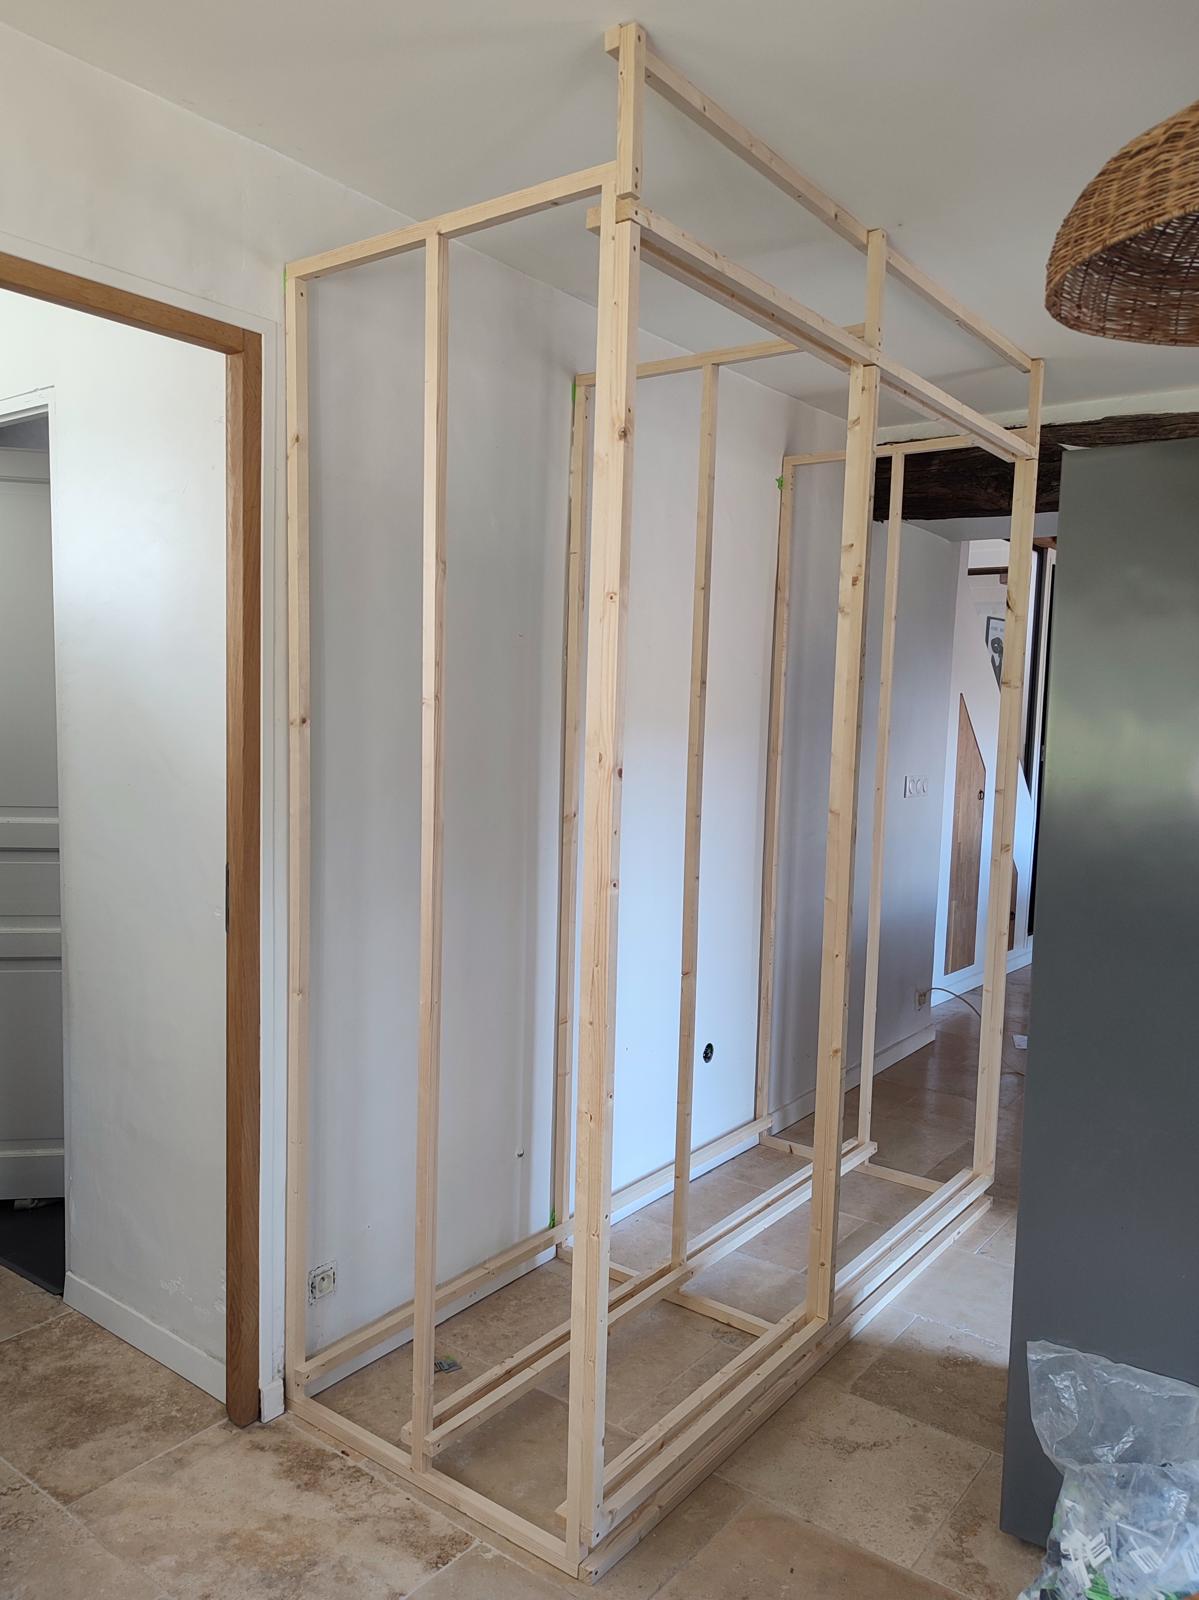
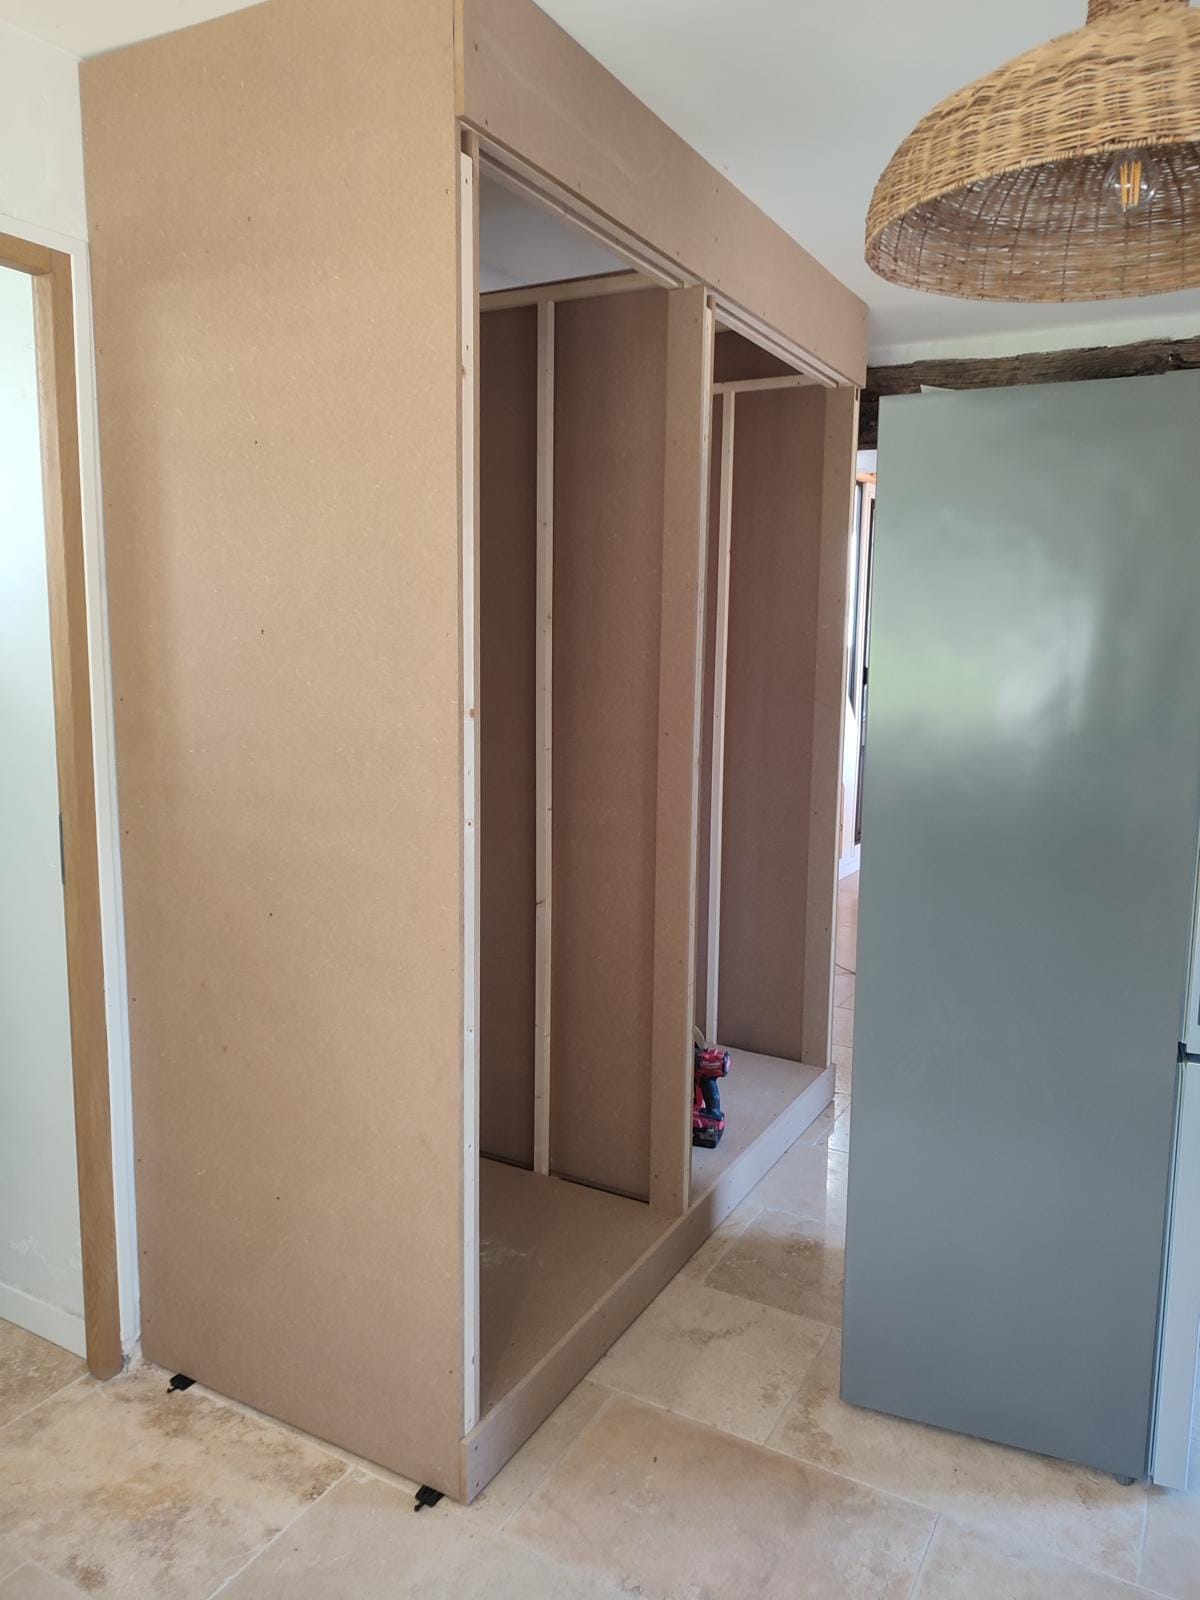
Step 3. Assemble the Main Structure
Use wood screws and glue to connect the side panels to the bottom panel. Hold the pieces together with clamps while screwing. Screw the top panel to the side panels to form a sturdy rectangle. For added stability, you can reinforce the structure with an MDF or plywood back panel.
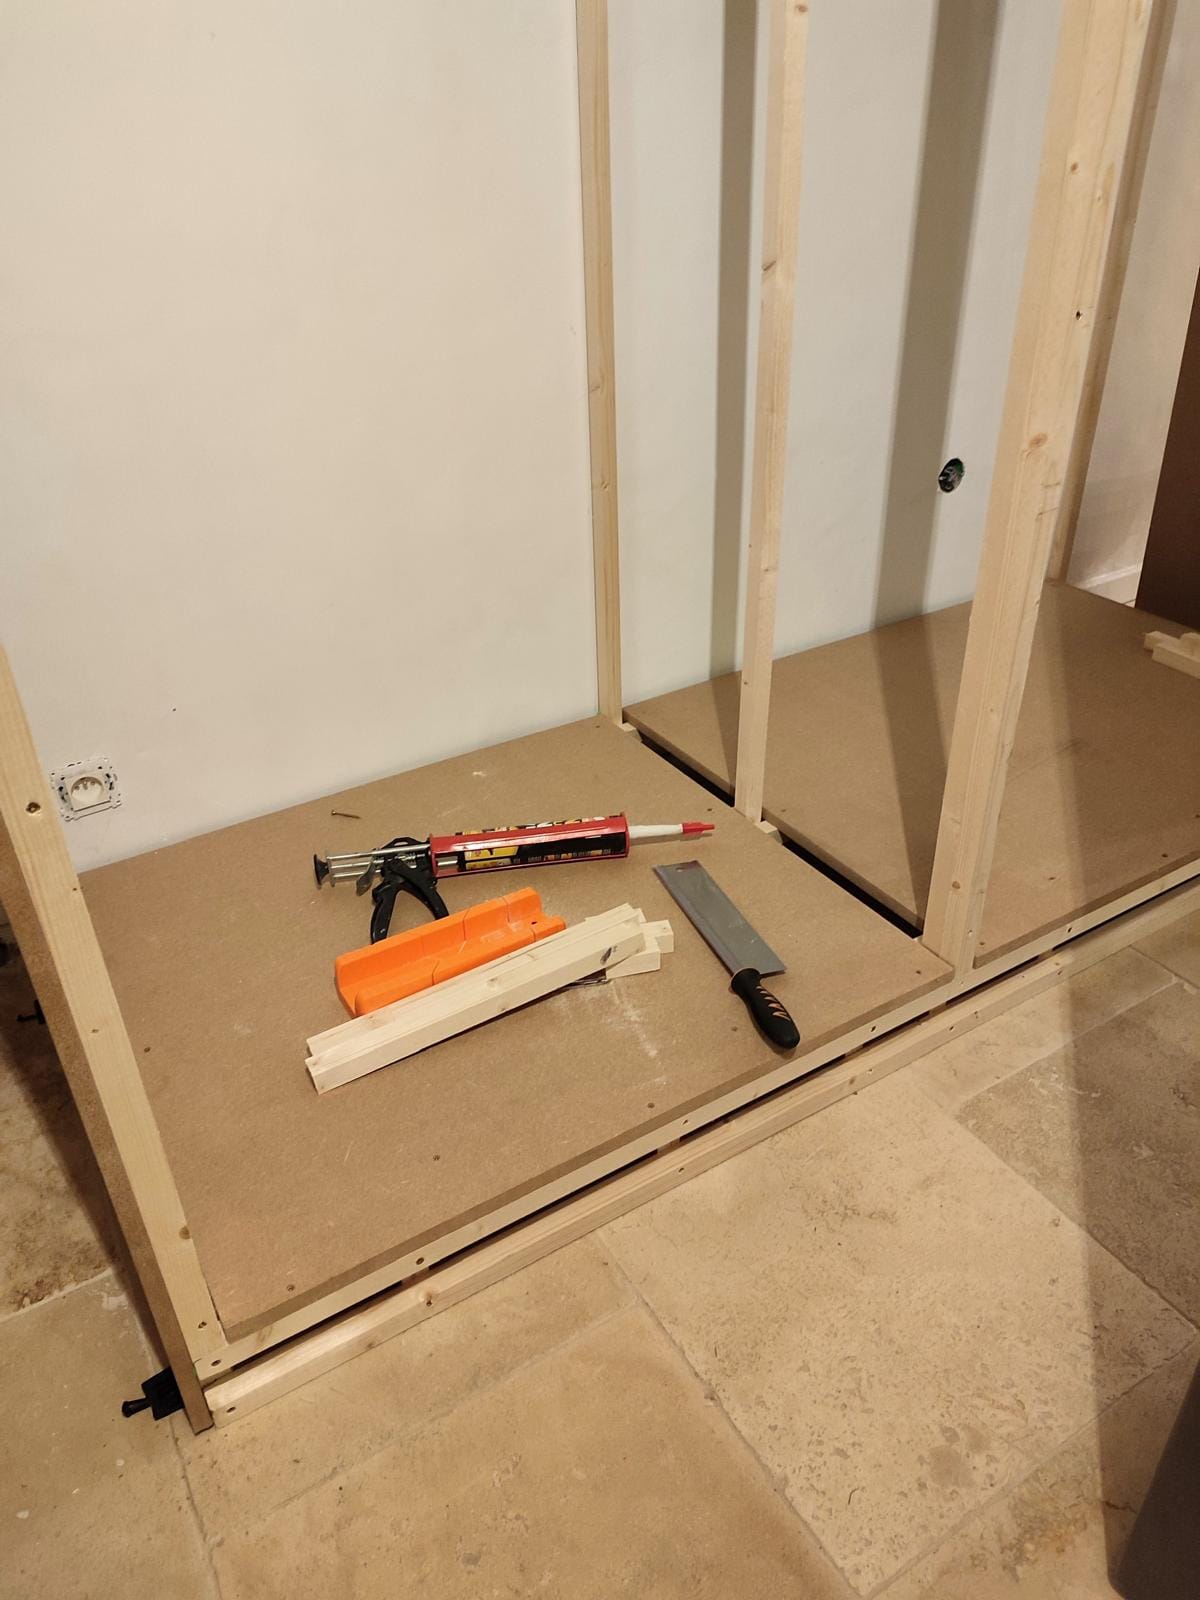
Step 4. Caulk and Paint
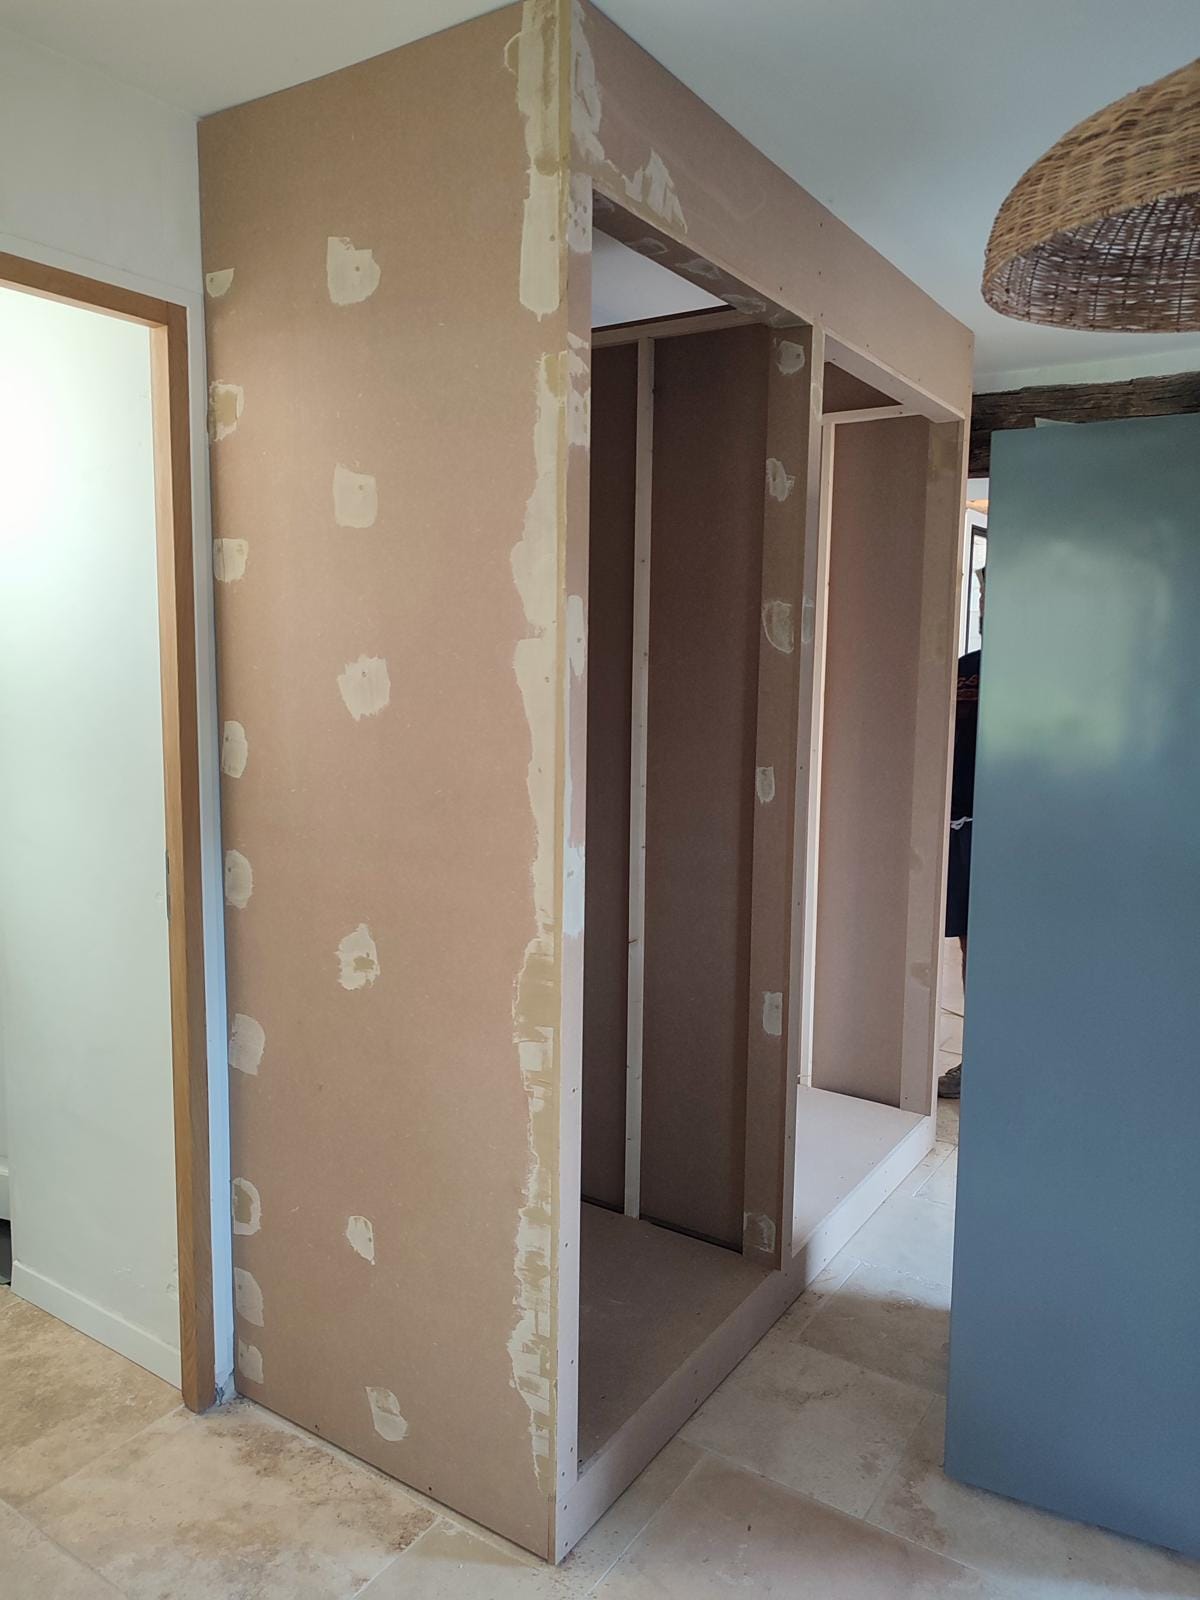
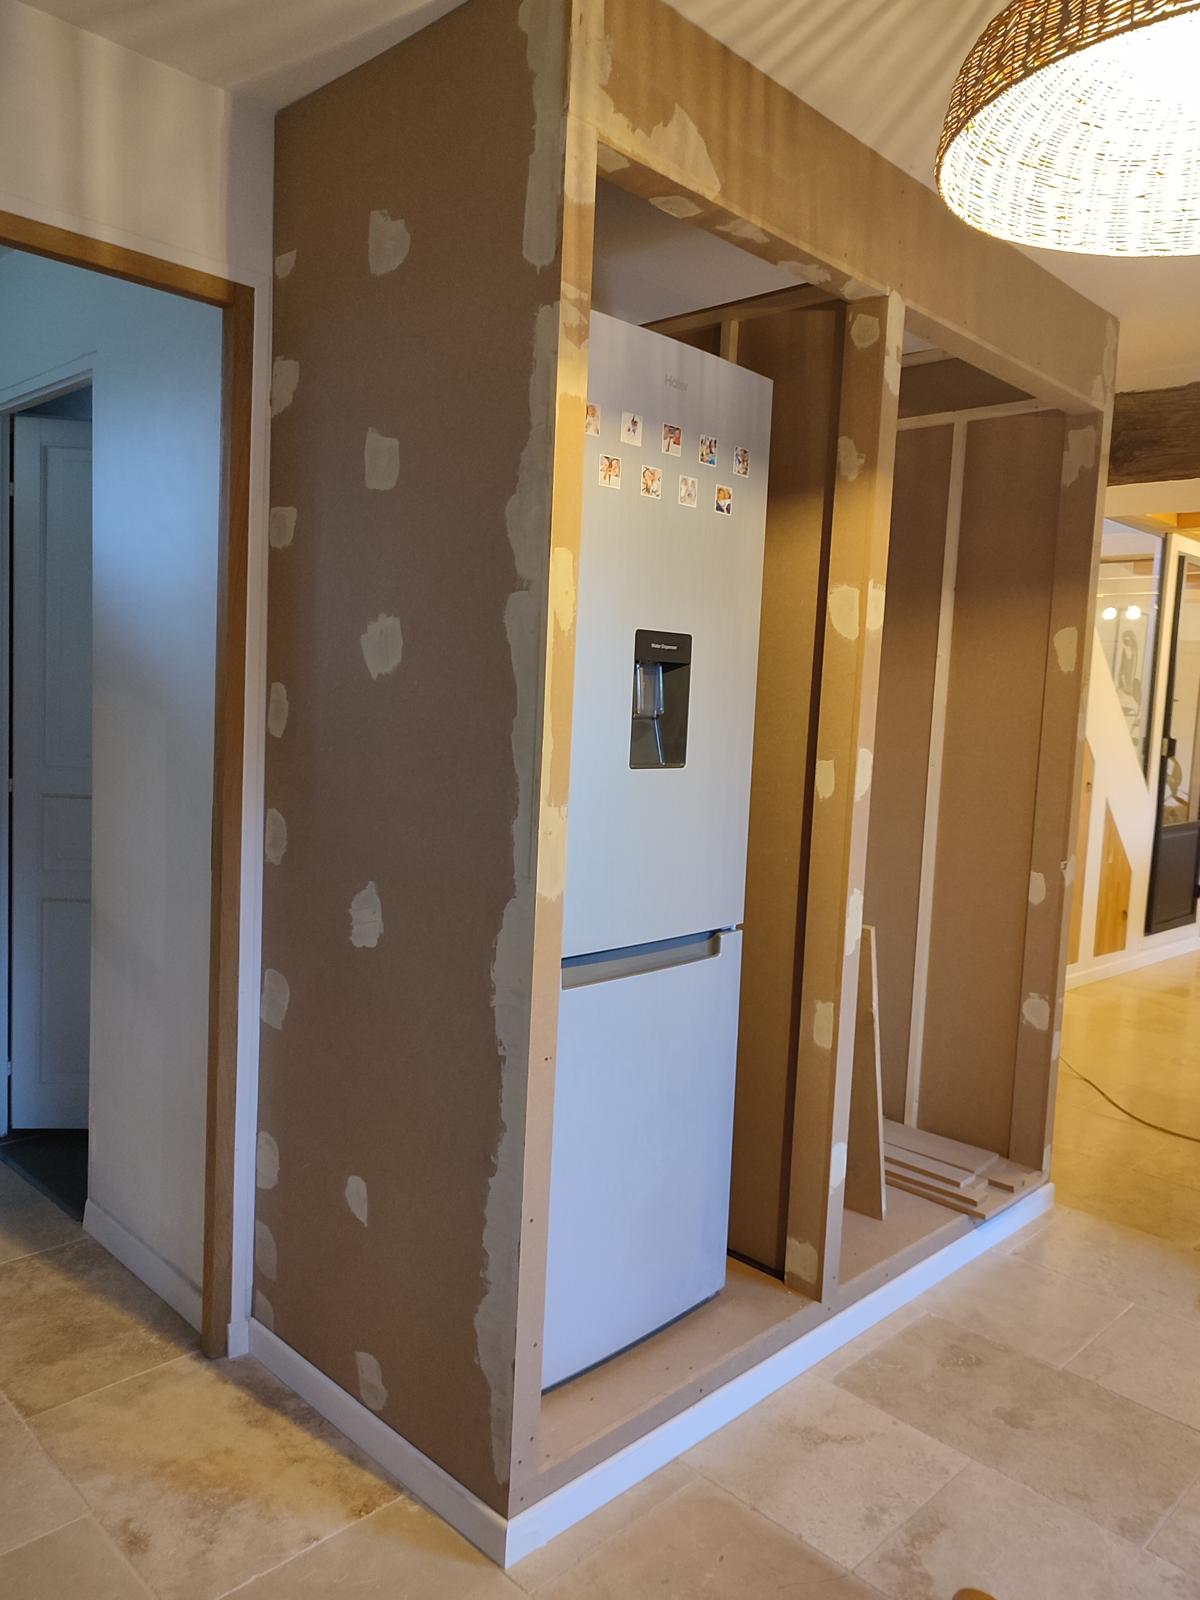
Now that your closet's main structure is assembled, it's time to polish it. Use caulk to fill gaps or seams between the MDF panels, smoothing it with a damp finger or caulking tool. Wipe away any excess with a damp cloth. Once dry, lightly sand the entire surface, clean off the dust, and apply paint.
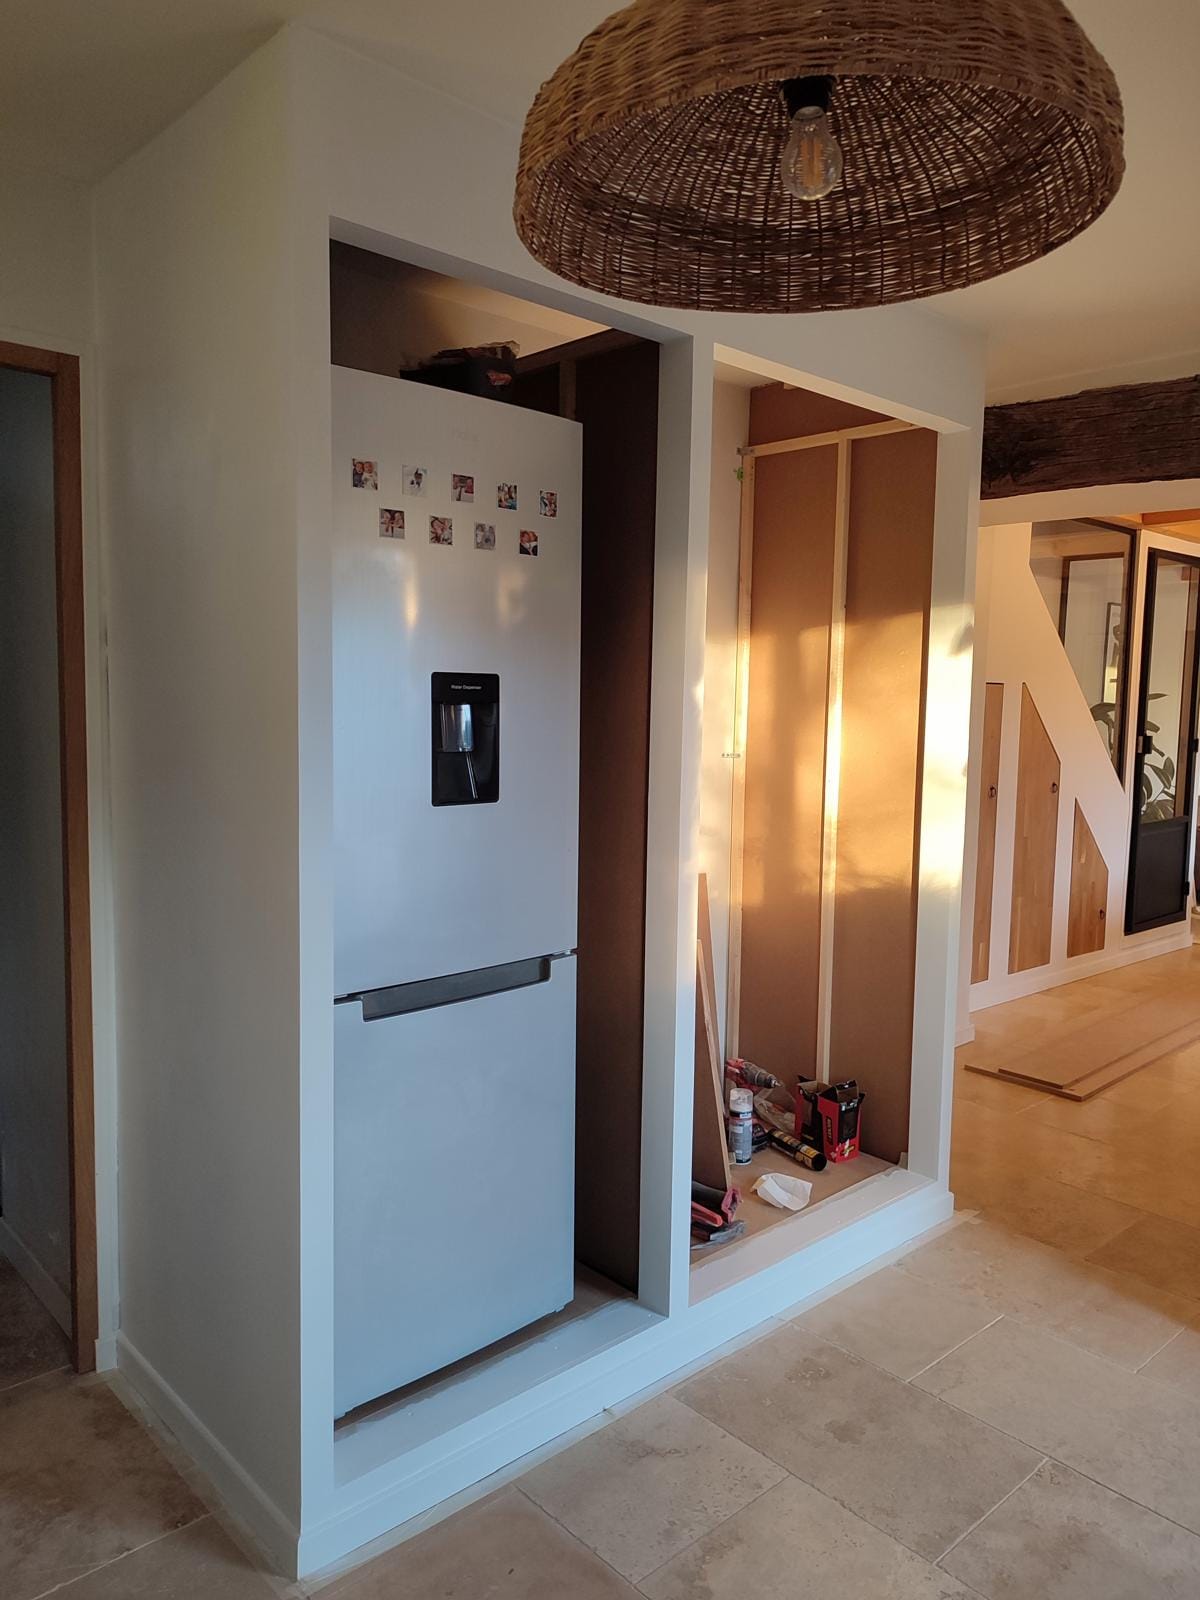
Step 5. Shelves and Door Installation
- Shelf Installation: Inside the closet, mark the positions for your shelves, screw the wood battens to the marked spots to support the shelves and lay the shelves on top of the battens. For longer shelves, use thicker MDF panels to avoid sagging under the weight of stored items.
- Door Installation: Place inset hinges about 15 cm from the top and bottom of each door, next screw the hinges to the side panels of the closet. Finally, install door handles to your preference and secure them to the frame to ensure they open and close smoothly.
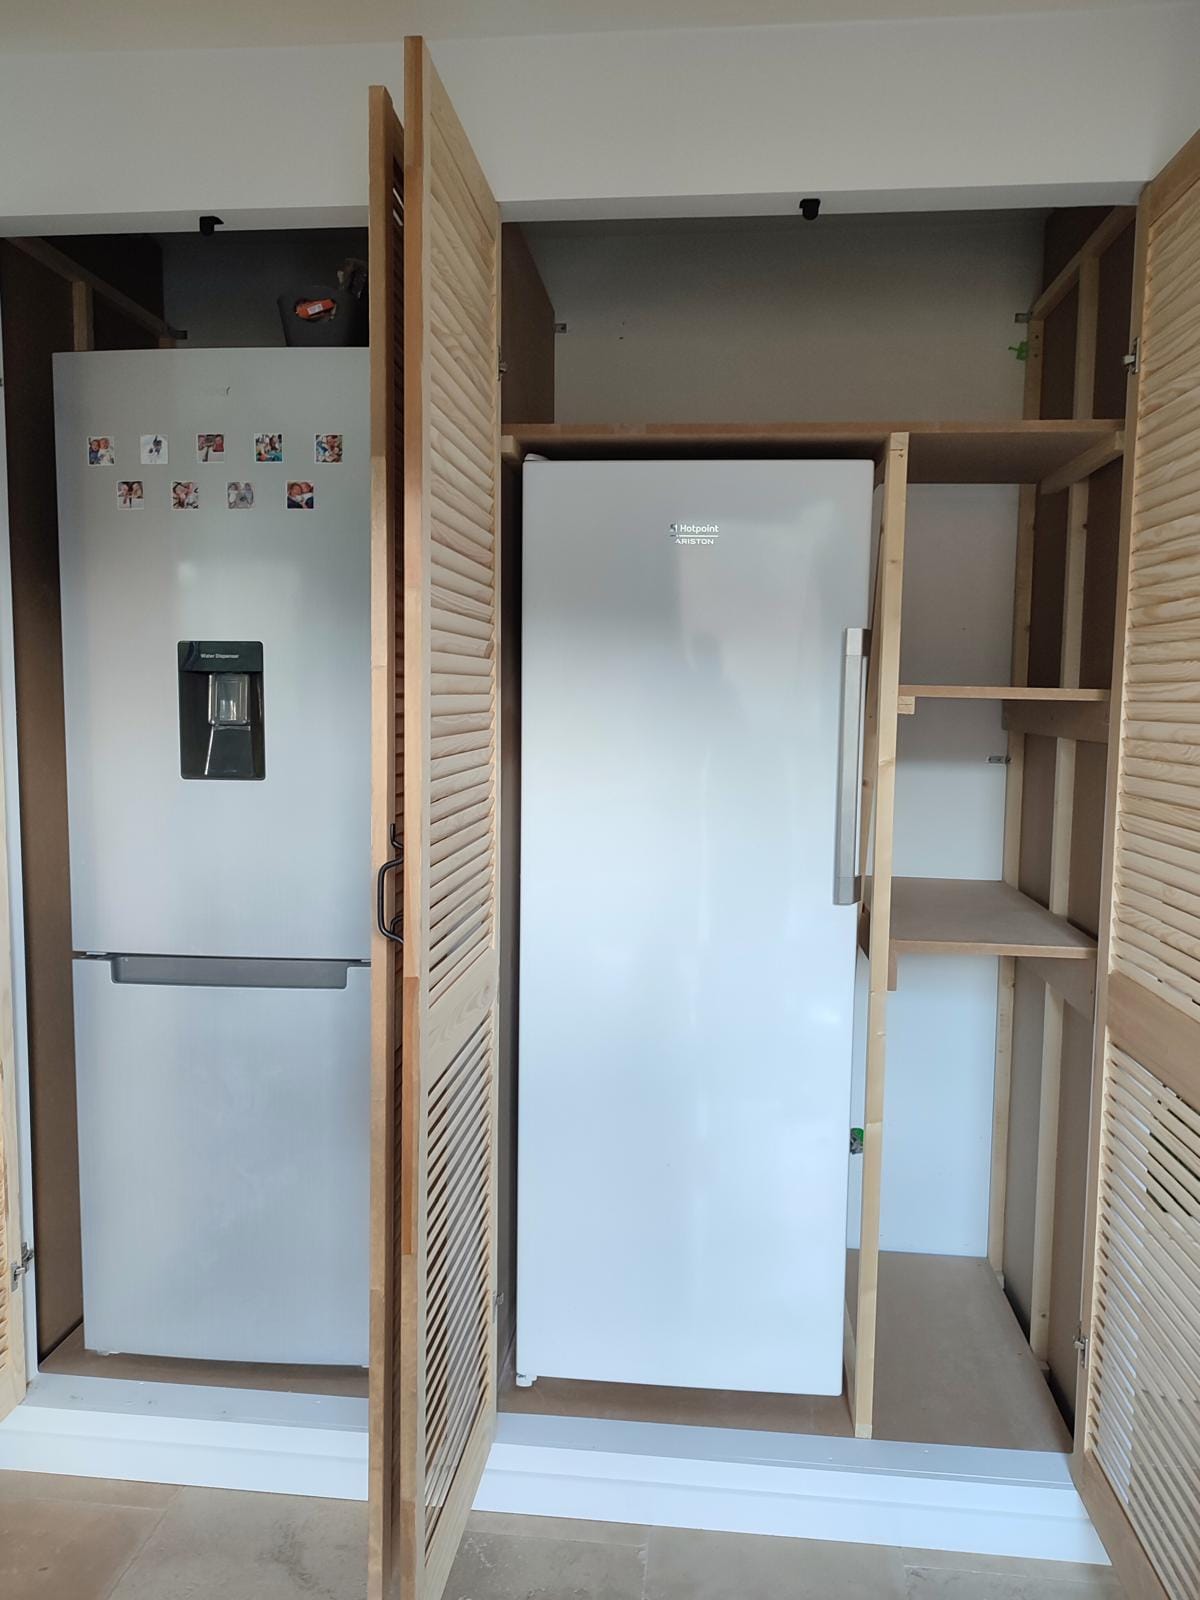
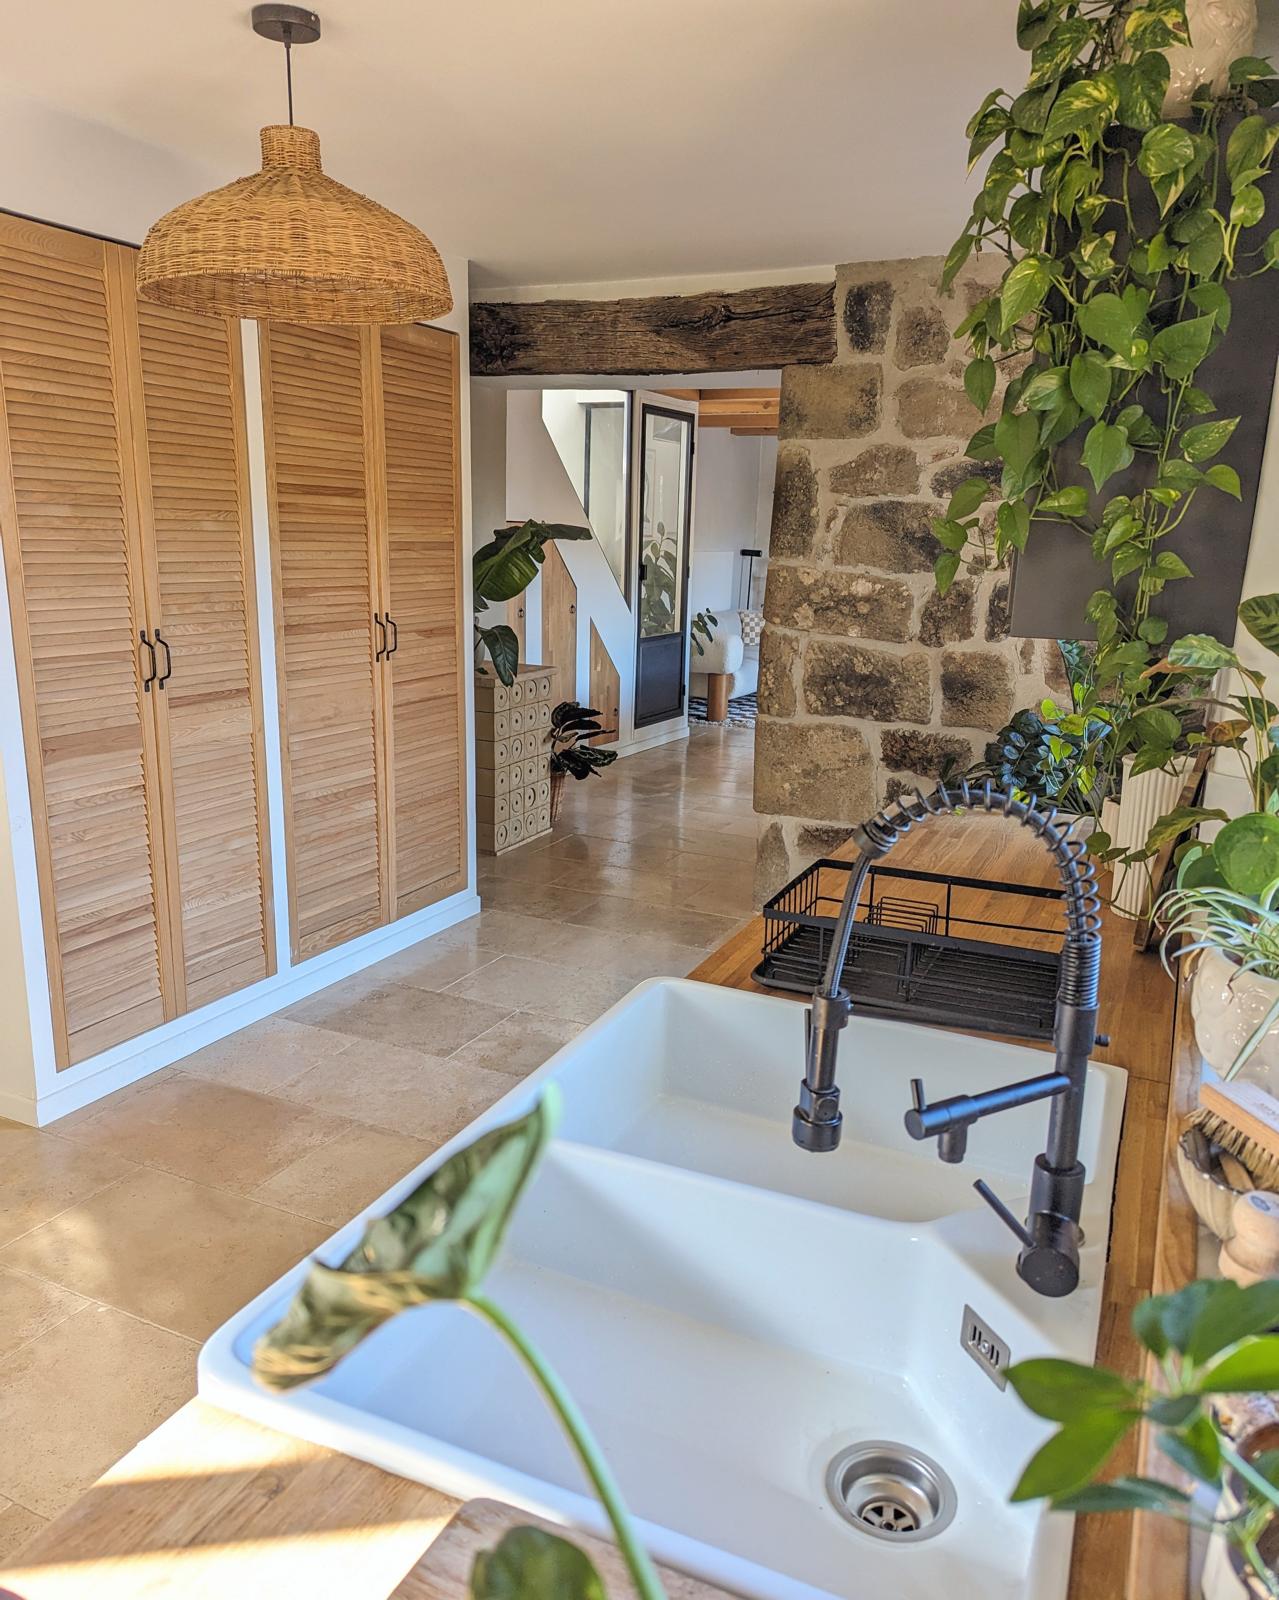
Congratulations! You've just built your own custom MDF closet. Remember, the key to any successful project is planning and patience.
Happy building!
Creator: Laura
Instagram: @grangedejeanne


