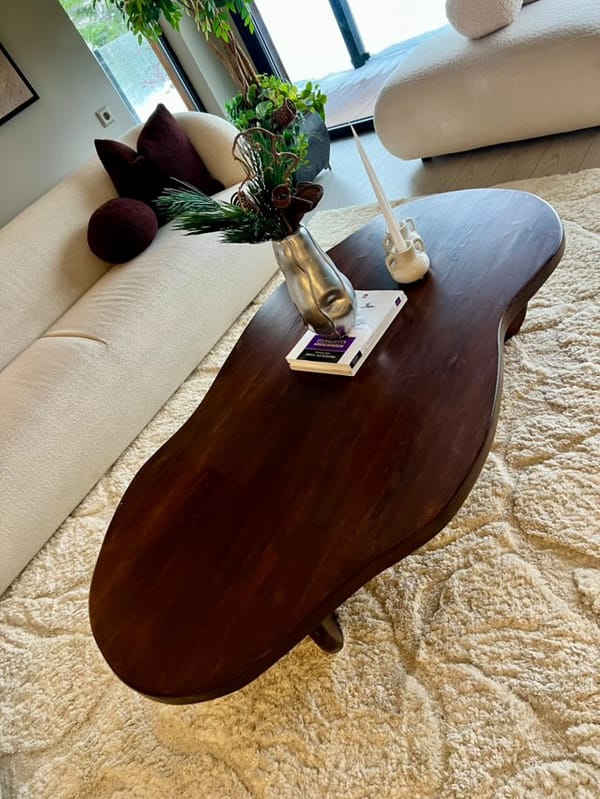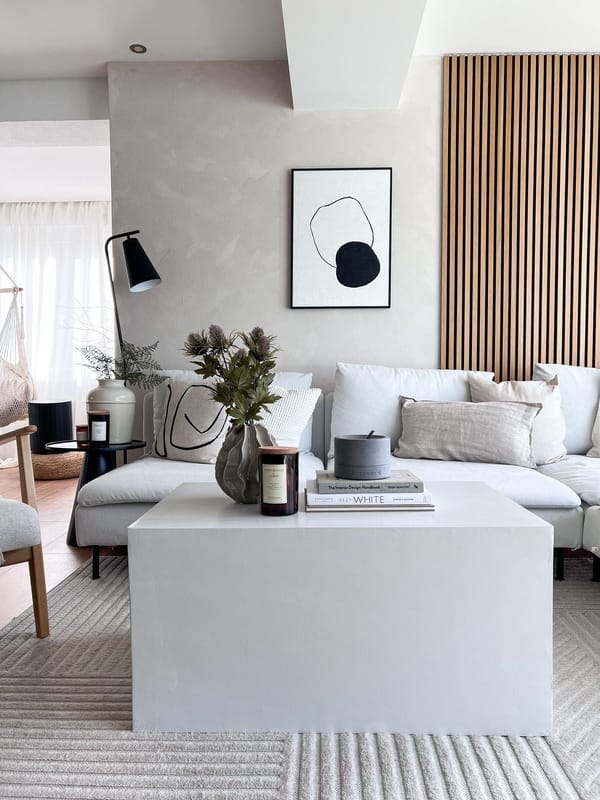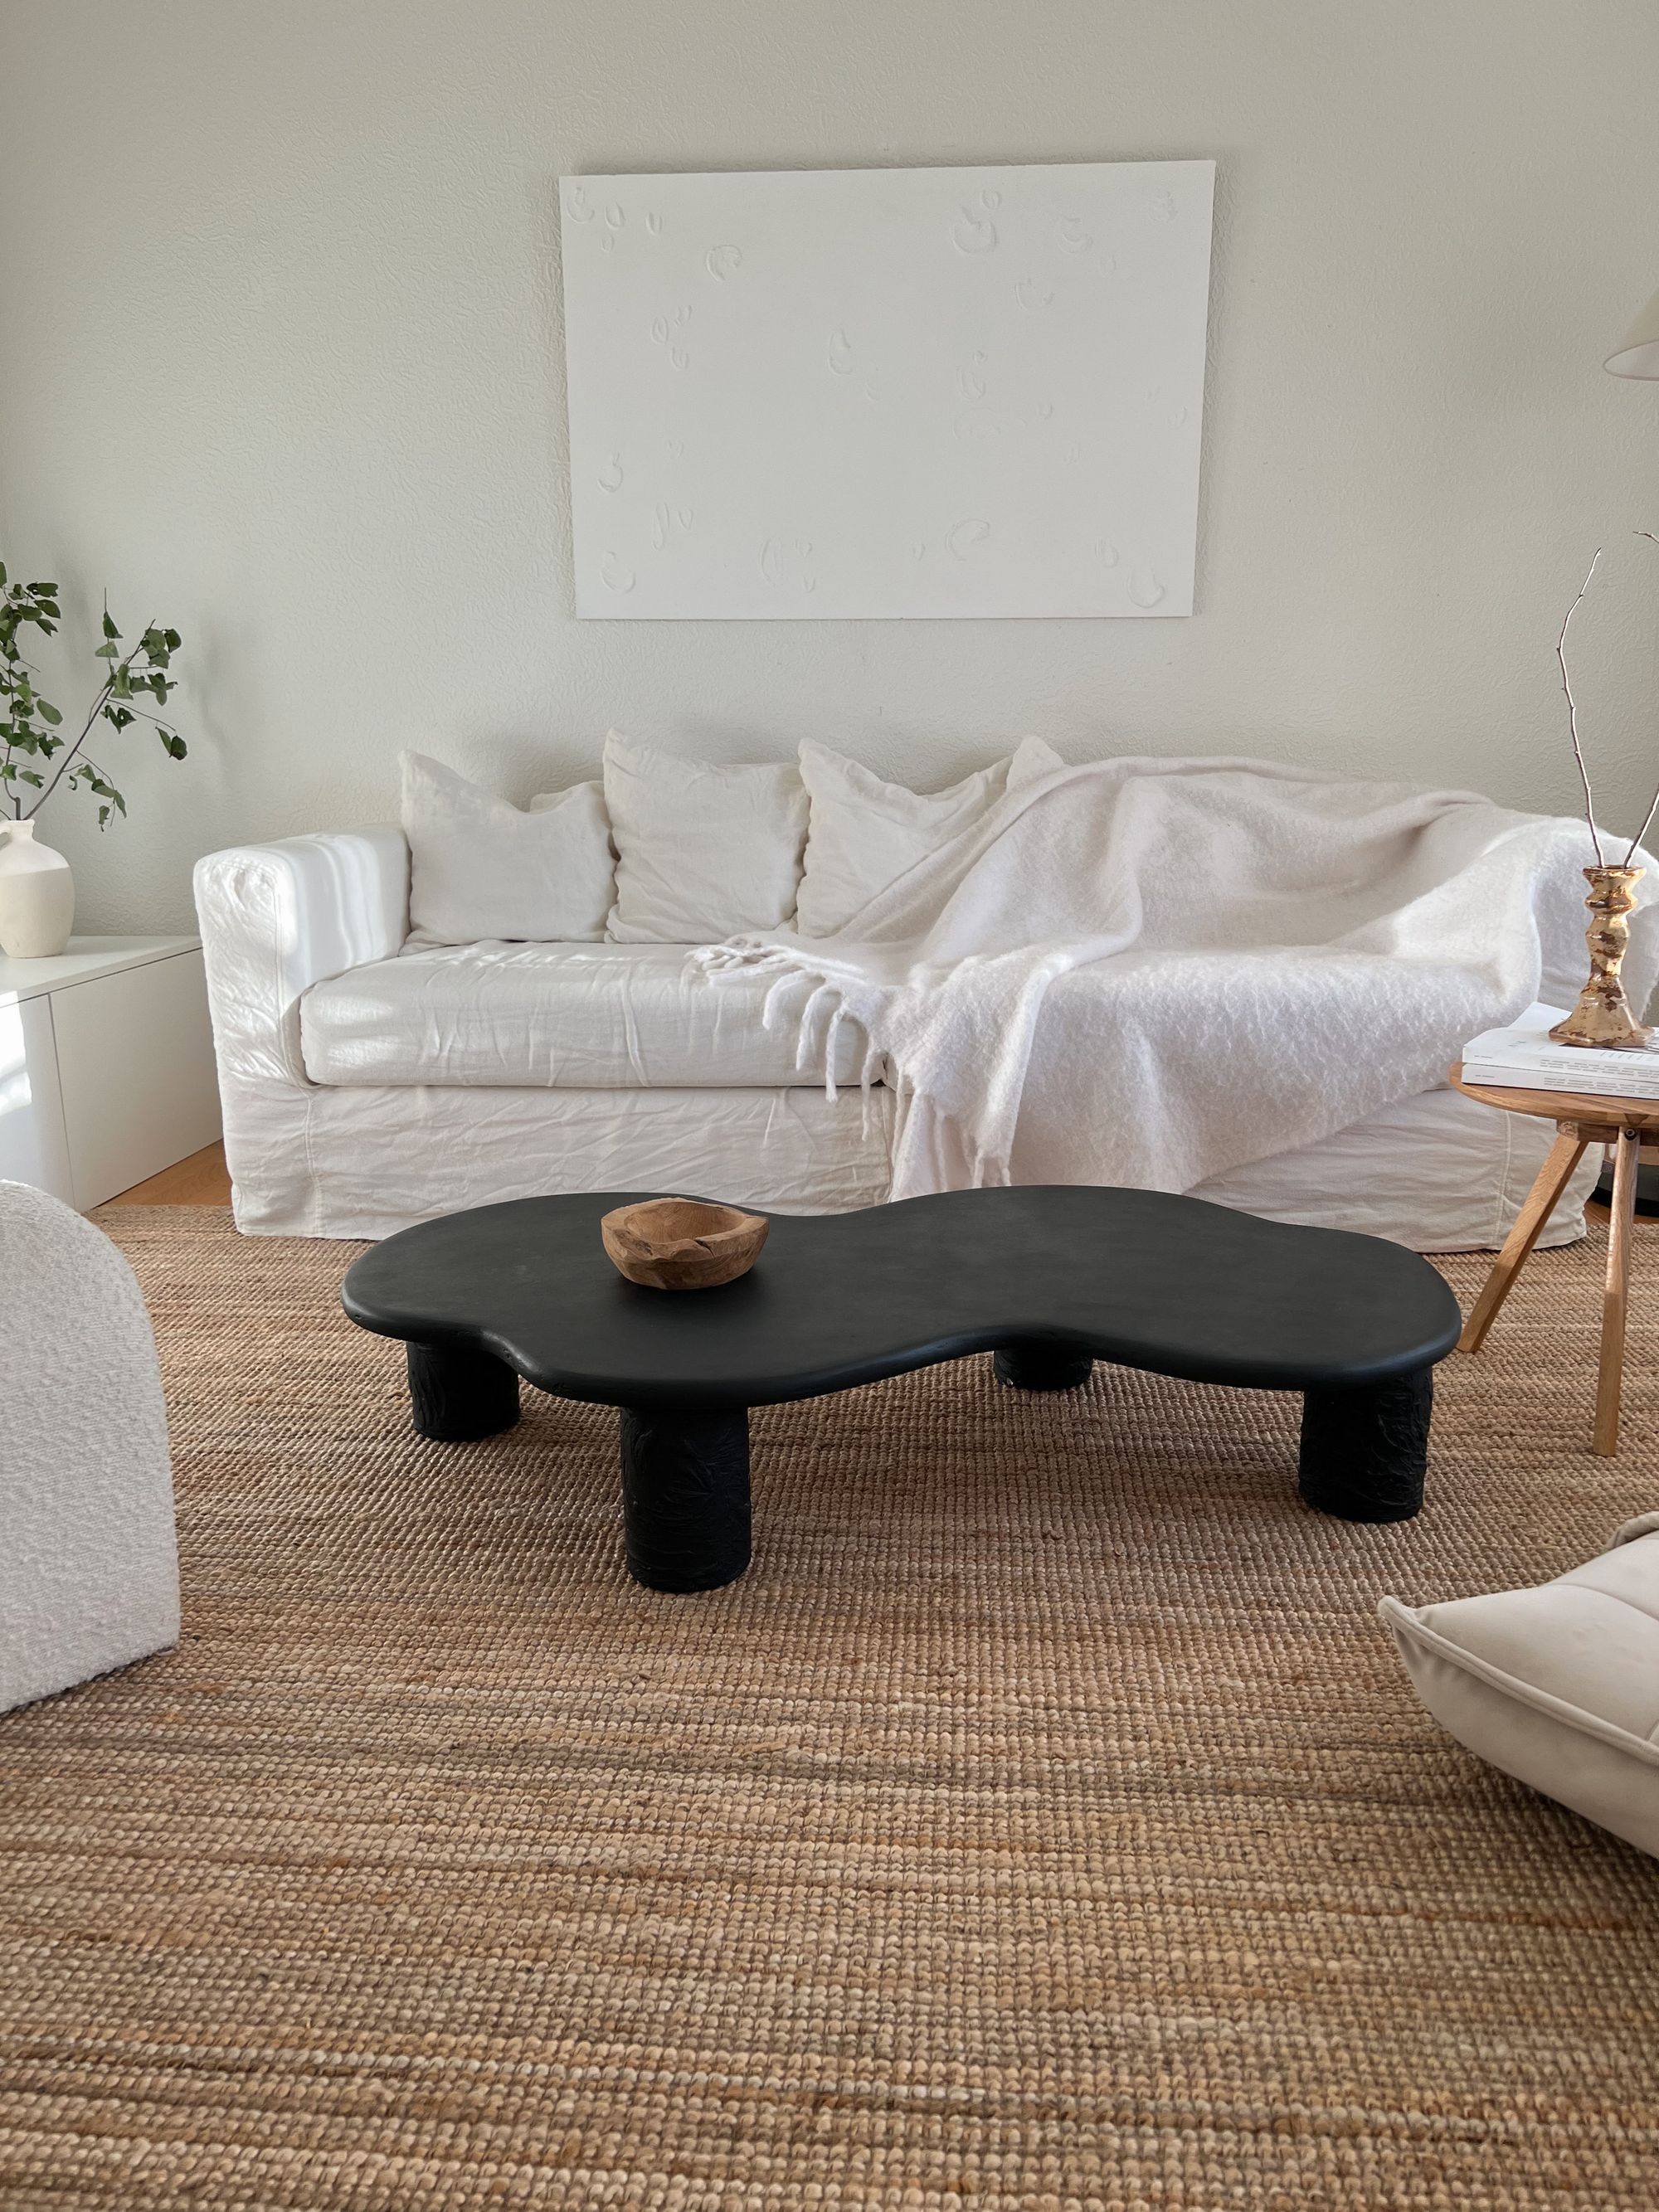
Coffee tables are a staple of any living room, but sometimes the standard height just doesn't cut it. That's where a low coffee table comes in handy. In this guide, we'll show you how to make your very own low coffee table with just a few materials and tools.
Materials Needed:
- Particleboard 12x1200x2500mm
- 4 cans (or cast pipes)
- Assembly glue
- Smack fine
- Sandpaper
- Matte black color
- Protective wax
How to Make a Low Coffee Table:
- Start by sawing the particleboard into two parts and then glueing them together with assembly glue. This will create a board that is 24mm thick.
- Once the glue has dried, saw out the shape of your desired table. Be sure to measure and mark everything carefully before cutting.
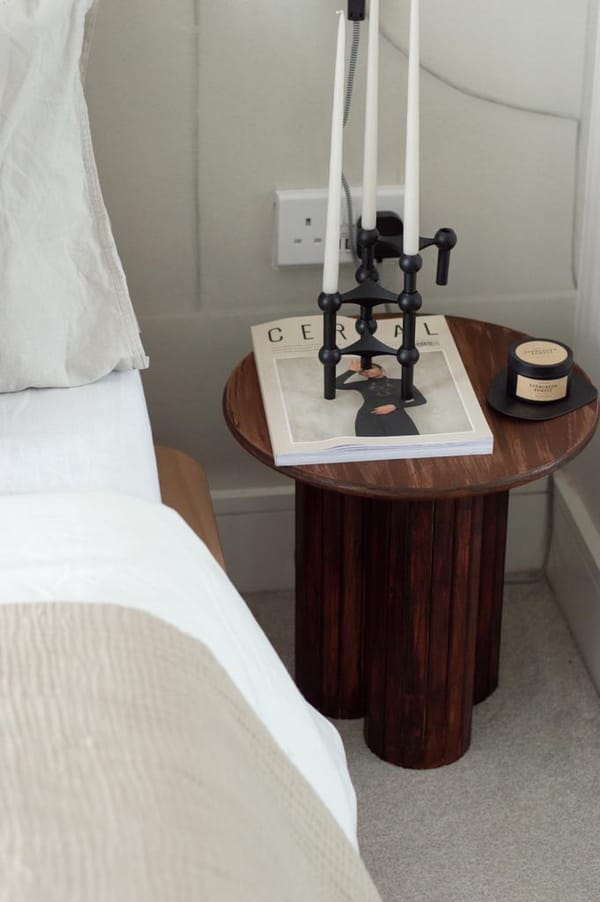
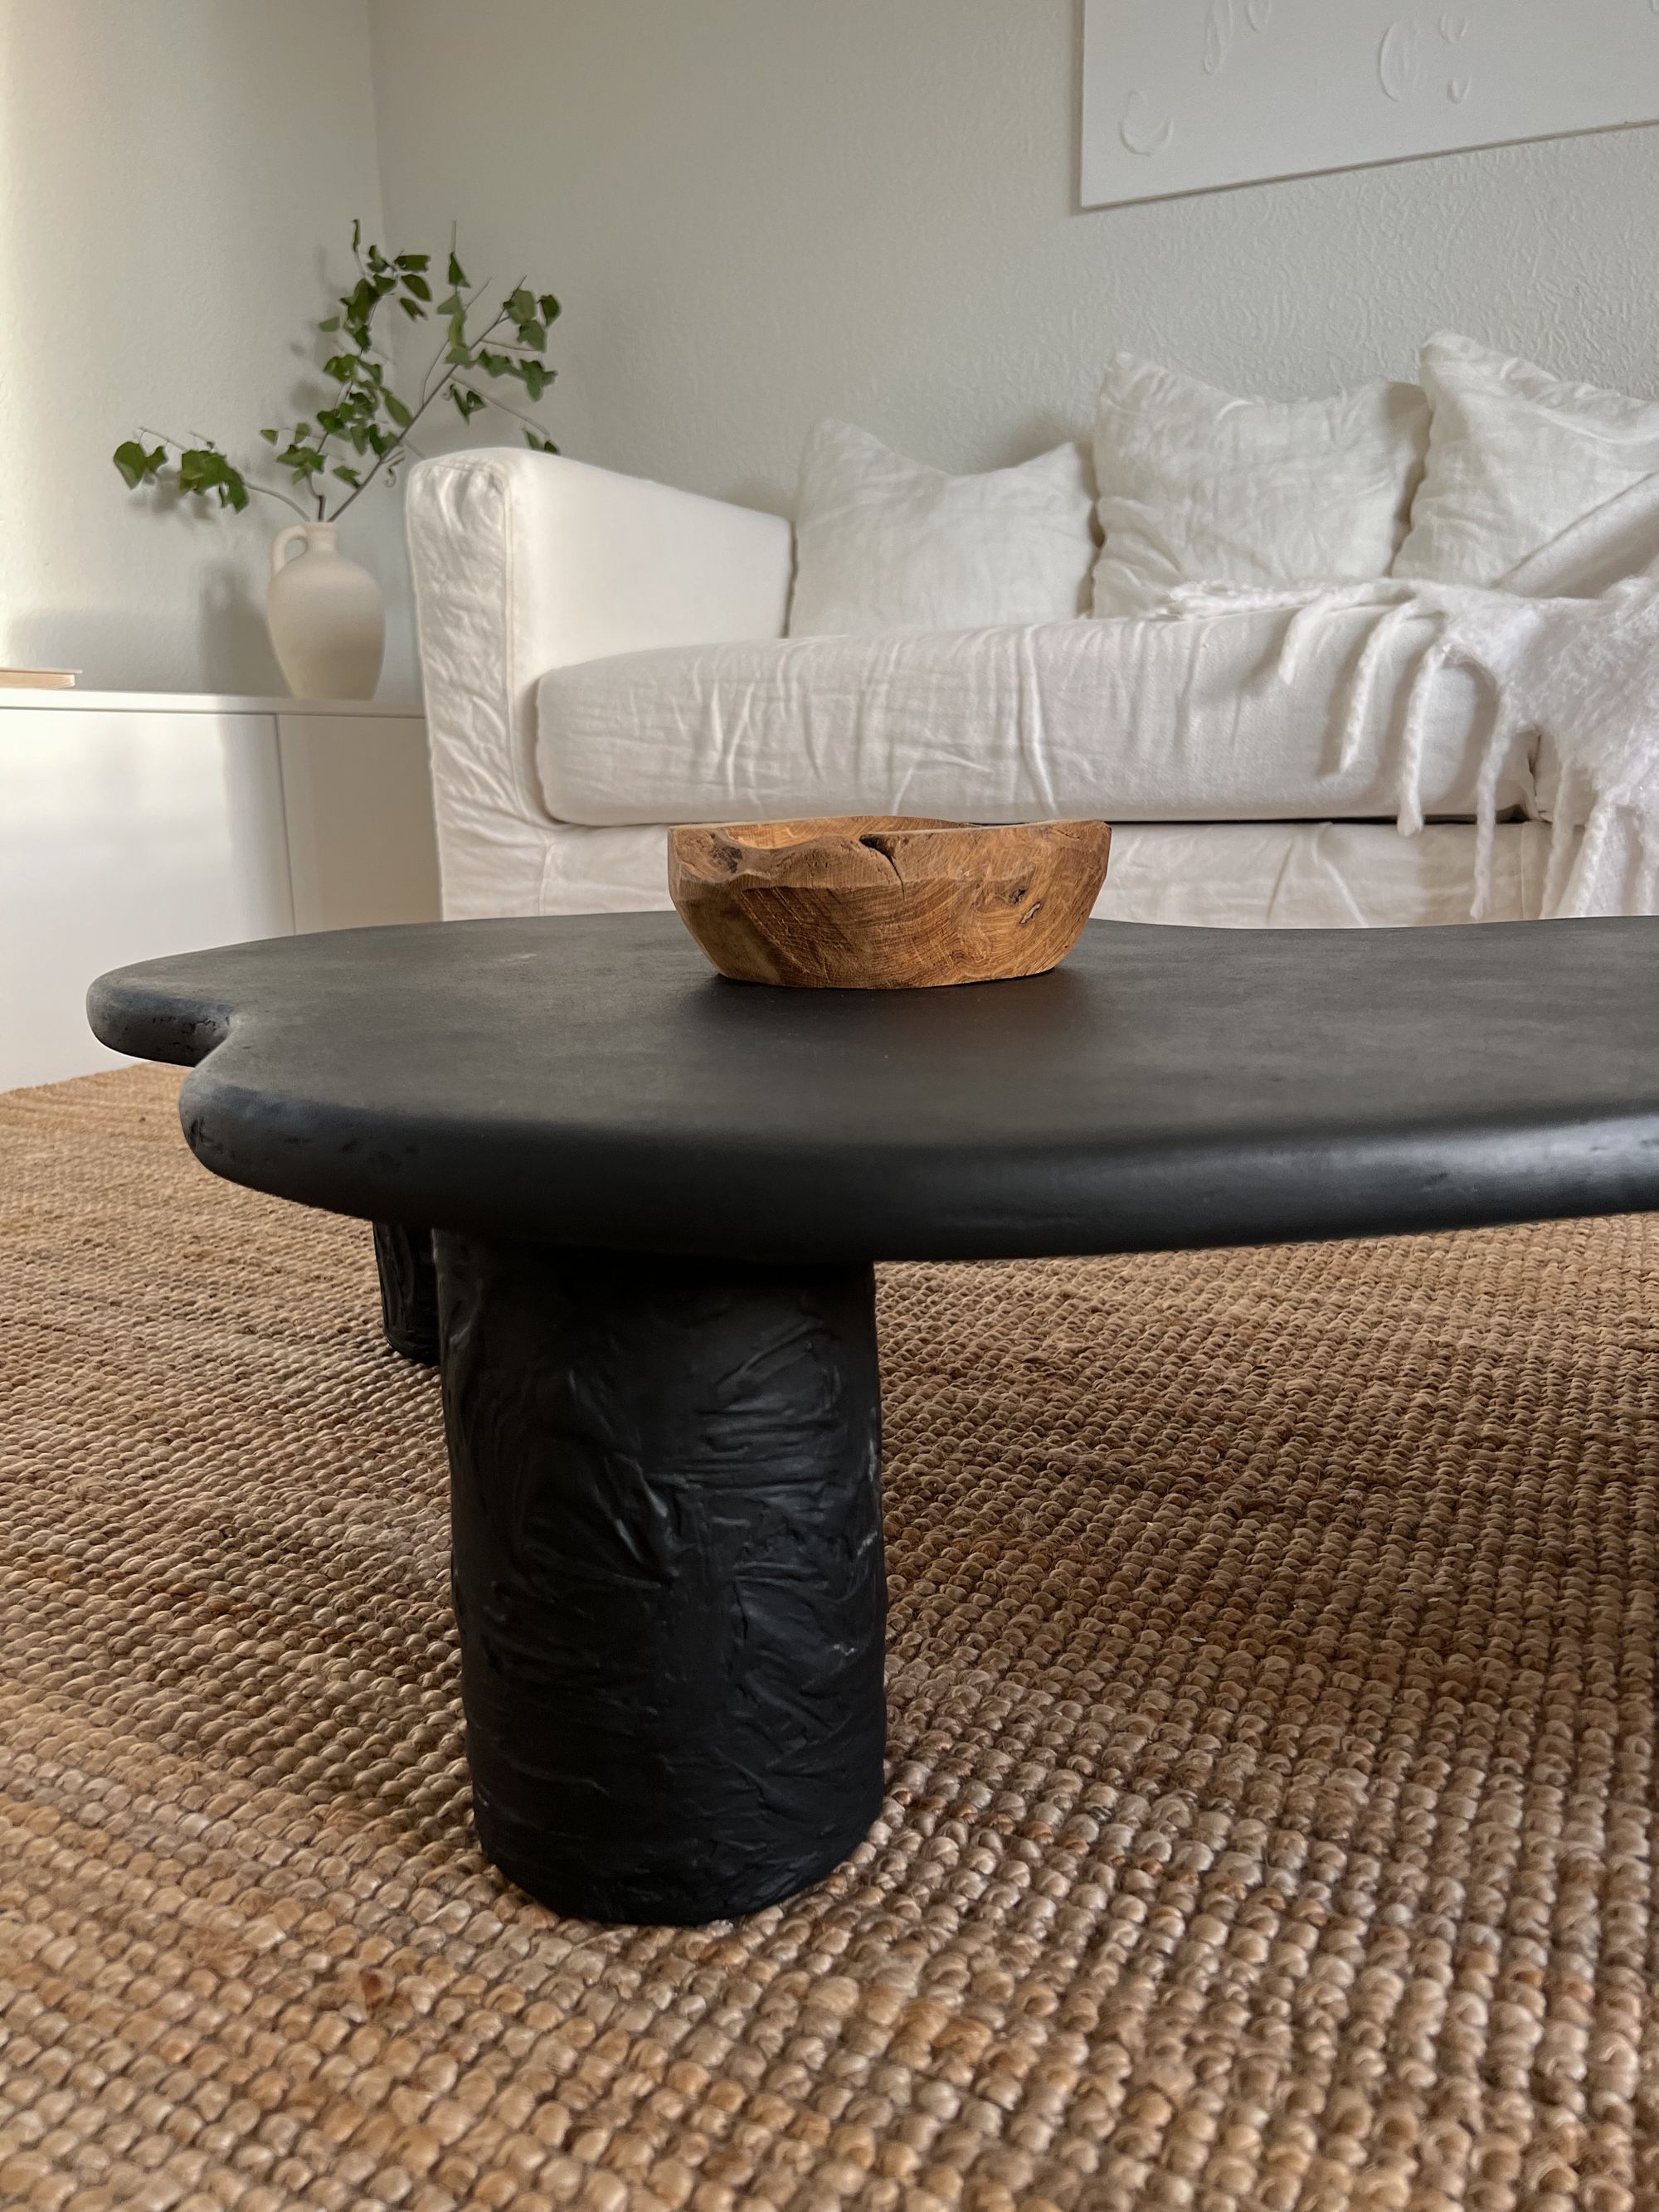
- Use four cans (or cast pipes) as the legs of the table. Attach them to the bottom of the particleboard using assembly glue.
- Cover the entire table, including the legs, with Smack fine. This will create a smooth surface that's perfect for painting.
- Once the Smack fine has dried, sand the surface completely smooth. You can leave the legs with the texture you chose or sand them down as well.
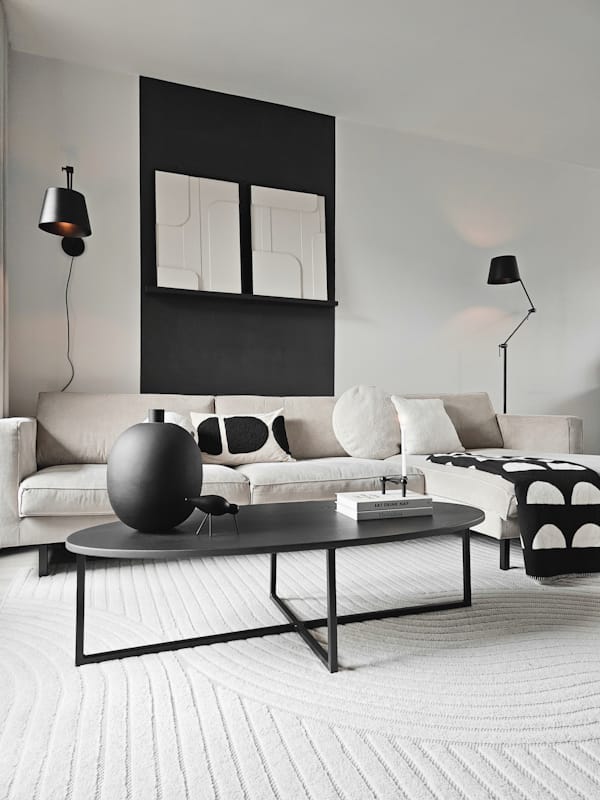
- Apply a coat of matte black color to the entire table, including the legs. Once that's dried, apply a coat of protective wax to seal the paint and protect the table.
There you have it, your very own low coffee table! This simple and affordable DIY project can add a unique touch to your living room, and it's easy to customize with different paint colors and leg options.
Don't forget to share your DIY low coffee table with us on social media using the hashtag #DIYLowCoffeeTable. Happy crafting!
0:00
/
CREATOR: Amanda

Instagram: @homebytittiamanda