
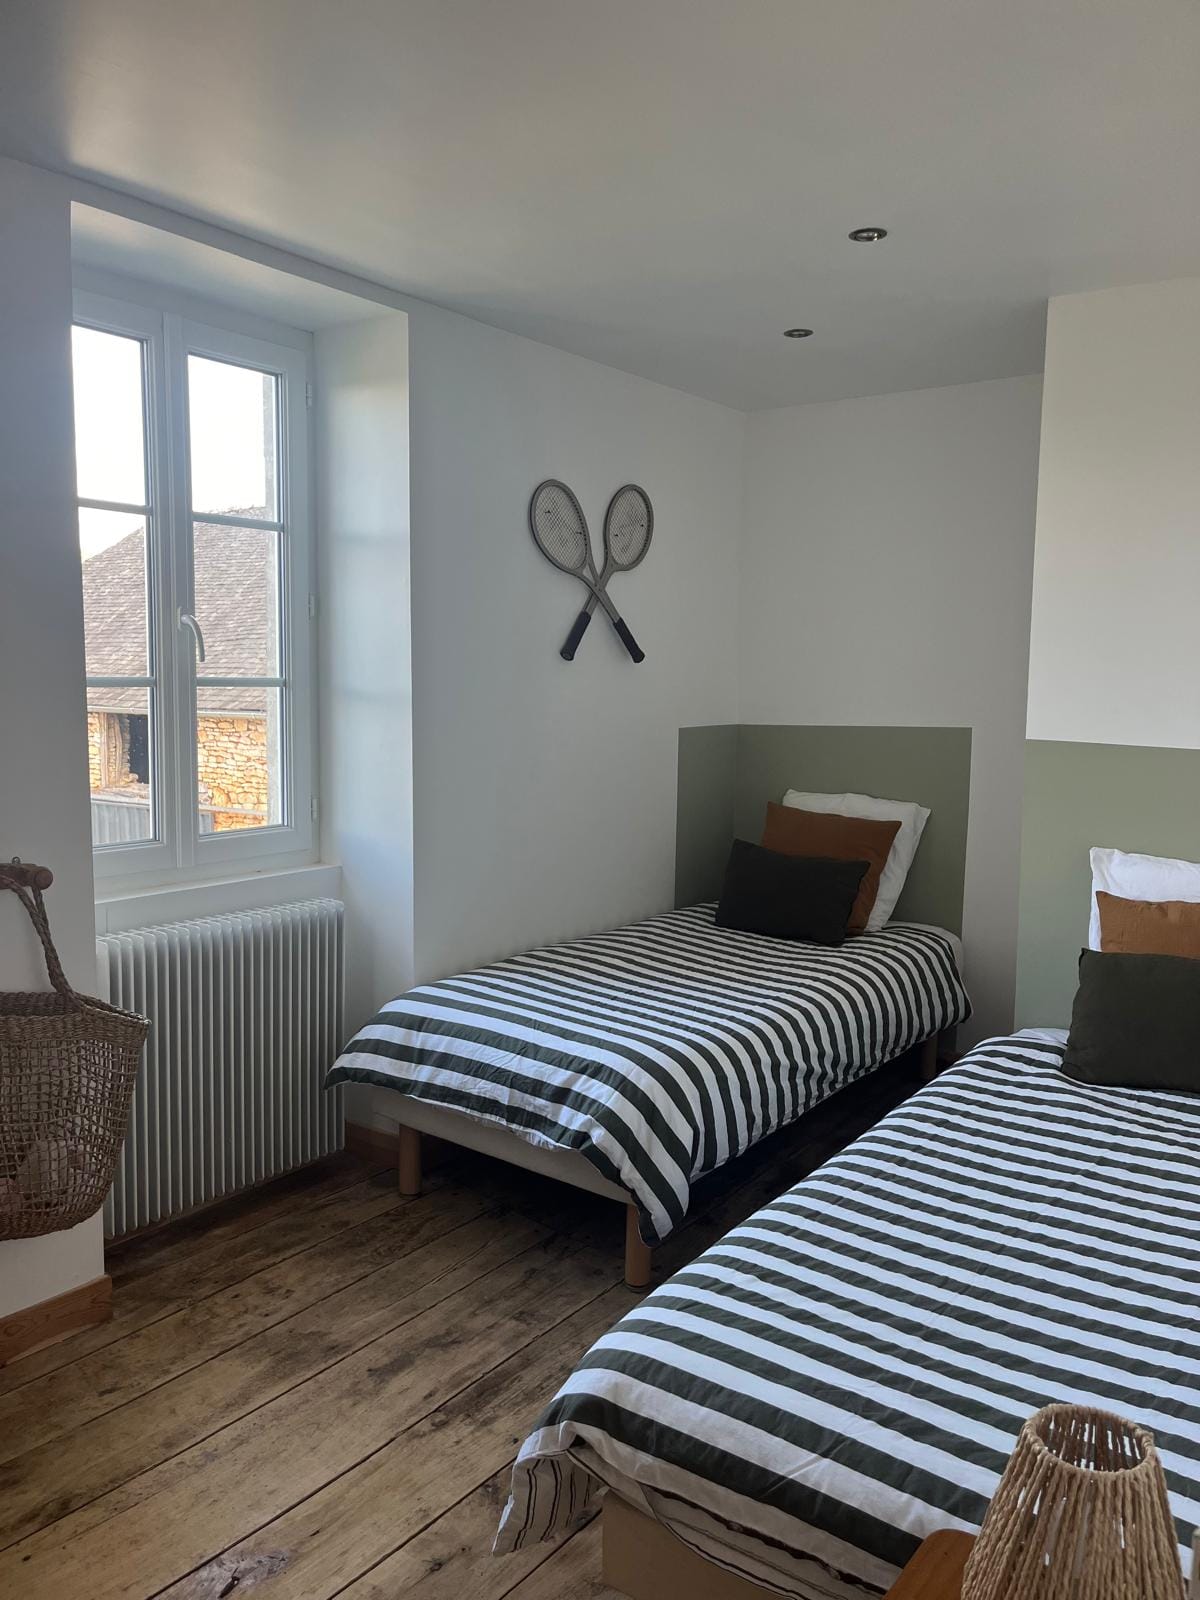
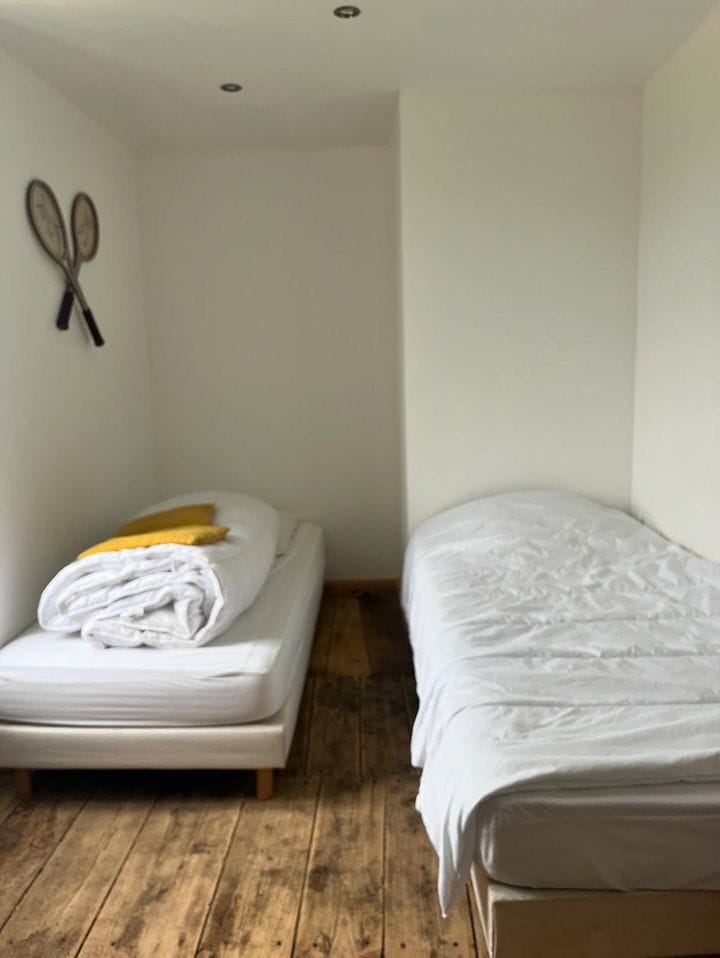
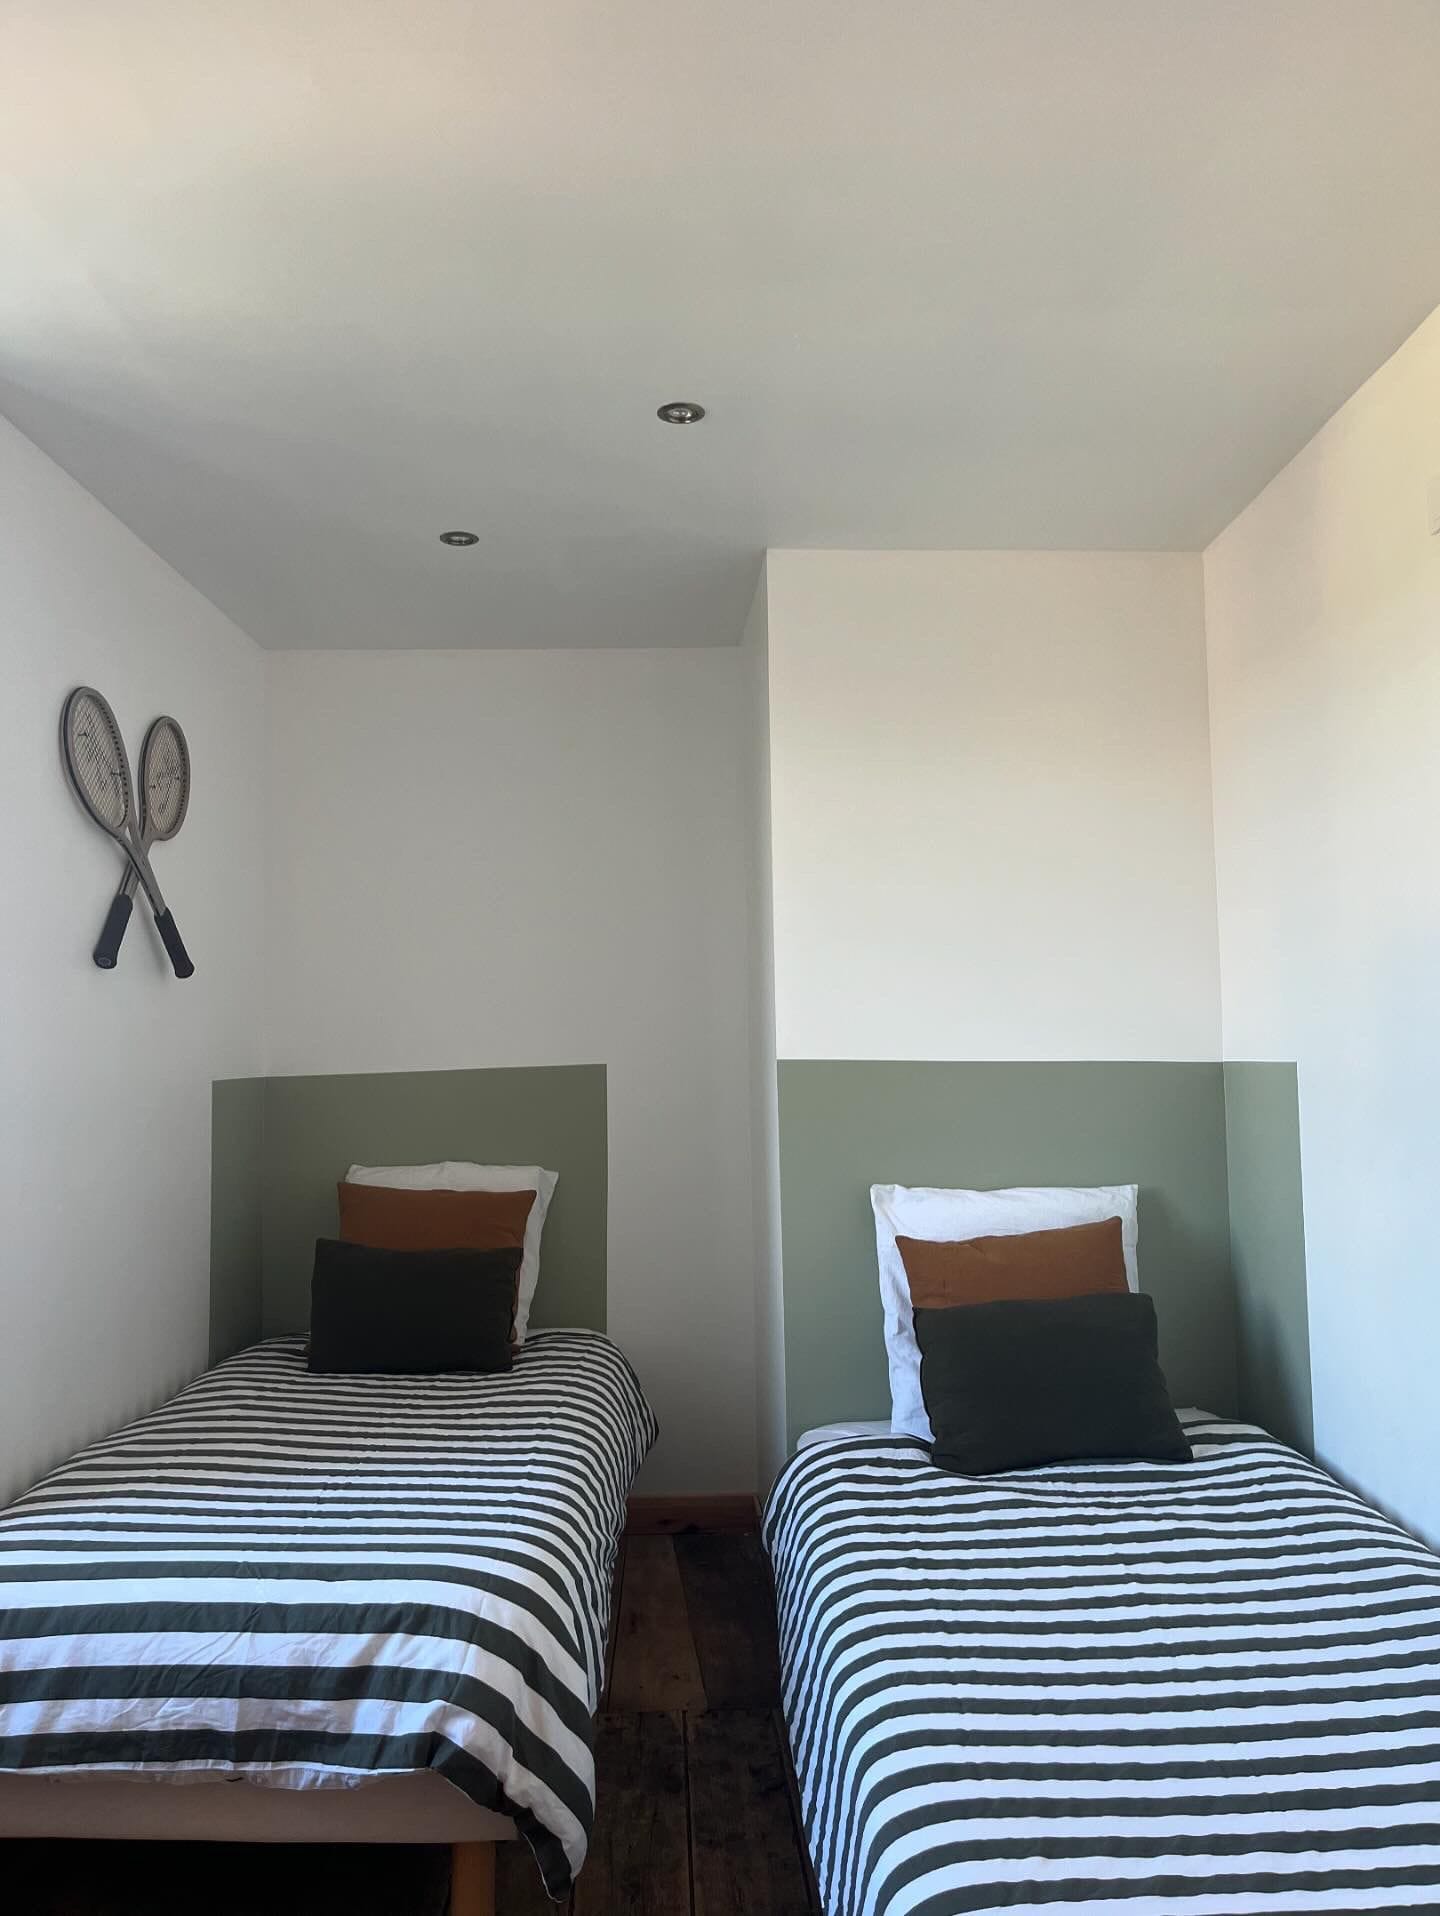
Want to add a pop of color and create cozy, defined spaces in your child’s room? This DIY project is your perfect solution—simple, quick, and budget-friendly! Let’s dive into this exciting project and give your kid’s room a fresh new look. Our goal is to create a colorful and defined space for each sleeping area in a child's room.
Materials Needed:
- Bubble level
- Pencil
- Painter's tape
- 2 brushes (one for white paint, one for the color)
- 2 rollers (one for white paint, one for the color)
- White paint
- Colored paint (I picked a lovely green)
Step-by-Step
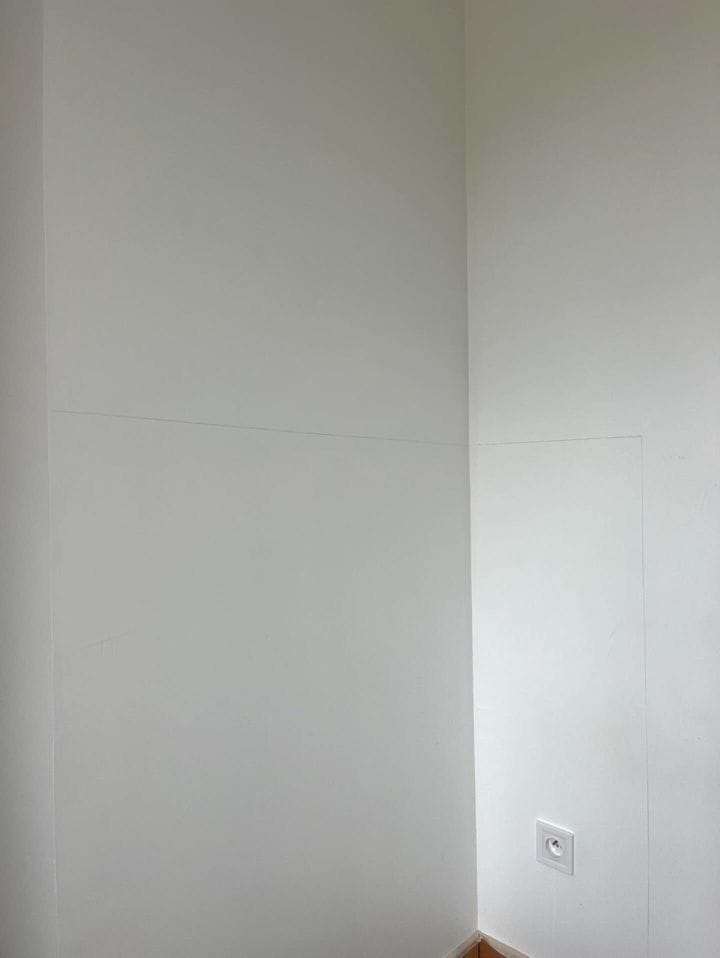
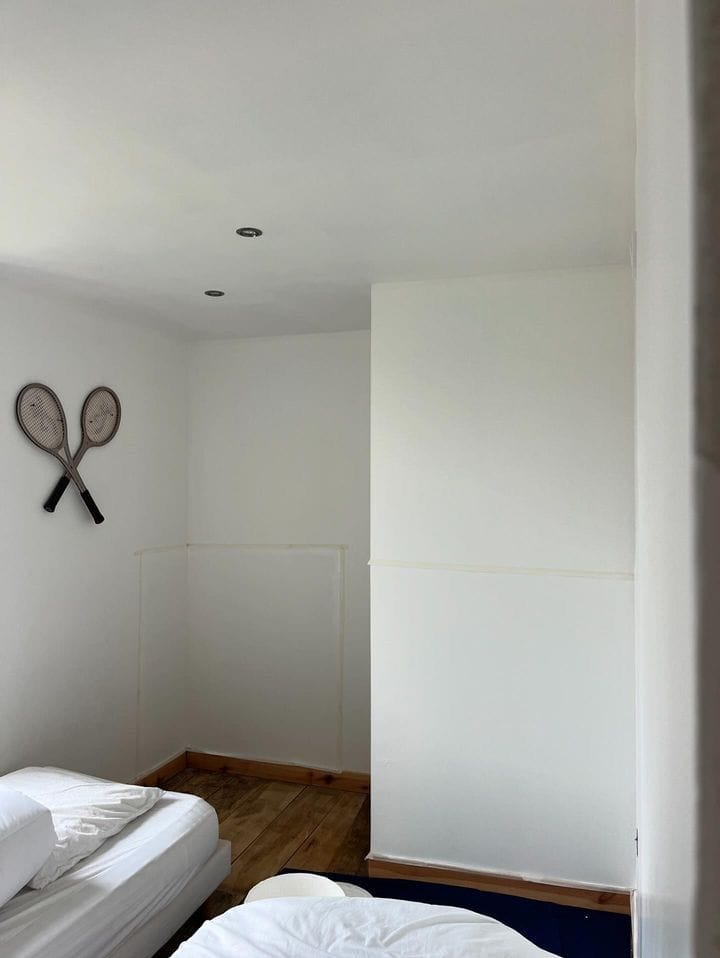
Step 1: Mark the Area to Paint
- Draw Your Lines: Using the bubble level, draw a straight line at 120cm from the floor and another 40cm line on the side (adjust dimensions as needed).
- Tape It Up: Apply painter's tape along the pencil lines. This will keep your lines crisp and clean.
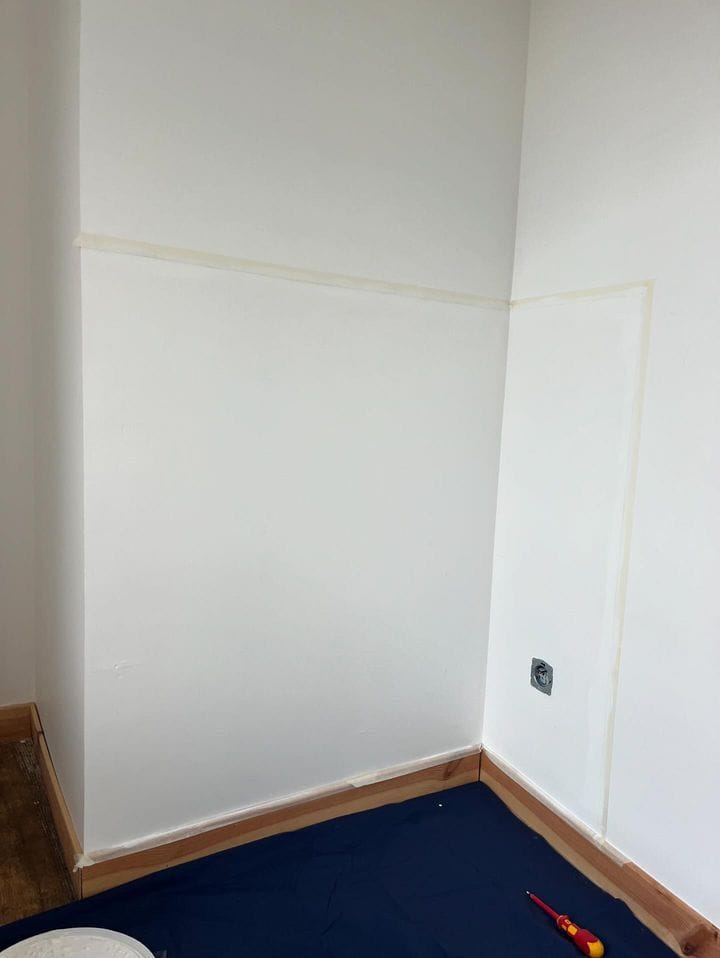
Step 2: Paint the Base Layer
- Prevent Color Bleed: With a simple brush, paint along the edges of the tape with white paint. This will prevent your chosen color from bleeding under the tape.
- Dry Time: Allow the white paint to dry completely before moving on to the next step.
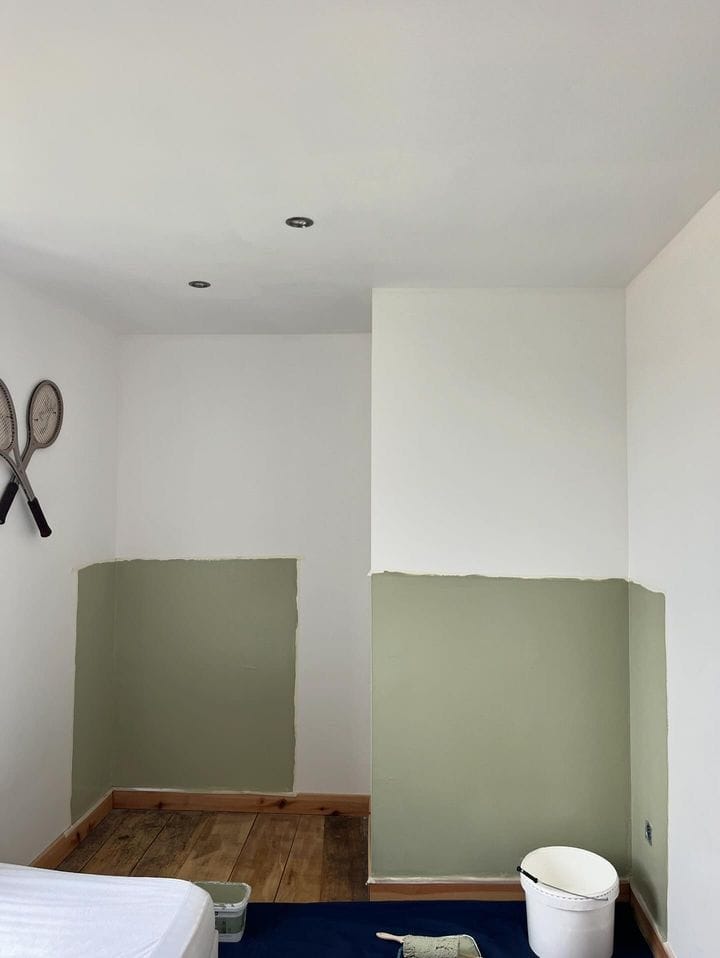
Step 3: Add the Color!
- Edge It Out: Paint along the edges of the tape with your chosen color.
- Roll It On: Use a roller to cover the marked area with the colored paint.
- Let It Dry: Follow the drying time indicated on your paint can. (Note: Painting the baseboards in the same color is optional but can add a cohesive look!)
Step 4: Apply a Second Coat
- Even Coverage: Once the first coat is dry, apply a second coat of colored paint to ensure even coverage.
- Dry Again: Allow the second coat to dry completely.
0:00
/0:24
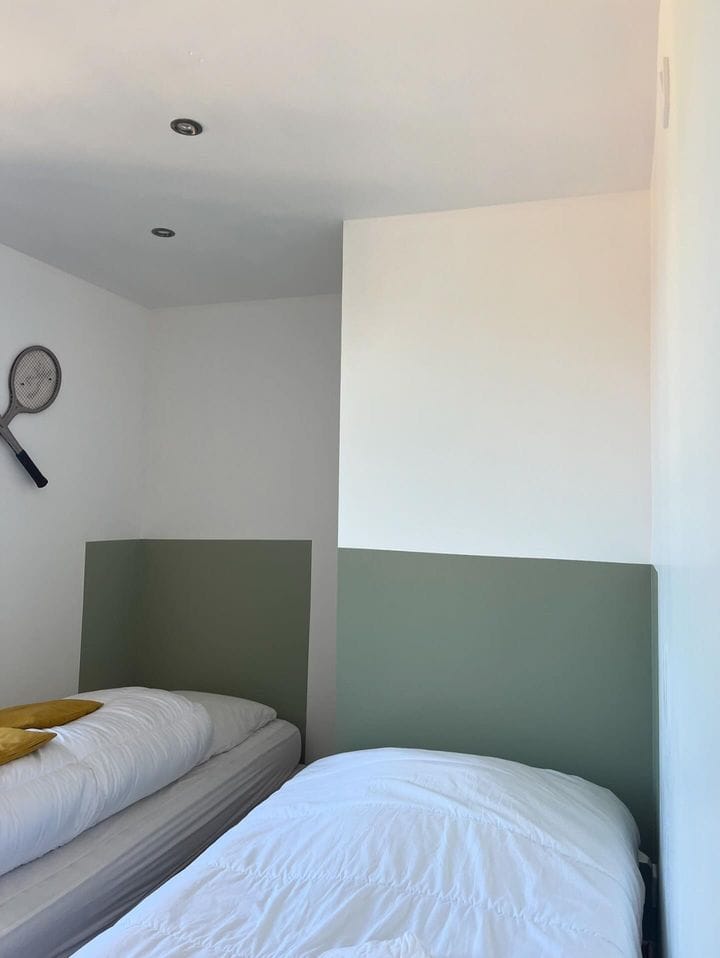
Step 5: The Big Reveal!
- Peel Off the Tape: Carefully remove the painter’s tape to reveal your beautiful, clean lines.
- Admire Your Work: Step back and admire your fantastic paint job!
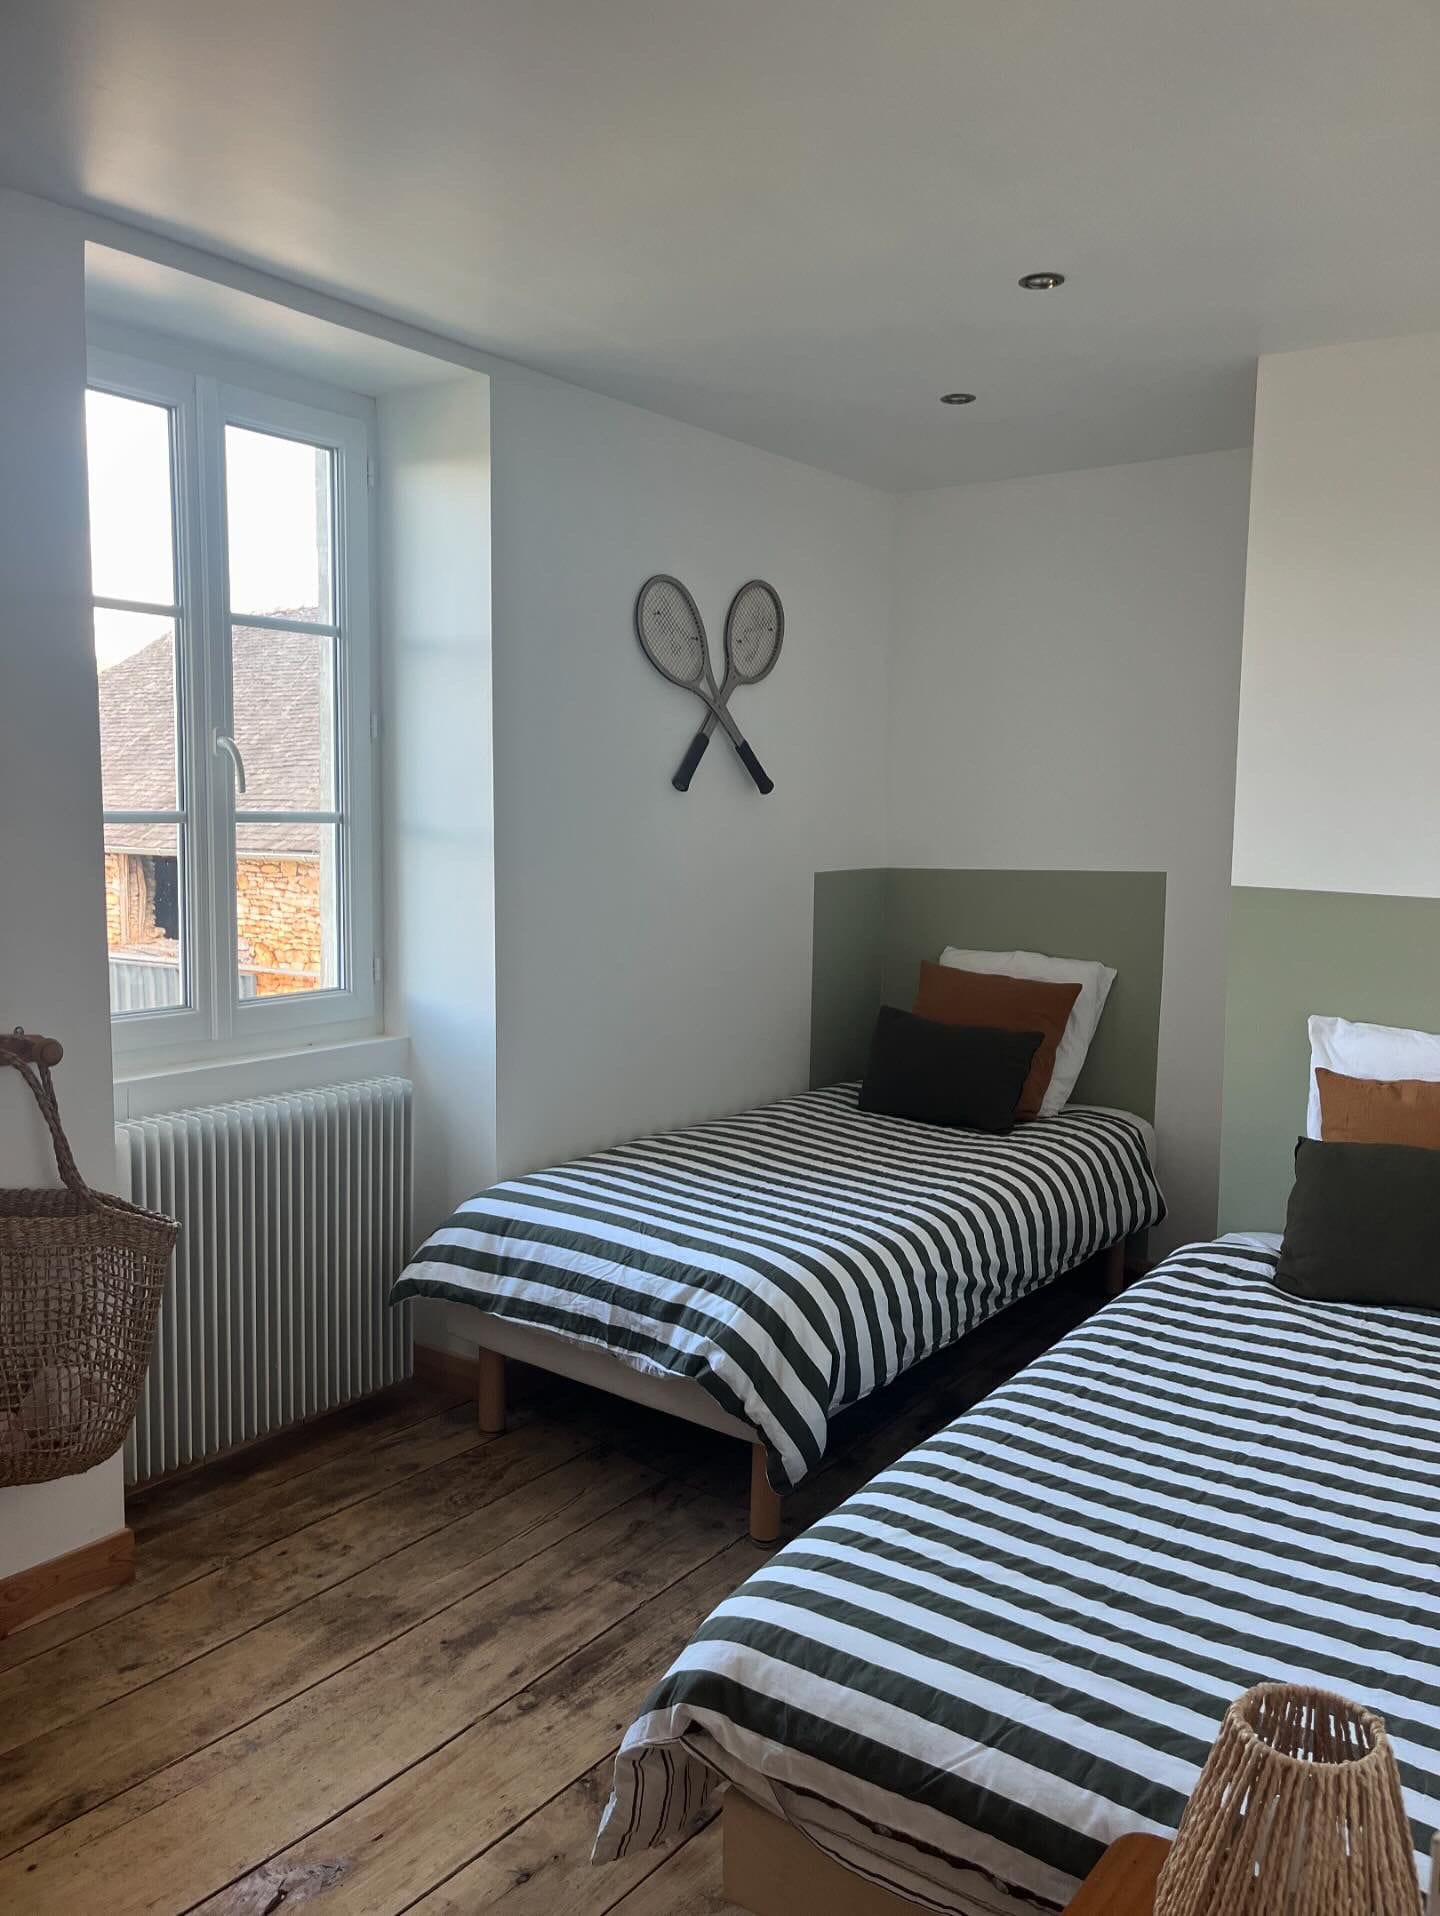
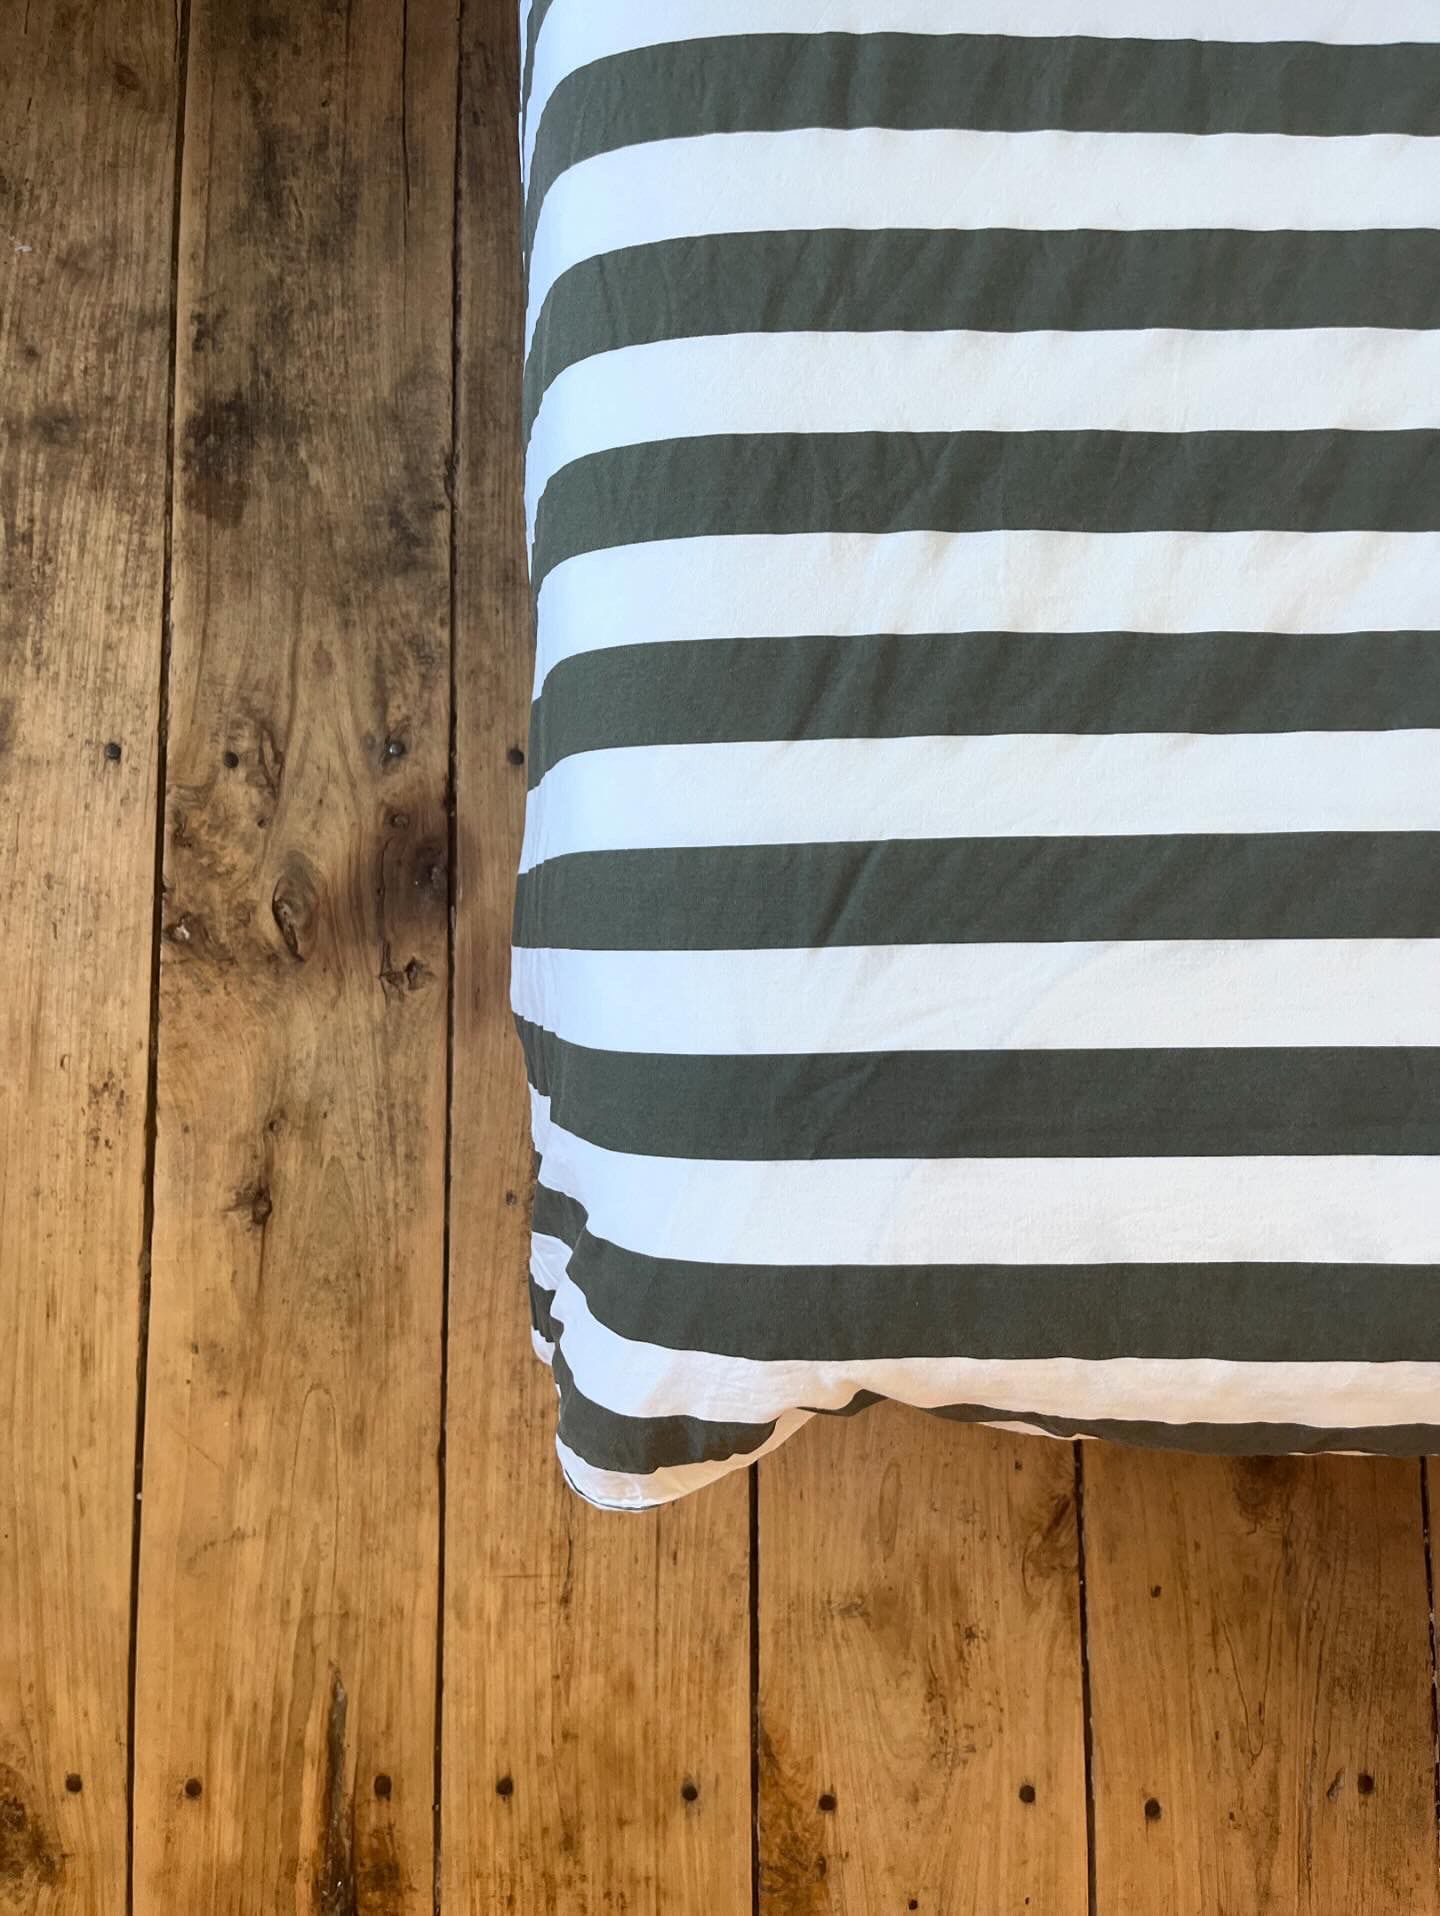
To complete the look, I added matching bedding to tie in the new color. The result? A cozy and stylish room where each child has their own special space.
Ready to transform your child's room with this fun and easy DIY project? Grab your materials and get started! Happy decorating!

Creator: Rosaly
Instagram: @rosaly.bordeaux & @sejours.en.perigord


