

I’ve always loved the idea of having a library in my home—not just for storing books but as a way to showcase them in a cozy and stylish way. After some thought, I decided the dining room would be the perfect spot for it. Not only would it add a warm, inviting vibe, but it would also serve as a conversation piece for guests.
Here’s how I turned my vision into reality with Ikea’s Billy bookcases—and a lot of patience!
Step 1: Planning and Buying the Bookcases
First, I measured the wall where I wanted the library to go. Based on the dimensions, I decided to use a mix of Billy bookcases to create a custom look:
- 4 full-size Billy bookcases
- 2 half-width Billy bookcases (“mini Billys,” as I call them)
- 2 half-height Billy bookcases (“half Billys”)
- 1 half-width, half-height Billy bookcase (“half mini Billy”)
The variety of sizes let me customize the layout to fit the space while also adding some visual interest. My friend came up with a great idea: lowering the middle section to double as a buffet table for entertaining. Genius! Now I can use it to serve food during dinner parties without running back and forth to the kitchen. Eventually, I’ll add cabinet doors to the lower shelves for storing dinnerware, but for now, it’s all about the books.
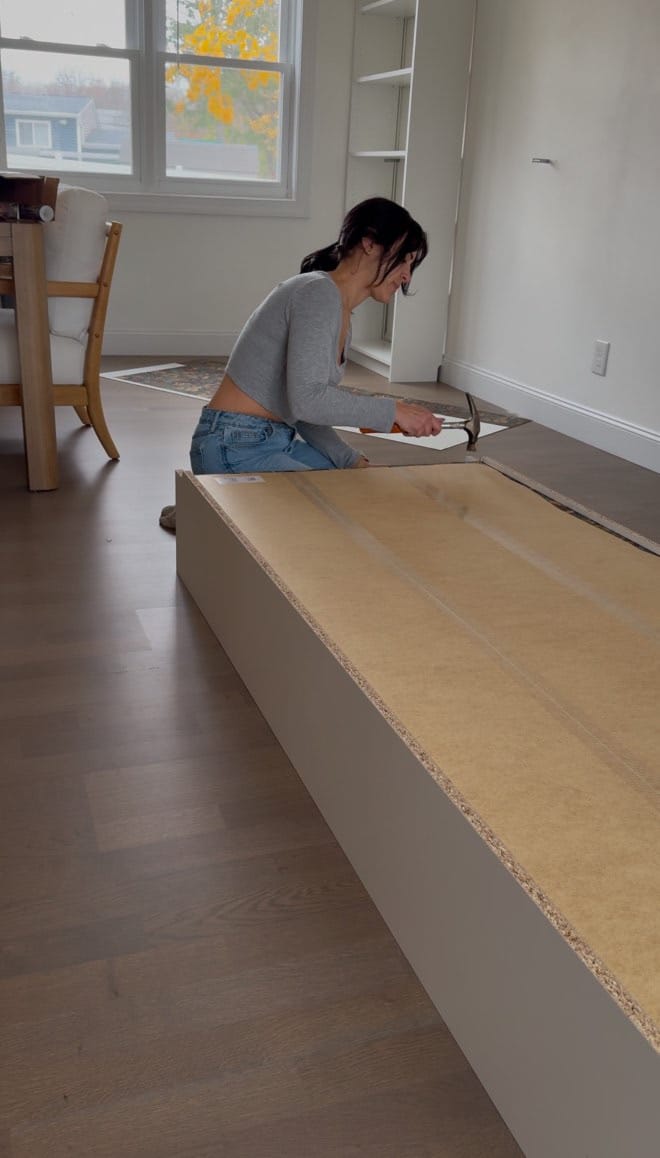
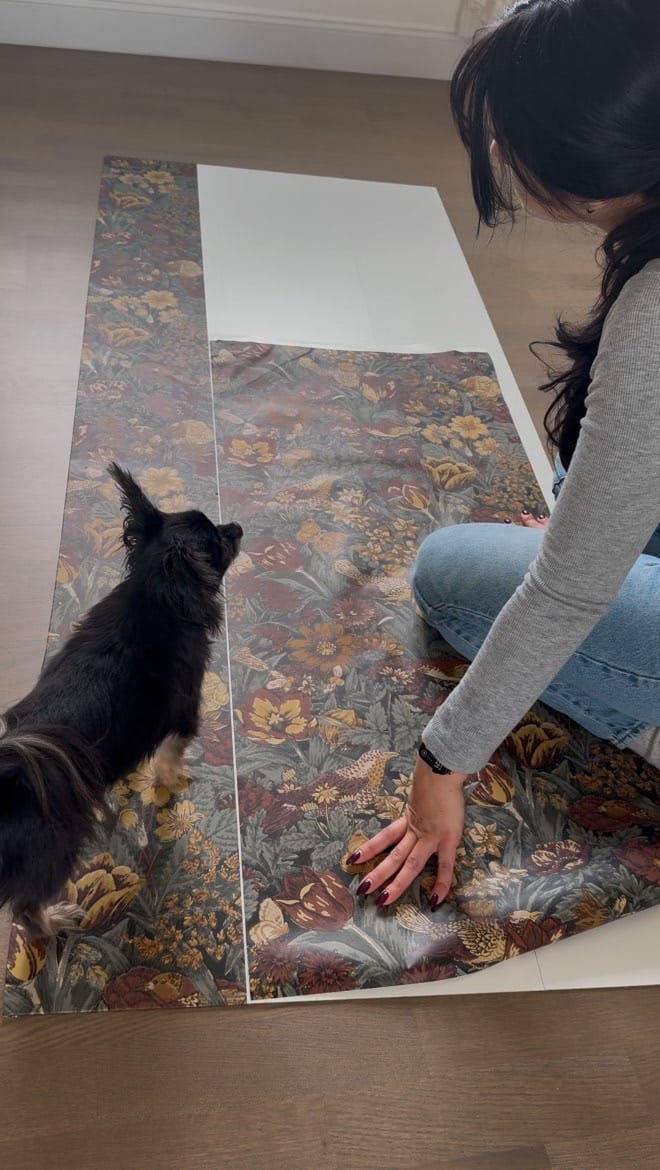
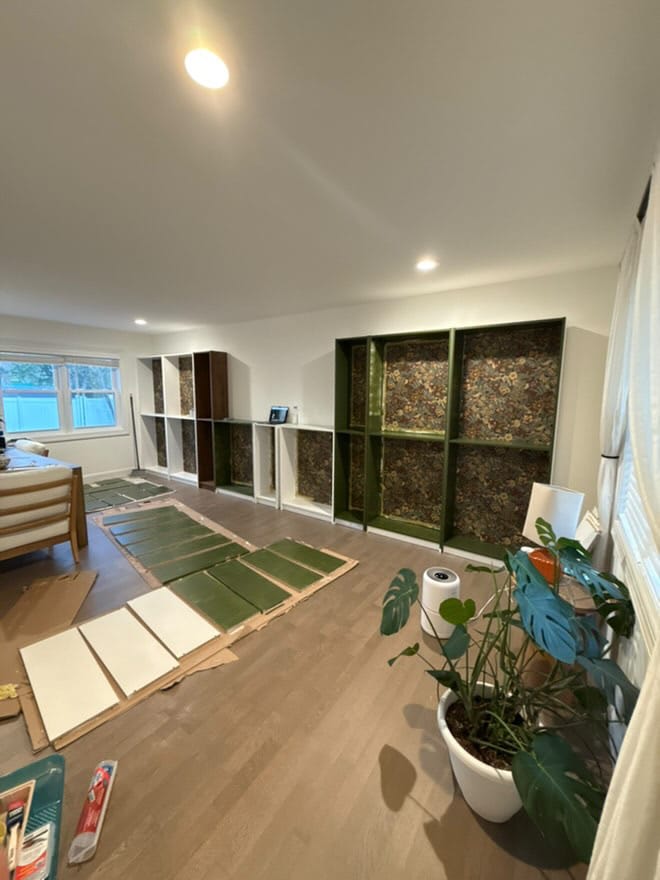
Step 2: Assembling the Bookcases and Adding Wallpaper
Once I had all the pieces, I started by assembling the bookcases. After that, I added wallpaper to the back panels to give the shelves a pop of personality.
💡 A little advice: Don’t add wallpaper until after you’ve painted! Trying to paint around the wallpaper was incredibly frustrating and something I’ll definitely avoid next time.
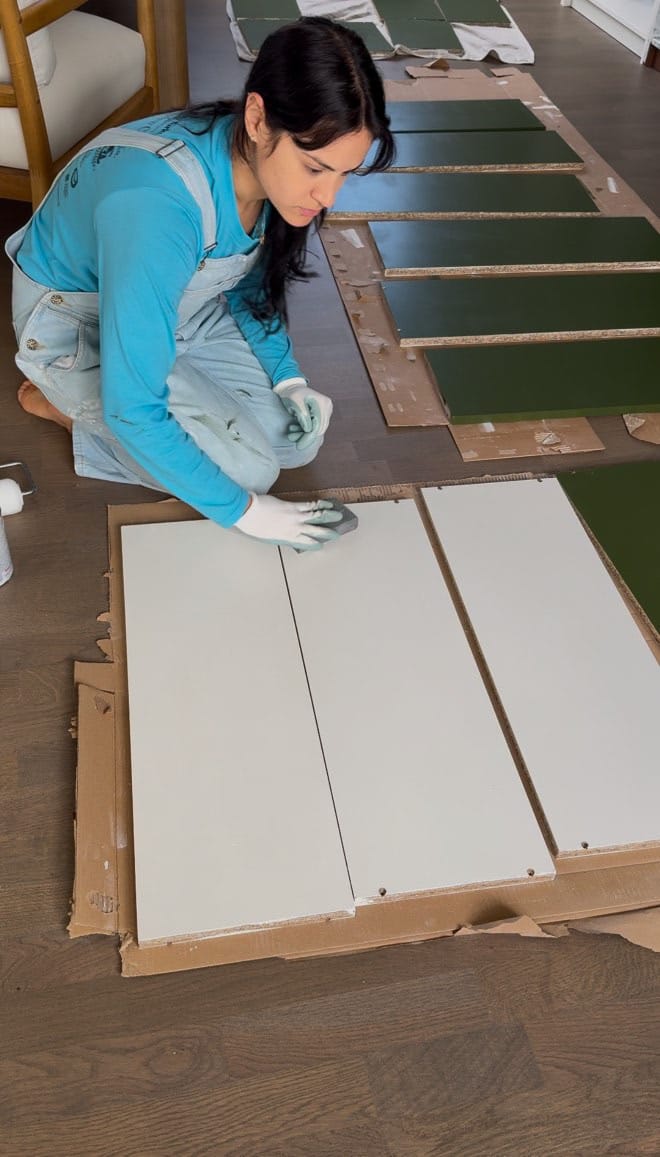
Step 3: Prepping for Paint
The Billy bookcases are made of vinyl, which means paint won’t stick unless you prep them properly. Here’s what I did:
- Sanding: I used an electric sander with 150-grit sandpaper to rough up the surface. This step is super important for making sure the paint adheres.
- Priming: I used BIN shellac-based primer, which creates the perfect base for painting. Apply the primer with a paintbrush (not a roller) to create a slightly rough texture. After the first coat dries, sand it lightly, then apply a second coat and sand again.
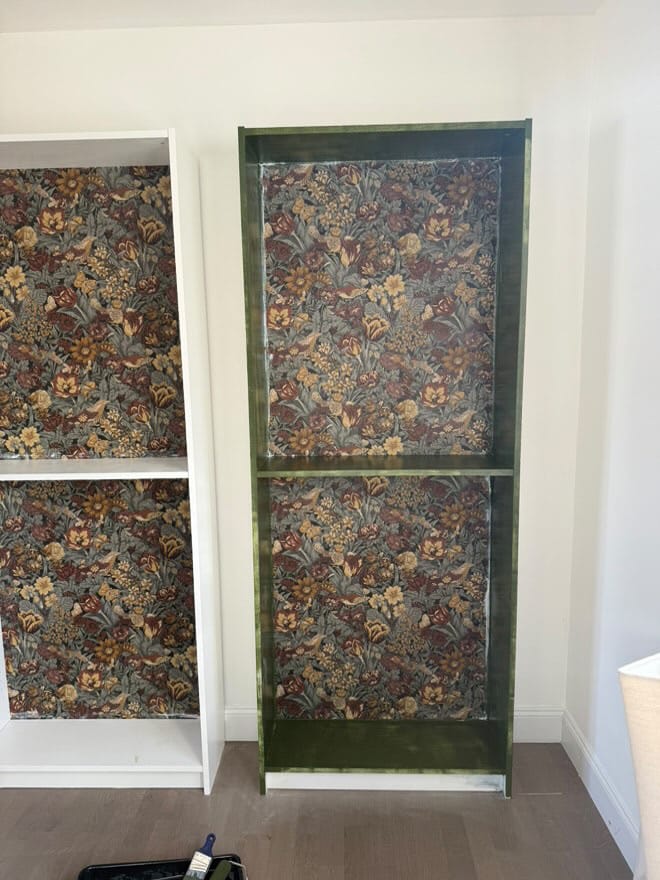
Step 4: Painting the Bookcases
For the color, I chose Secret Garden by Benjamin Moore—a beautiful, rich green that brings warmth to the space. I applied two coats of paint, letting each layer dry completely.

Step 5: Final Details
To finish things off, I:
- Cut a hole in the backboard with a Dremel for the heating vent to ensure airflow.
- Used painter's tape to protect the wallpaper edges while painting.
- Secured the bookcases to the wall for stability.
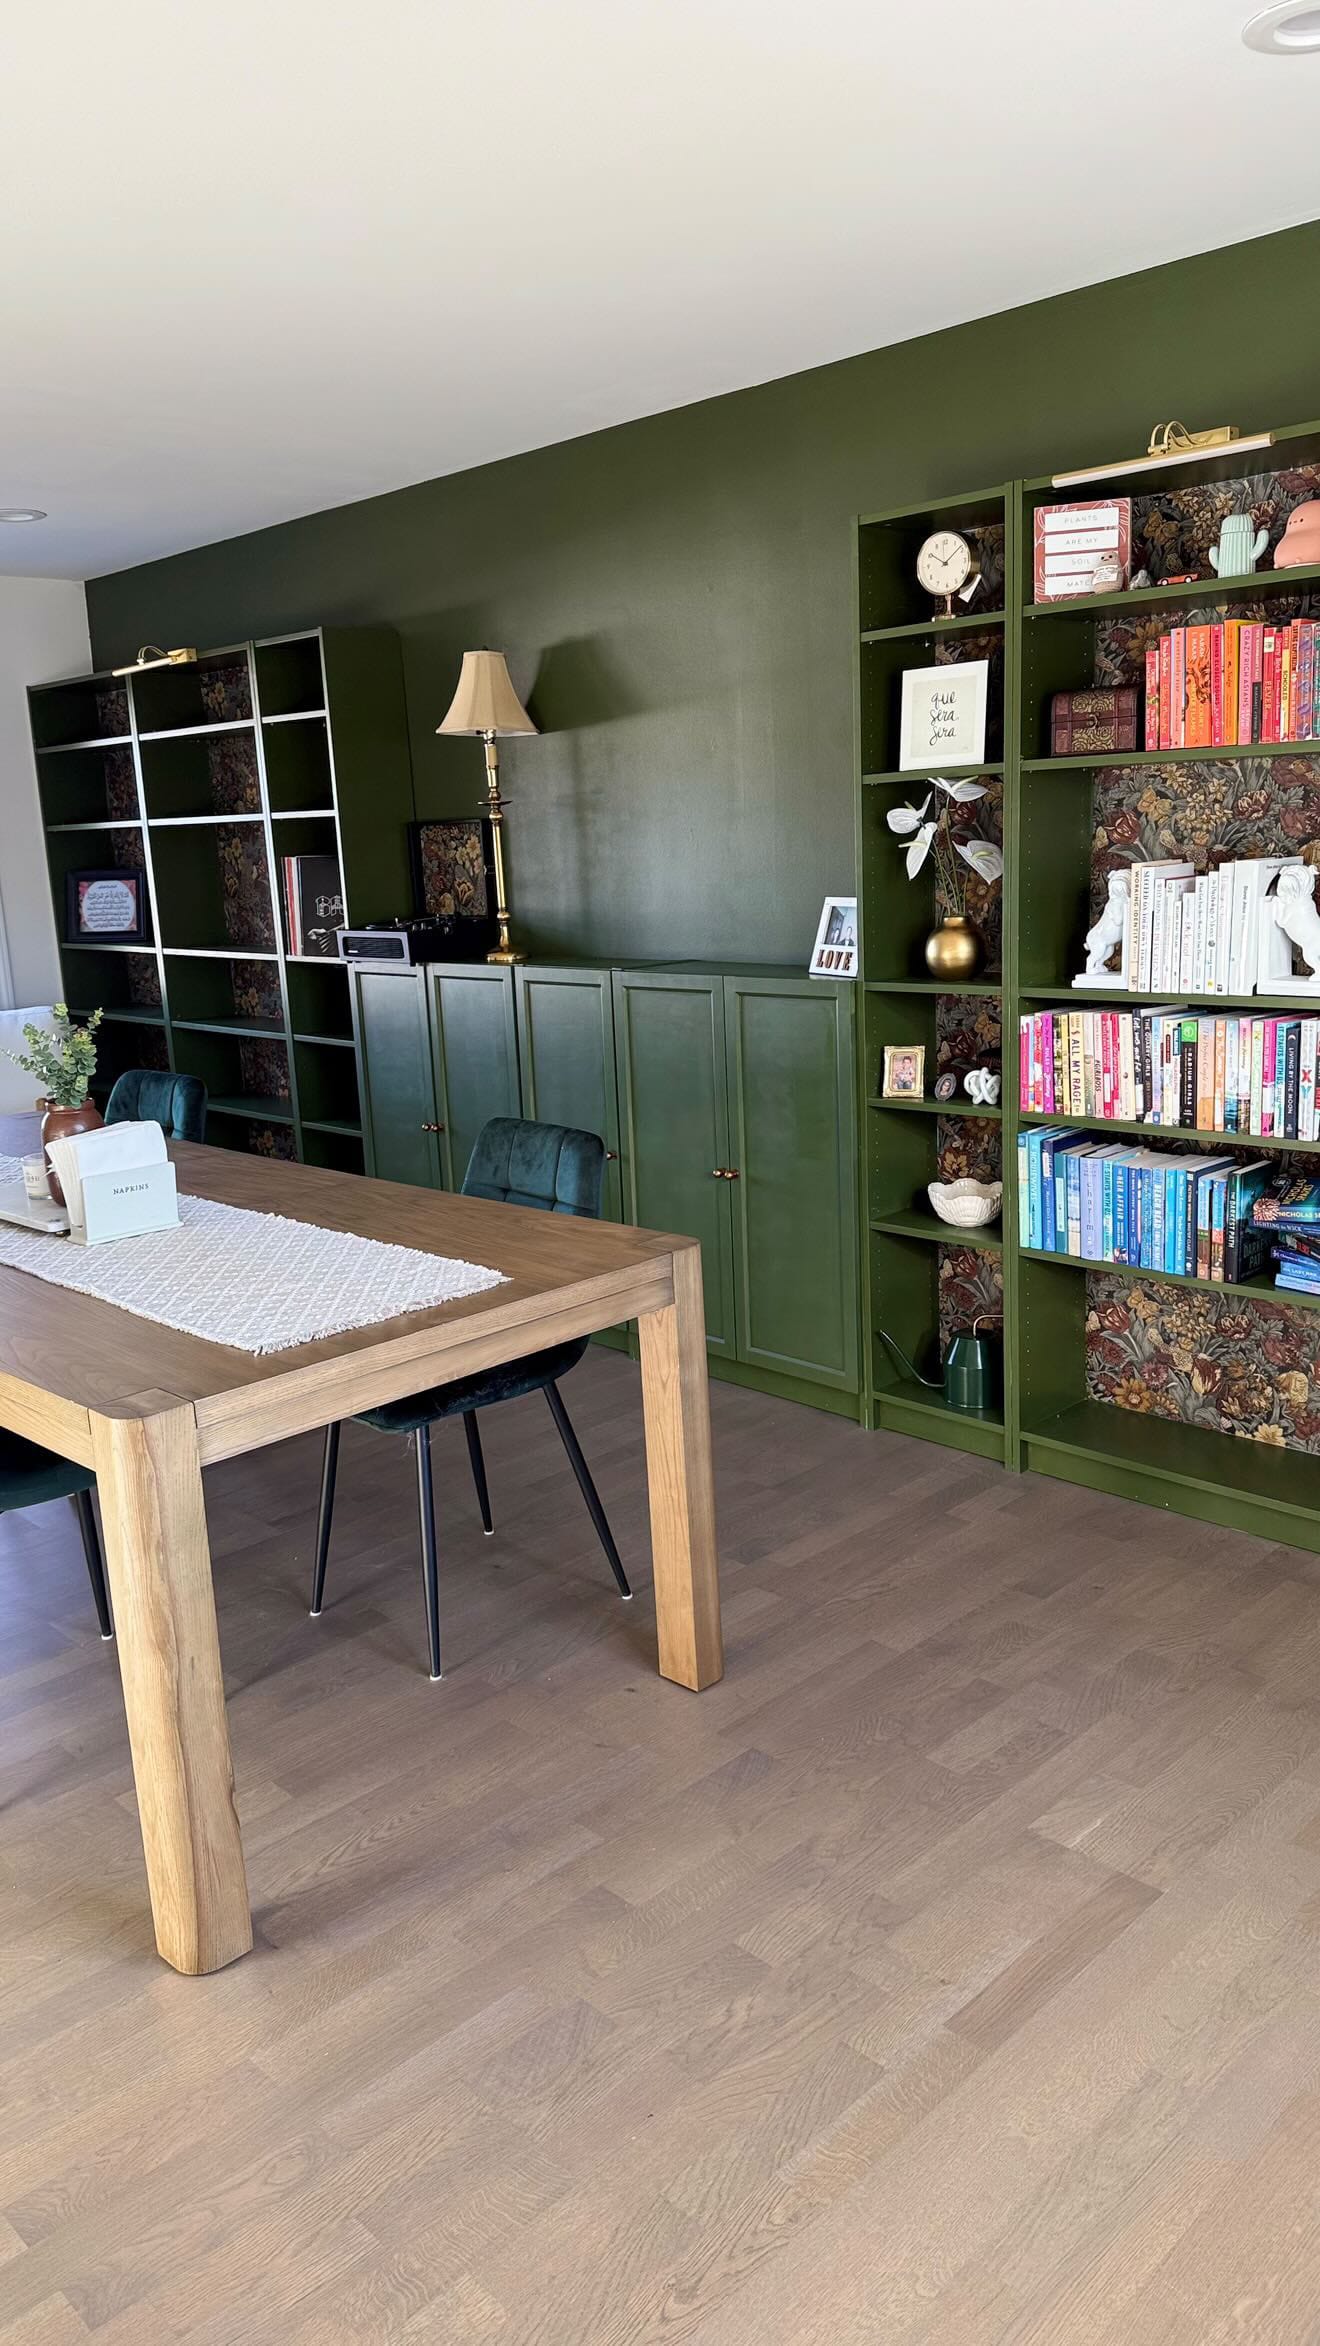
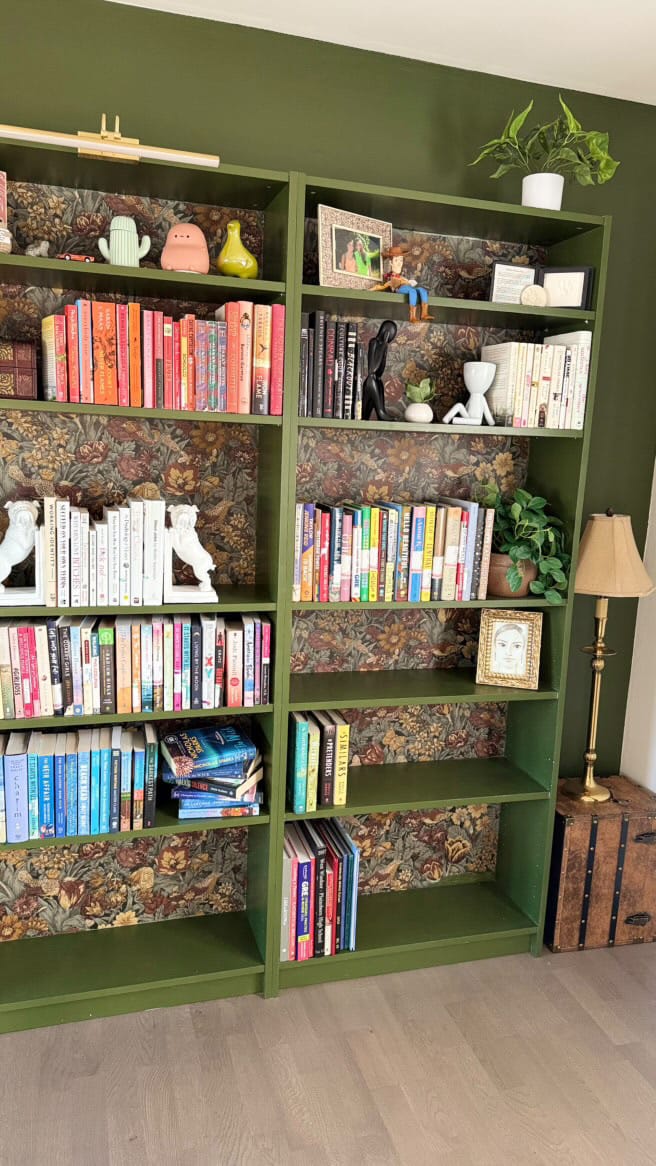

Once everything was in place, I styled the shelves with my favorite books, decorations, and sentimental items. It’s such a rewarding feeling to see the space come to life!
If you wanna see more like this don't forget to check out all my socials.

Creator: Nadia
Instagram: @myyorganizedlife
Tiktok: @myyorganizedlife
Youtube: @myyorganizedlife


