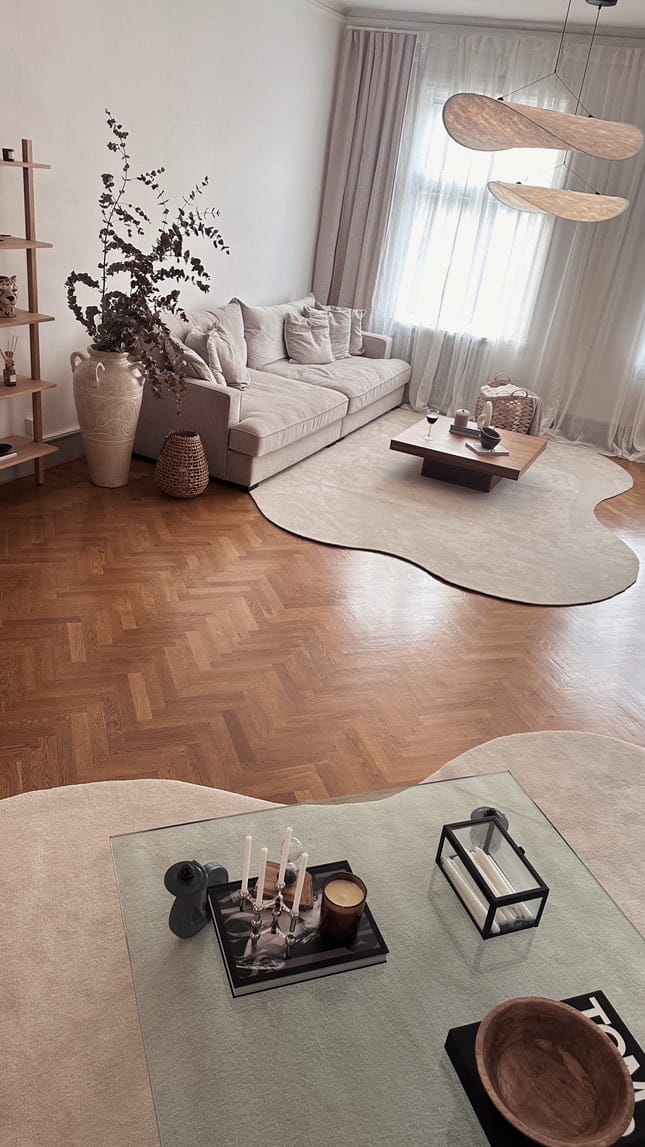
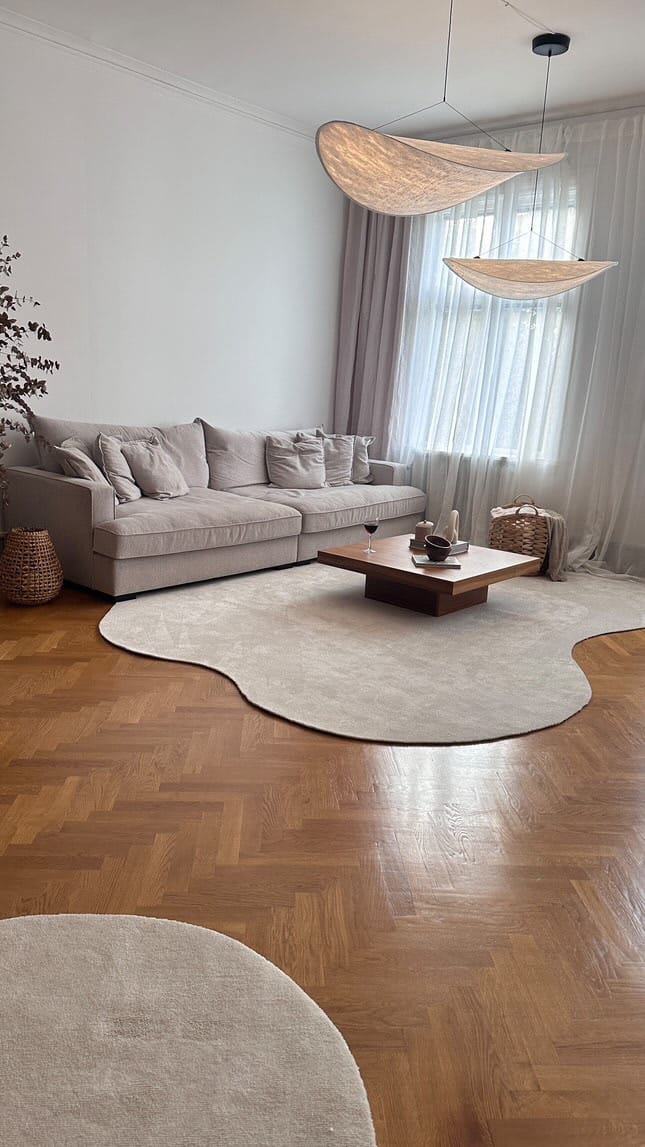
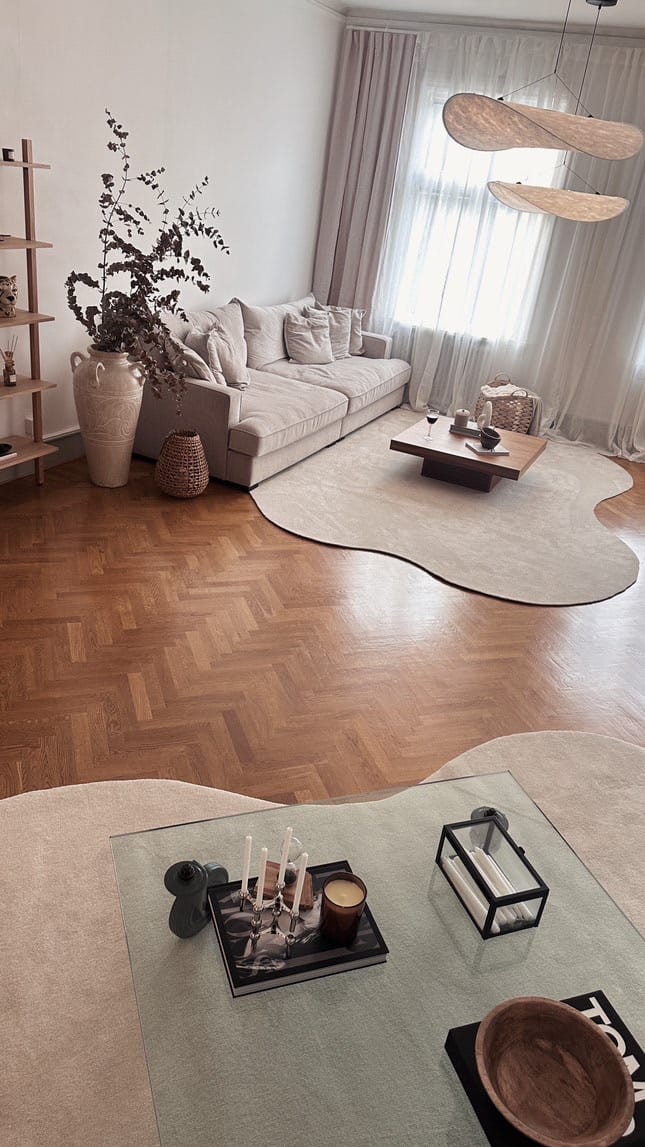
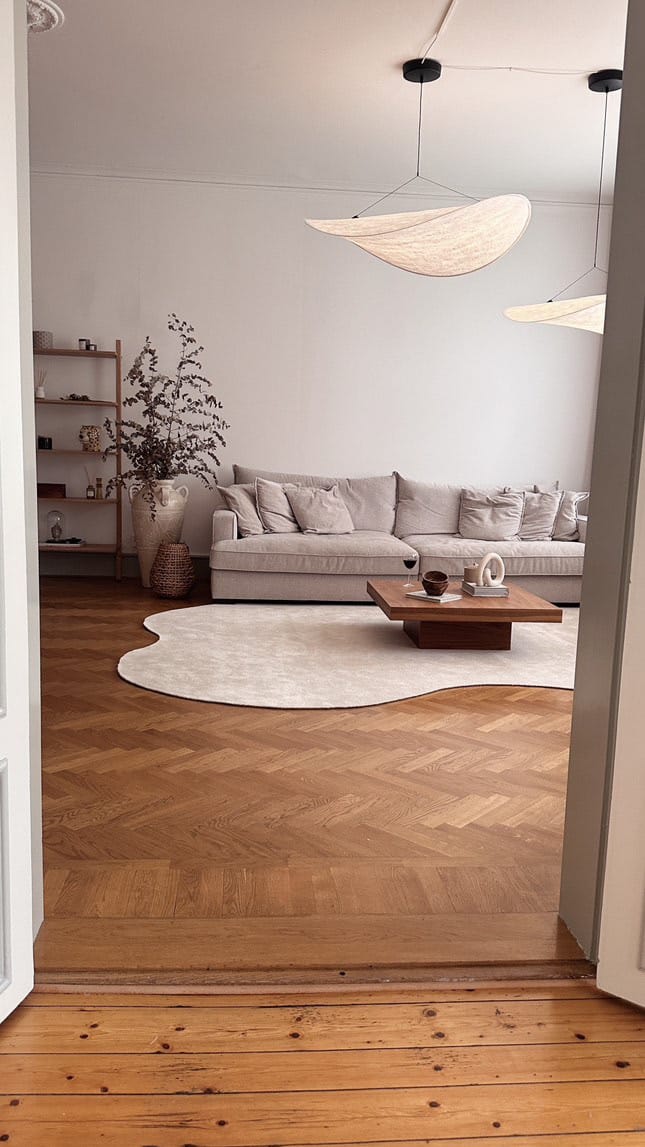
Creating a custom-shaped carpet is a simple yet effective way to add a personalized touch to your space. Here's how I customized my carpet from Rusta, called Jill. Follow these steps to achieve your own unique carpet design.
Materials & Tools Needed:
- Carpet (I used the Jill carpet from Rusta)
- Carpet knife
- Scissors (if needed)
- White crayon
Step-by-Step Instructions:
Step 1: Plan Your Design
Decide on the shape you want for your carpet. This could be anything from a simple rectangle or circle to a more complex design.
Step 2: Draw the Shape
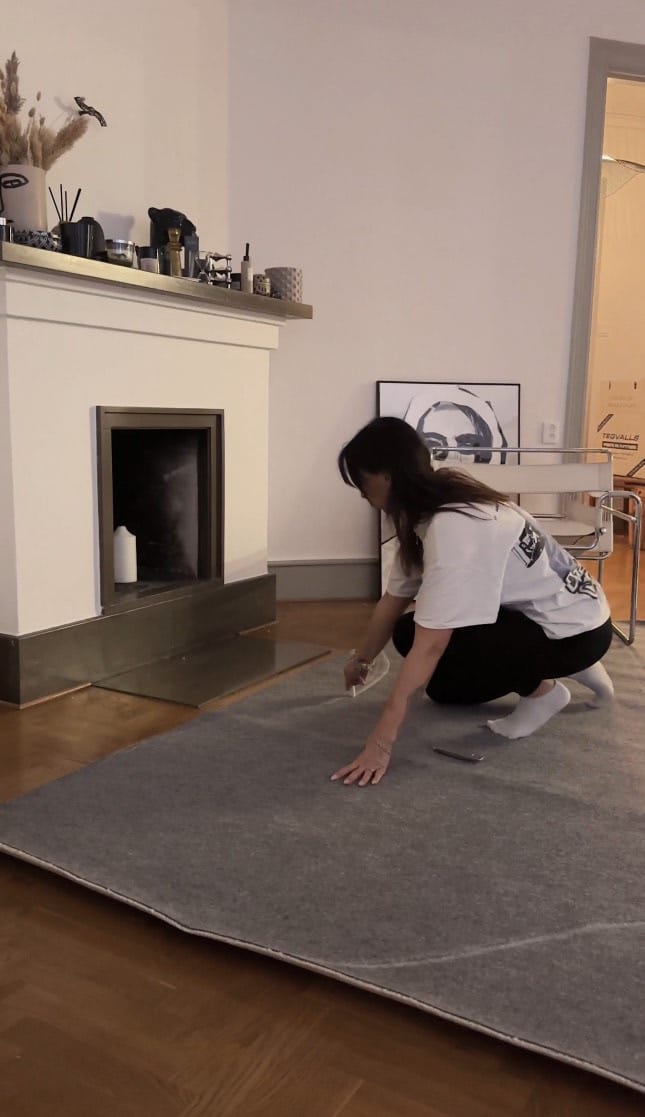
Turn the carpet over so the backside is facing up. Using a white crayon draw your desired shape on the backside of the carpet. This helps to ensure your lines are visible and easy to follow.
Step 3: Cut the Carpet
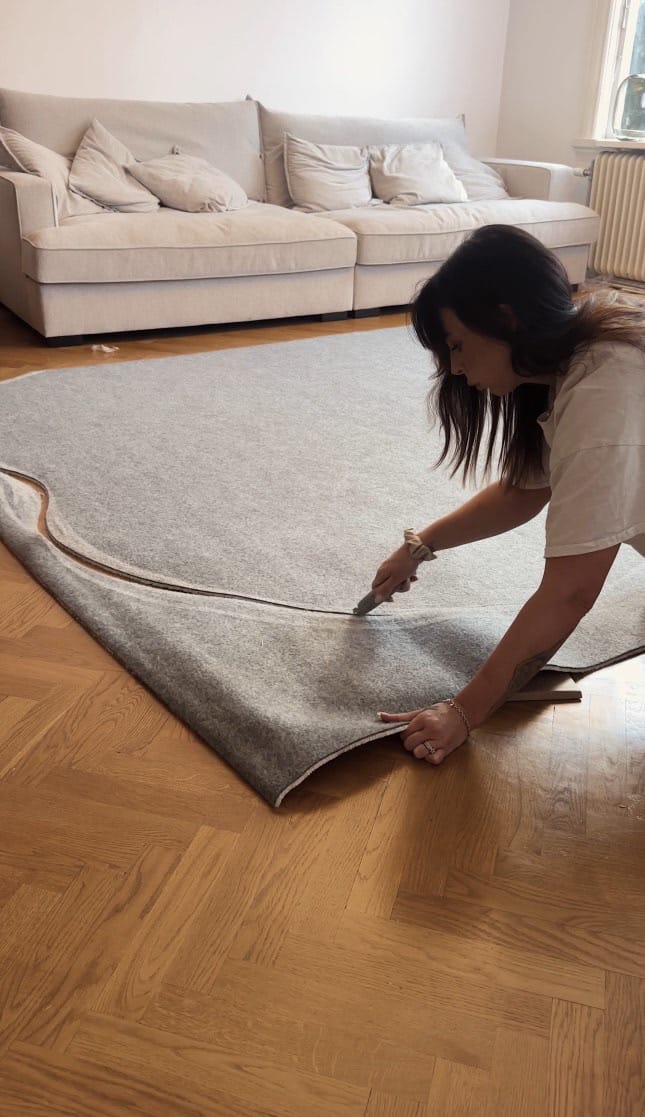
Carefully cut along the lines you’ve drawn with a carpet knife. This tool is specifically designed for cutting carpets and will give you a clean edge. If there are any areas that are difficult to cut with the carpet knife, use a pair of scissors to carefully finish those sections.
Step 4: Final Touches
After cutting, check the edges of the carpet to make sure they are smooth and even. Trim any rough spots with scissors if necessary.
Creating a custom-shaped carpet adds a personal and unique touch to any room. It’s an easy DIY project that can be completed with just a few materials and tools. Enjoy your new, customized carpet!
Tips:
- Safety First: Be sure to work on a stable surface and handle the carpet knife carefully to avoid injuries.
- Take Your Time: Cutting the carpet slowly and steadily will help you achieve a cleaner edge.
- Measure Twice, Cut Once: Double-check your measurements and the shape you’ve drawn before making any cuts.
For more DIY projects and home styling tips, follow me on my blog and social media.
Happy crafting!

Creator: Malin Björk
Instagram: @malin_nunez


