

A budget DIY I created in just a few simple steps.
Things you'll need:
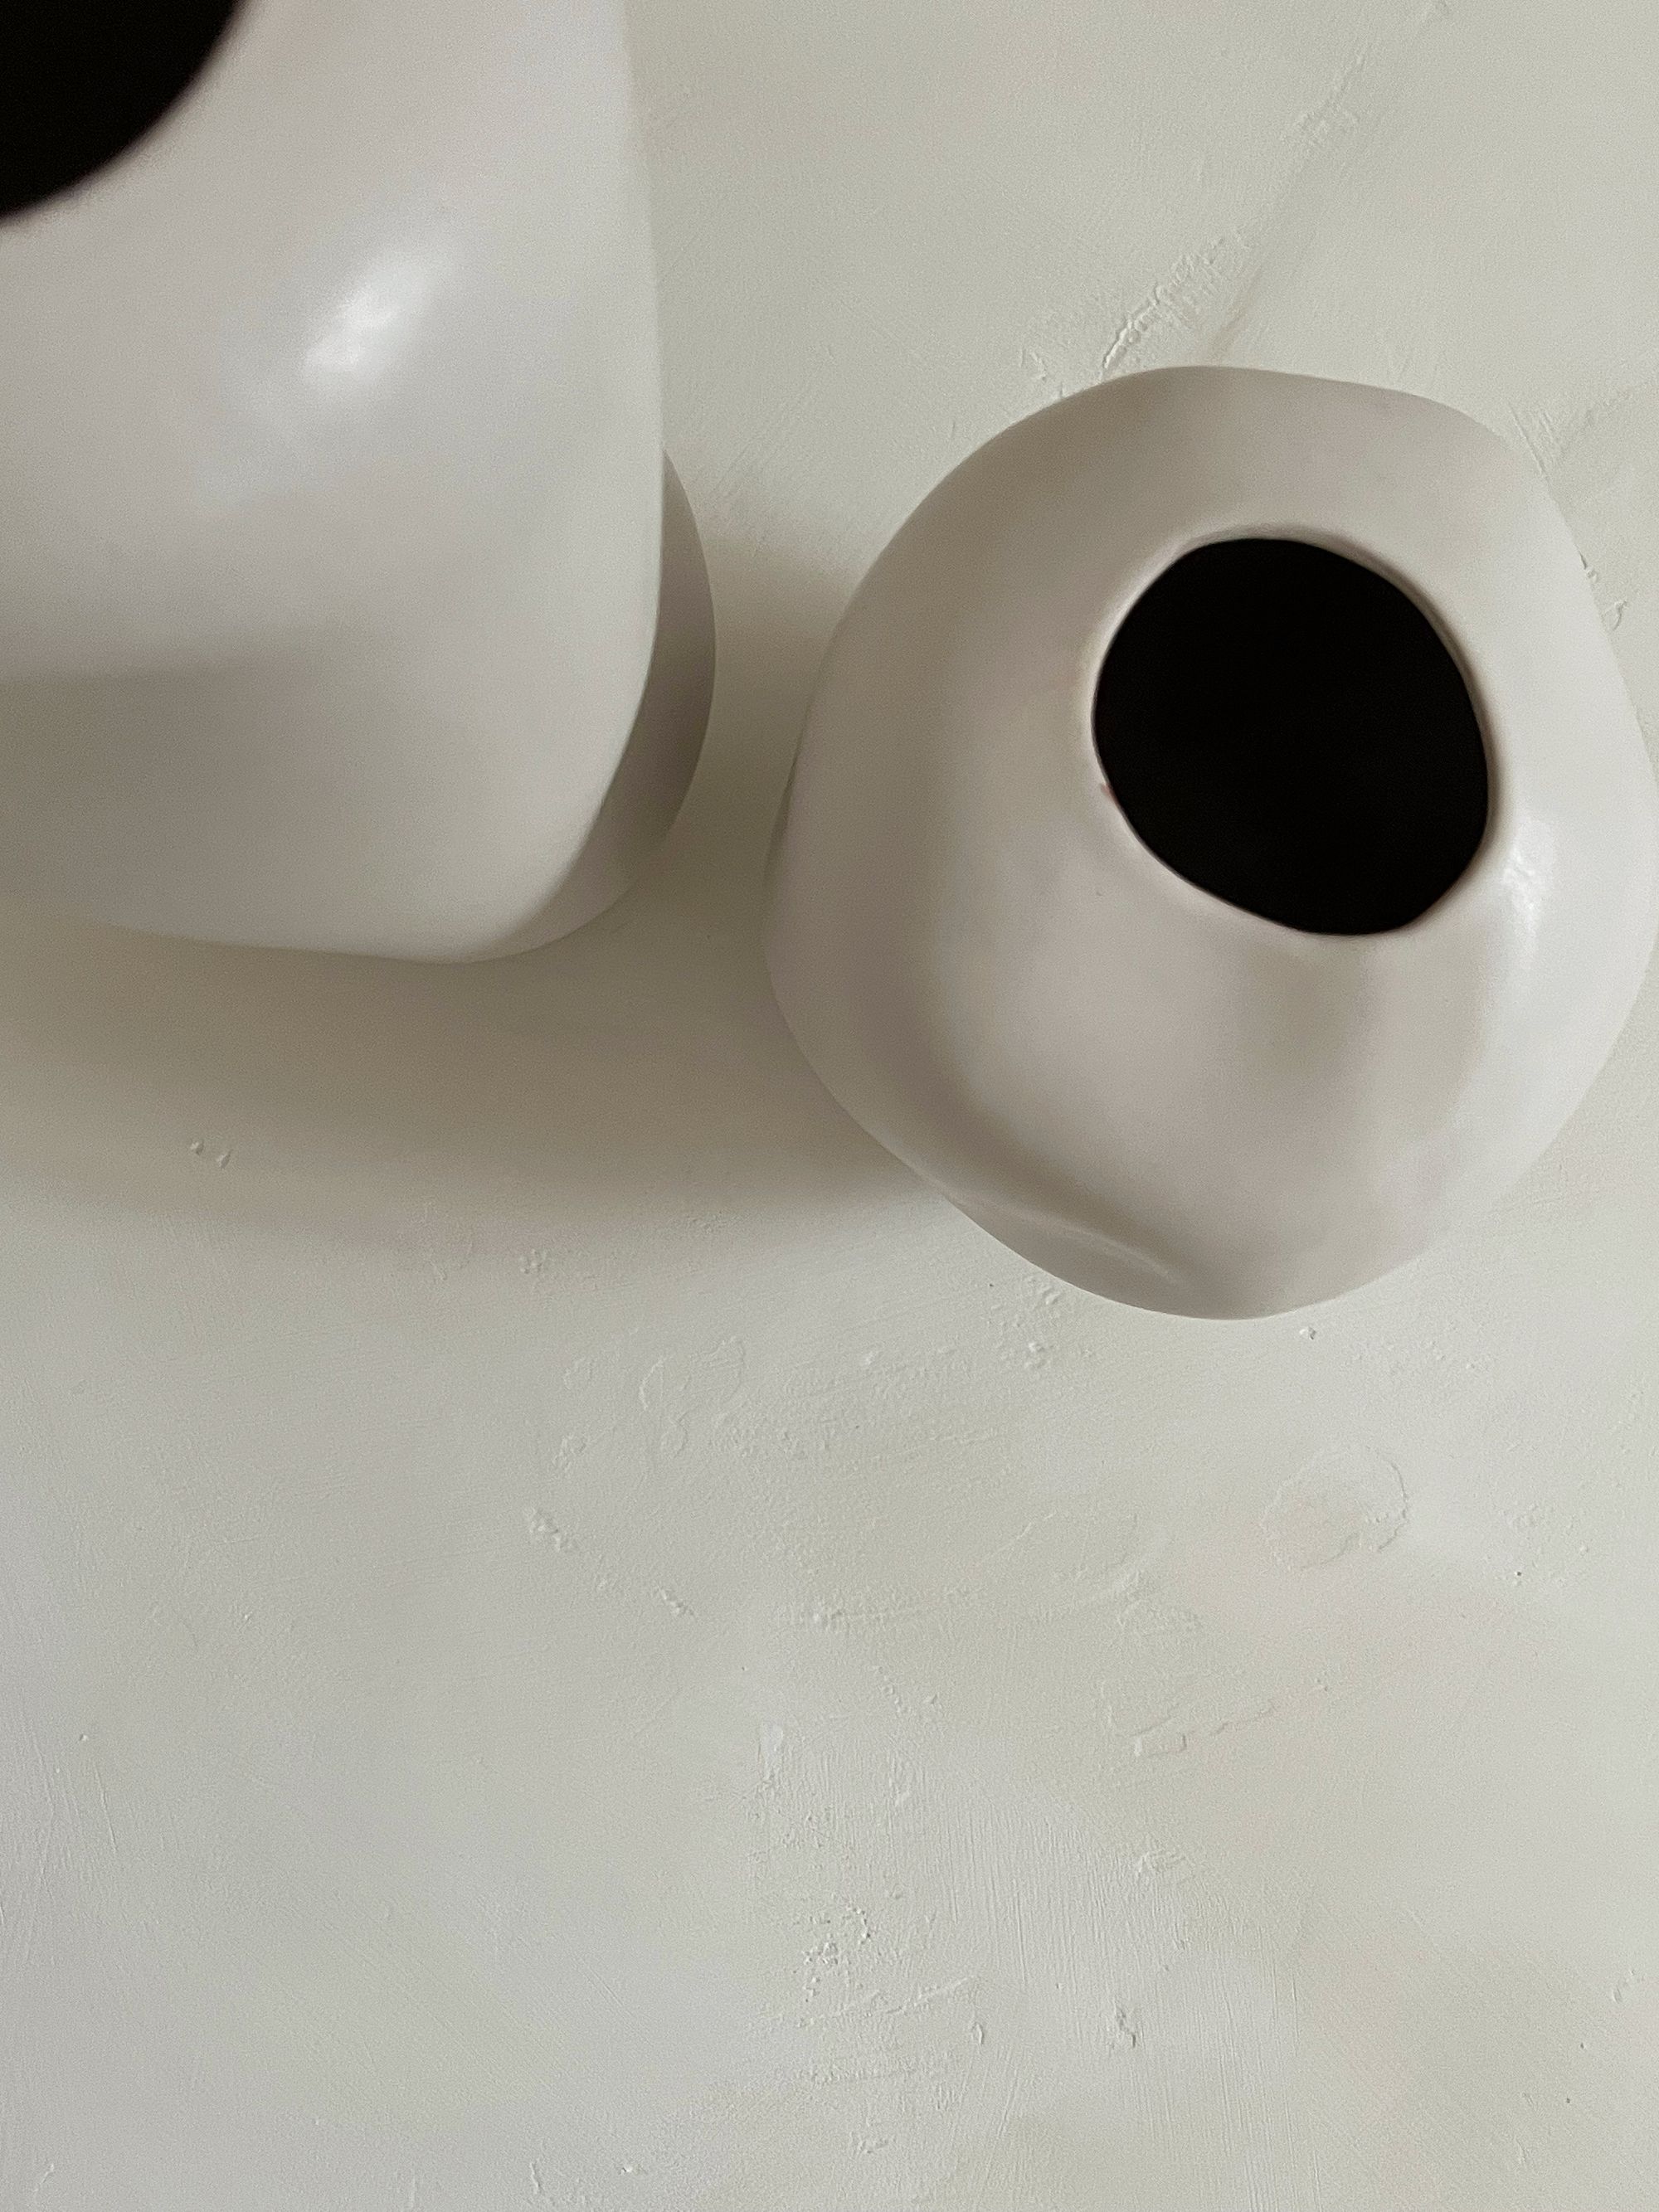
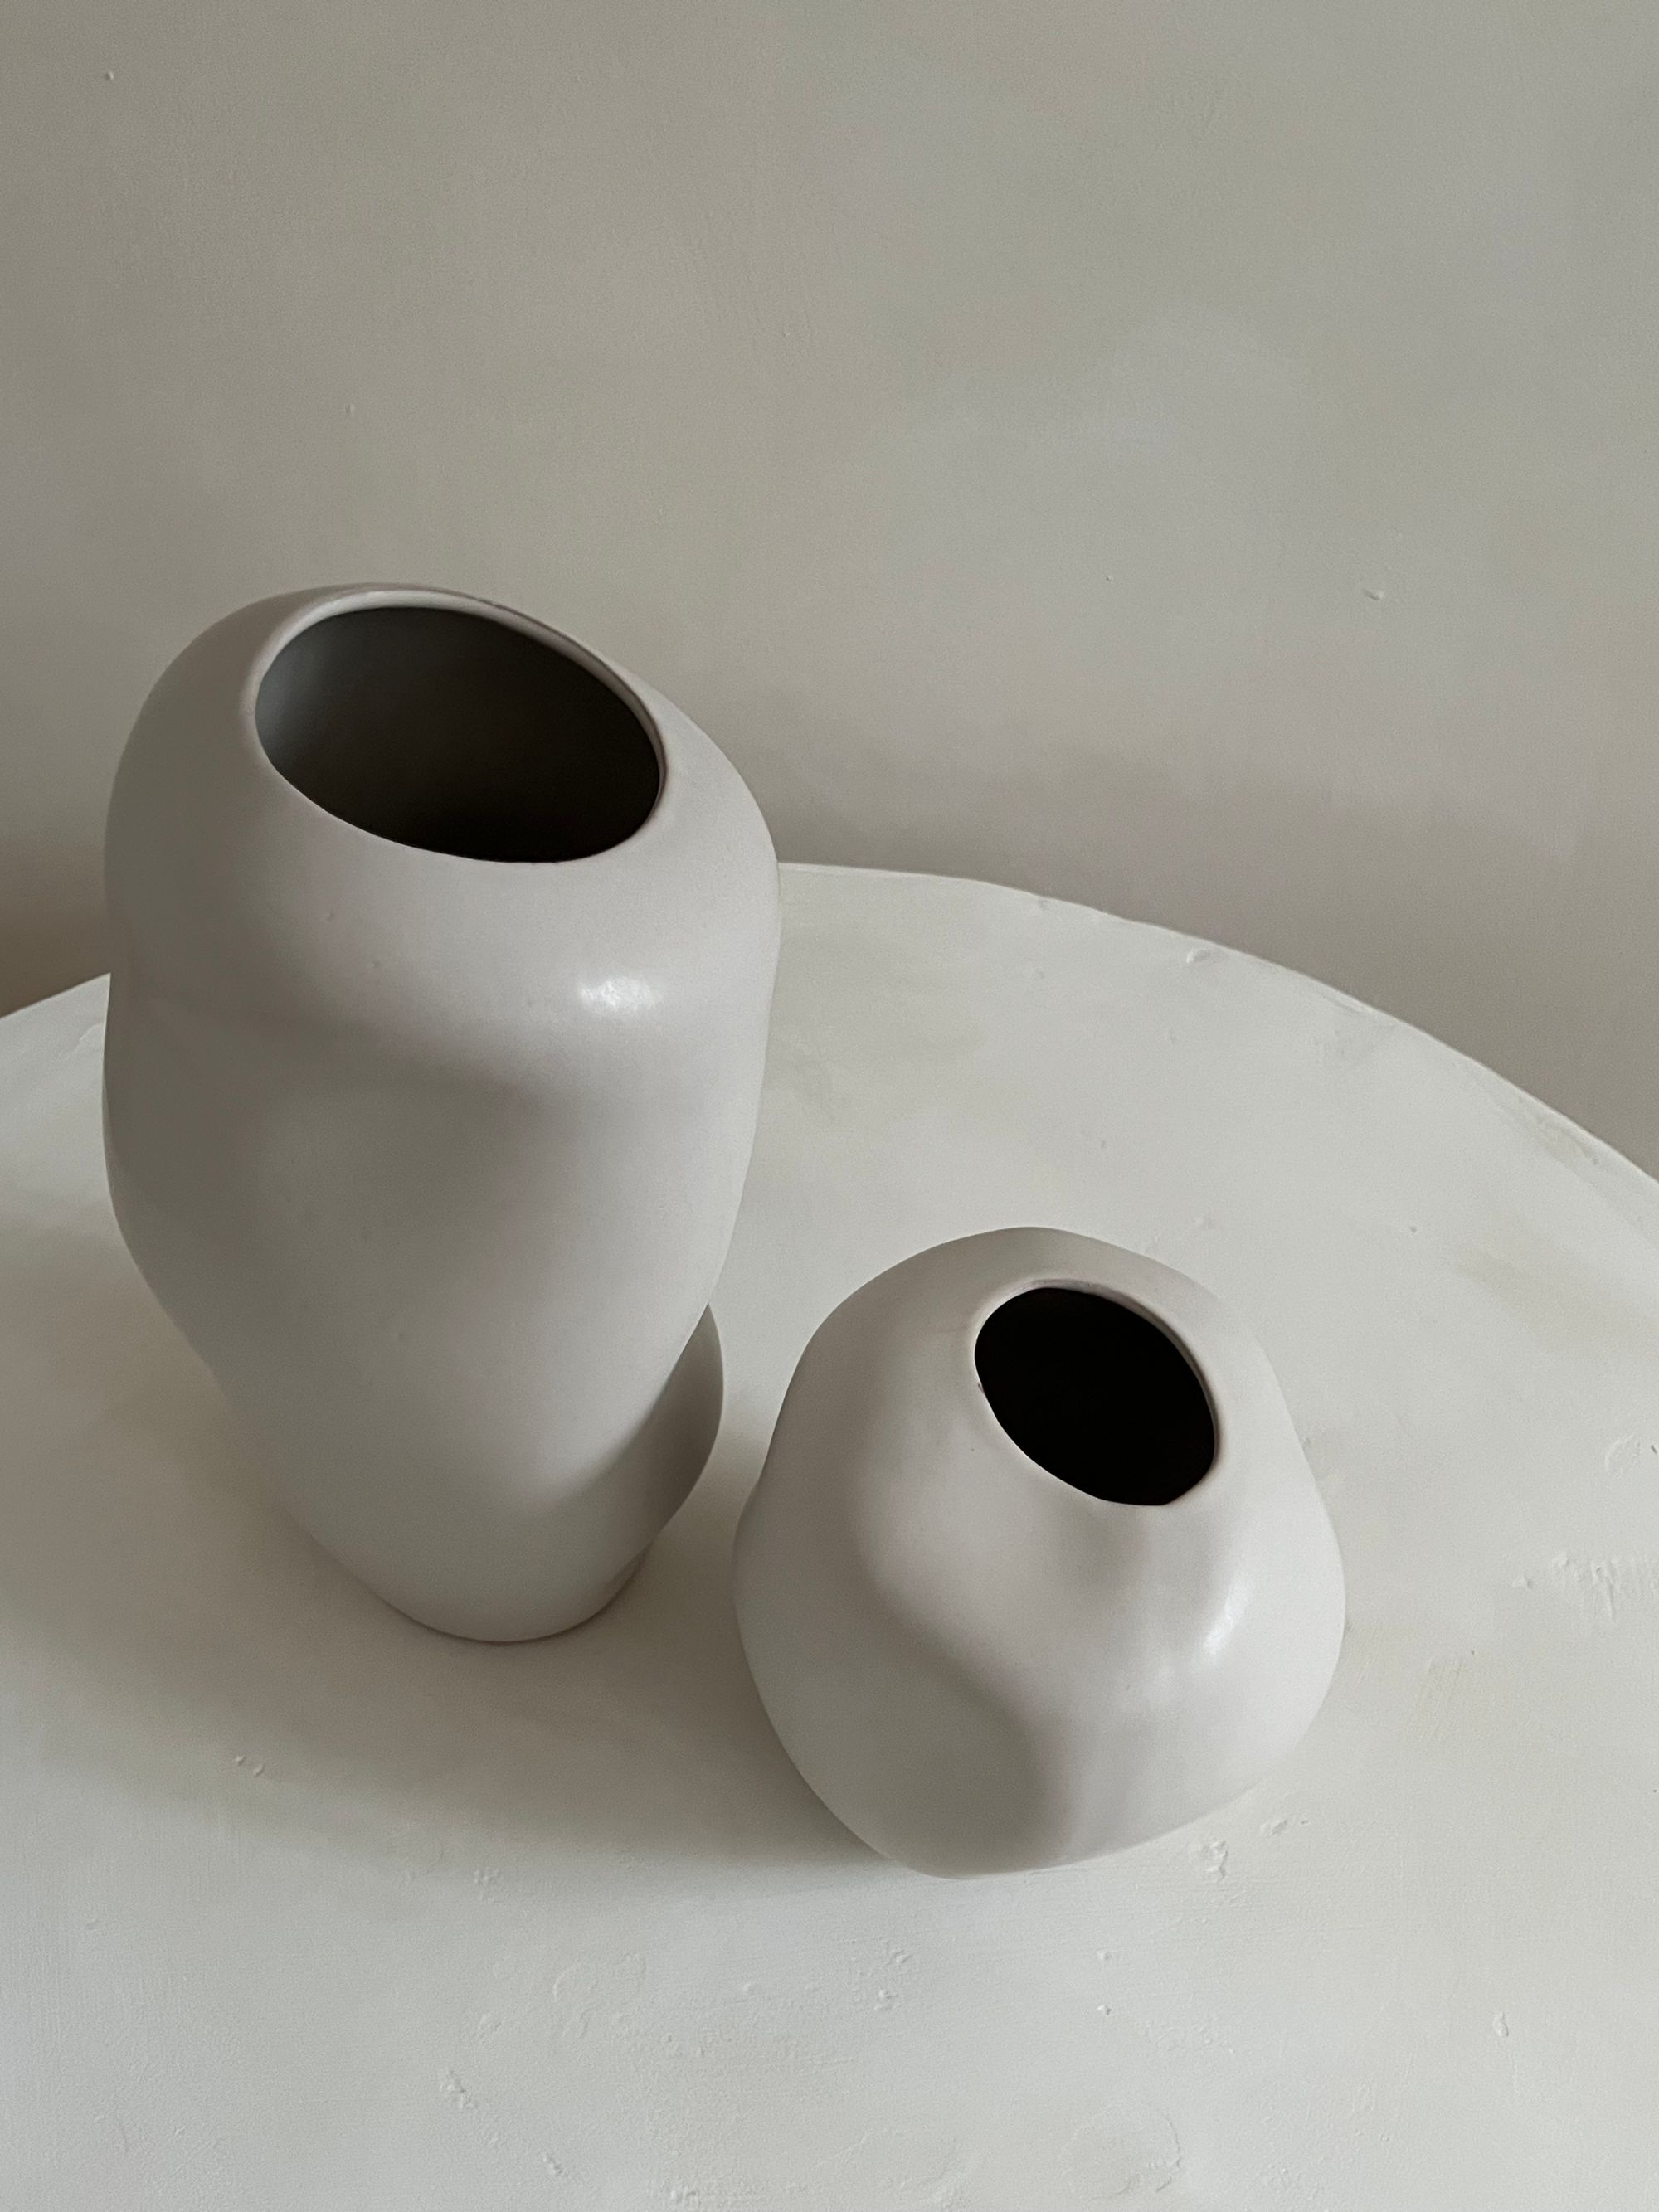
- A large plant pot (approximately 37cm tall)
- A table top (I sourced an inexpensive table from The Range store. Facebook Marketplace have great finds or if you are handy with carpentry, you can create your own from wood)
- 2 x tubs of polyfiller or filler powder
- White paint / Beige paint & brush
- Sealer
- Sanding paper
- Unibond adhesive
Method:
1.Position your base and decide which way you'd prefer it to be. I placed mine upside down for a more organic shape.
2. Layer polyfiller to the table top and plant pot base. I applied this with a wallpaper scraper.
3. Sand the layers to your desired textured. I skimmed a final layer of a pollyfiller/water mix for a smoother look.
4. Apply the white and beige paint in crisscross patterns to create a faux limewash effect.
5. Once dry, secure the top and base using a strong adhesive. I used 'Unibond No More Nails' and its worked perfectly!
6. Finally, apply a sealer to ensure the table is suitable for use.
TOP TIPS:
This project requires lots of drying time in between the stages.
Allow the adhesive approximately 48hrs for it to fully bond the surfaces.
Leave glueing and sealing until last as this allows you to correct any mistakes or experiment with textures and colours.
You can choose any sealer for this project and a little goes a long way! I used a matt sealer by Rust Oleum to retain the 'look' I desired.

For all my DIY's I always say...
Enjoy the process, create what YOU love & don't be afraid to just go for it!
Check out my Instagram @cosfordedit for more!
Images copyright ©