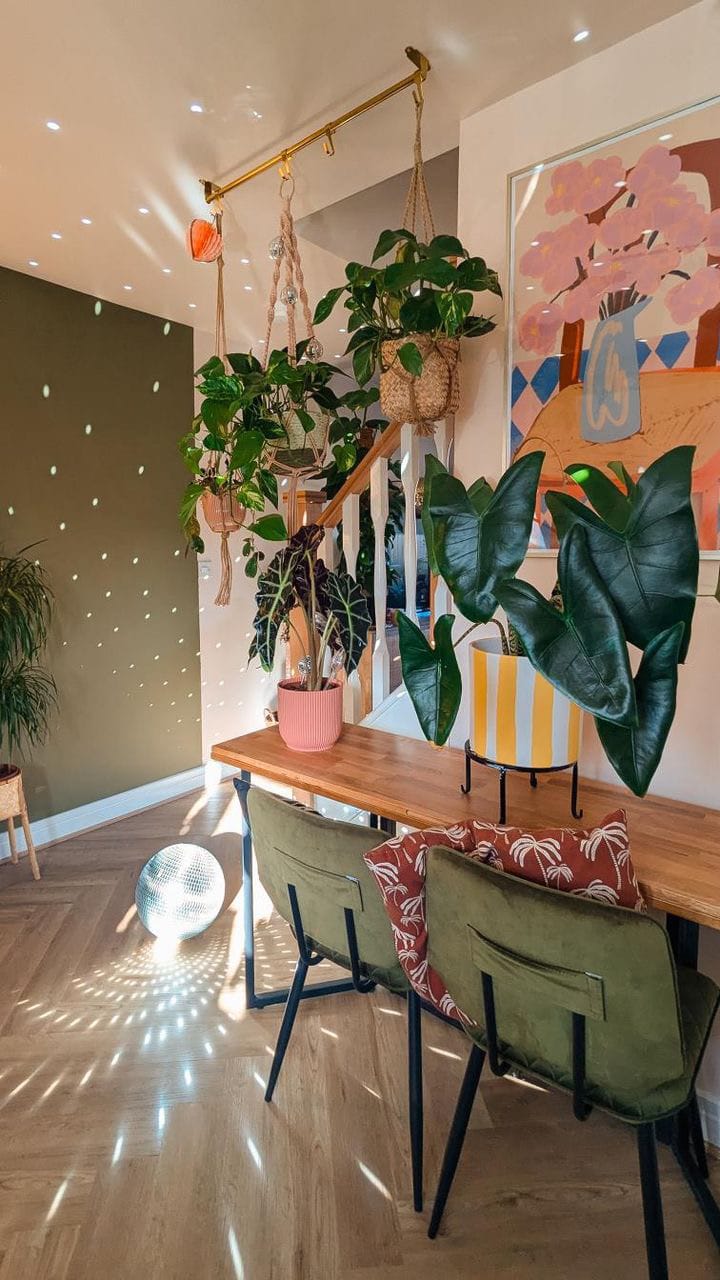
If you’re a plant lover, especially a fan of trailing varieties that cascade beautifully from above, then this DIY project is perfect for you! Transform any small space by adding color and character with a ceiling rail plant display. No wall space for shelves? No problem! Let’s dive into this fun and easy ceiling rail hack that will have your plants hanging in style.
Materials You'll Need:
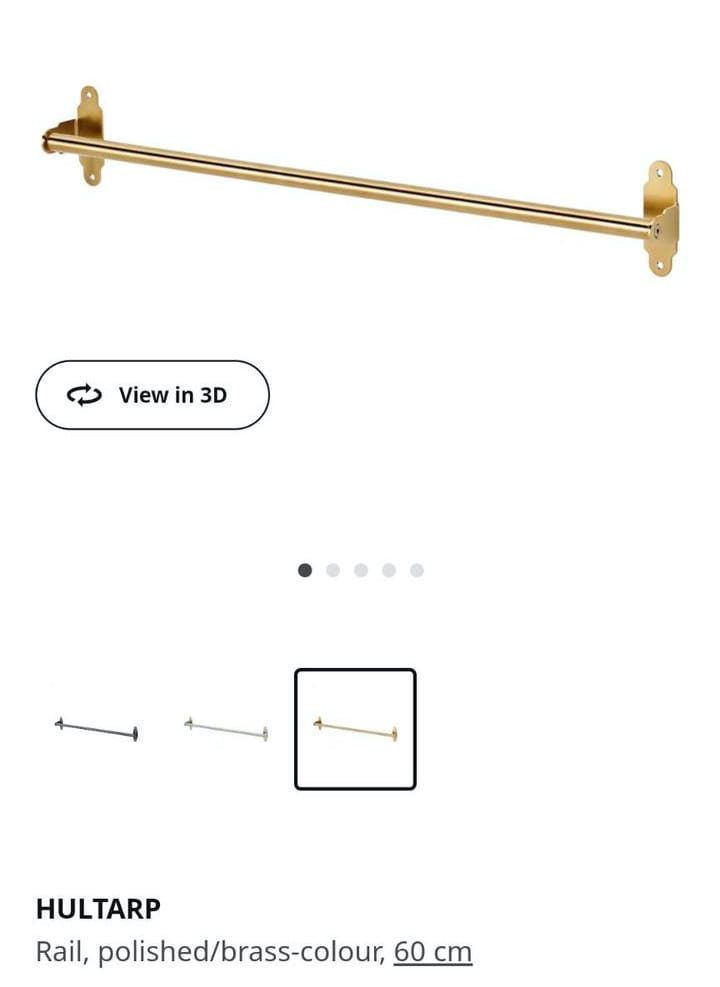
- IKEA HULTARP rail (£6)
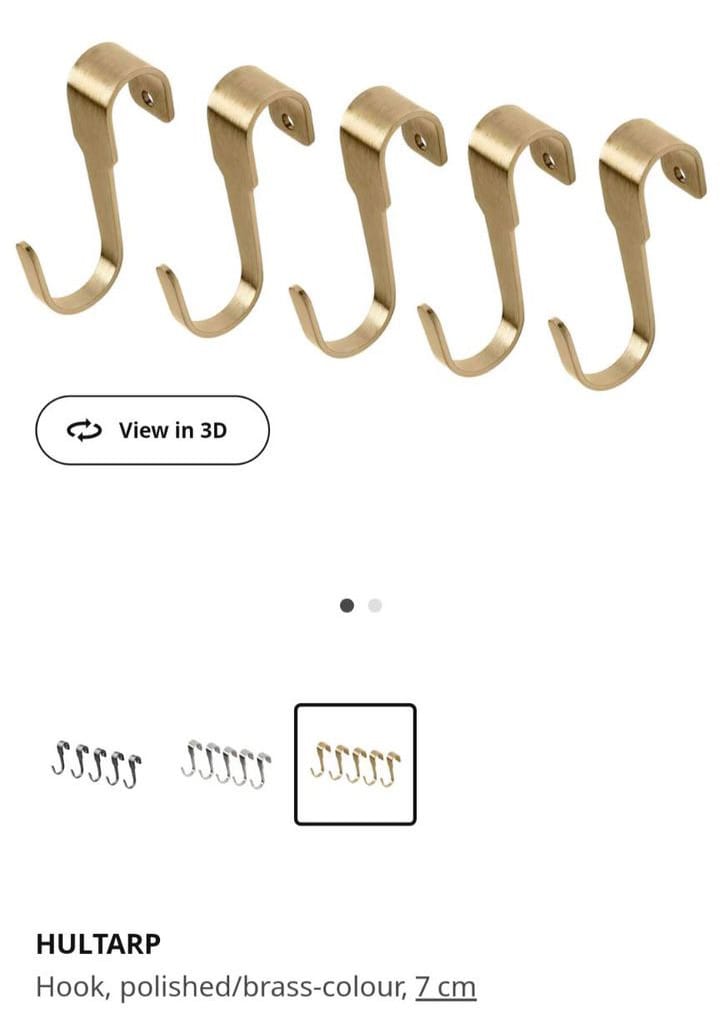
- IKEA HULTARP hooks (pack of 5, £5)
- Pozi Head screws (6mm)
- Plasterboard raw plugs (7/8mm)
- Electric drill with a 6mm drill bit for plaster
- Stud finder (optional)
- Hammer
- Pencil
- Level
Step-by-Step Guide:
Step 1: Gather the Right Fixtures
Ensure you have the appropriate fixtures for your ceiling to support the weight of your plants. For new builds with plasterboard ceilings, use plasterboard wall plugs and screws. This will provide a secure fit and prevent the rail from falling.
Step 2: Plan the Placement
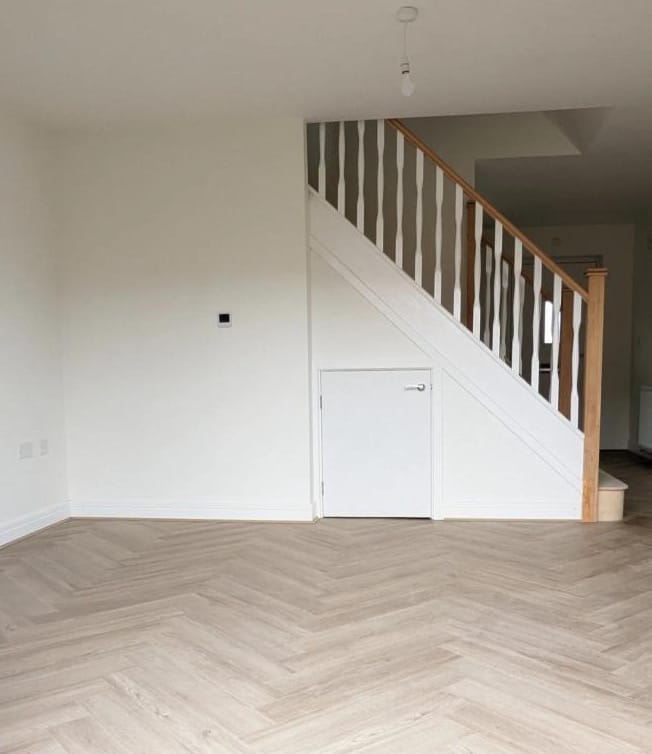
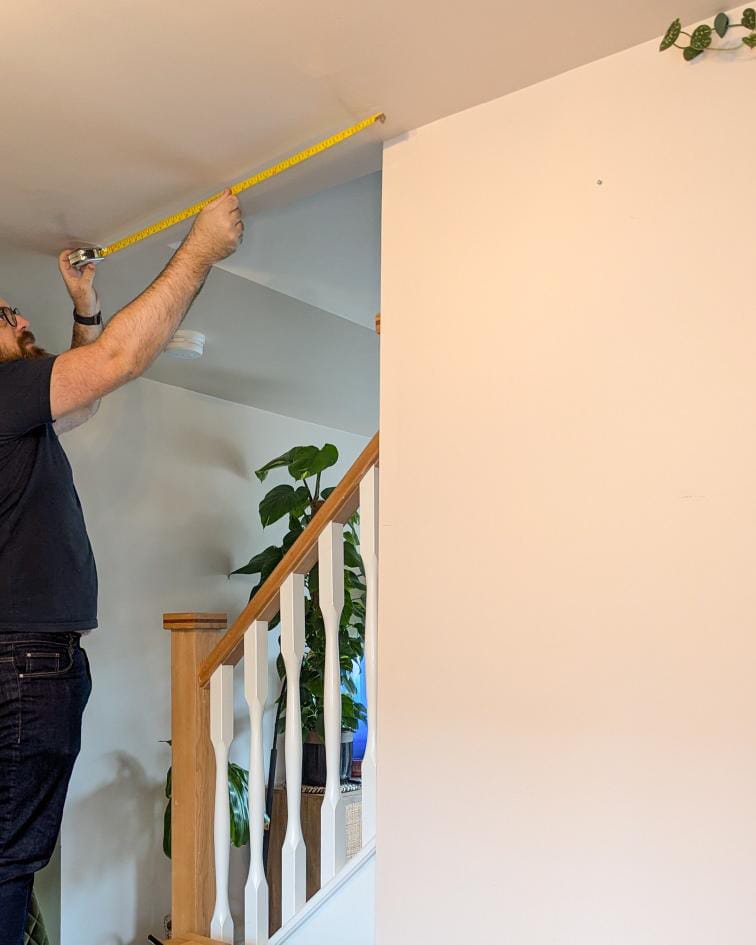
Decide where you want to install your ceiling rail. Consider the length of your space and the angle at which you want to display your plants. Remember to allow enough space for your plant pots so they don’t touch the wall and have room to grow and hang freely.
Step 3: Mark and Drill
Using the HULTARP rail brackets, mark where your first holes will go. Hold the rail against the ceiling and use a pencil to mark the spots through the bracket holes. Drill pilot holes at these marks using a 6mm drill bit. Insert the plasterboard wall plugs into the holes, ensuring they fit tightly. If needed, gently tap them in with a hammer.
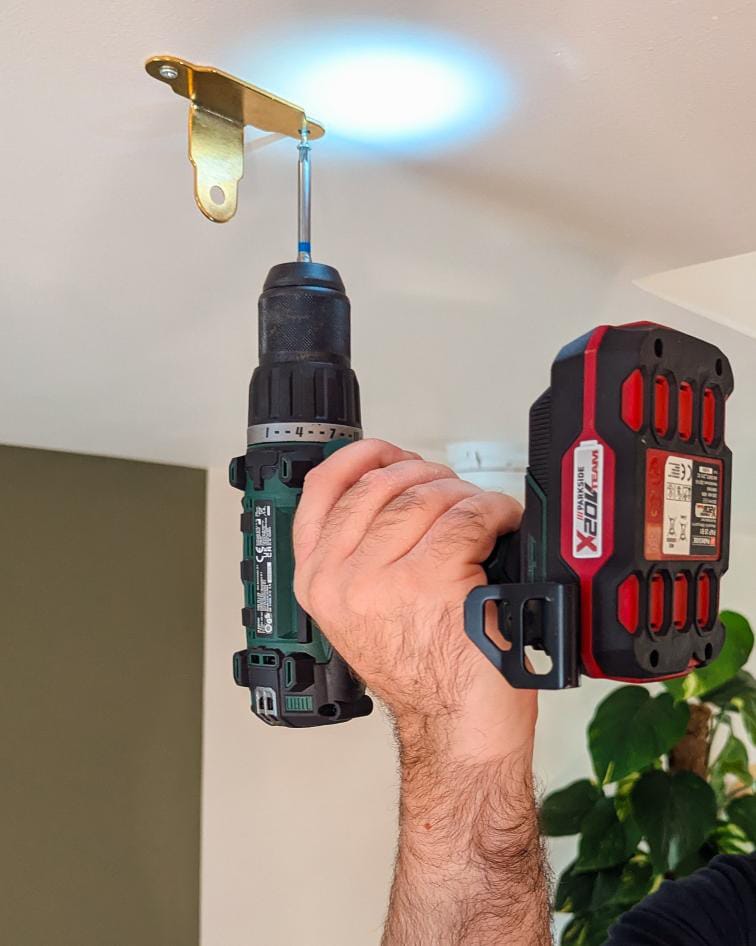
Step 4: Install the Rail
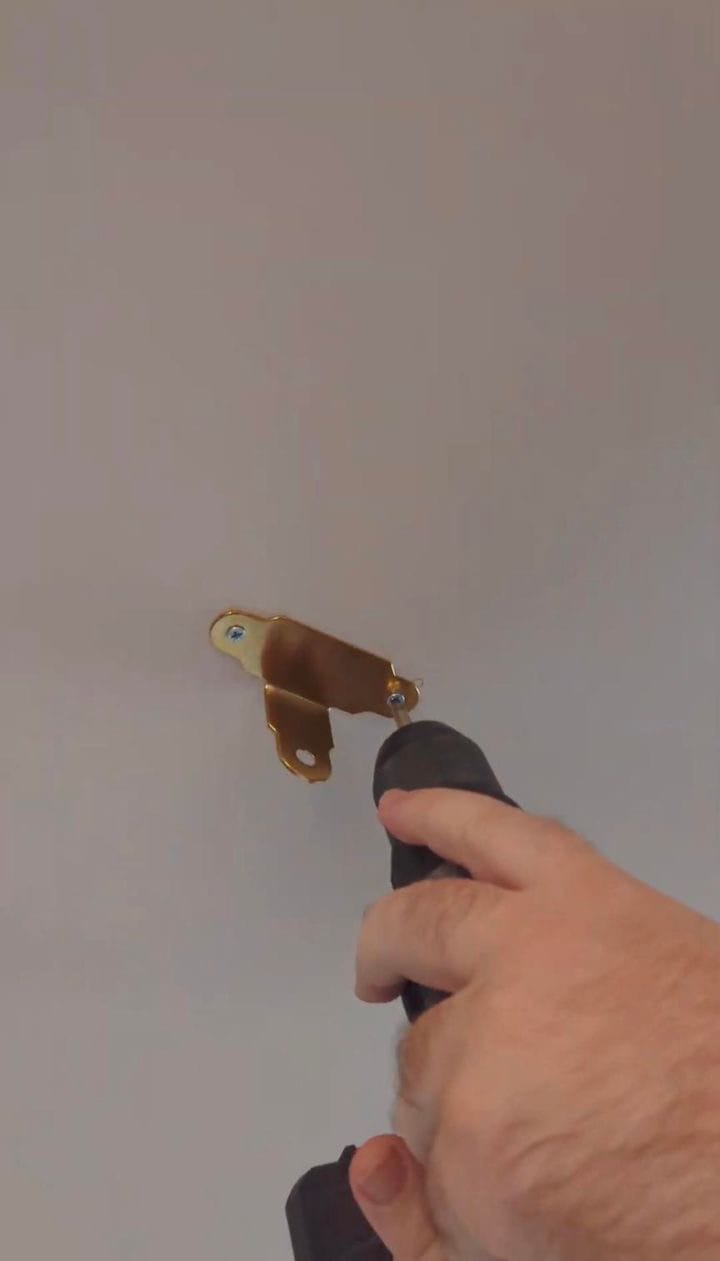
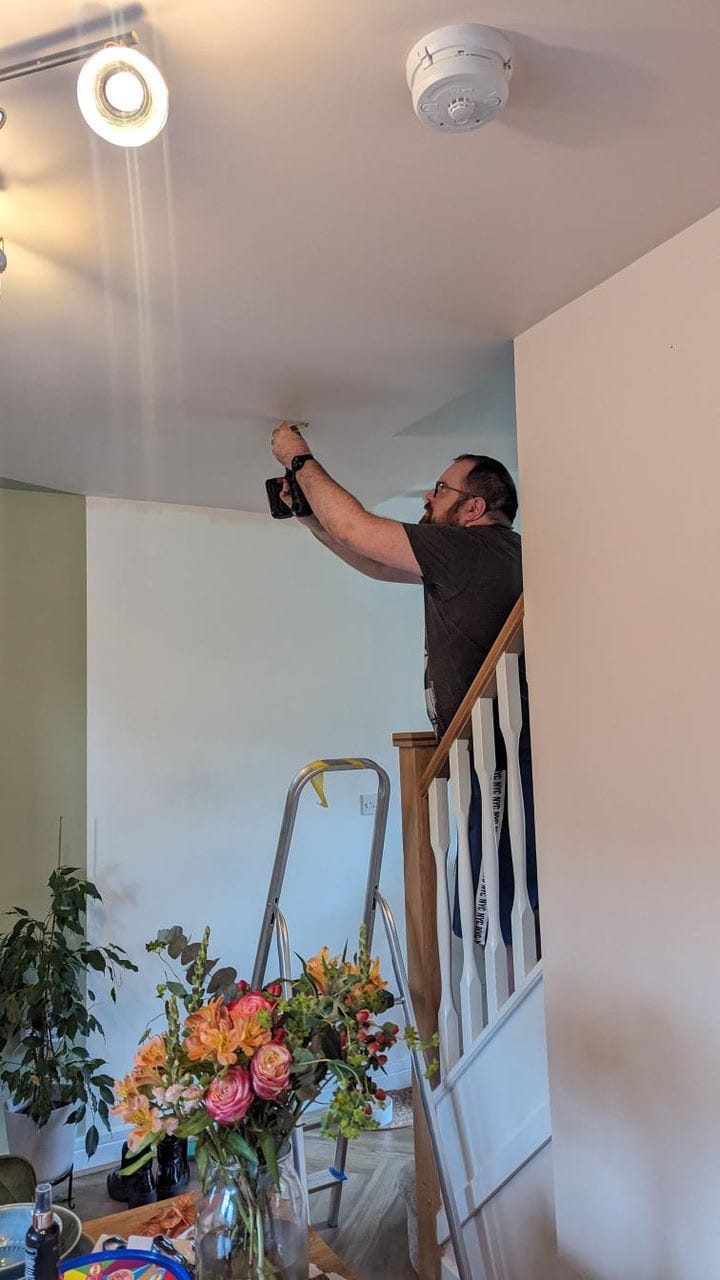
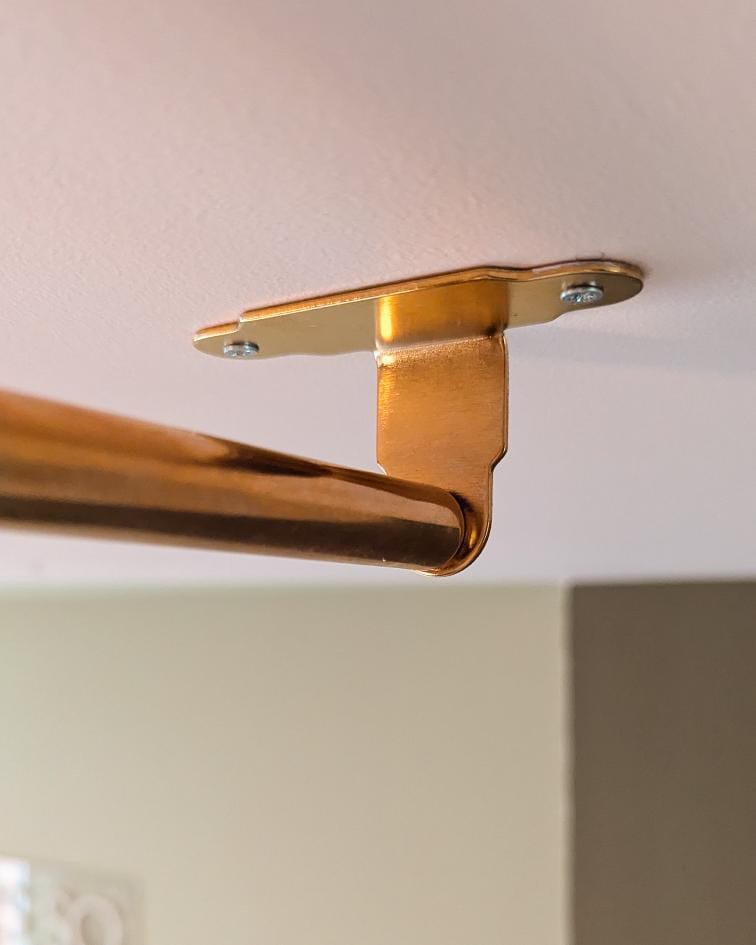
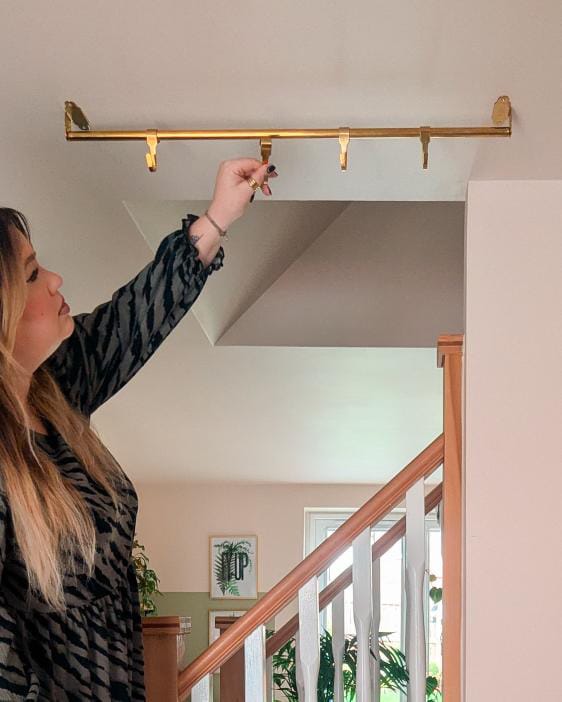
Follow the instructions to assemble the HULTARP rail. Place one end of the rail over the first set of drilled holes and partially drive the screws into the wall plugs. This allows you to adjust the rail’s position to ensure it’s level.
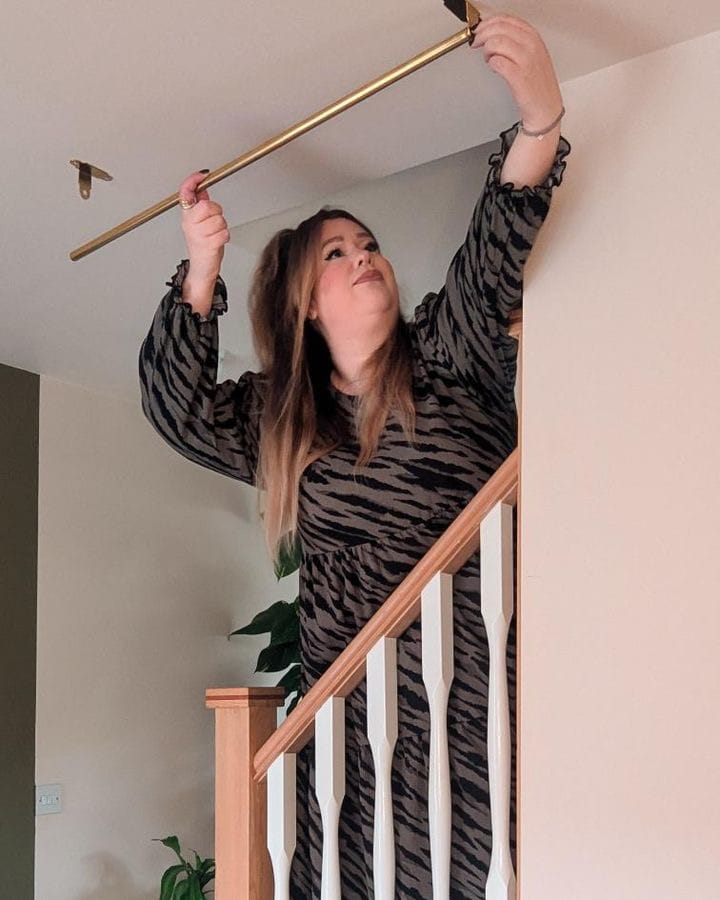
Step 5: Secure the Rail
Once the first end is secure and properly aligned, mark the holes at the opposite end of the rail. Repeat the drilling and plugging process, then secure all screws tightly so there’s no movement. Give the rail a gentle tug to confirm it’s firmly attached.
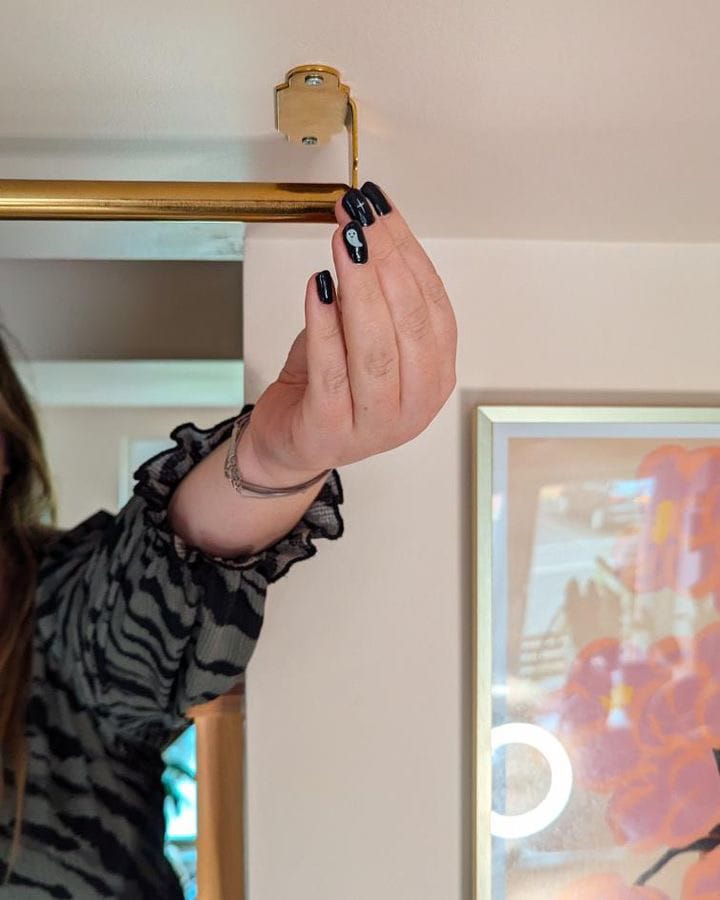
Step 6: Add Hooks and Hang Plants
With the rail securely in place, add the HULTARP hooks. Hang your plants using a variety of styles and pots. Mix in macrame hangers in different colors to add texture and visual interest.
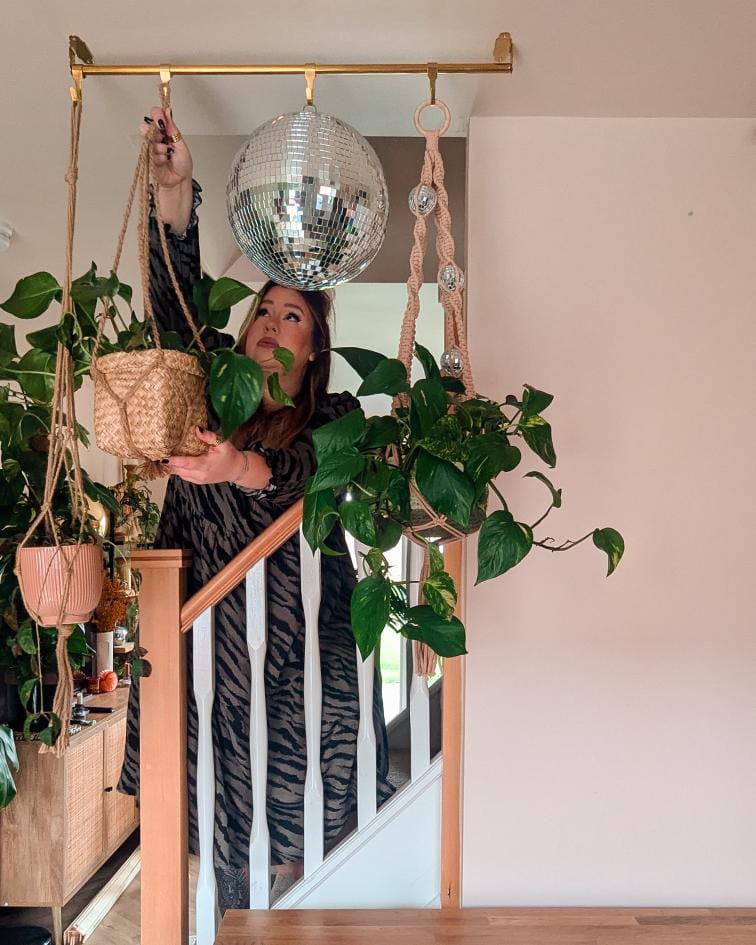
Creating a ceiling rail plant display is a fantastic way to bring nature indoors and add a touch of greenery to even the smallest spaces. It’s an easy and affordable project that can be customized to fit your style and space.
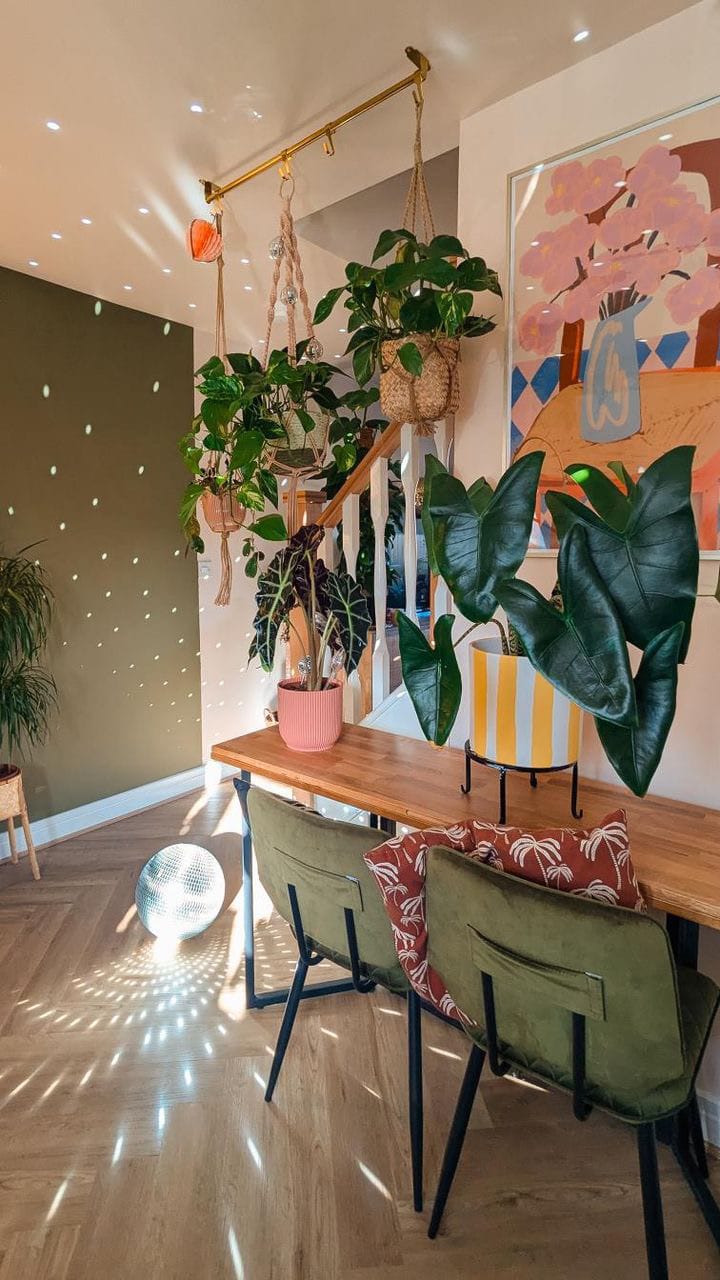
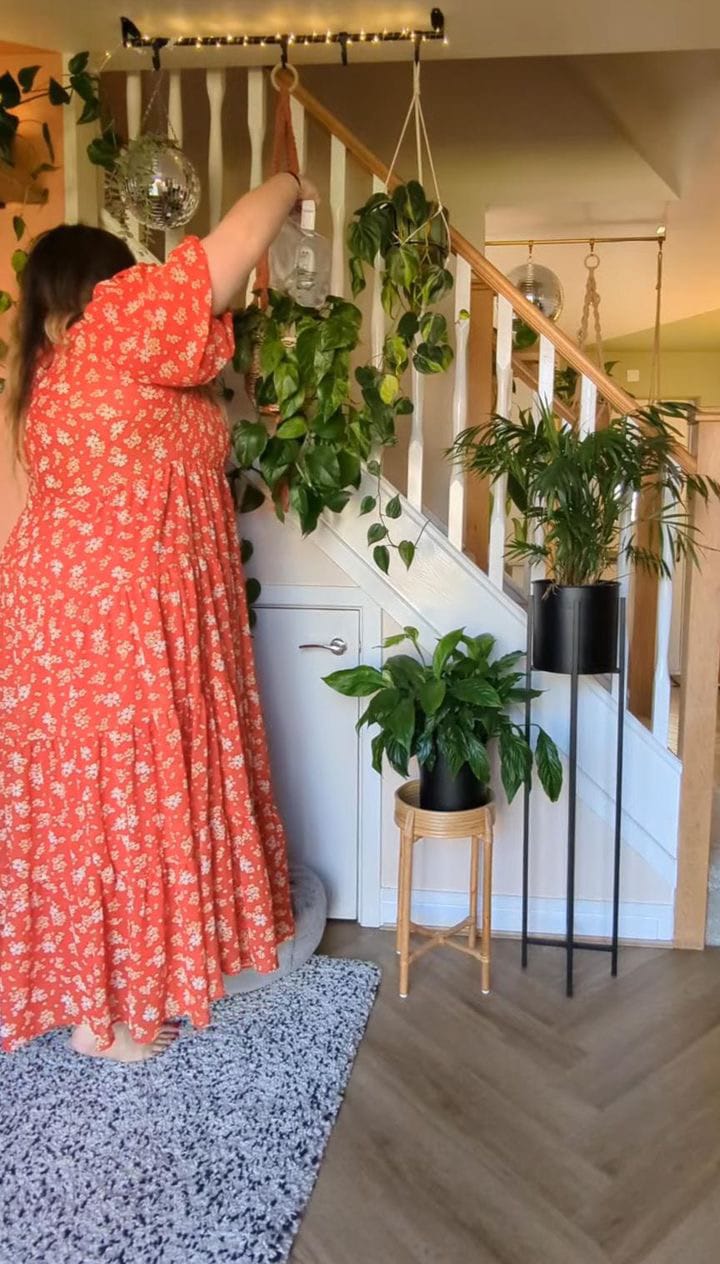
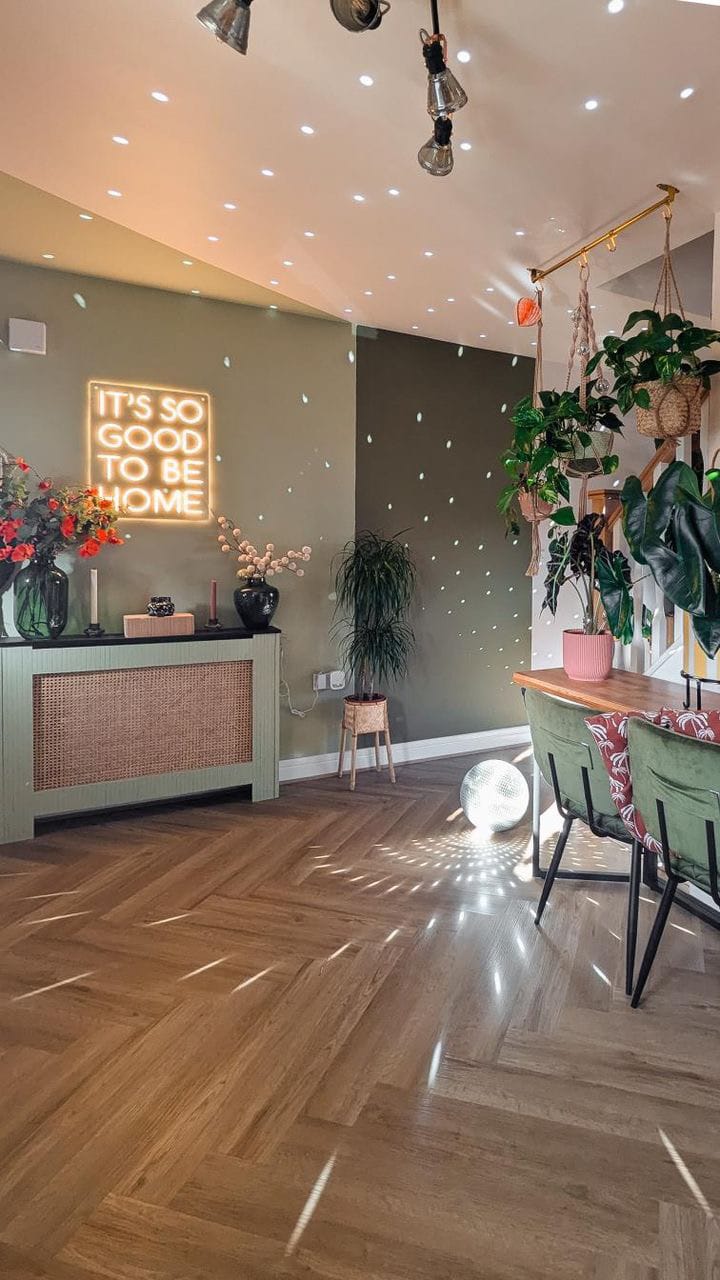
We love how our plant display turned out, and we’re sure you’ll enjoy creating yours too!

Creator: Kate
Instagram: @my_littlewood_home


